If this is your first visit, be sure to
check out the FAQ by clicking the
link above. You may have to register
before you can post: click the register link above to proceed. To start viewing messages,
select the forum that you want to visit from the selection below.
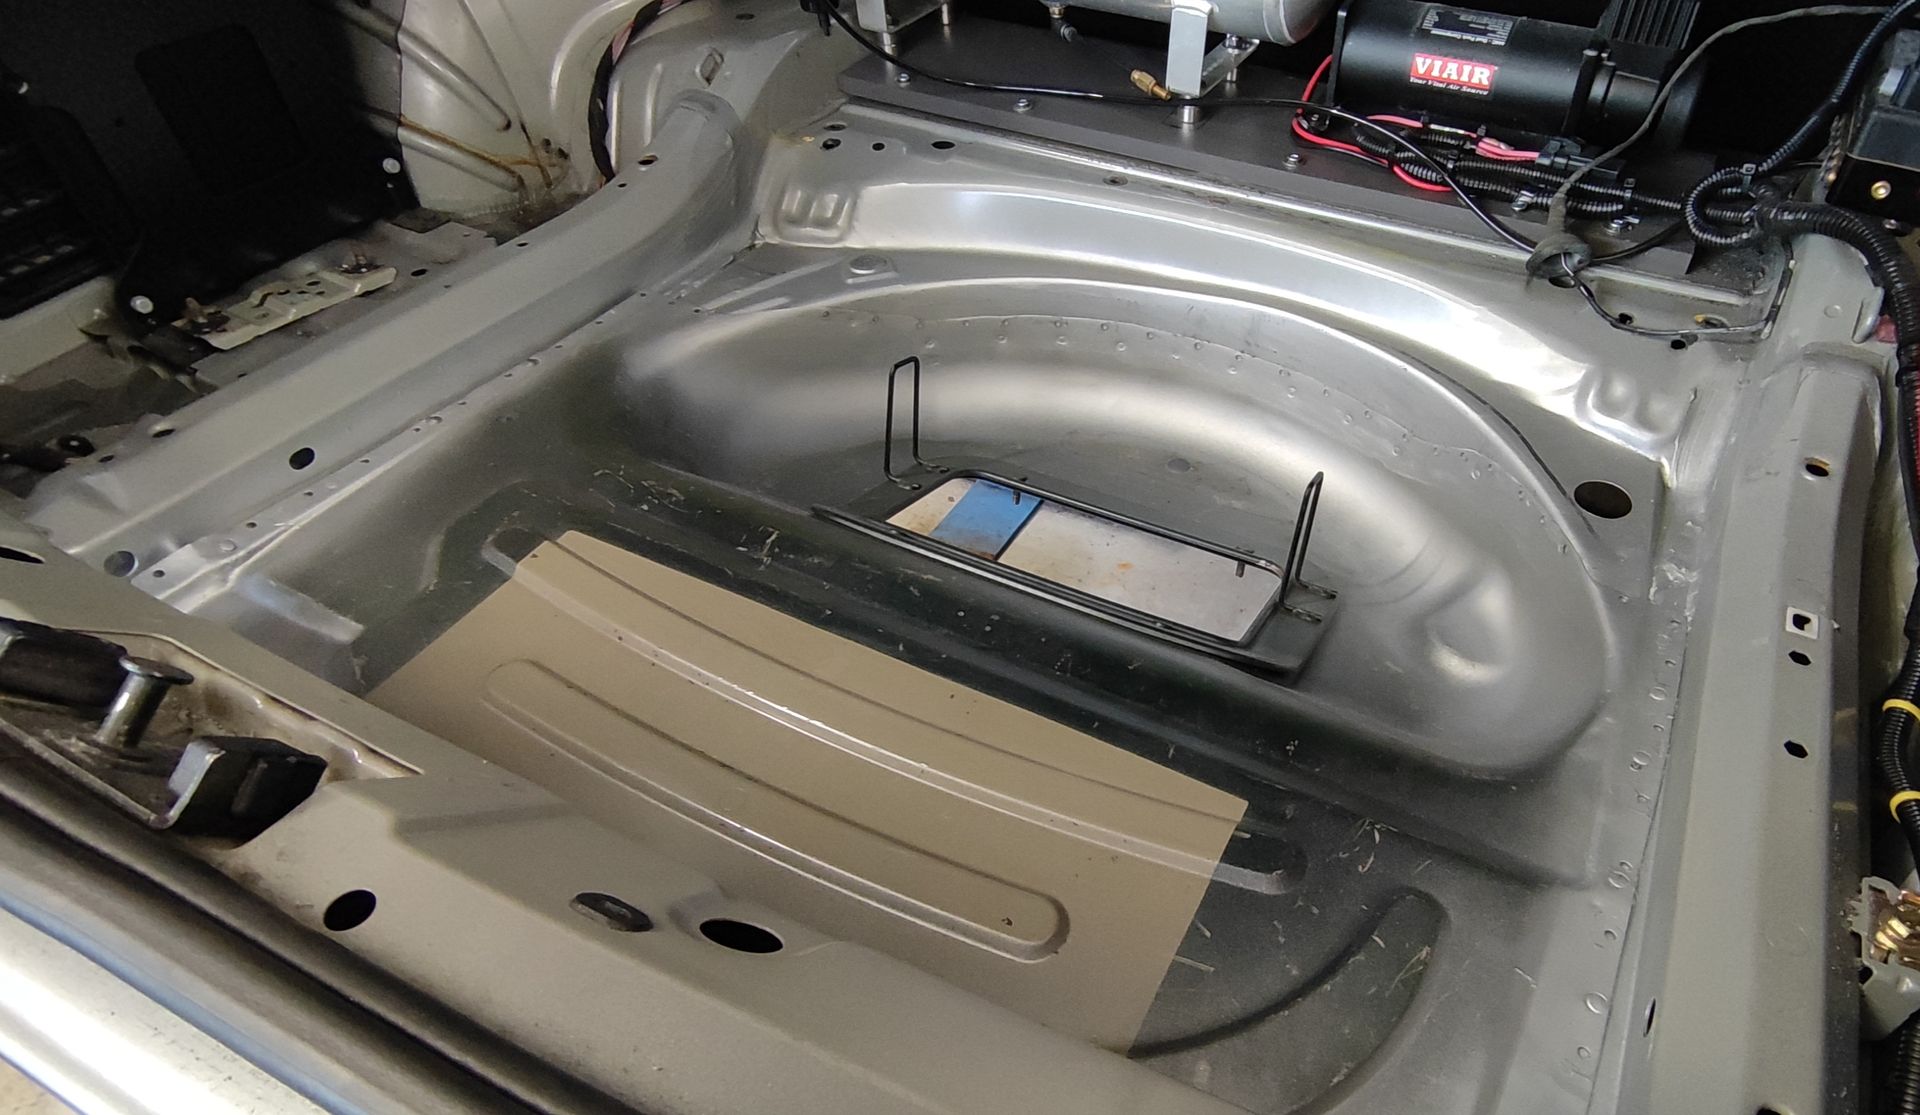
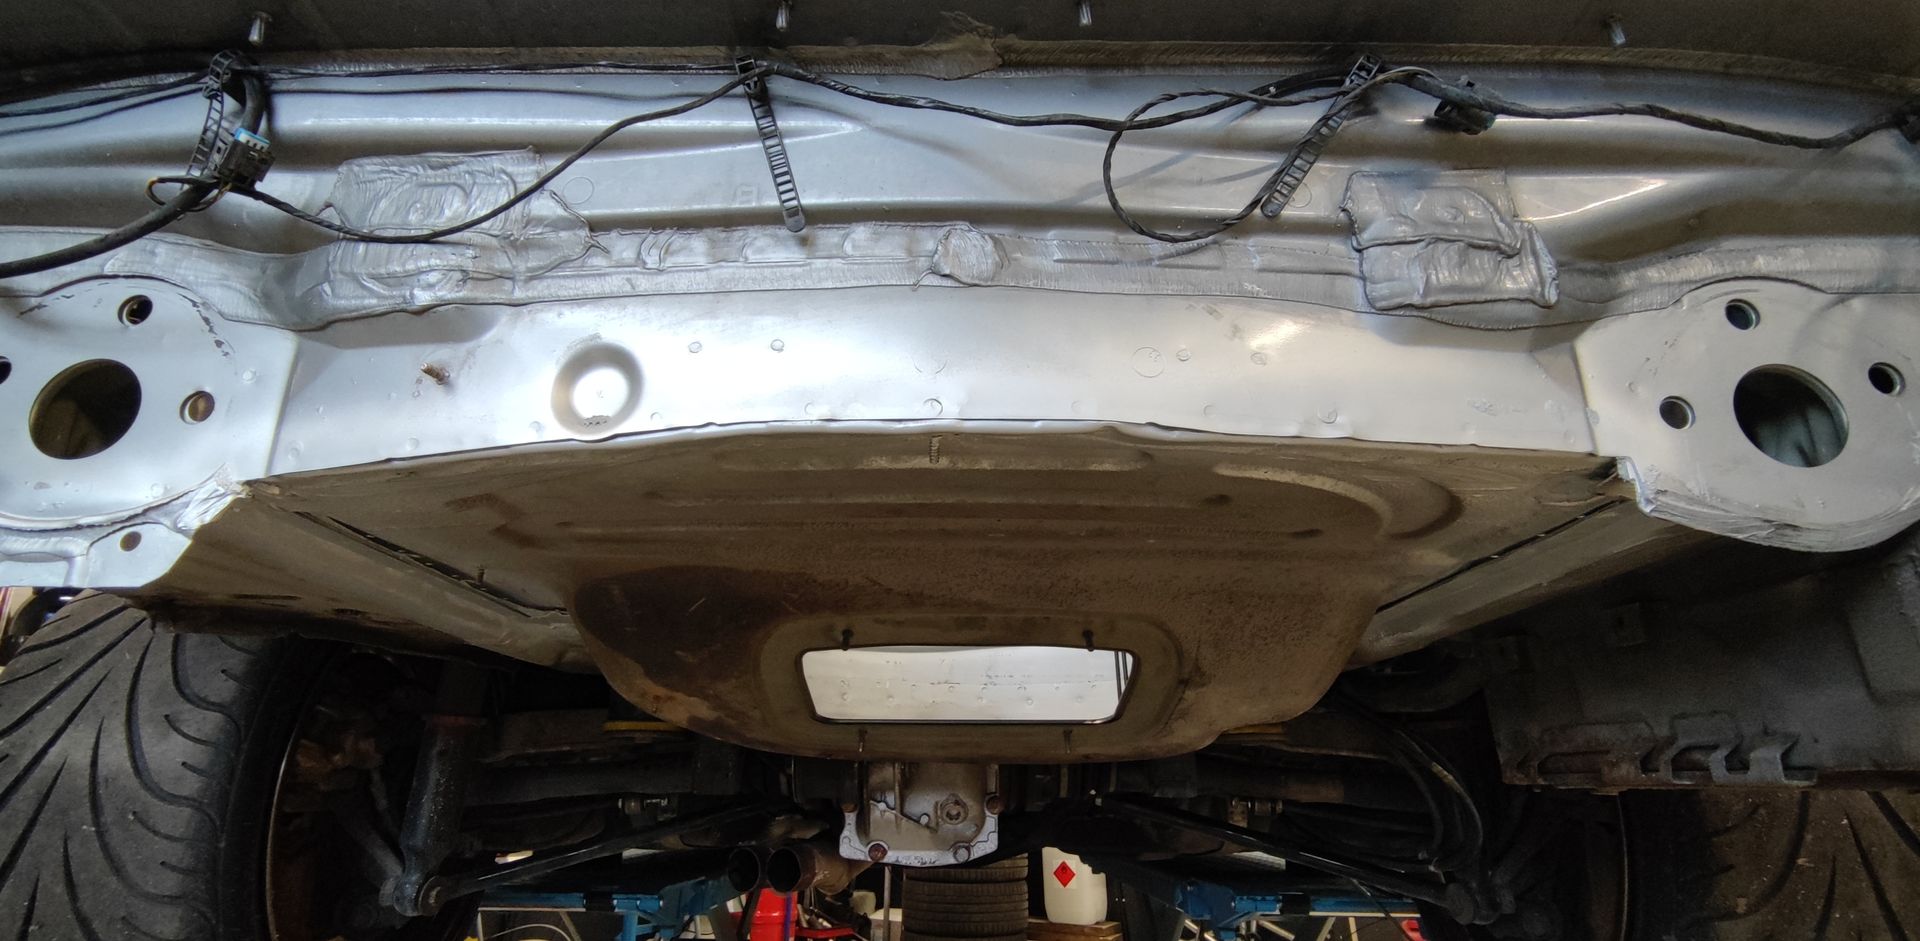
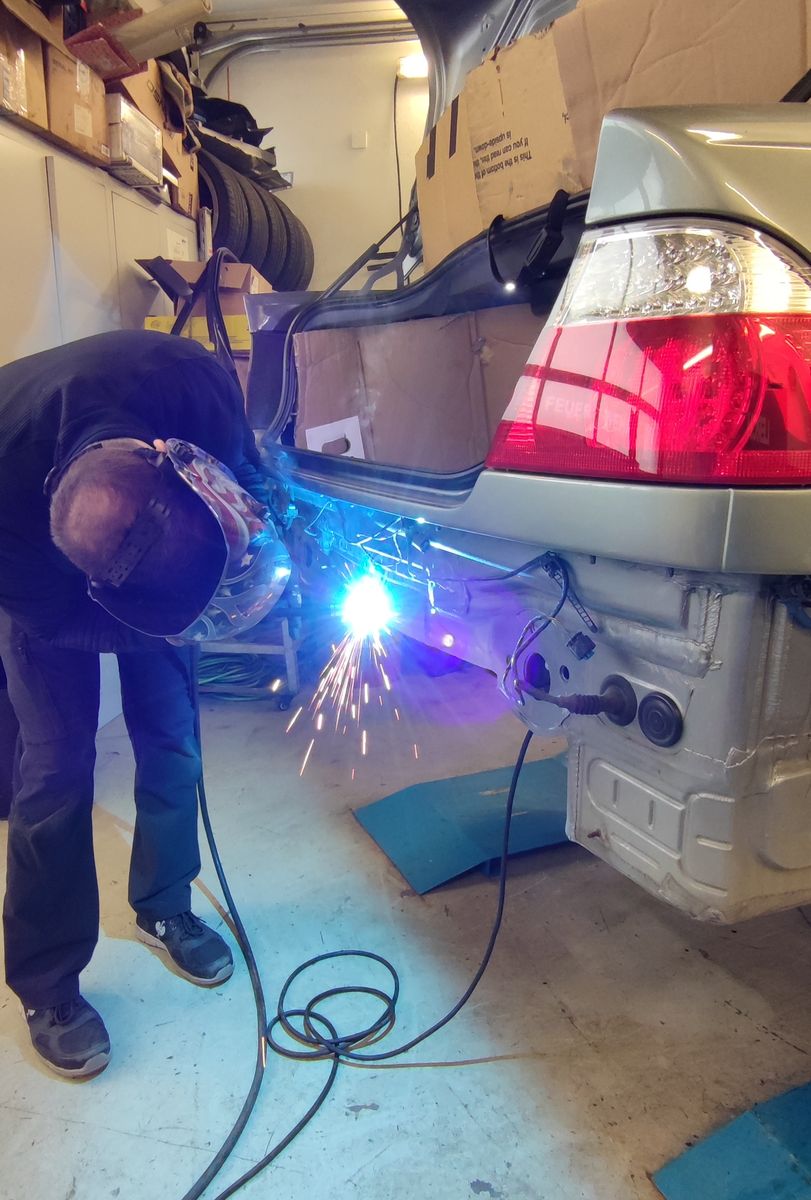
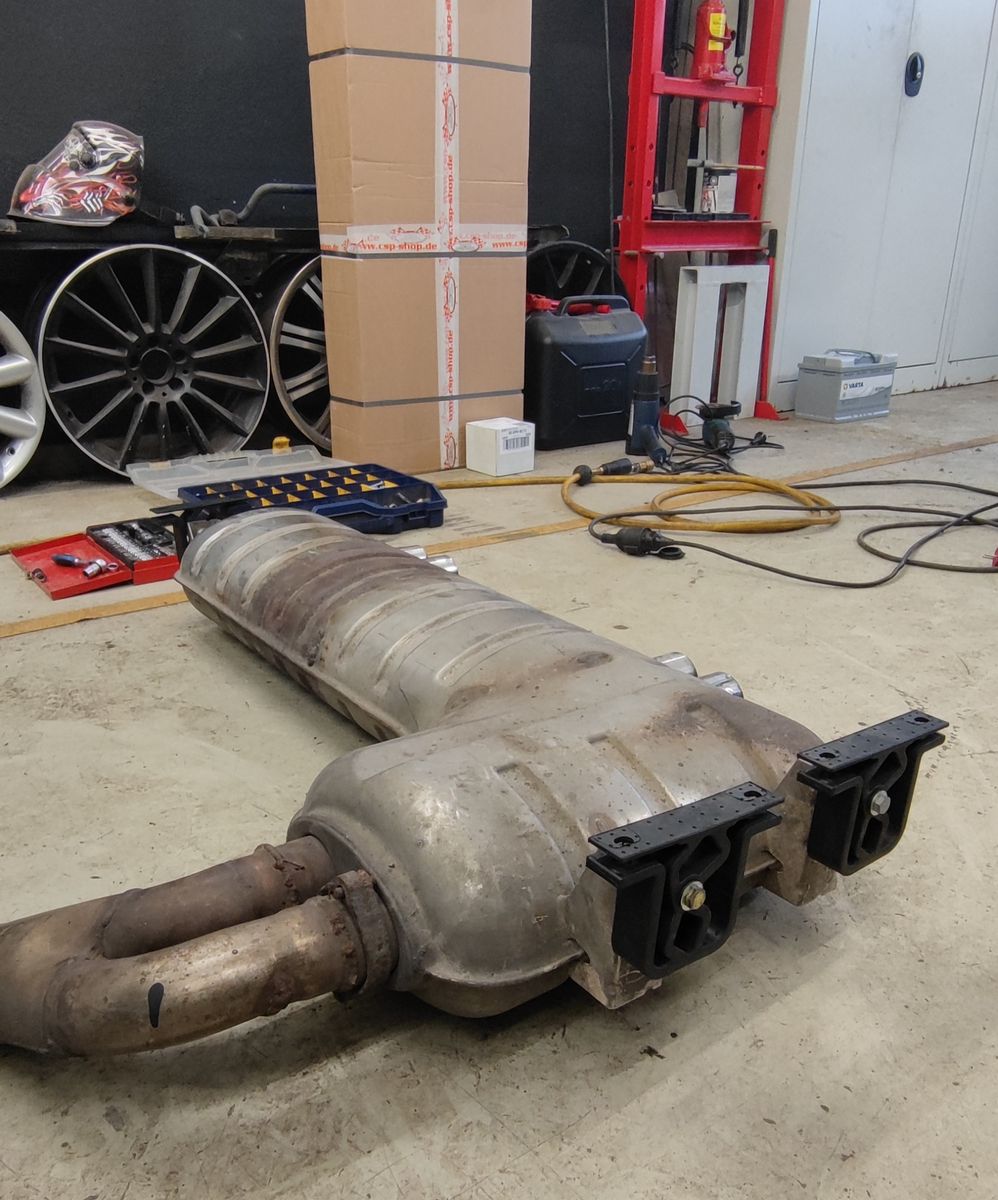
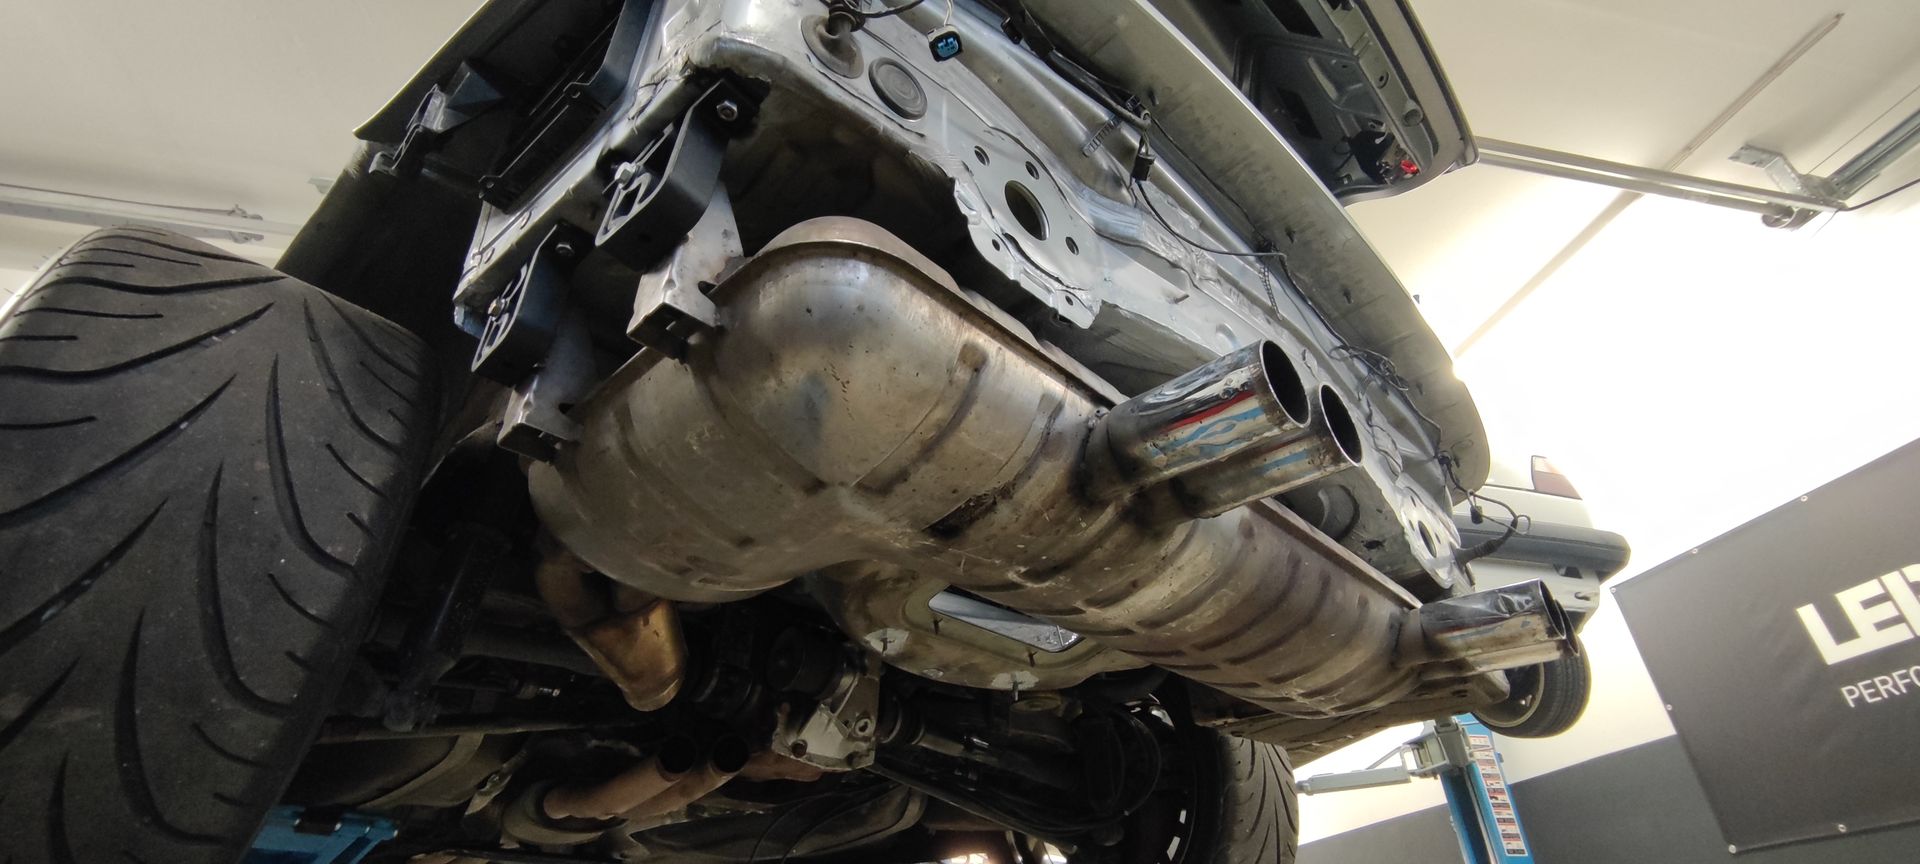
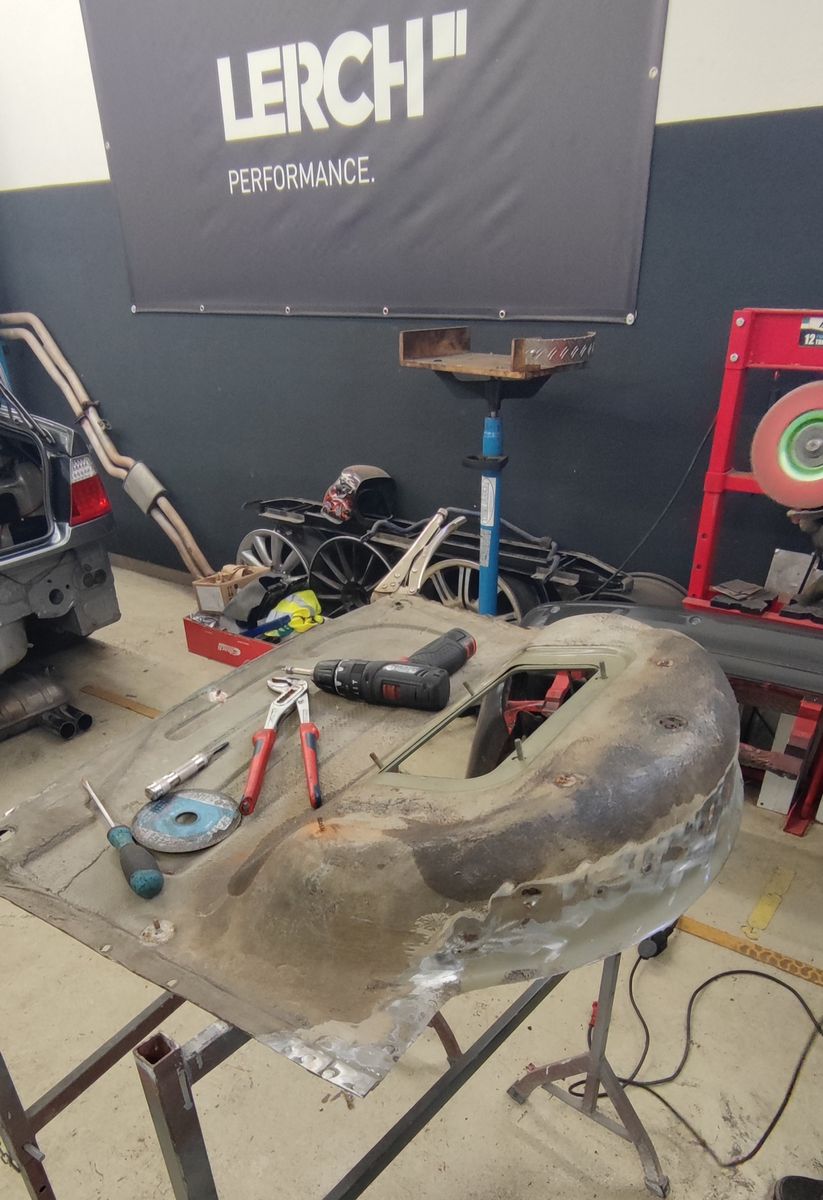
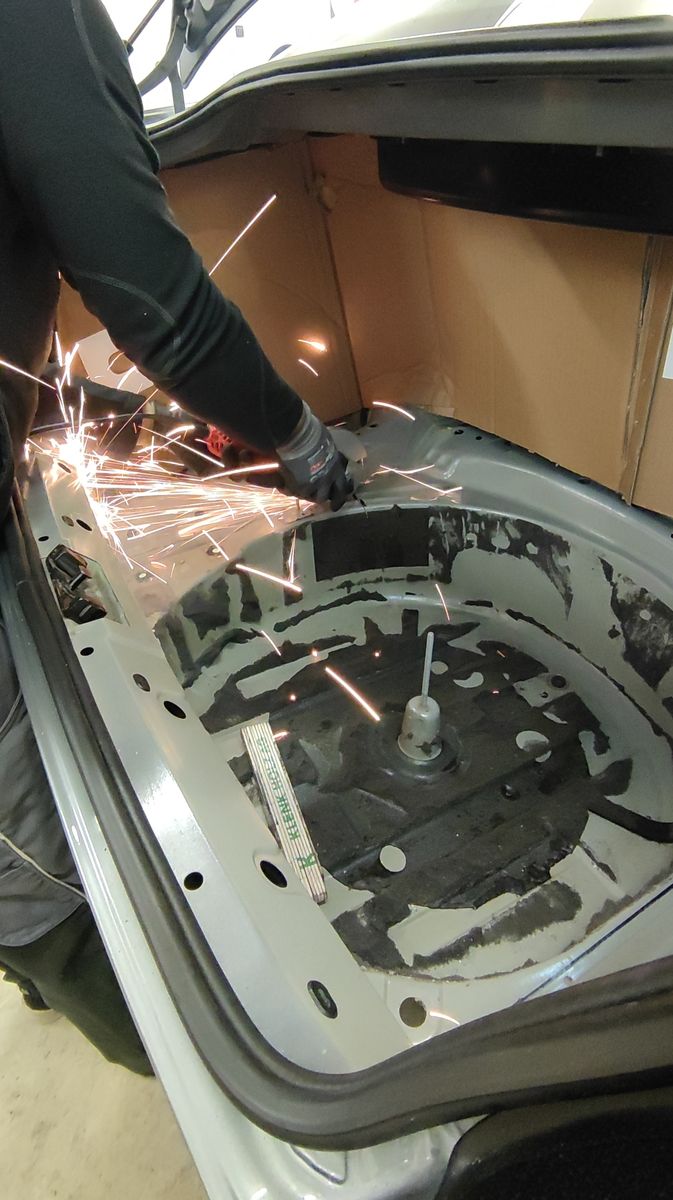
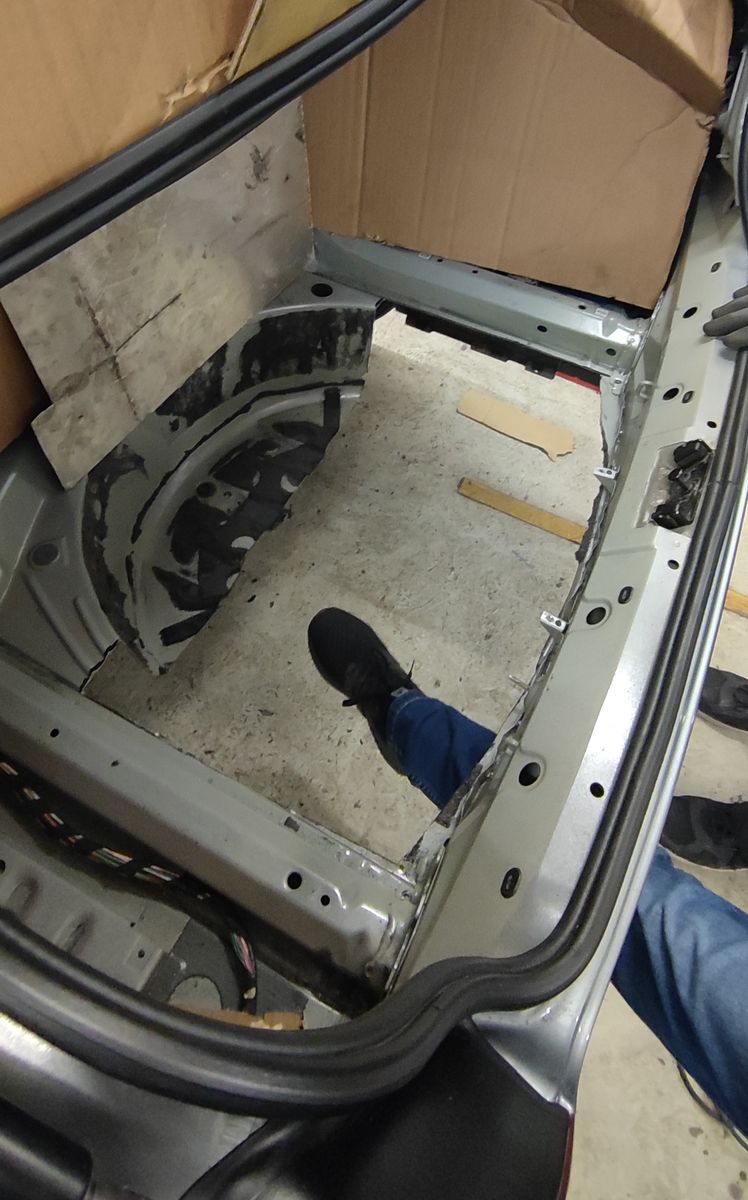
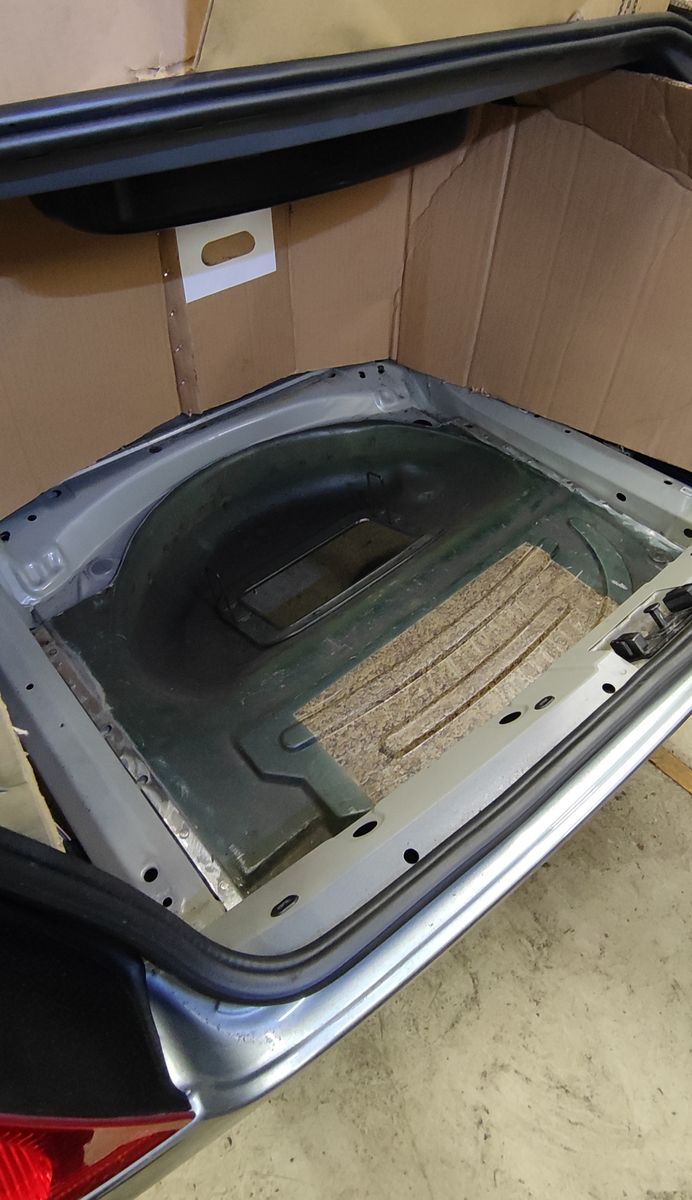
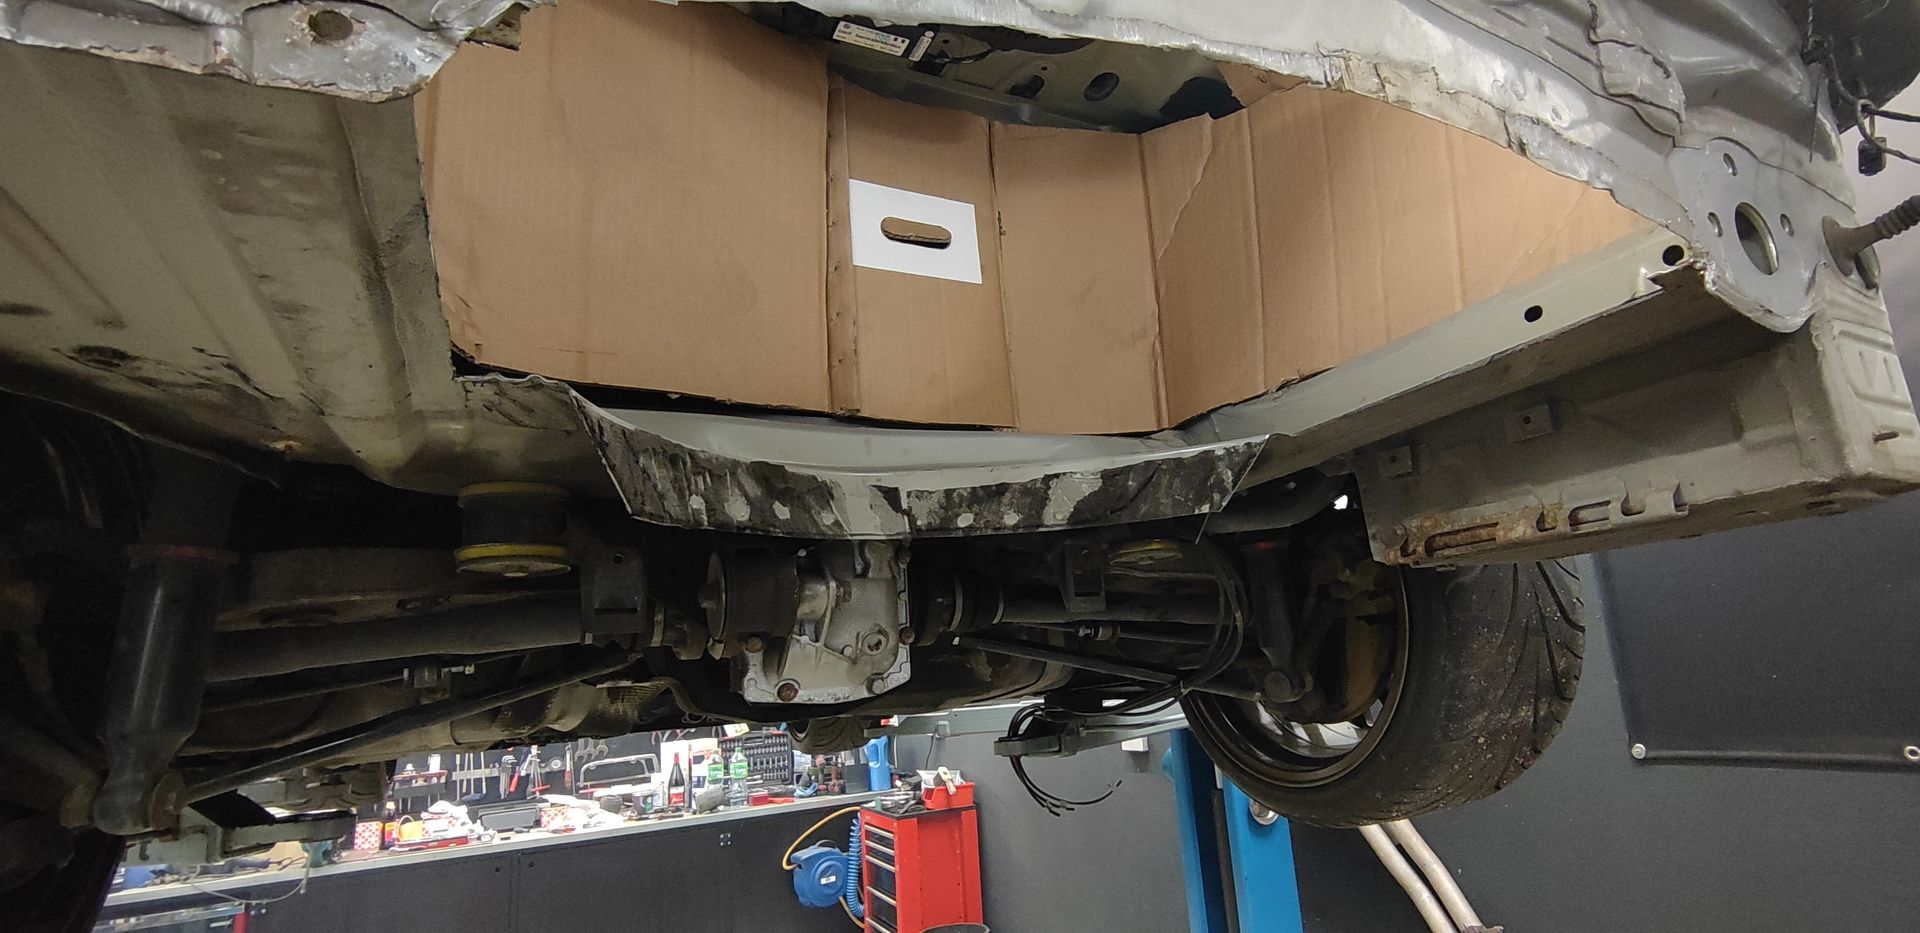
M3 trough is welded, glued and sealed, also attached the exhaust bracket for the M3 pot. It was quite good to have a real M3 to determine the dimensions
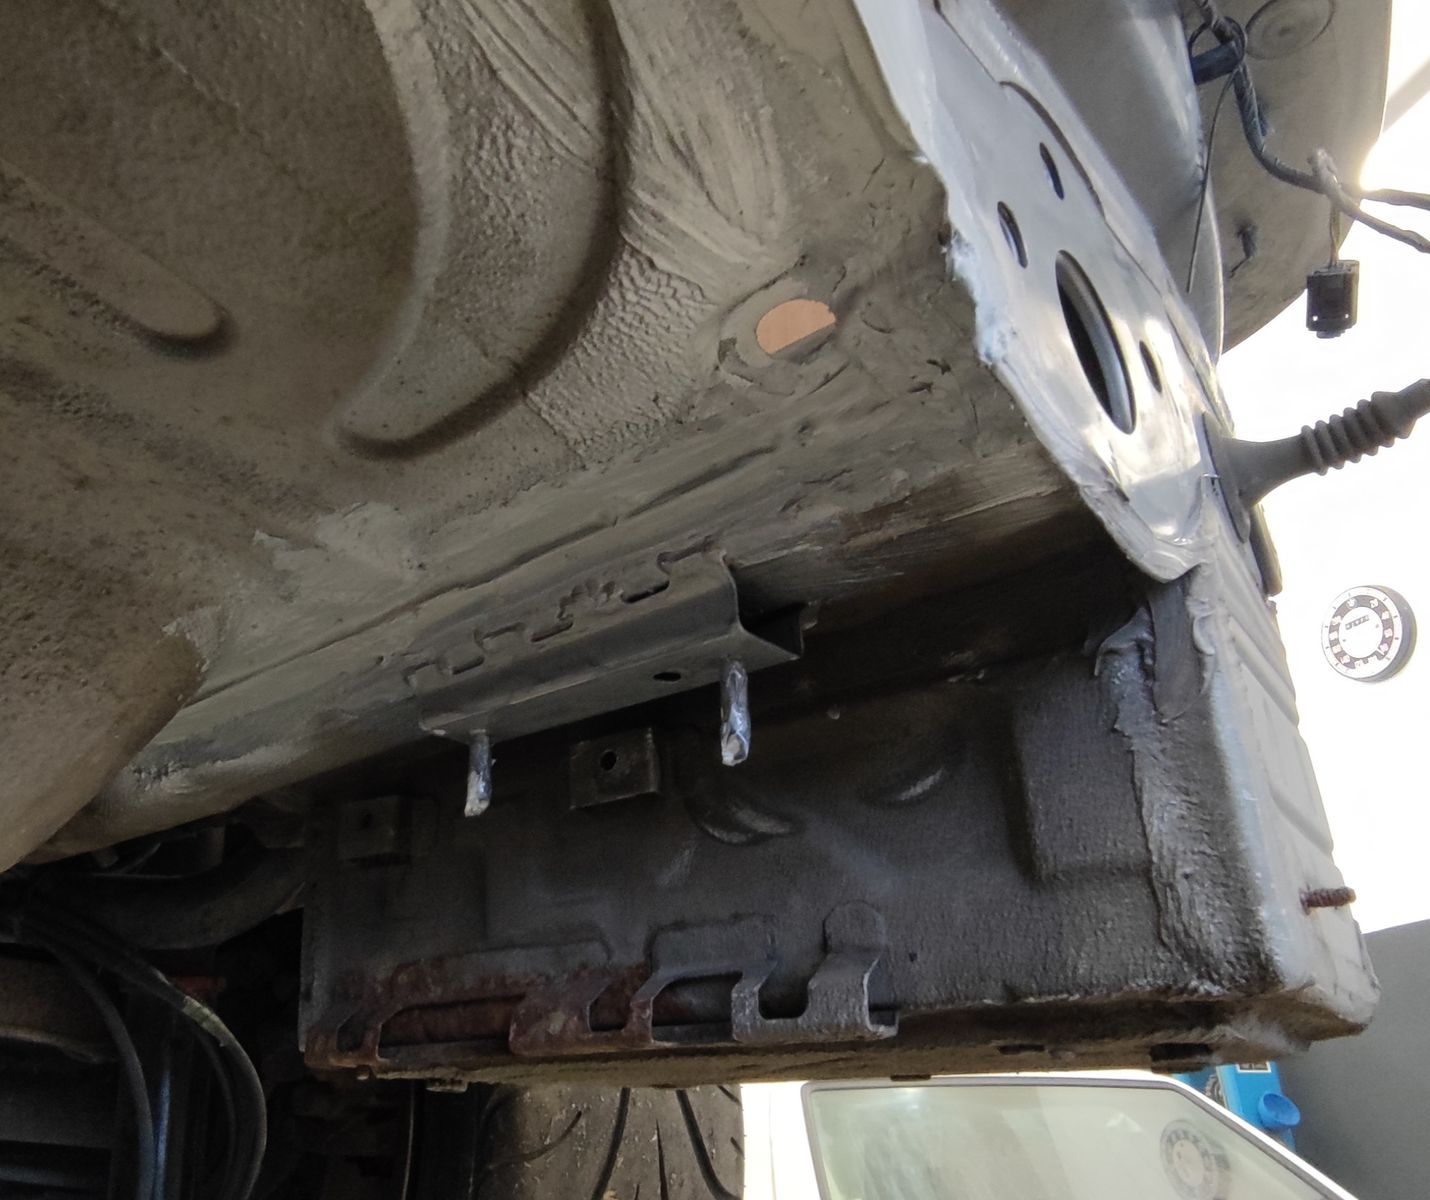
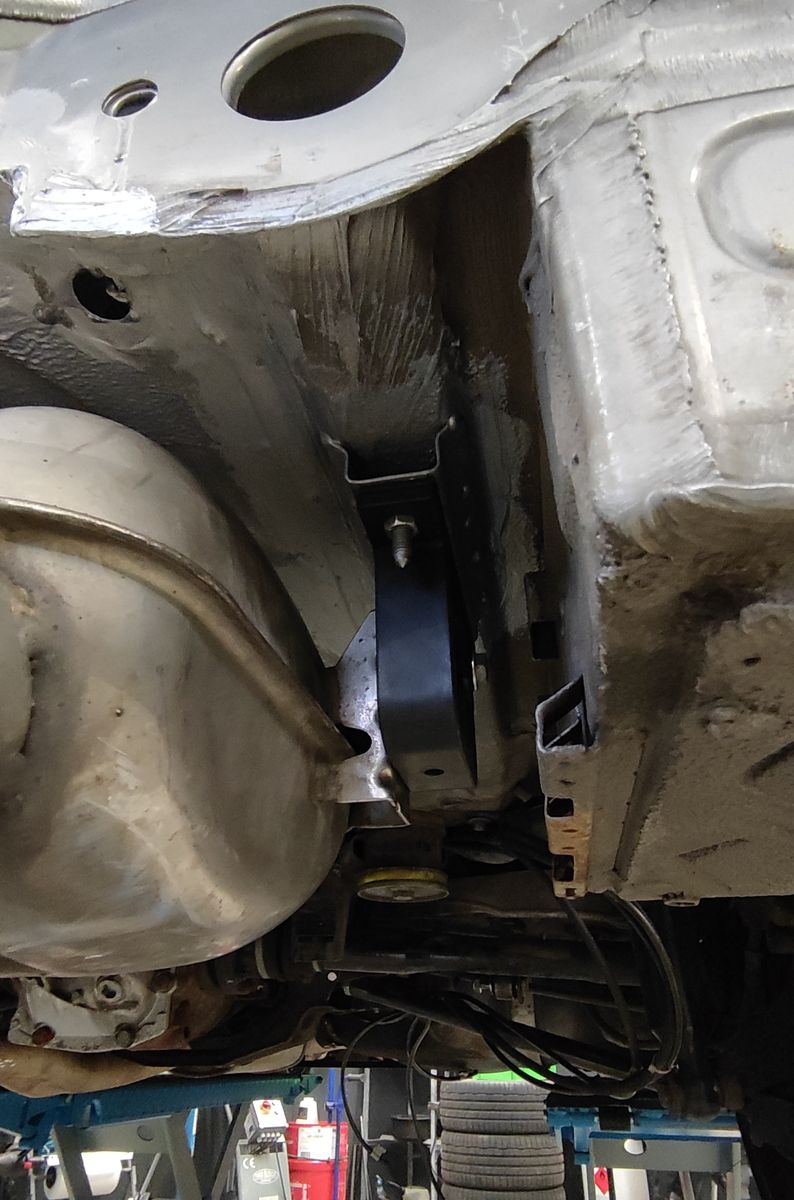
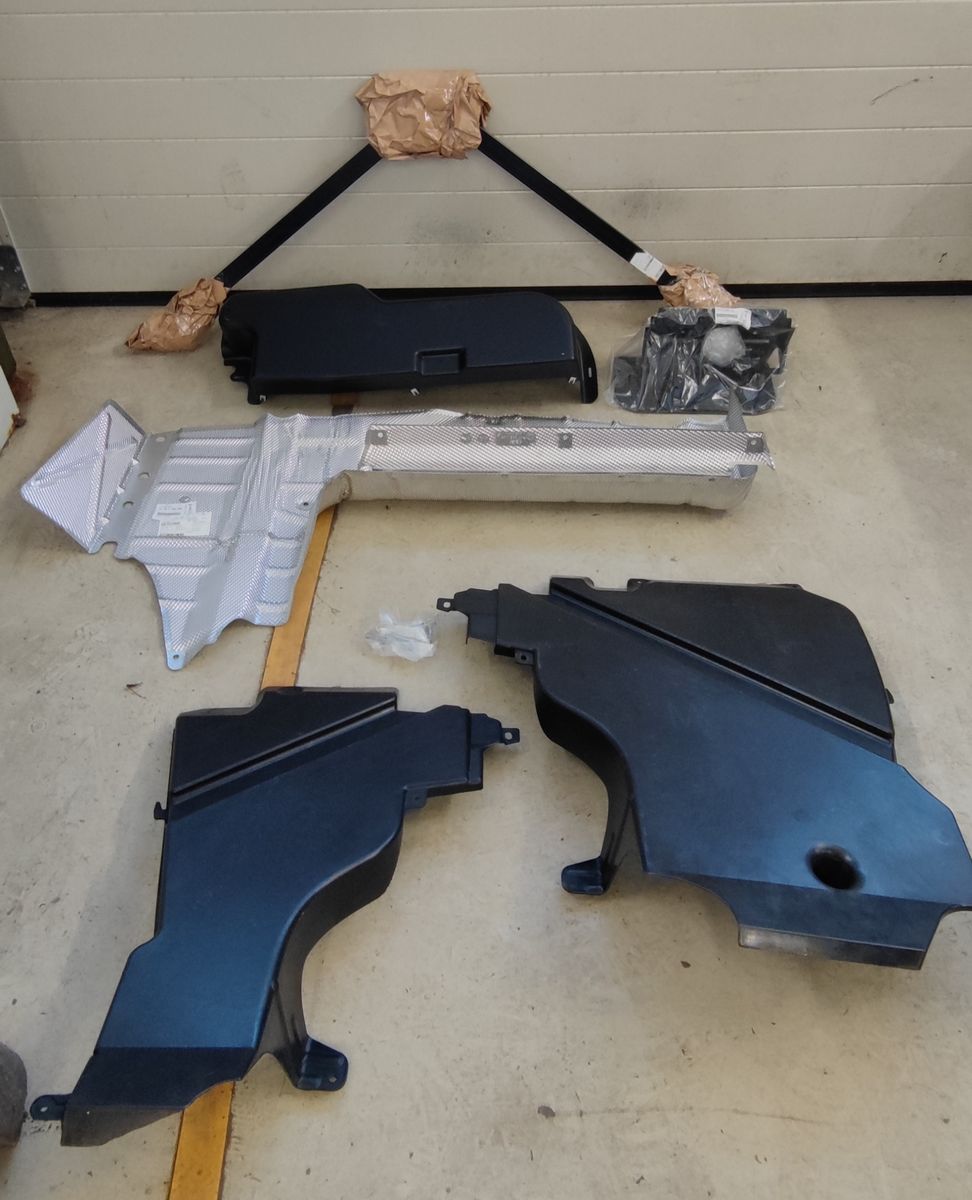
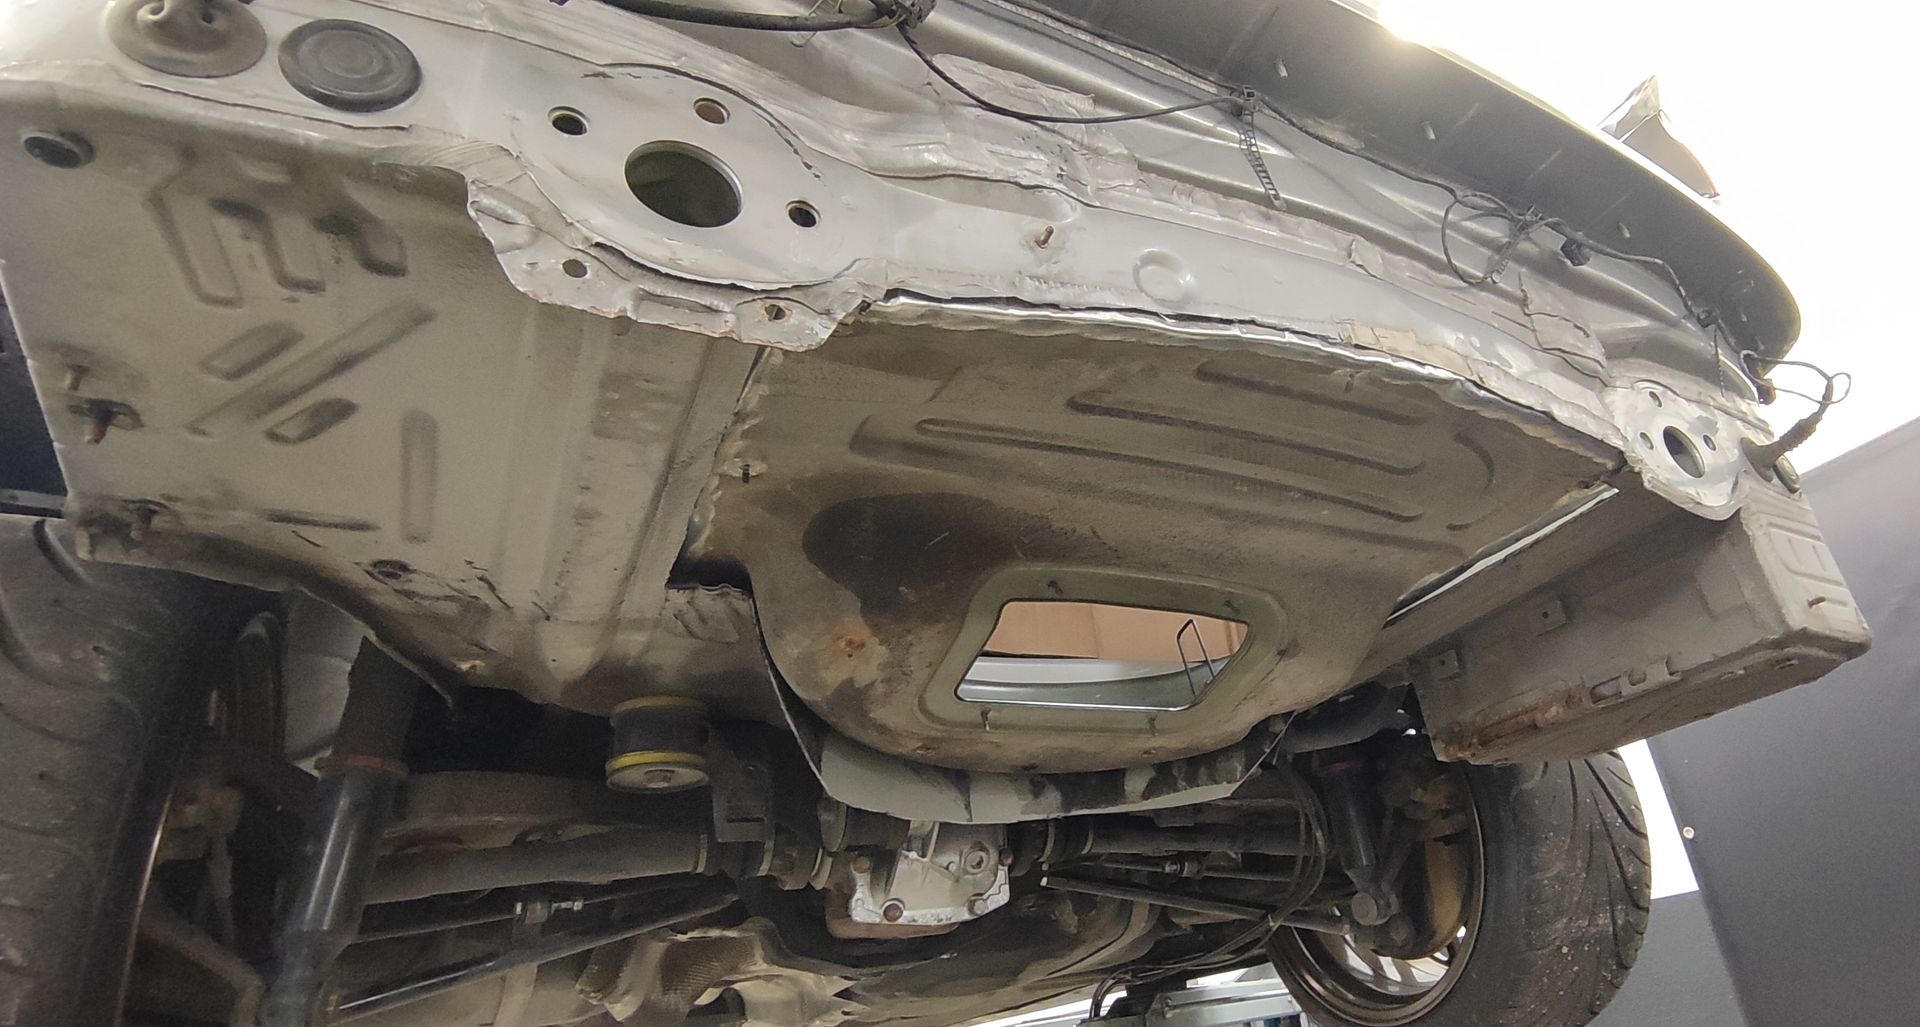
Among them was the "thrust strut" which is required if you want to install the V-reinforcing strut on a non-M3 chassis,
Furthermore, the non-M3 chassis is also missing the front mounting points of the V-strut, here we will build and weld two holders, I saw this on the net with someone who completely converted his touring to M3 and solved it quite well.
The whole undertaking with the conversion to the 2-piston performance brake on the RA draws larger circles than initially assumed (adapter sleeves from Burkhard and that's good, that's the first thought)
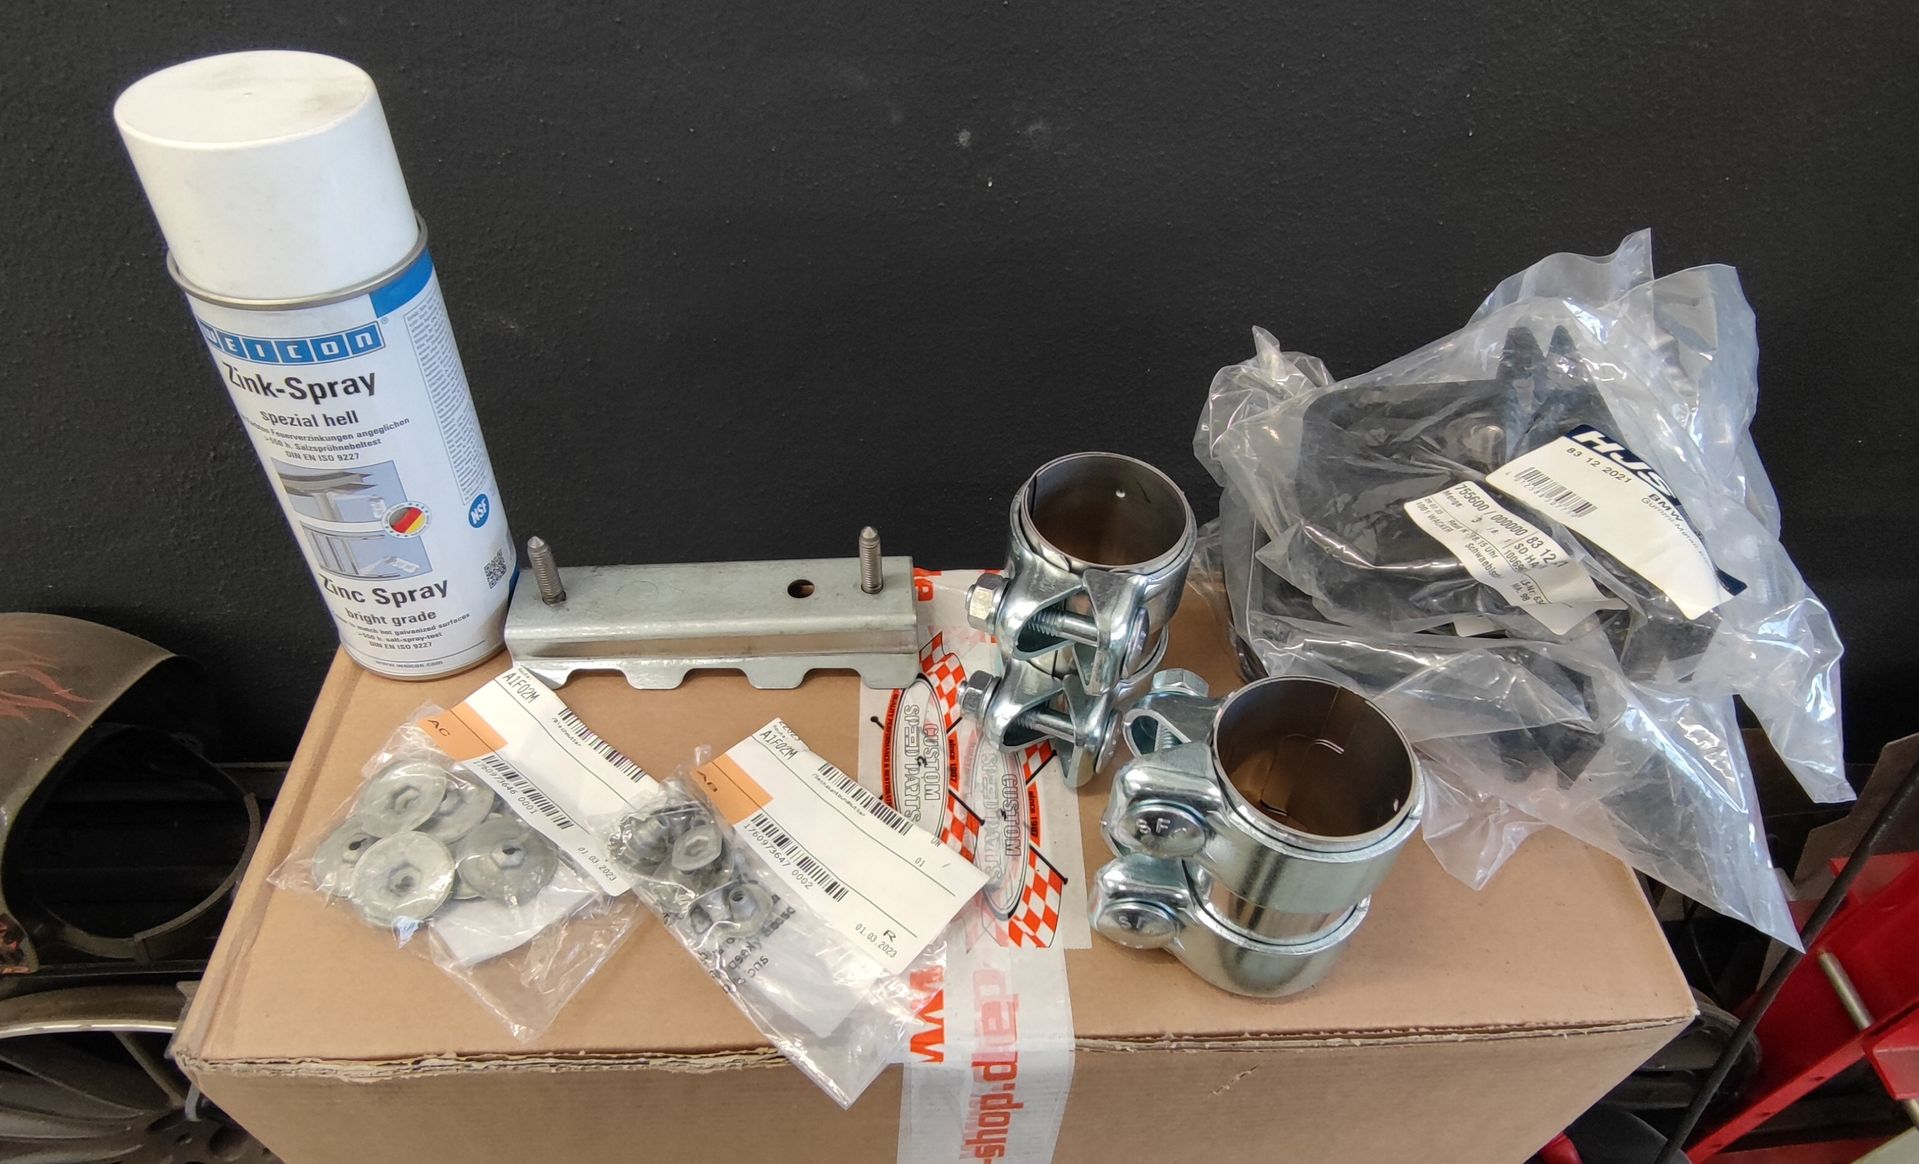
It will definitely be used for the conversion of non-M3
-Anchor plate from the M3 (adapted)
-Handbrake from the M3
-CSL brake discs
needed.
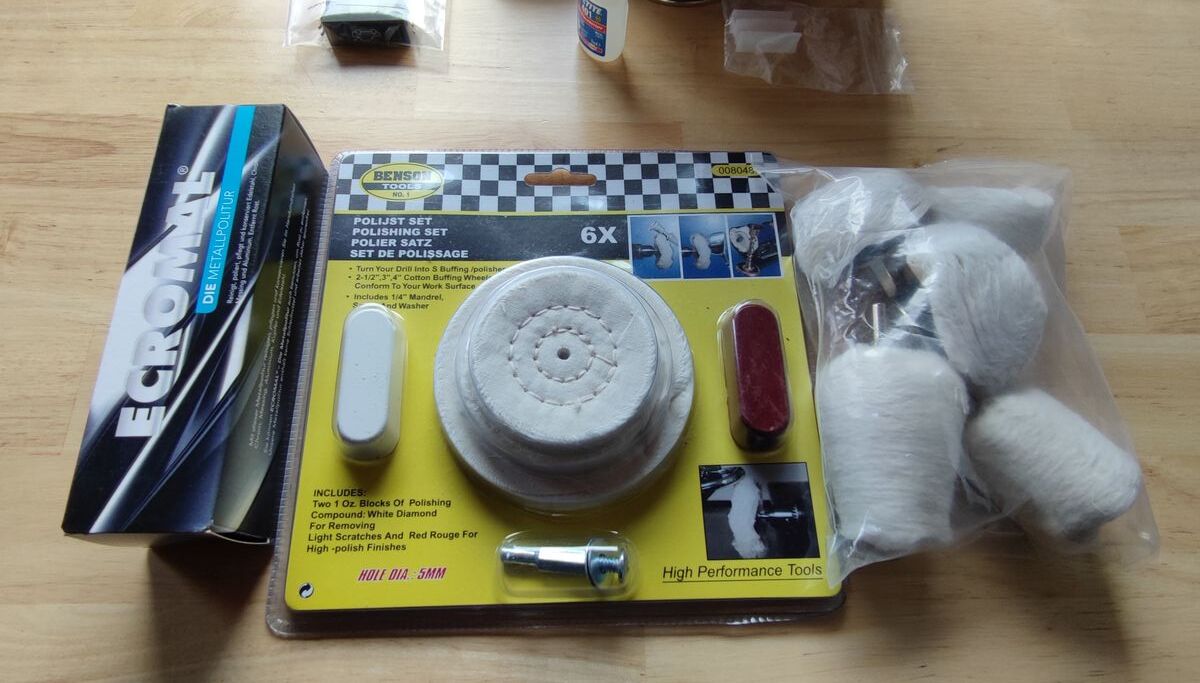
Furthermore, I once dared the first attempt to polish the pot with the Ecromal Paste.
So first rim cleaner on it and let it work for a while to get rid of the coarse dirt, then polish it.
In any case, next time I will try to get rid of the "rust" and then completely polish the pot again.
1.Output image
2. Rim Cleaner
3. after rim cleaner treatment
4. first attempt at polishing
 Tweet
Tweet


Comment