 Tweet
Tweet
haha Kayaking like a boss
-
W I L D M A N 'S R O D S H O P

R.I.P P.WALKER 2013/11/30 -
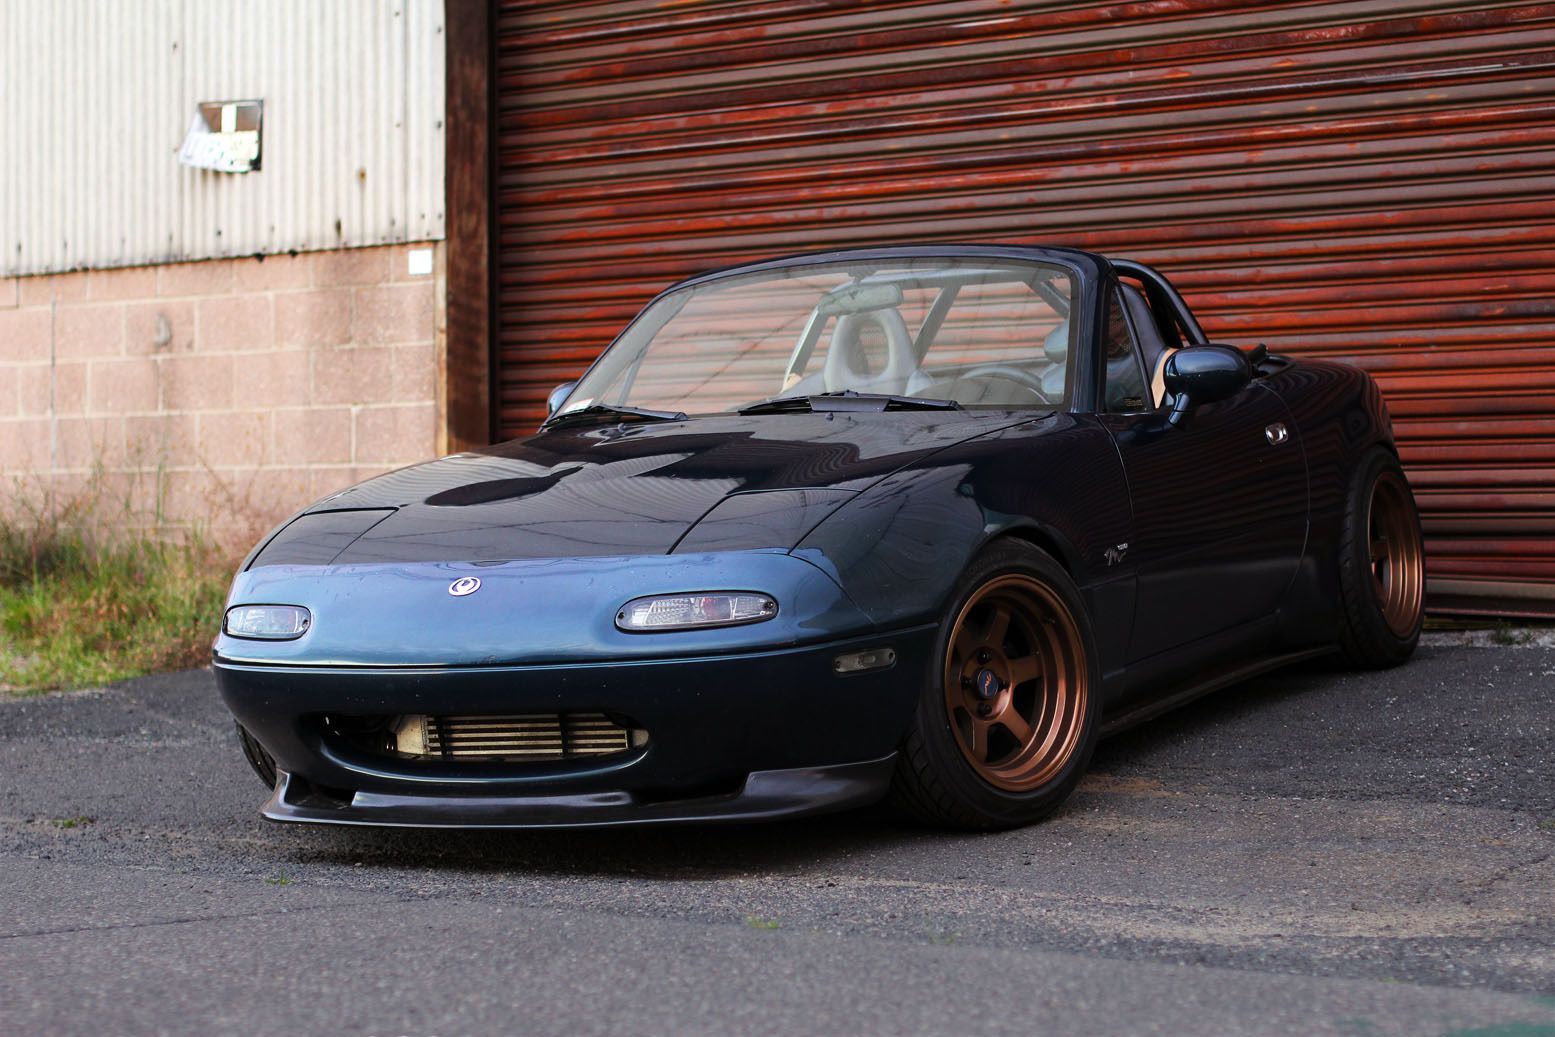
I've seen this car at shows and have been very impressed. It's quite nice in person. QUITE nice.
If it's worth doing, it's worth doing right.
Your blast pipes look stupid.Comment
-
Just keeps getting better.[B][SIZE="1"][URL="https://www.youtube.com/user/RickyMoranis"]Youtube Channel [/URL]
[URL="http://instagram.com/superkamikazee"]Instagram[/URL]
[URL="https://www.flickr.com/photos/60987575@N05/"]Flickr[/URL][/SIZE][/B]Comment
-
Nice progress.
Comment
-
Alright, I'm back.
So at this point I'm at last winter.
Some friends of mine told me that my car was good as it was, but they felt that the Kosei's were holding it back.
So I decided to try something that I've really never thought I'd do.
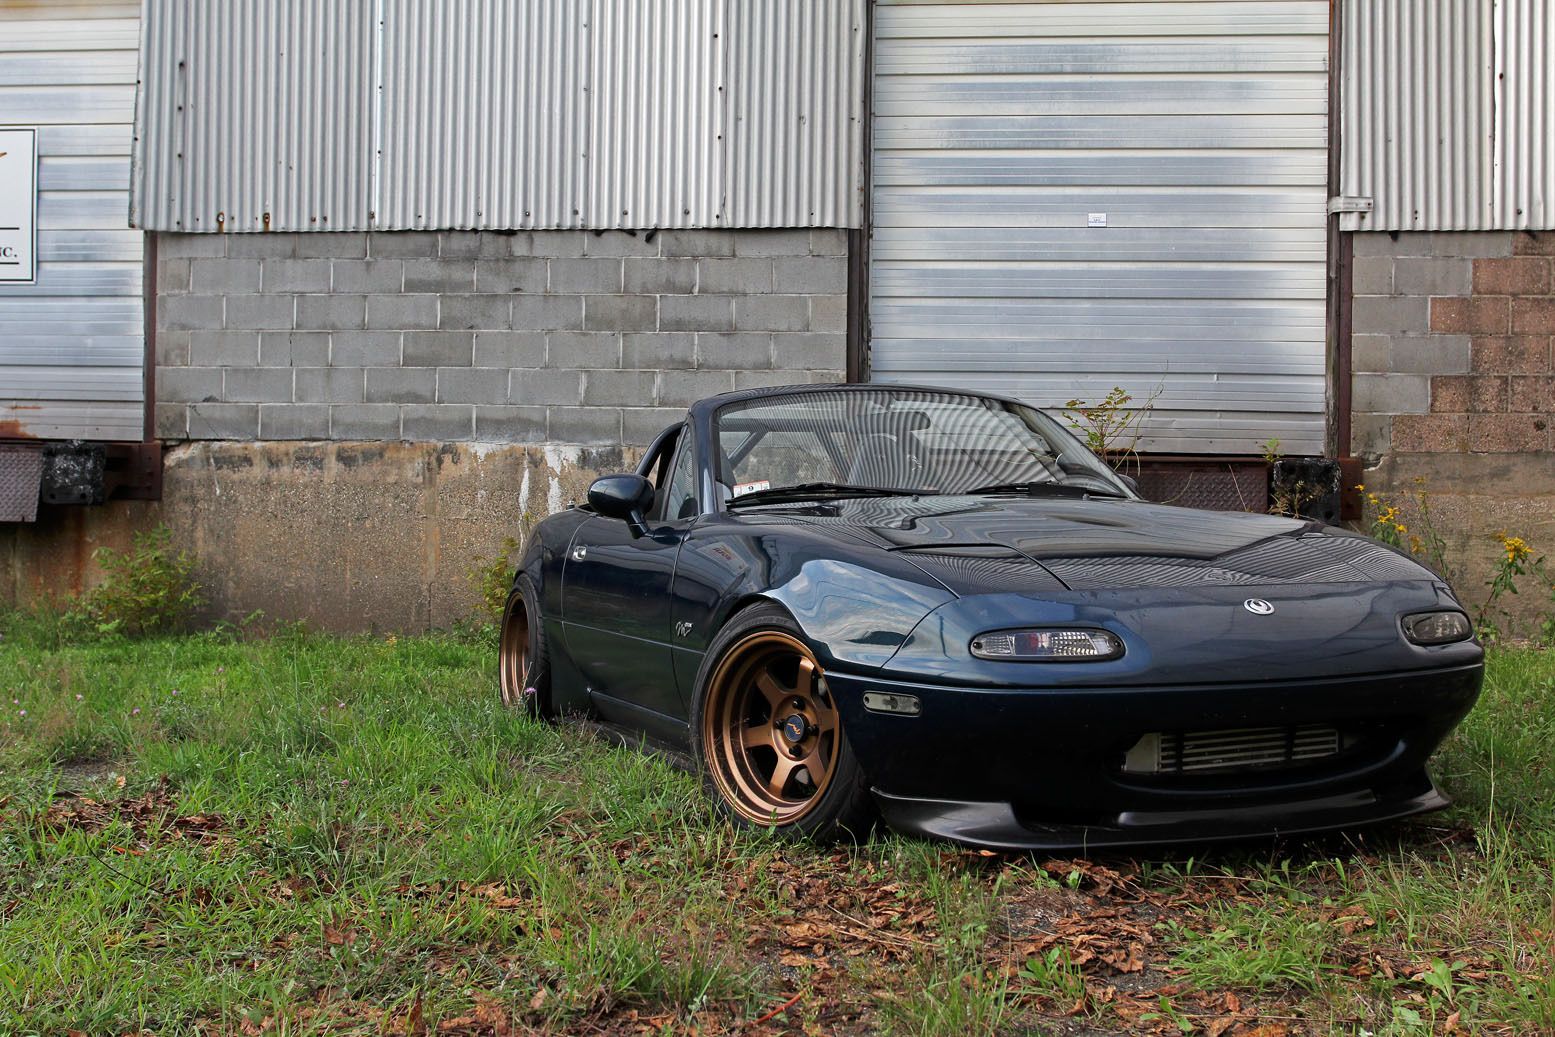
I ordered up a set of Rota Grid V's in 15x8 +0.
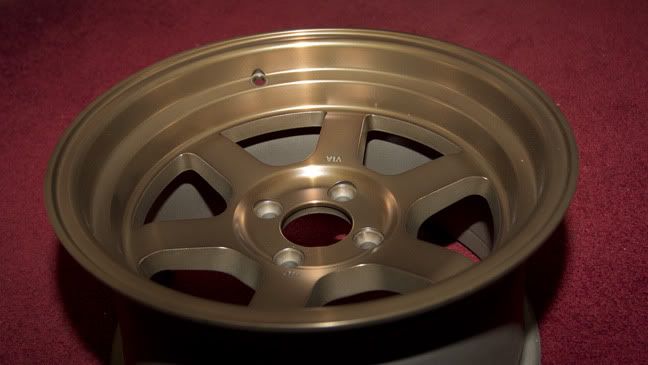
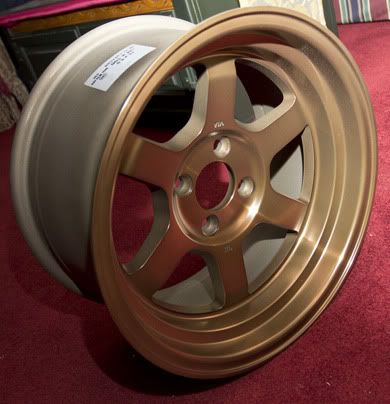
And a set of Yokohama S Drives in 195/50/15
I usually am not a fan of the whole stretched wheel thing. I usually like to have fairly authentic wheels as well. (The wheels on the STi are Forged Prodrive GC06-H's made by Rays). The Kosei's had fairly beefy tires on them as well. 205/50/15's on 15x7's, so this was a huge detraction from the norm.
I wanted to go 205's bad but I knew it wouldn't be feasible without either alot of fender pulling or tons of camber. Neither of which I was particularly keen on doing at that point. So I bit the bullet and accepted the little bit of stretch that 195/50s had.
And its a damn good thing I did.

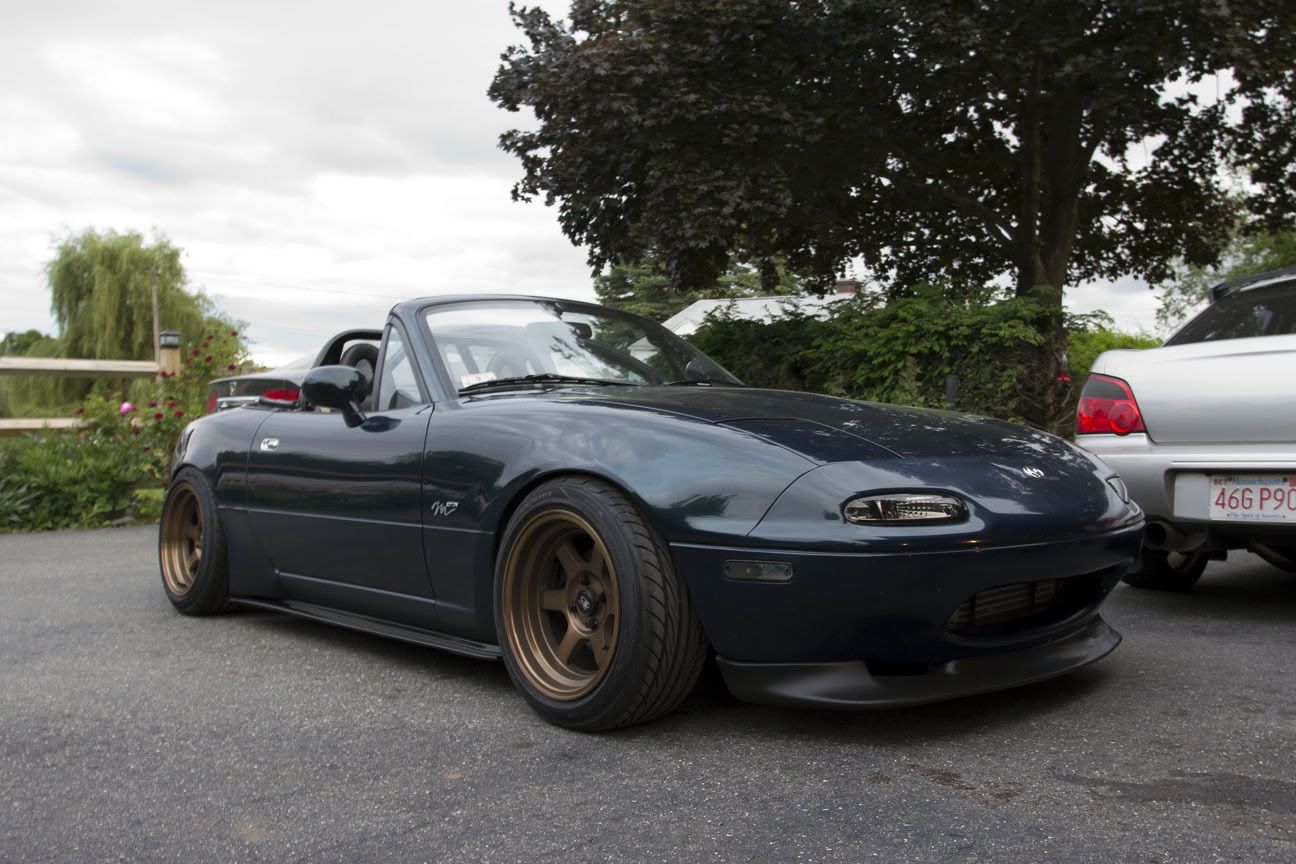
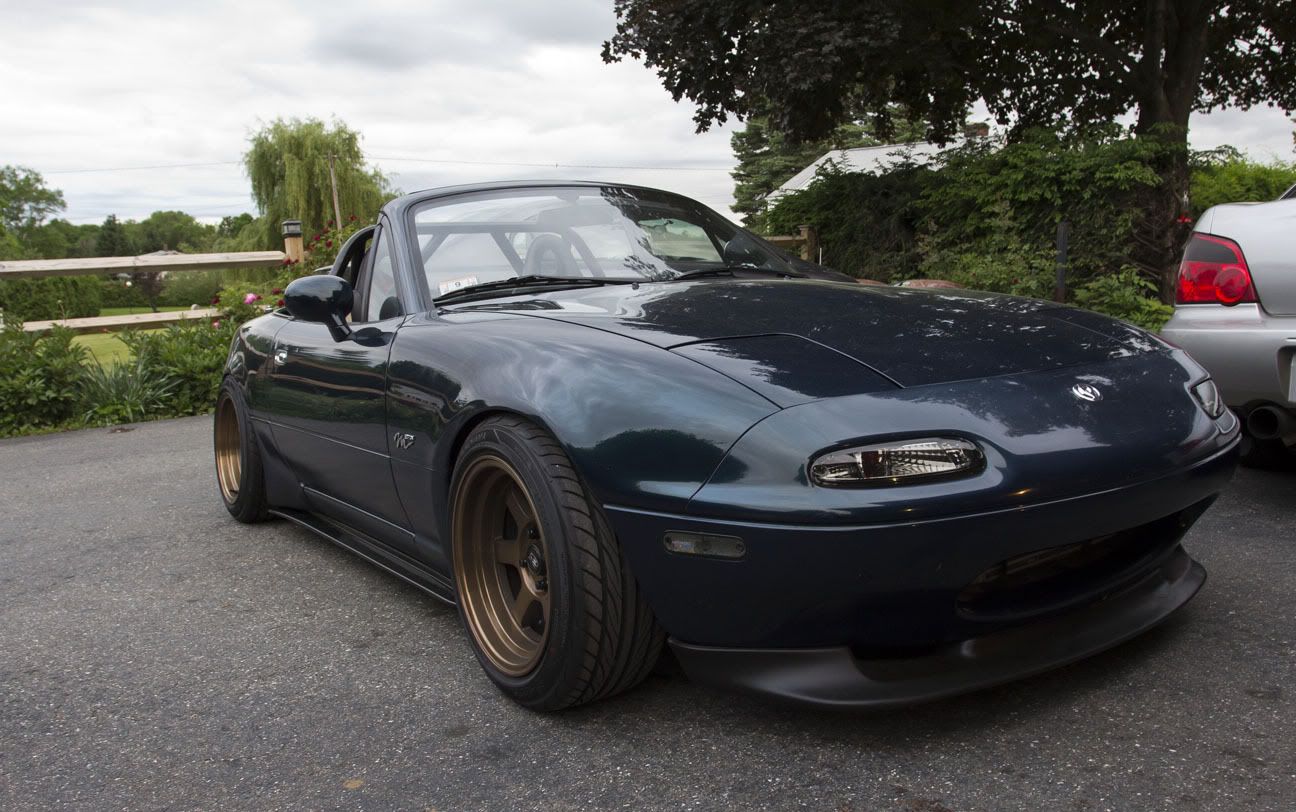
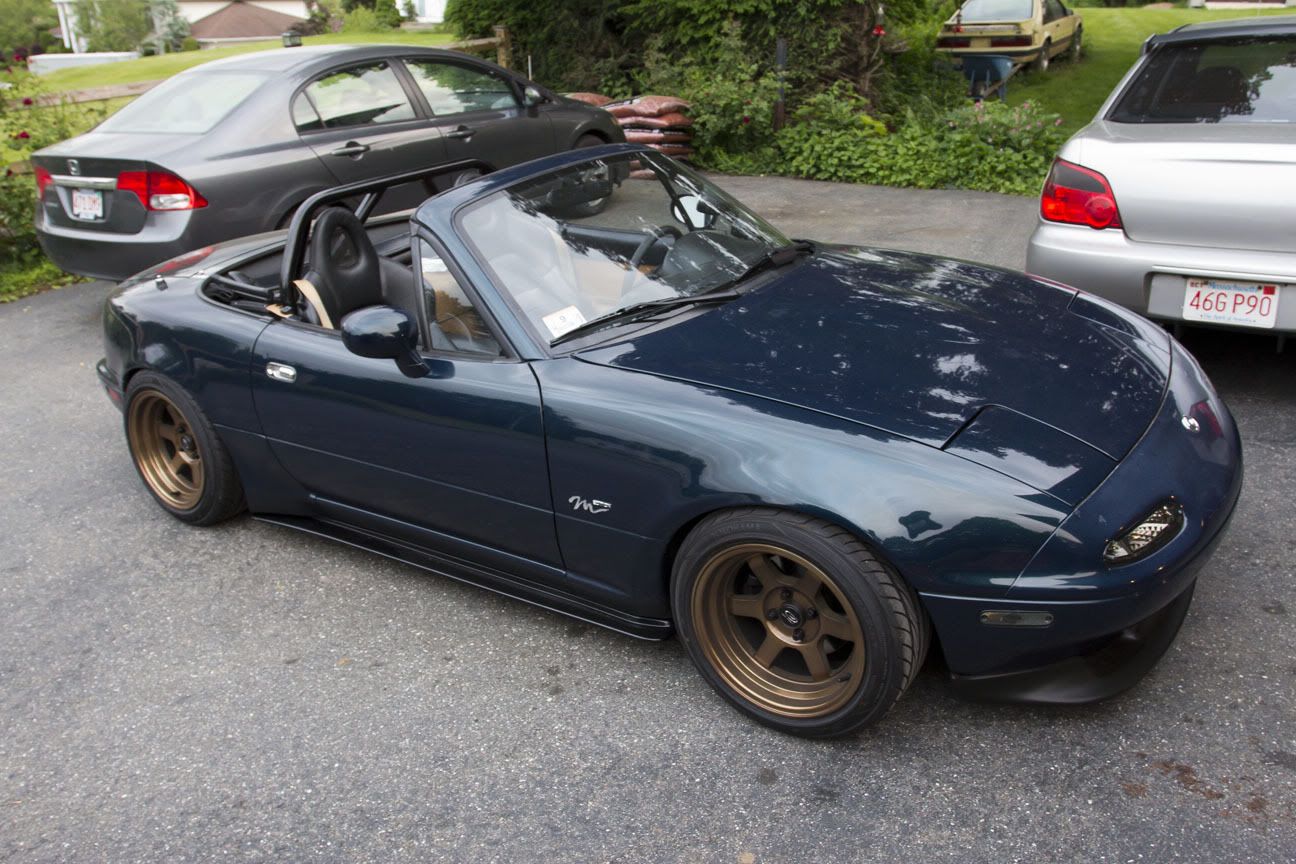
So, new year and new car shows to go to.
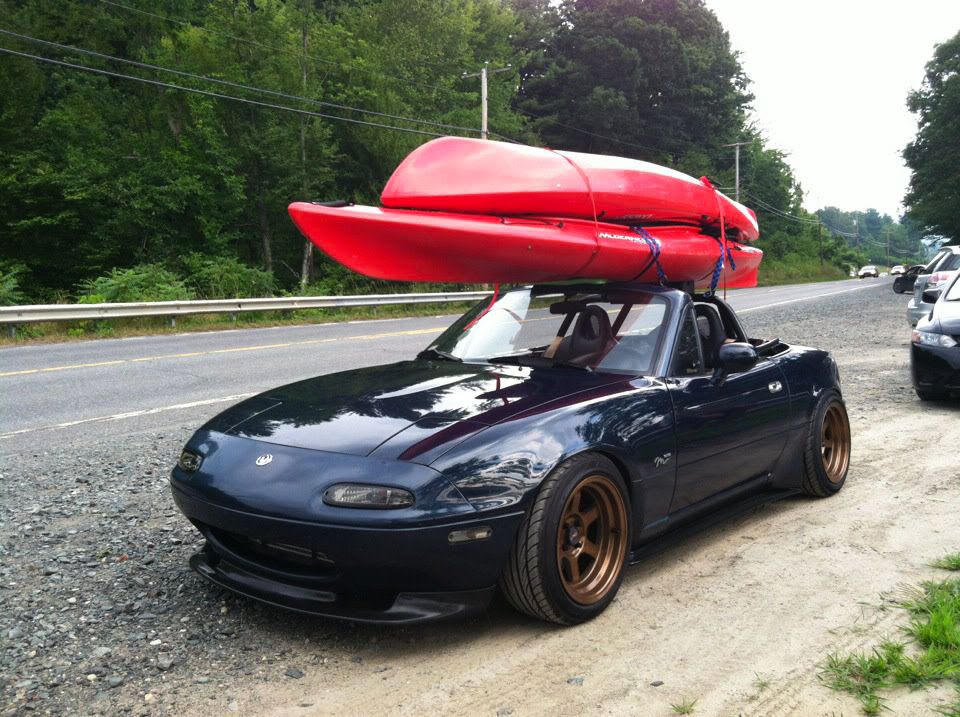
Staggered 2012 - Who puts a kayak on their car for a car show?


And here's some sans kayak.


Partway thru the summer I decided I was sick of the occasional ticking I would get on startup. So I tore down the top end and rebuilt the hydraulic lifter assemblies and replaced valve seals and all that good stuff.

Comment
-
So for a while I had been having a bit of a blue smoke issue on shifts on hotter days. I was able to minimize it by improving my crankcase ventilation but I think the damage was already done. So instead of continuing my reenactment of spyhunter I decided to try to tackle a rebuild and do some upgrades to the turbo seals while I'm at it and go to a 360 degree thrust bearing.
So anyways, on with the pictures.
Feels like I'm going backwards here...
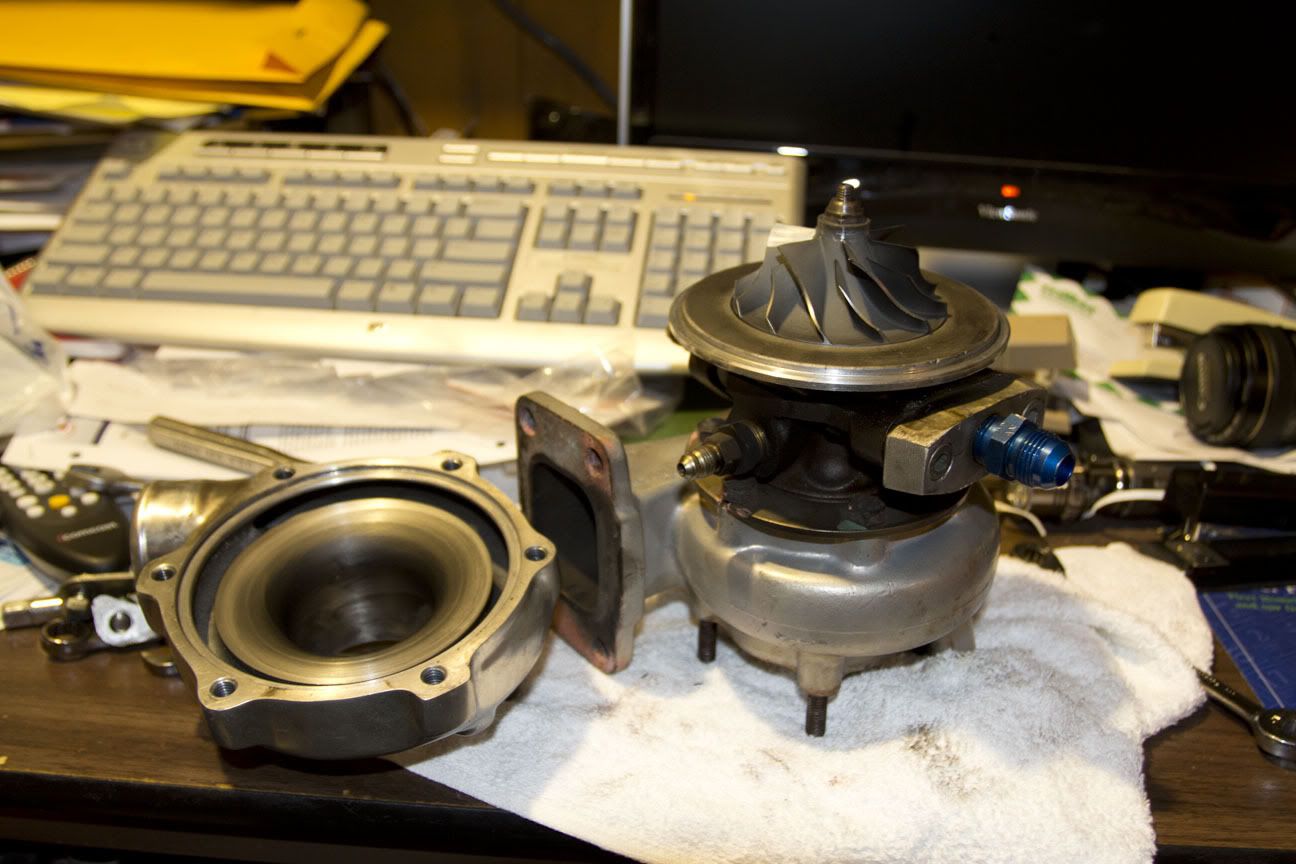
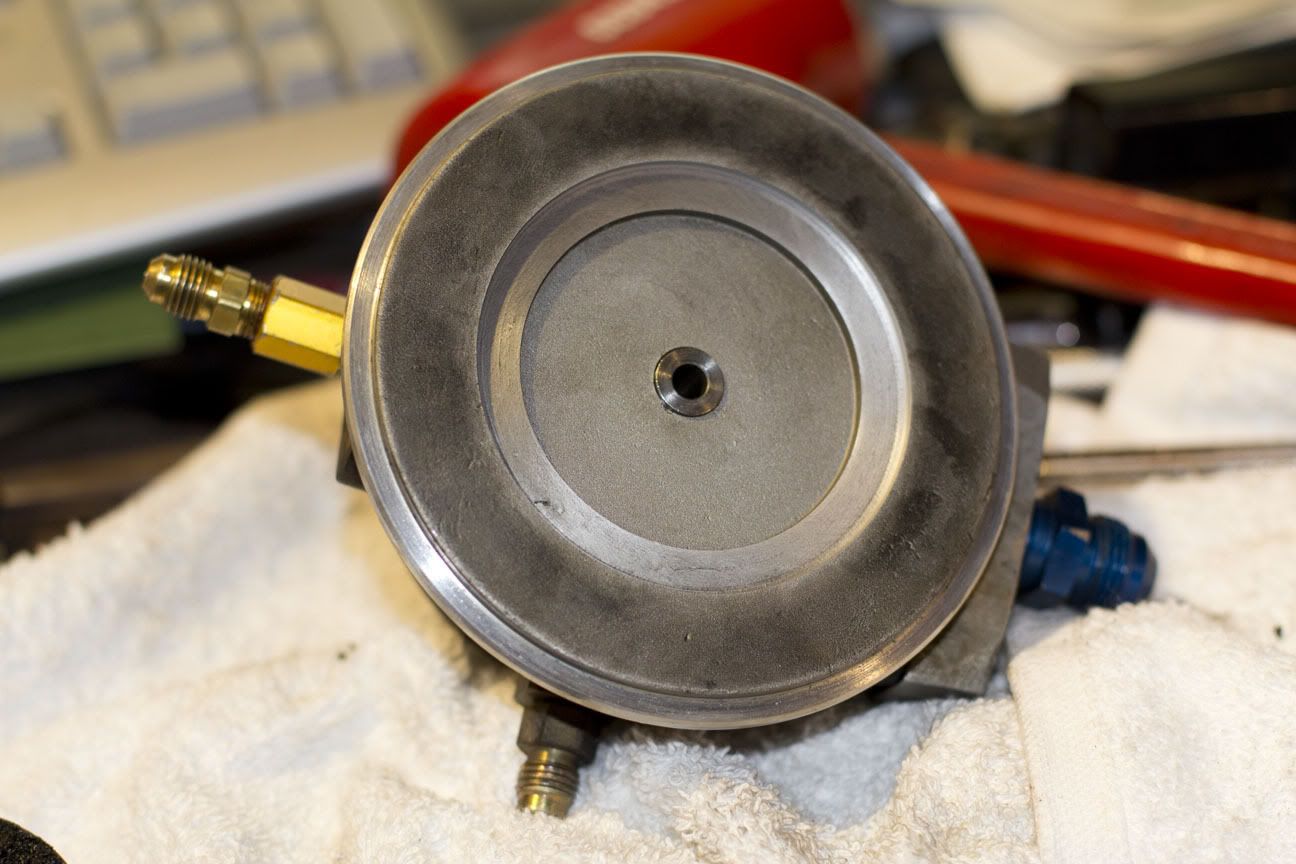
Compressor housing off, so far so good. Everything looks clean and intact on the coldside.
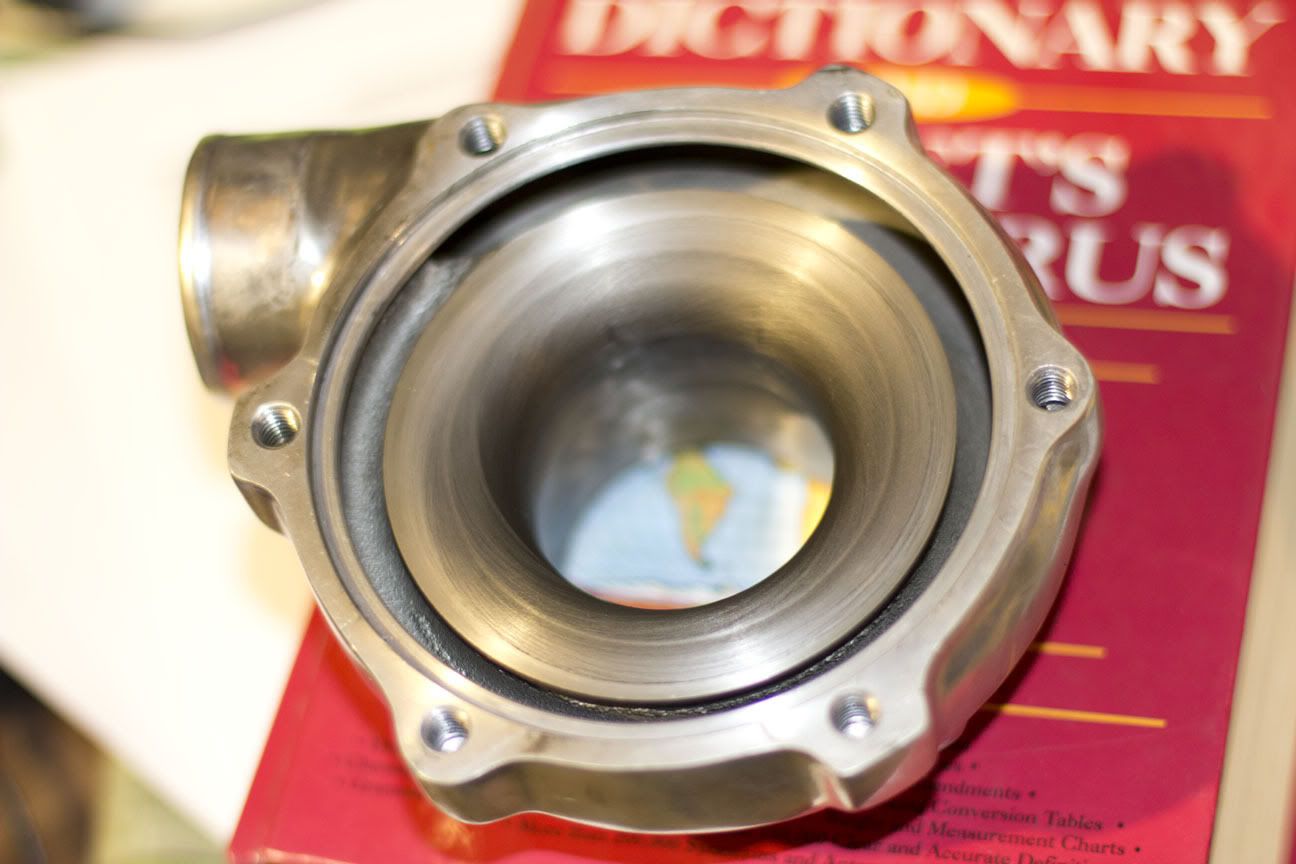
Still nice and shiny.
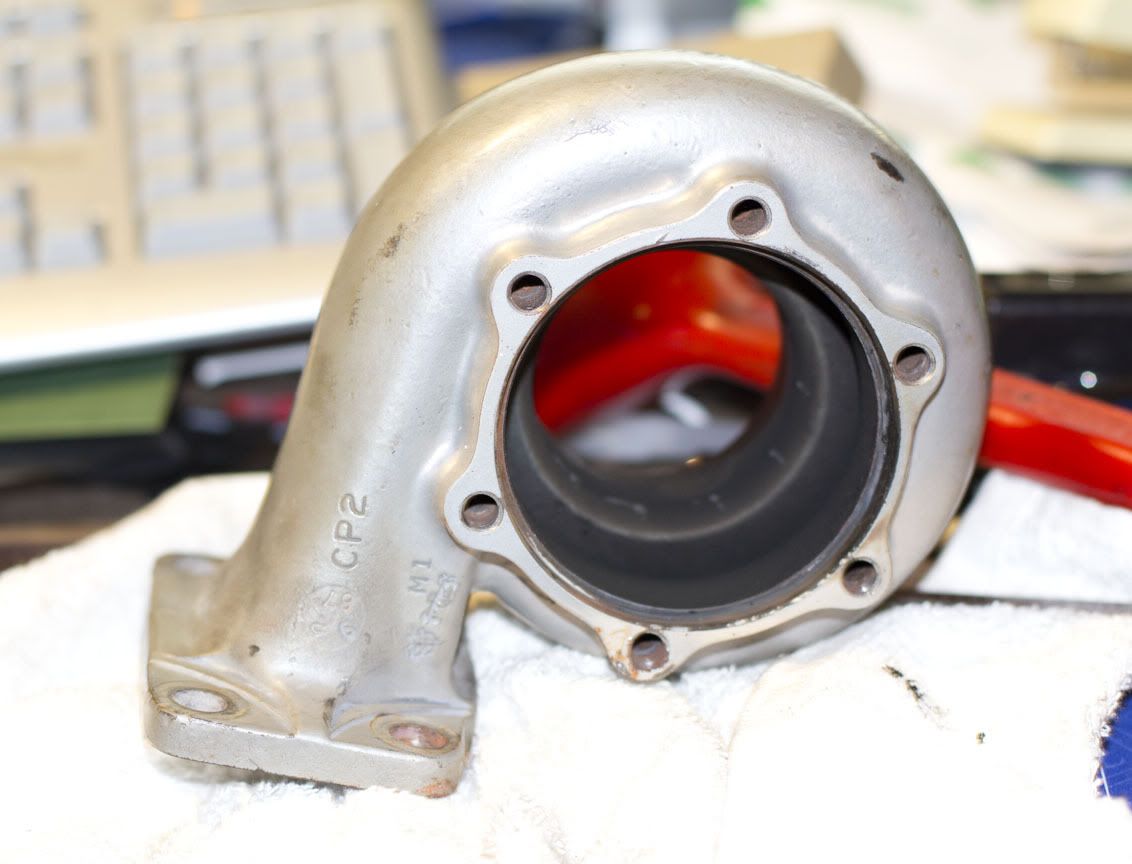
Off comes the turbine housing. Still nothing terrible looking. Hmm, I wonder if my issue really is the turbo after all.
Lets see whats underneat....ohmygod
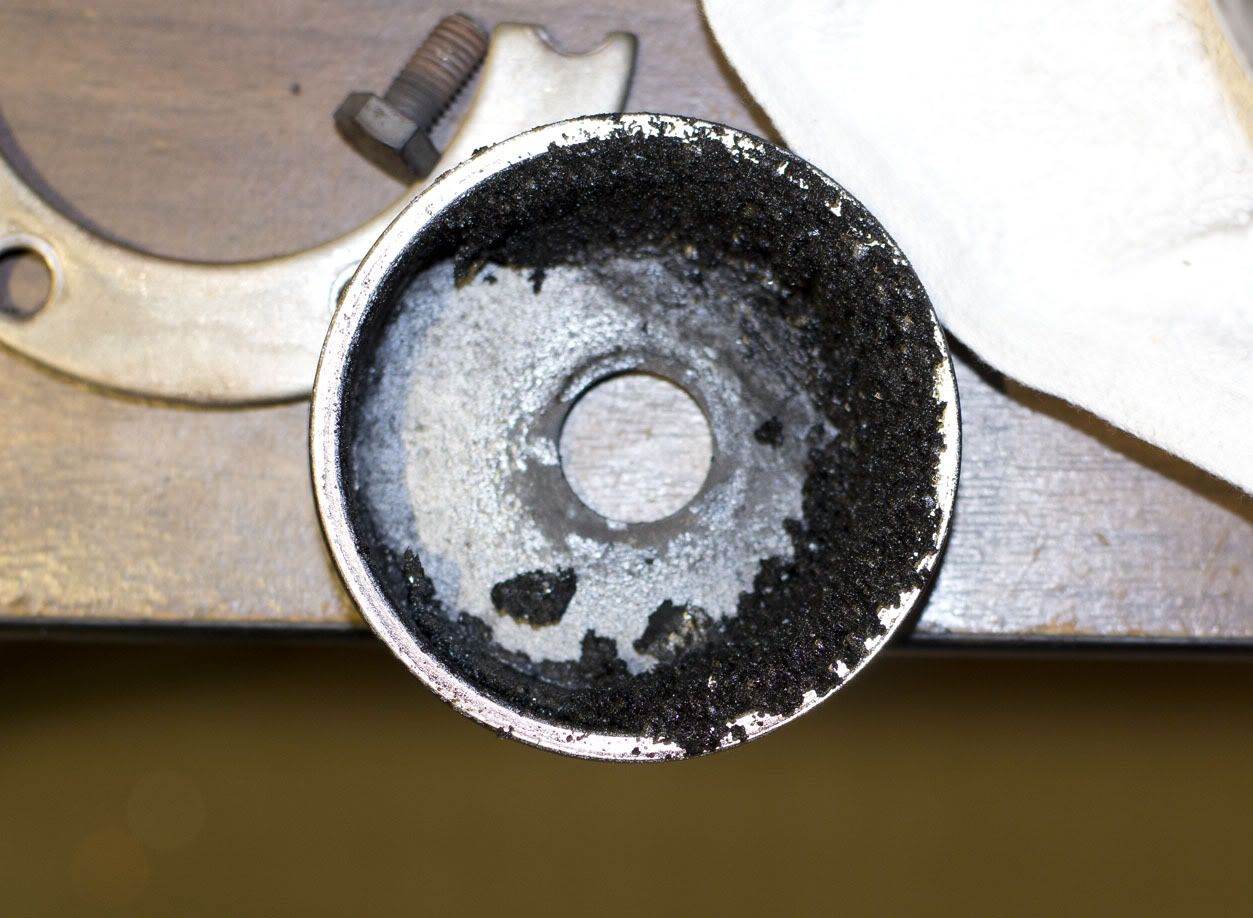
Welp, that about proves that its the turbo. Massive amounts of carbon all inside the heat shield cup and on the turbine side of the CHRA.
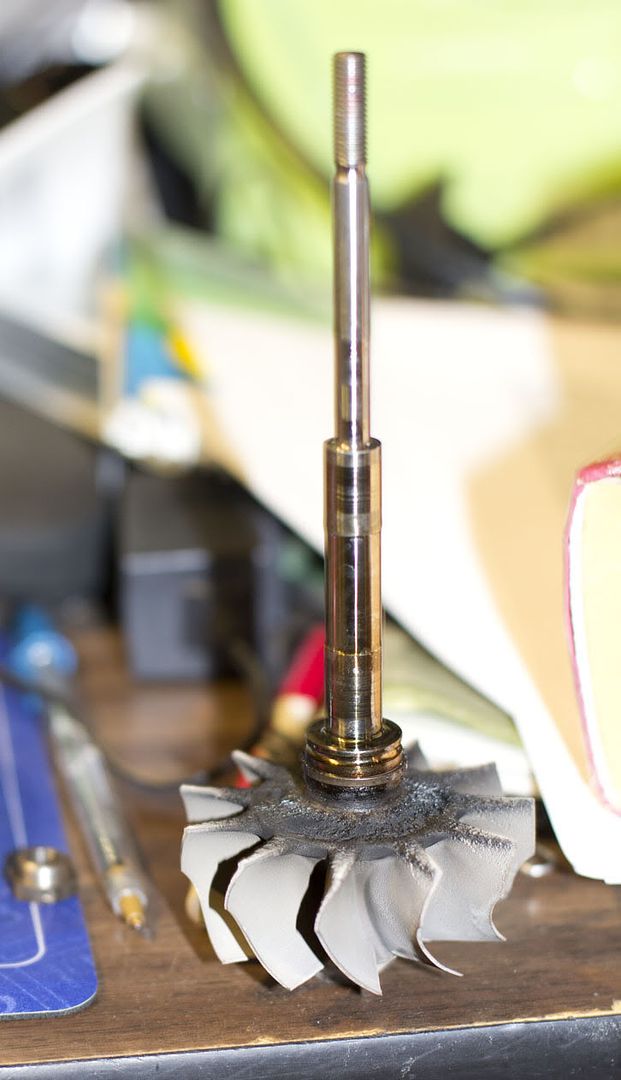
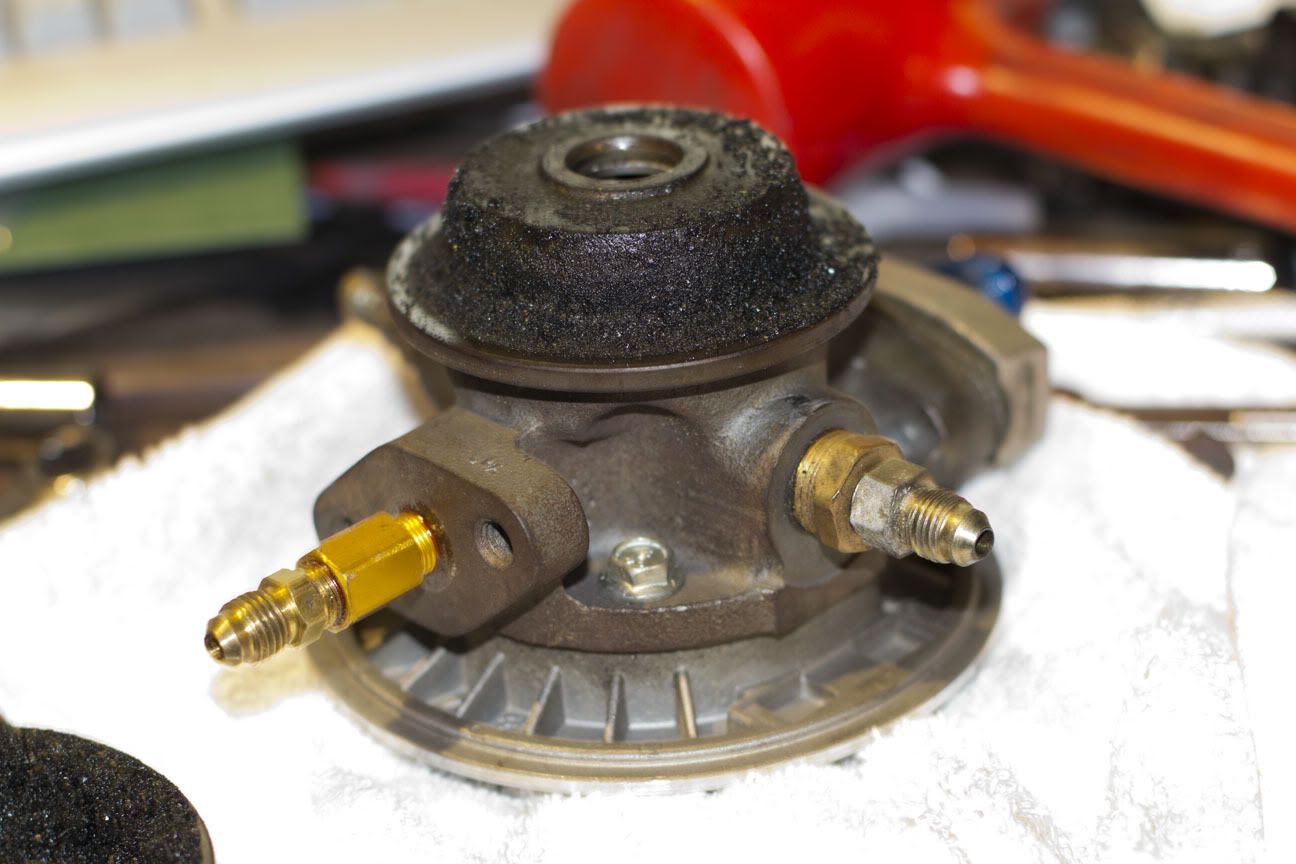
Turbine isn't too bad. Maybe a little scoring from the carbon but oh well. Bearing surfaces are still good.
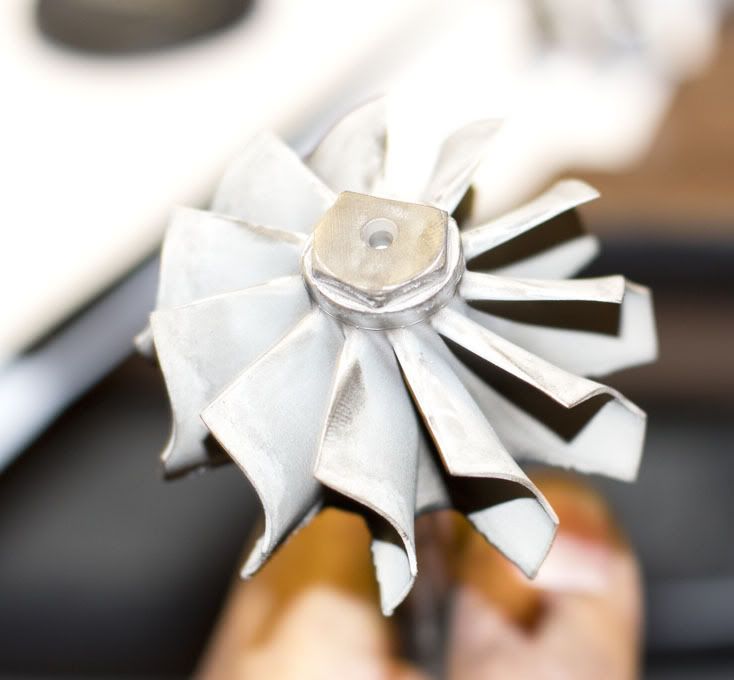
A wire brush and some brake cleaner later and its looking much better.
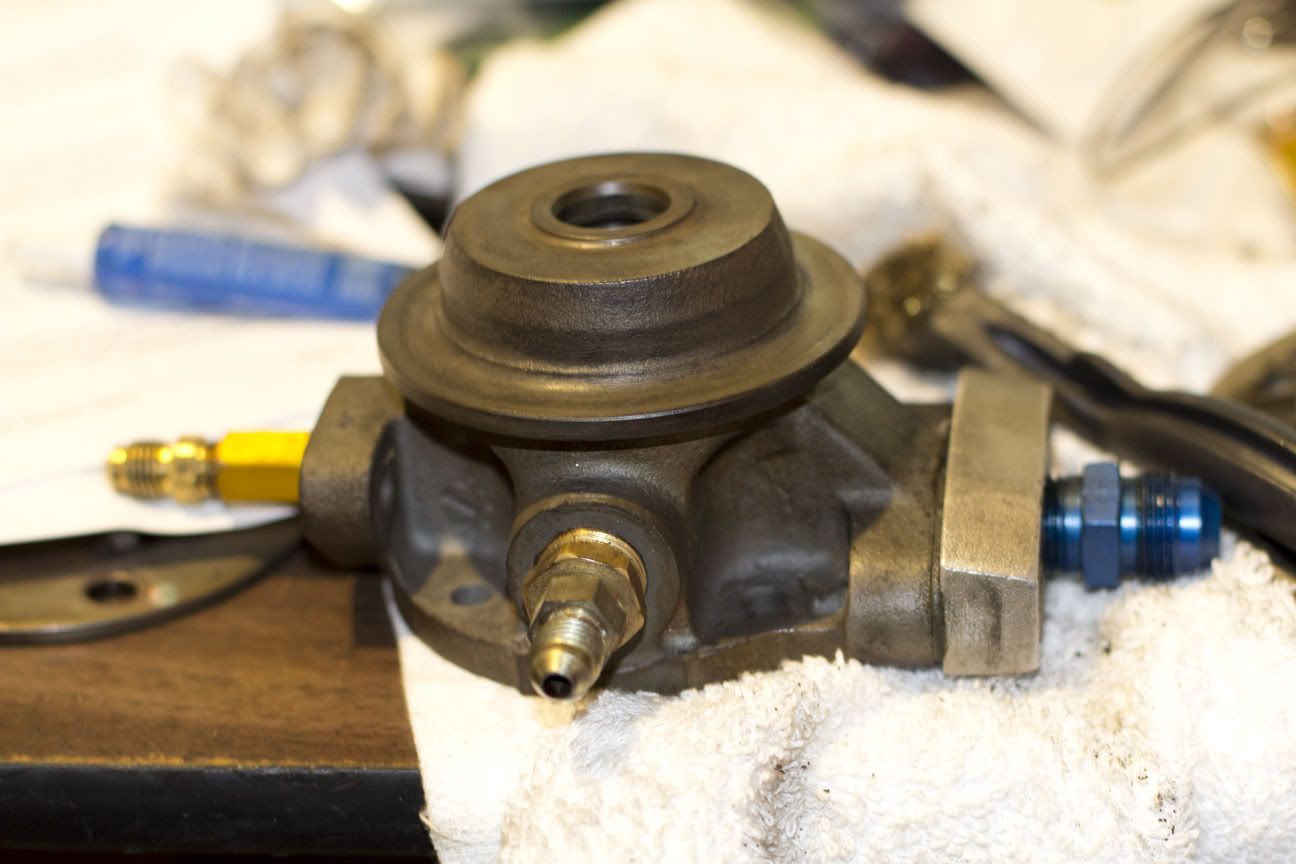
The heat shield cup was a huge pain. I had to basically chisel the carbon out. It was rock hard and bound to the inside
Anyways, bearings in there.
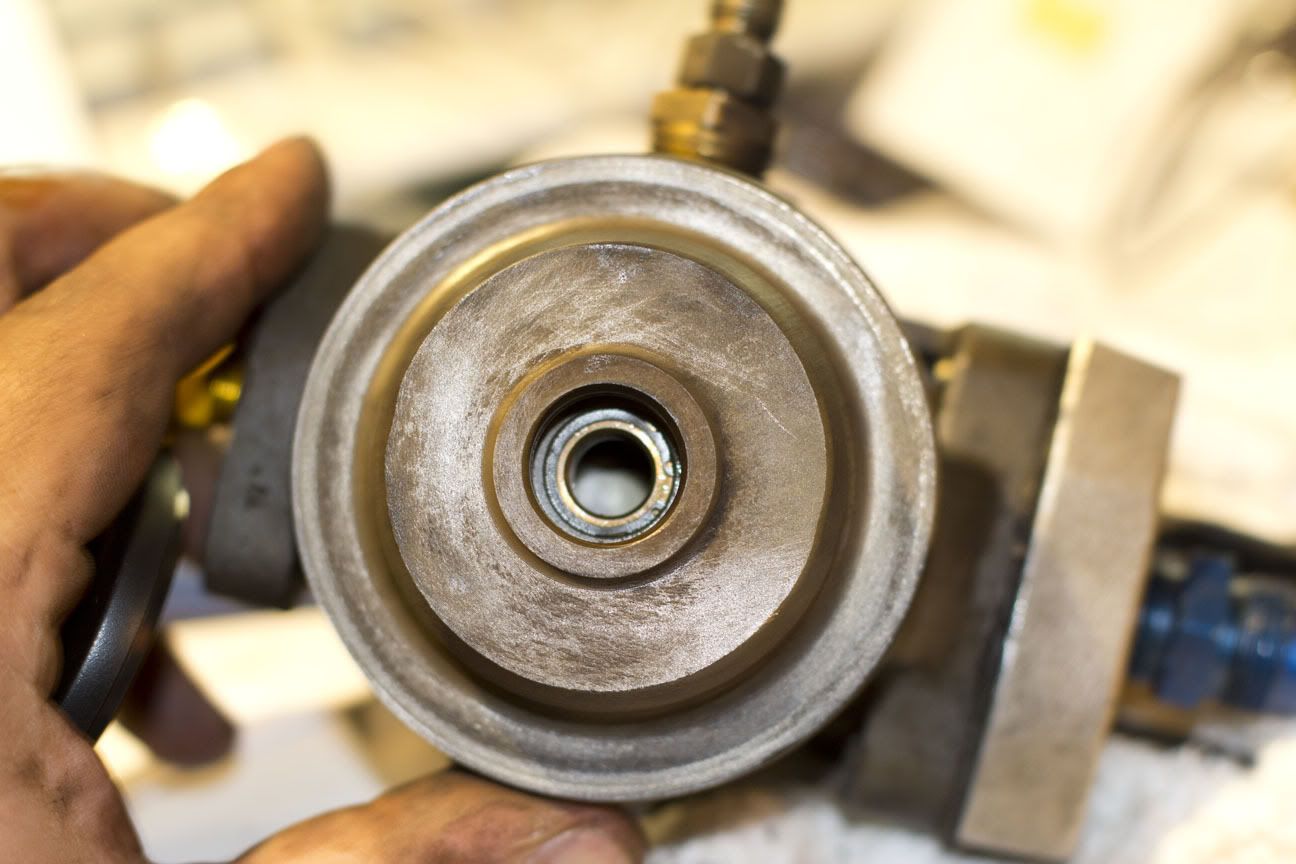
Put some new seals into the compressor side and the new thrust bearing.
Pop the turbine shaft back in its home, bolt up the compressor blade and throw the compressor housing back on.
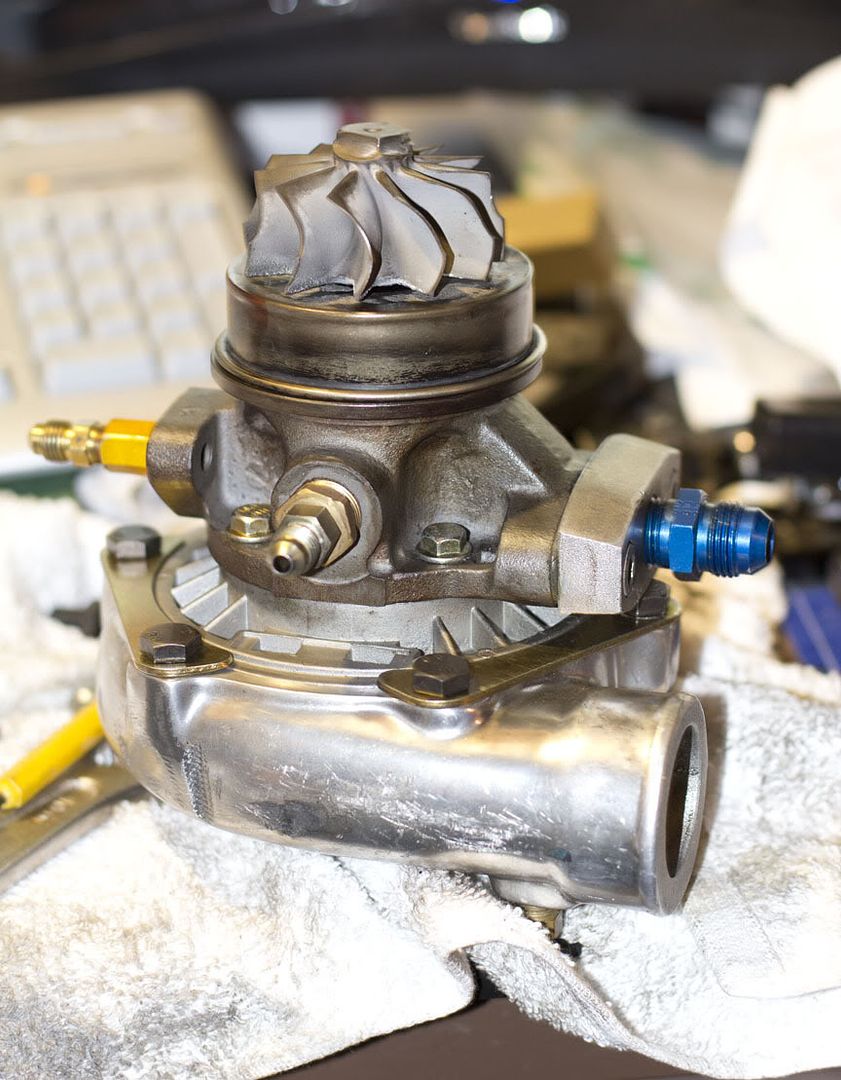
Toss on the tubine housing and all set.
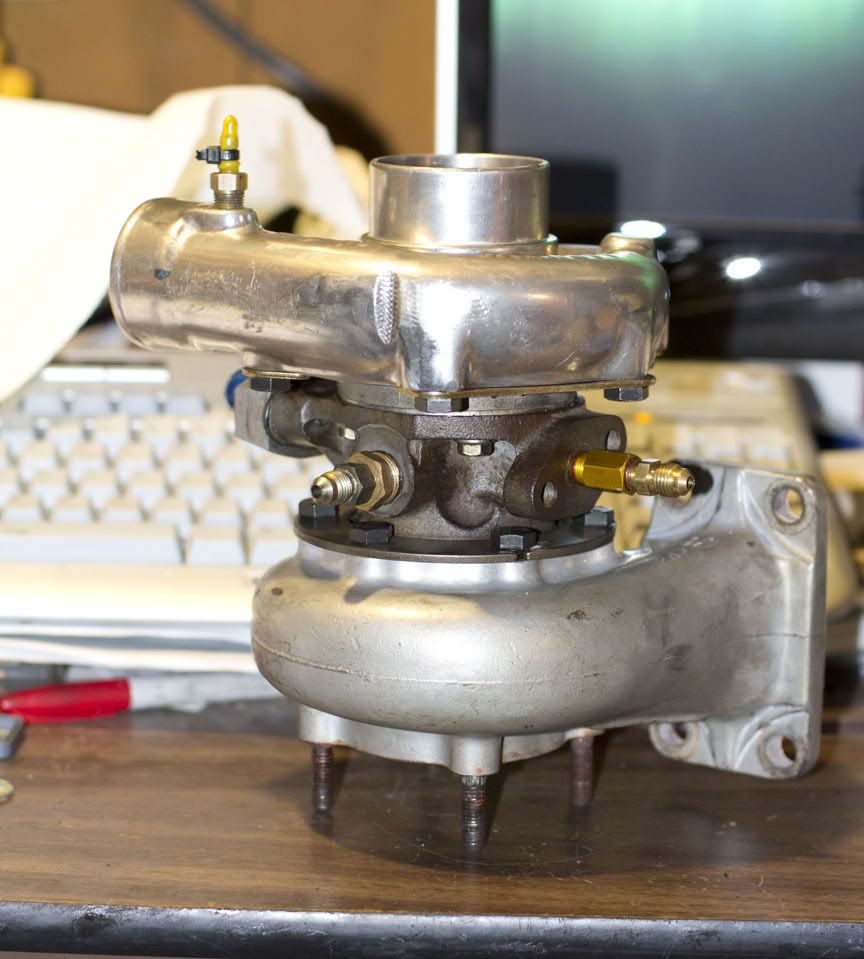
Purty

Obviously some steps weren't pictured. This wasn't really meant to be a tutorial, just some documentation. Parts were scribed for alignment, parts were torqued, seals and bearings were replaced. All that good stuff. I mostly didn't feel like subjecting anyone to a boring piece by piece pictorial.Comment
-
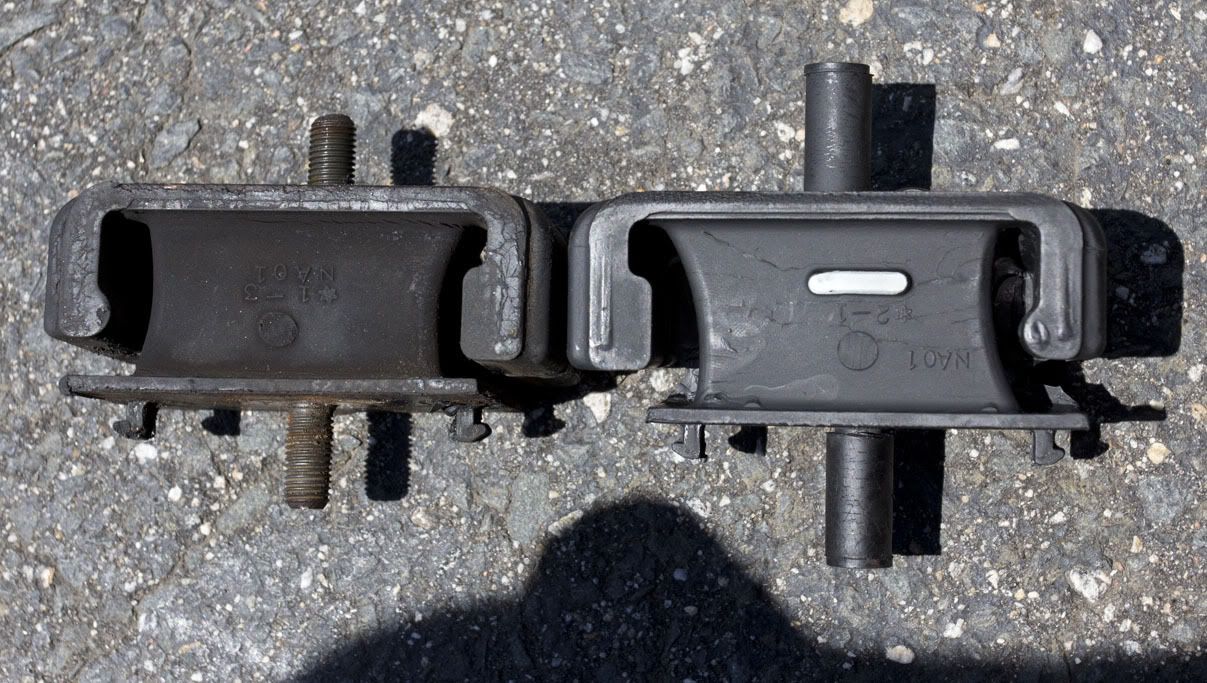
So next I ordered up a set of mazdacomp motor mounts.
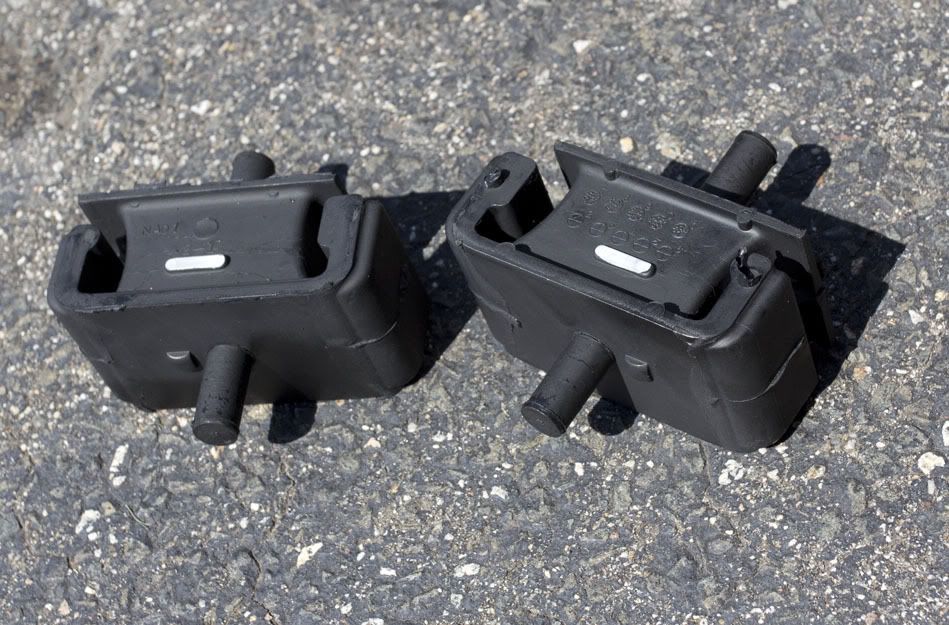
Compared to the collapsed and tearing 140,000 miles stock mounts.
And then one night driving home from a friends house, I nailed something big and dead in the center lane of the highway while doing about 65.
The garage vary lip couldn't handle the hit though. I've hit smaller dead animals before with this lip and it has taken it like a champ, but this one was just too much for it. I ended up washing out chunks of critter from the undercarriage all day that day.
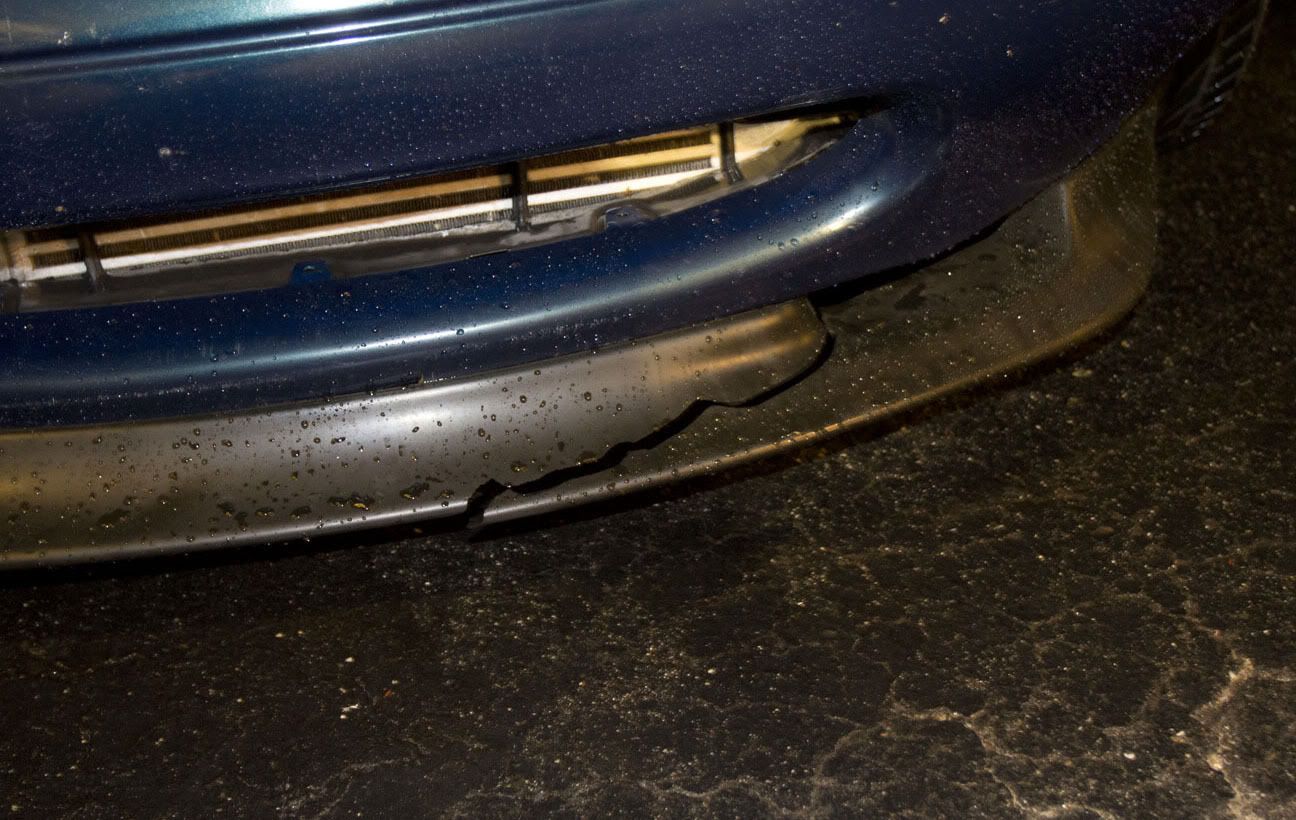
So I ordered a new garage vary lip pretty much as soon as I got home and ziptied up the remains of the lip for the time being.
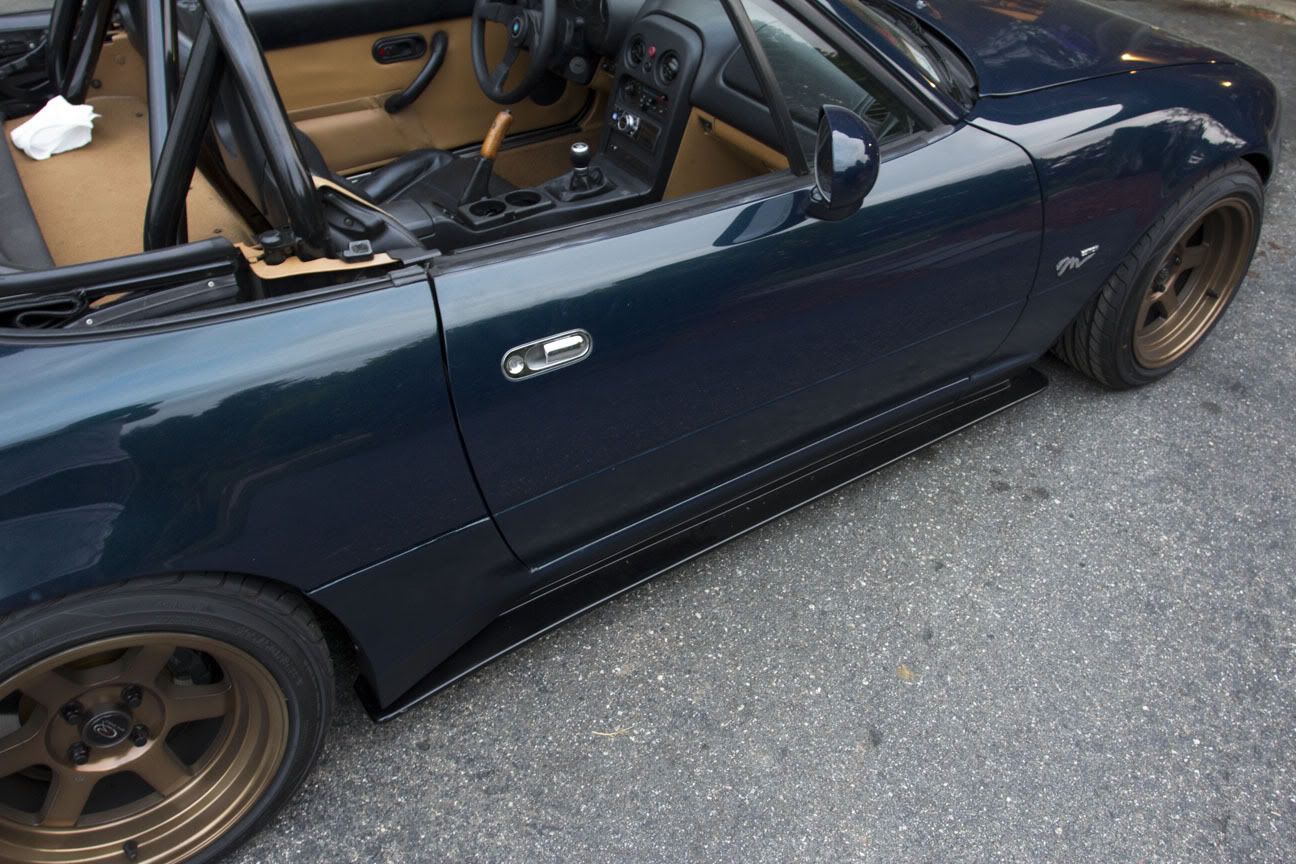
I had ordered up a set of Project-G corner flares to fill out the area in front of the rear wheels and they had finally come in.
Unpainted test fitting.

So I went out to the automotive paint store and had some montego blue mica mixed up and got to spraying.
I like the way they just blend into the width of the skirts at the rear.
Comment
-
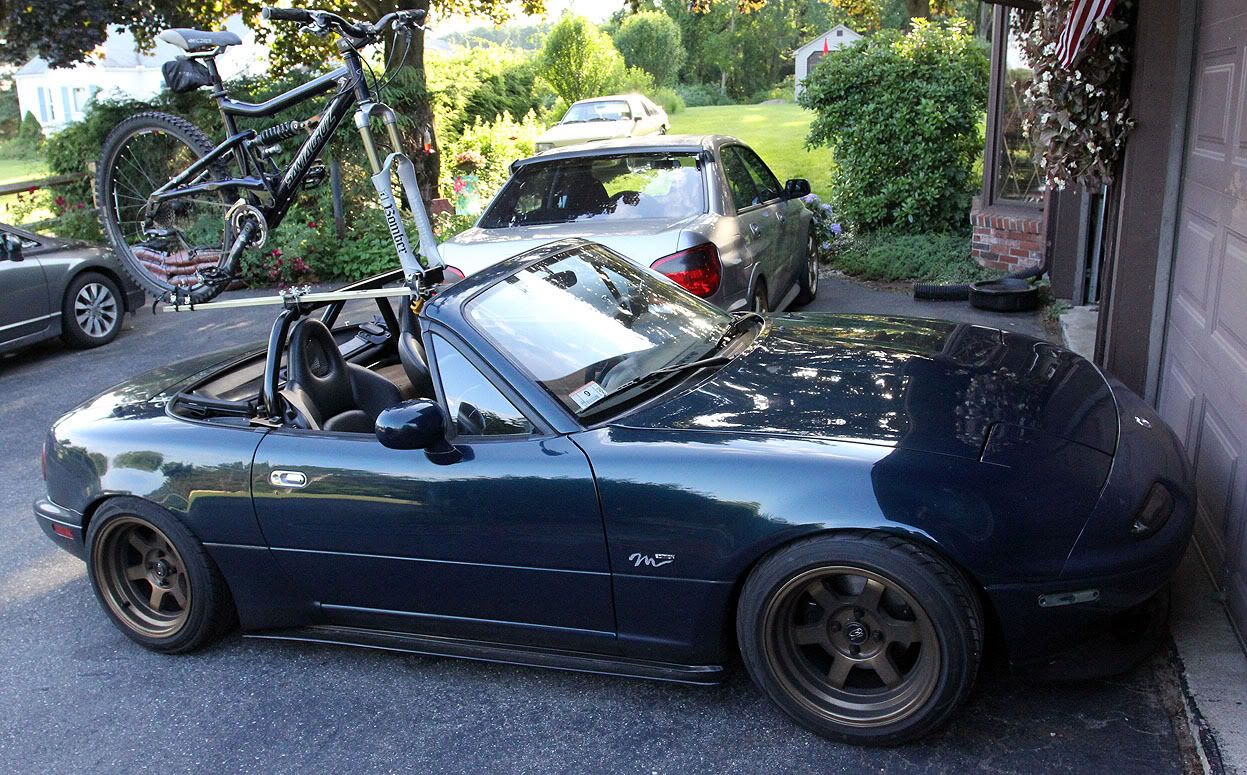
So in my continued effort to not put a roof rack on my STi, I wanted some way to transport my mountainbike around so I made up a bike rack for the miata instead. Similar concept to the kayak mounts using the top catches and the rollbar.
This is seriously the most practical car I own.
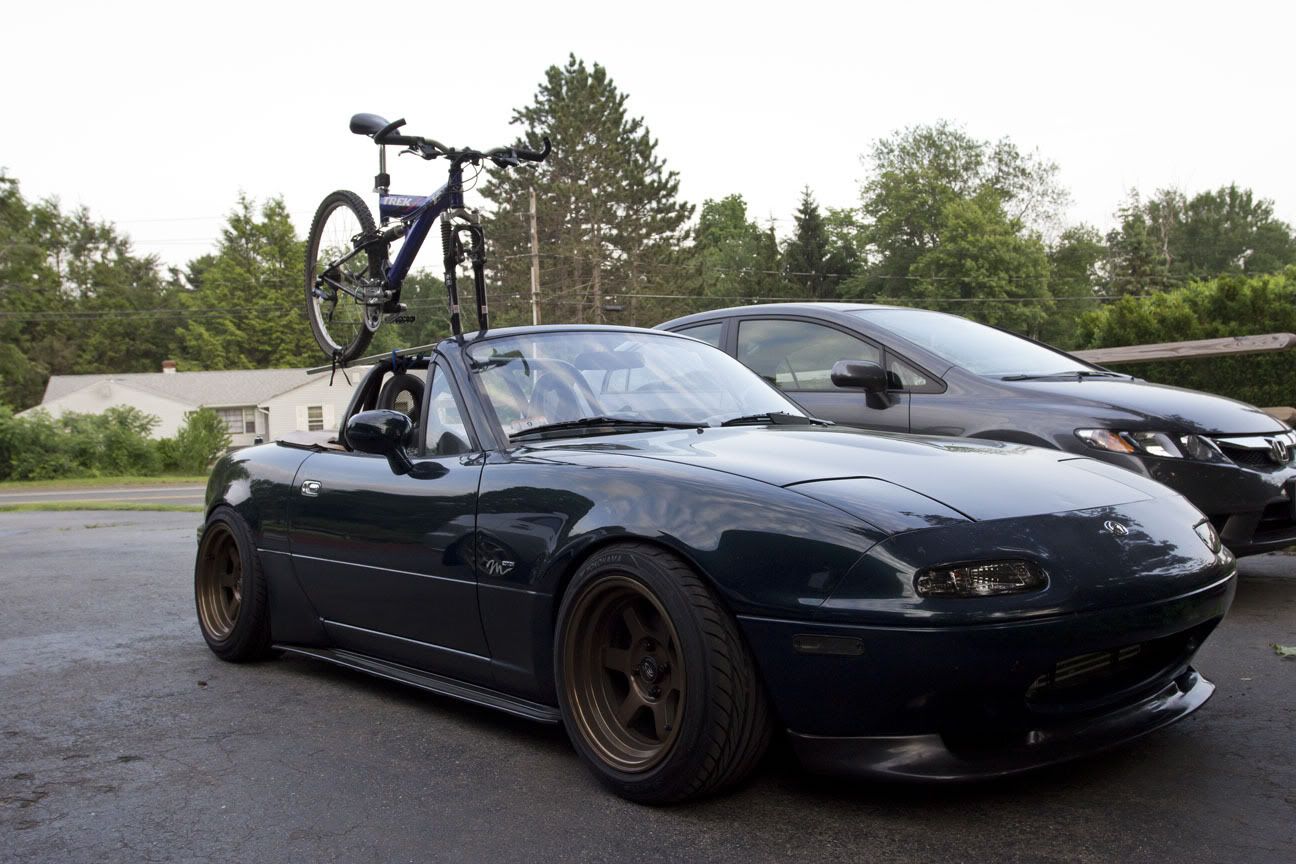
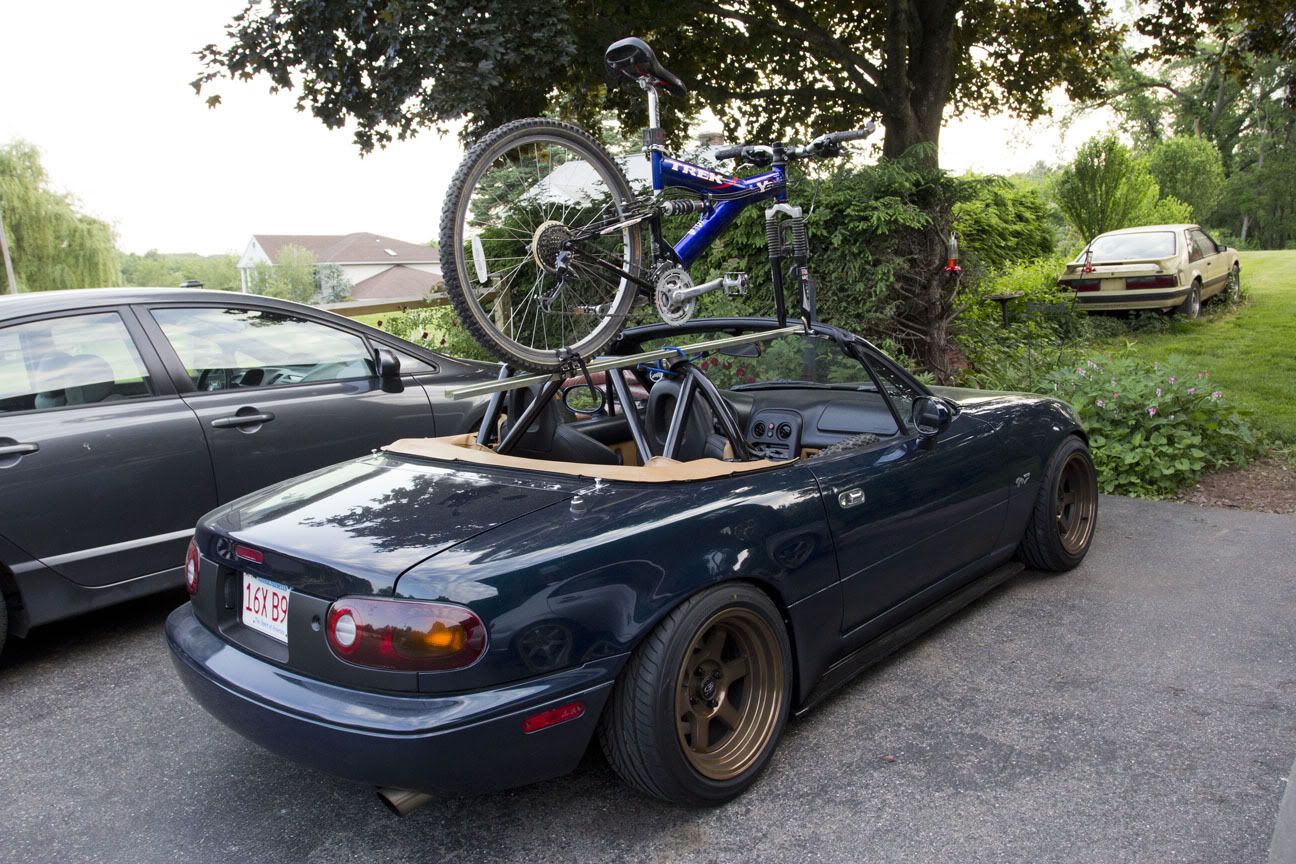
I basically just used a piece of strut bar, some metal bar stock and some plumbing connections all from home depot. That plus a drill and a welder and some U-bolts for the back end and thats about it. Not the prettiest, but it works.

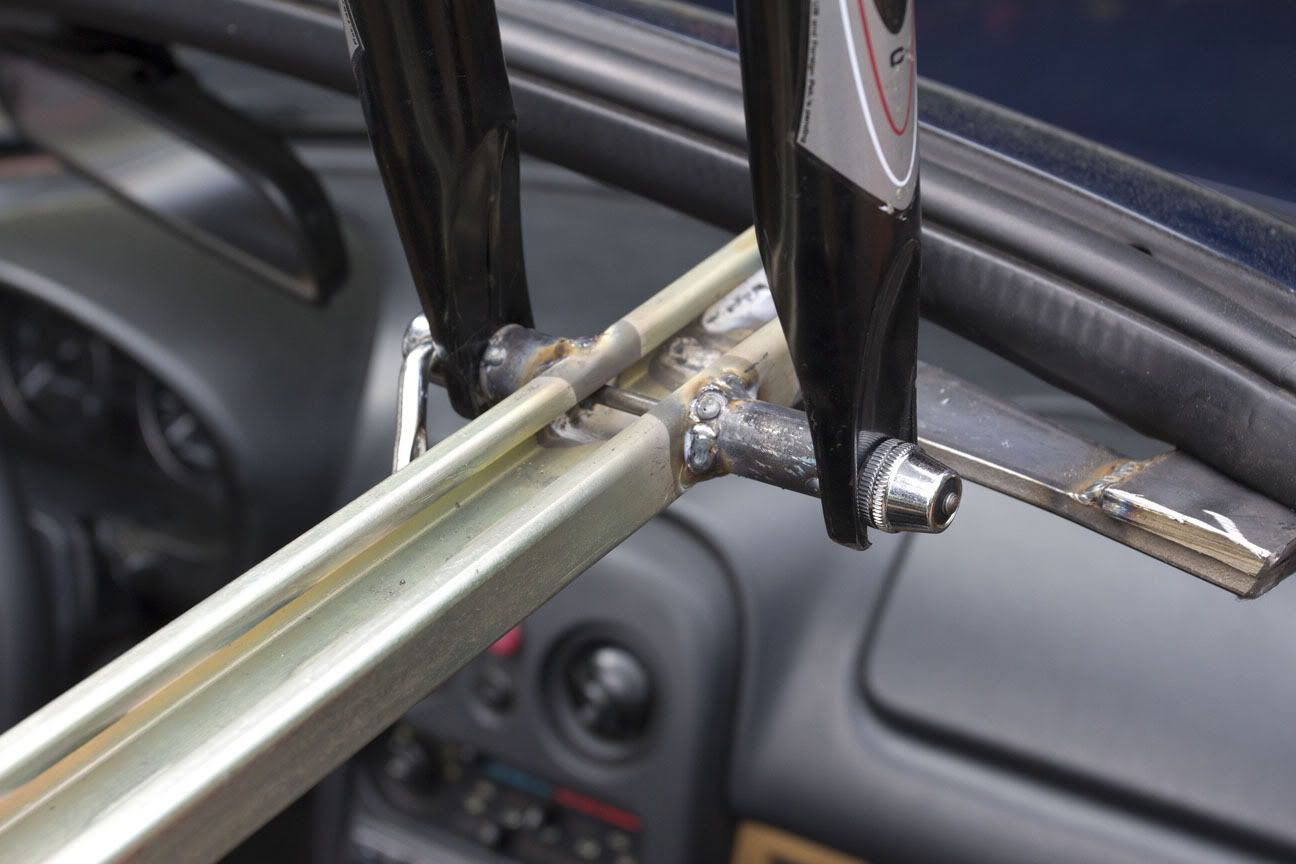
I ended up picking up a new mountainbike in a trade for a crappy motorcycle I had but the disk brake interfered with the way I had the mounting pipe arranged. So I redid the bike rack with a locking front mount I picked up online.
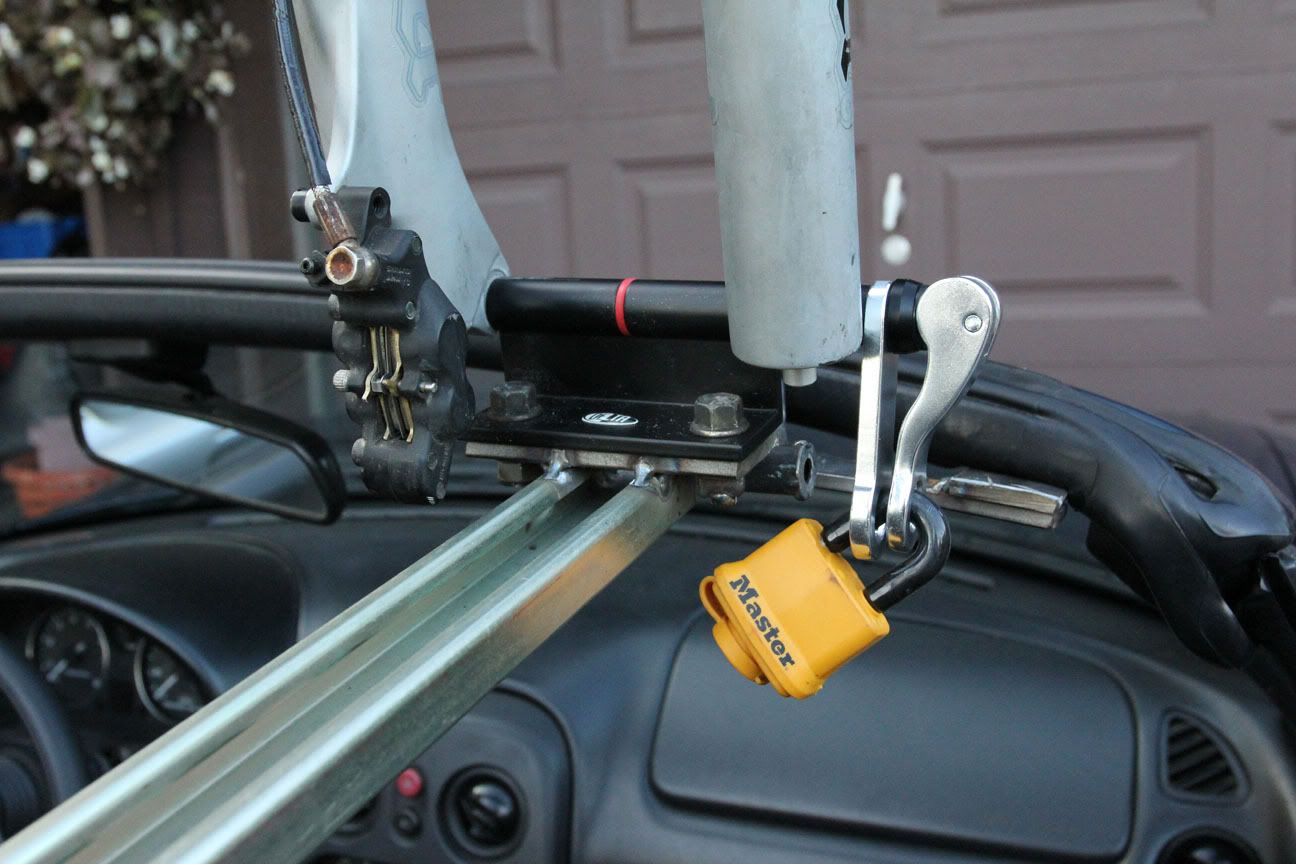

Its pretty secure now. The bolts are welded on the backside so theres no way to unbolt the lock besides taking off the entire rack.Comment
-
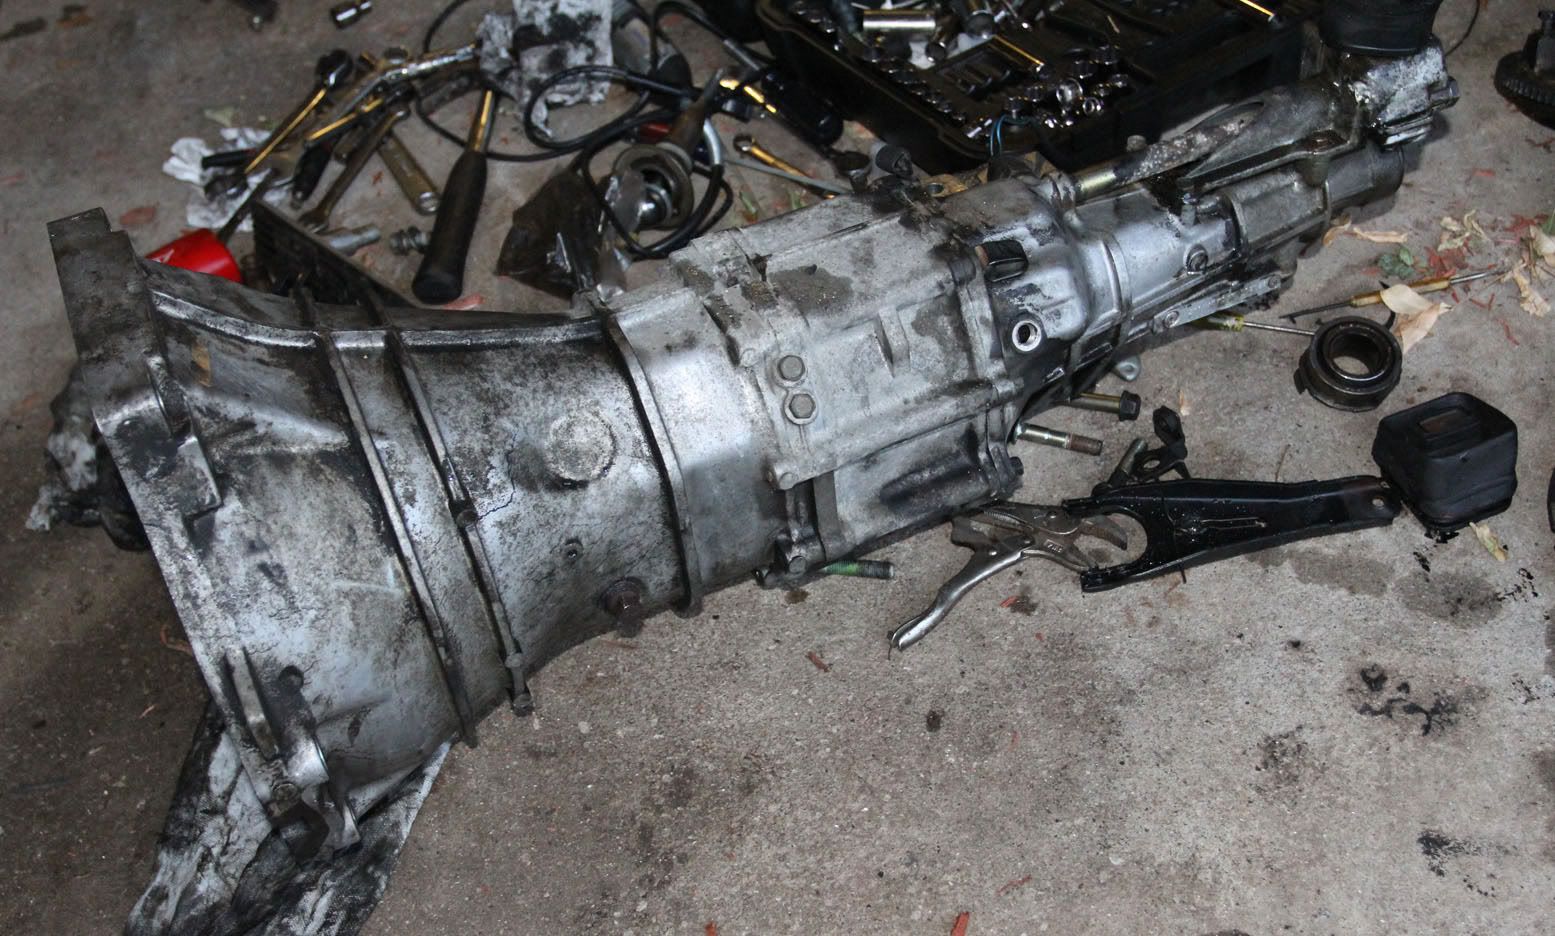
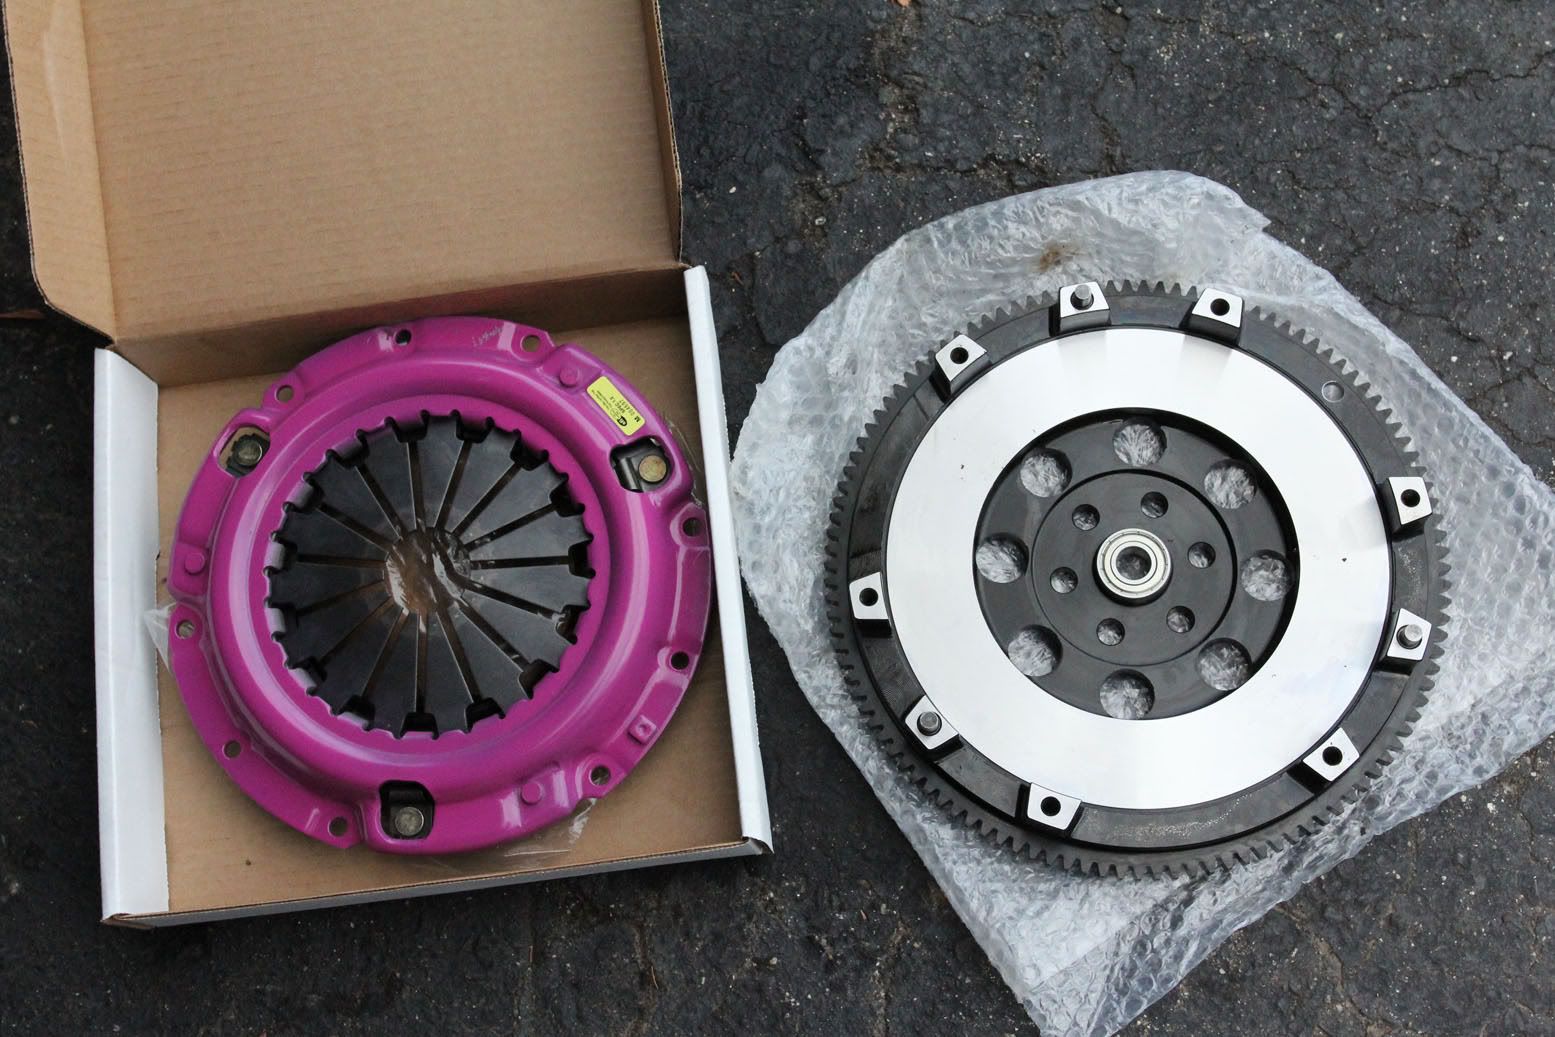
So the turbo had overcome the limits of the stock clutch and is starting to slip pretty bad accelerating anywhere over 4k rpms. So I ditched the stock clutch, mileage unknown, car has like 140,000 miles, and put in a flyin miata level 1 and a 13lb flywheel as well as some random maintenance stuff like transmission seals and a new rear main seal for the hell of it.
Maintenance....joy.
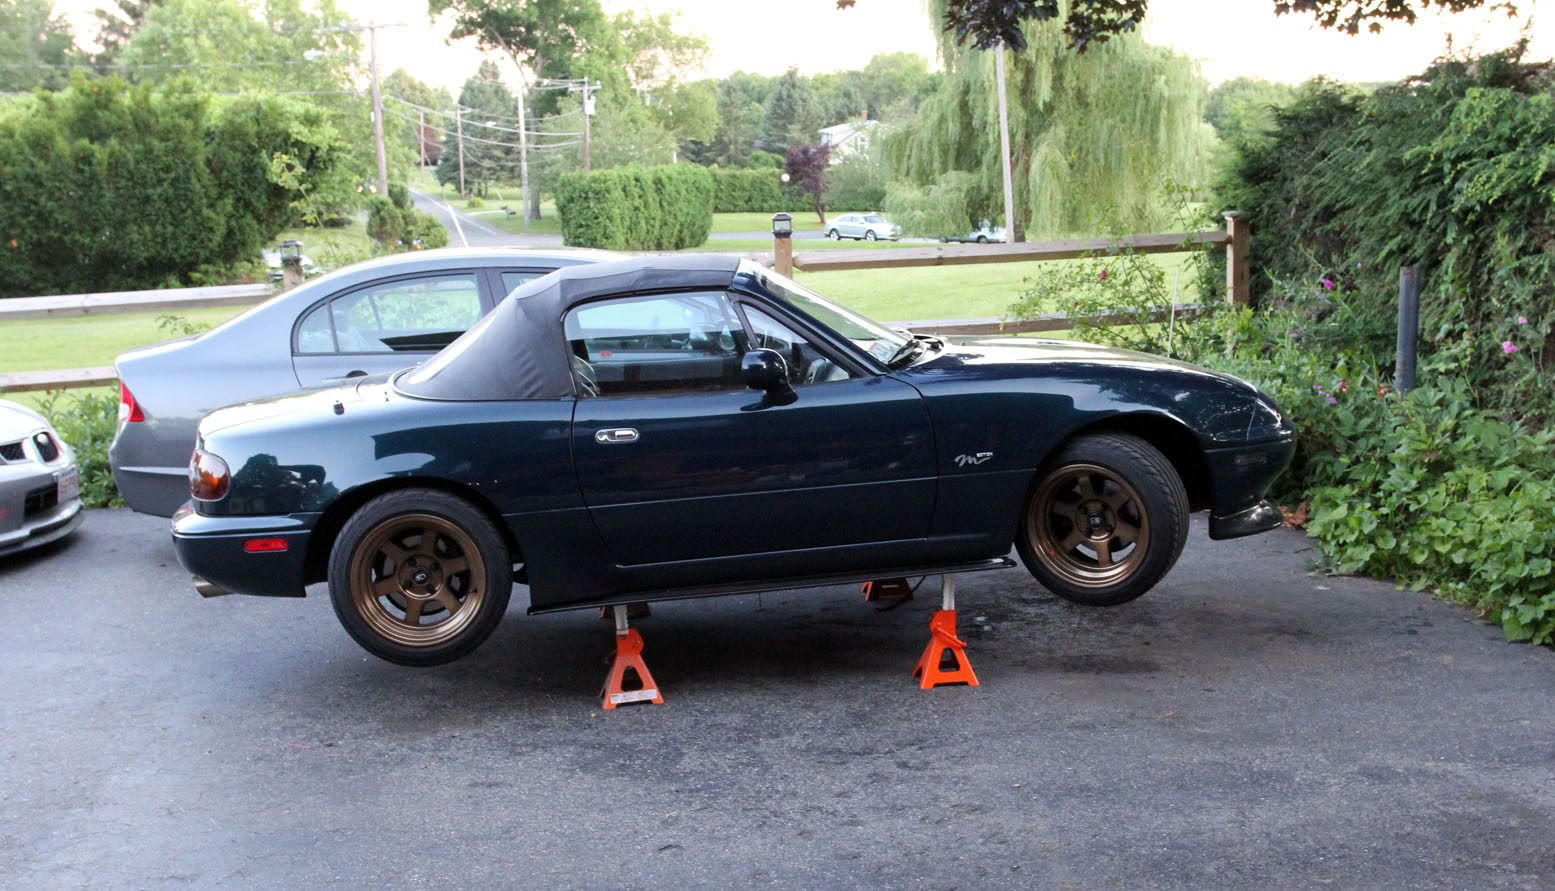
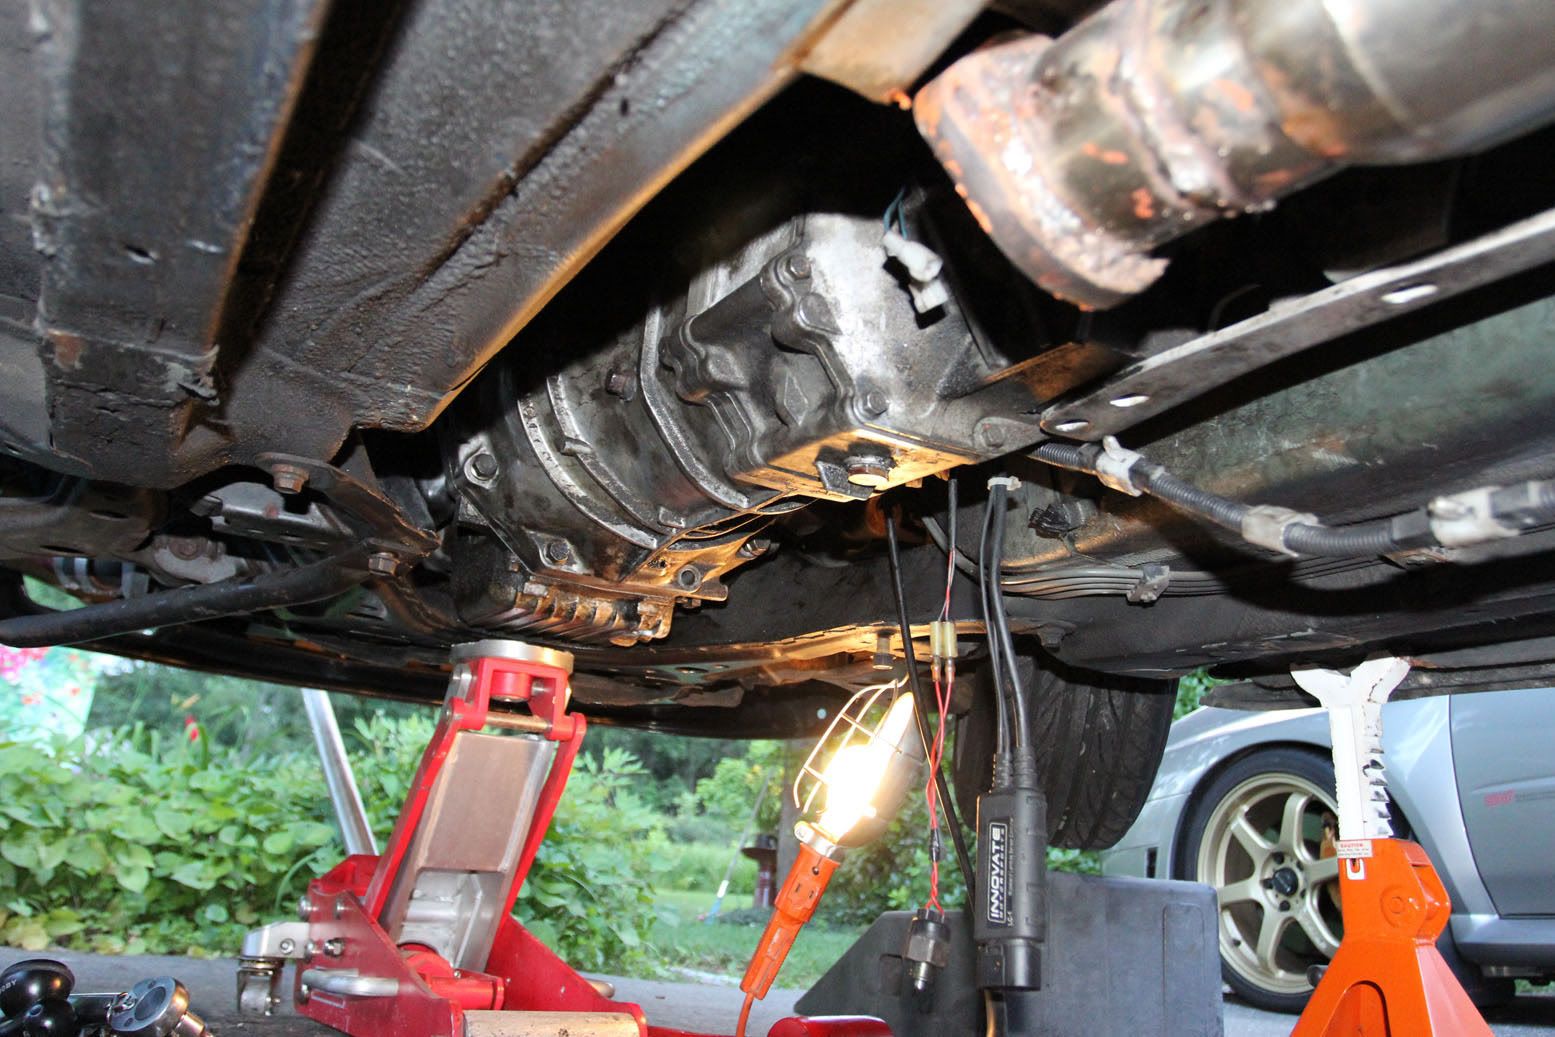
Trans out. Pretty filthy down there but it doesn't look like the rear main is leaking. Gonna replace it anyways though.
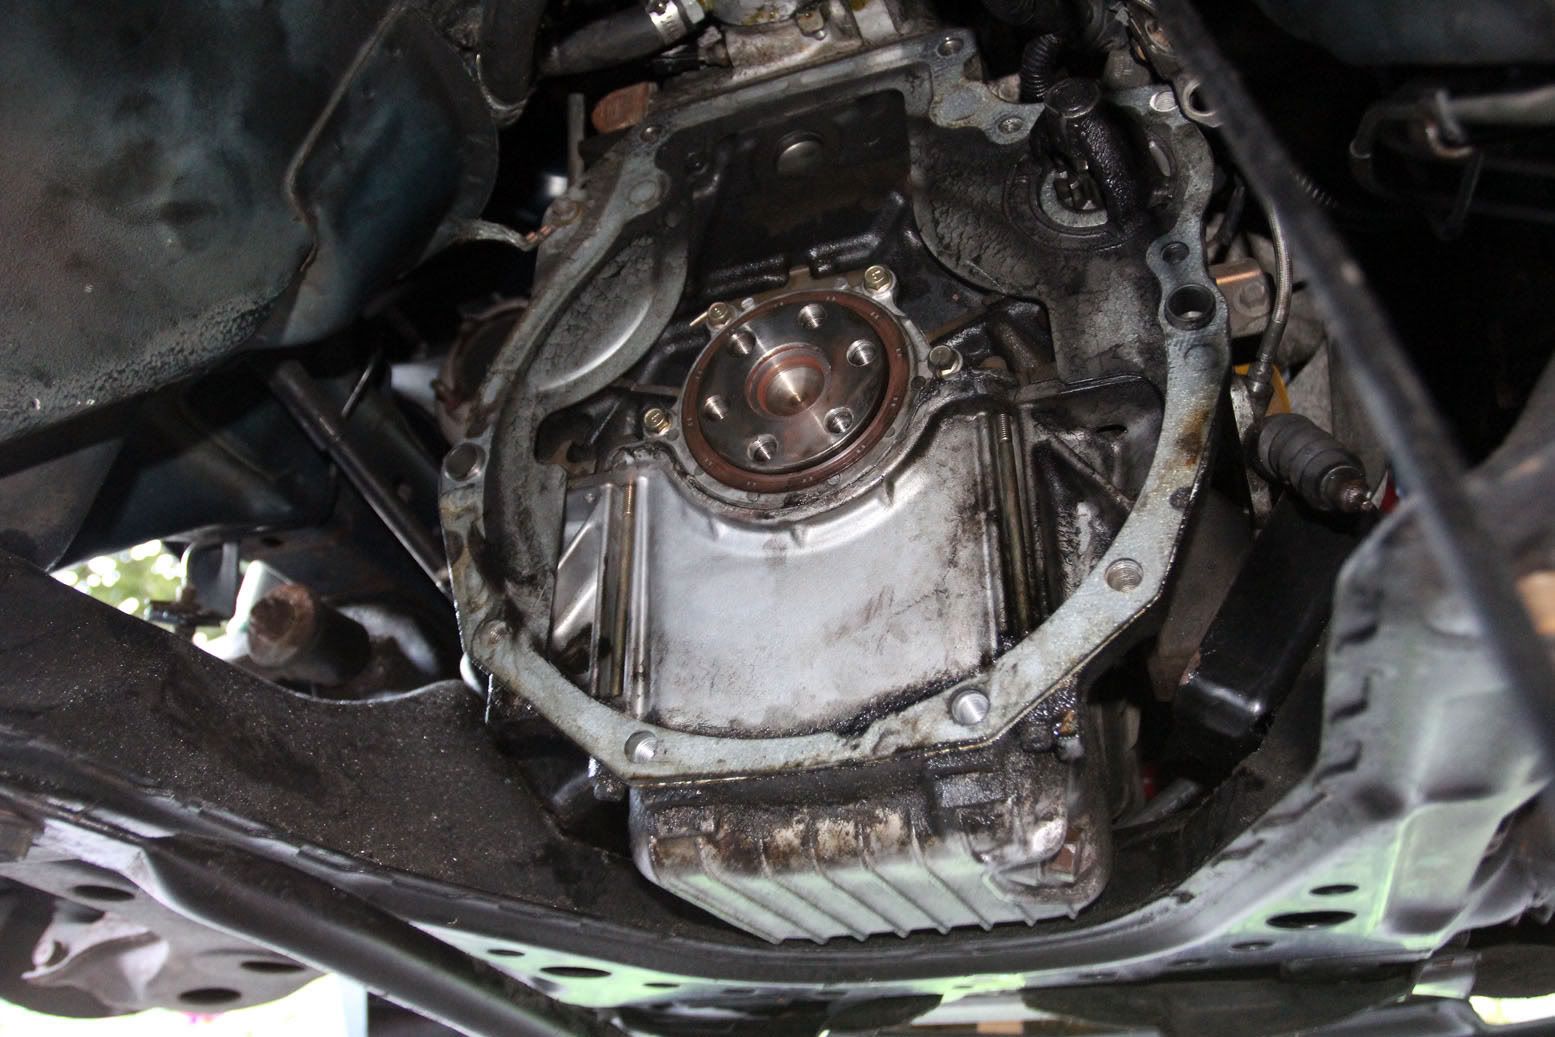
Filthy trans. And this is after I hit it with a pressure washer.
Starting to see a little scorching on the pressure plate, even less on the flywheel. I had an old mustang clutch that was in way worse shape than this.
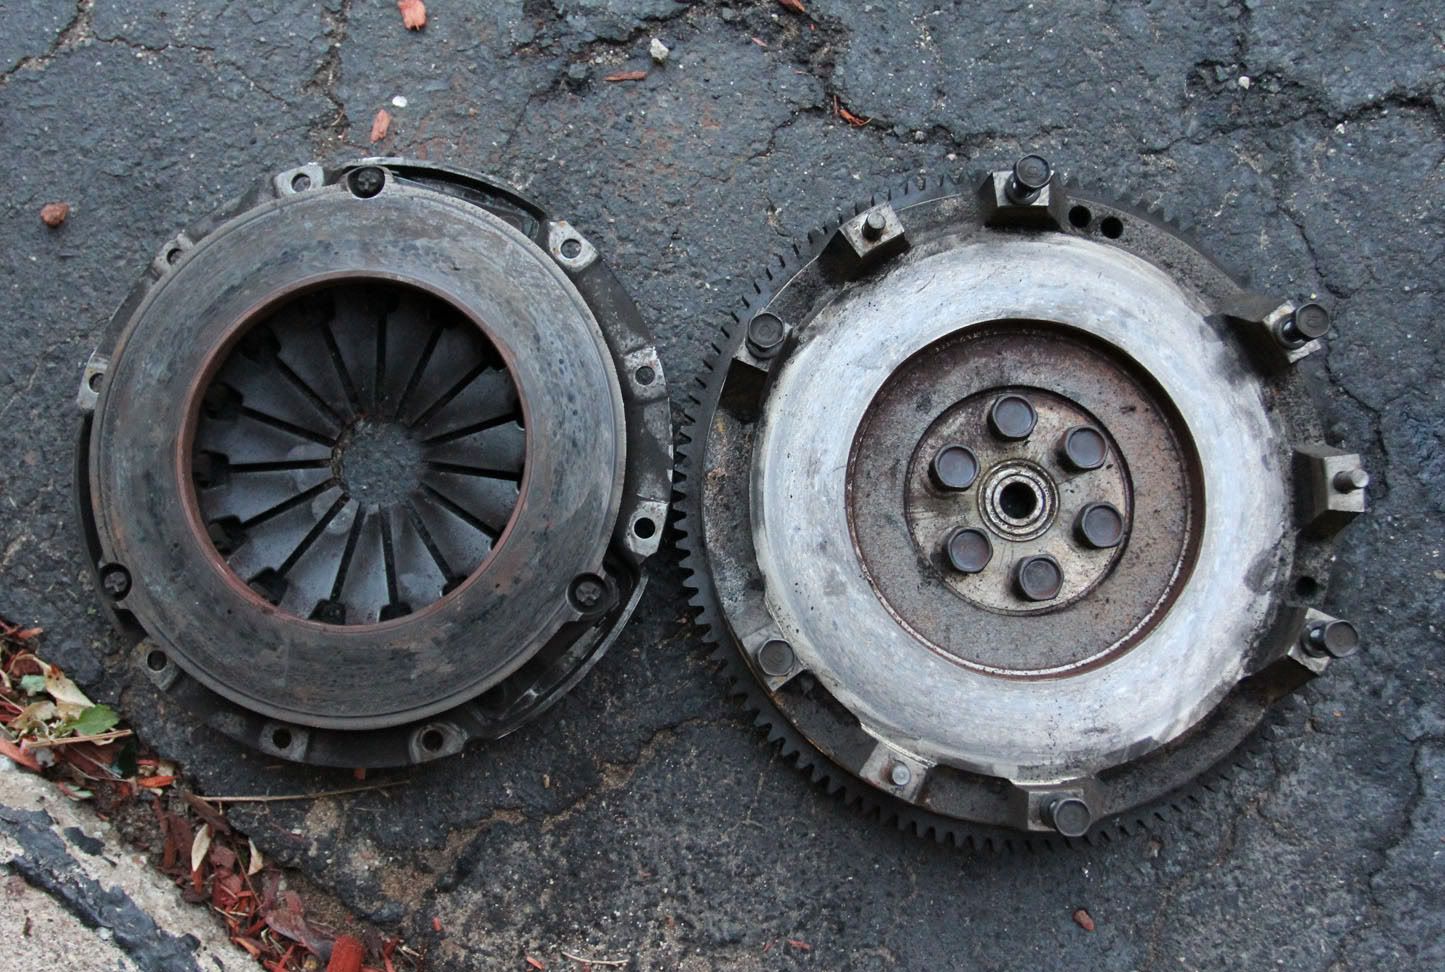
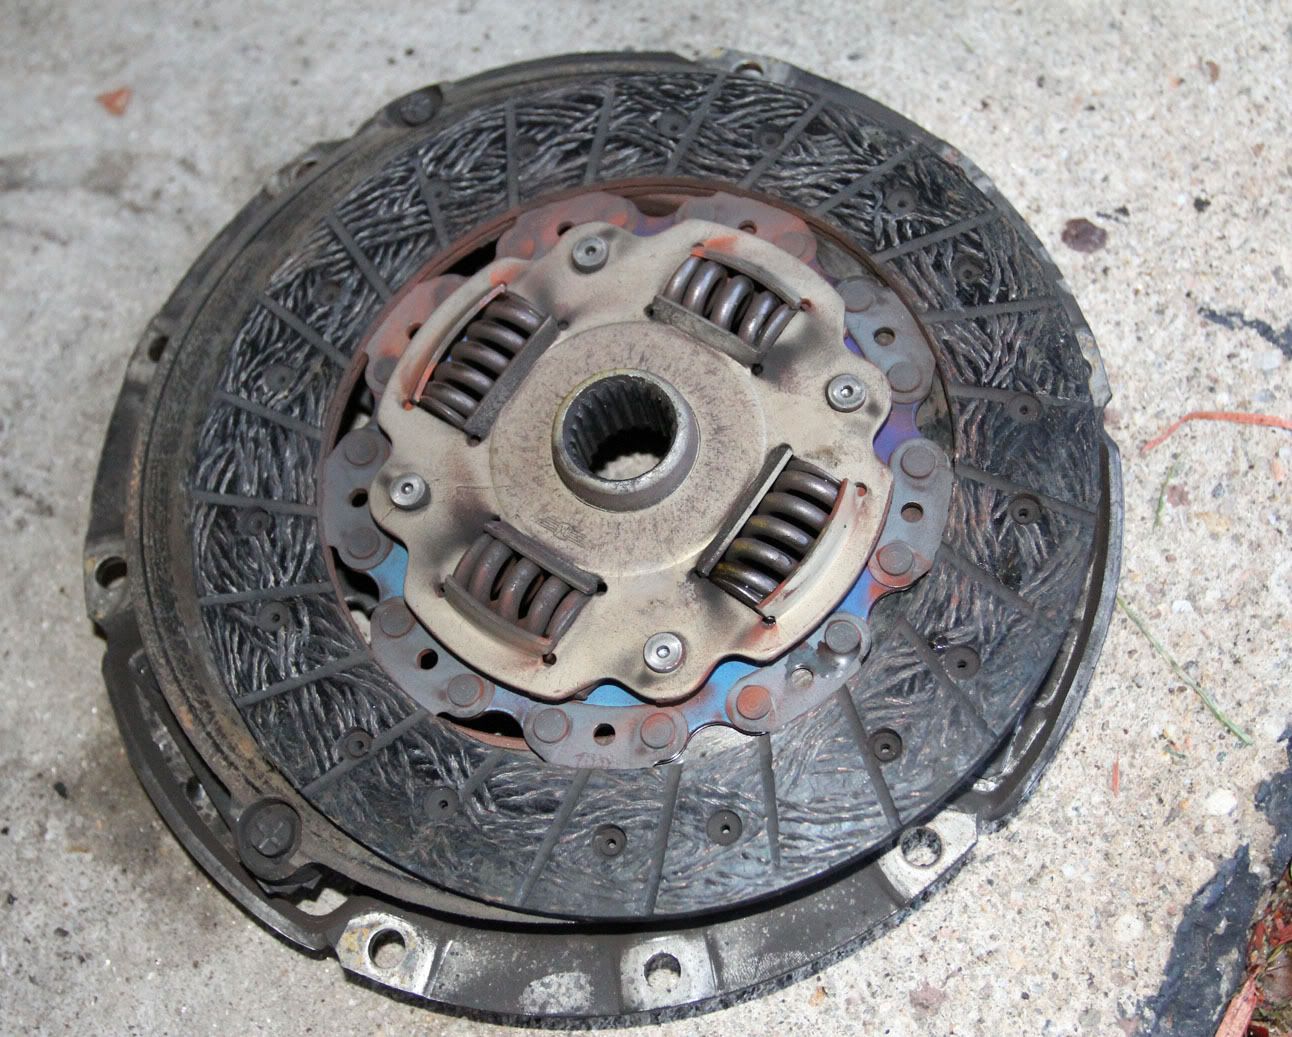
Disk is definitely getting old. I have no idea how many miles are on this thing. The transmission seemed like it had never been down before so it could even be 140,000.
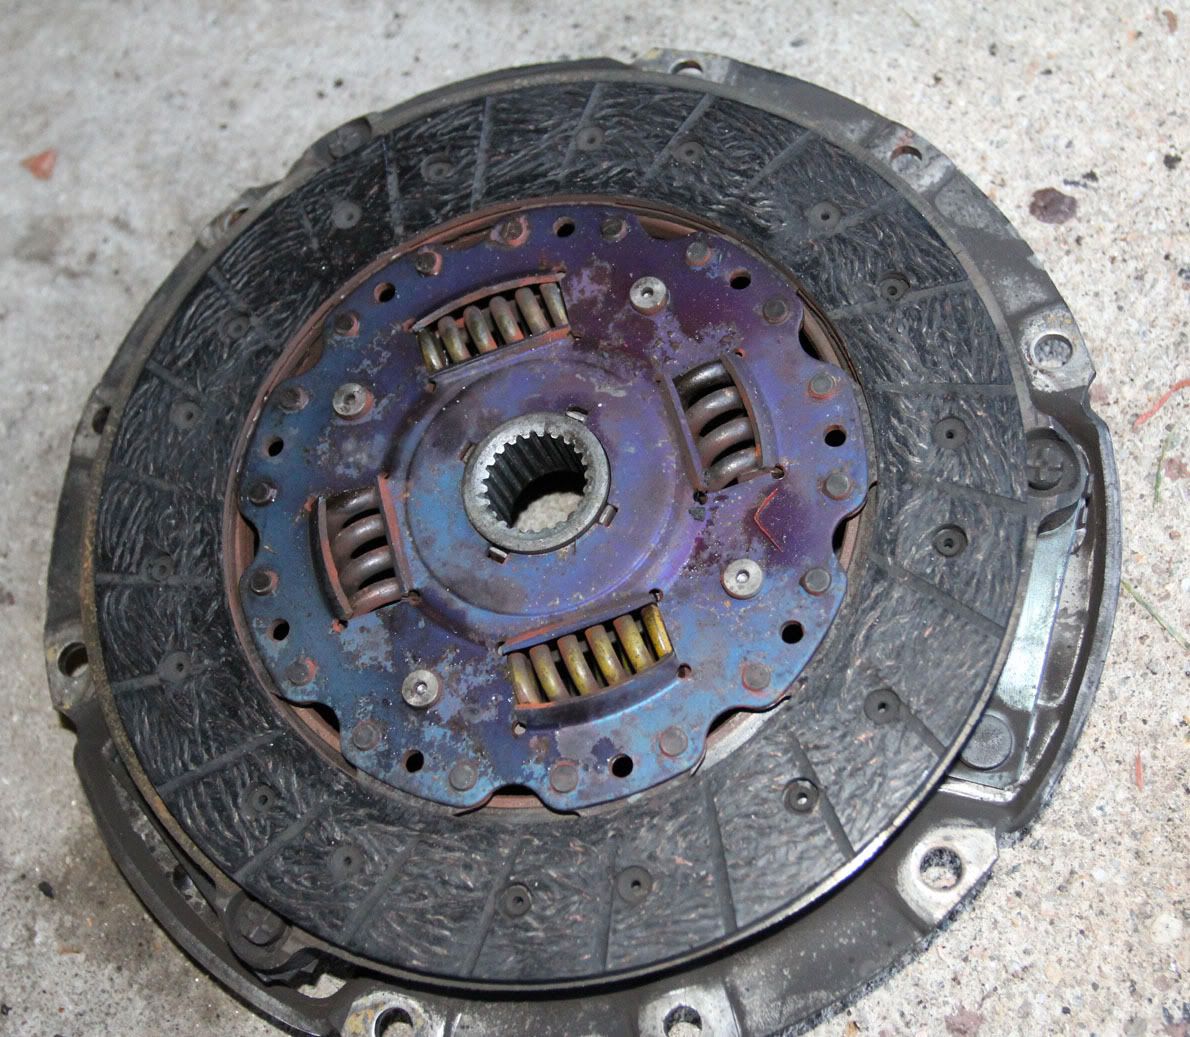
Other side
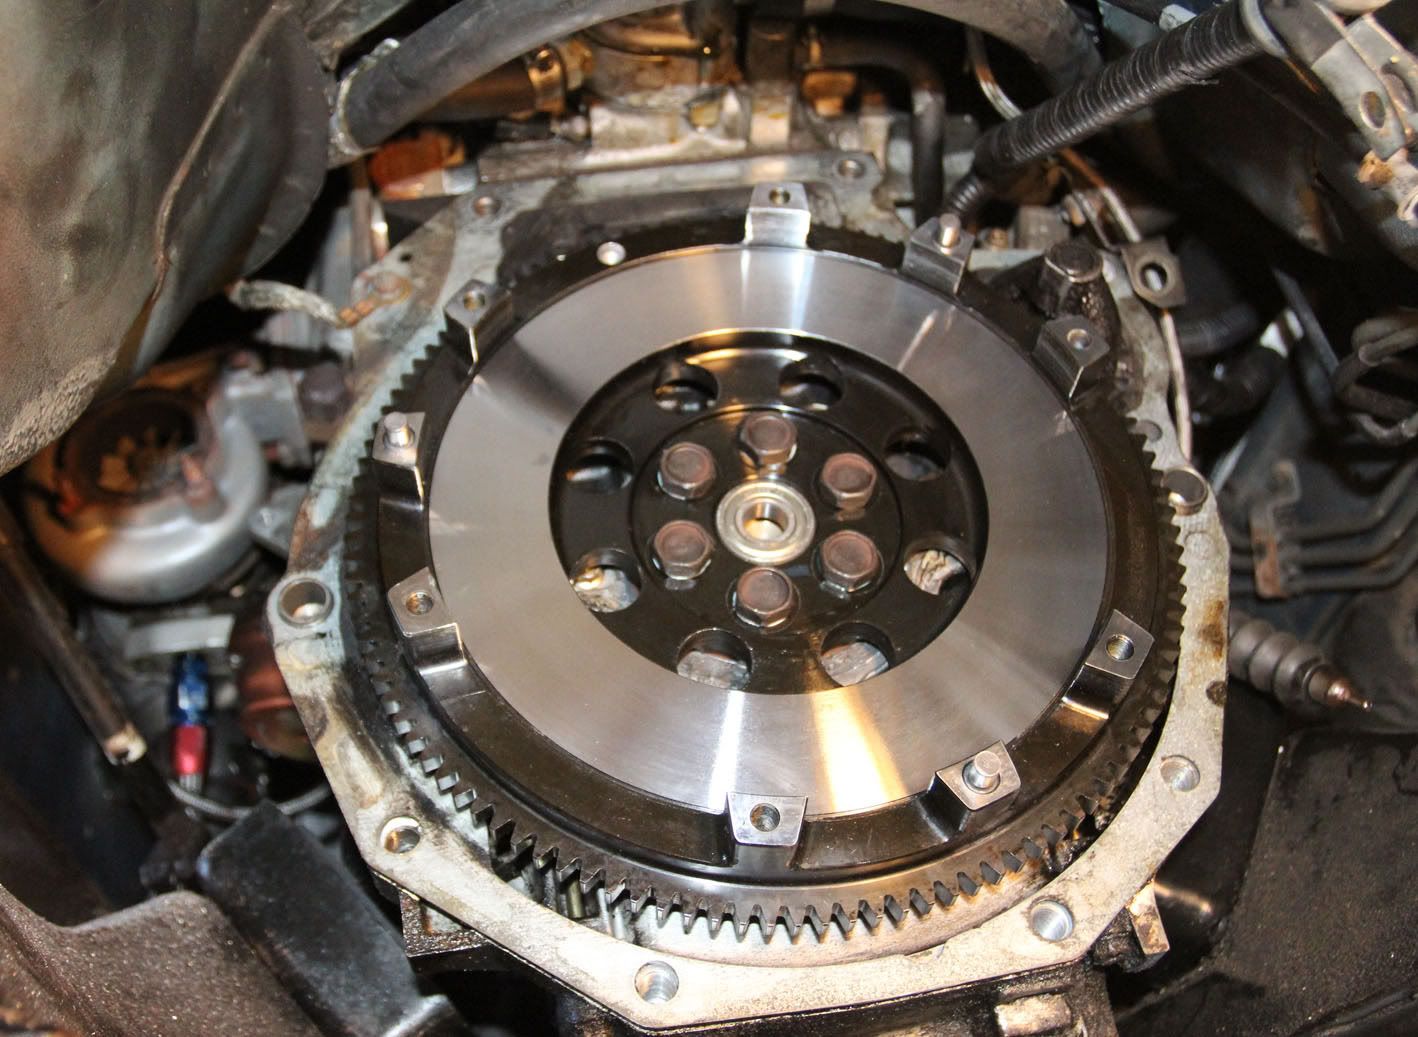
Clutch and lightweight flywheel came in so I got to work on that. I went with the Flyin Miata Level 1 and 13lb flywheel.
Flywheel in.
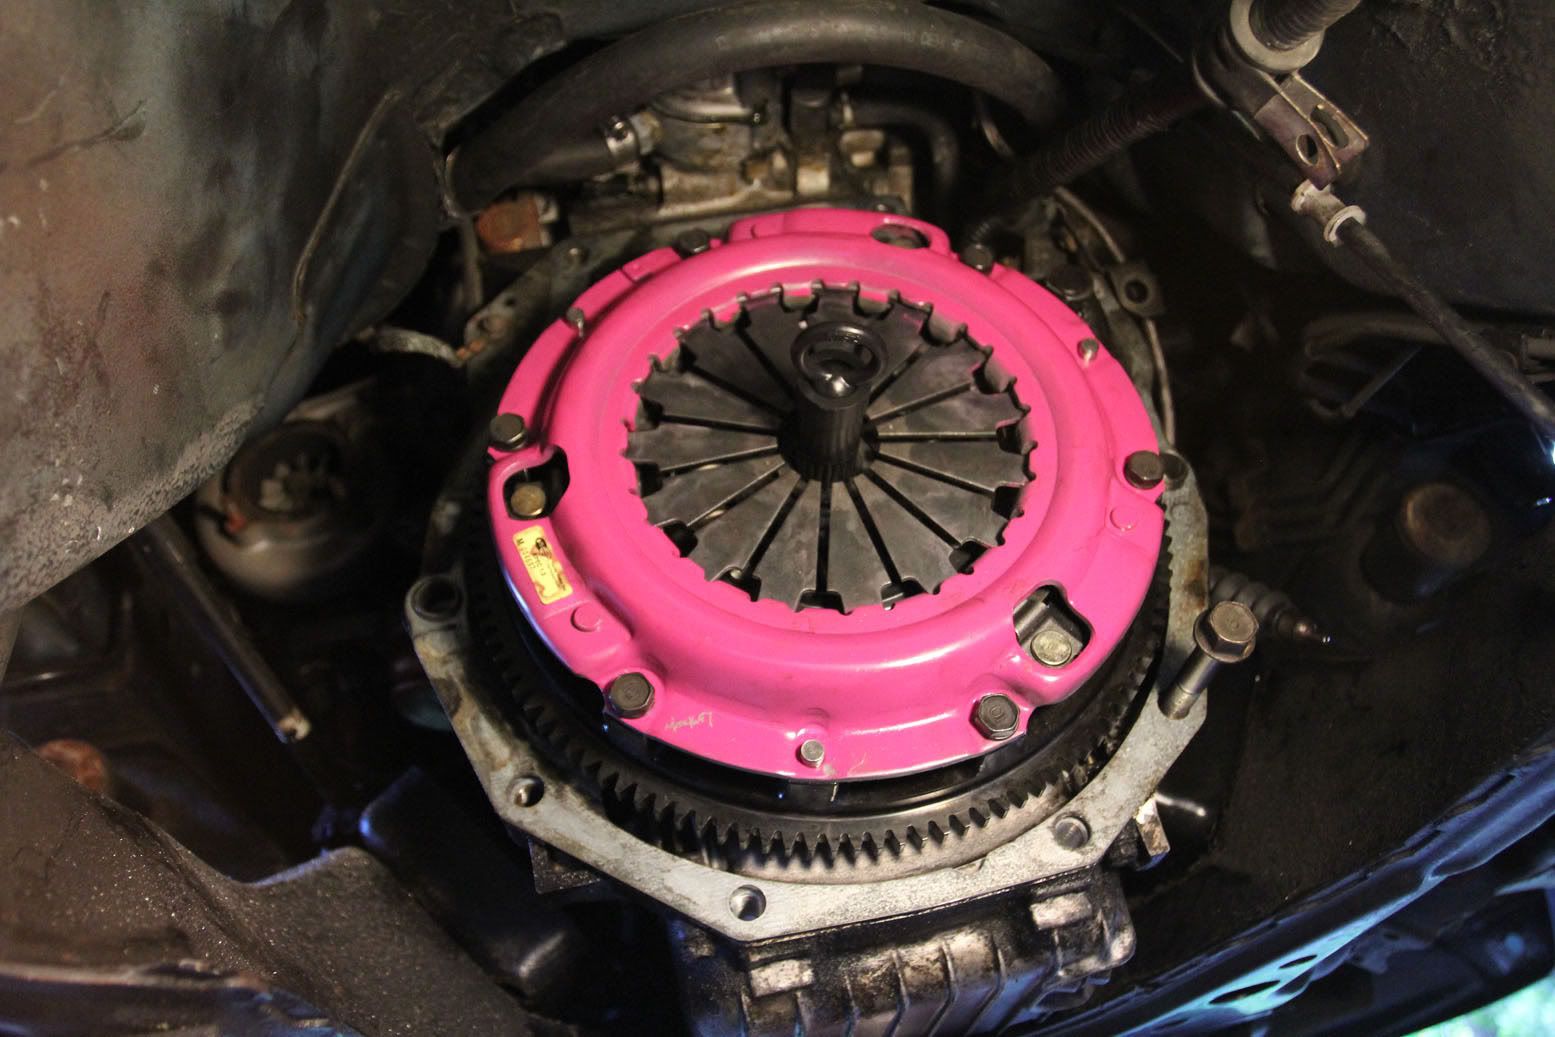
Clutch in, and very pink.
And trans benchpressed in. No pics of the install cause I'm doing this all solo and its tricky taking pictures of myself with a transmission on my chest.
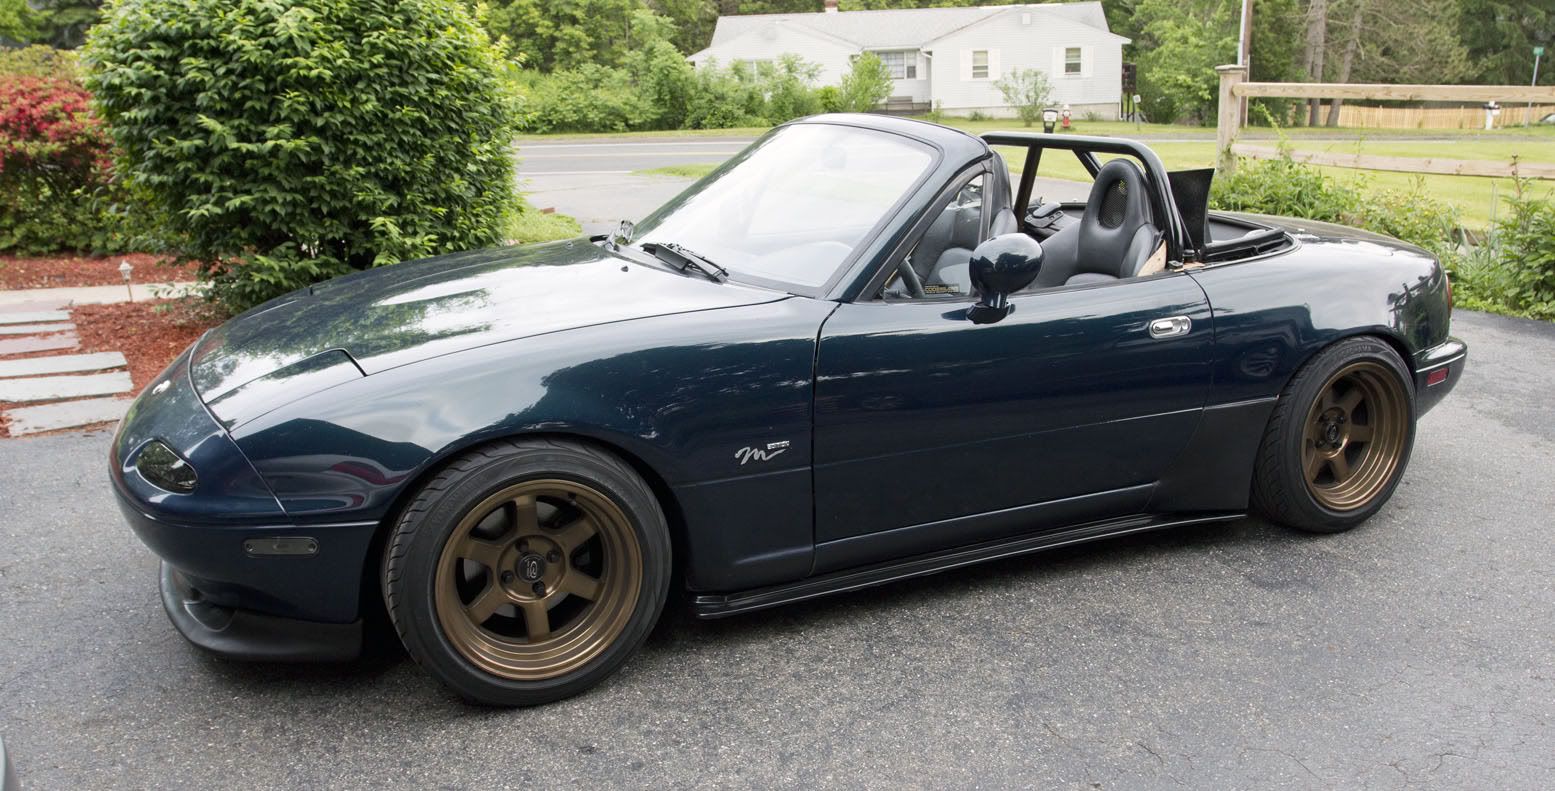
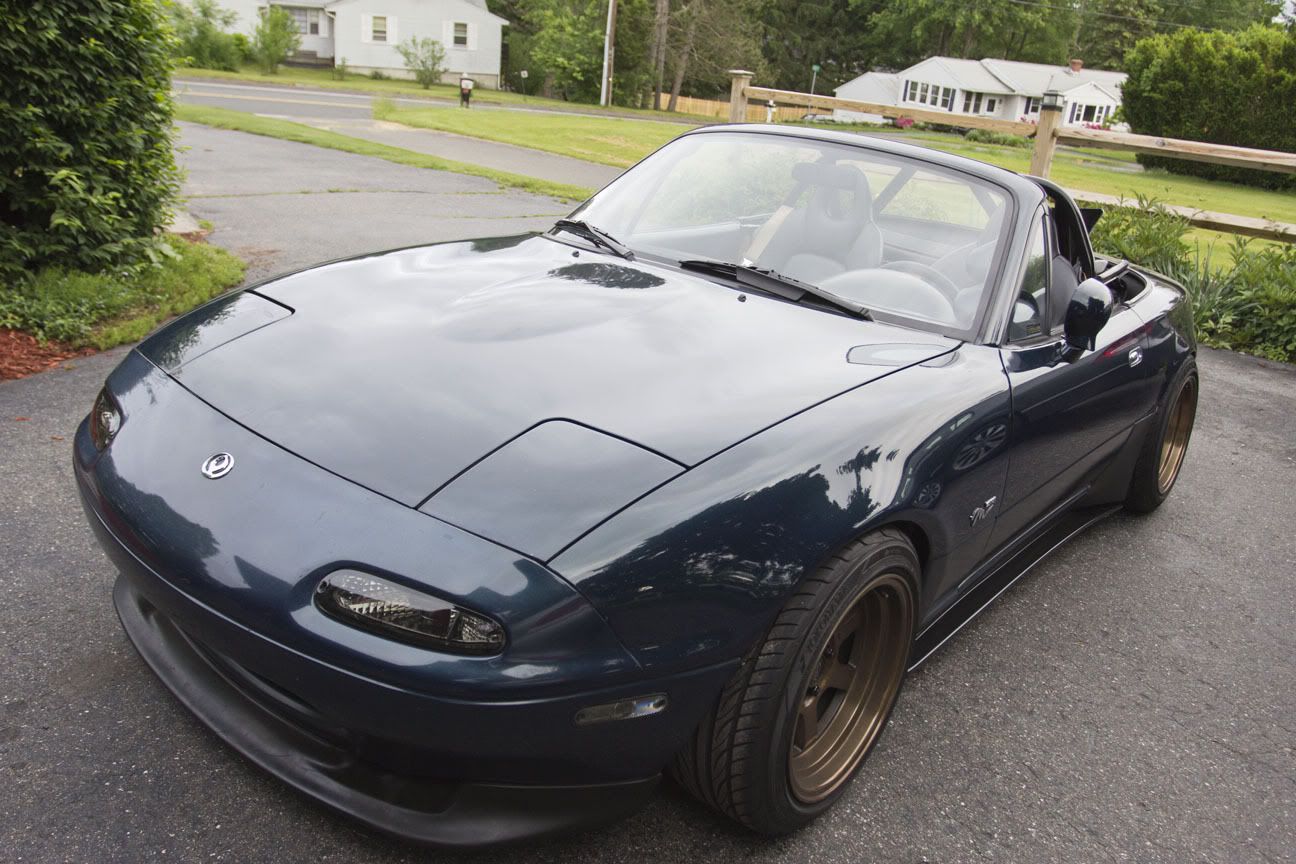
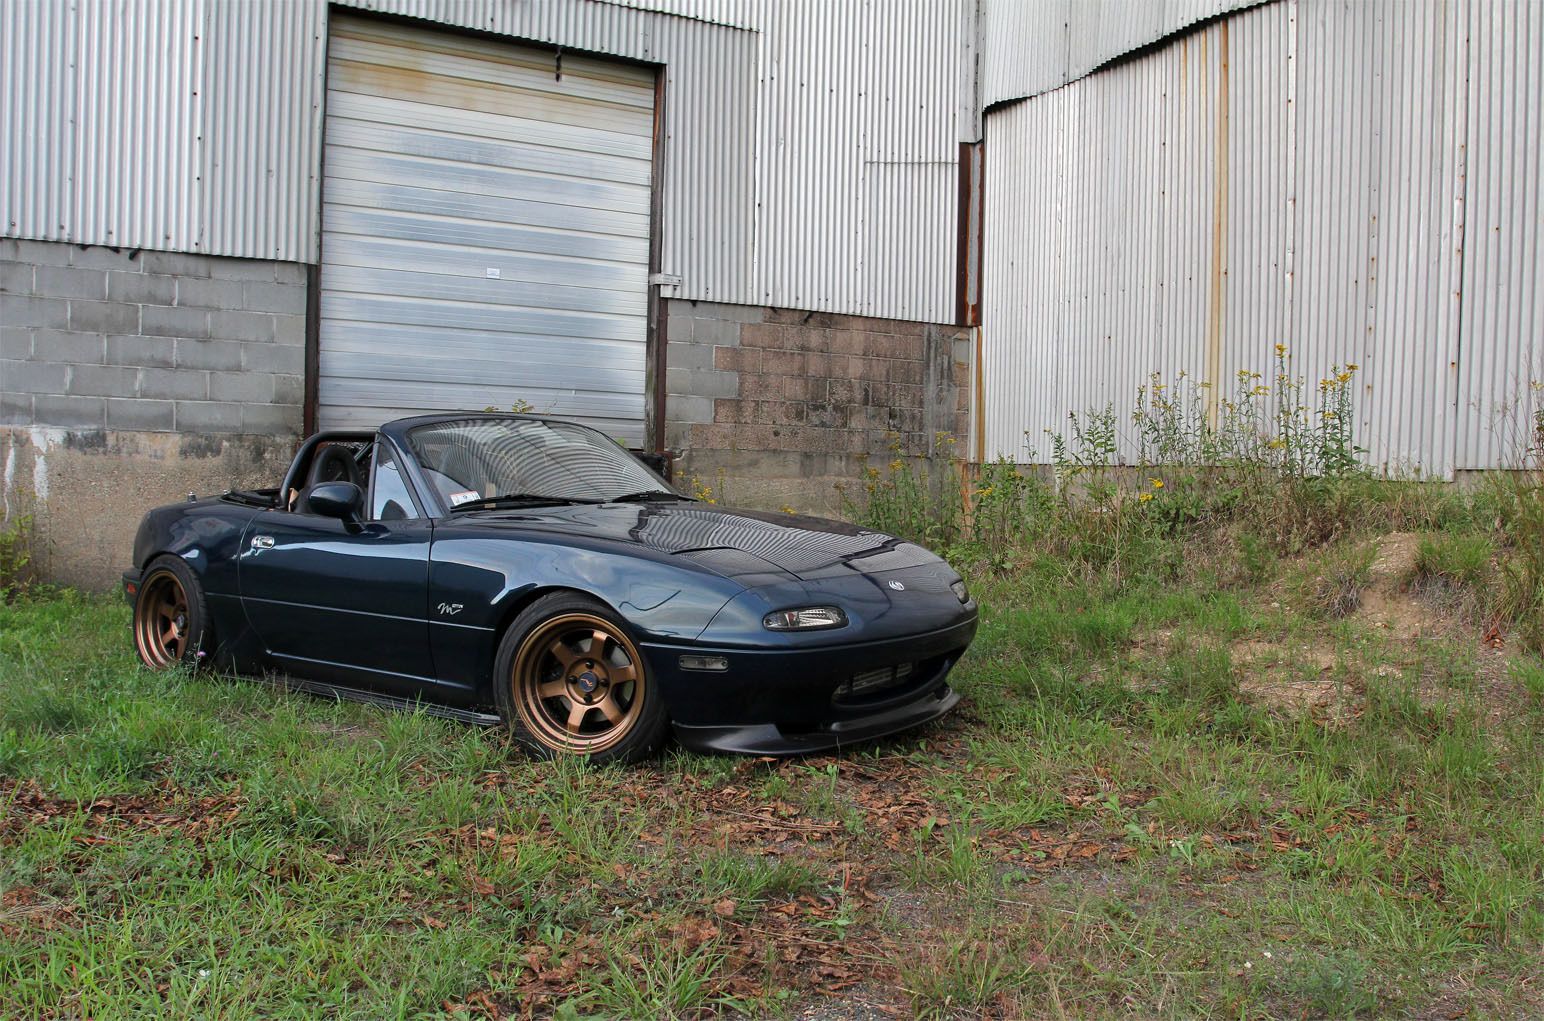
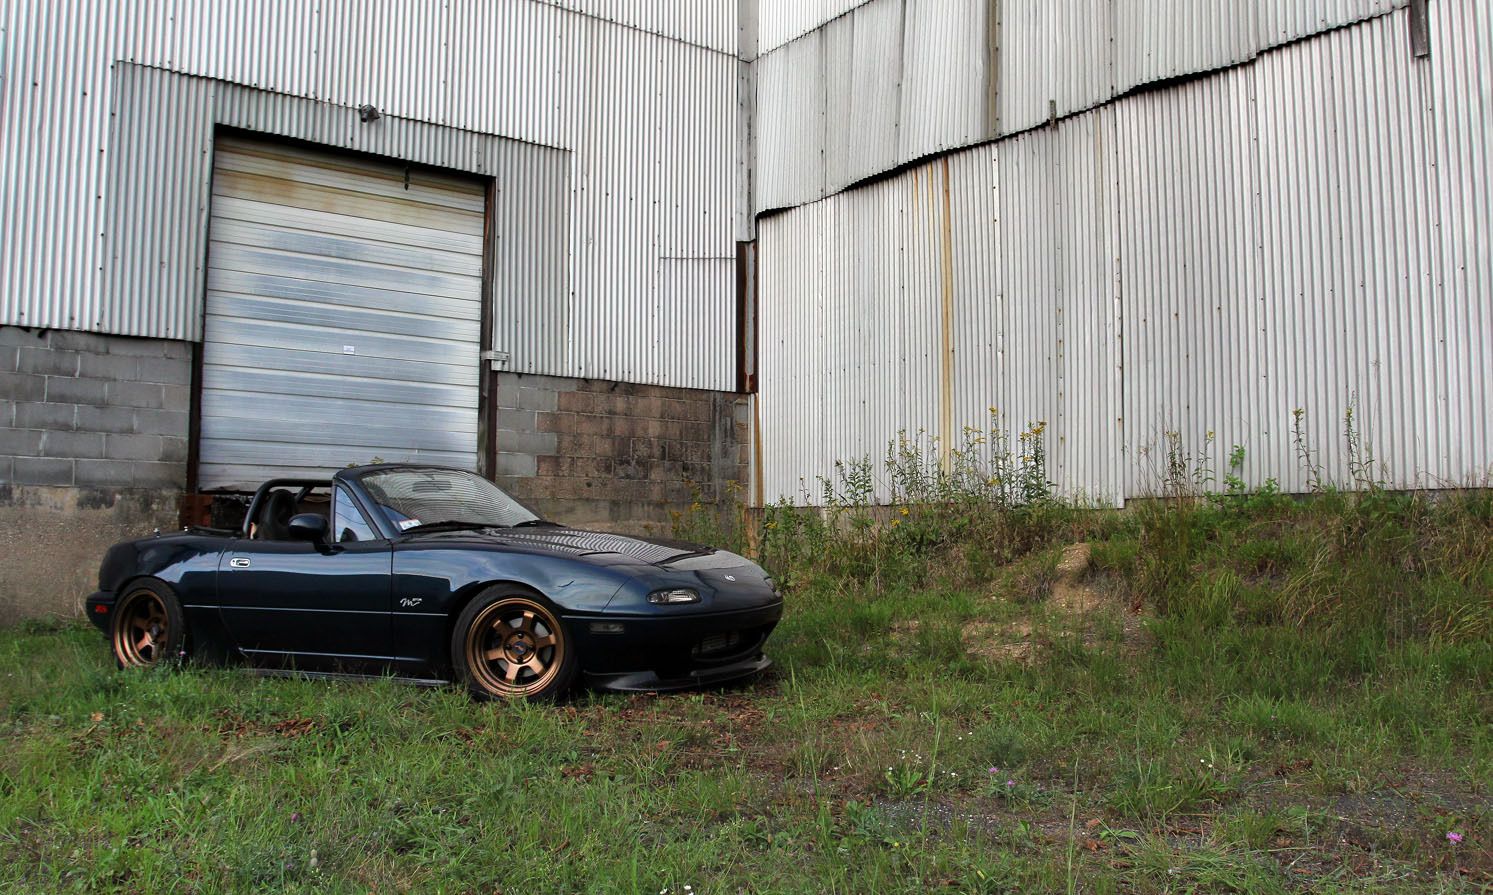
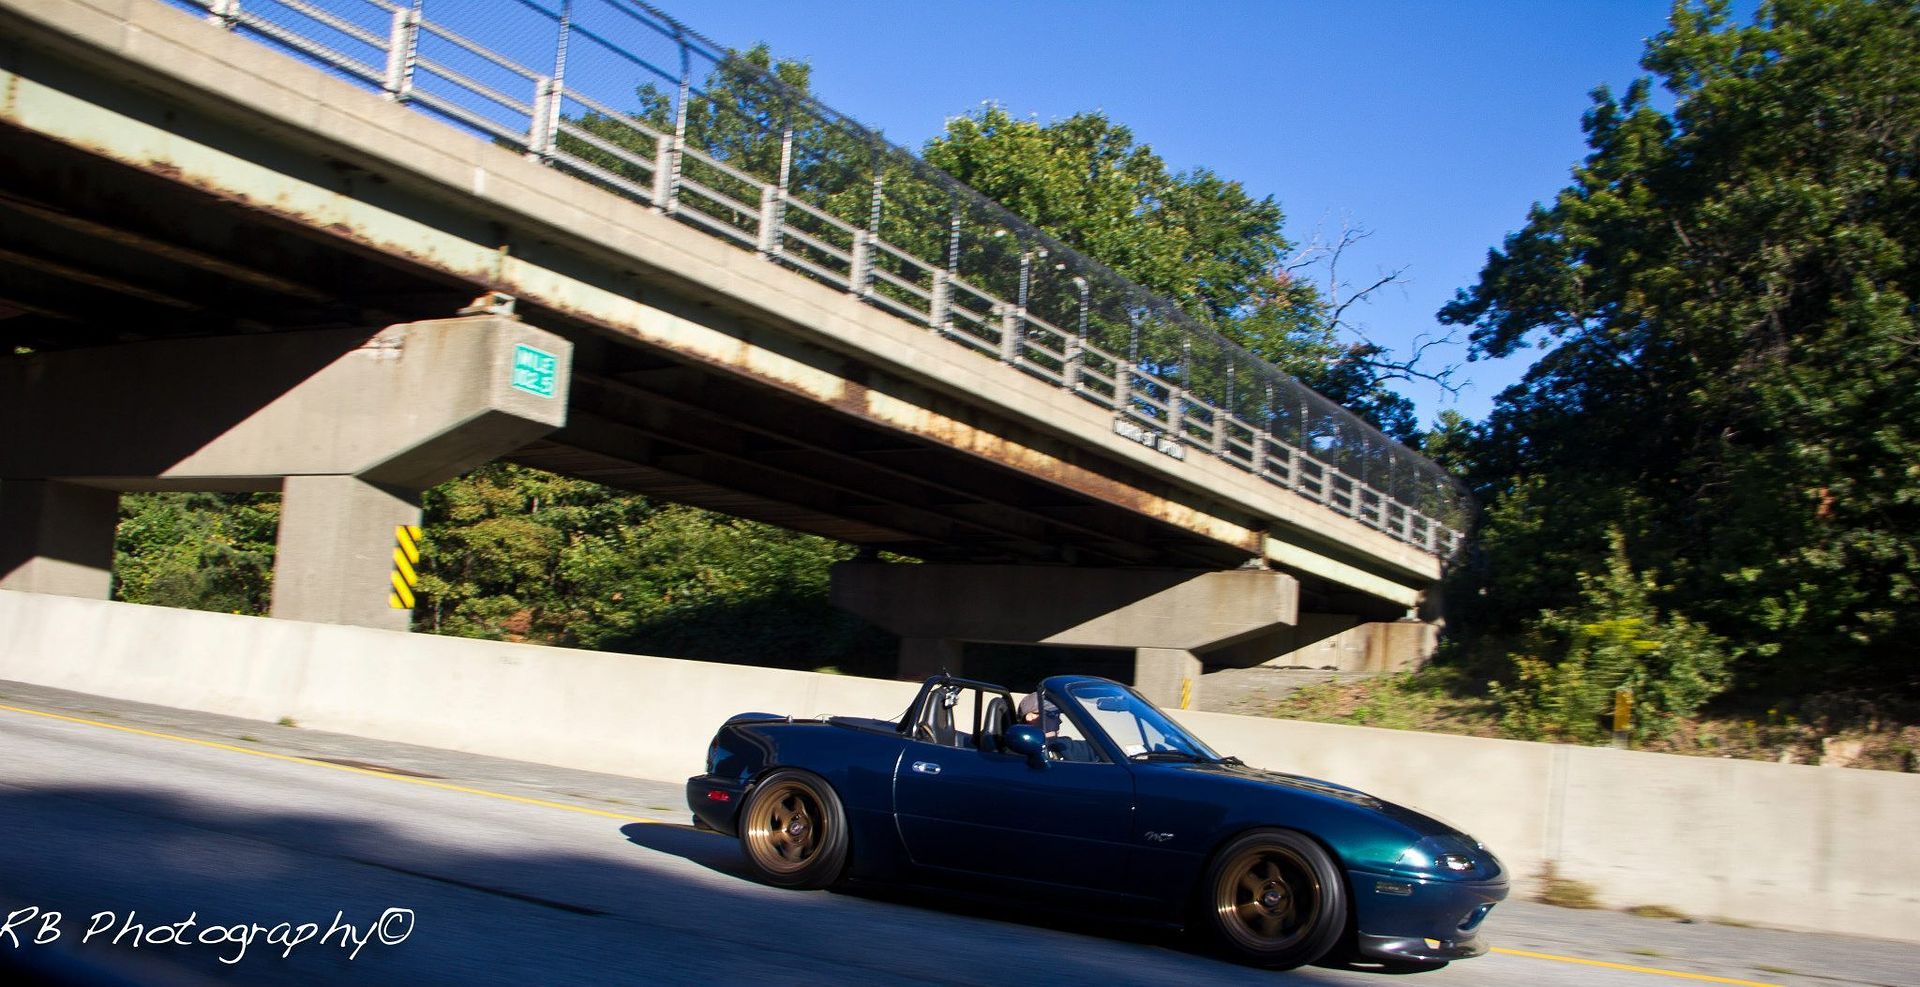
So here's how the car was looking at this point. Found a nice little spot near a local air base for the pics.
And then I put another kayak on it...
I picked up a Hallman Pro Manual Boost Controller and cranked the boost up from wastegate boost (8 psi) to about 13 psi. Huge difference. Plus I fixed a bunch of boost leaks from under the injectors and the greddy catch can that had a massive crack in it.
Gradually tuning the fuel back since right now I'm tuned extremely conservatively.Comment
-
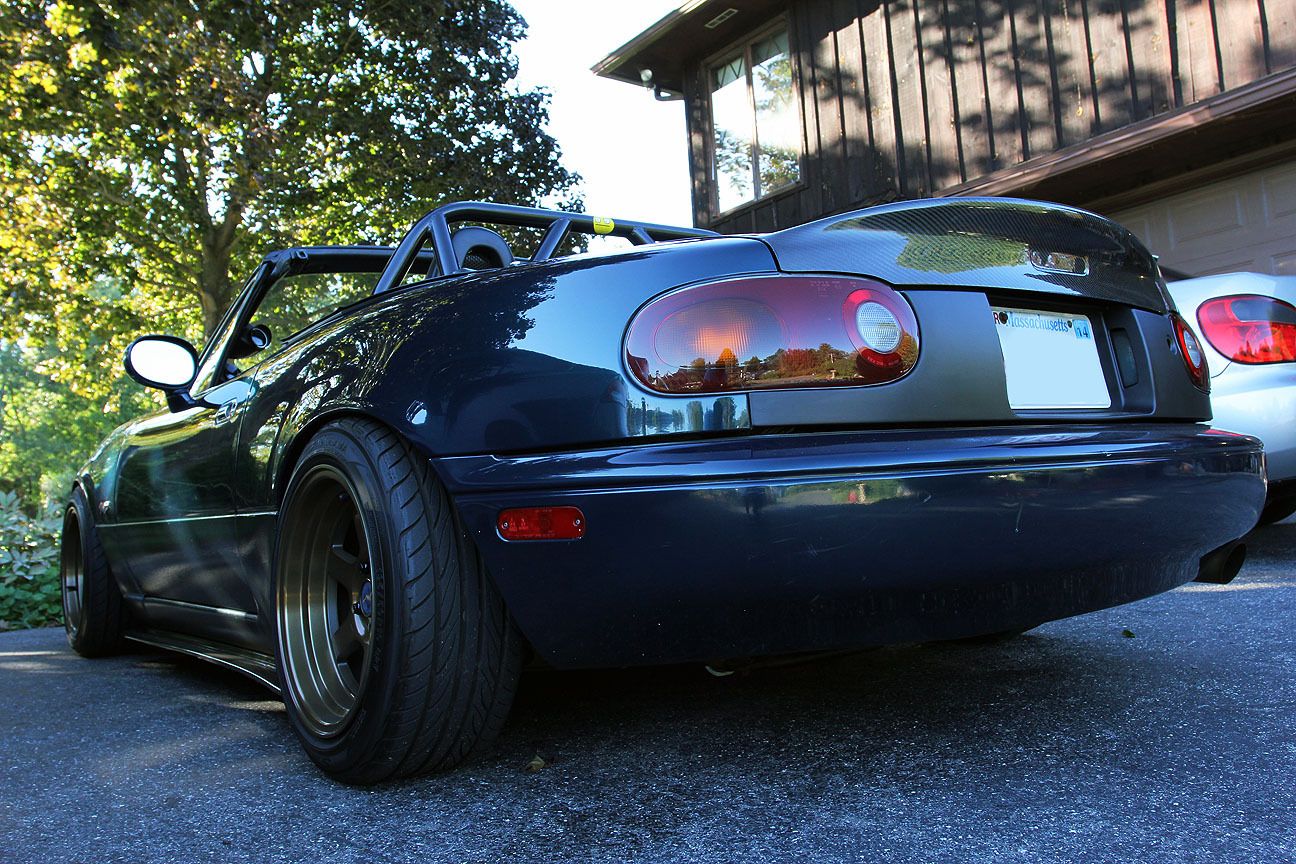
I had ordered up an Autokonexion v1.5 carbon fiber duckbill trunk to replace the trunk I had on it. There were 4 little wear marks from the stupid trunk rack that was on the car when I first bought it.
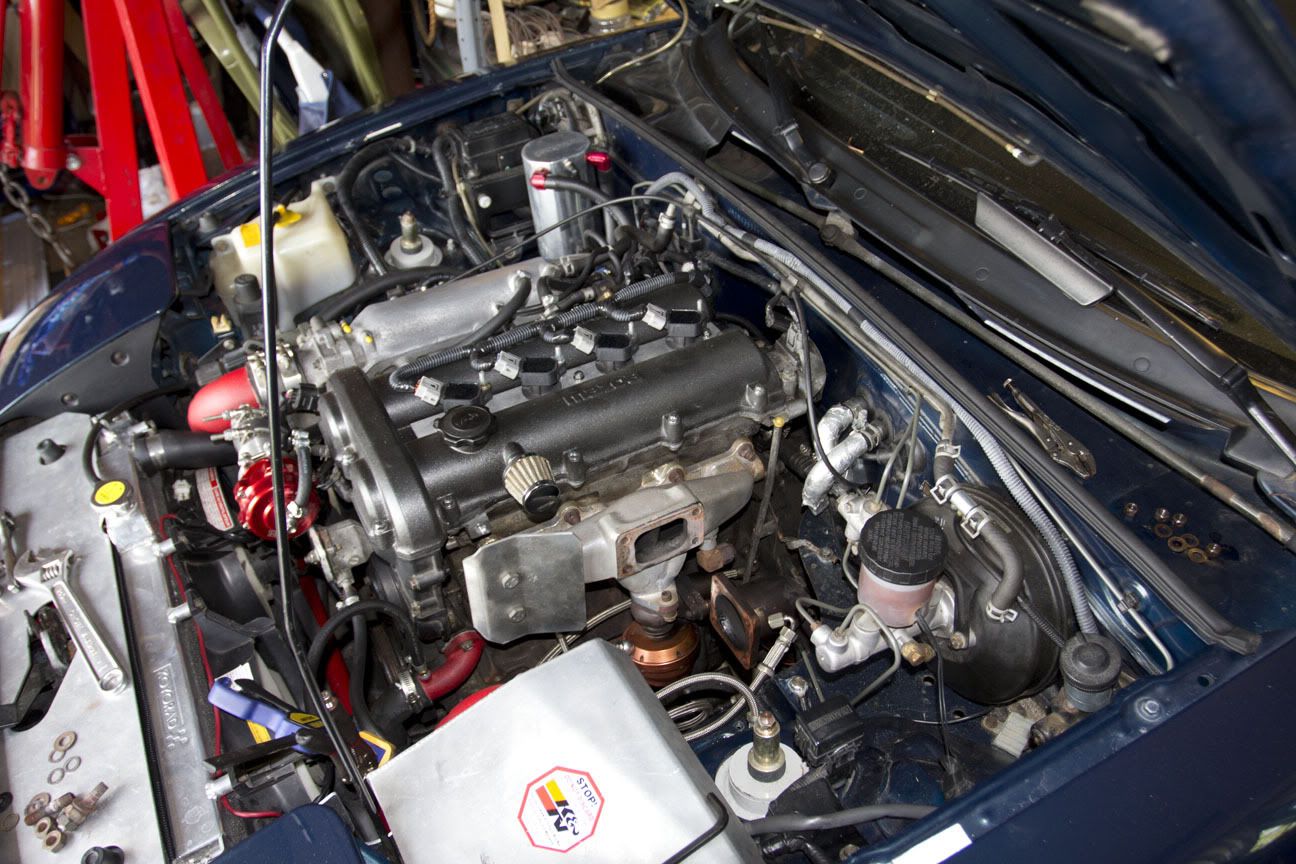
And then went to the Cars and Copters car meet up in Plymouth, MA. Got a nice rolling shot from one of the other people who cruised to the event.
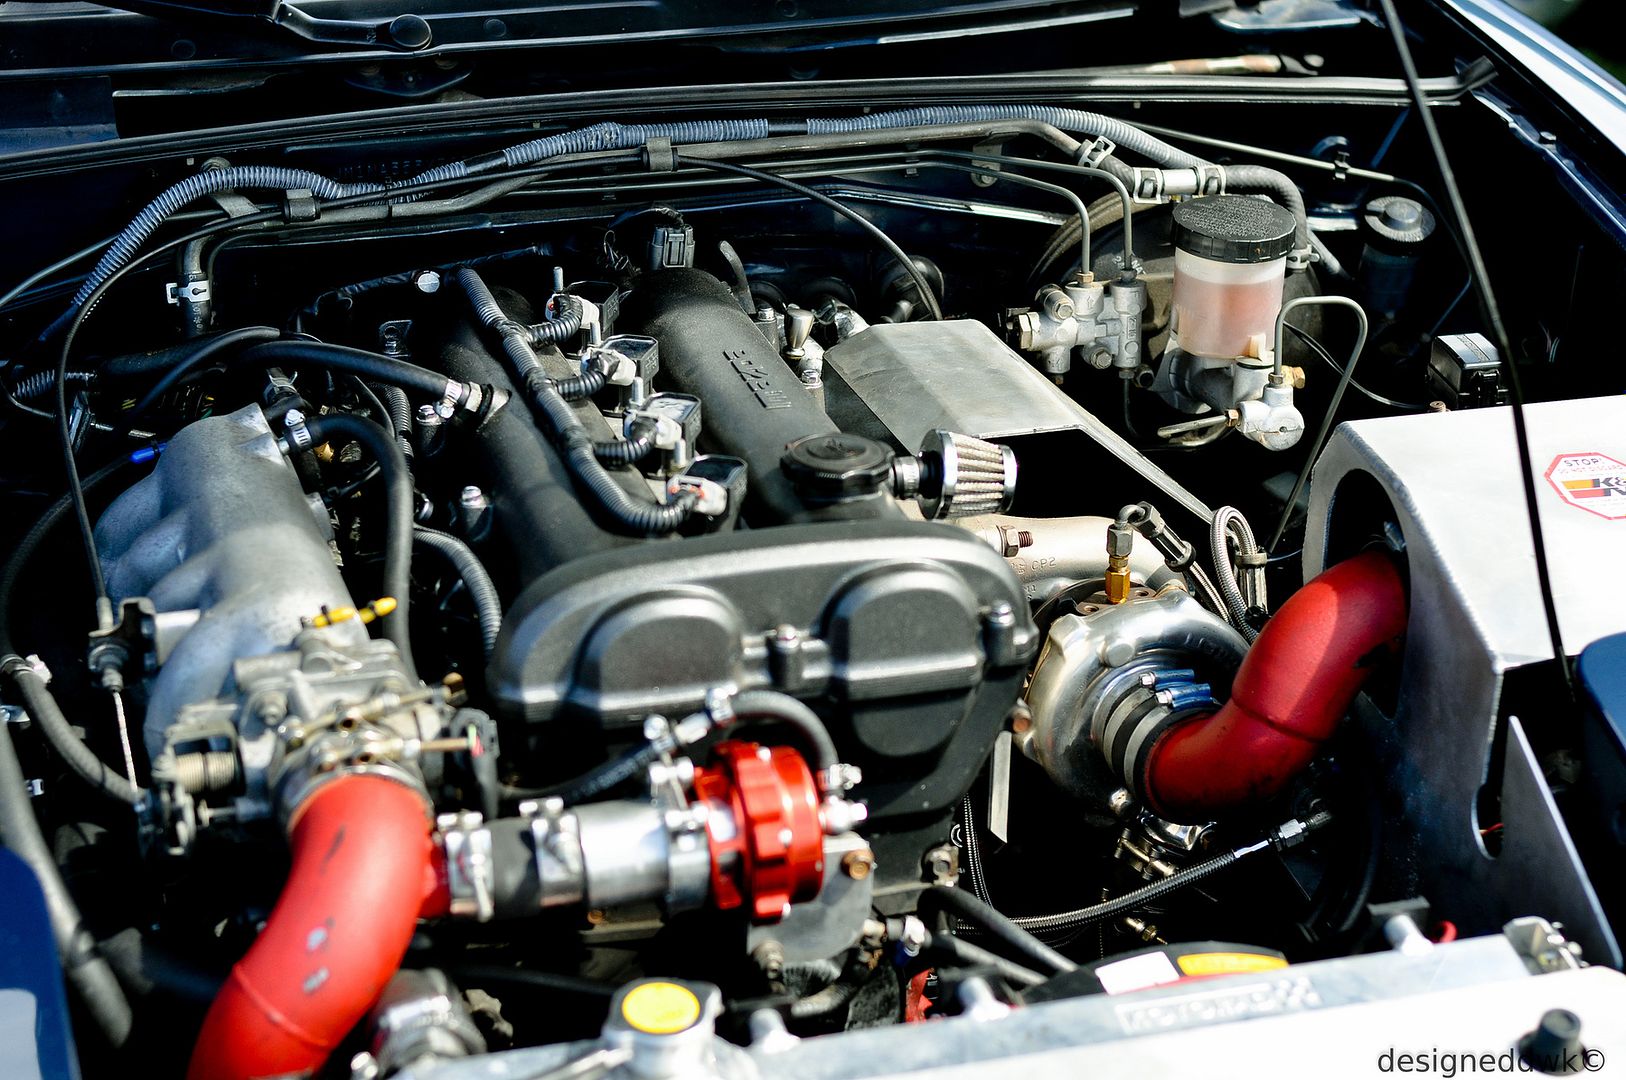
And an underhood shot from the same show.
A friend and I were bored one day and took the car out for some fall type photos which came out great.


Comment
-
So lately I've been working on some random winter projects.
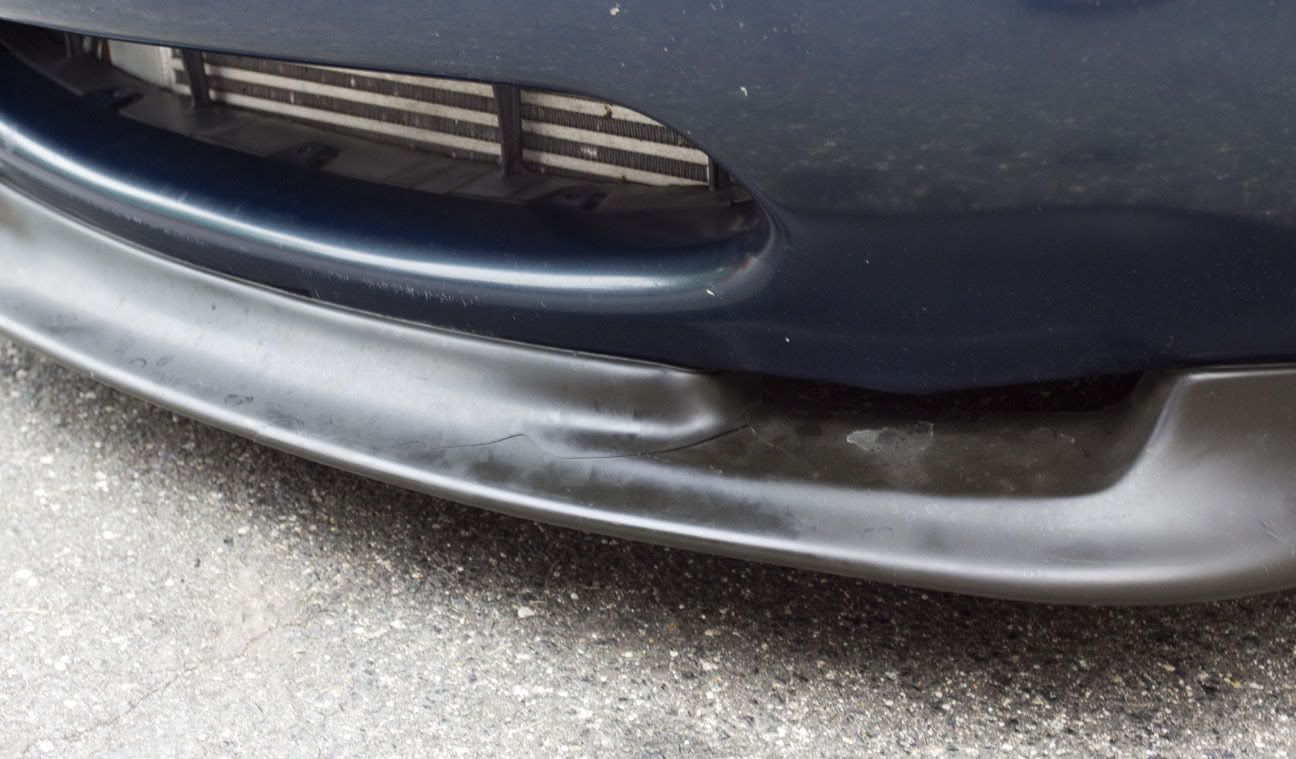
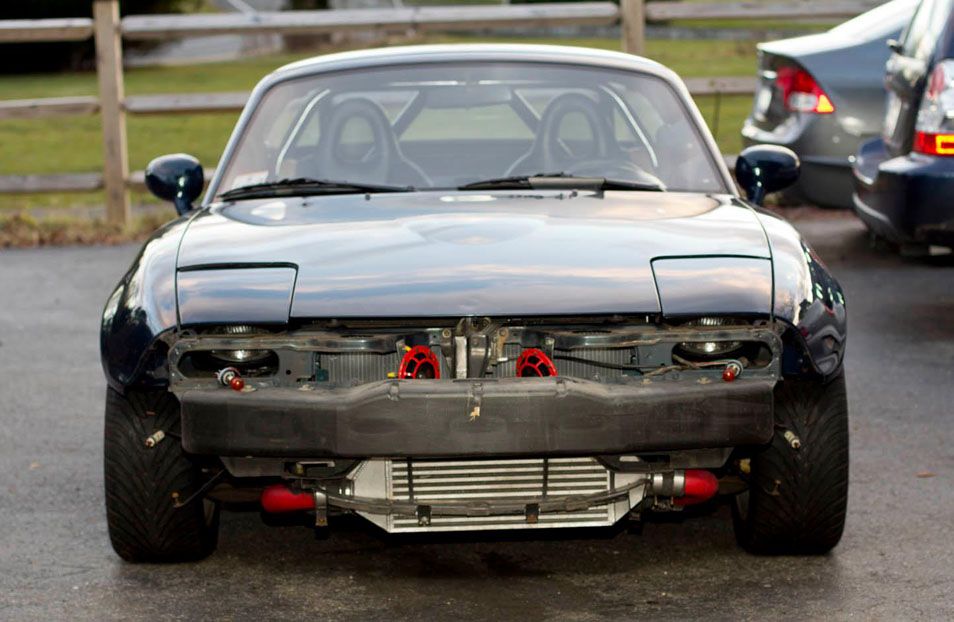
My front bumper has been getting pretty rough. The clearcoat was beginning to turn white and flake off in spots so I decided to do something about it.
Yanked the bumper off...
and stripped off the clearcoat and built myself a basement paint booth. Went down to the automotive paint store again and had some basecoat mixed up and picked up a can of clear.

Blasted it with paint/clearcoat
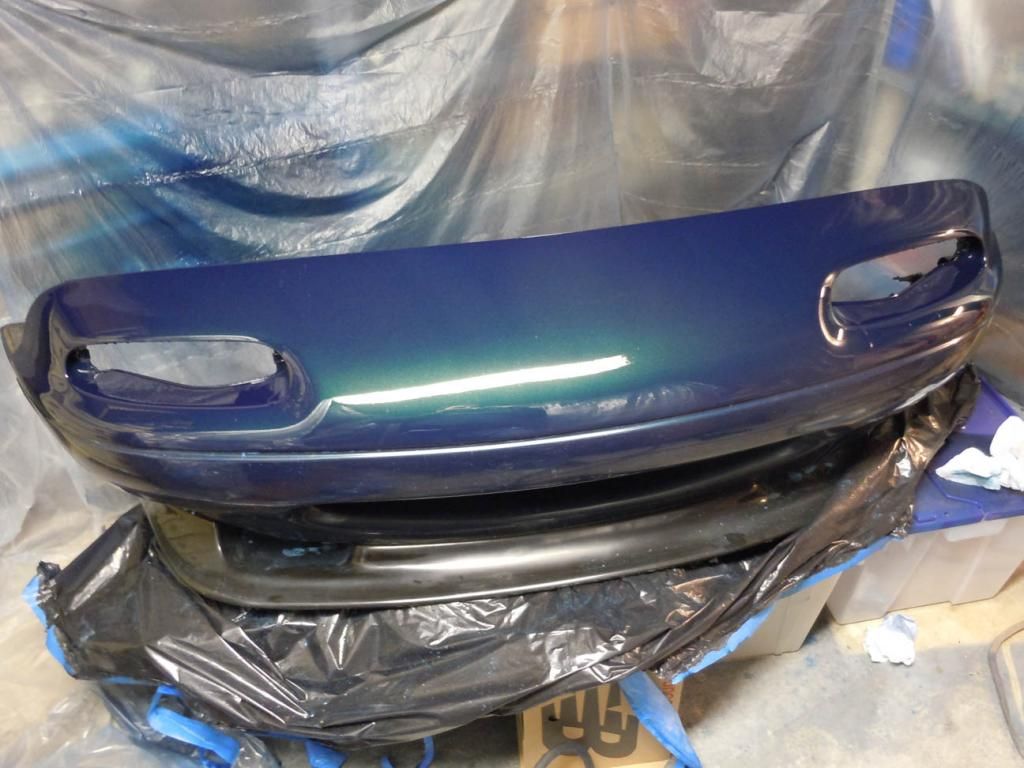
And buffed it up.
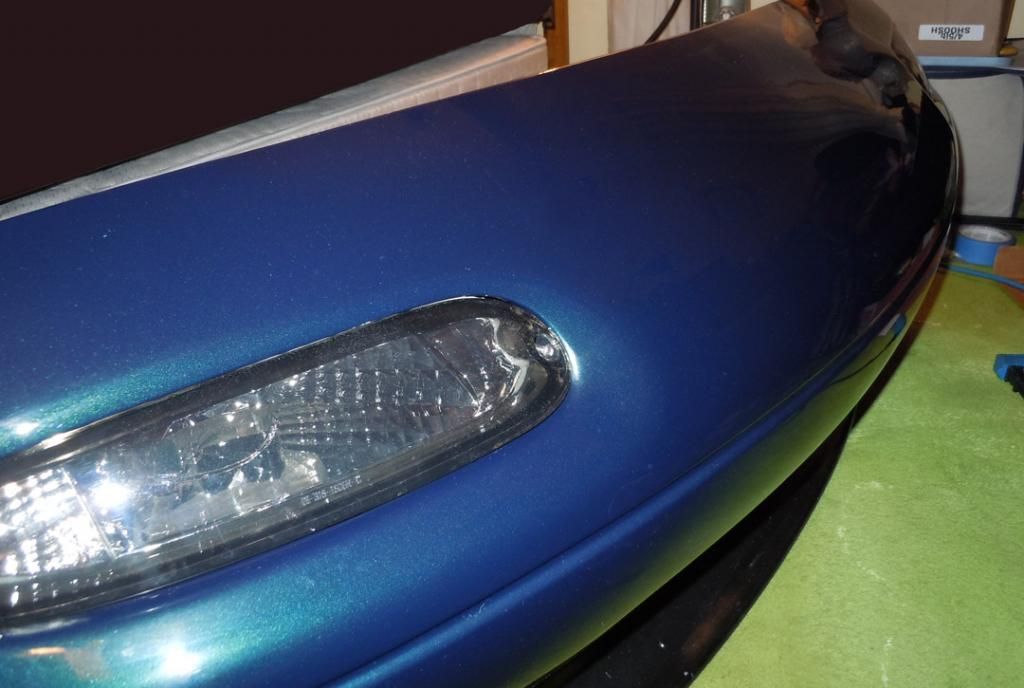
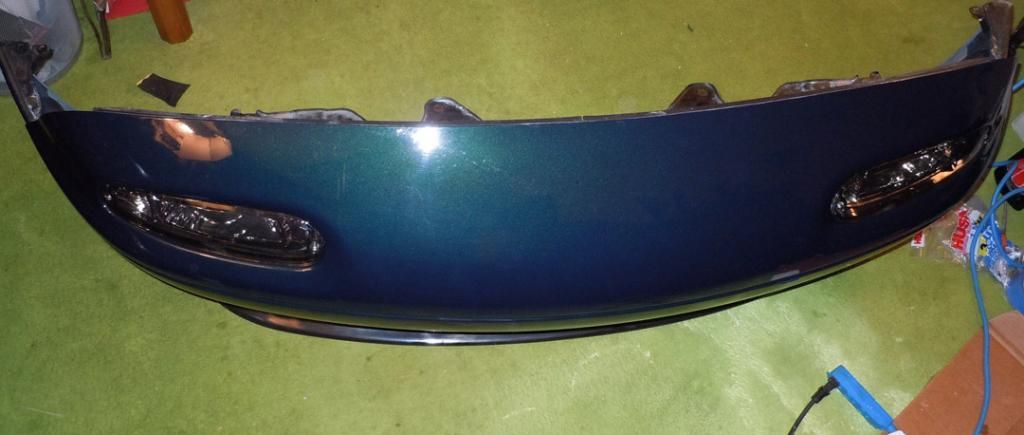
I also deleted the toilet bowl front badge while I was at it. Much better.Last edited by Dragula; 01-12-2013, 09:18 PM.Comment
-
I saw this at cars and copters. Looks good!IG: @OsakaFlockaComment
-
Very nice and clean, now all you need is a rear diffuser
Comment
-
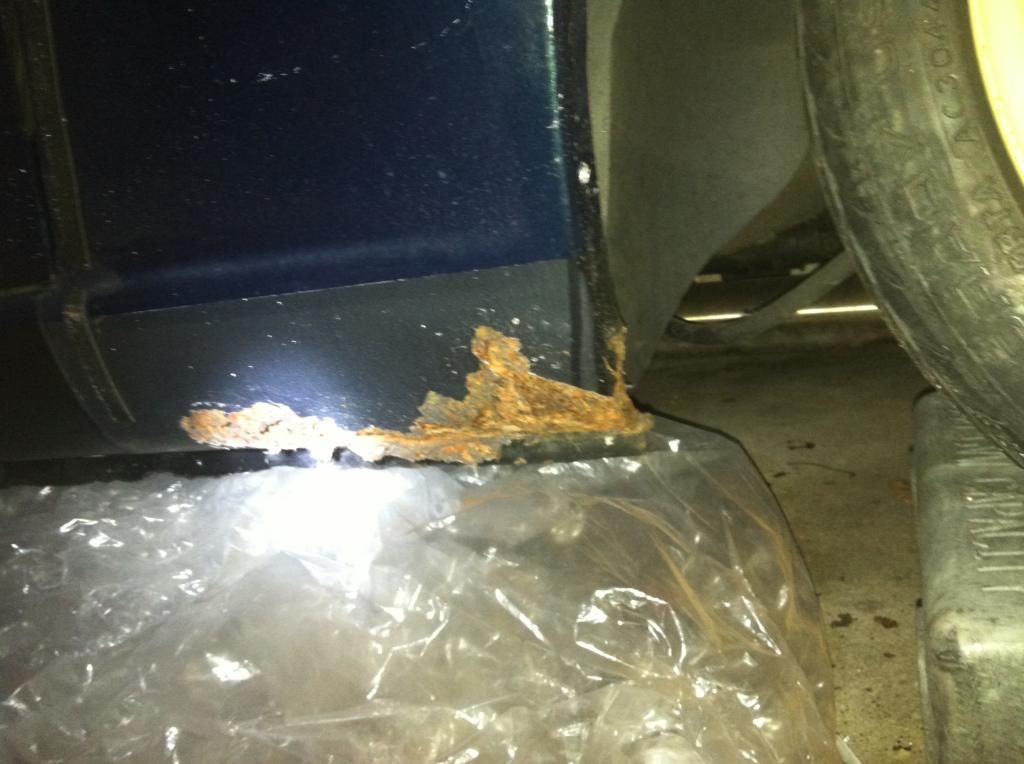
And now for the most PITA project of the entire winter. Rust repair.
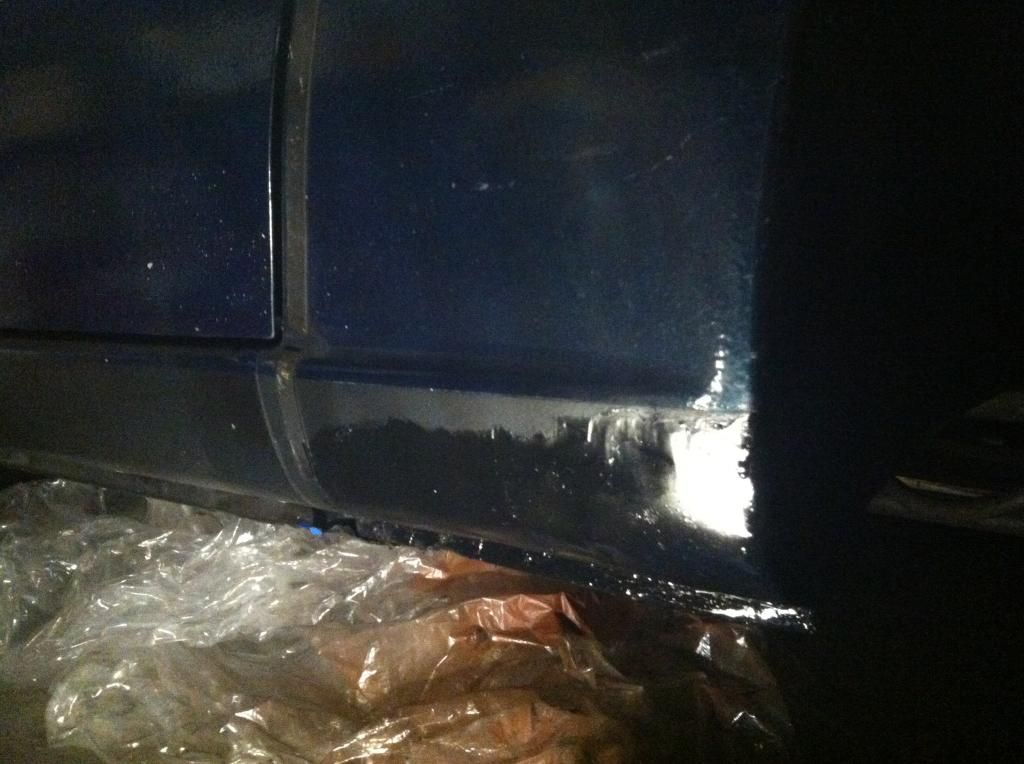
So this one has been bugging me for a while. There has been some rust bubbling through the paint on the drivers and passenger side rocker panels. I don't think the addition of the skirts and corner flares is helping the matter either since more debris gets caught up against the panel. So I decided to attack the panel with a screwdriver and see just how bad it is.
Starting with the drivers side.
Not good, time to get to cutting.
There ended up being a medium sized hole (bigger than the 2 holes that should be there) in the inner panel. This panel is made of thicker metal so I think its somewhat structural. I ended up buying some thick sheetmetal for another project and used it to patch the hole on the far right. I wire brushed the bulk of the rust off of the panel, coated it in rust converter and then put some brownish paint over it.
Then I made a patch panel for the outer sheetmetal and welded it in place.
Then I sprayed some black paint over the panel so it sorta matched. I'm not going all out with this one with bondo and texture paint since my corner flares will end up covering this. But at least I'll have good metal underneath now.
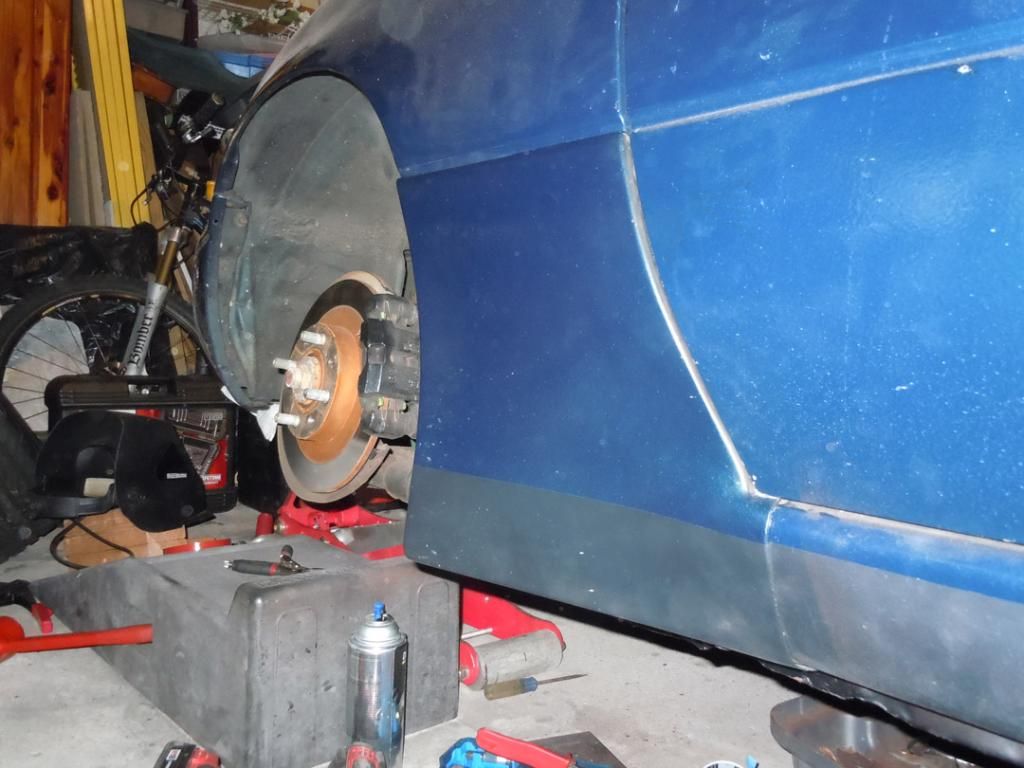
Next is the worse off passenger side...
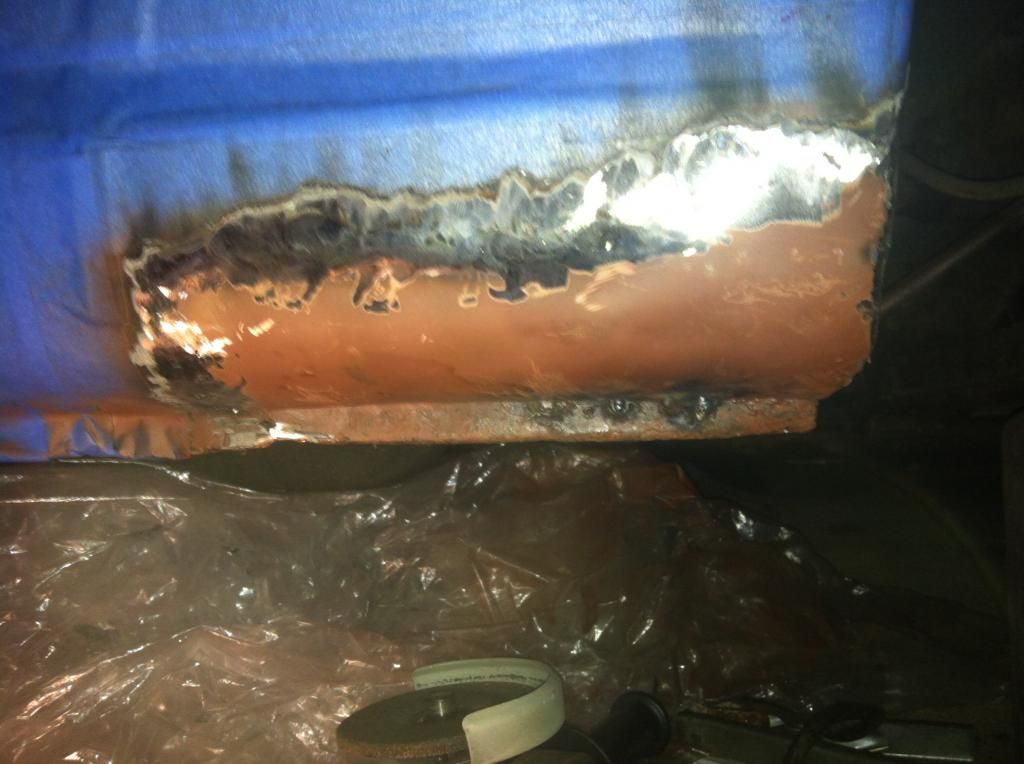
So, the passenger side I was expecting to be worse, but definitely not this much worse.

After cutting out the outer sheetmetal to see how bad the inside was, its looking pretty bad. Large holes in structural metal. The outside skin of the pinch weld basically falling apart. The inner rail completely open and visible. Not good.
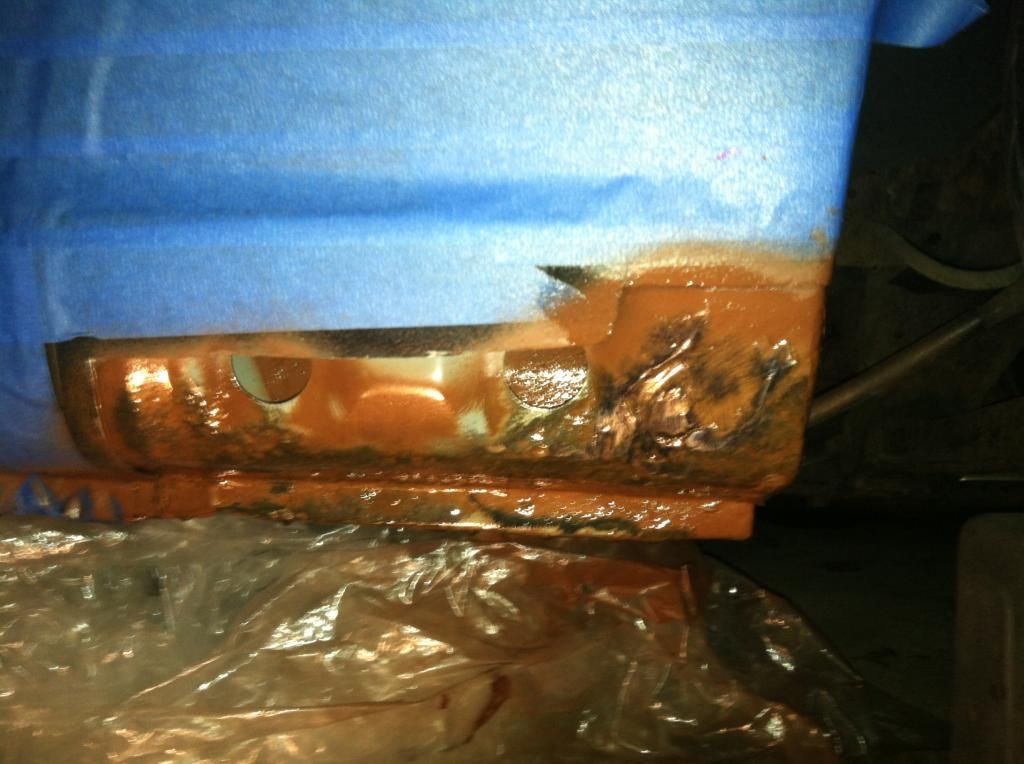
So I cut out all of the metal that had more than just surface rust. Some other parts that were just minor surface rust I scraped, wire brushed and then coated in rust converter.

So first I patched up the inner panel. This was thinner gauge so I don't think its quite as structural as the middle layer but I'm going to tie everything together and plug weld a bunch of overlapping areas so everything stays strong.
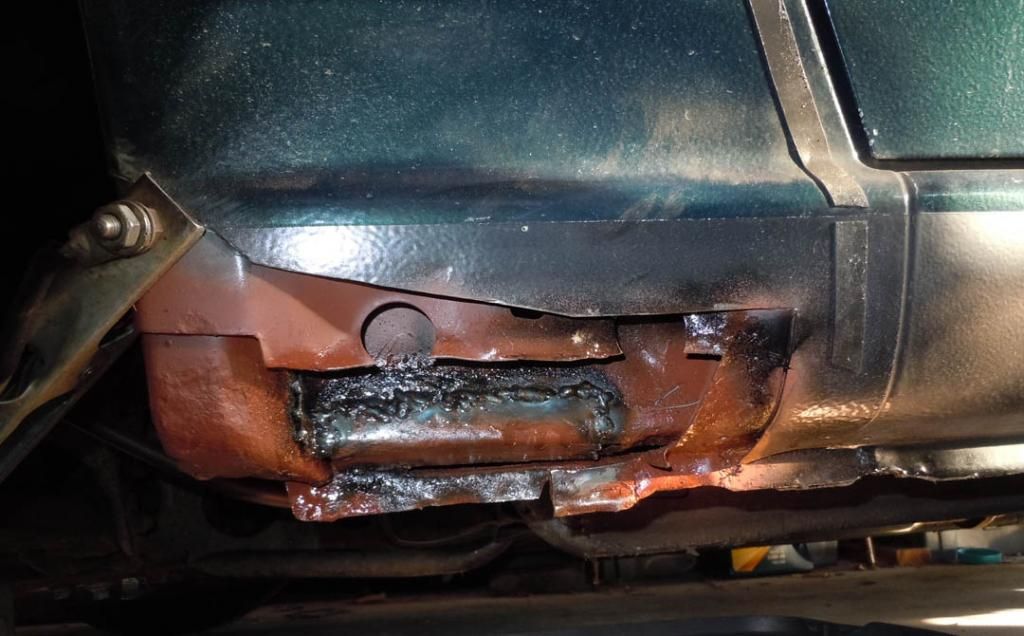
Then I bent up a patch panel from 16 gauge steel to fix up the middle structural panel and the pinch weld. I think the original metal was only 18 gauge so this should be plenty strong. Massive pain to bend by hand though. Wishing I had a bench vice right about now.
Then I made a piece to finish up the rear part of the middle panel since the original panel curves outward and goes flat across. This piece also wrapped around the back of the panel into the wheelwell and tied into the other pieces that converged back there.
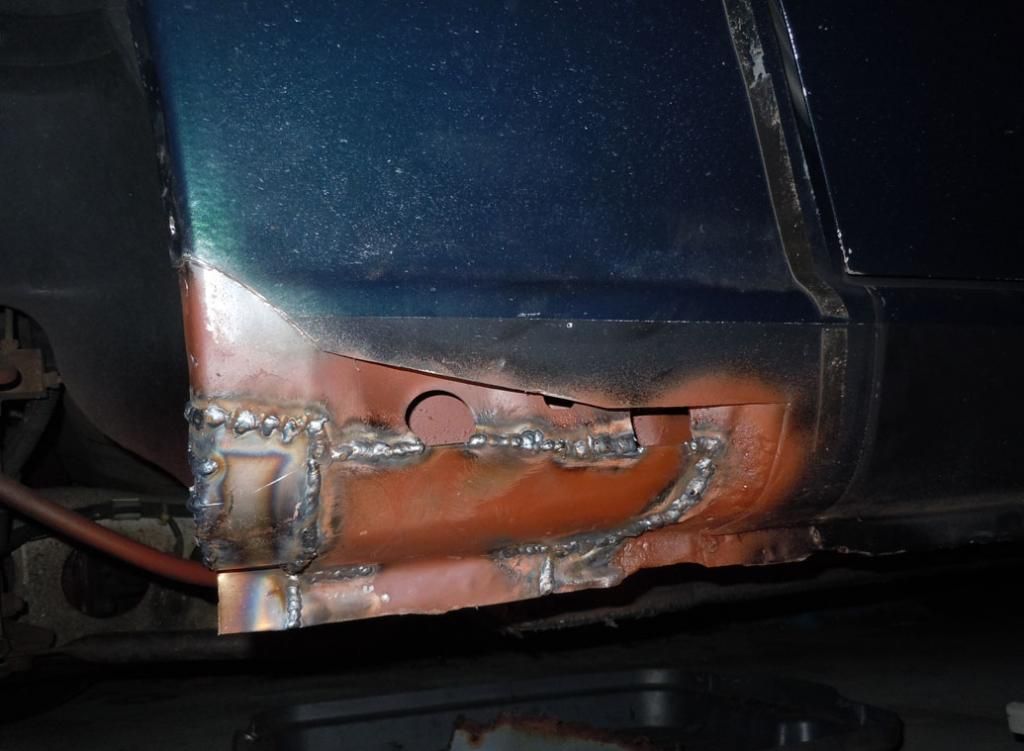
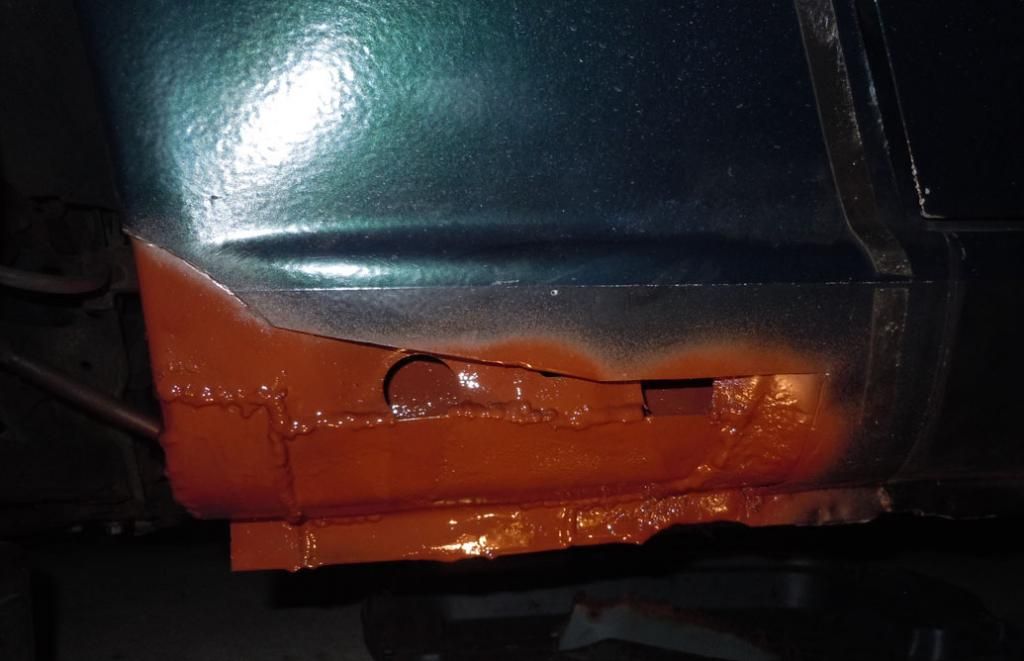
Then I called it quits for the night and covered everything in a rust protectant primer to keep everything I just did from rusting overnight. I plan on grinding down a few of the welds that will interfere with the outer skin. I also plan on drilling some holes through the outer layers and plug welding the layers together for strength.
Comment
-
New day and more work to do.
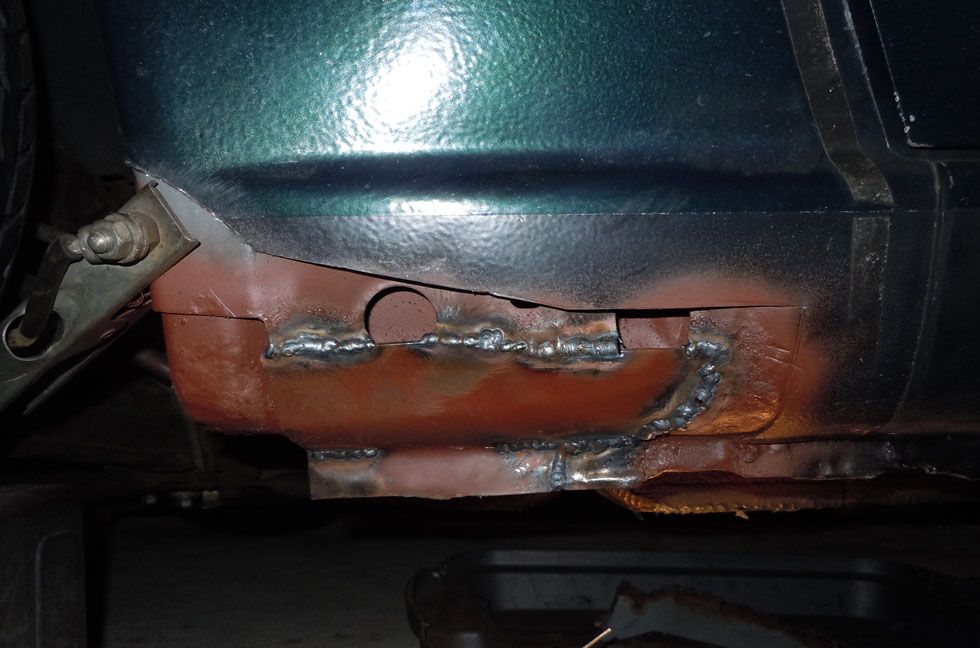
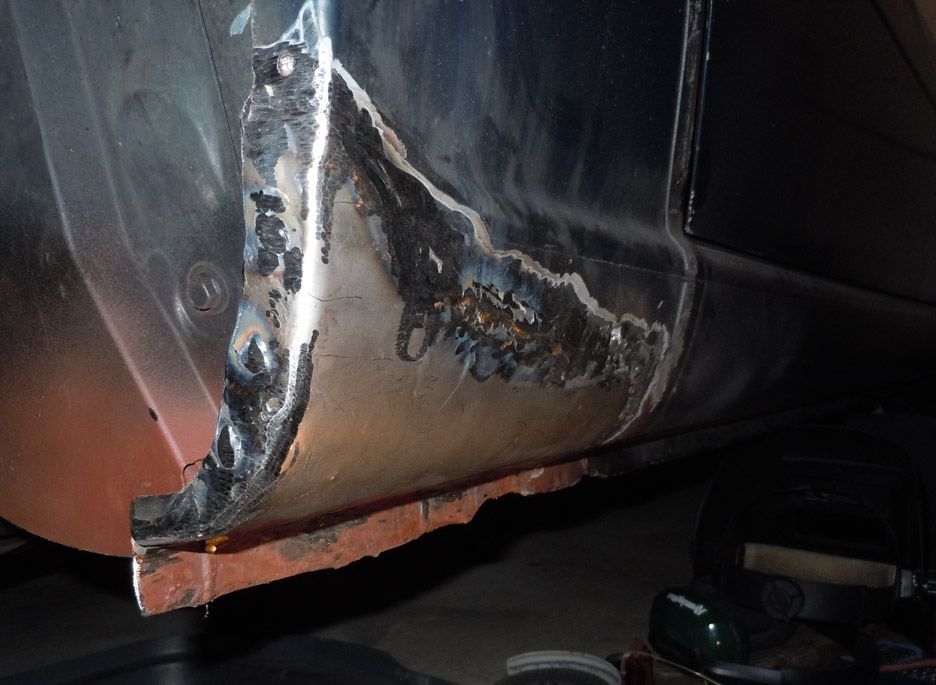
Ground down the welds on the inner panel

And then cut the sheetmetal for the outer panel.

External panel welded and welds ground.
The new metal painted up for protection.
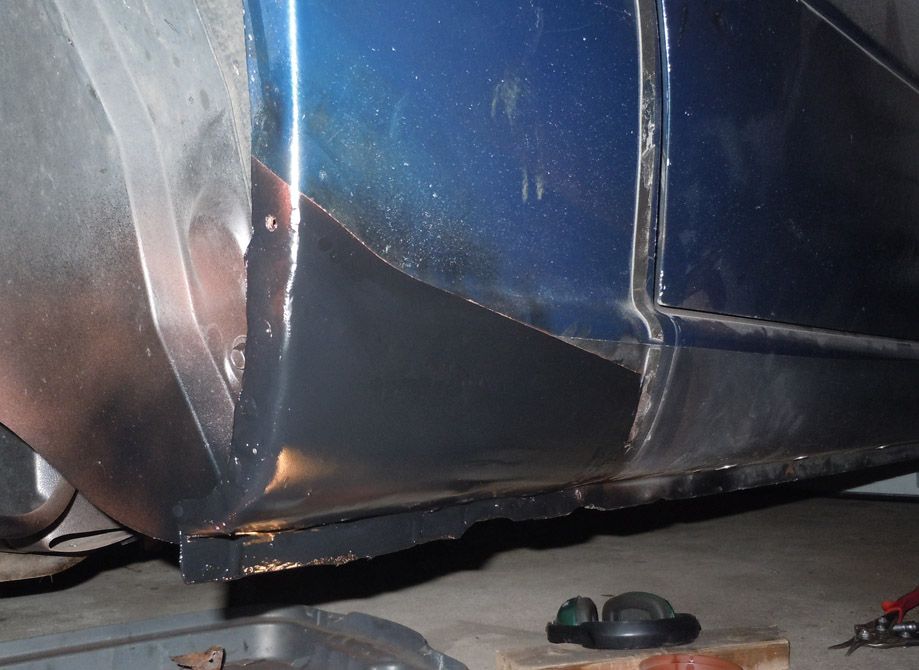
And done.
Comment
Comment