 Tweet
Tweet
So stoked to see new updates! Can't wait to see the progress.
-
Thanks mate! I'll try my best to keep them coming.Comment
-
I want a 510 so bad... If only the ones for sale near me weren't all rust buckets I cant wait to see more progress on the new engine.
Comment
-
The black stripe actually looks super cool all sanded down and stuff. Otherwise this is epic; I freaking LOVE 510's. Nice work
Comment
-
aw yes! yes yes yes yes yes and yes!"Dont let the opinions of the average man sway you.
Dream, and he thinks your crazy.
Succeed, and he thinks you're lucky.
Aquire wealth, and he thinks your greedy.
Pay no attention. He simply does'nt understand"Comment
-
-
the F20c just pushed this off the top end of the awesome scale.
carry on good sir, I eagerly await
Comment
-
Thanks for the kind words guys
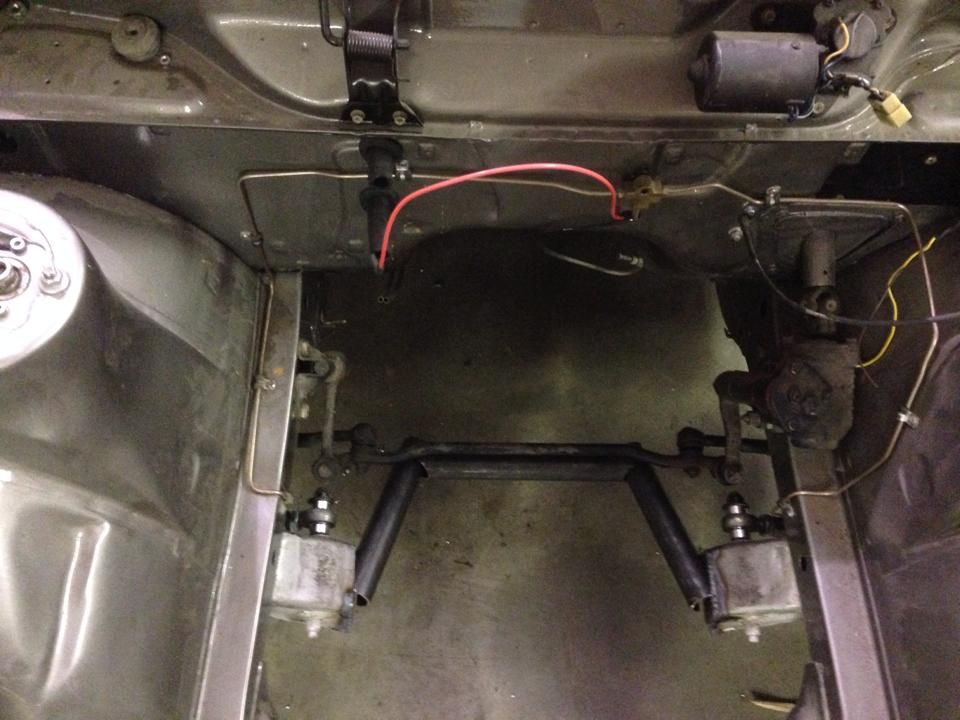
So, as a result of the engine change, I'm going to have to build a custom cross member, and the first step of that is to cut apart the old one. So within hours of my last exam, I had the cross member cut apart and ready to have the ends plated, go back in the car, and get squared up to start building the new member.

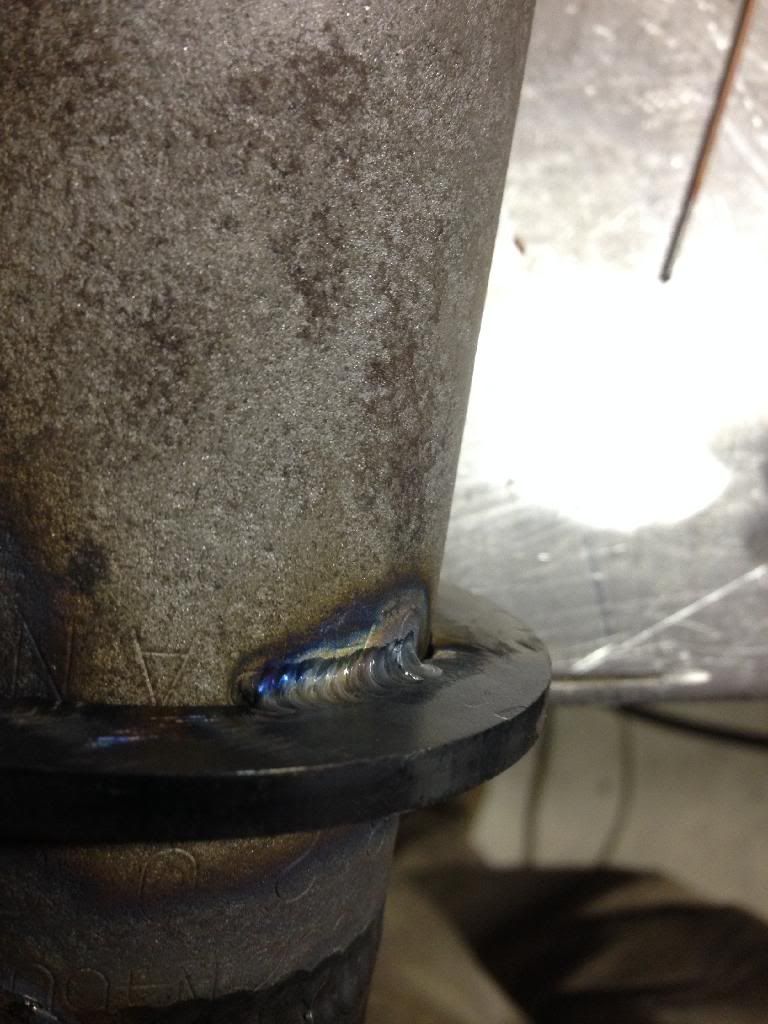
I didn't snap any pictures, but I did get the plates on the ends of the cross member ends. I also removed the engine mounts. The motor will be sitting further back, and at a different angle, so my plan is to use the stock s2000 mounts and build a lower part onto the cross member to accommodate a bushing/isolator of some sort. I also Tig'd together the plates, and noticed I'm getting quite a bit of porosity. I'm going to take them into work tomorrow and blast them and hope it's just dirty metal, as it's fine in some spots, and terrible in others; but any input is welcome.
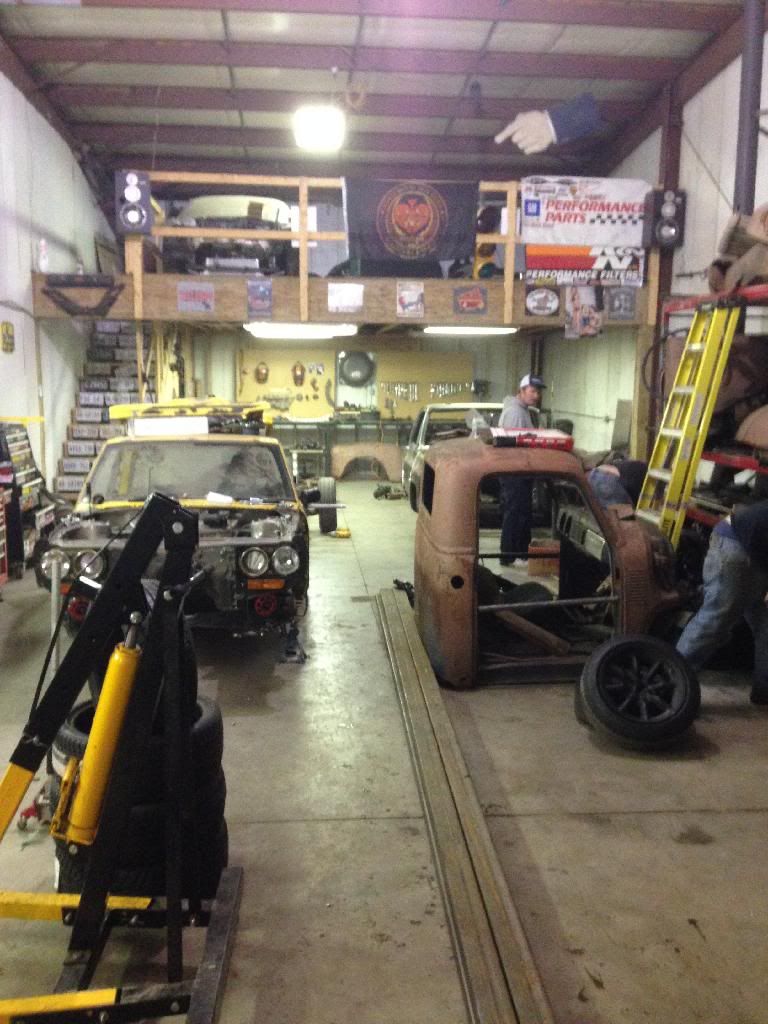
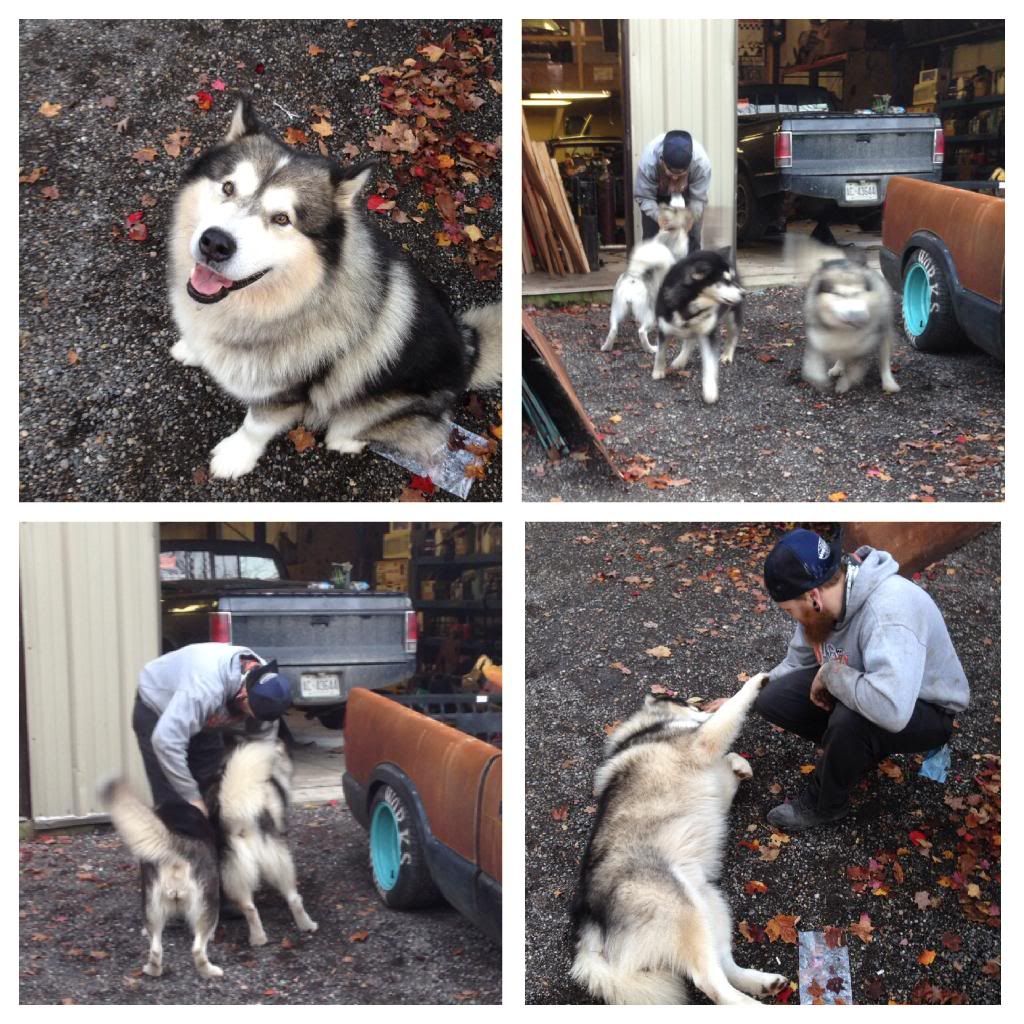
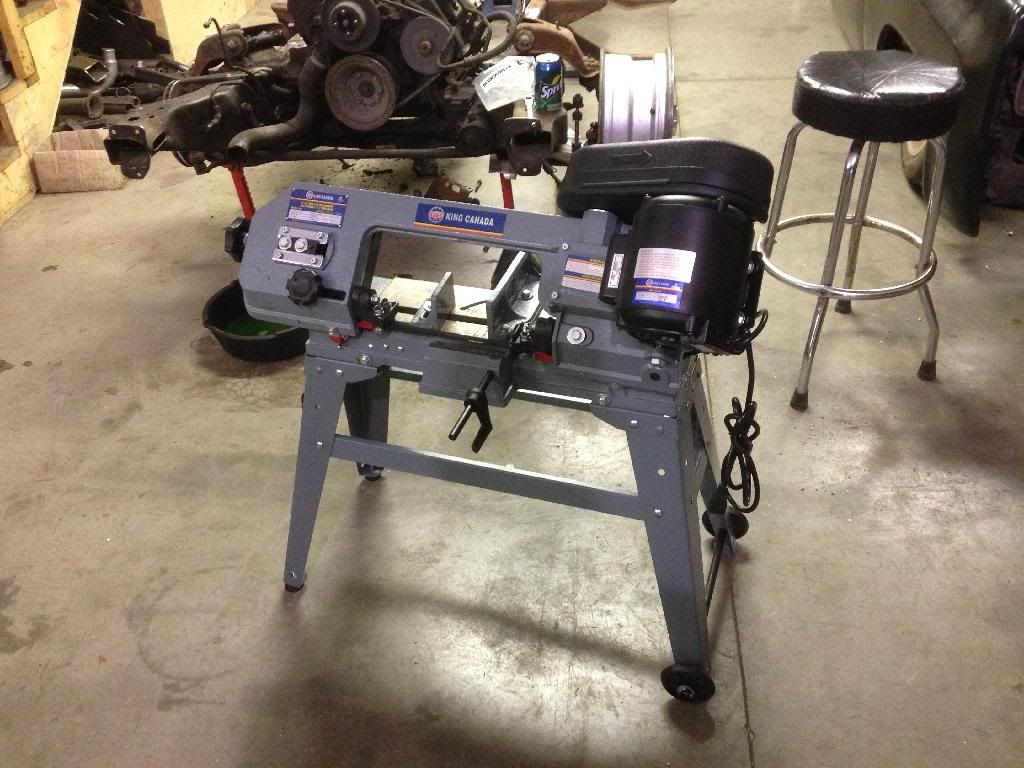
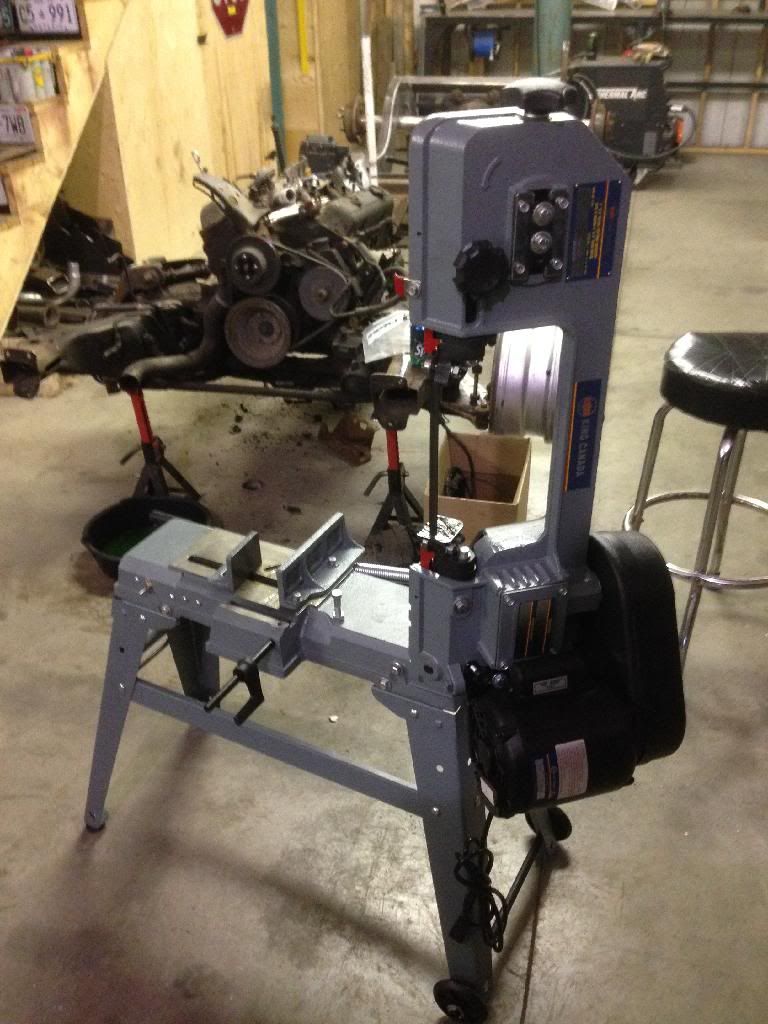
I also realized I hadn't posted any pictures of the new shop. I love this place! We have a great group of guys, six amazing projects, lots of skill, and a great selection of tools.
plus puppies. Sorry to gush, but I'm so pumped to build so many things. Having a hoist, tube bender, chassis table, and the people, skills, and other tools to build pretty well anything has me quite excited!
At any rate, here's a couple pictures of why I love this place.
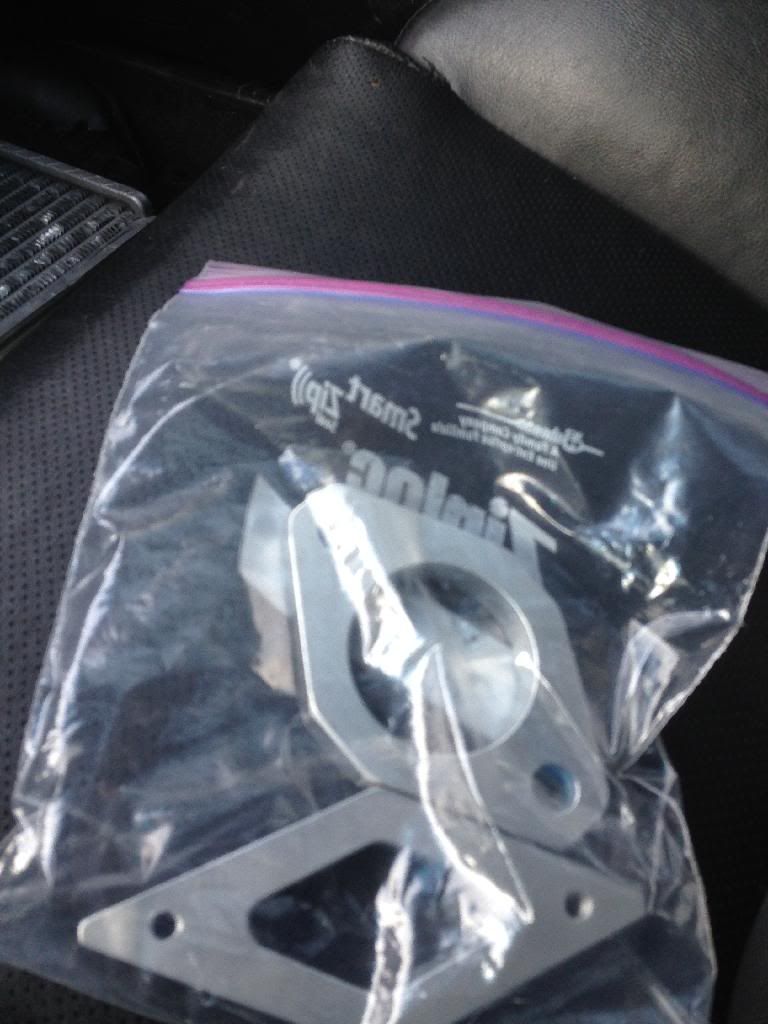
I also got the aluminum bosses in from the machine shop to weld onto my core so I can put my aluminum top mount on the legacy.
 Last edited by JPE16; 12-15-2013, 03:33 PM.
Comment
-
Lets see if I can make sense of what I have done over the past few weeks. Unfortunately life happened over the break and I didn't get to spend nearly as much time on the car, however I now have more room to sleep, and less time I'm required to be at home.
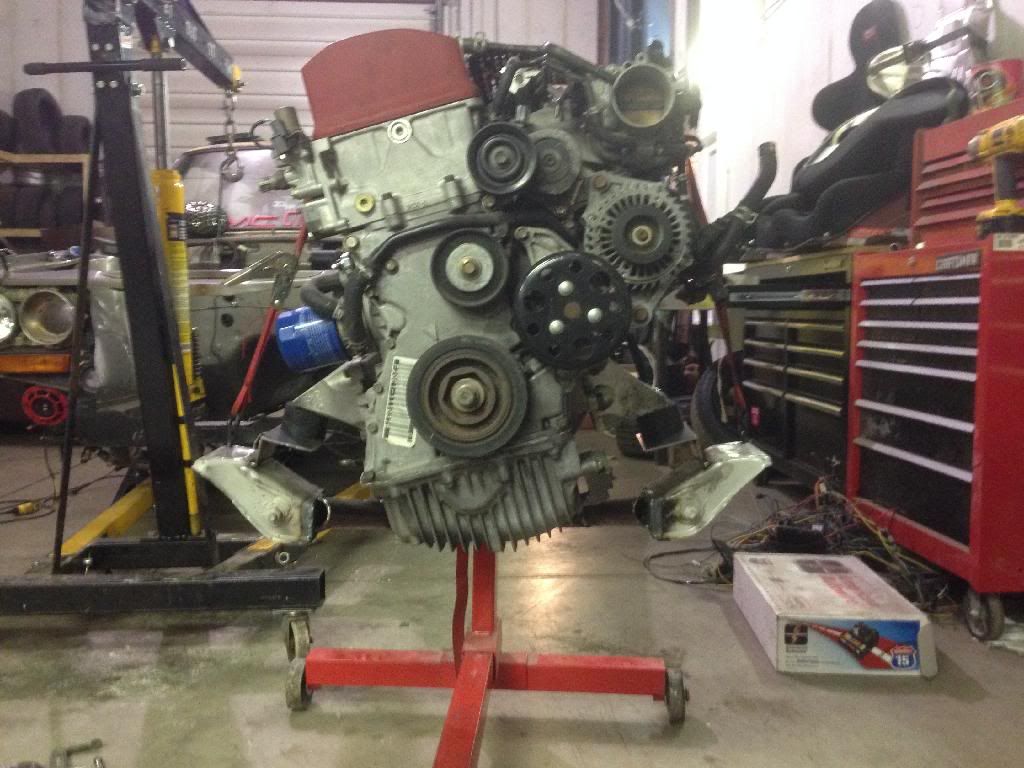
I had the engine in and out a few times. I have been looking at other swaps, and I don't really see any I'm in love with. i don't really like how alot of them solved some of the problems. So, I took some time to think and come up with some solutions. On the top of my list was not hacking up the firewall and transmission tunnel. Secondly was to leave room to add a rack down the road.
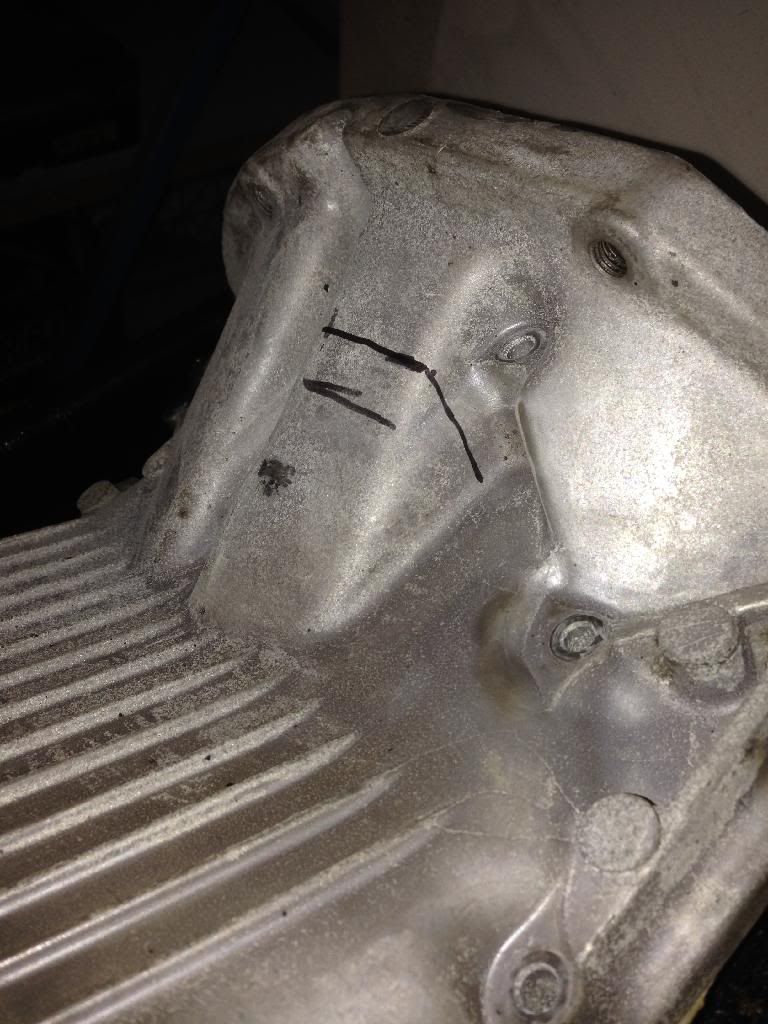
So after much consideration, I decided the best way to keep the engine forward (to allow me to access things on the firewall, and leave room for the largest part of the bell housing, making it easier to work on) and as low as possible. To do this I would need to either a) make a new drag link (or bend the existing one, although adding that much heat to a 40 y/o cast part doesn't strike me as smart) b) switch rack and pinion immediately or c) make a new oil pan.
After some investigation, it turns out the rear portion of the pan that's in the way doesn't hold any oil. So, that made my decision rather easy.
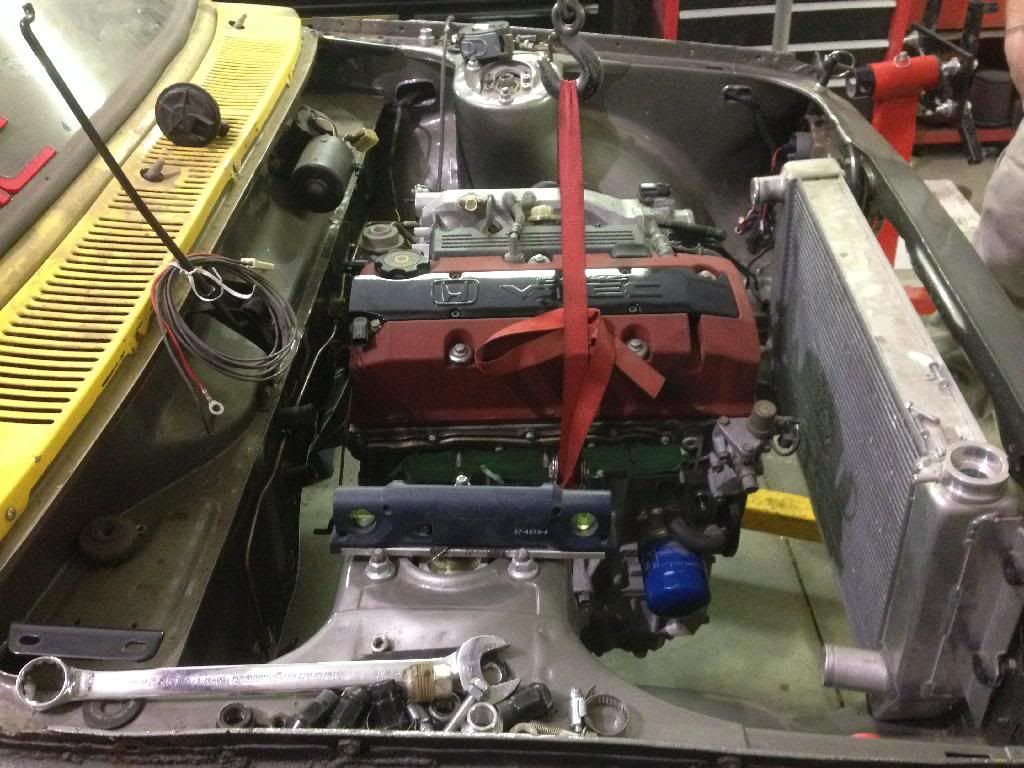

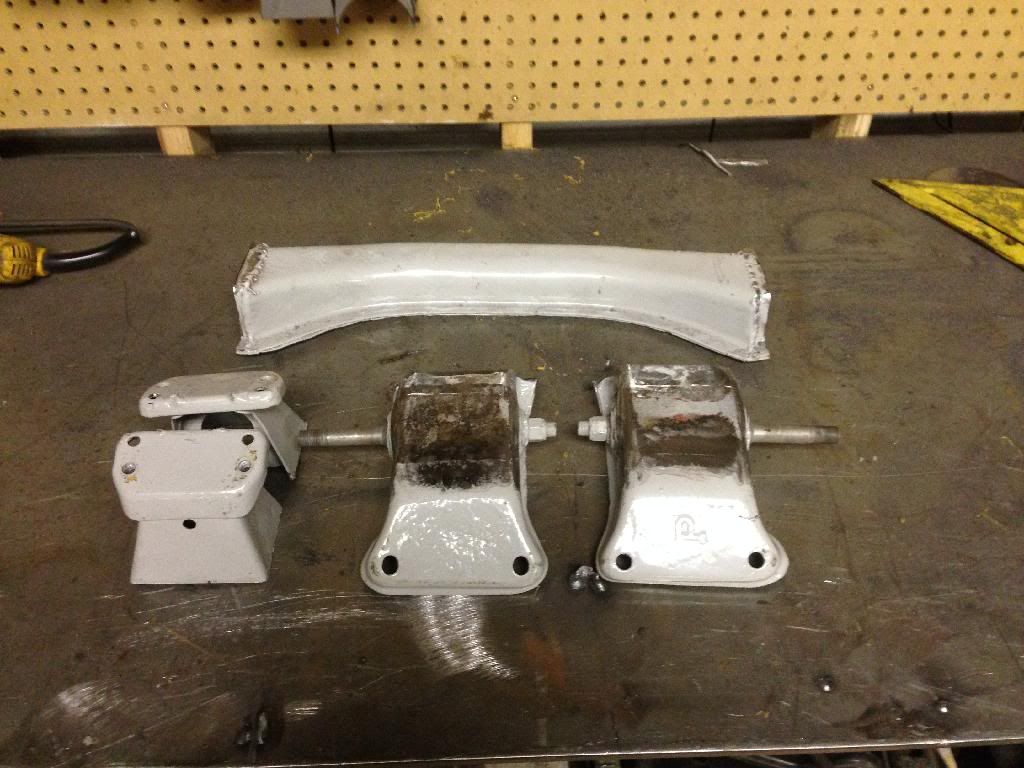
Next job was to make up a new crossmember. I had started on this before the last step, and it looks ugly now, but the ultimate goal is to make it look like one piece.
It also allows me to mount a rack on it down the road.
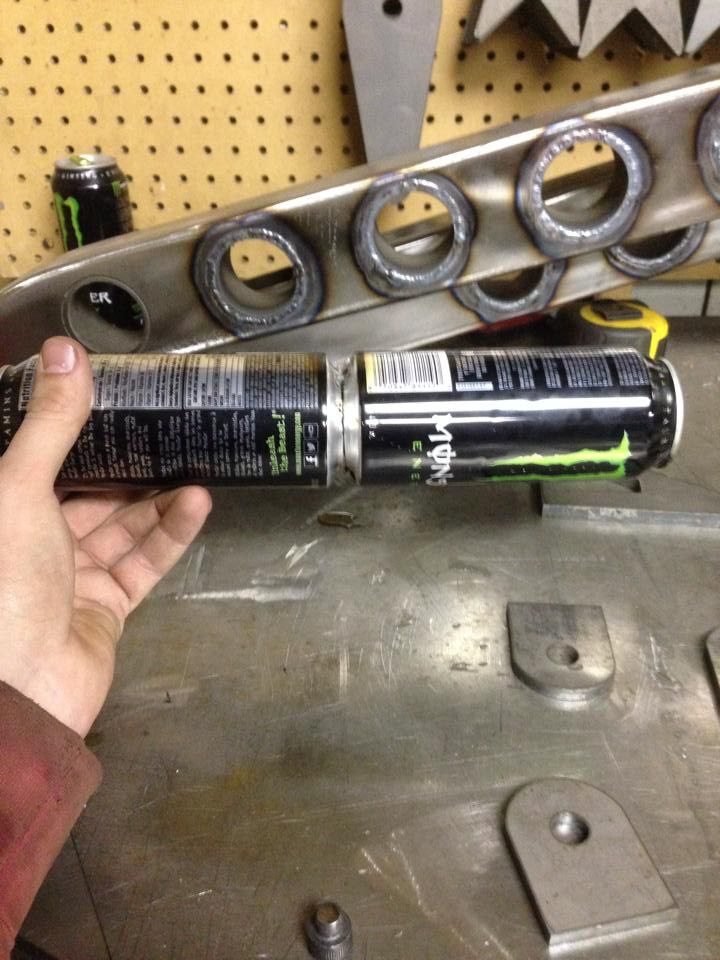
So, I sent the pan out to have the offending casting machined off, got it back, and welded some plates on to give it back SOME structural rigidity. I test fit it, and it worked a treat. i could now position the engine exactly where I wanted it, retain the factory drag link, keep the tranny tunnel massaging to a minimum, and have room to work on the back of the motor. Unfortunately I dont have any pictures, but my dialing in of the tig welder on aluminum hardly went smoothly, so perhaps it for the best no one see those. However I did get it close enough to stick two pop cans together. A few tacks was the best I could manage after a few minutes practice
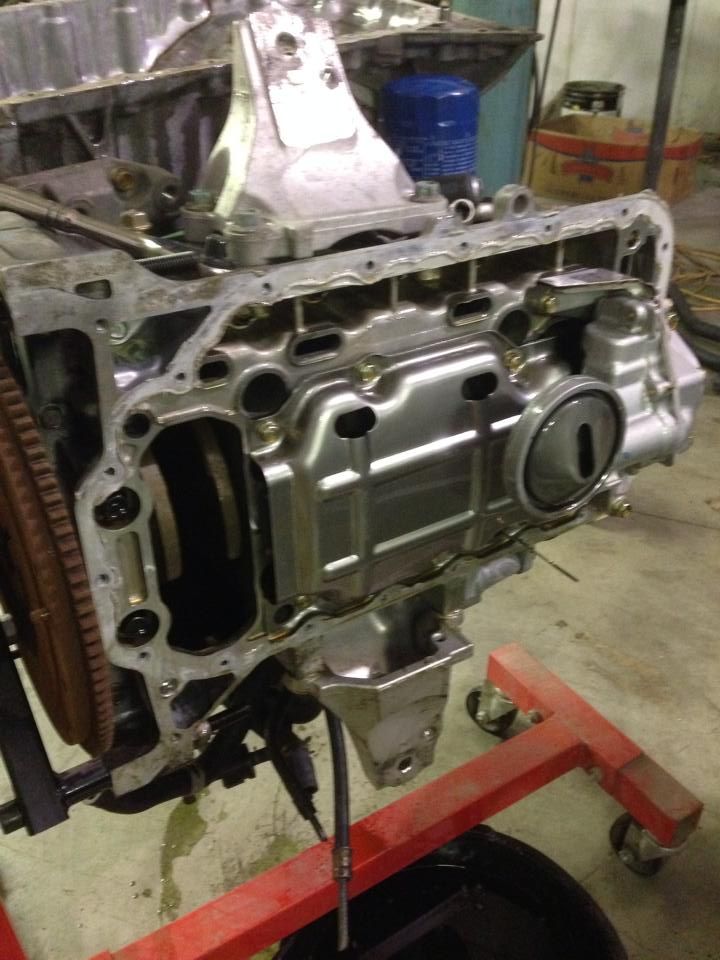
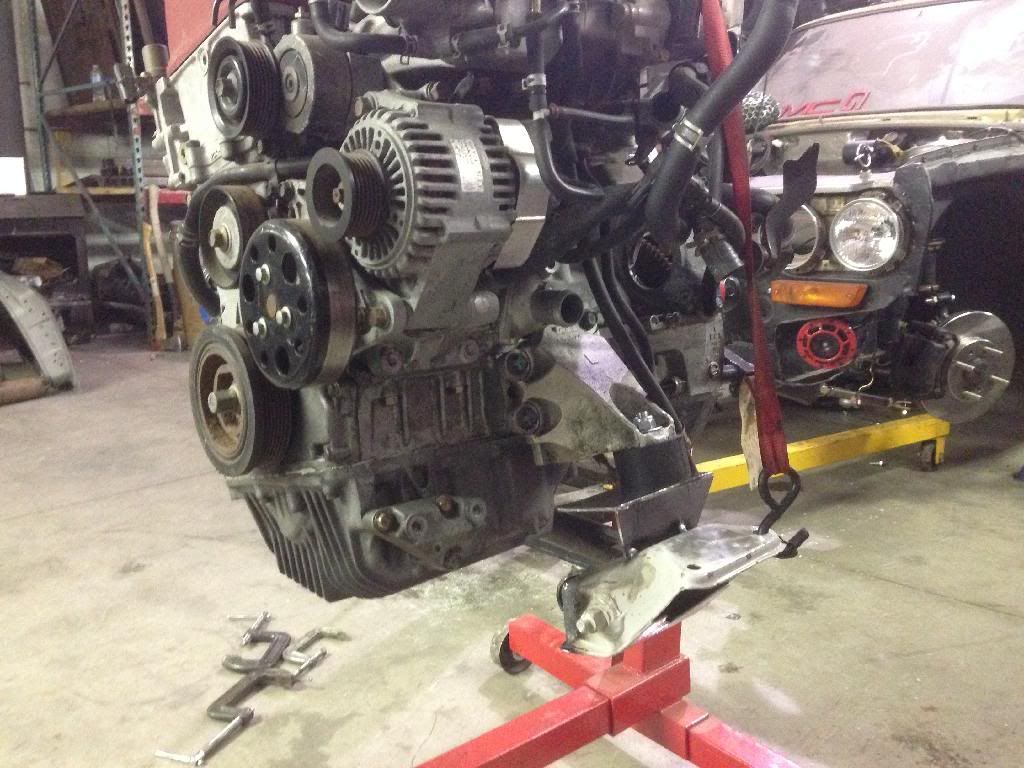
Having the pan off, i also had a look at the bottom end. I think I believe this guy now about the whole 8000km thing
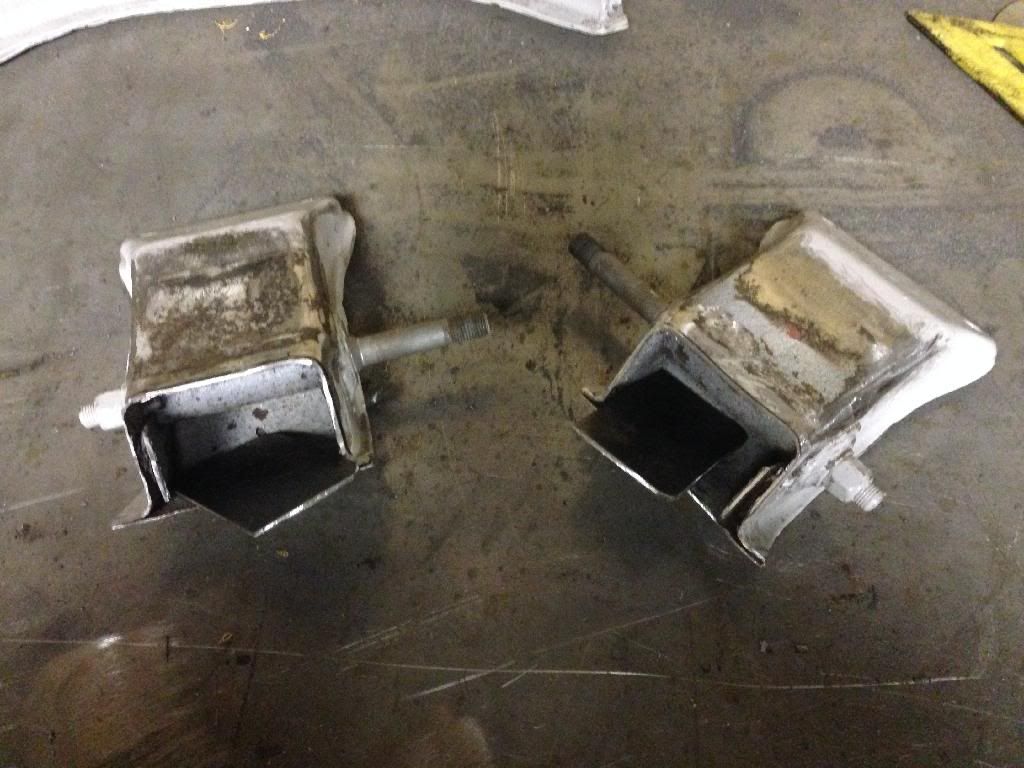
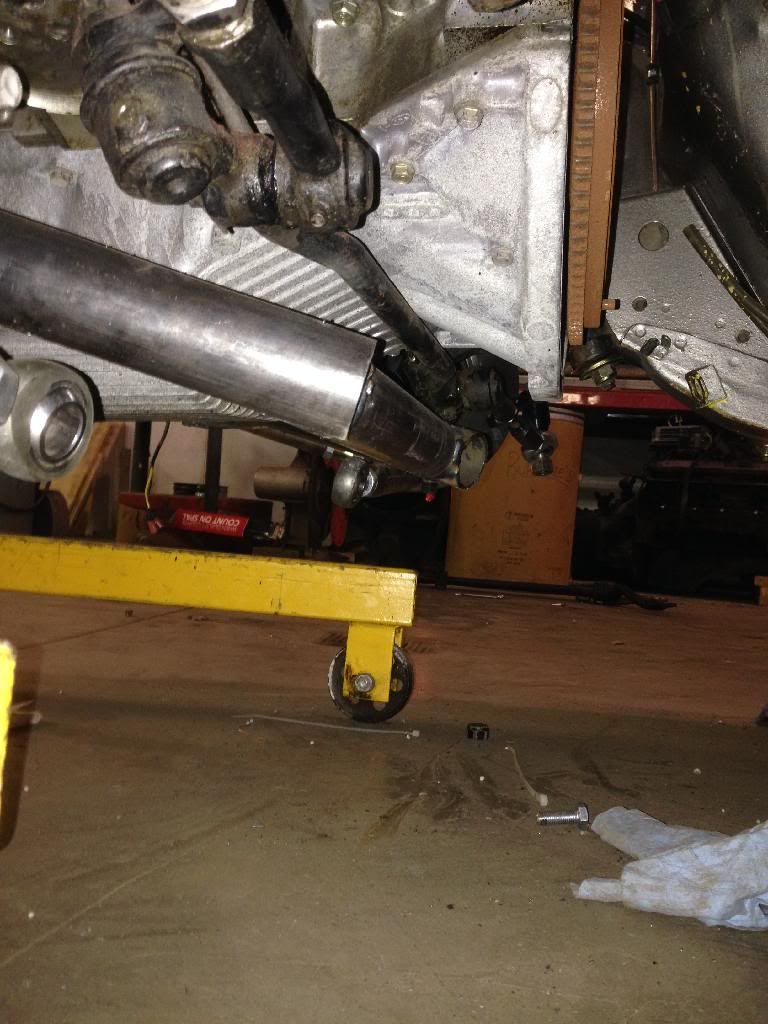
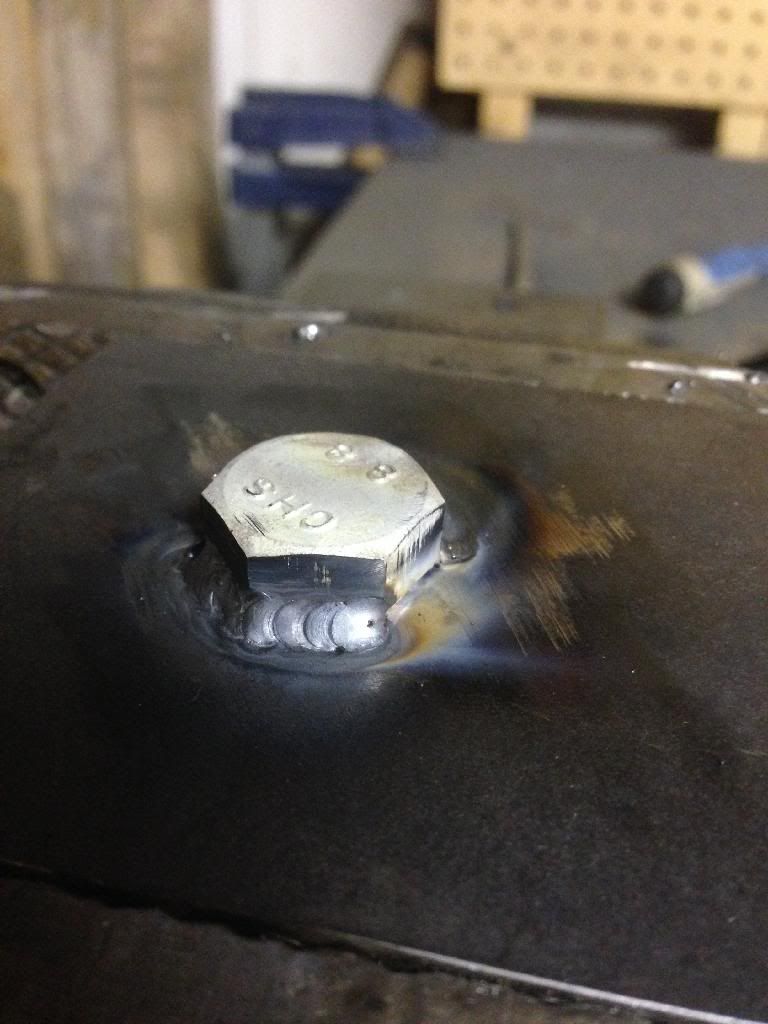
Jumping ahead slightly, after a ton of measuring, and positioning, and measuring, I popped the motor back out and began fabbing mounts. 200 points to whoever guesses with the rubber isolators are made of.
Bolts welded to the back of the plates
Bolt, plate, and isolator in their home
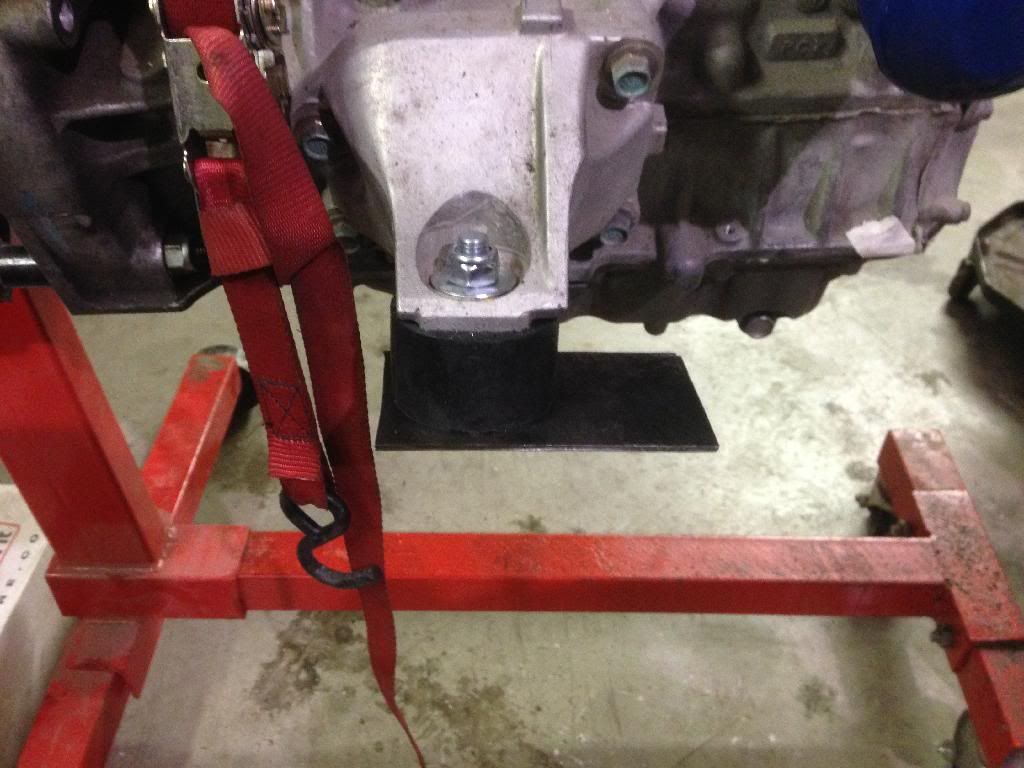
Side plates added, and buzzed onto the crossmember
Tomorrow I will likely put the inside plates on, tig it all up, and get it ready for final instal.
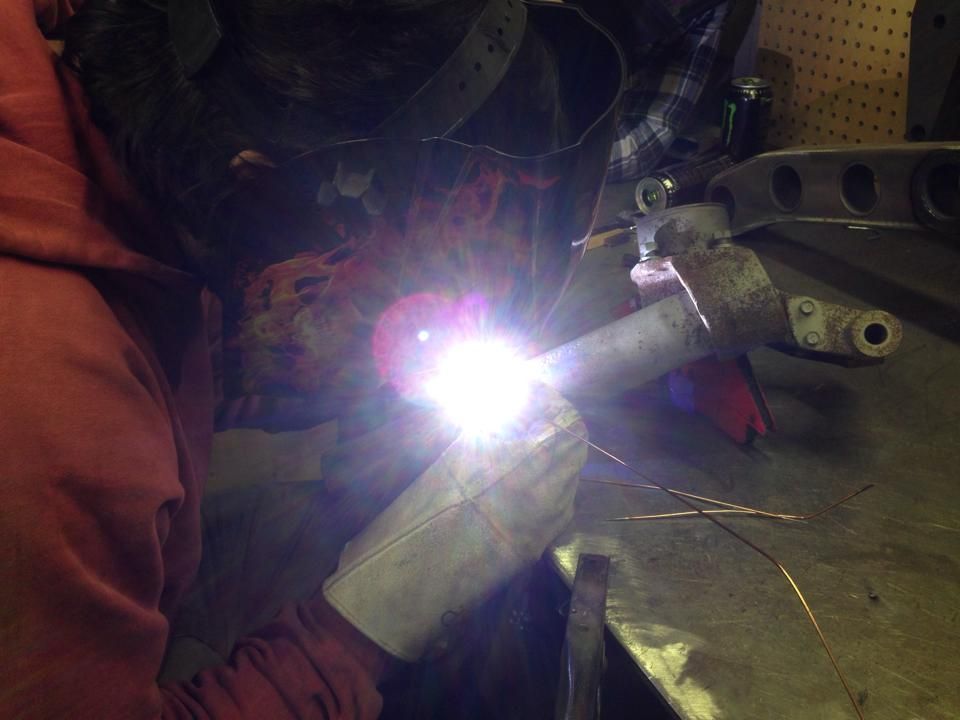
So, over the break I got a bunch of other things done, not all of them productive. I spent some time practicing my tig welds (naturally on someone else's car) and welded some struts up for my friend James who's building a heck of a 280z!
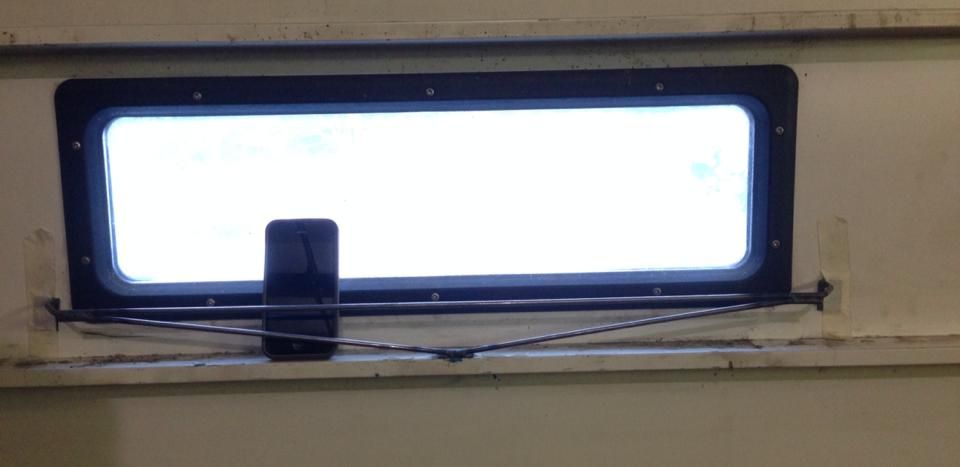
Tig welding is all practice, so I stuck together a new holder for cellphones at the door (the only place we get reception)
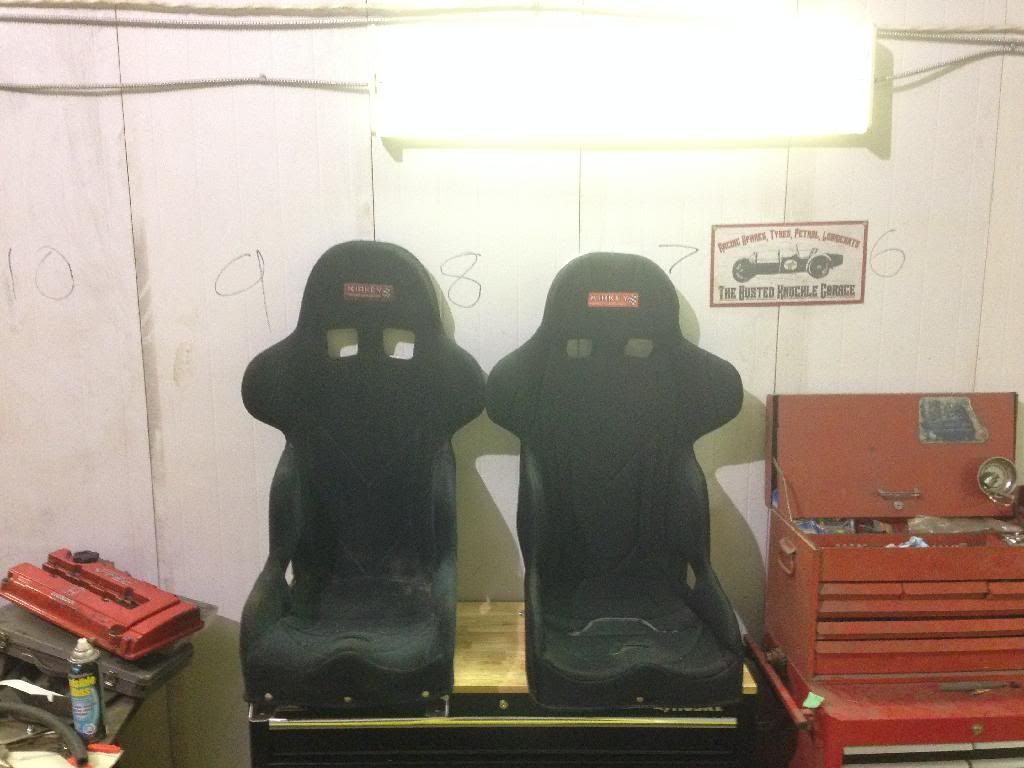
Got my seats all mounted and ready to go in
and popped by my parents place to use their, rem, parts washer

Also got a pretty sweet christmas present from my dad
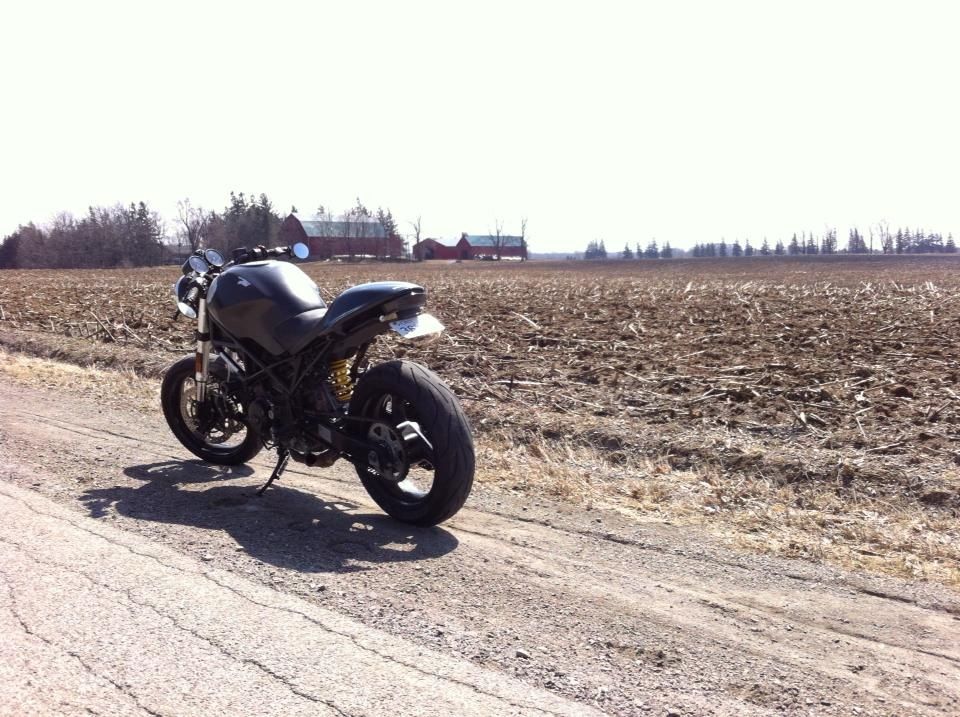
And lastly, I hit up the motorcycle show with some friends and picked up all the gear I need to ride my other new toy

Anyway, I'm sure there's things I'm forgetting. At any rate, for those who've been following the build, I should have more updates to come, and look forward to any input.
Thanks for reading guys!Comment
-
wow your build is absolute inspiration to get my 510 project rolling! the fab work and attention to detail is top notch! propsComment
-
AwesomeComment
-
excellent work.Comment
-
Friendly ideas for your cross member
Hey!! I dont mean to jump in here uninvited but I have a 71 510 with a F22 swap mounted and running. I attached some pics of my mounts and cross member to give you some options. Mine is solid and i have more ground clearance just incase i decide to lower the car.Last edited by Sad31490; 01-16-2014, 04:21 PM.Comment
-
this is crazy!! is the isolator a hockey puck?Comment
-
Wow, thanks for the kind words guys!
Sad, do you happen to have pictures of your transmission tunnel, or firewall? I'm hoping to avoid cutting as much as possible, so that's why the engine is a little further forward and down a little bit.Comment
 [/URL]


Comment