 Tweet
Tweet
Sweeeeet
-

-
It's actually autoCAD right off Autodesk's website!!Originally posted by Svenska94Aero View PostComment
-
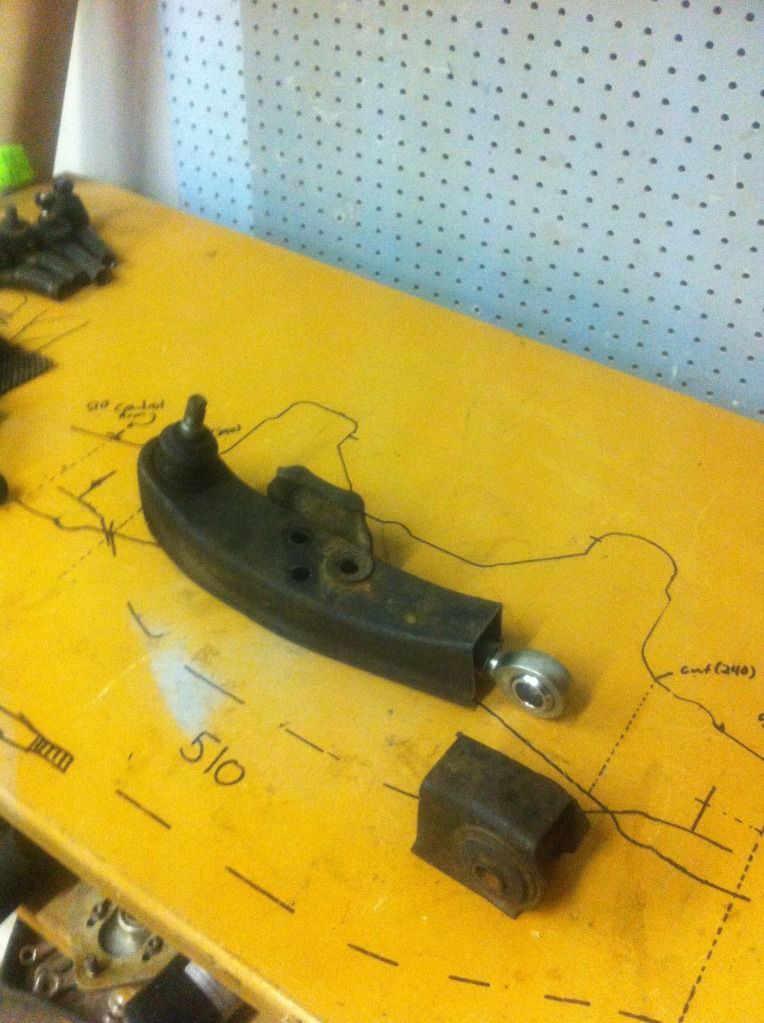
Well, I've been extremely busy as of late, but over this past week I took a few minutes to unwind and mock up the suspension. My main concern was that when I mocked it up, I would be left with a ton of positive camber at ride height. So i popped a spring off one of the coils and put it all together with the 510 control arm. At ride height, I'll be left with just over one degree of positive camber with the 510 length arms. So I mocked up my adjustable length arms to be the same length as the original 510 ones with the camber plates set to "0". So, I'll have plenty of adjustment out to add negative camber.
I also got my inner tie rod back from the machine shop. I'll be putting that in sometime this week to ensure that I have enough adjustment to accommodate for the added track width of these new control arms.
Observations:
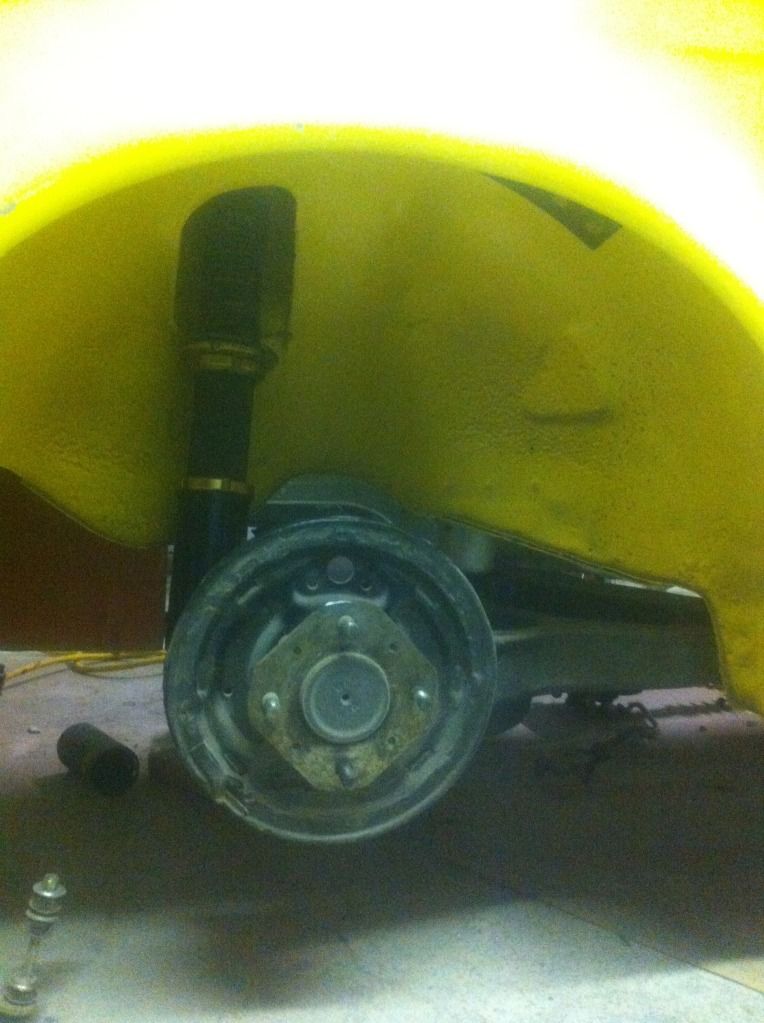
S13 control arm and hub assembly is considerably shorter than the 280zx units.
S13 control arms place the ball joint on a greater angle to the hub.
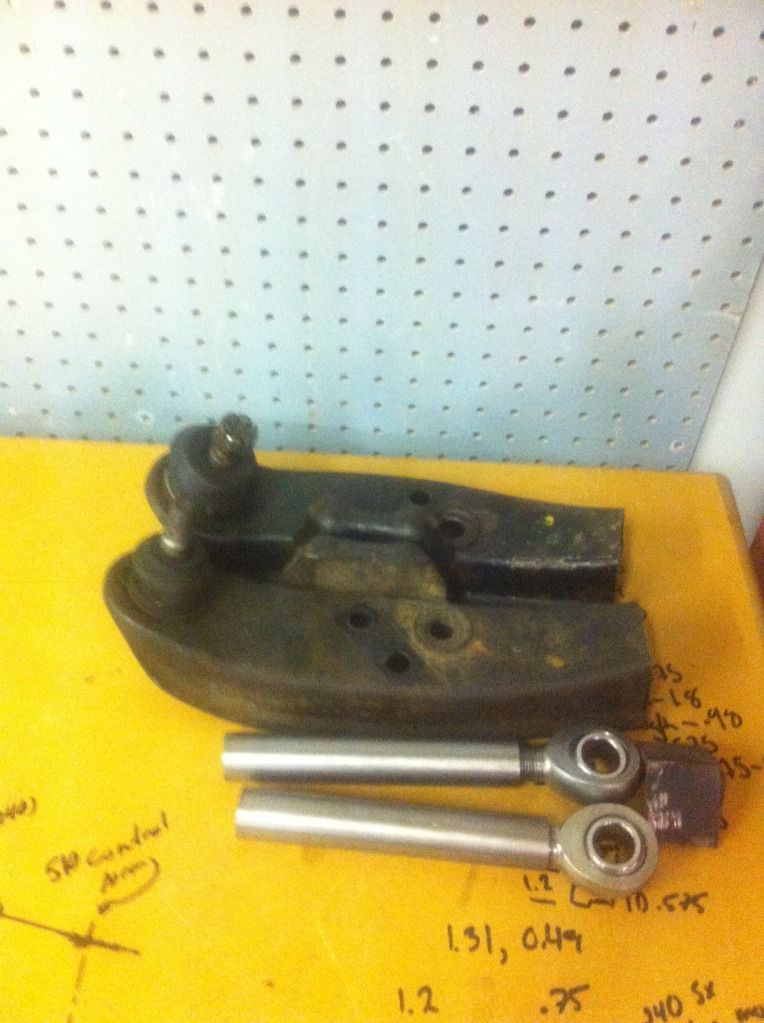
S13 control arms cut, and mocked up:
All parts waiting for some free time:
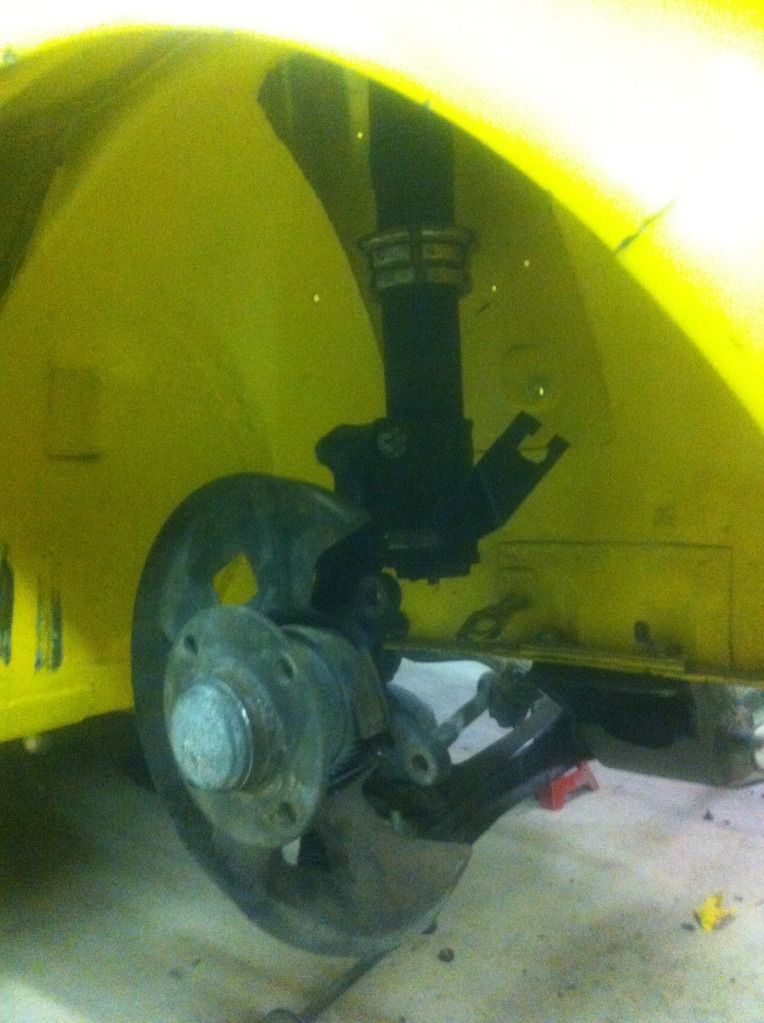
S13 coilover, S14 hub, 510 control arm:
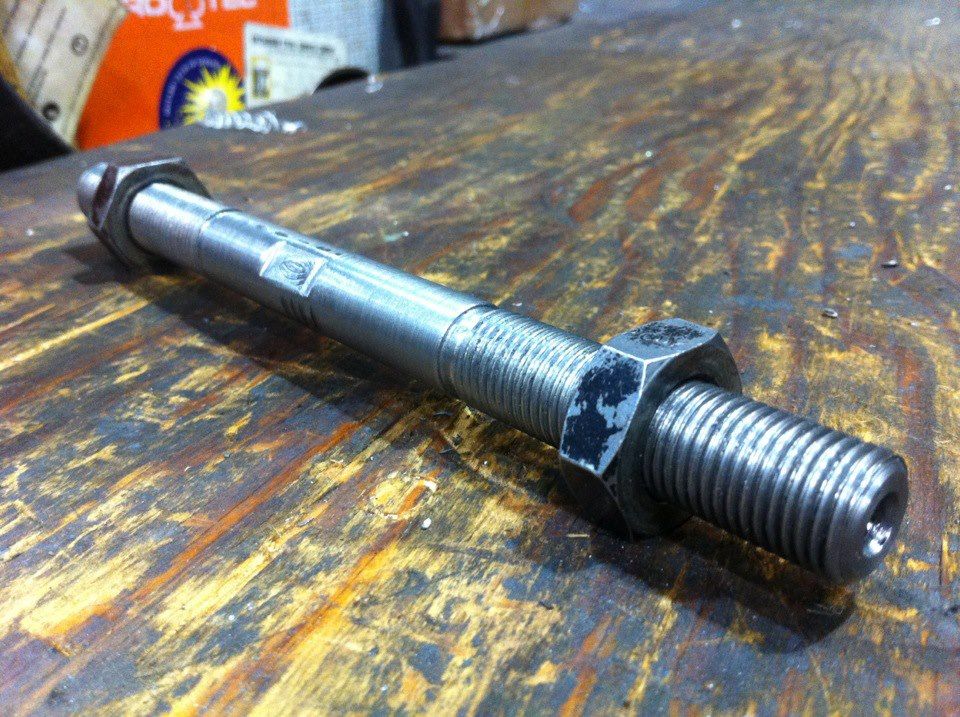
Newly machined inner tie rod:
Comment
-
Not sure if this will help you, but I've seen a picture where a guy welded a 510 bump-steer spacer (or roll-center adjuster) onto the bottom of an S13 hub, then he was able to bolt the S13 hub to the 510 LCA. Hope that made sense, I'll try to find a pic for you.
edit: here you go: http://www.ozdat.com/forum/download/...4812&mode=viewLast edited by anth; 11-18-2012, 07:58 PM.
Comment
-
1) I love your website. One of my absolute favourites. It appears we have the same definition of what awesome is.
2) Do you have a link to his thread laying around? I have a few other issues I wouldn't mind seeing how he tackled.Comment
-
1) Thank you very much, kind words are what keeps me going (because I sure as shit aren't getting rich from it!)
2) Here you go: http://www.ozdat.com/forum/viewtopic.php?f=59&t=20290Comment
-
Love the progress, keep it up, I'm anxiously waiting for updates.Comment
-
Ask and ye shall receive.
Tonight, I had the chance to unwind tonight and get some stuff done.
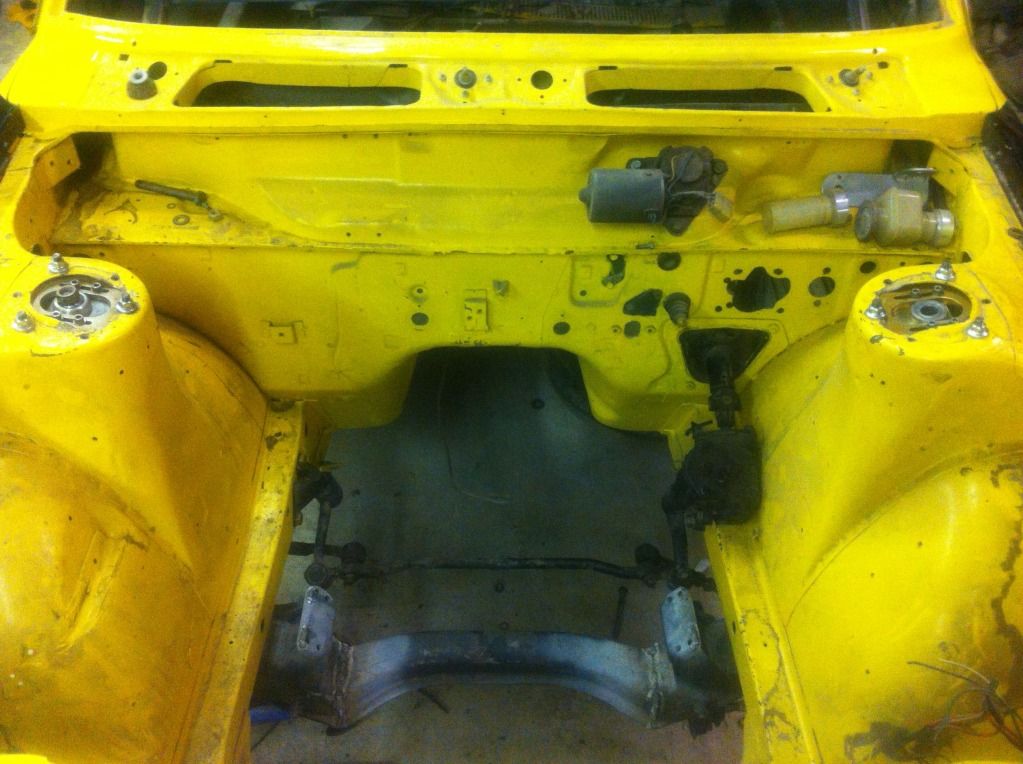
I got around to cleaning up and anti-seizing everything on the coilovers and bolting in the steering box assembly. I also put in the driver's side suspension to figure out the caster and camber, and make sure the tie rods are long enough to accomodate the adjustable length of the control arms.
it's starting to kind of look like a car...
I then put my new hardware kit in the calipers and mocked them up:
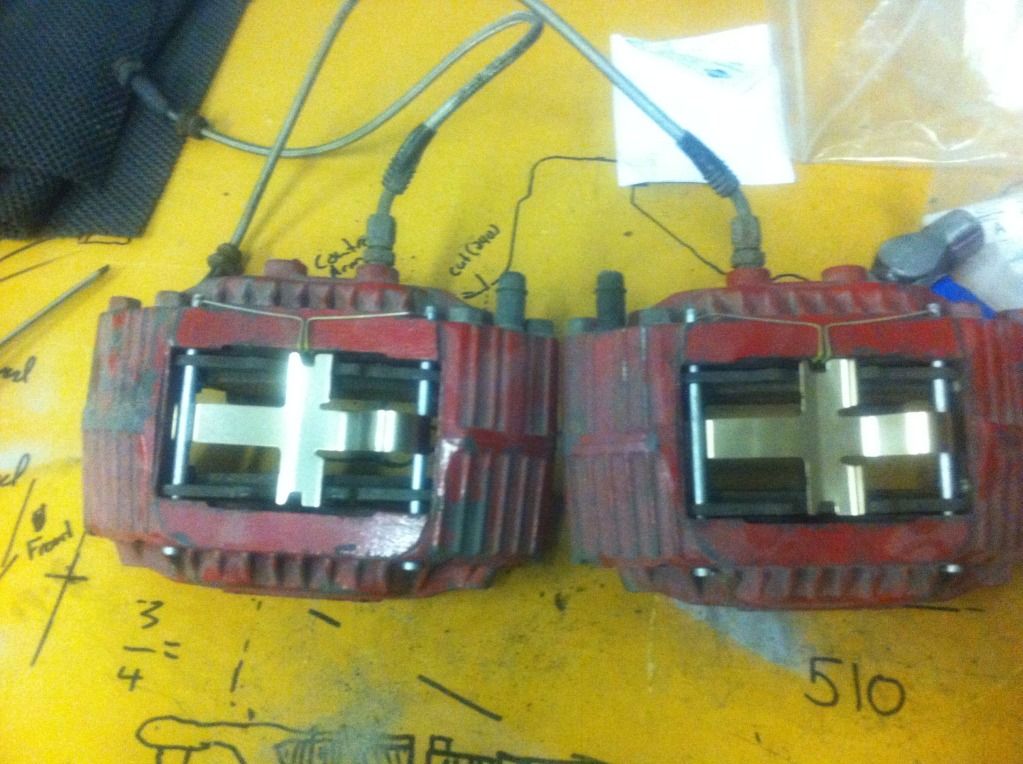

I found that I can use the factory flex line locations:
However, i found that the brand new Z32 bolts I ordered leave about a 1/4" of bolt exposed when bottomed out in the caliper. I thought it was the shoulder bottoming out on the caliper, but there's about 1/4" of thread exposed as well. So I'm thinking maybe i need to use S14 caliper bolts?
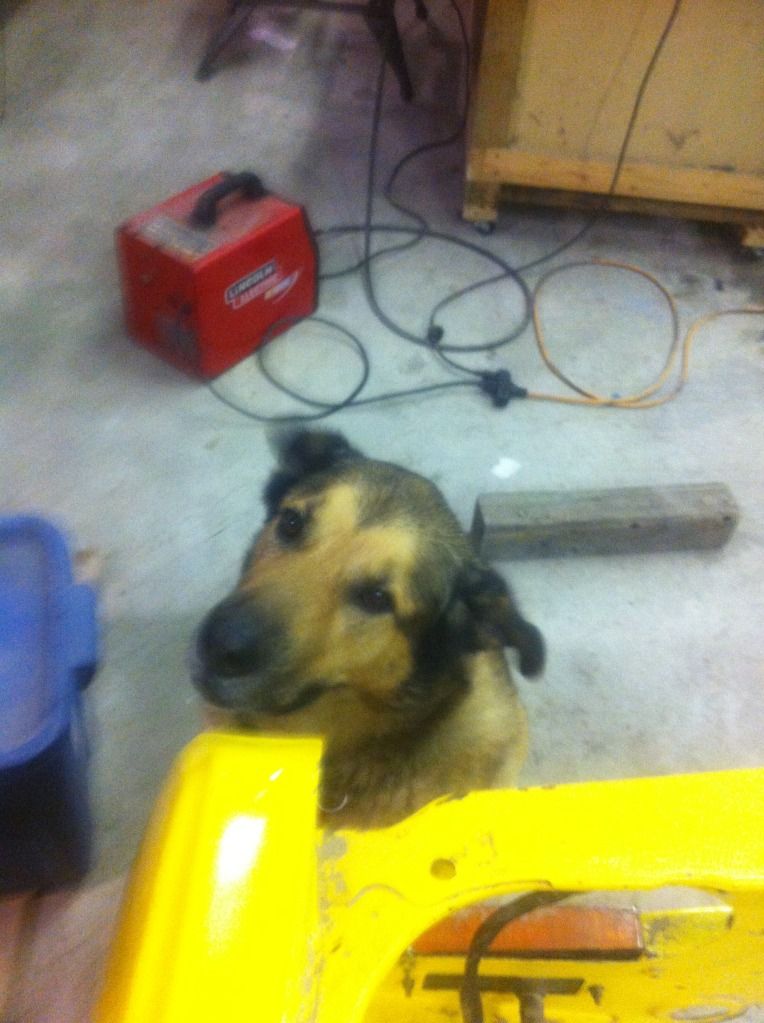
My helper for the evening:
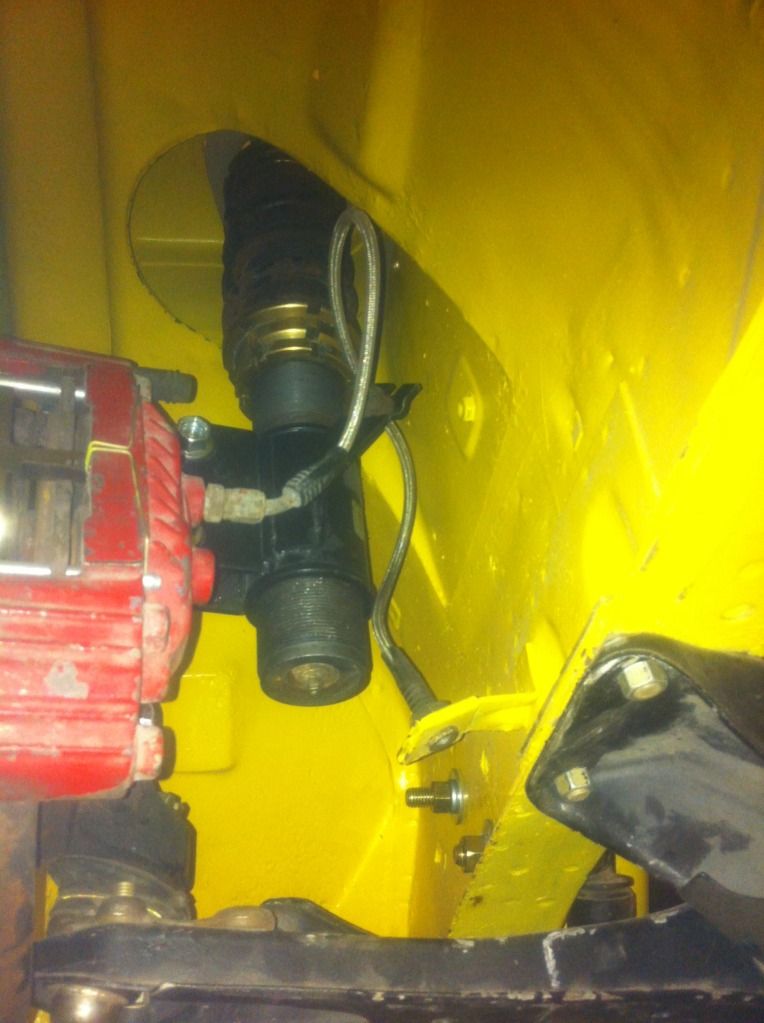
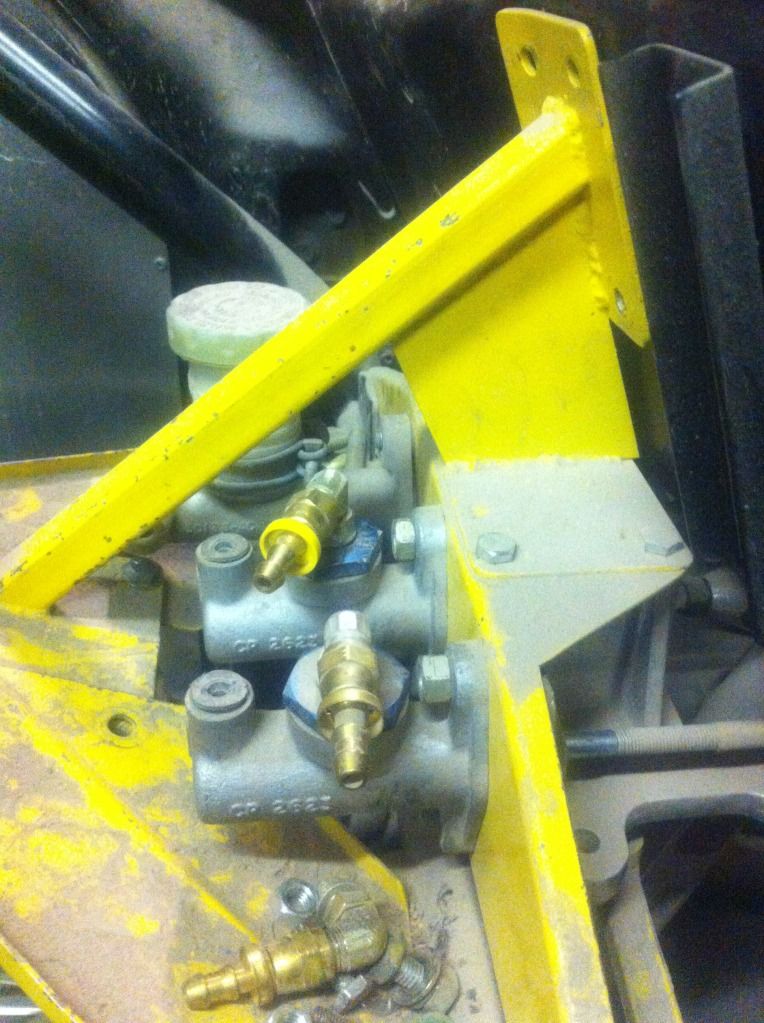
I also mounted my AP Racing master cylinders on the balance bar. They're both 7/8" bore, so I may get a 1" bore for the front.
Onto the rear!
I put the rear S13 coil in to mock up and make sure my research was correct. I need the make some bushings to adapt the lower mounting point. However the top needs more work. I'll be adapting the Stance upper pillow ball mount to work in the 510 tower.
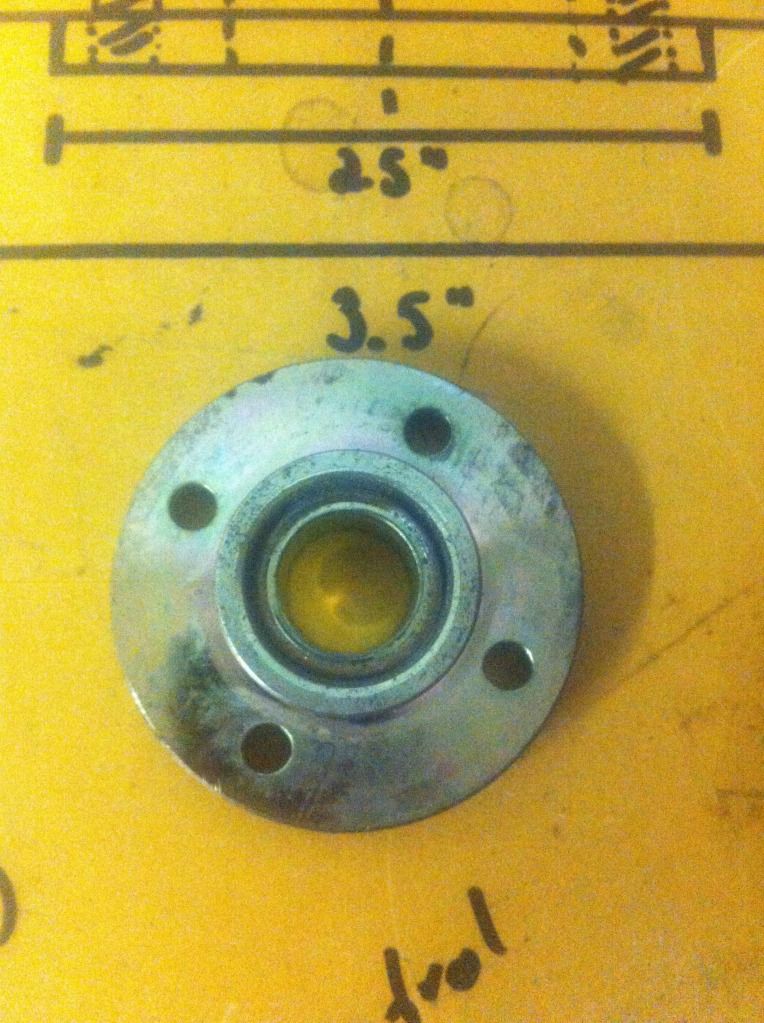
I will use the Stance spherical bearing, and mount it ontop of a new smaller diameter spring retainer.
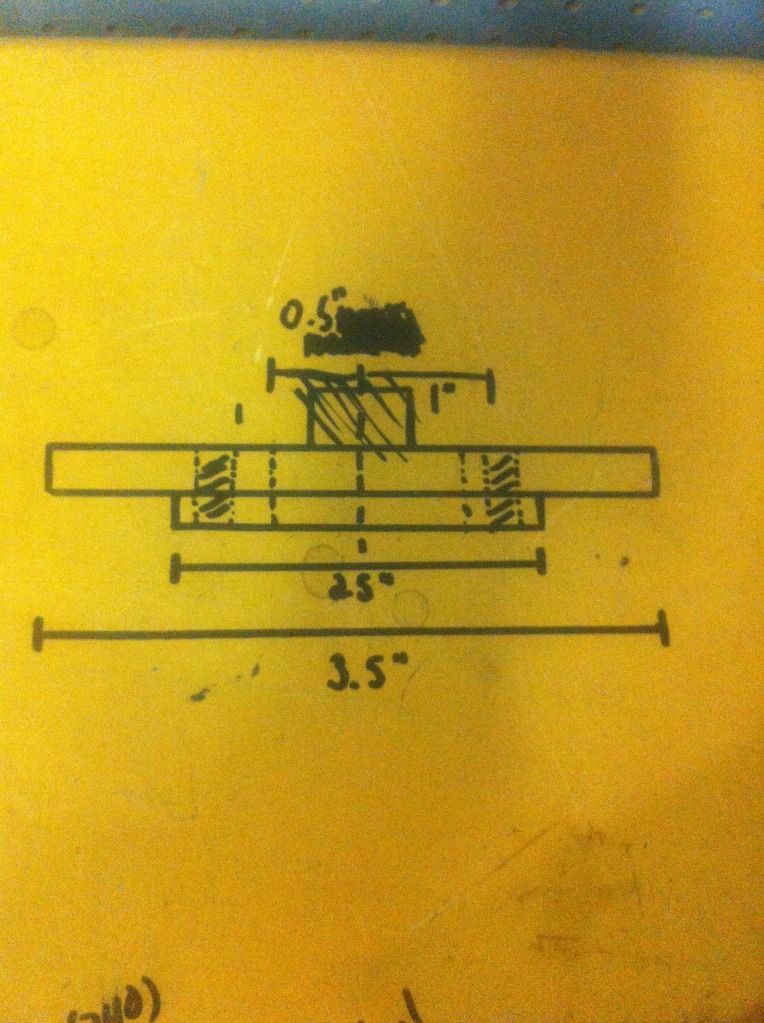
Rough sketch:
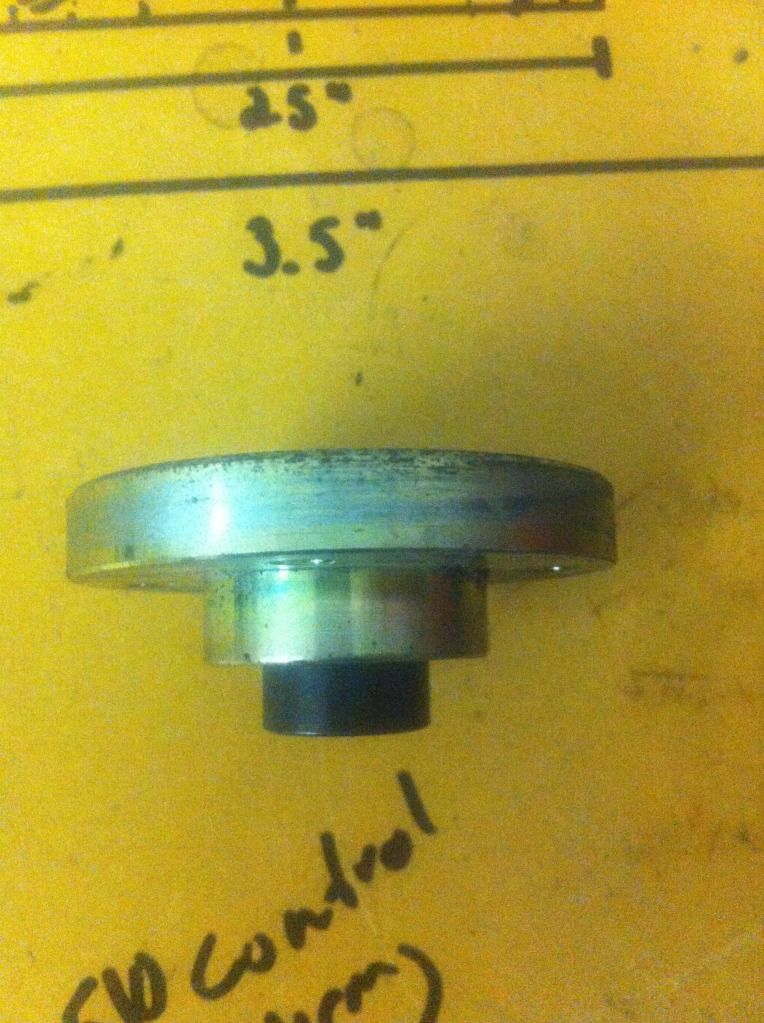
Stance spherical bearing:
S13 rear strut tossed in:
I also flattened out the angle the front lower ball joint sits at to accommodate the new front geometry:
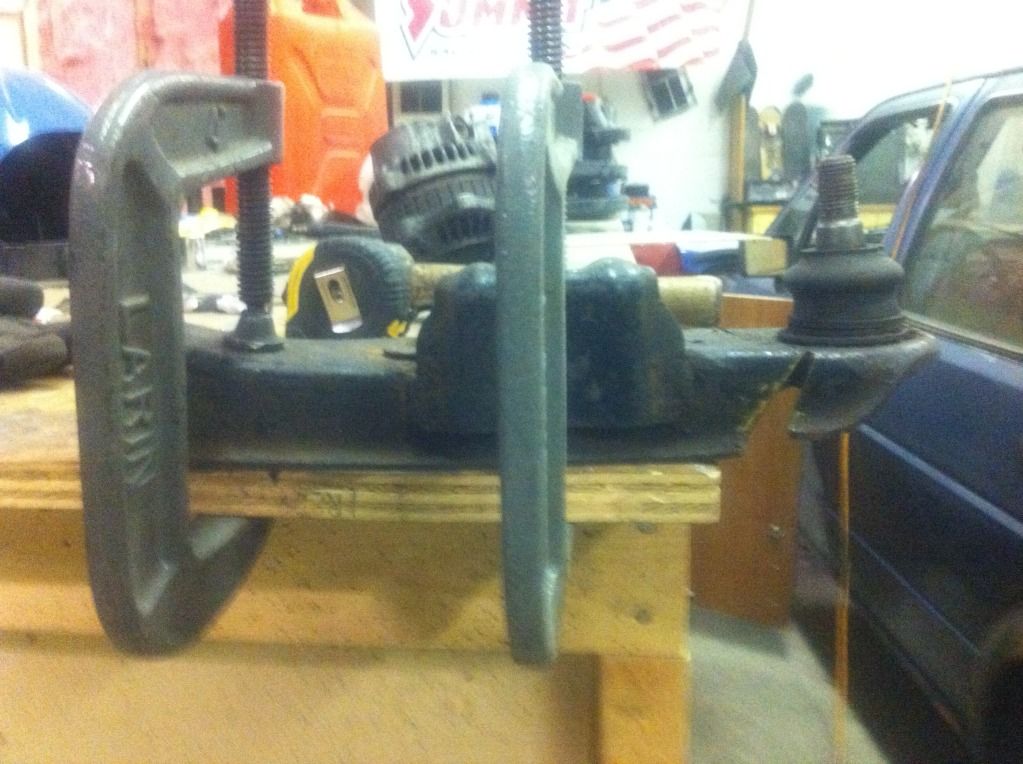
I'll be boxing this all in when I put the adjustable rod ends in.
If I squint, it kind of looks like a car....
Comment
-
i love these cars. I can't wait to see the outcome!Comment
-
Hello!
I haven't forgotten about this project. Exams got me down a little, but I've been steadily chipping away at it.
In the past month I have:
Registered and insured the car - a mission in itself. I had to dig up the bill of sale, get an appraisal and deal with the MTO, but in the end I discovered that the car is actually a '73, and I am the fourth owner. It was last registered in 1988 with ~3000km on it, and was white.
Anyway, I've also sent some parts off to the machine shop. I have Jay working on the bushings for the front suspension, rear suspension, turning down the coil mounts in the rear, and a few other small things. I also met with Joe, my cage builder. I plunked my seat into the car, and discovered that I REALLY didn't fit in the car. So we did some cutting and moving and I know fit like a dream!
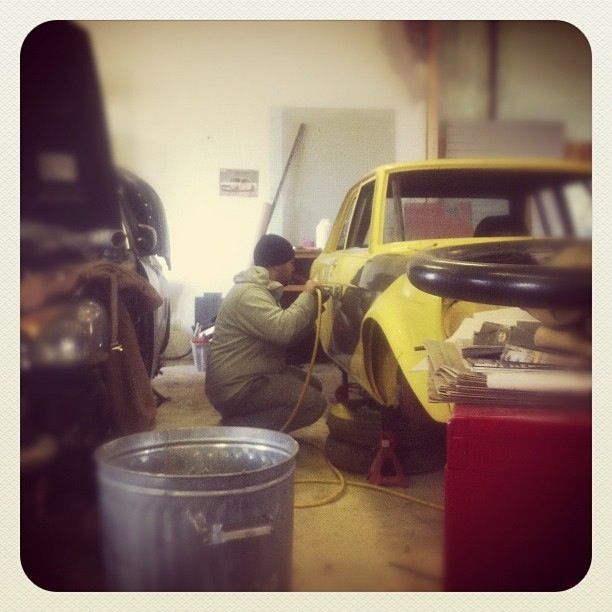
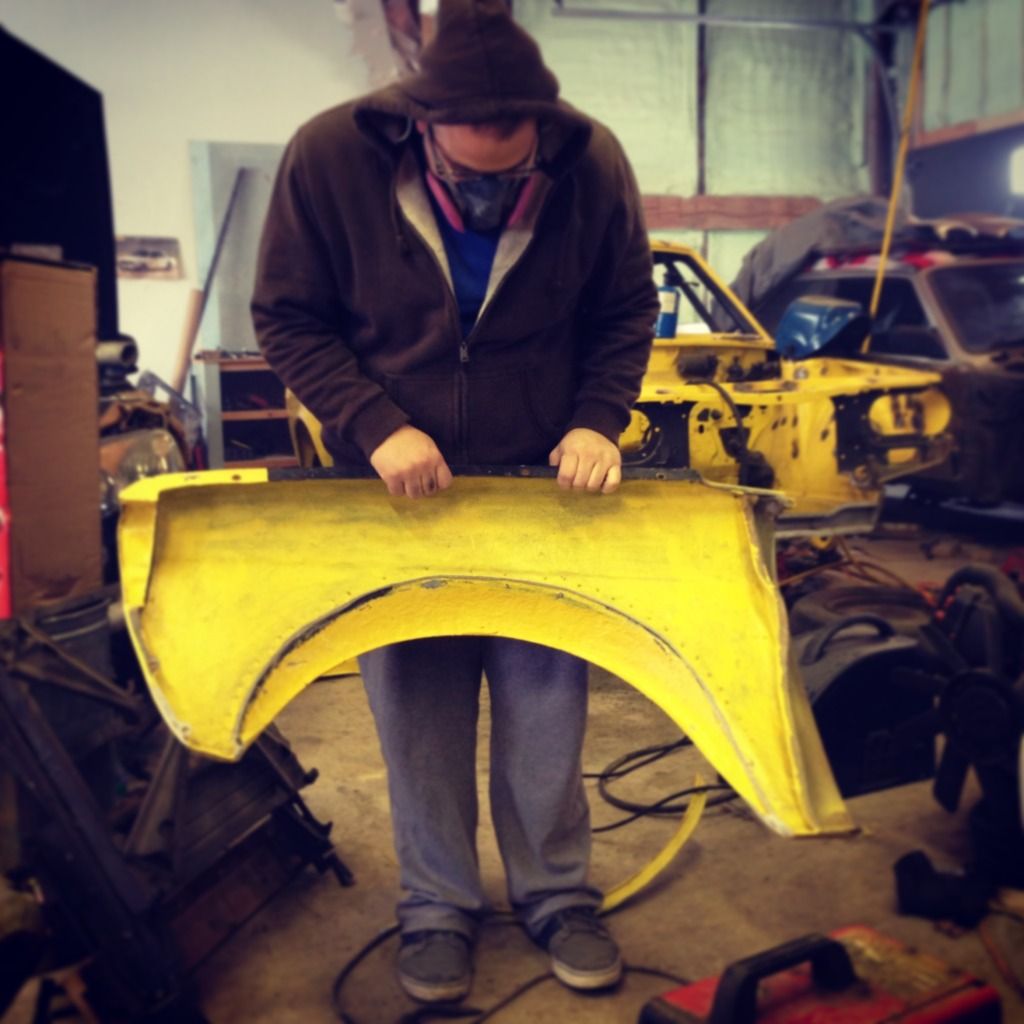
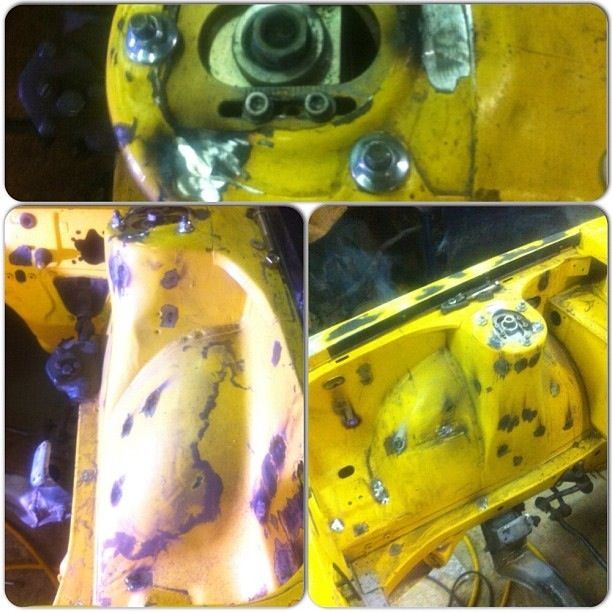
We've also started in on the body work. I've been filling holes all over the car (mostly in the engine bay), and my body man Oscar has been blocking out the car (with me helping occasionally) and getting it ready for primer.
Oscar working away on the body work:
The fenders appear to be a fibreglass copy of the originals with a fibreglass flare bonded to them. So we cut the inner lip out, smoothed it, and panel bonded it together.
Some of the filling in the bay:
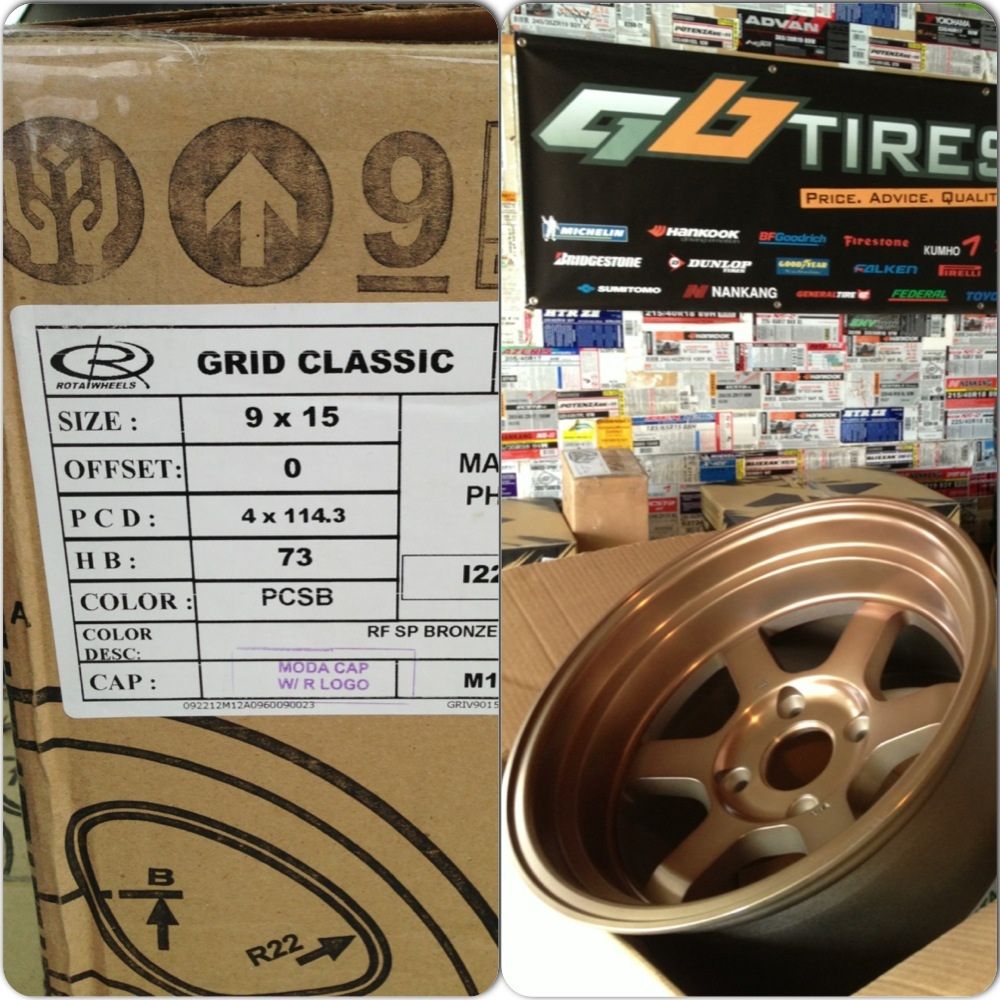
I also picked up a bunch of parts including a prop valve, mounts for my TC rods, 225/45/15/ R888's, 15x9j +0 Rota Grid-v, and a bunch of other things I've probably forgotten.

Most importantly I've given up the quest for a CA18. They are impossible to find, and parts not nearly as readily available as it's made out to be. so...the car will be getting an SR. fuck.
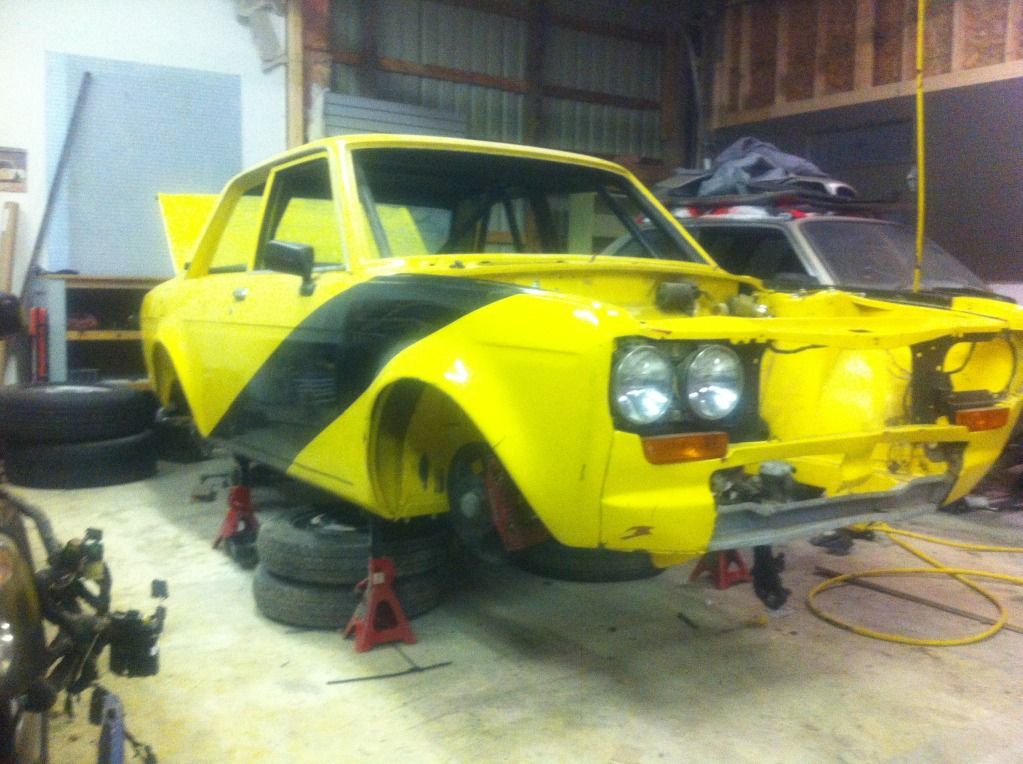
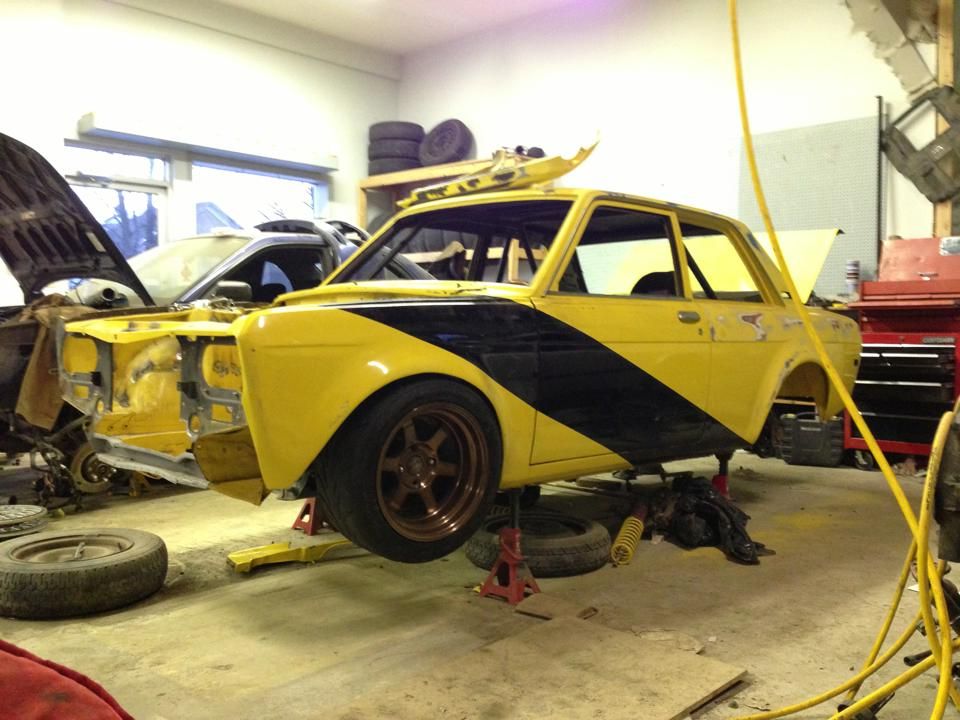
How she sits today:
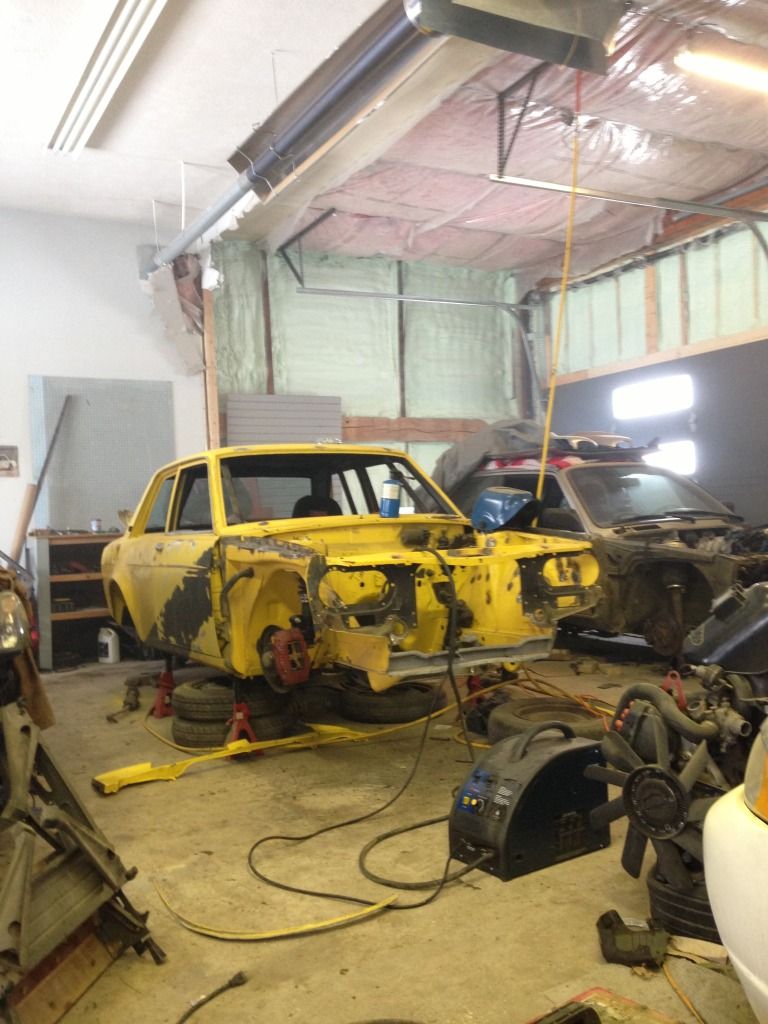
I feel like it's moving backwards, but I know the assembly is just around the corner.
And finally, a mock up of where the wheel should sit with zero camber:
Comment
-
Love it!My 1978 Porsche 924 build thread is quite boring.
* * * * * * * * * * * * * * * * * * * * * * * * * * * * * * * * * * * * * * * * * * * * * * * * * *
STRLW // Photography focused on vehiclesComment
-
that last picutre is exciting. Love the progress.Comment
-
Well, I wasn't hung over yesterday so I went out and got a few things mocked up and figured out.
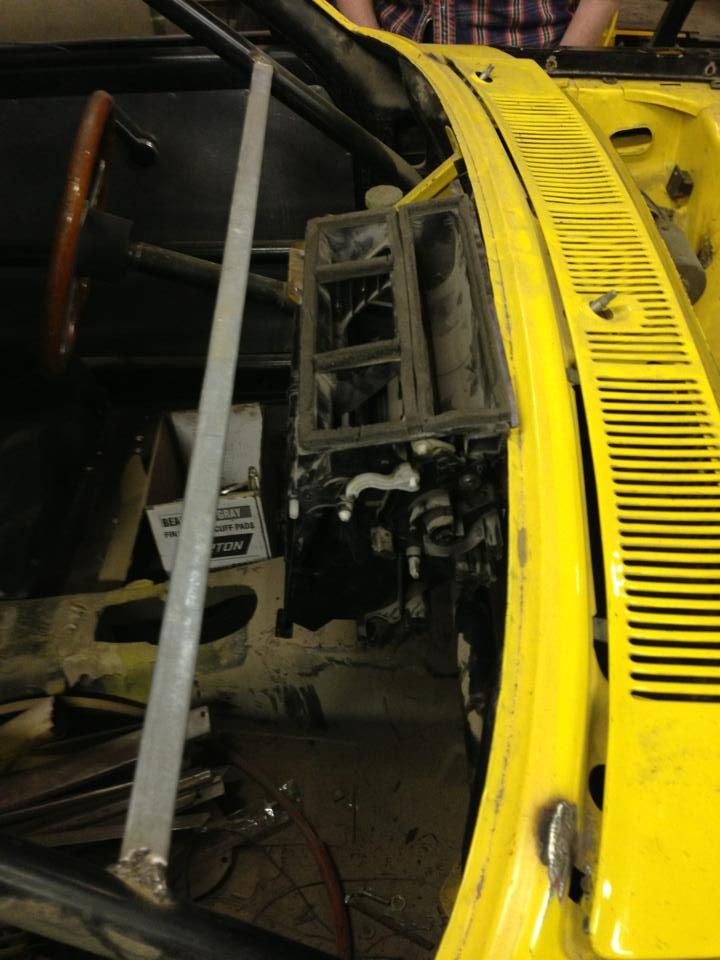
Firstly, I had been stressing over the lack of a heater core for some time now. Aftermarket ones are WAY over priced, and I couldn't find an oem one that would work the way I wanted it to. So I decided to give the WRX one I had sitting around a go, and lo-and-behold it works. The arms for the flaps are in the right spot, and with (a lot of) cutting it fits where i want it to, and the hoses are even int he right place. I will have to make my own ducting from the blower motor to the unit, and then again to the dash, but that's not a major deal. I also happen to have the harness for it laying around!
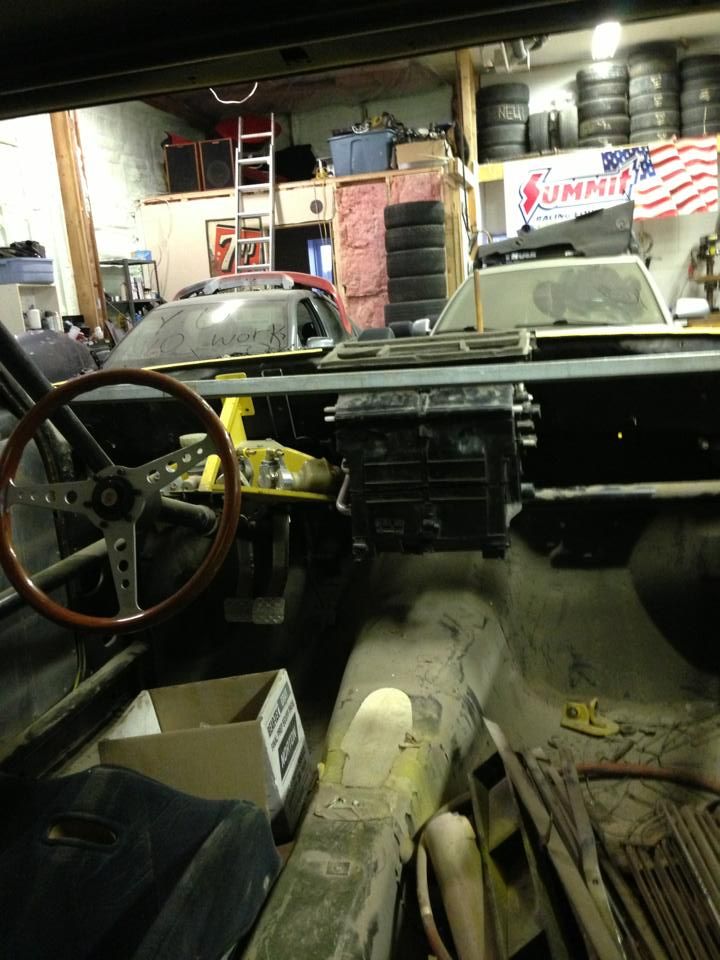
Next up, I mocked up the suspension (again) and put on my TC rods to see where they sit in relation to everything.
Welp, these are going to require some reworking. At this point, I think I'm going to ask for the help of an expert just to be sure the whole package comes together properly. However, assuming my measuring has been right the whole time, it should just require the shortening of the TC rods and drilling holes for them on the control arm at a different angle to make it all work....SHOULD.
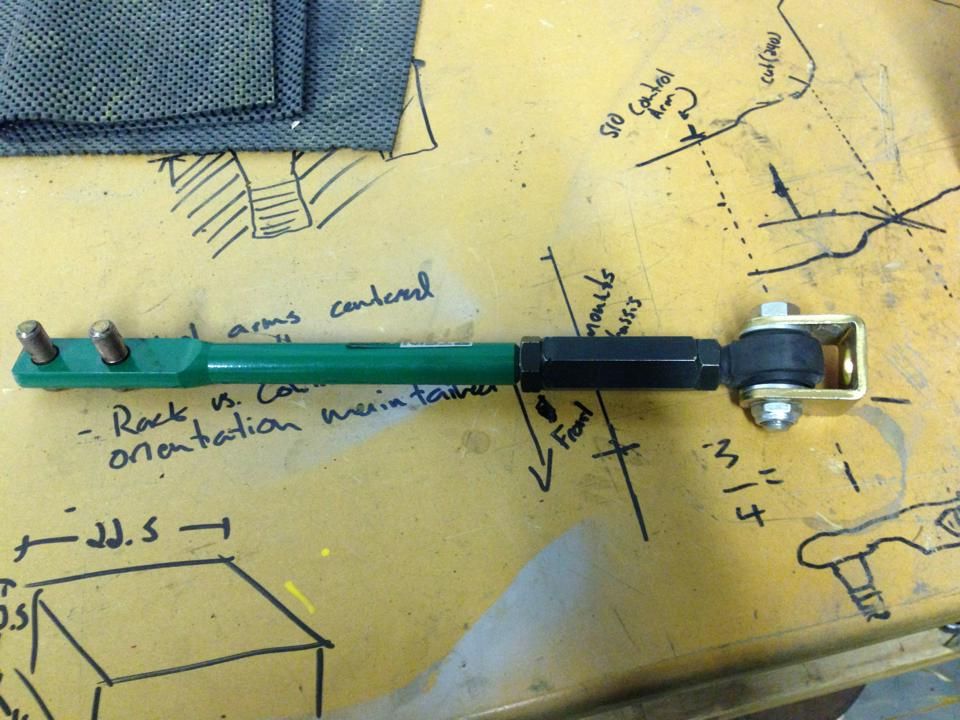
Also, again, the local hotrod shop (hit man hotrods) comes to the rescue with ends for these things:
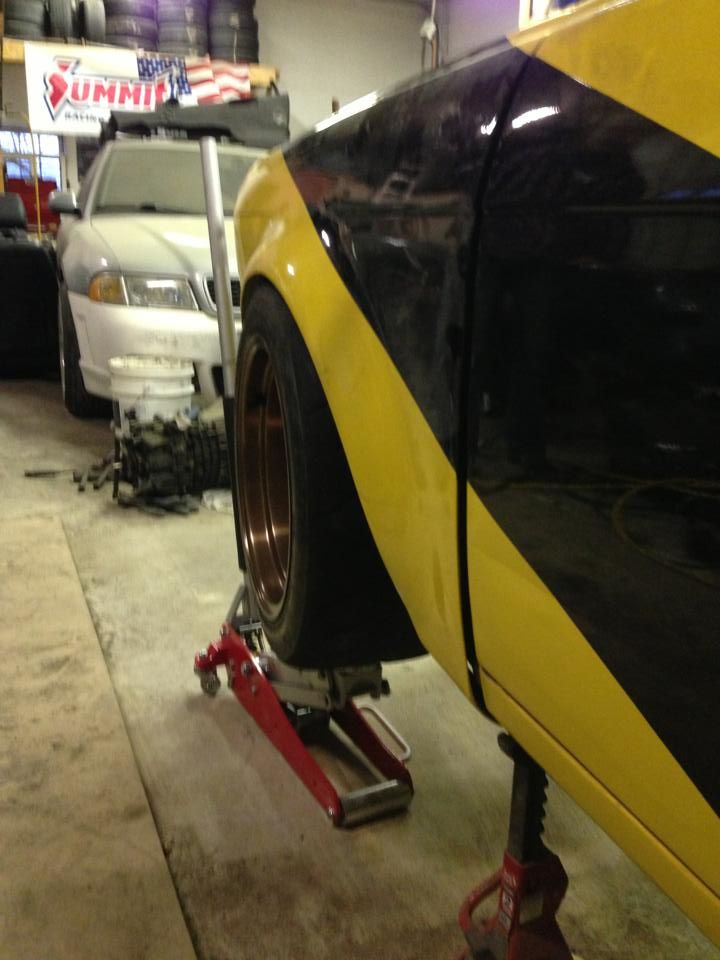
Now, while doing all my mocking up, I did get a chance to throw a front wheel on to check brakes clearance, and get a better idea of fitment.
It looks like I will need a 3-5mm spacer to clear the calipers, but I have room for that once we introduce some camber.
I'm really happy I stayed with the 510 track width. These things couldn't fit more perfectly in the front.
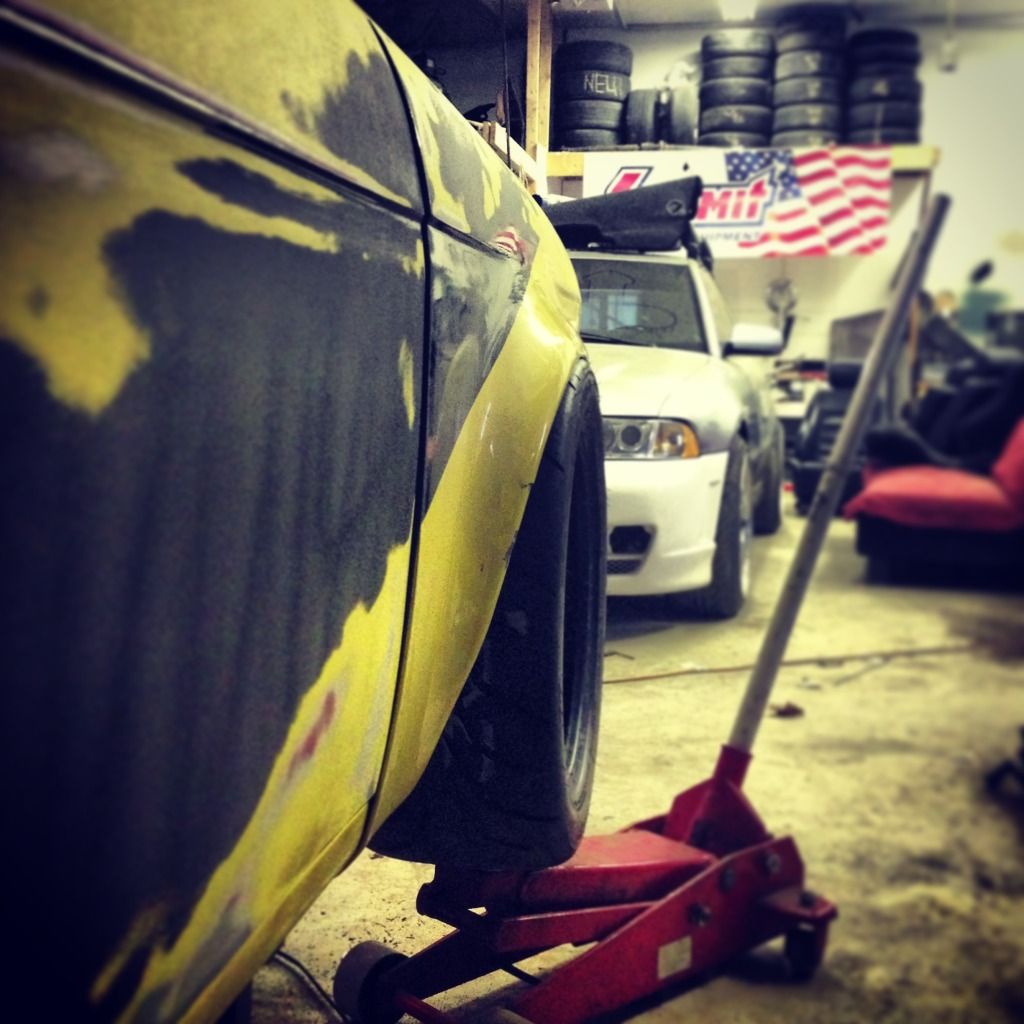
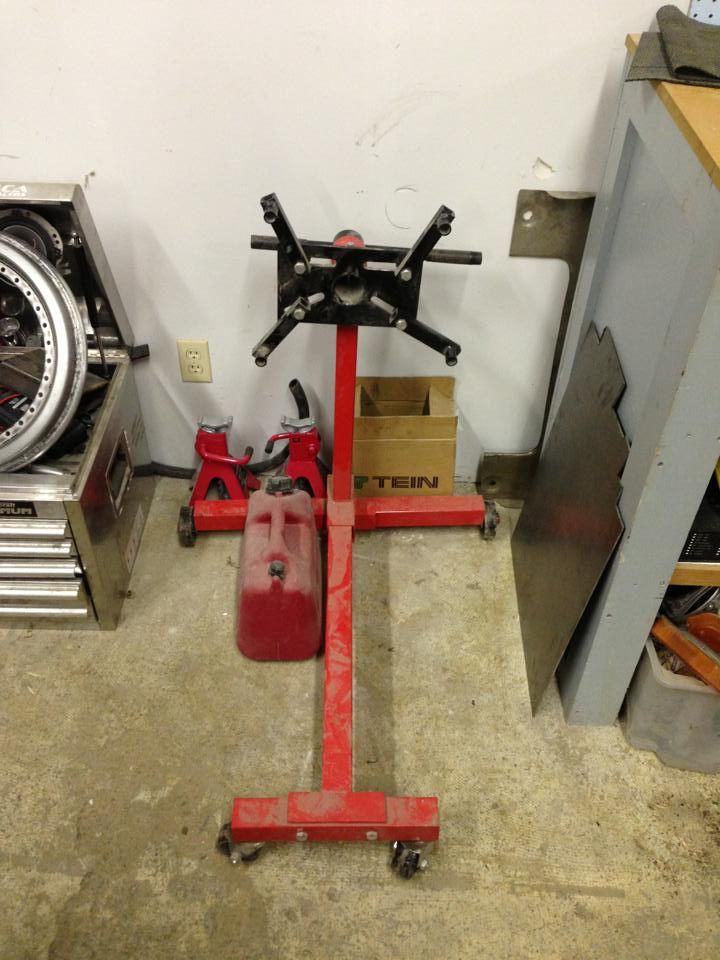
And last but not least, I brought this out to the shop. It should have something sitting on it in the next week or so.
Comment
-
I'm in love already let''s keep this readily updated shall we?
W I L D M A N 'S R O D S H O P

R.I.P P.WALKER 2013/11/30Comment
-
I'd also like to take a minute and mention some of the people who have helped me get the car this far in such a short amount of time. Without the help of these individuals I'd likely still be spinning my wheels trying to track down hard to find parts, and sharing their expertise.
First is Scott Murfin of Can-Align, for his input on the suspension setup, and letting me take his time to pick his brain.
Samson, from GBTires.ca for putting up with my constant changing of brake setups, and always getting me a fast quote to help make up my mind, but most importantly for tracking down the Grid-v's. I asked for a size and offset that I happened to stumble across on Ebay, and wasn't advertised anywhere else....but he found them!
Scott (#2) at Hitman Hotrods. This man has spent hours in the shop and at the counter for me. Not just fabricating parts for the car (and my outback) but advising me on what better solutions for problems are, and tracking down prices for me. This man is a miracle worker with a welder and a mouse. I wouldn't be this close to a rolling chassis without his help and tutelage.
Oscar Lopez, my fake mexican body guy. He has volunteered to help with the body work and paint simply to make sure this thing isn't yellow when it first turns a wheel. His help was invaluable during my wrx build, and even more so now that I have my hands even more full with things to do on the car. Thank you Oscie!
Brendan Drew and Ryan Maxwell. Both these chaps have advised me on numerous things from budgeting to harness' and wiring (mostly the latter). Without having these two in my corner, I wouldn't even attempt this project to be honest. I **** wiring, and I'm convinced these two fella's can actually see electrons.
Joe Ferguson. What's there to say about Joe that everyone doesn't already know? He is bar none the nicest, and funniest guy I've ever had the pleasure of spending time with. His experience setting up race cars has been worth its weight in gold during this build, and without him, I'd still be trying to shoehorn my 6'8" frame into this tiny car.
It's not just the fact these people spend the time to help, it's the fact that they happily volunteer to do it. I'm sure that if I took money out of the equation, nothing would change. They would be just as willing to share their opinions and help me make this car what it eventually will be. Awesome.
Thanks to each and every one of you.Last edited by JPE16; 01-02-2013, 10:14 AM.Comment


Comment