 Tweet
Tweet
About a month and a half ago i dropped my car off at 1488 collision up near conroe (if you are familiar with the northside of houston) and asked about having my fenders completely redone to flow with the bumper and to also fit my wheels with no issues of rubbing or hitting the wheel itself. I will start off with the beginning stages of my car that led up to this point noting some mistakes I made. I'm not looking to be flamed therefore i wont waste my time on comments ****** on a lowered cars and camber. If you have questions feel free to pm me
I got my coils over a year ago which in turn I shaved the inner lip of my stock fenders (dont make this mistake).

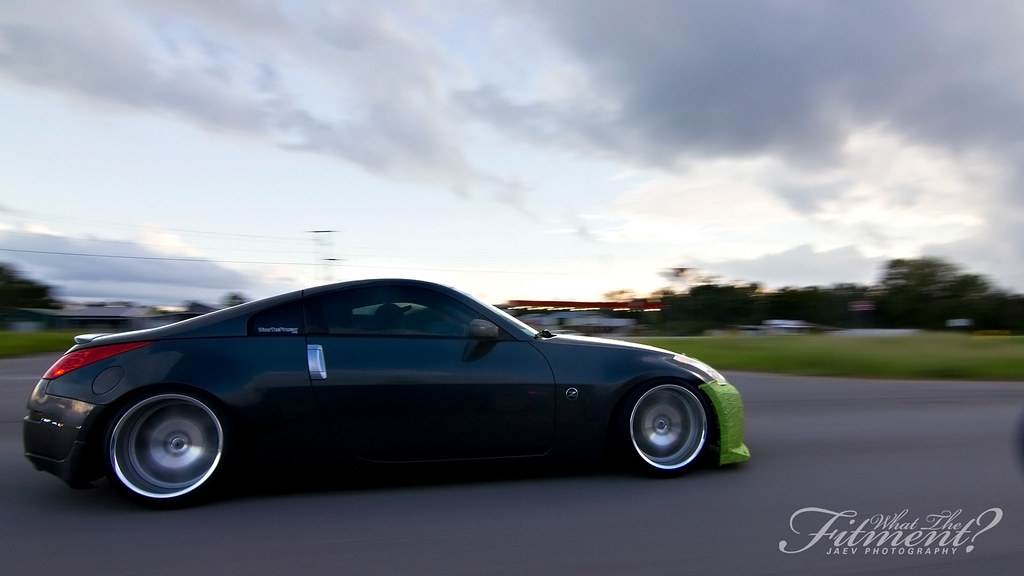
About a year after getting them, earlier this year, I picked up some DPE st10 wheels off of evilzdriver here on the forum. I like the wheels, ran them as 19x10/12 but i could never quite get them to fit. after trying to roll my fenders, flare them with a pole at a gas station i got no where but a wavy fender and a dent from my friend hitting to high when we tried to flare it. anyways, i finally had a buddy with a roller flare it for me and here was the result

It wasnt very pretty but it really helped with rubbing and i was able to get that ass lower

As I said, I really liked these wheels however if I was going to do body work I need it to be more aggressive. I sold the dpe's and picked up marios bazreias, the ones royal_t owned before him to achieve the aggressive wheel i wanted. the specs are 18x10/12 -8 and ive always loved the look of them. Before my final height adjustments I snapped this pic and then I was off to get a final alignment and lowered it a bit more while evening the car out on both sides of the car

after the final height adjustment

Now the fun part..
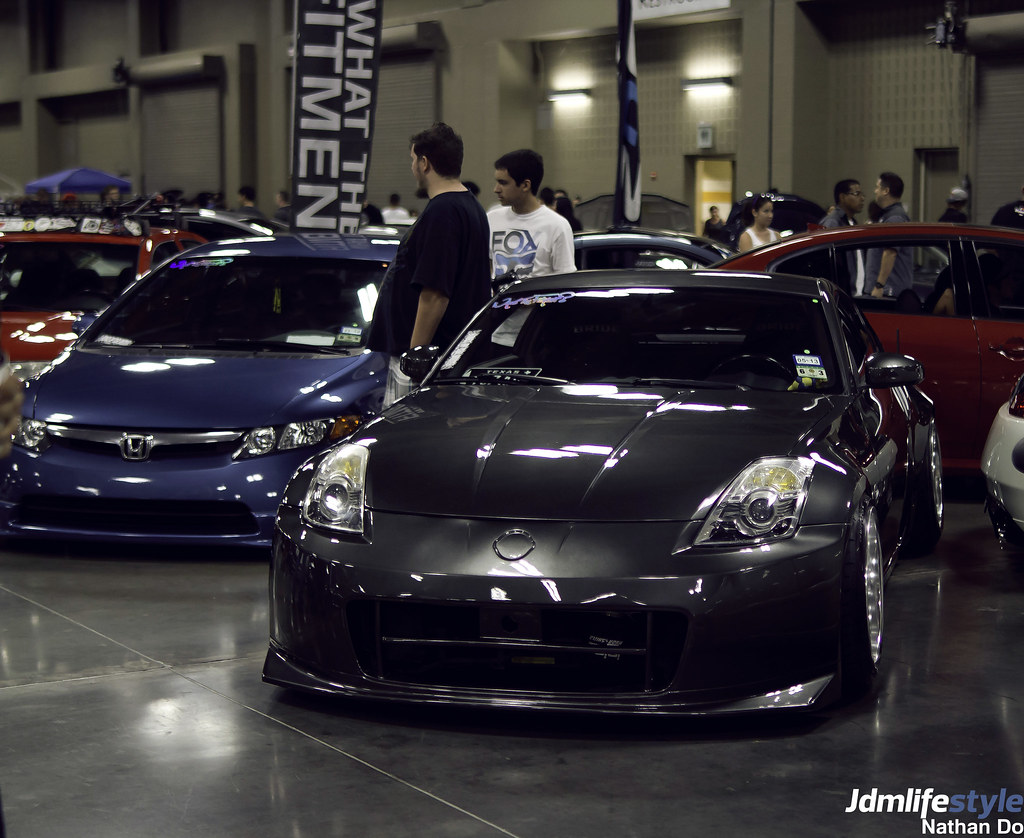
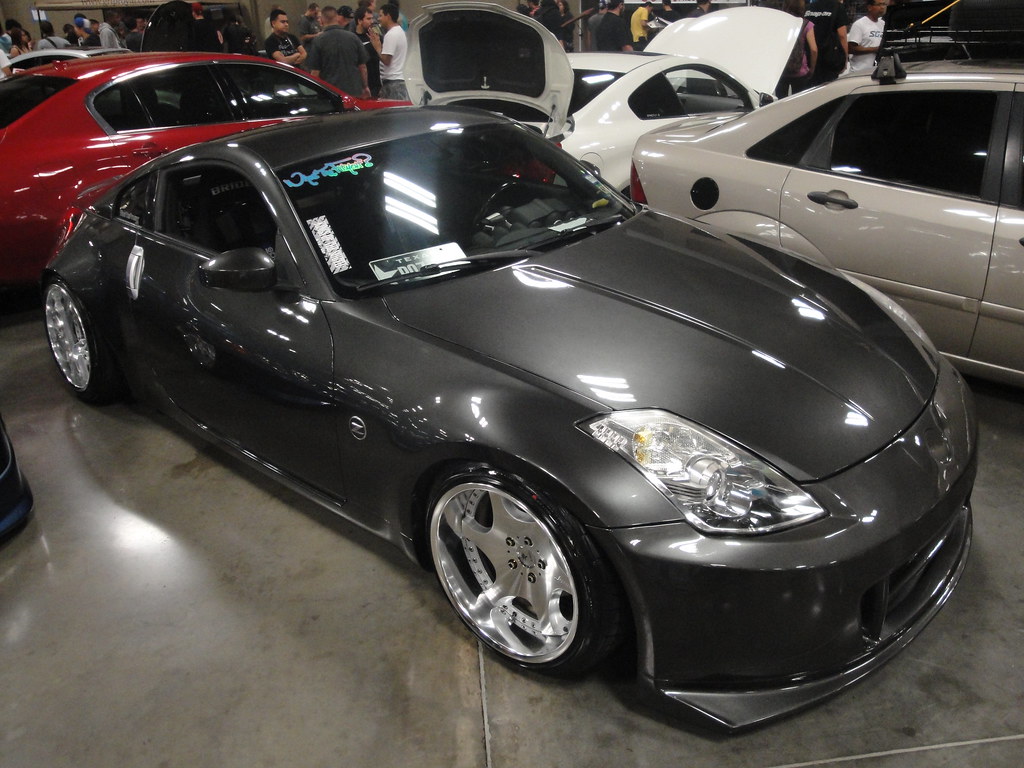
I finally dropped my car off with the go ahead to get started on the fender work. I spoke with Jeremy, the shop owner and gave him my deadline for an upcoming show and that I'd really like it to be done by then. here is how i dropped her off

Now these pics are over time so im unsure of exact dates of when they were taken or how long it took to get to this point.


Welding begins and the bumper is on where you can see it is being stretched out to all flow with the widen fenders


More welding to fill in some gaps and smooth the fender out


A little difficult to see however he added a rounded metal bar to shape with the fender. This is to allow the fender to better roll off the rim or tire in the event that i do somehow hit. This also keeps the fender from catching and twisting to **** in the event that was to happen

This is where he pulled the bumper attachment out so the bumper would stretch to match up with the fender work. He welded it up however still needed to fill some holes

As we were talking I was telling him how much of a difference I could see already. Thats when he was like yea, lets do a comparison real quick, walked over and did this to my flare

This side is really starting to take shape now with filler after all the welding was done and I was able to get alot better idea of how it was going to turn out


He also began the other side, cutting off the metal to begin shaping it. At this point he said that he was having a little bit of trouble with the metal above the rear bumper bending cause it was so thin. He said that because the gas tank isnt there to really keep it in place its making things harder however he was able to tackle it with a little more work


Other side welded up and getting ready to begin more welding just like the other side did. He was making sure all of his measurements were right.


Back to the other side... more filler added and some sanding to the final stages


Driver side almost done aswell, he was doing some final touchups


While it was there, I also had them fill the hole for the rear wiper

He noticed a small dent in the middle of the bumper and decided to go ahead and fill it so it doesnt show up after paint

You can see here how the rear bumper tabs were extended out and welded up to match up perfectly with the fenders

An ass shot of the pretty much final stages before paint

Wek fest Austin is this Sunday which is the show I am hoping to be able to attend. Leaving the body shop yesterday he told me it will be in paint today and done tomorrow. He did tell me they really are cutting it close however tomorrow afternoon all they will need to do is put everything back together. Hopefully I am able to make it out to wek fest in my car as i've put a lot of money into this build so far..
I got my coils over a year ago which in turn I shaved the inner lip of my stock fenders (dont make this mistake).
About a year after getting them, earlier this year, I picked up some DPE st10 wheels off of evilzdriver here on the forum. I like the wheels, ran them as 19x10/12 but i could never quite get them to fit. after trying to roll my fenders, flare them with a pole at a gas station i got no where but a wavy fender and a dent from my friend hitting to high when we tried to flare it. anyways, i finally had a buddy with a roller flare it for me and here was the result
It wasnt very pretty but it really helped with rubbing and i was able to get that ass lower
As I said, I really liked these wheels however if I was going to do body work I need it to be more aggressive. I sold the dpe's and picked up marios bazreias, the ones royal_t owned before him to achieve the aggressive wheel i wanted. the specs are 18x10/12 -8 and ive always loved the look of them. Before my final height adjustments I snapped this pic and then I was off to get a final alignment and lowered it a bit more while evening the car out on both sides of the car
after the final height adjustment
Now the fun part..
I finally dropped my car off with the go ahead to get started on the fender work. I spoke with Jeremy, the shop owner and gave him my deadline for an upcoming show and that I'd really like it to be done by then. here is how i dropped her off
Now these pics are over time so im unsure of exact dates of when they were taken or how long it took to get to this point.
Welding begins and the bumper is on where you can see it is being stretched out to all flow with the widen fenders
More welding to fill in some gaps and smooth the fender out
A little difficult to see however he added a rounded metal bar to shape with the fender. This is to allow the fender to better roll off the rim or tire in the event that i do somehow hit. This also keeps the fender from catching and twisting to **** in the event that was to happen
This is where he pulled the bumper attachment out so the bumper would stretch to match up with the fender work. He welded it up however still needed to fill some holes
As we were talking I was telling him how much of a difference I could see already. Thats when he was like yea, lets do a comparison real quick, walked over and did this to my flare
This side is really starting to take shape now with filler after all the welding was done and I was able to get alot better idea of how it was going to turn out
He also began the other side, cutting off the metal to begin shaping it. At this point he said that he was having a little bit of trouble with the metal above the rear bumper bending cause it was so thin. He said that because the gas tank isnt there to really keep it in place its making things harder however he was able to tackle it with a little more work
Other side welded up and getting ready to begin more welding just like the other side did. He was making sure all of his measurements were right.
Back to the other side... more filler added and some sanding to the final stages
Driver side almost done aswell, he was doing some final touchups
While it was there, I also had them fill the hole for the rear wiper
He noticed a small dent in the middle of the bumper and decided to go ahead and fill it so it doesnt show up after paint
You can see here how the rear bumper tabs were extended out and welded up to match up perfectly with the fenders
An ass shot of the pretty much final stages before paint
Wek fest Austin is this Sunday which is the show I am hoping to be able to attend. Leaving the body shop yesterday he told me it will be in paint today and done tomorrow. He did tell me they really are cutting it close however tomorrow afternoon all they will need to do is put everything back together. Hopefully I am able to make it out to wek fest in my car as i've put a lot of money into this build so far..


Comment