Announcement

Collapse
No announcement yet.

project life support ( pony content )

Collapse
X
 
  • Filter
  • Time
  • Show
Clear All
new posts

  • smokenyall
    replied
    Since I left off with the front suspension, let's start with that.
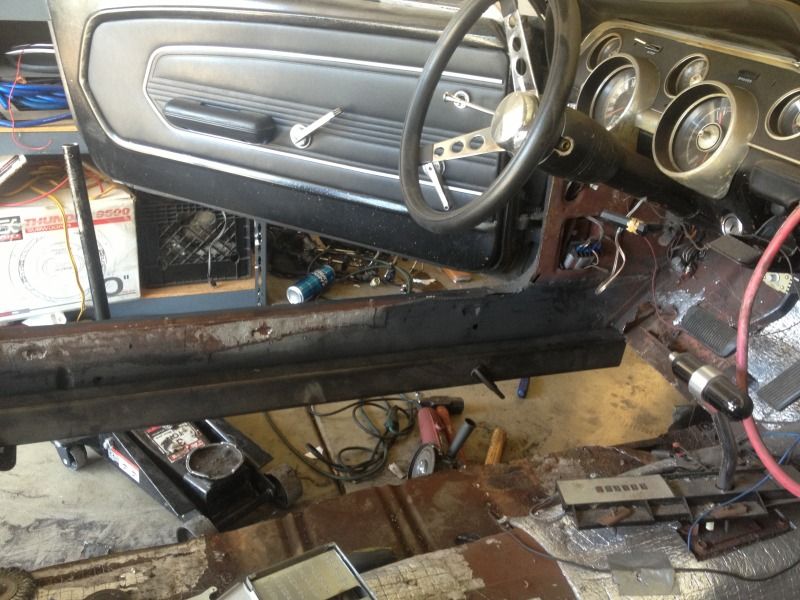
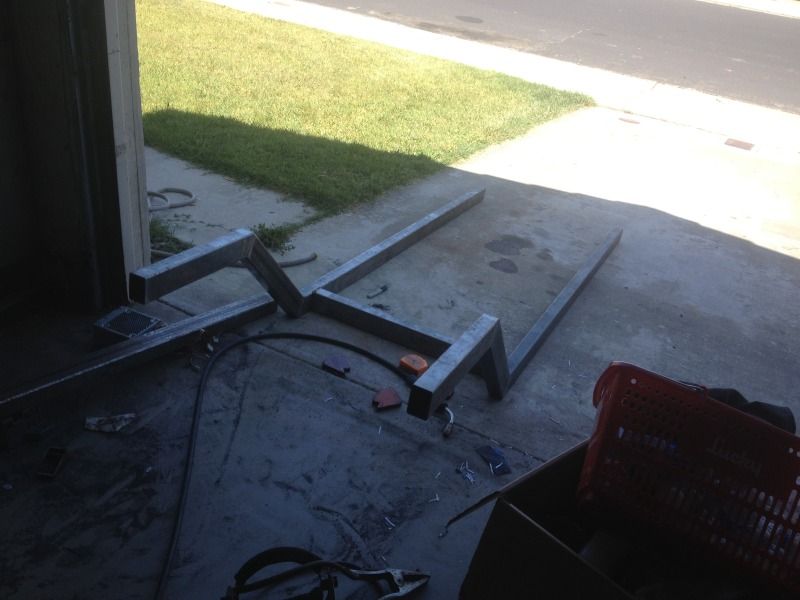
    240sx front subframe, engine mounts cut off subframe, was reinforced and rack moved 3/4" forward.


    I built a bracket that uses the stock steering box mounting holes and mounted a 3/4" heim to support the lower half of the steering column and the steering shaft. Also built a steering shaft to mount to the rack and the factory column.


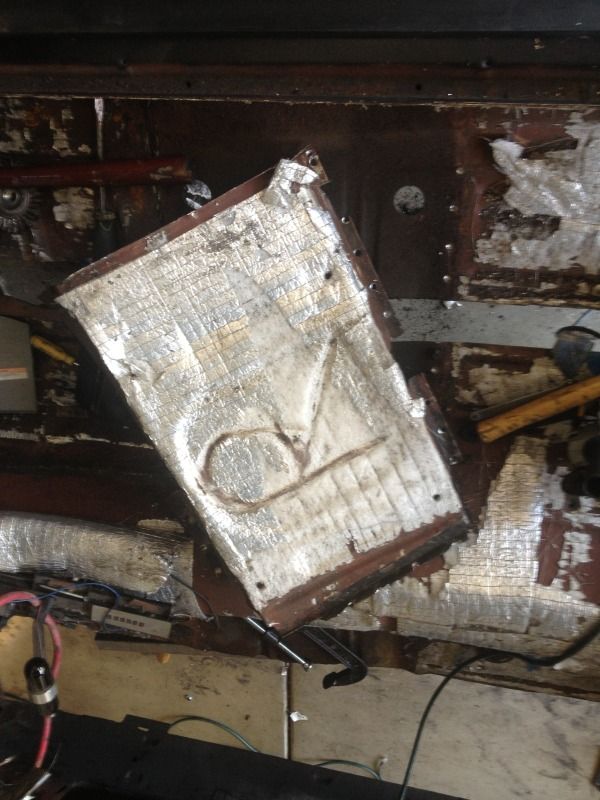
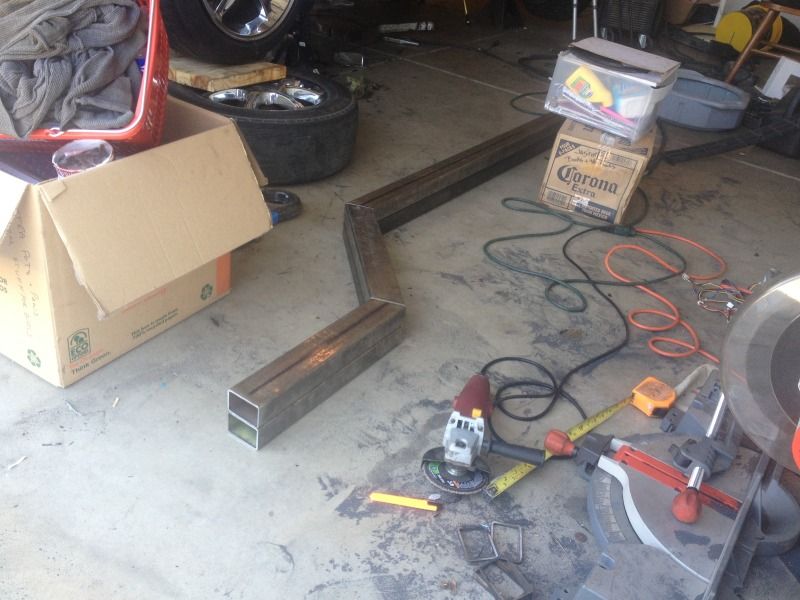
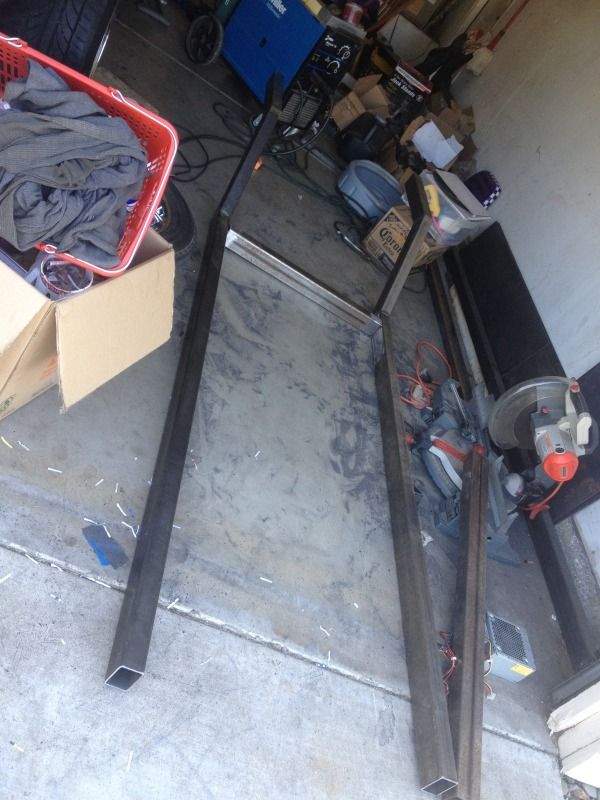
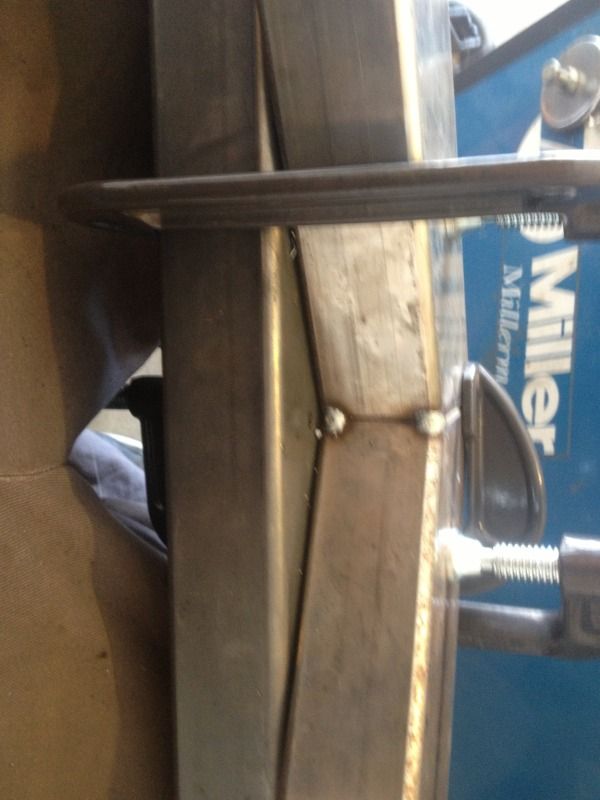
    I also built this contraption to mount the the factory shock towers, relocate the upper strut mount outwards and made an extension off the sides to mount to the other factory shock tower bolt holes.


    Kinda a bad pic but you can see how it relocates it outward.


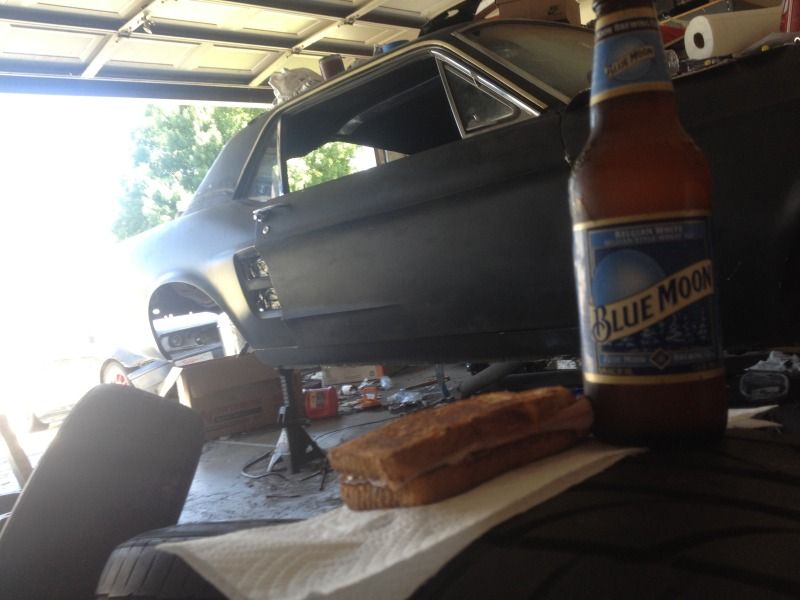
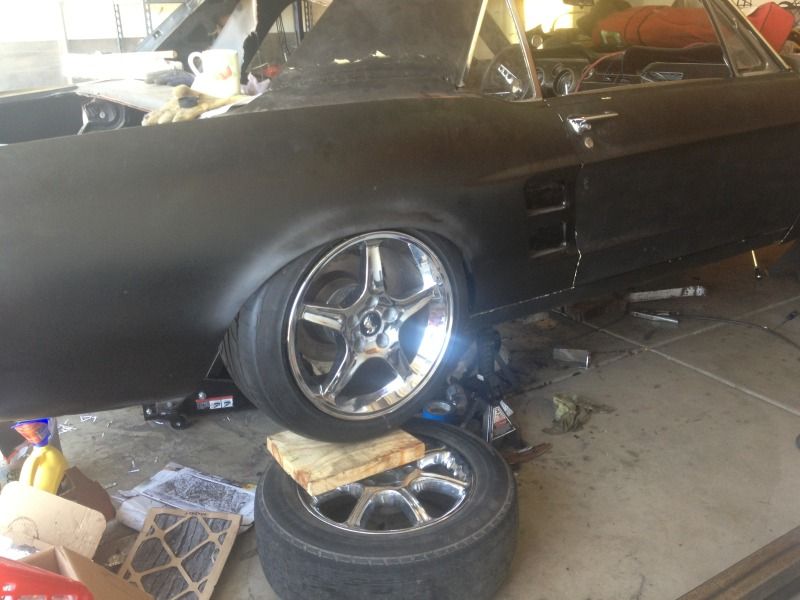
    Here's the front end fully assembled but just ignore the coilover being all the way down, I was checking full bump travel with the spring and bump stop off.


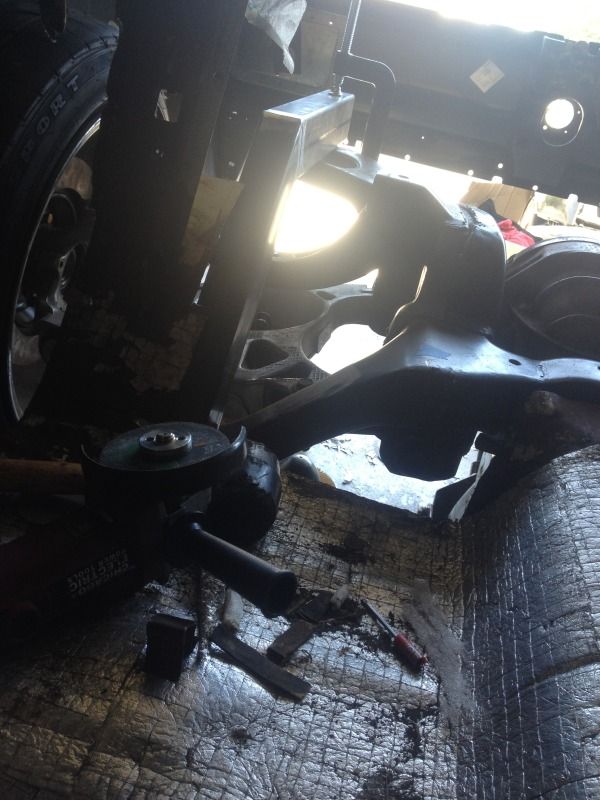
    Here's a few of the finished lca and with adjustable lock stops and ignore the inner tie rod, I temporarily extended them for the longer lca's.


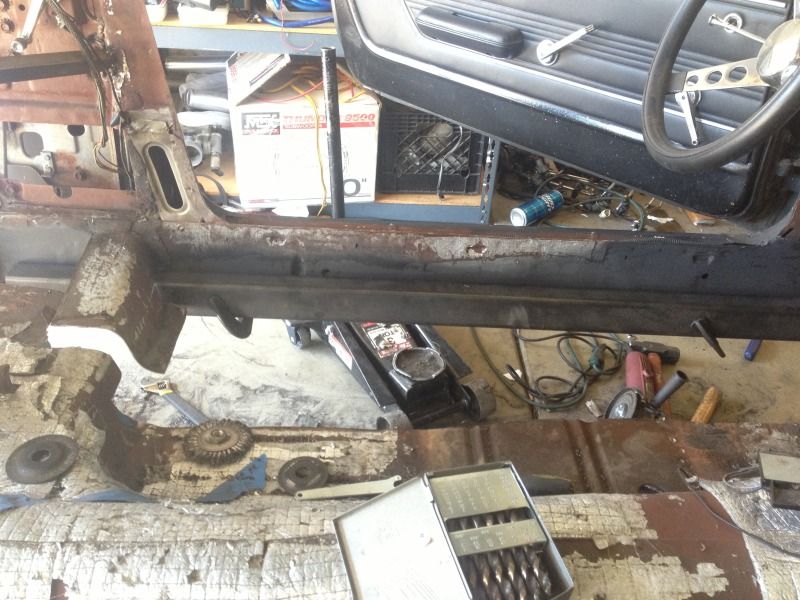
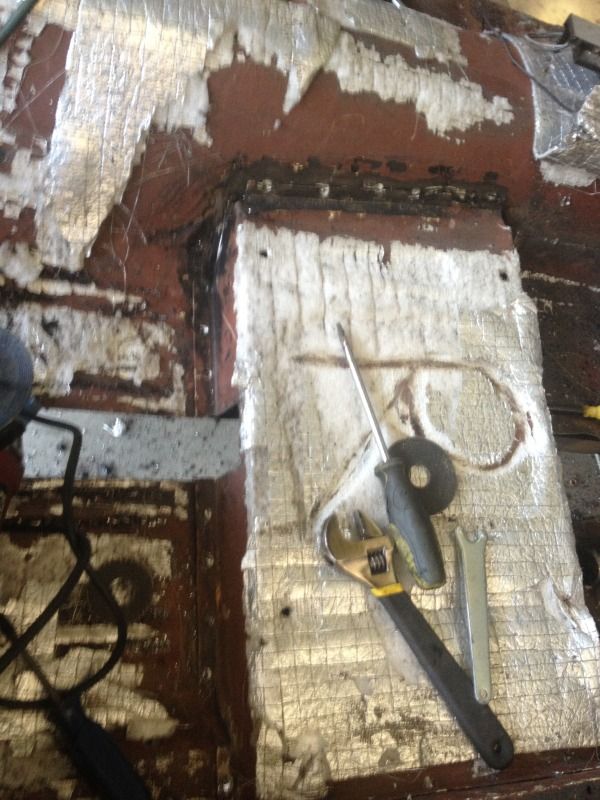
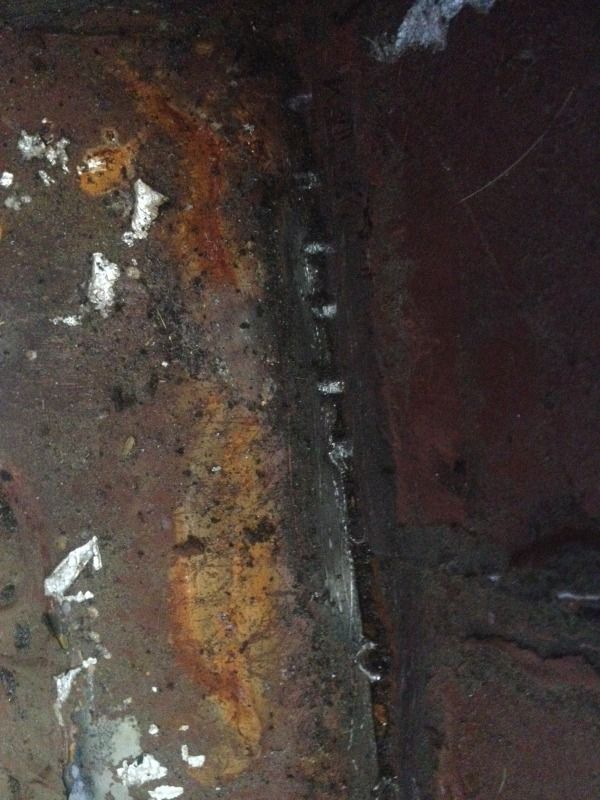
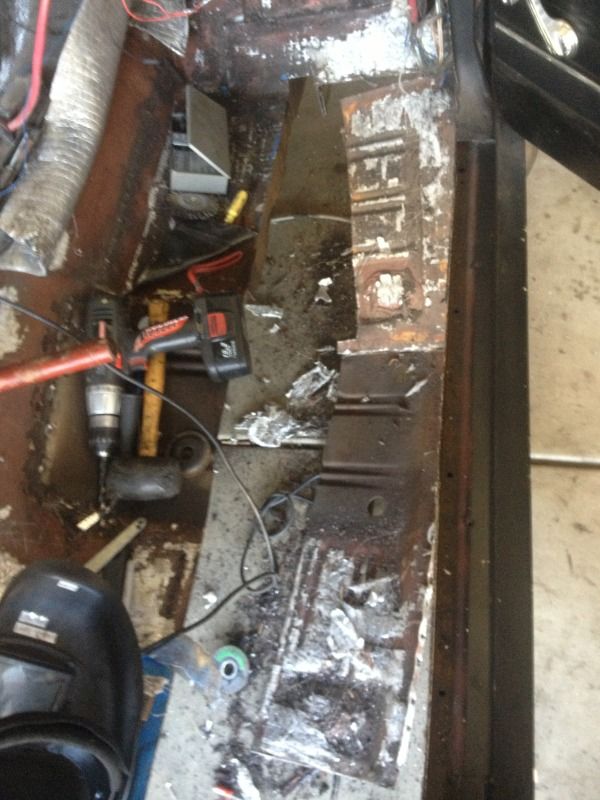
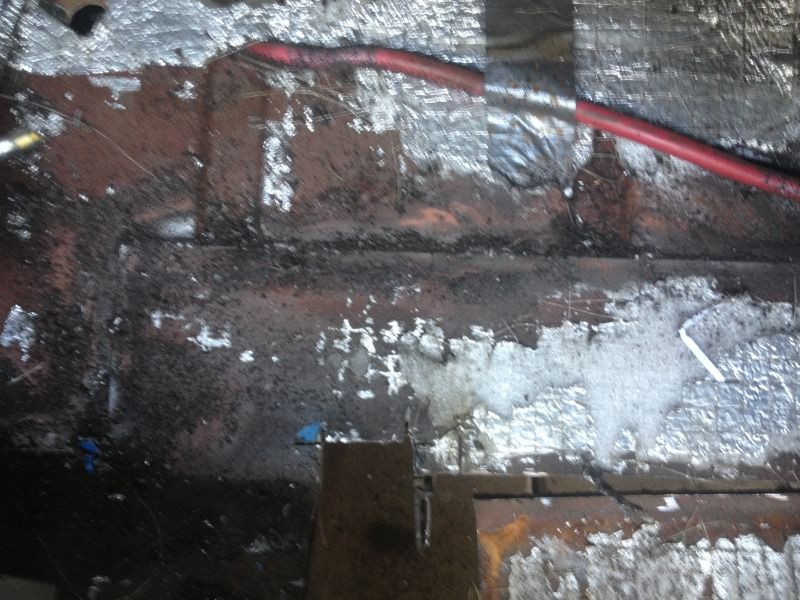
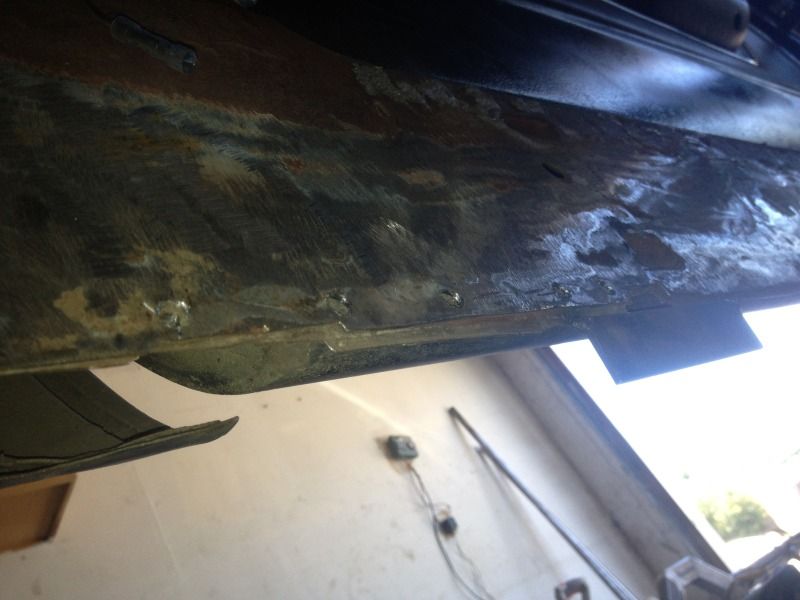
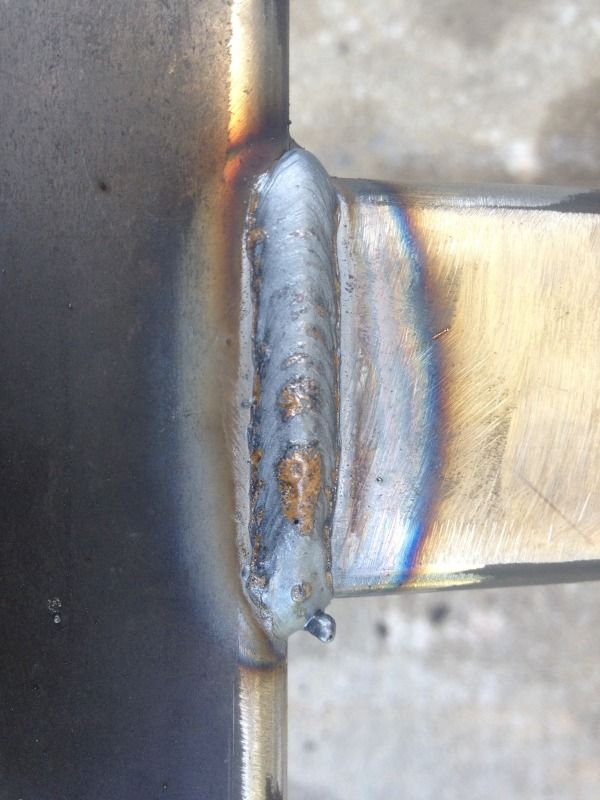
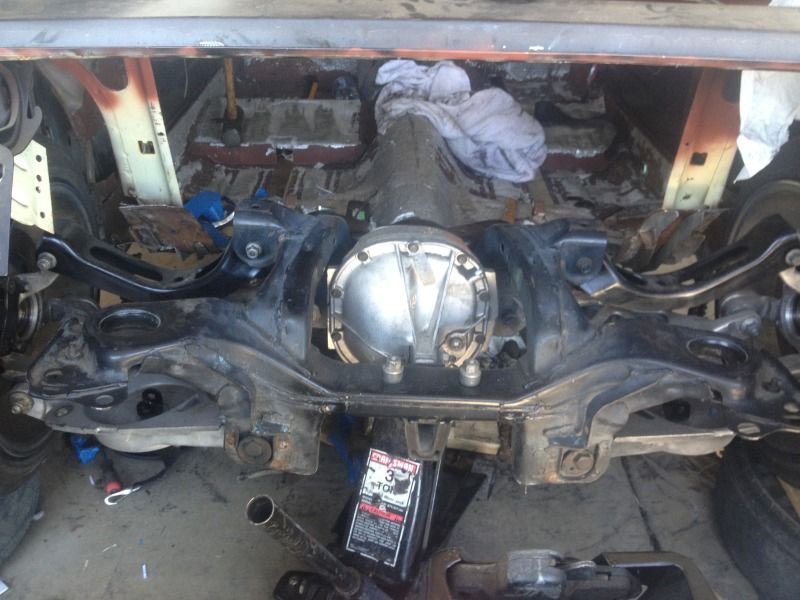
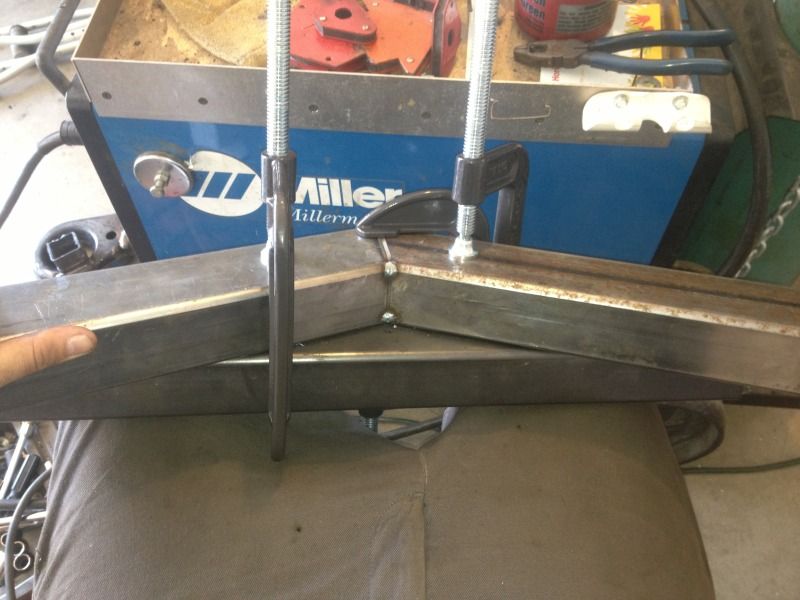
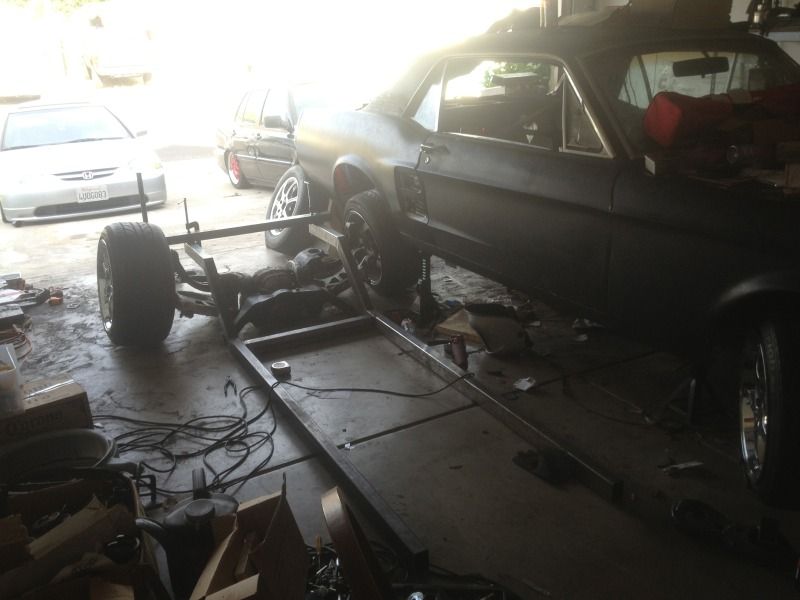
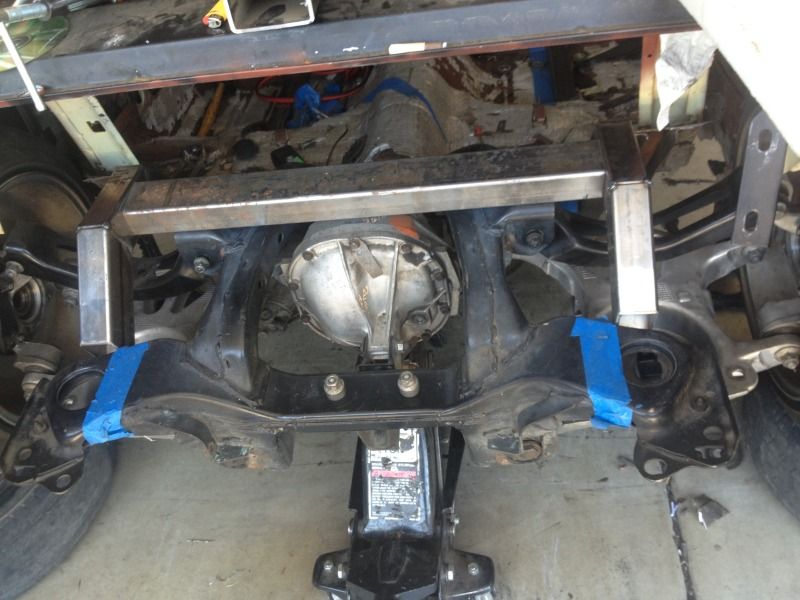
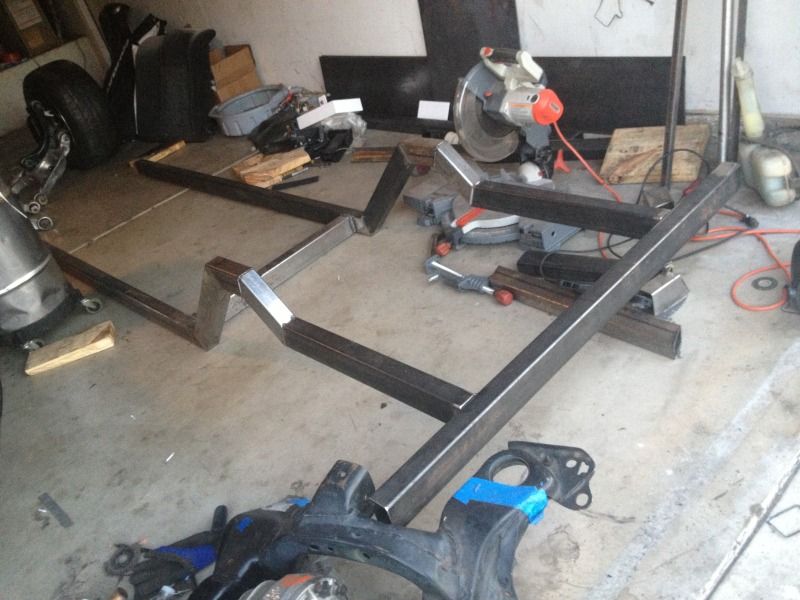
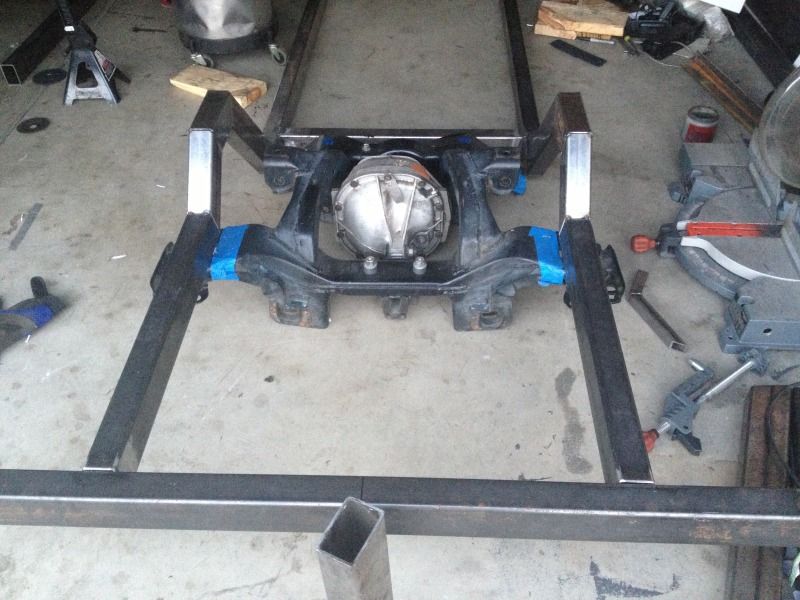
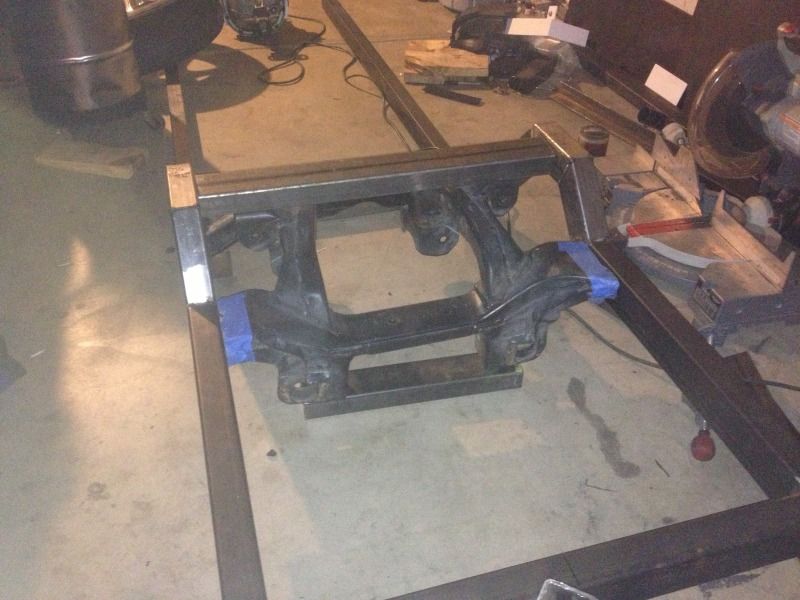
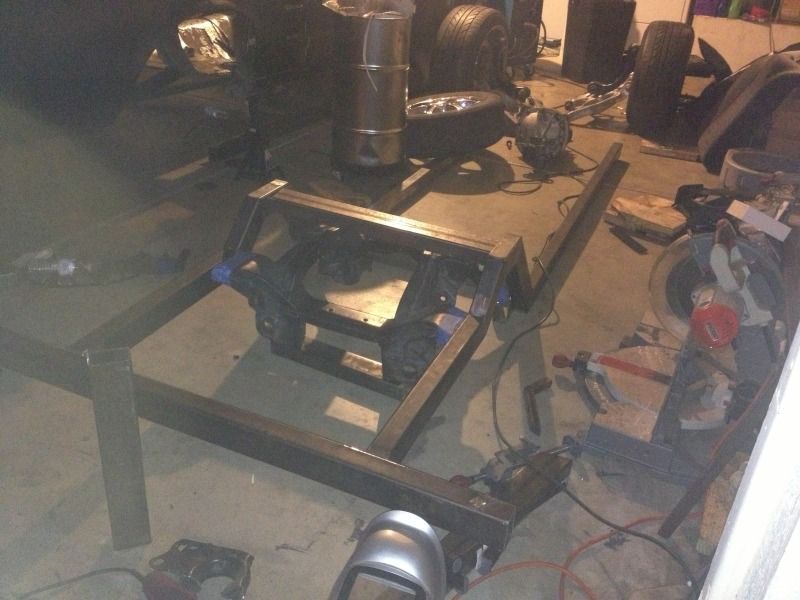
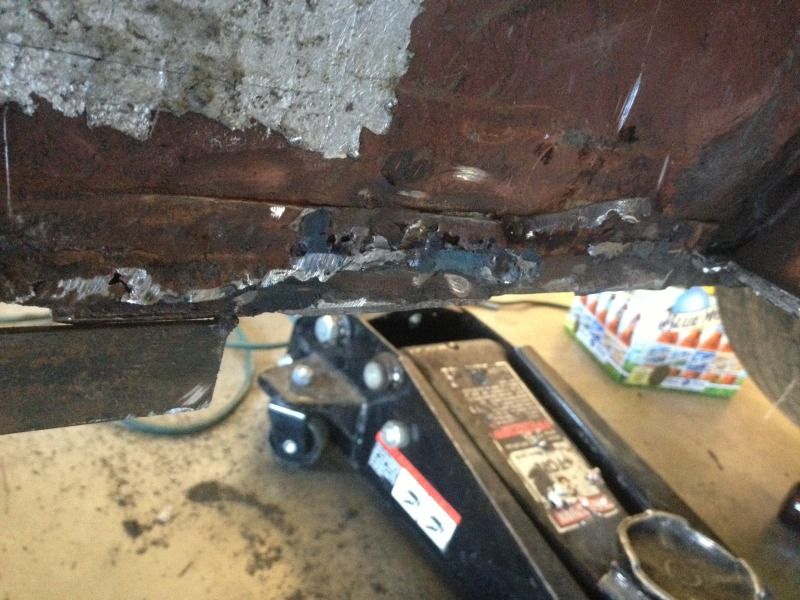
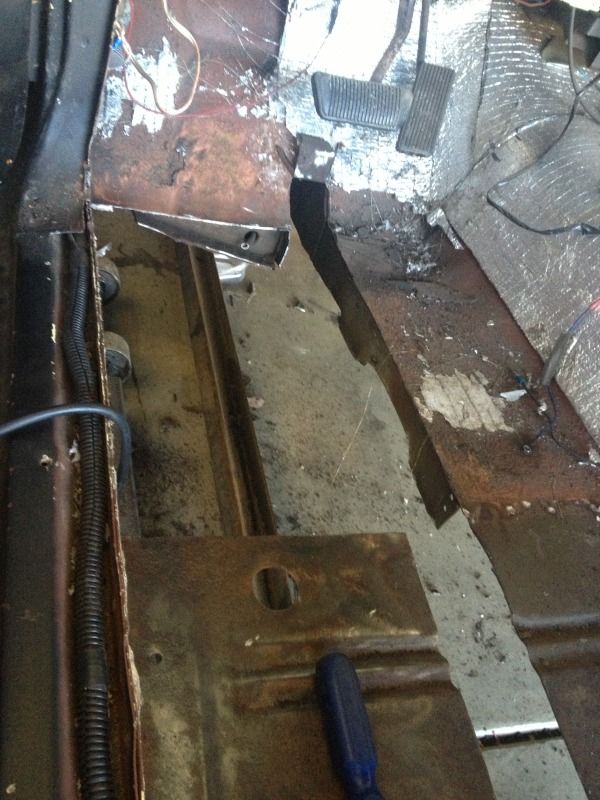
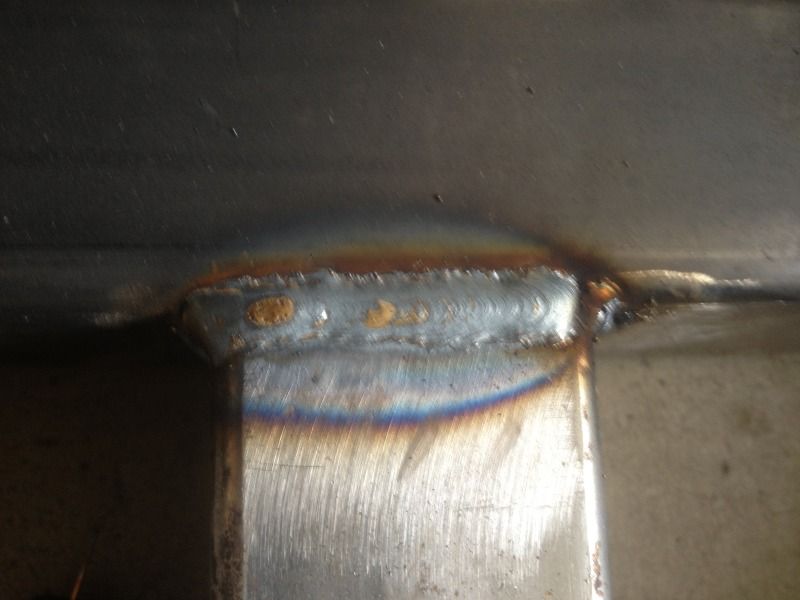
    Onto some pics of the rear, subframe is fully mounted and welded.


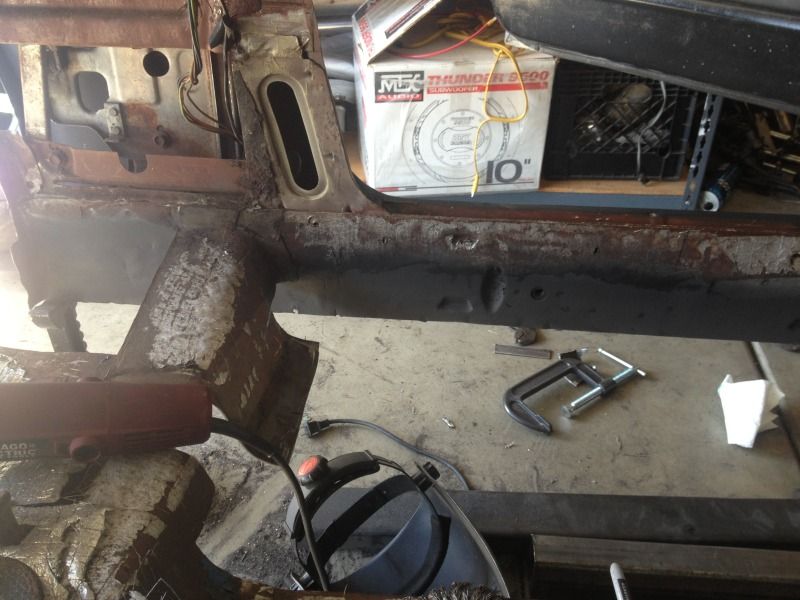
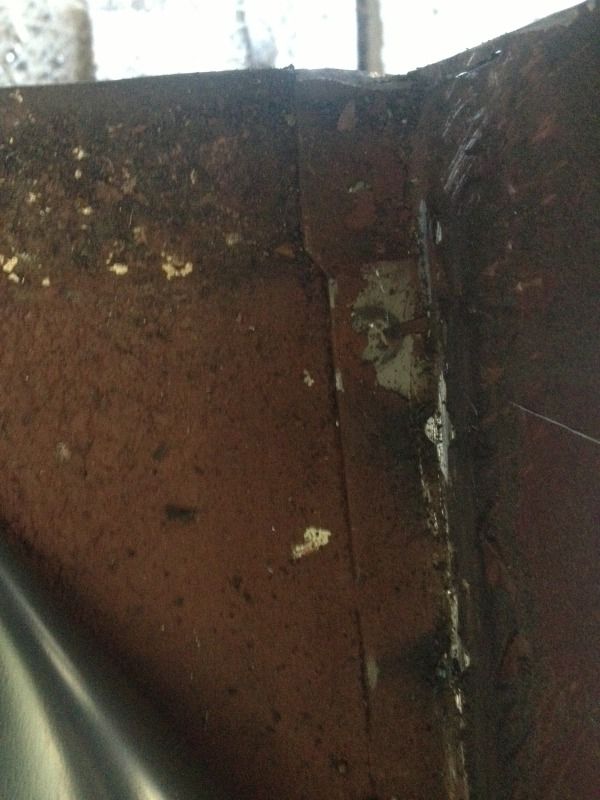
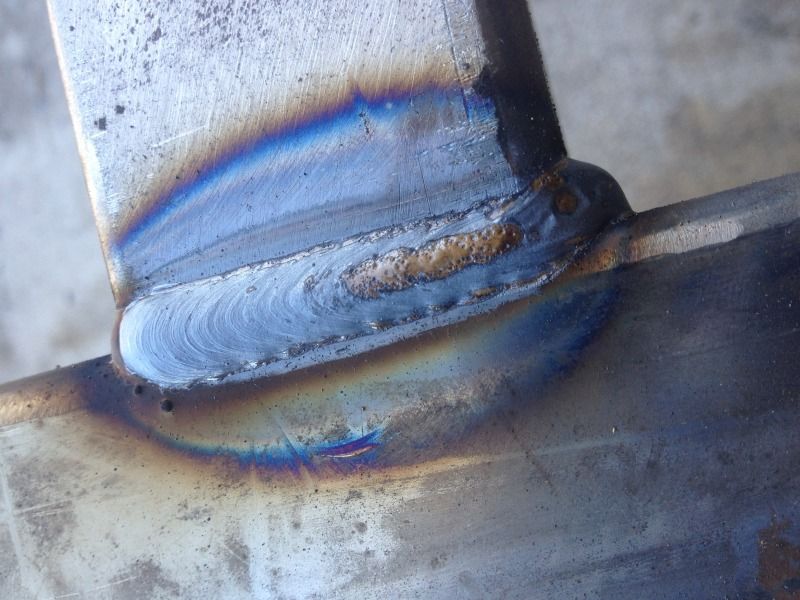
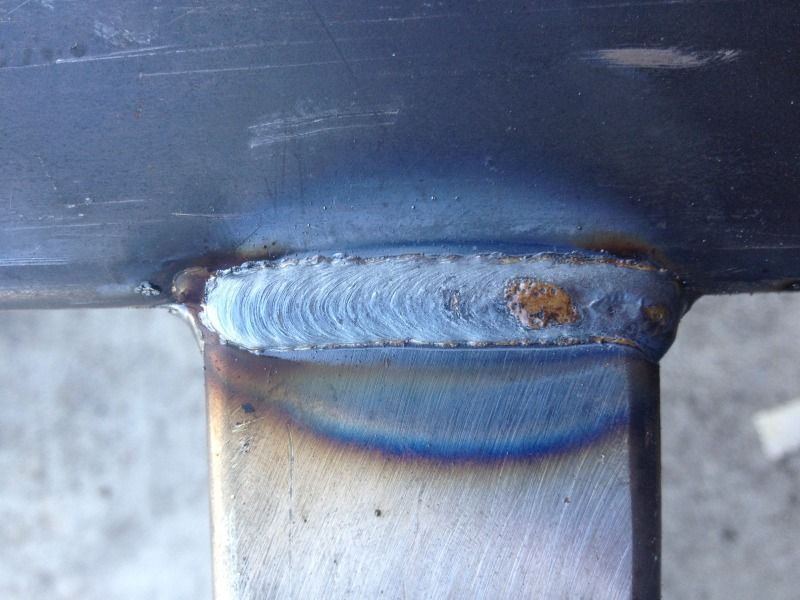
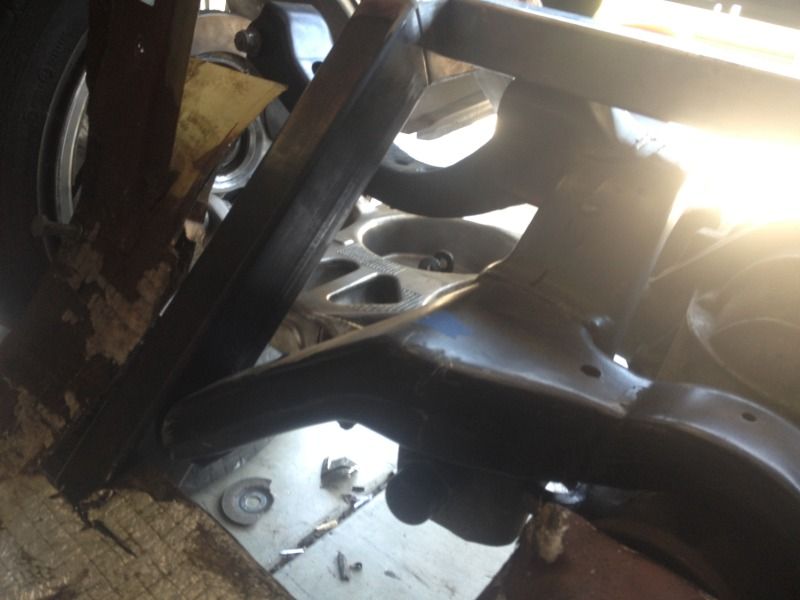
    A close up of one of the front subframe mounts.


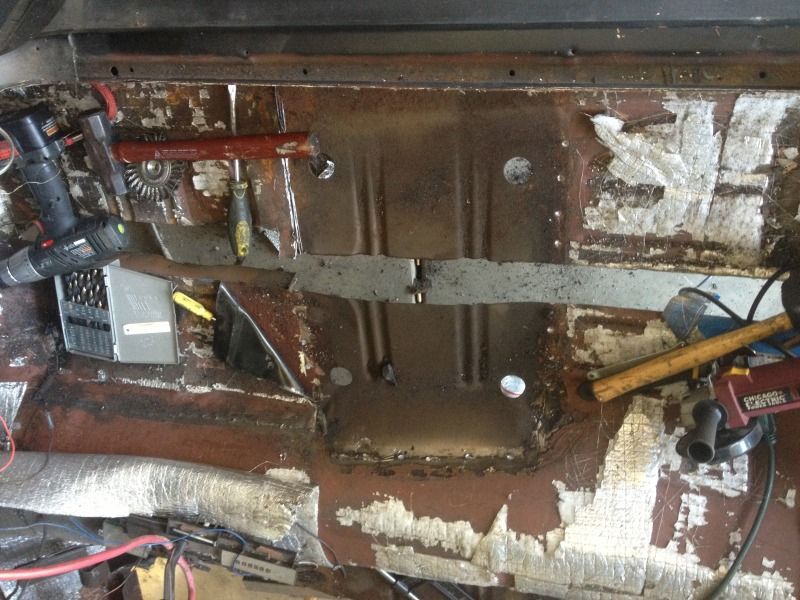
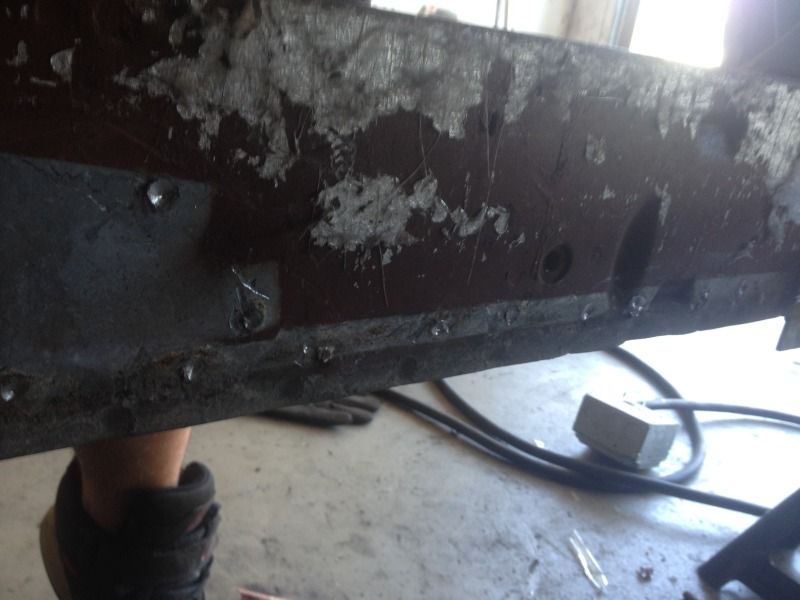
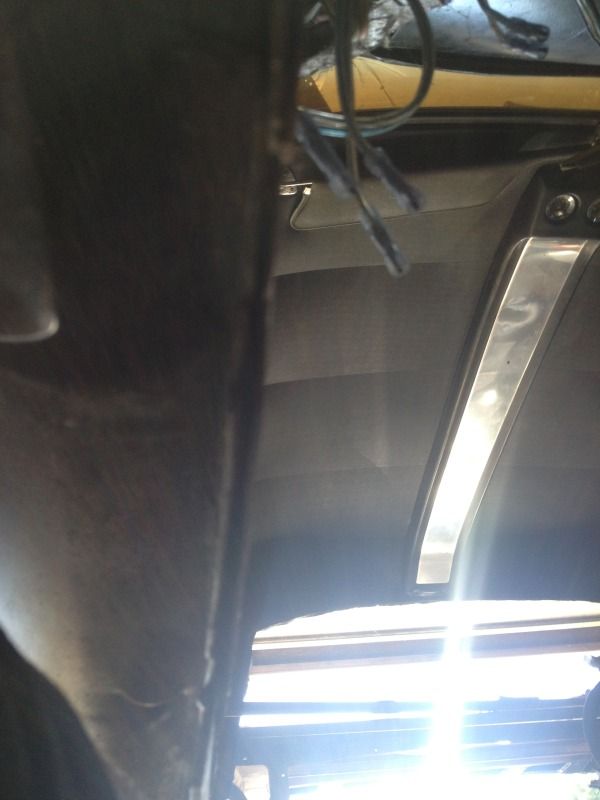
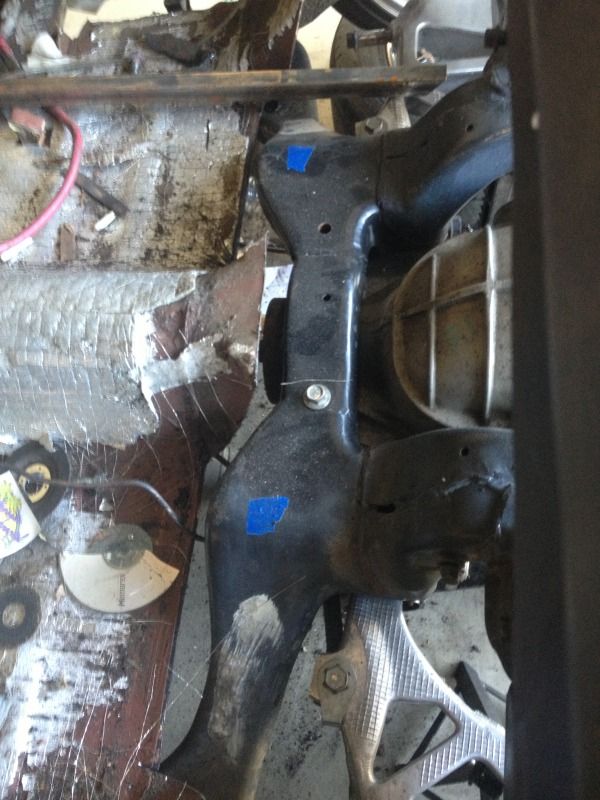
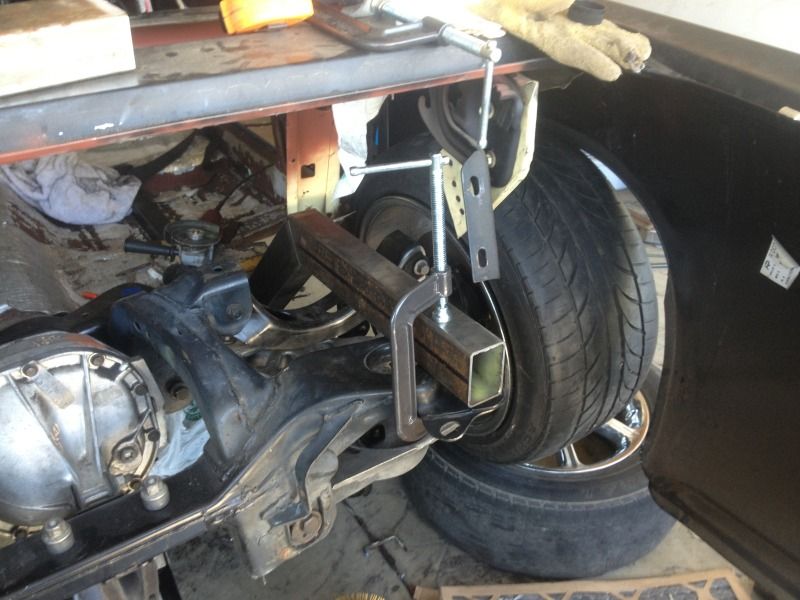
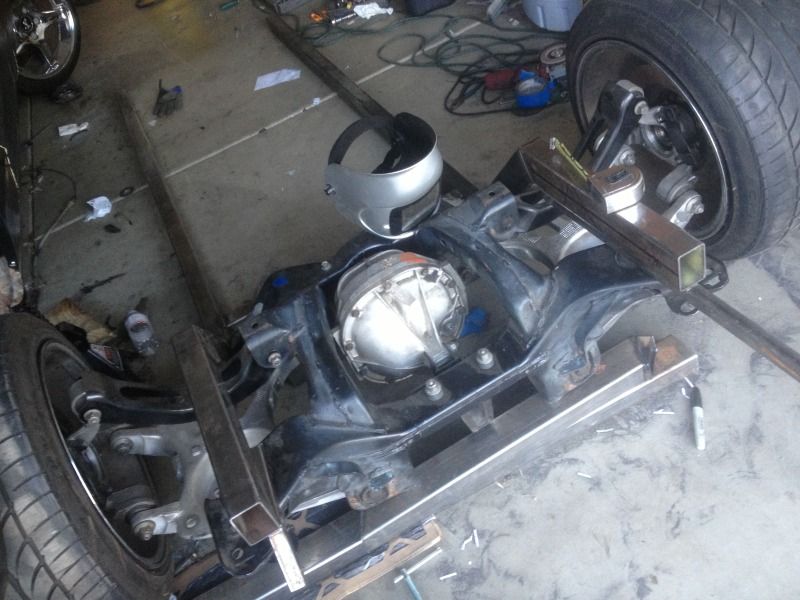
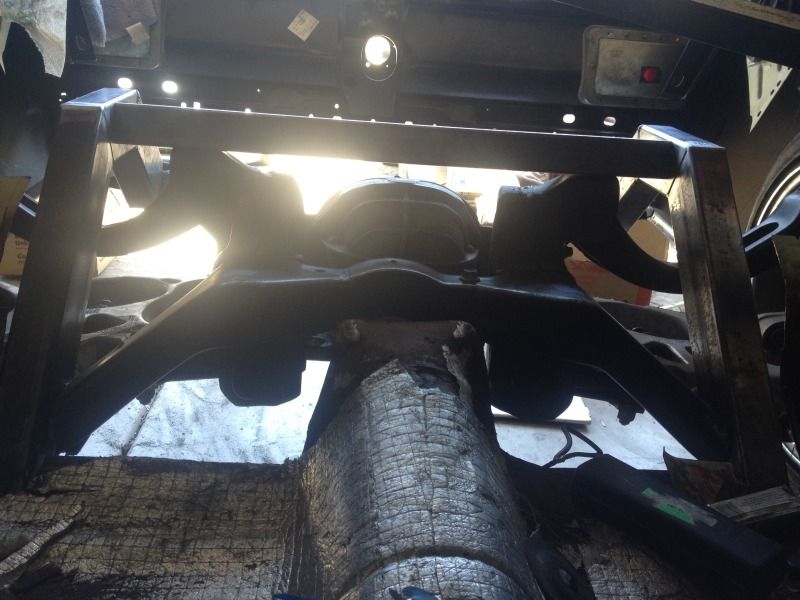
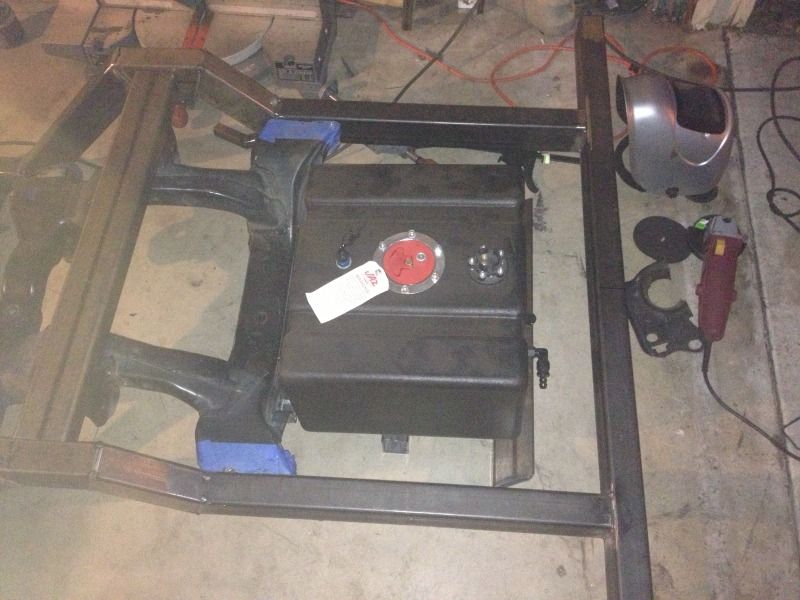
    Here's where the rear coilover ended up getting mounted. Just in front of the rear axle, there mounted inverted and I made an adjustable upper mount. The bolt holes are 1" apart and the bolt hole in the upper bracket is offset. That means if I flip the bracket i can raise or lower the rear by .5" or if I move it a bolt hole it will change it by 1". Just needs to be finish welded.


    Well I guess that's all the progress I've made over the last 4years since the last update. But there was multiple times I didnt work on the car for 6-8 months.

    Leave a comment:


  • smokenyall
    replied
    Life has been in the way but progress never stopped. I don't have any pics of the rear on this phone but I'll make an update for the front. Basically it now has a 240sx front subframe, 240 knuckles and everything else is custom, I fabricated the control arms and all the mounts. I custom built an oil pan with trap doors and baffles to fit around the subframe and suspension.


    Made a jig for modified knuckles


    Welded knuckle and my unfinished brackets for 4 pot brembo calipers with 13" cobra rotors


    Hopefully I'll get on it tomorrow and take some pics of the rear!!
    Last edited by smokenyall; 10-02-2018, 02:19 AM.

    Leave a comment:


  • bennkishh
    replied
    This thing is amazing, I can't wait to see this thing doing some skids. In for more grilled cheese content as well.

    Leave a comment:


  • loekaaz
    replied
    Dang this will be (already is) awesome! SubSubSubcribed!

    Leave a comment:


  • moist taco
    replied
    Wow, just read your thread...Your build has come such a long way.I never expected this when i opened the thread.. Keep up the amazing work!

    Leave a comment:


  • smokenyall
    replied
    Got my second set of rails in and mocked up


    You can see the frame gussets tacked in place

    Got the crossmember in place and the irs bolted up


    looks like I need to build new shock mounts but no biggie
    More updates soon!!!!!
    Last edited by smokenyall; 10-19-2014, 11:28 PM.

    Leave a comment:


  • smokenyall
    replied
    Well removed what's left of the drivers side floor pan, ground down all the spot welds on the sill and primed it.


    Cut off the bottom of the factory torque box since I'm building a stronger one and found some spider webs lol


    Test fit of the 2x3 I'm running across the sill to reinforce them and increase the chassis torrional rigity.


    Now to make the passenger side look like the drivers side, drilled out all the spot welds on the seat pan.


    At some point someone replaces the passenger side floor pan by welding it on top of the old one on the inside 
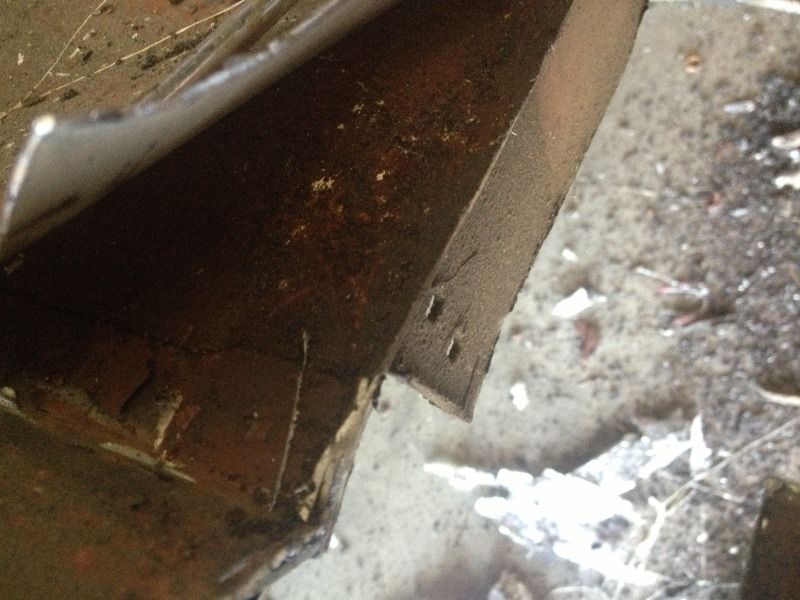
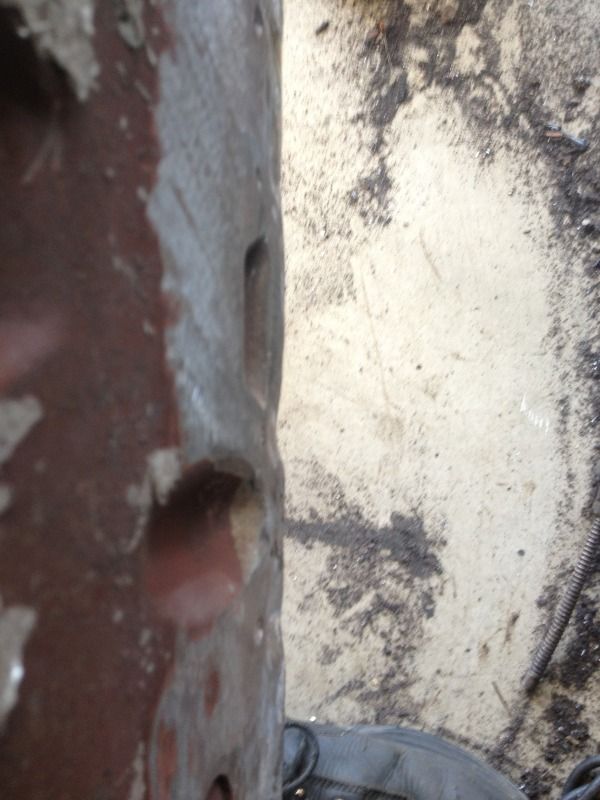
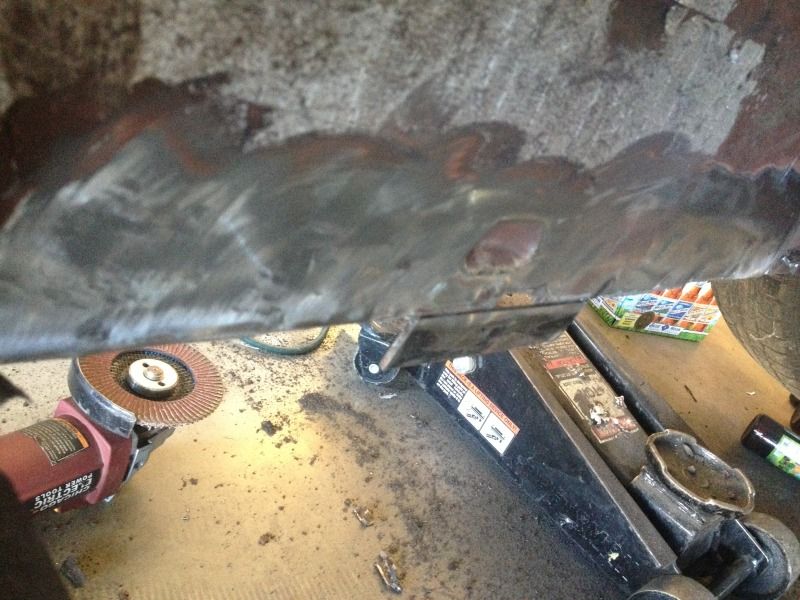
. So I had to cut the welds and bend it back.
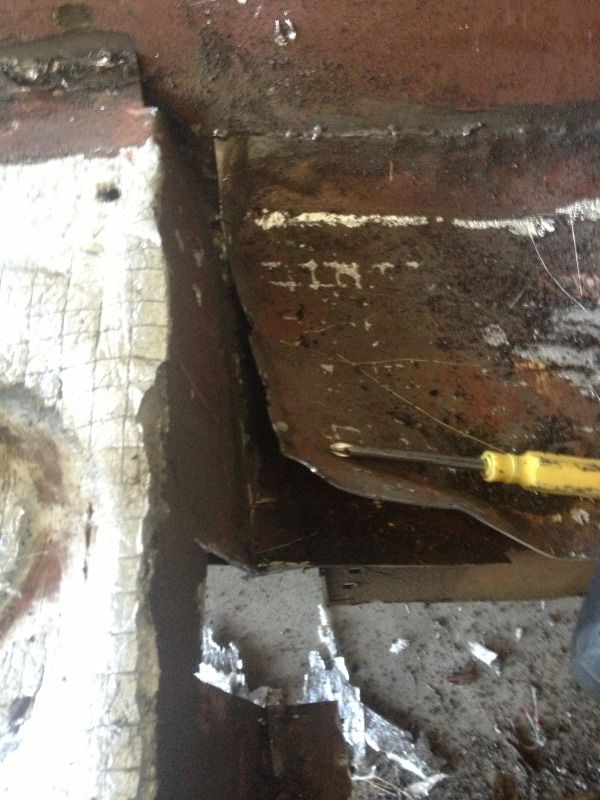

    They didn't even remove all the rust from underneath it.


    There's the spot welds I was looking for.


    Now the other half of the floor pan towards the sill.


    I cut the welds and got the seat pan free.


    Pan removed.


    Started cutting the floor out and then my grinder started started cutting in and out. I pulled out the old brushes and compared then to the new ones, I think that might be a problem lol.


    Floor hanging on by a thread.


    Here's the front of the floor pan welded on top of the old one.


    Here's what the sill is supposed to look like after drilling the spot welds and removing the floor.


    Here's what I have to deal with from the patched floor. The panel is fully welded to the sill unlike the rest that was tacked everywhere else wtf.


    The mess I created!!


    After wire wheeling the sealant off it.


    Started grinding it down to remove it, I didn't get a pic after but you get the point.


    Hard to tell but this is the bottom of the sill right under where the patch panel was fully welded on, those two pieces of metal are supposed to be spot welded together but somehow he managed to split them?


    So I drilled some holes and re spot welded it together.


    The bottom of the sill isn't perfectly strait so I straightened it out with a hammer and dolly. Before


    After, the sill is now straight all the way across now.


    Started cleaning up the passenger sill.


    Cleaned it up with a fine flap wheel.


    Then primed the sill!!


    Now at this point I'm starving so time for a sandwich.


    She wanted some company.


    Then I started fully welding my frame. So here's a few weld pics!!!!


    Updates as they happen!!!

    Leave a comment:


  • JRodigan
    replied
    You're my hero. This is amazing. Coming from a classic Mustang owner: keep up the awesome work.

    Leave a comment:


  • white out
    replied
    great progress

    Leave a comment:


  • FunfGang
    replied
    This is very cool, keep the updates coming.

    Leave a comment:


  • smokenyall
    replied
    Hey guys I'm back again, been out of work for 3 months due to a broken ankle so 90% of the progress was done in a cast by myself.

    Of course chopped the floor further to get the irs to fit


    Did some measuring and cut some 2x3x .120


    Every bend got this treatment


    A quick test fit, was a pain in the ass getting the frame under there by urself lol


    Ride height


    Then more cutting


    Built the back half of the frame


    Sitting on the subframe that's waiting to have the mounts cut off


    Ears cut off and sitting in place


    Plenty of room for my fuel cell


    Someone patched the passenger floor pan right up against the inner rocker as the patch and the rest of the drivers side floor was rusted out so cut it all out leaving me with this welded blob on the side.


    Ground it all smooth


    Threw on some primer


    More rust under the pedals


    Oh and a random weld


    Finally got my foot back and walking so more updates very soon!!!

    Leave a comment:


  • SBCriss
    replied
    Haha awesome to see another 67 mustang here, looks already really nice cant wait to see the result!

    Leave a comment:


  • smokenyall
    replied
    Originally posted by hi its me alec View Post
    Love this, can't wait to see more!

    Originally posted by M0HNKE View Post
    Too sick. What exactly is the IRS from? A Thunderbird or something similar I'll assume?
    The thunderbird and lincoln mark 8 have the same rear end but the Lincoln having aluminum lower control arms, aluminum 8.8 center section (same housing as the cobra) , and disc brakes instead of drums. I think it weighs 80lbs less off the top of my head.
    i started with a mark 8 irs and narrowed the subframe 4" to match the width of the stock axle, bought shorter axles, and red rilles the rear hub to 5x4.5(5x114.3) since they come with 5x4.25.

    Leave a comment:


  • M0HNKE
    replied
    Too sick. What exactly is the IRS from? A Thunderbird or something similar I'll assume?

    Leave a comment:


  • hi its me alec
    replied
    Love this, can't wait to see more!

    Leave a comment:

Working...
X