Originally posted by rice4life
View Post
-
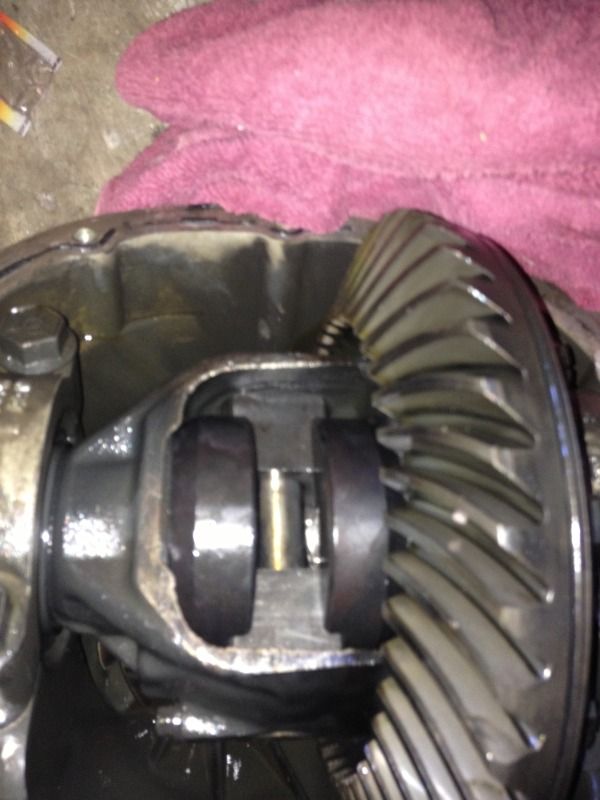
Removed the spider gears and installed the mini spool
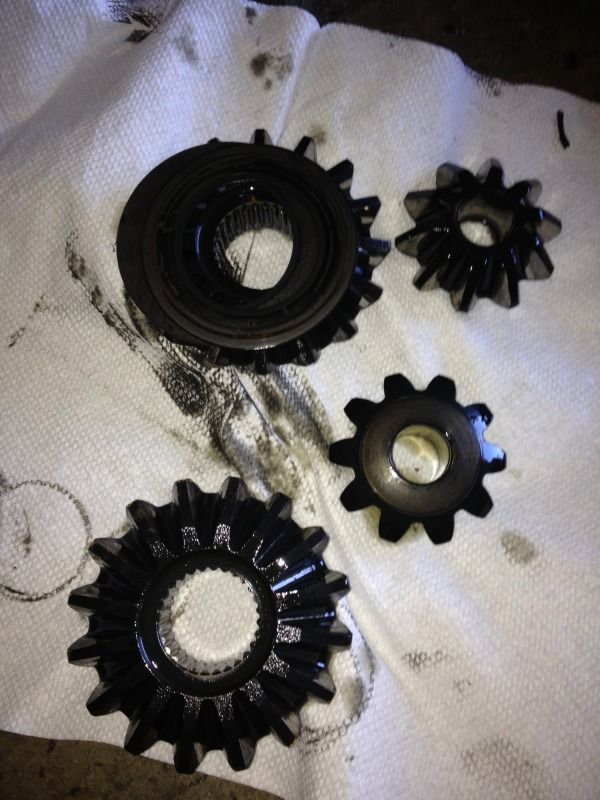
Inside the diff
Leave a comment:
-
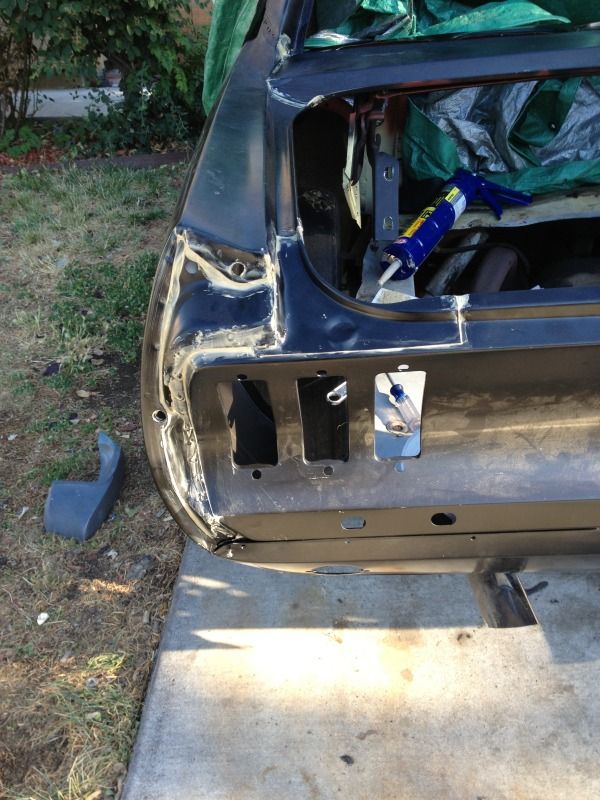
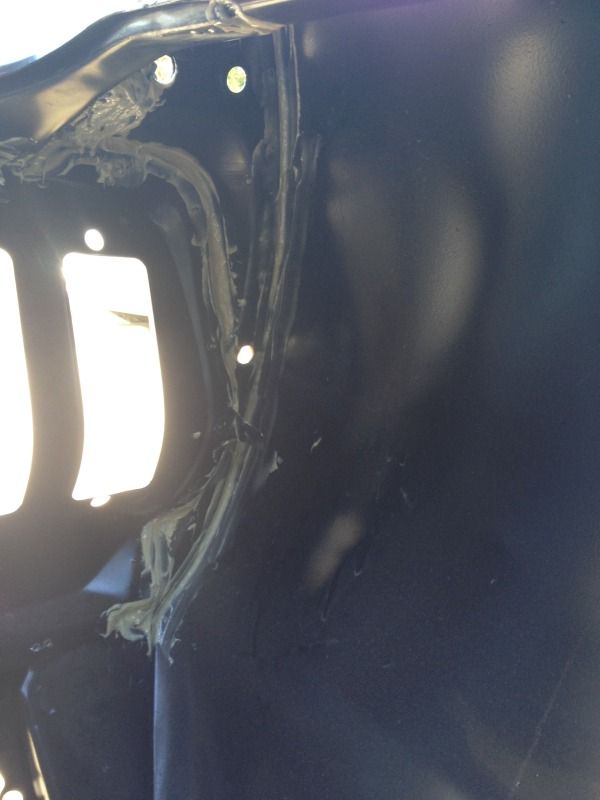
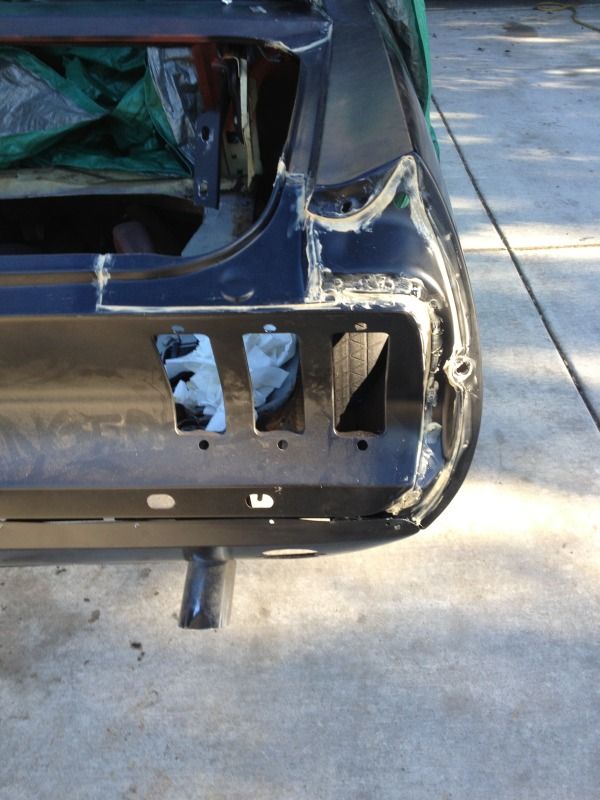
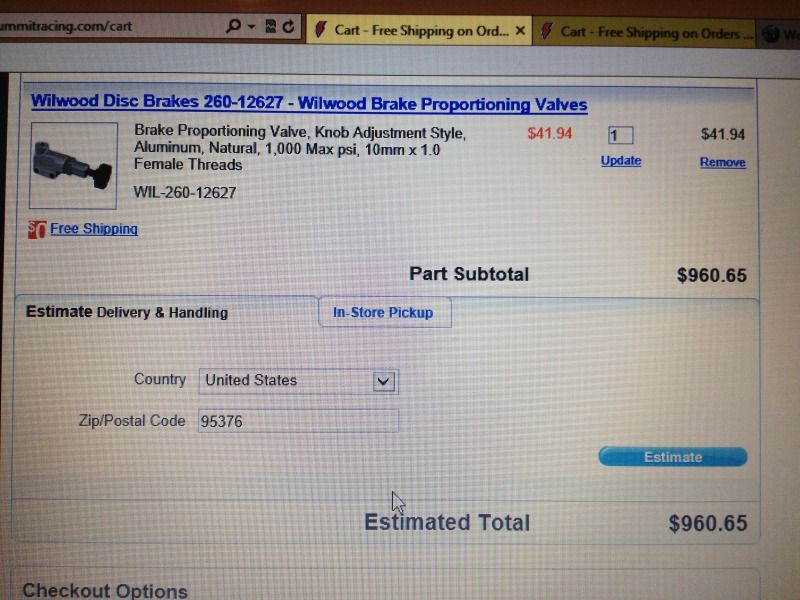
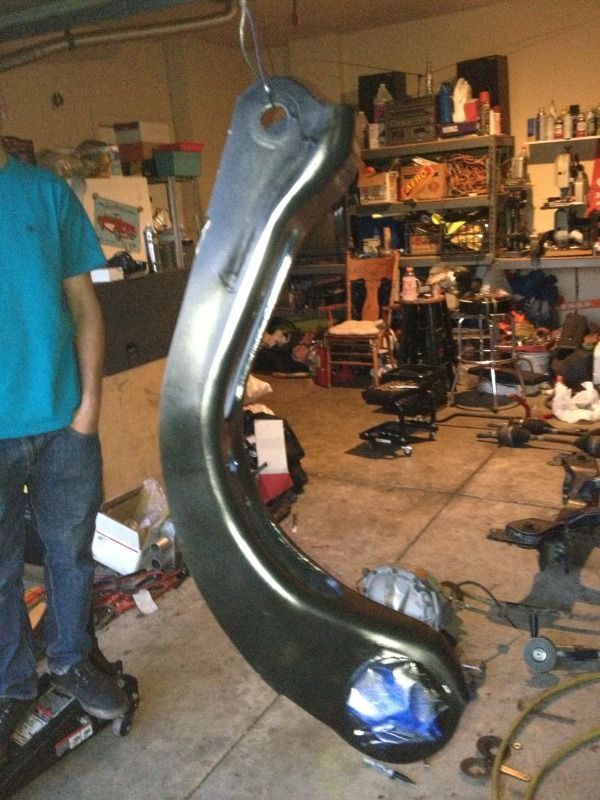
Seamed sealed up the whole body on the back and placed a very large order at summit almost 1k .
.
Pics of seam sealing

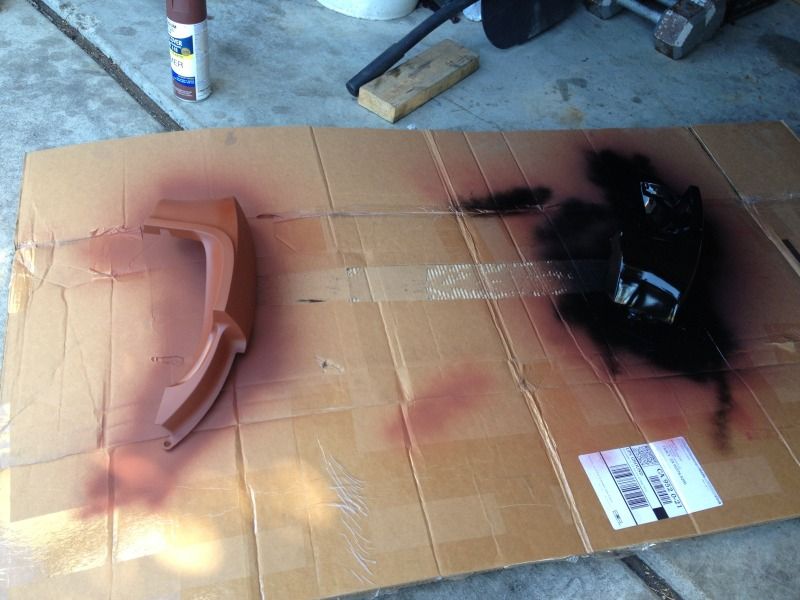
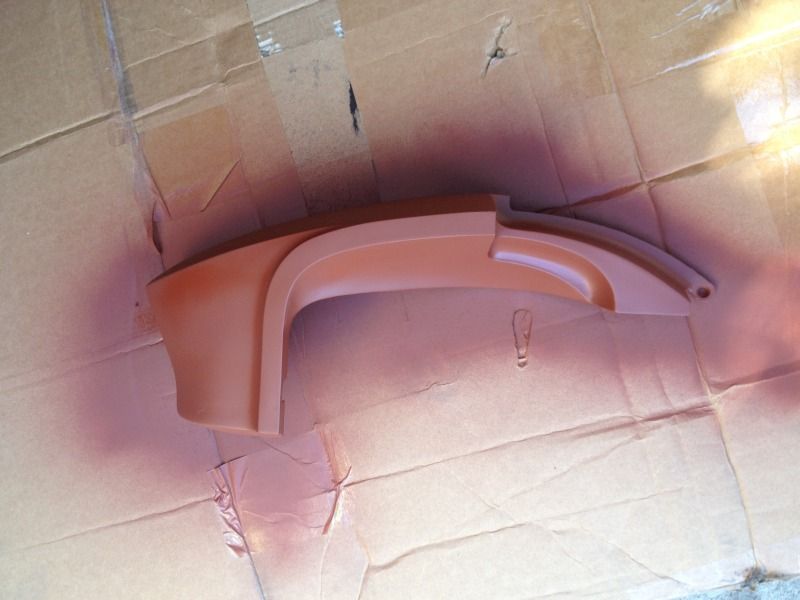
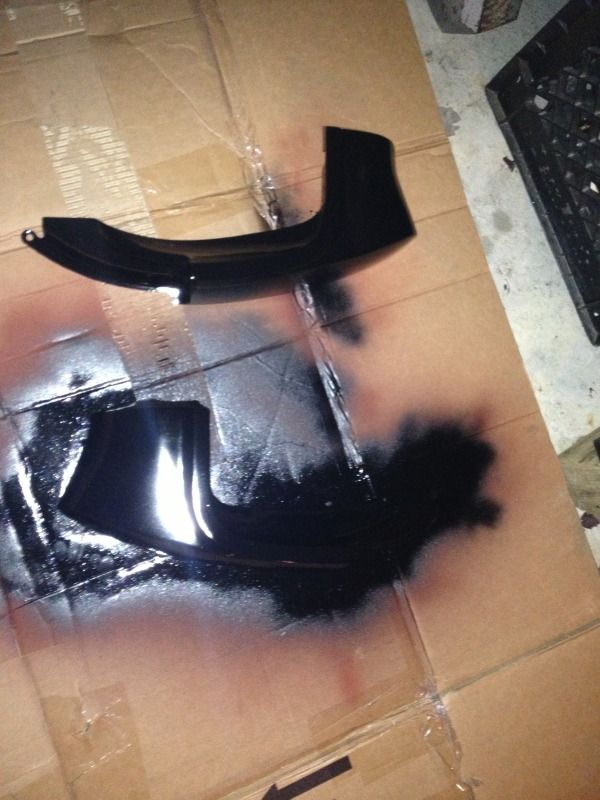
Painted my rear end caps
My summit order
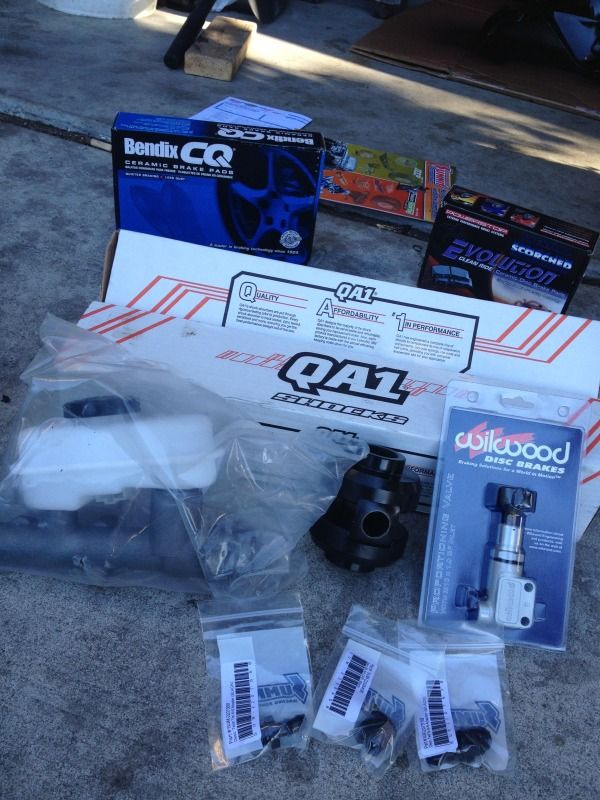
Pics of said summit order(some of it)
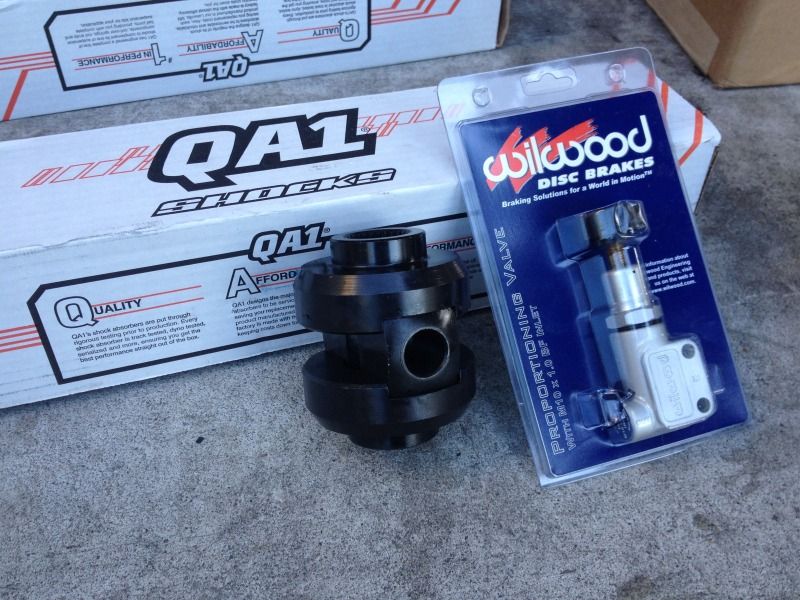
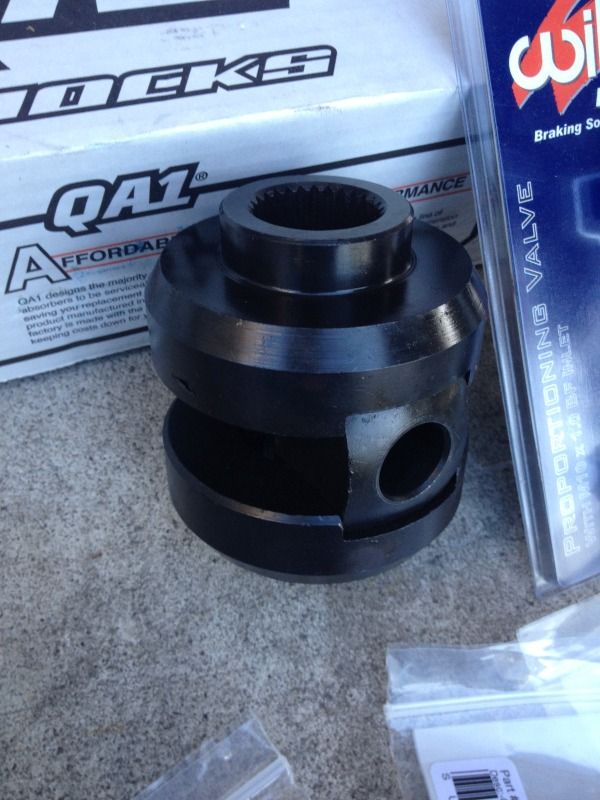
My mini spool for that full time posi
Some of my AN fittings for the fuel cell

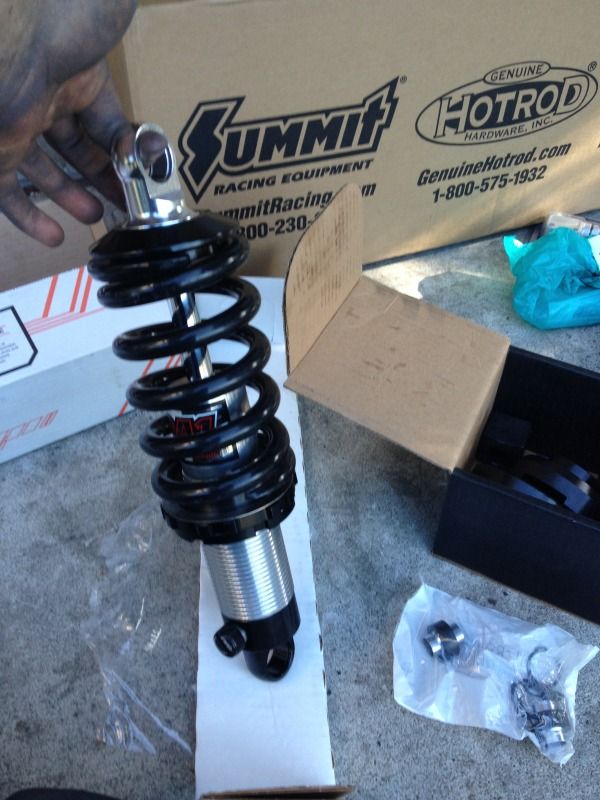
My qa1 adjustable coilover, has 18 points of adjustment, does both rebound and bump stiffness on the same knob, I was able to compress it by hand on 1 and I decided to put it up to 10 and I couldn't even budge the shock so I turned it down to 5 and it was very difficult so that means I'm very happy with my choice

 Last edited by smokenyall; 06-19-2013, 08:42 PM.
Leave a comment:
-
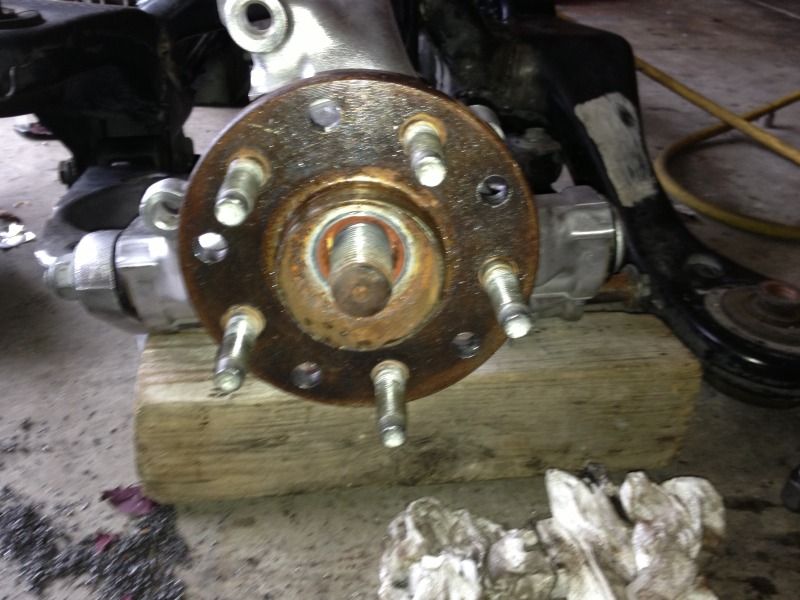
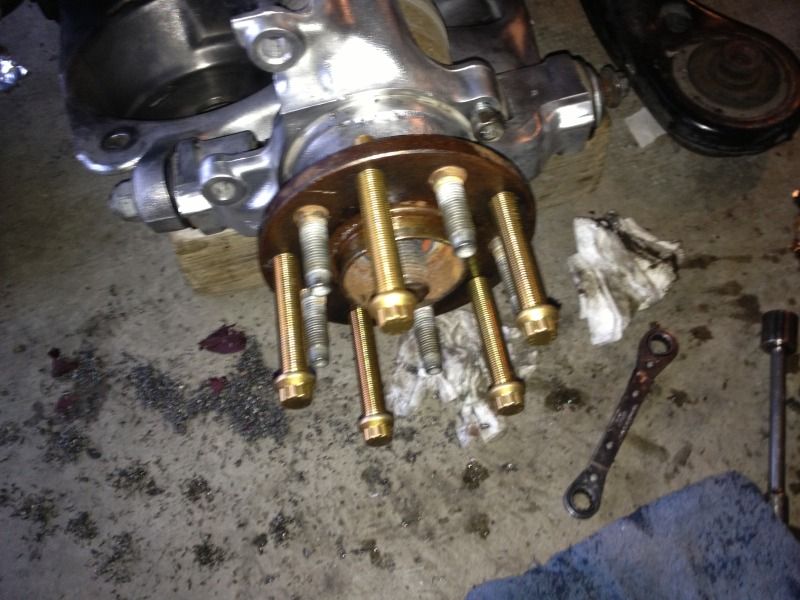
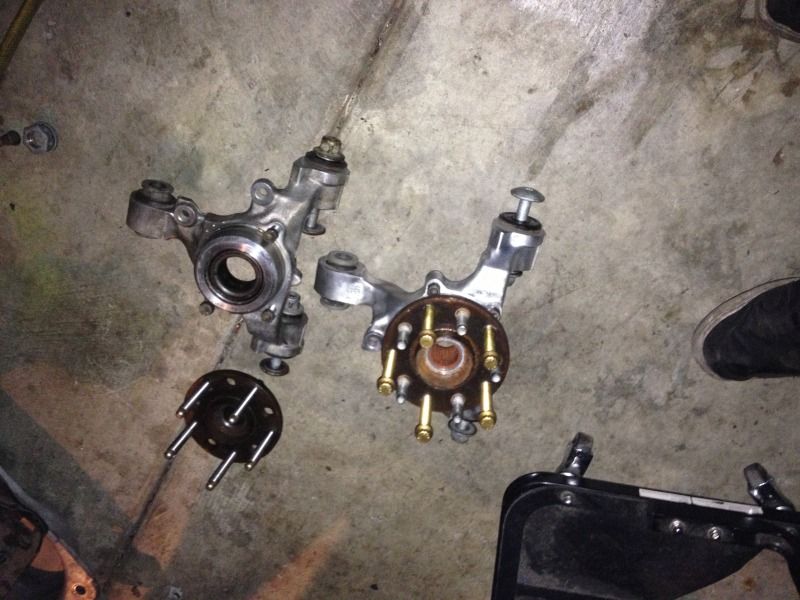
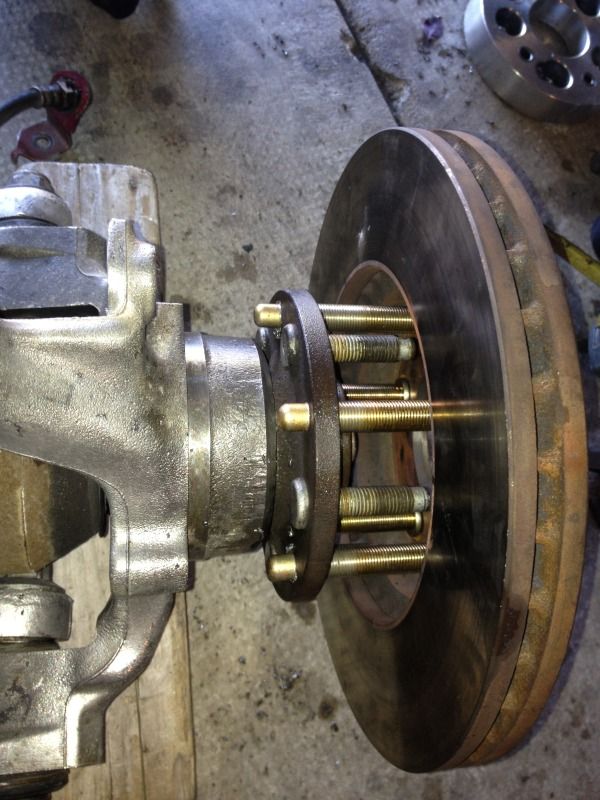
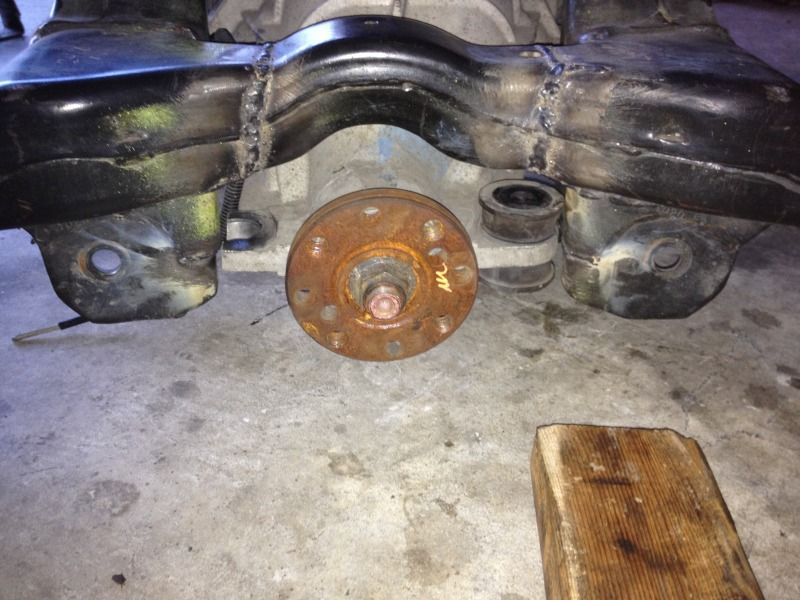
Still at work but hubs and bearings are pressed back in now the rear matches the front lug pattern and thread type

Leave a comment:
-
got off work early because memorial day!!!!
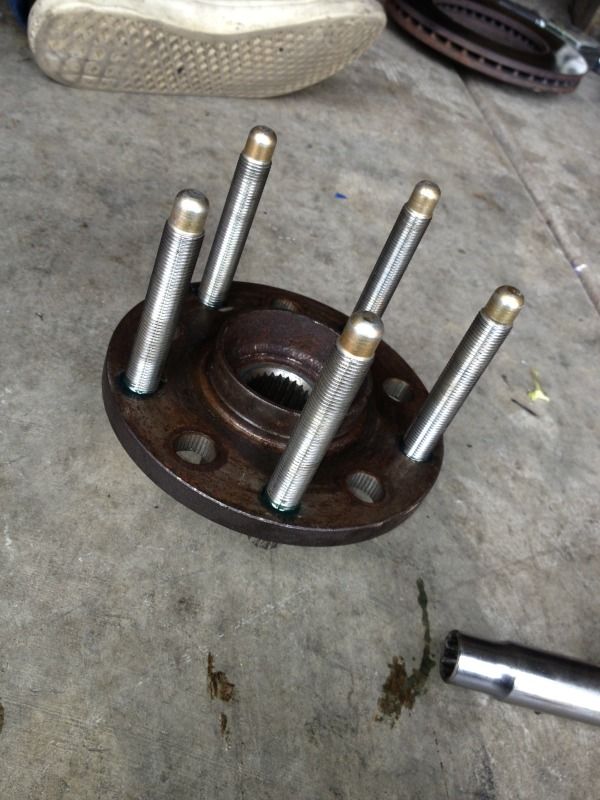
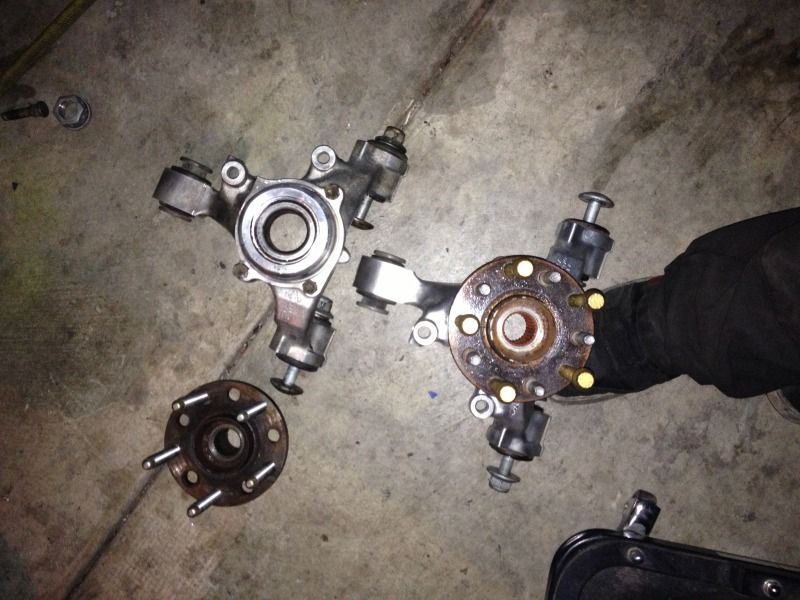
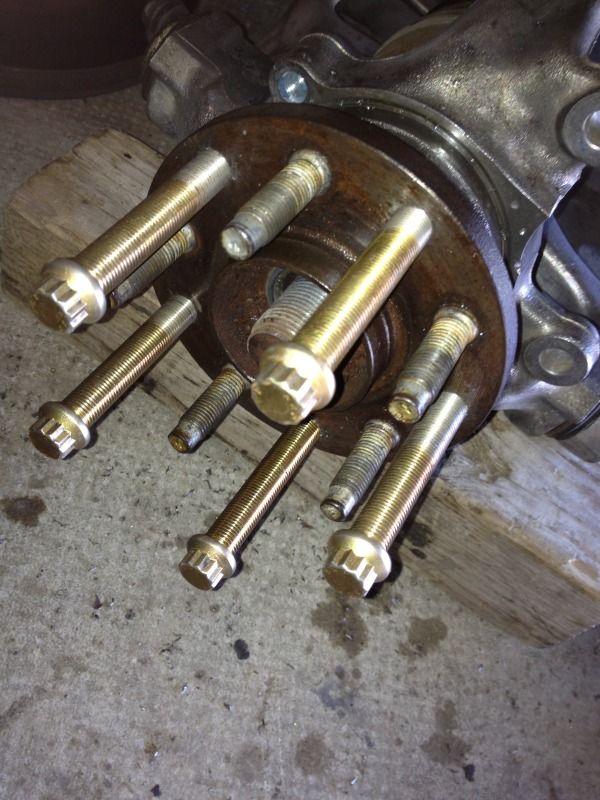
soooo I got the old studs out and the new ones in
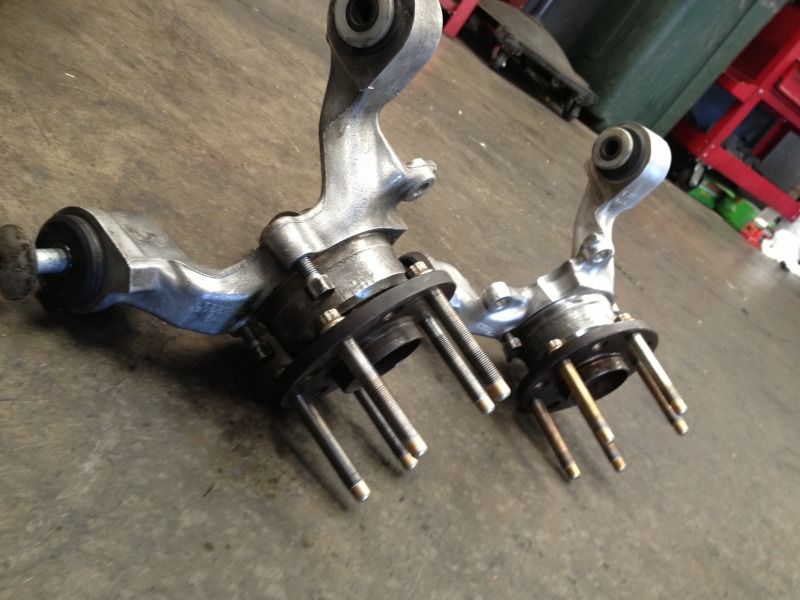
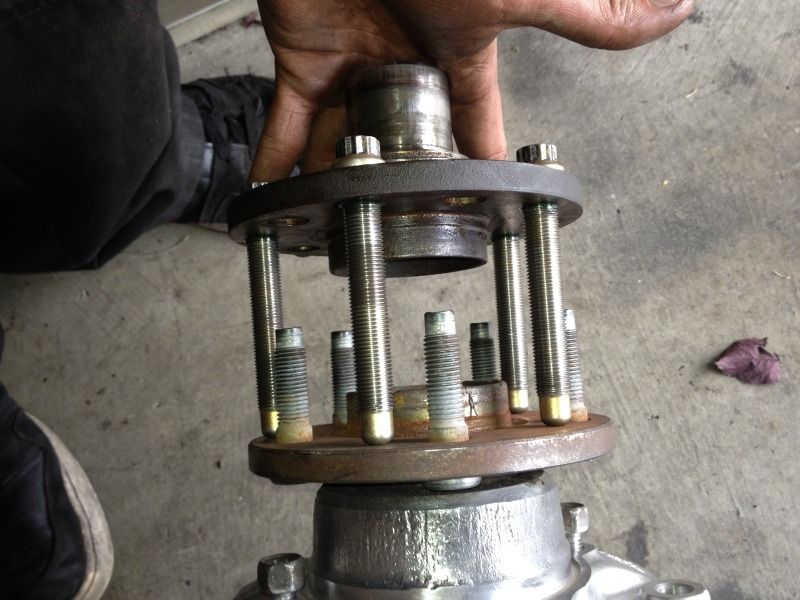
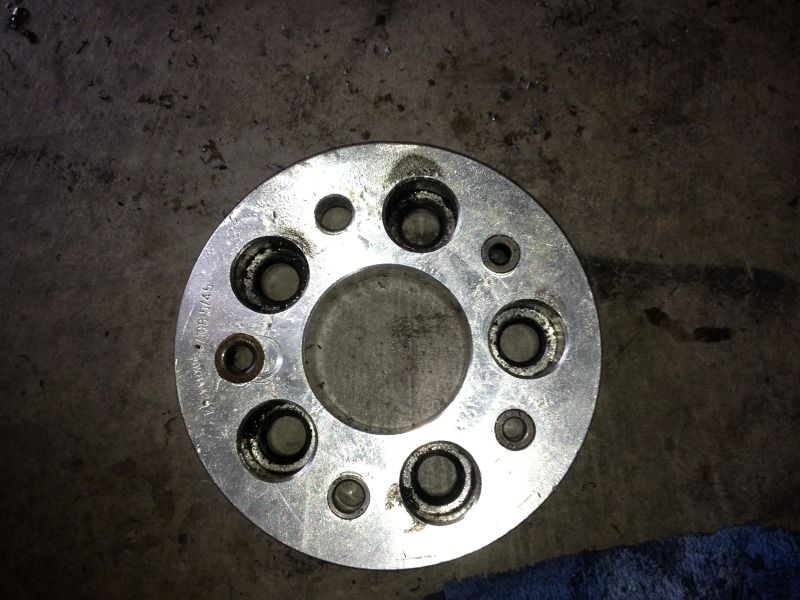
a quick comparison
did allot of drilling to make this
thanks to this custom made template slash drill guide
and left me with the other side fully drilled and tapped to 5x114.3
the gf helped and got hurt")
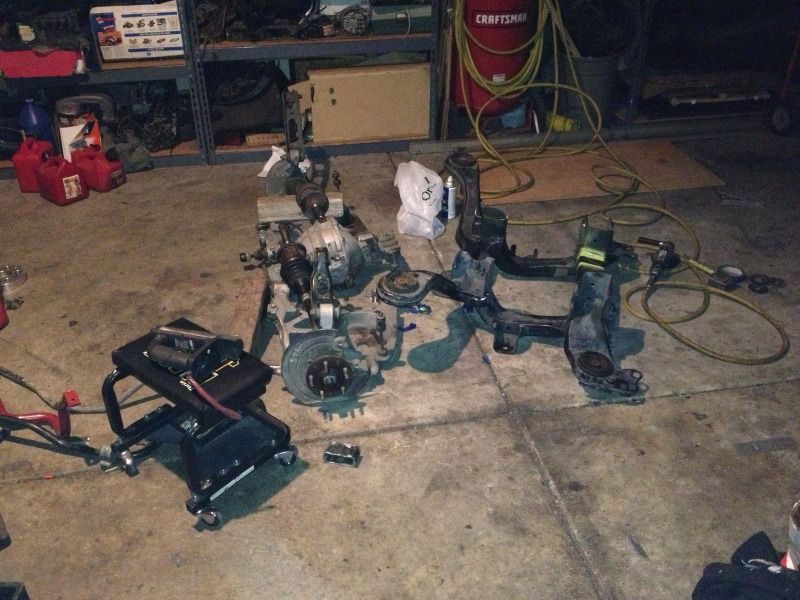
everything ready for me to take to work so I can press out the other hub and install the studs and press in new bearings then press the hubs back in
everything pushed back into the corner so I can finally park something in the garage again
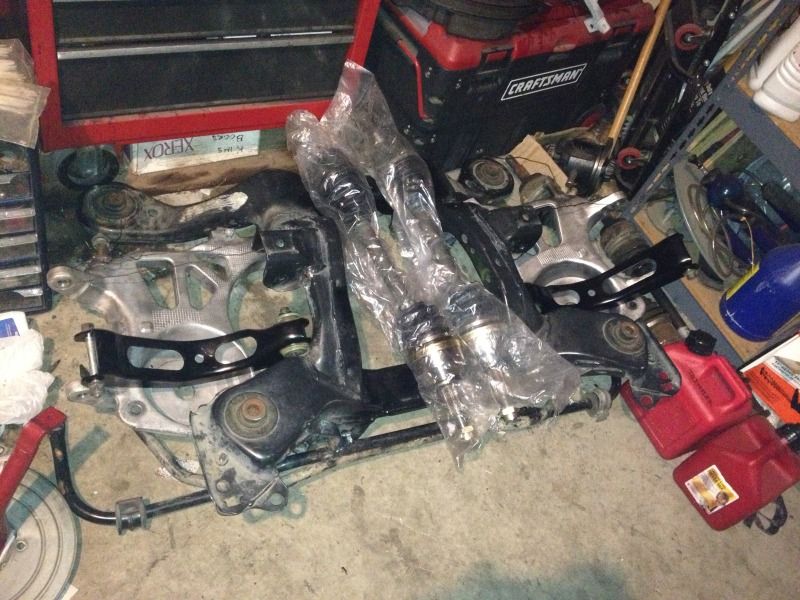
now whats next on the to do list is to modify the rear spindles and make some custom brackets so I can get my dual piston 10 3/4in rear break setup mounted, plate the subframe over my cuts to reinforce it, and last but not least install my mini spool in the pumpkin so my car can make uber cool 240 noises bro!!
Leave a comment:
-
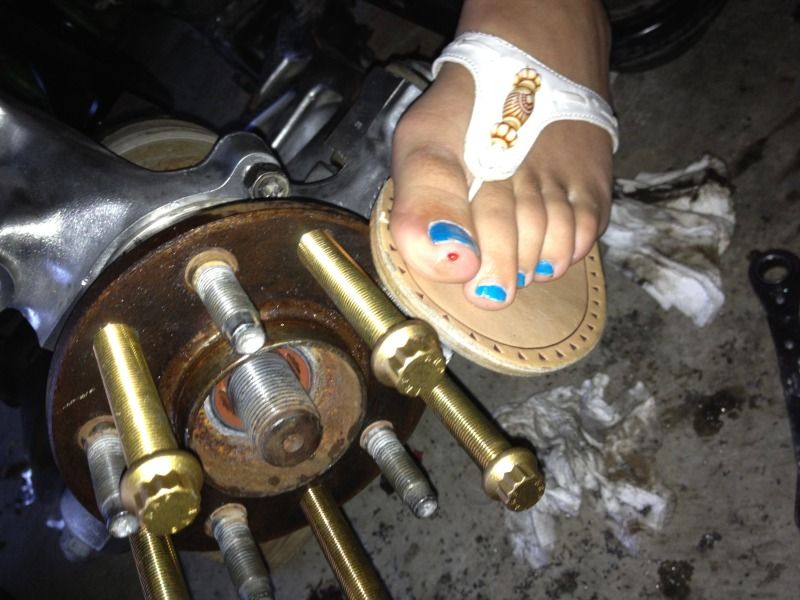
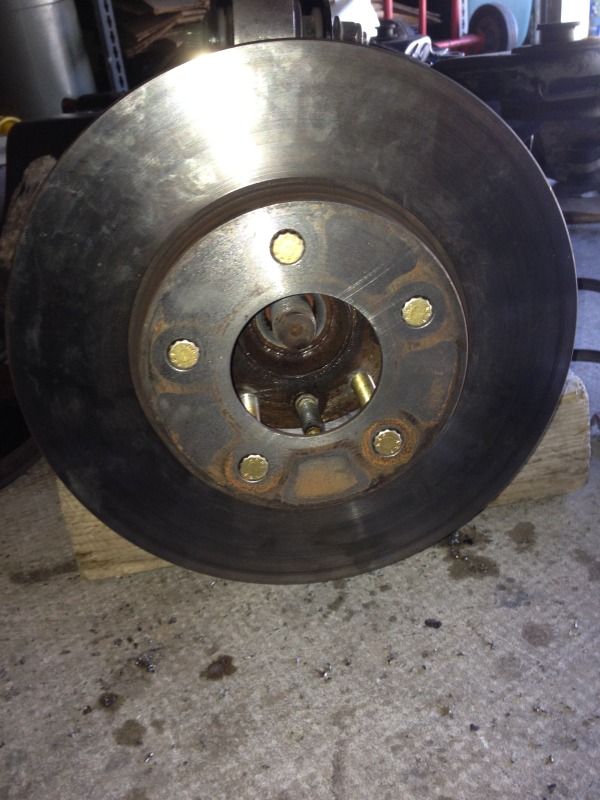
Well haven't posted in a while, did this to one side over the past few days fml , $40 in drill bits and one side is done
Rotor fits over the head of the stud so I guess it's pretty damn close
Studs are screw in style, 1/2x20x3" ARP
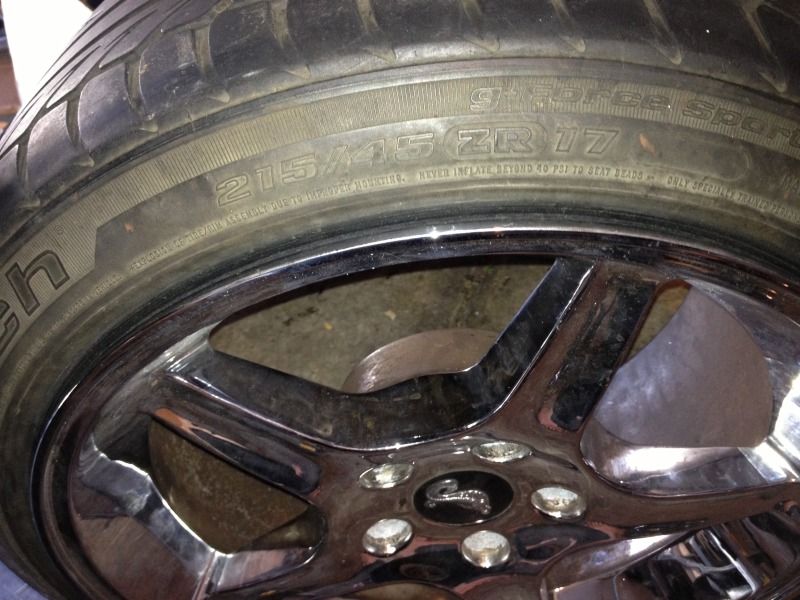
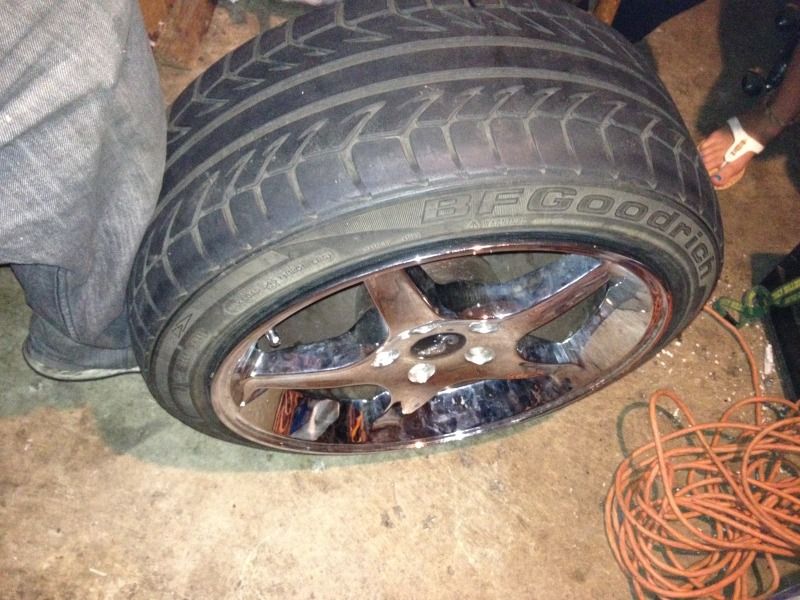
Studs are too long to be threaded in from the rear (face palm) so now I gotta press out the hub at work so I can install them. On a lighter note here a few pics of the front wheels, 215/45/17 on a 17x9
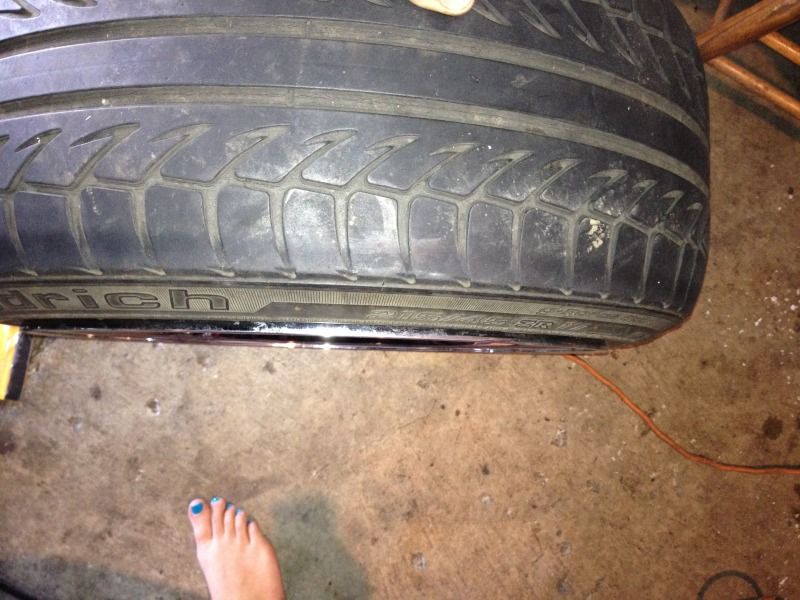
Painted toes ftw!!!!
 Last edited by smokenyall; 05-27-2013, 12:12 AM.
Leave a comment:
-
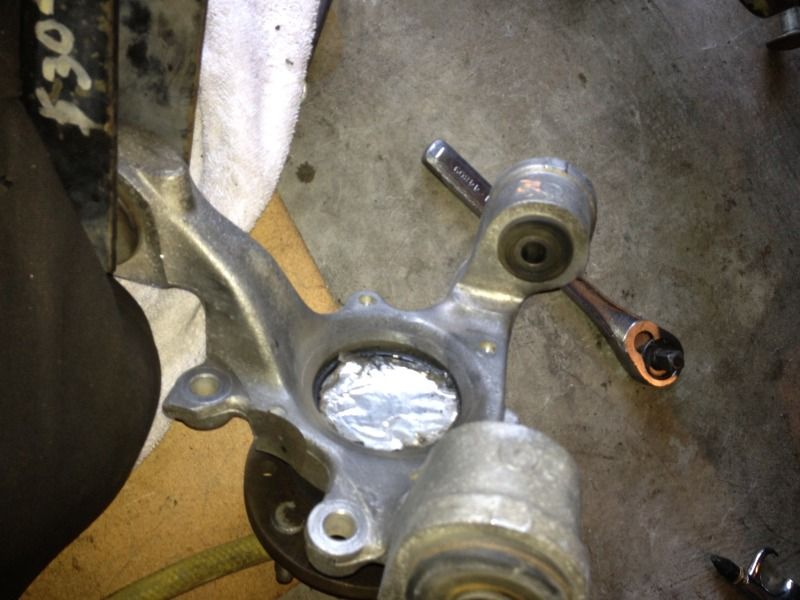
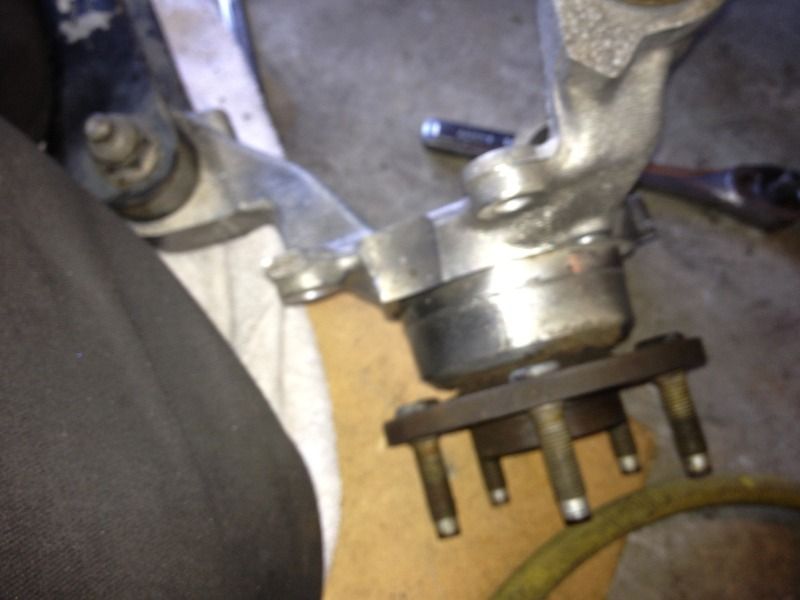
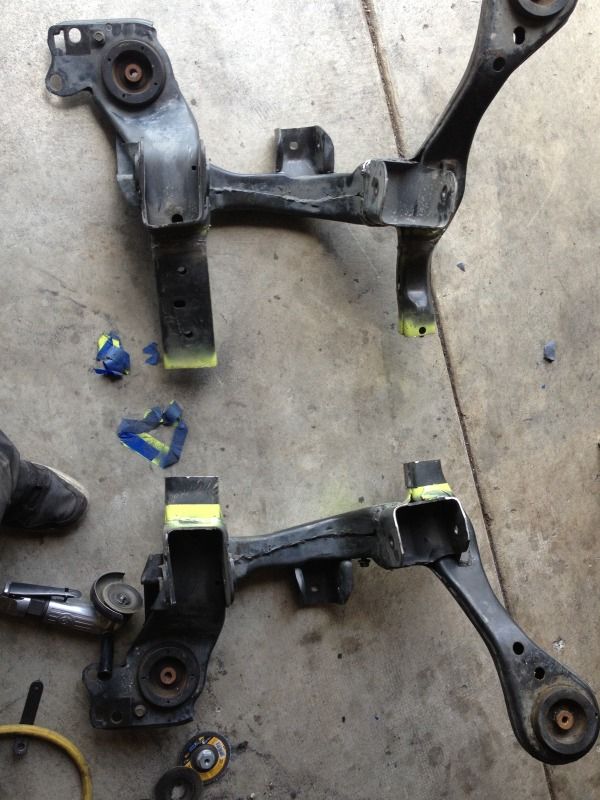
cleaned up one side of my suspension today just cuz, before spindle
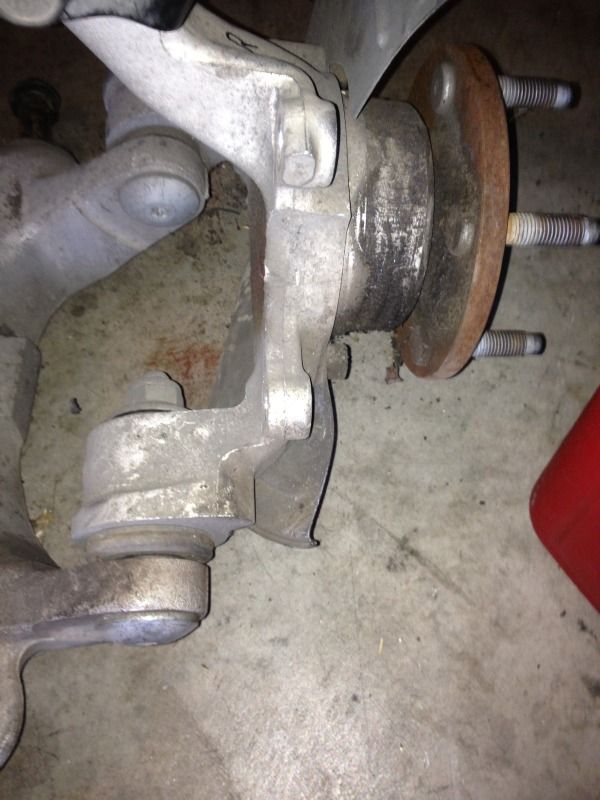
after

before and after of the lca
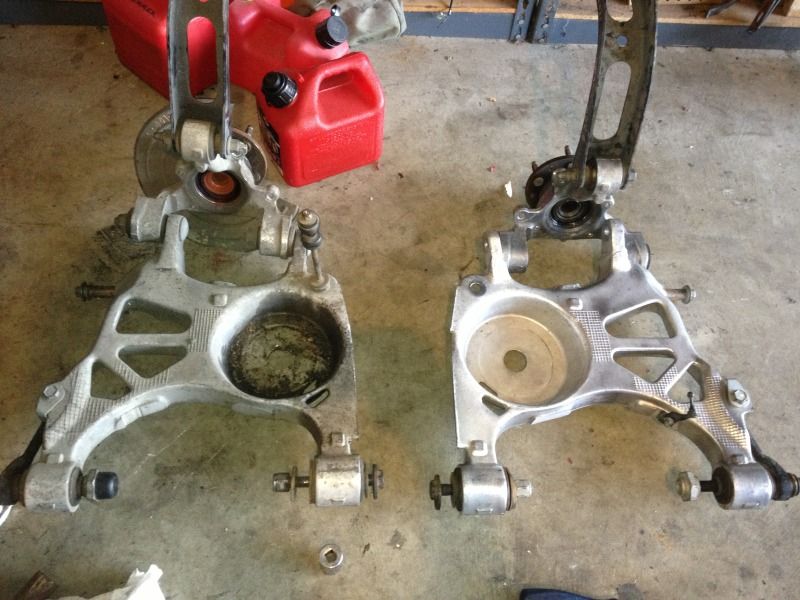
also gave the upper arm a nice clean up and some paint
tomorrow comes the other sideLeave a comment:
-
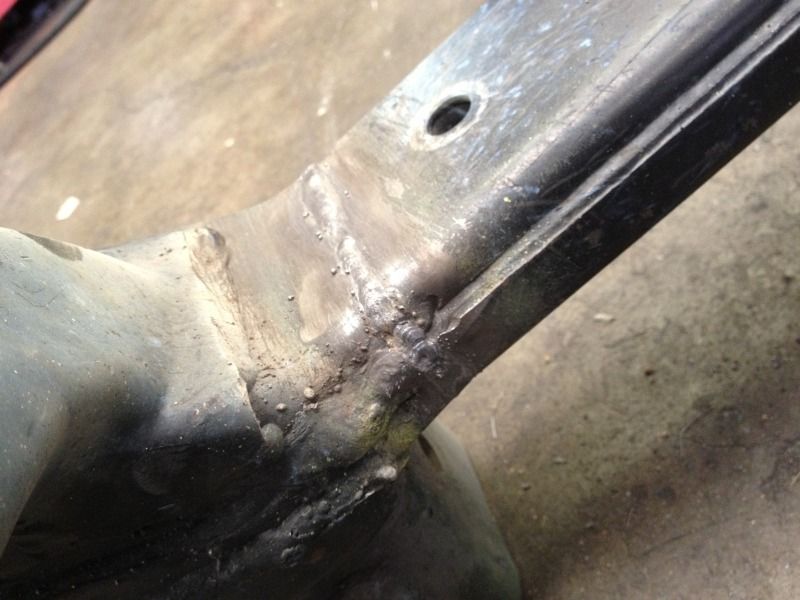
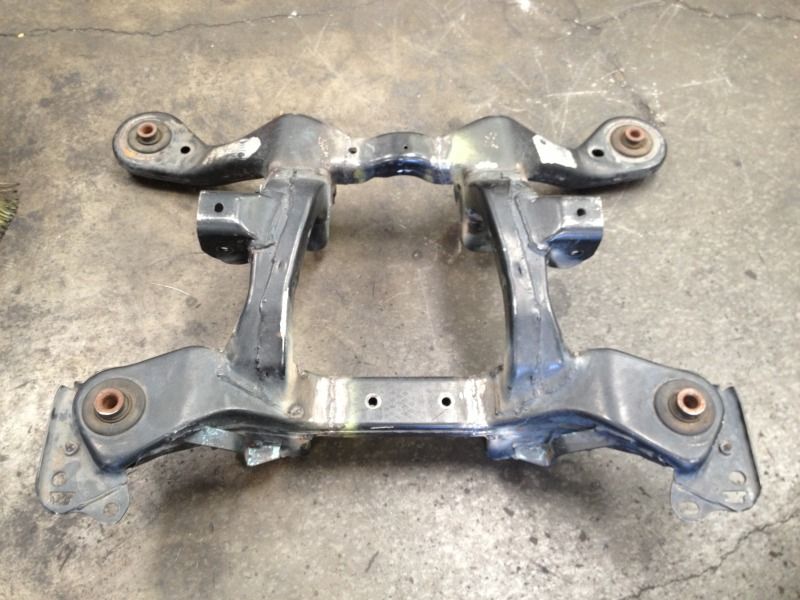
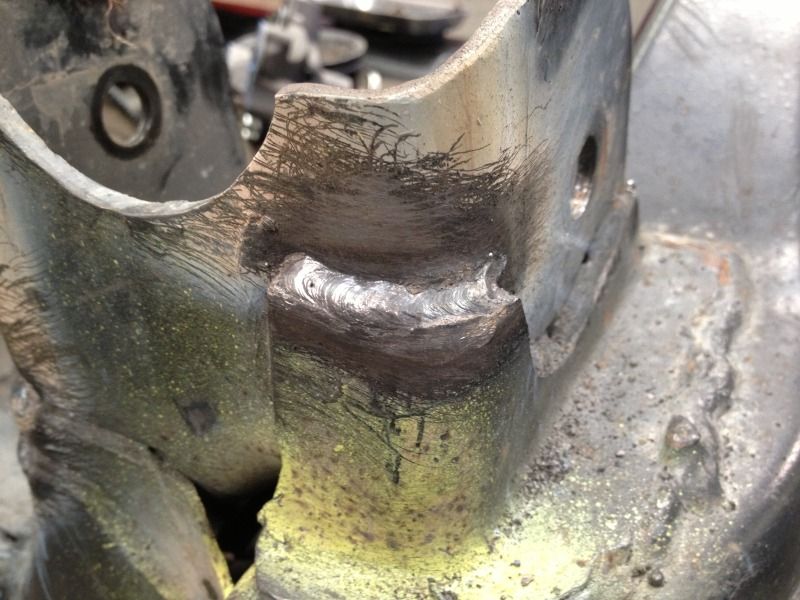
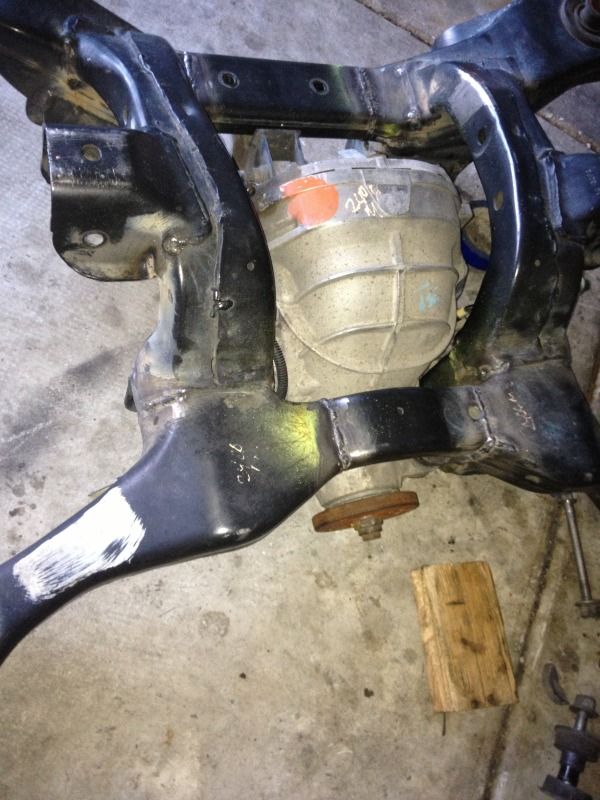
well kinda got busy today, first off was welding the two half's together, first weld
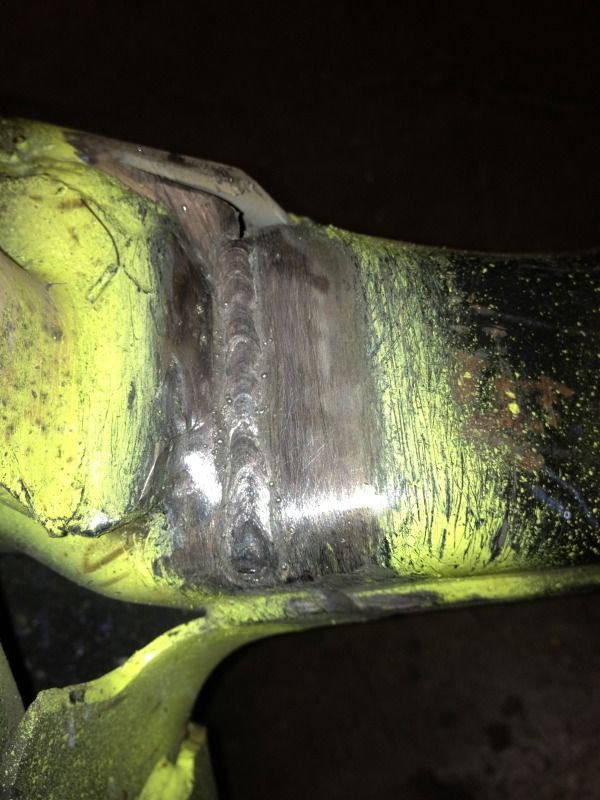
fully welded
just another pic of welds
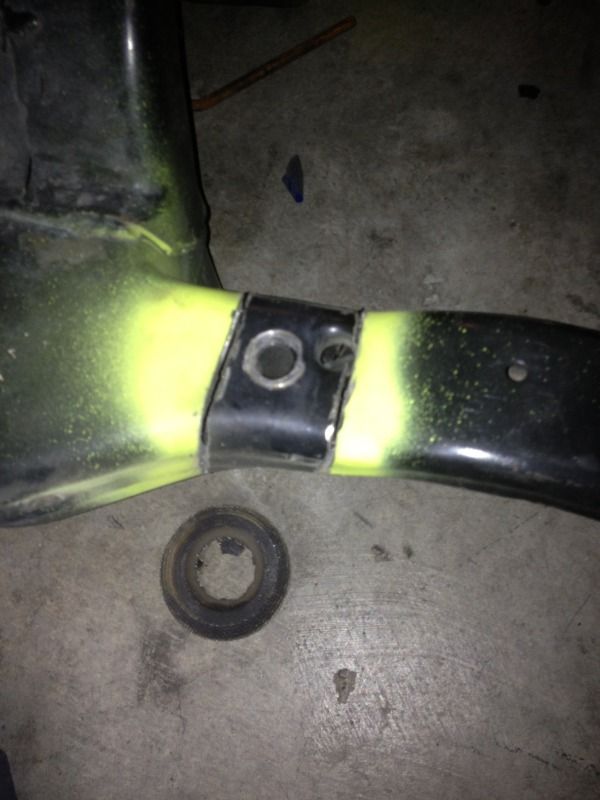
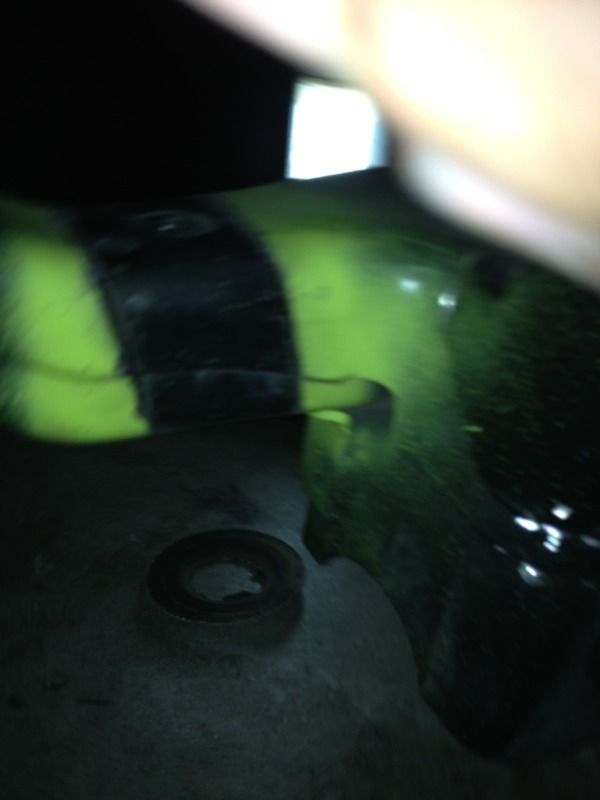
since I narrowed it 4" there wasn't enough room to keep the diff centered so 3/4 came off so the diff stayed center
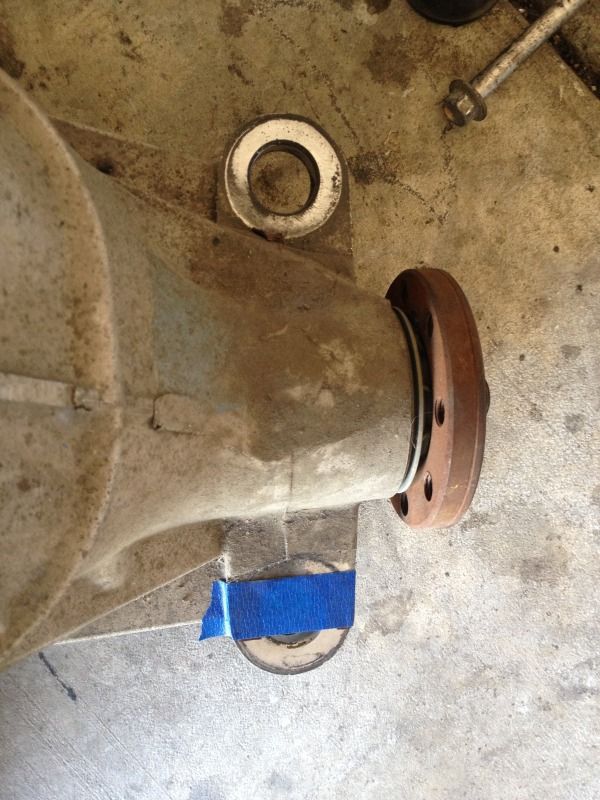
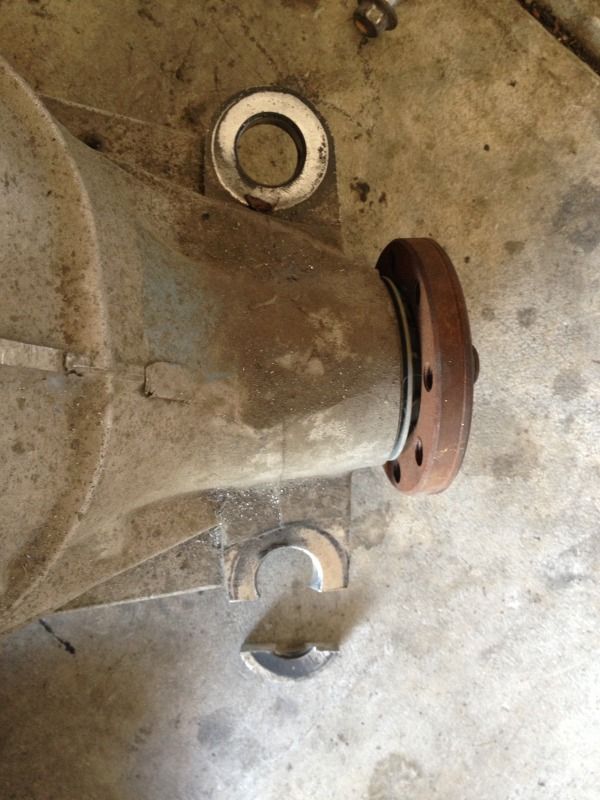
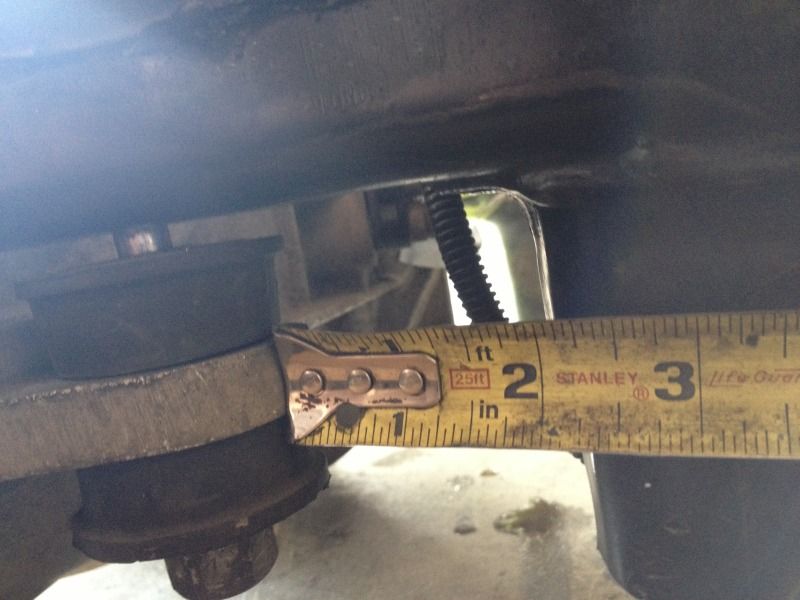
bolted into the stock hole to check clearances
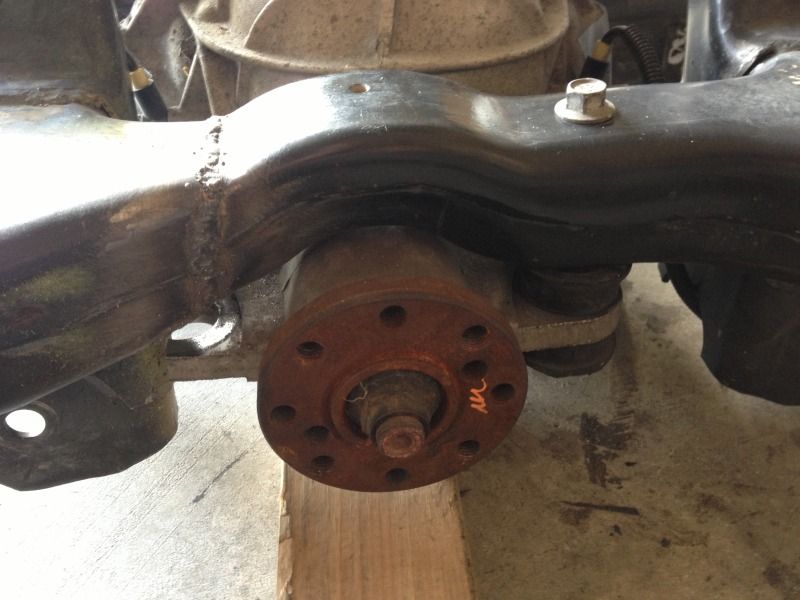
got a touch over 2 inches on this side, so no trimming will b needed once narrowed
 \
\
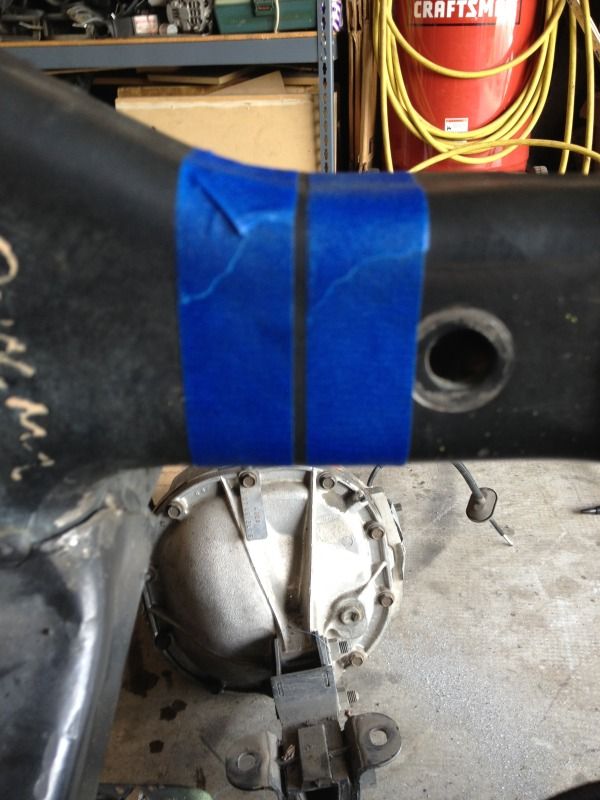
one of the tape lines for the new cut

here we go again
a test fit together
a nice even cut works wonders
the other side
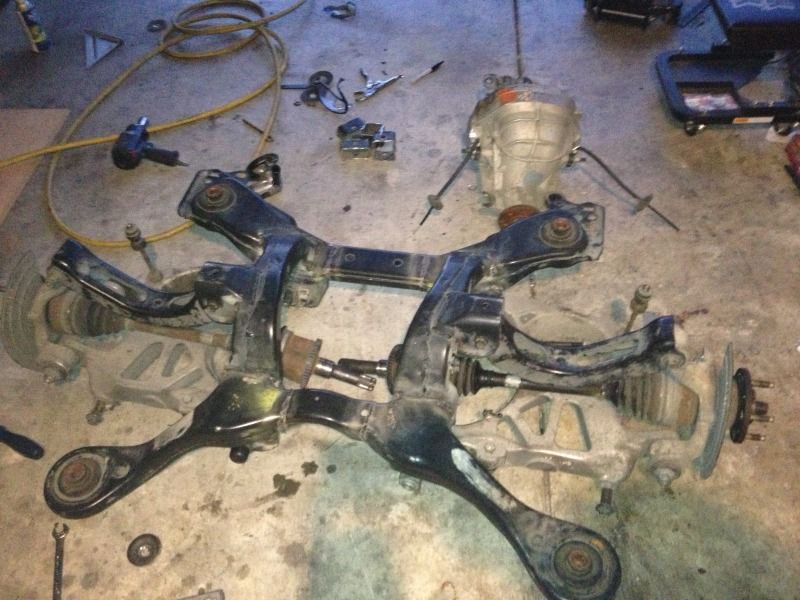
the inside of the irs
then fully welded
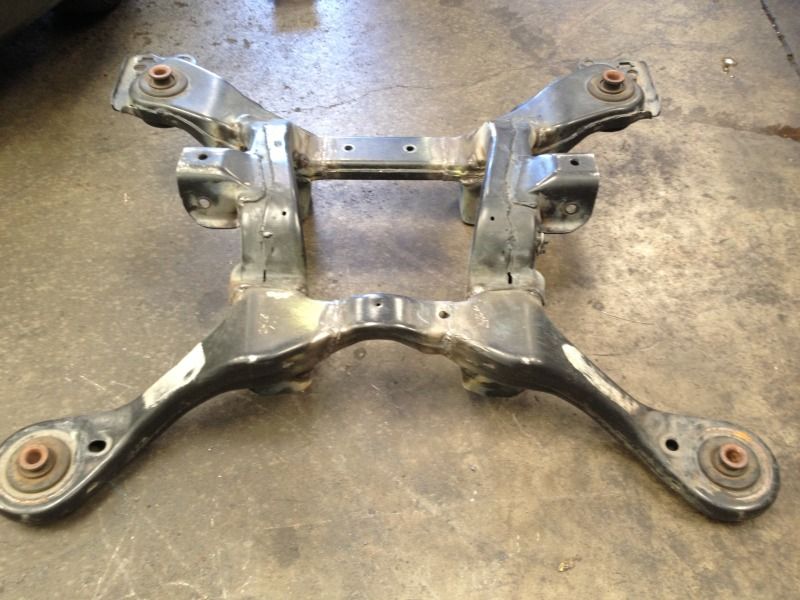
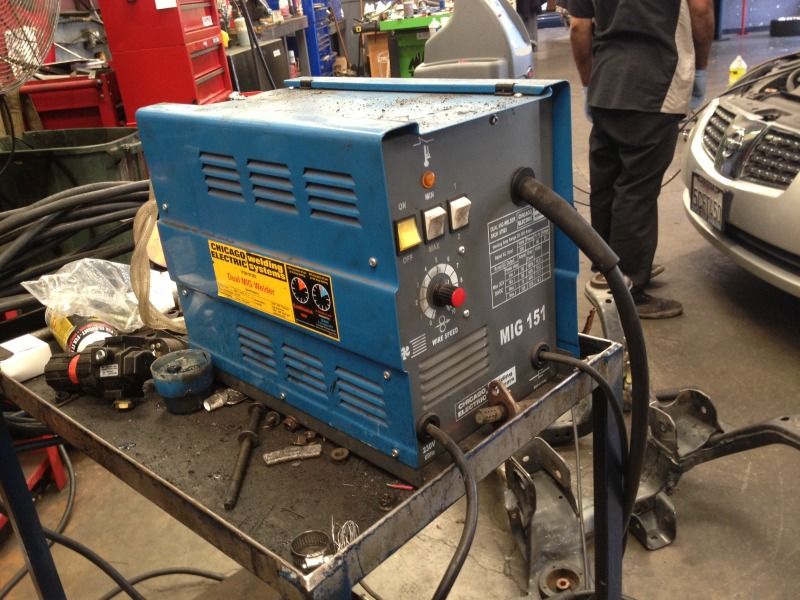
mig welded no gas
thanks to this awesome welder at work lol
test fitted the diff and its a tight fit
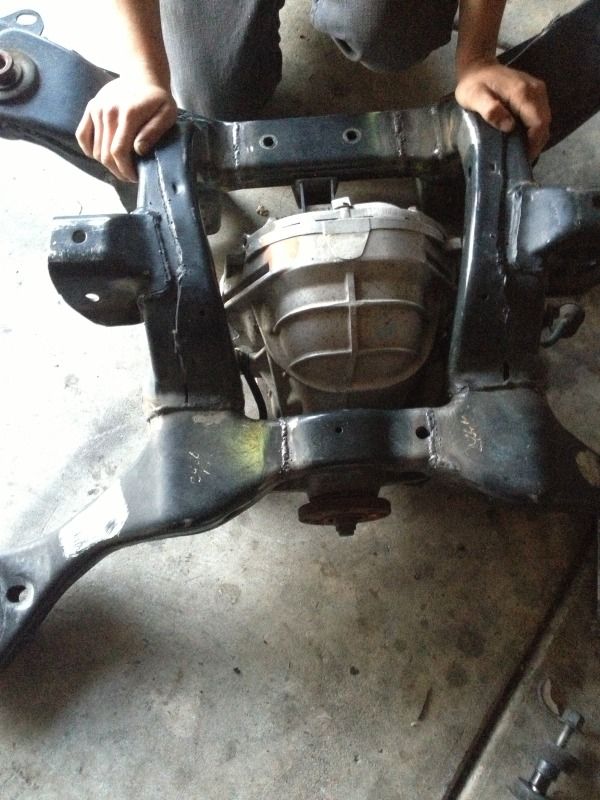
look at that nice tight fit
bolted the arms on to double check the width, and look at that a perfect 59.5 in
Leave a comment:
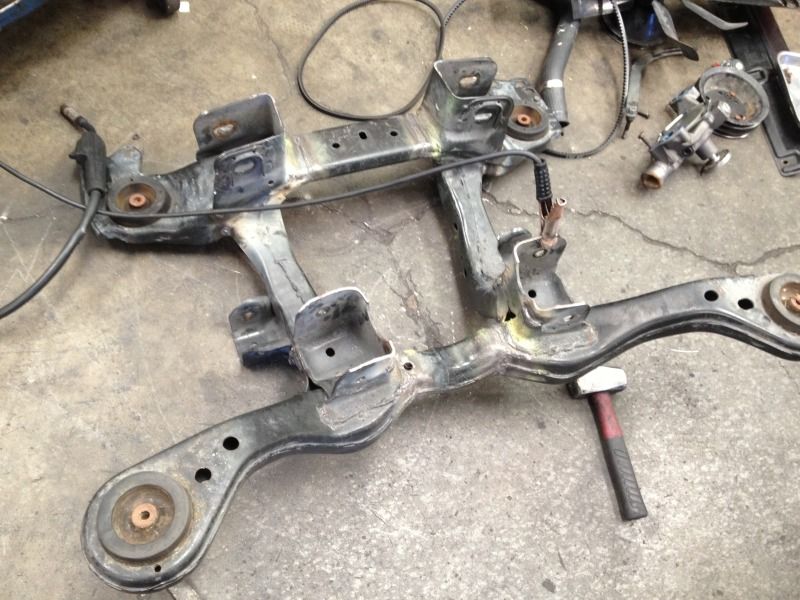
-
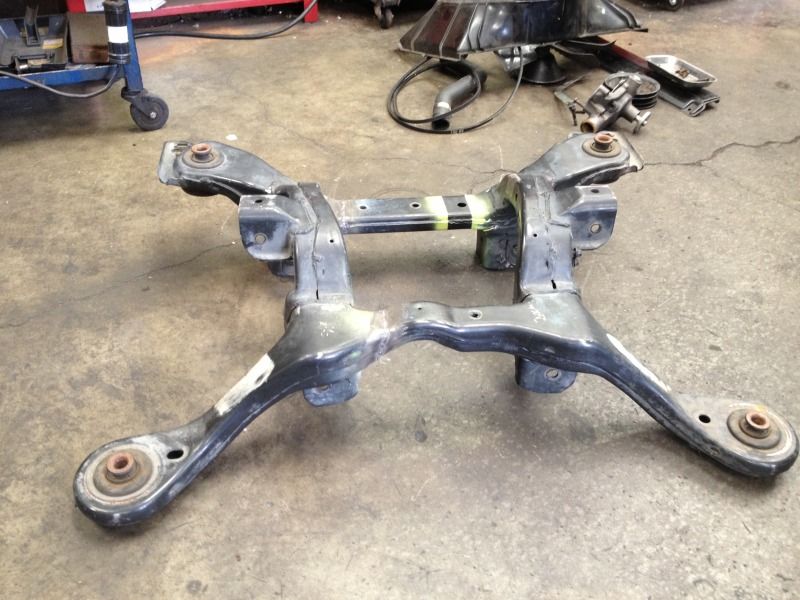
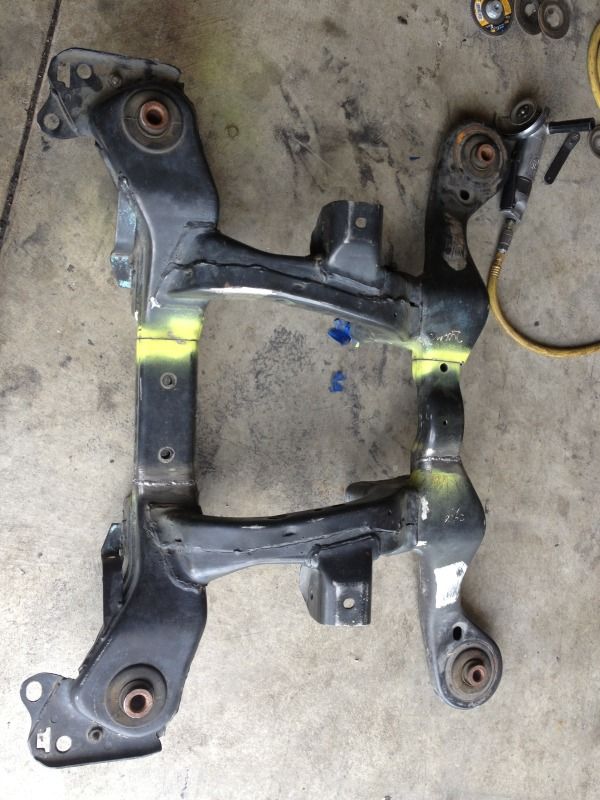
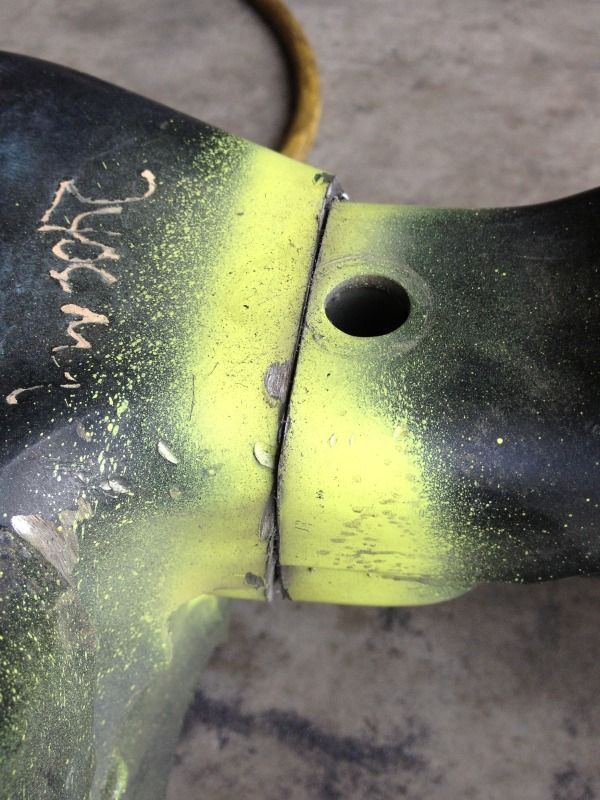
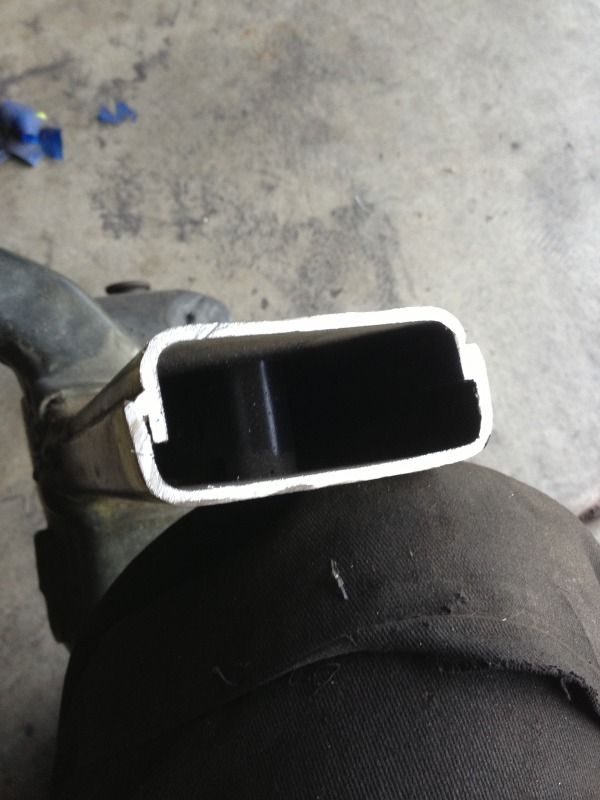
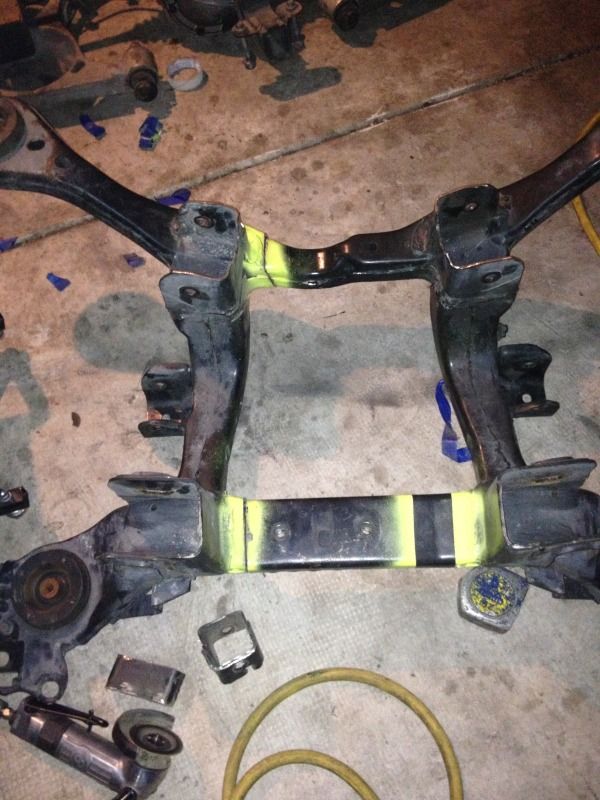
well got off work an hour early so I decided to do some measuring on my sub-frame which led to me taping stuff off and I painted over the top to give me a nice "cut here not here!" kinda thing
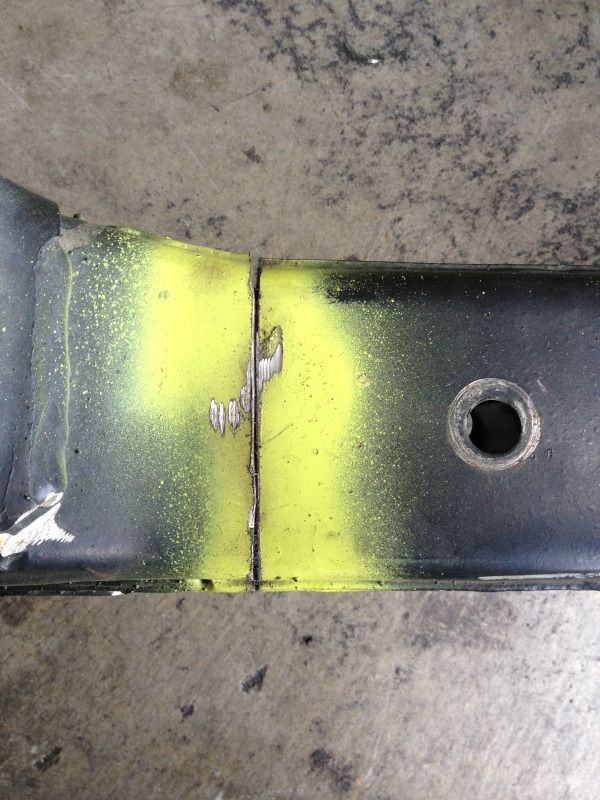
after cutting the 2" out, this is what it looked like butted together
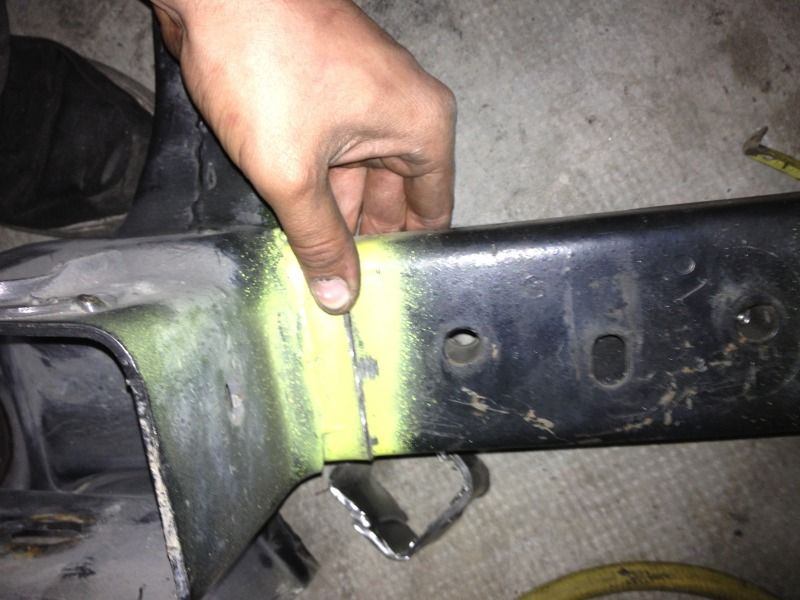
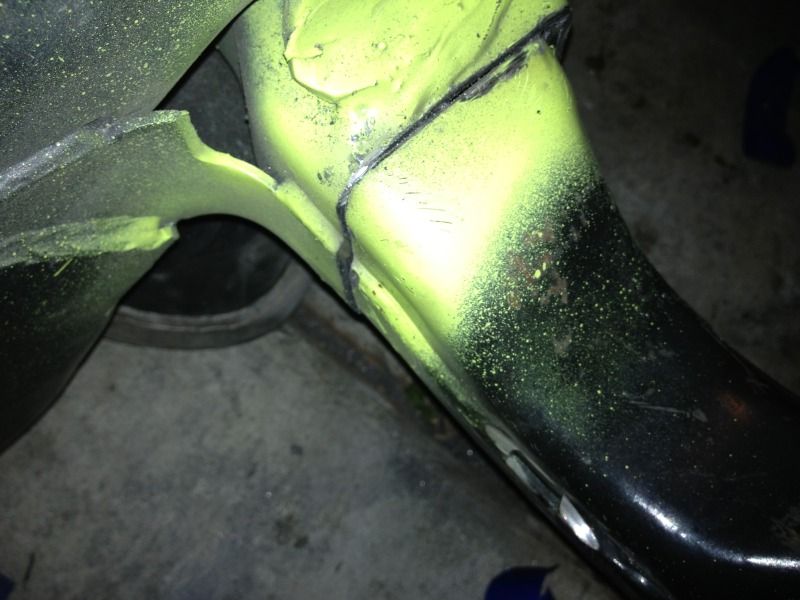
just a pic of it sitting together so you can see one of the cut marks on the other side
and how I left the garage for the night so I can just jump on it in the morning and get to welding so I can do the other side
 Last edited by smokenyall; 05-16-2013, 12:27 AM.
Leave a comment:
-
gotta fight off the little rust she hasOriginally posted by NorCalFocus View Post
gonna test fit a wheel after work just cuz
Leave a comment:


Leave a comment: