 Tweet
Tweet
Originally posted by MommysLittleMonster
View Post
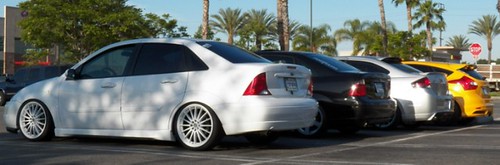
 nice prelude btw . i drove it around the block and the seat was amazing never felt more comfy and secure in this thing lol, half the time when i was drifting i would either be slammed aginst the door or halfway on my center consol


")


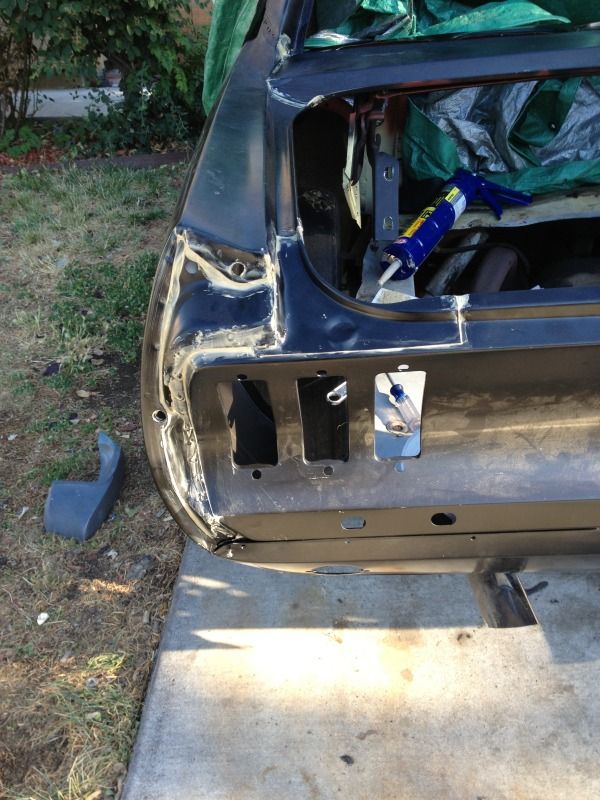
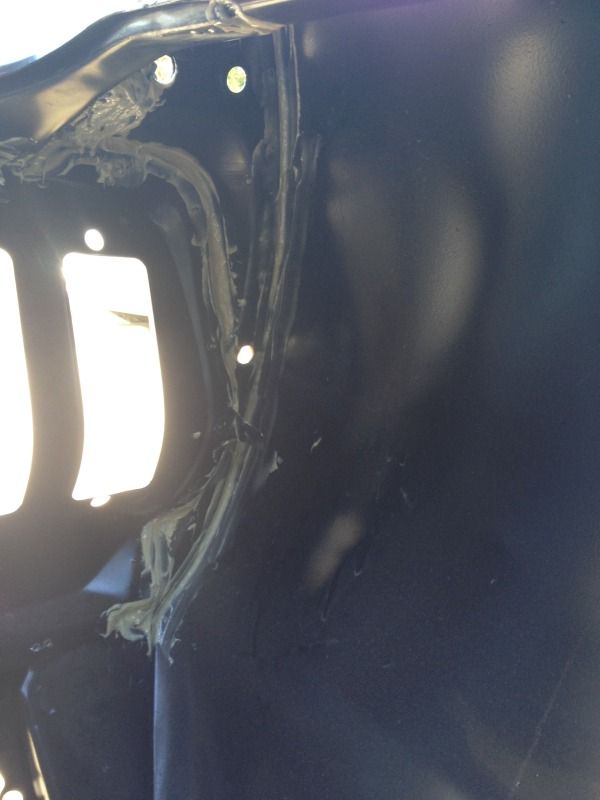
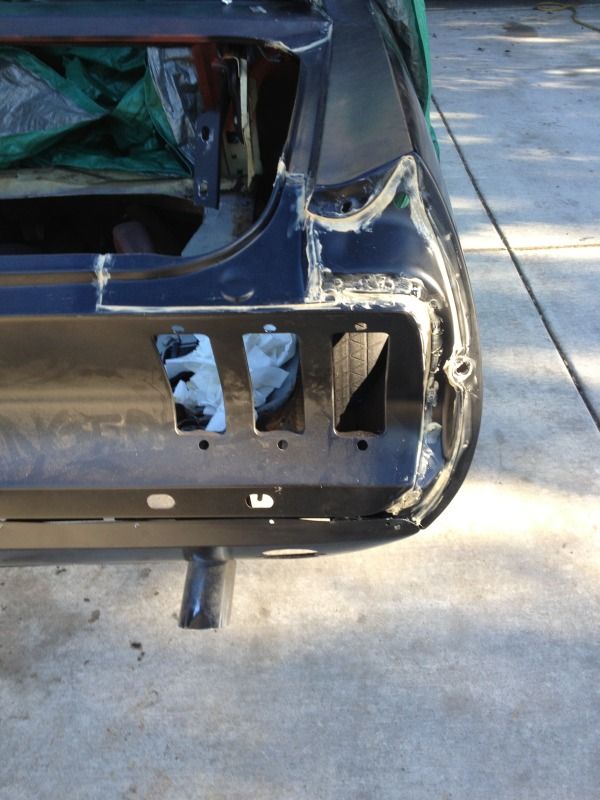
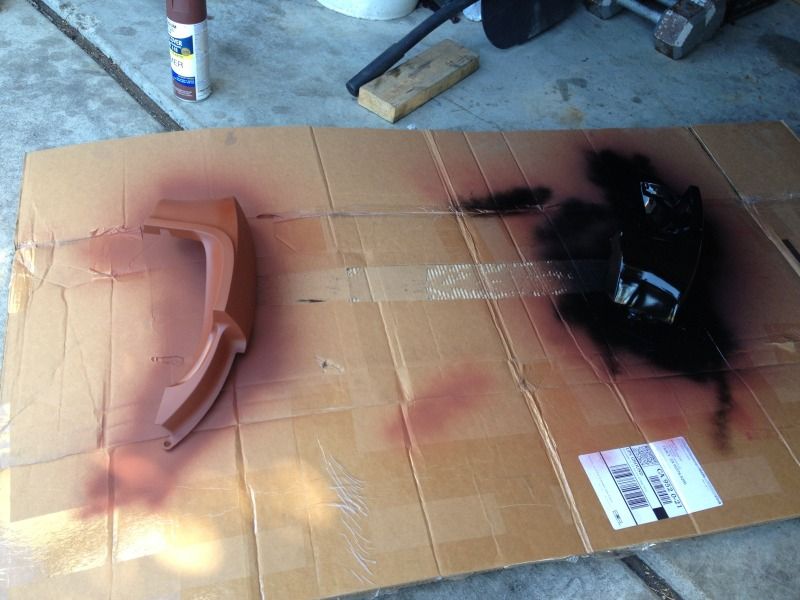
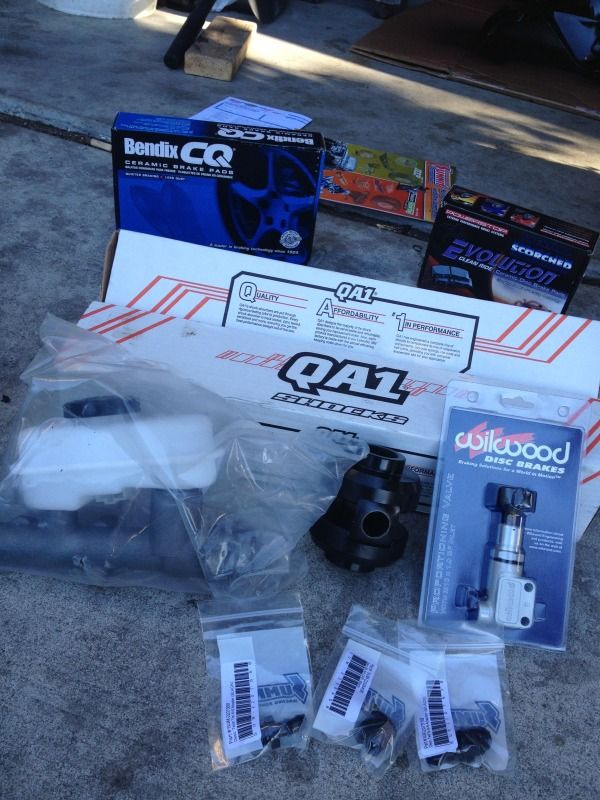
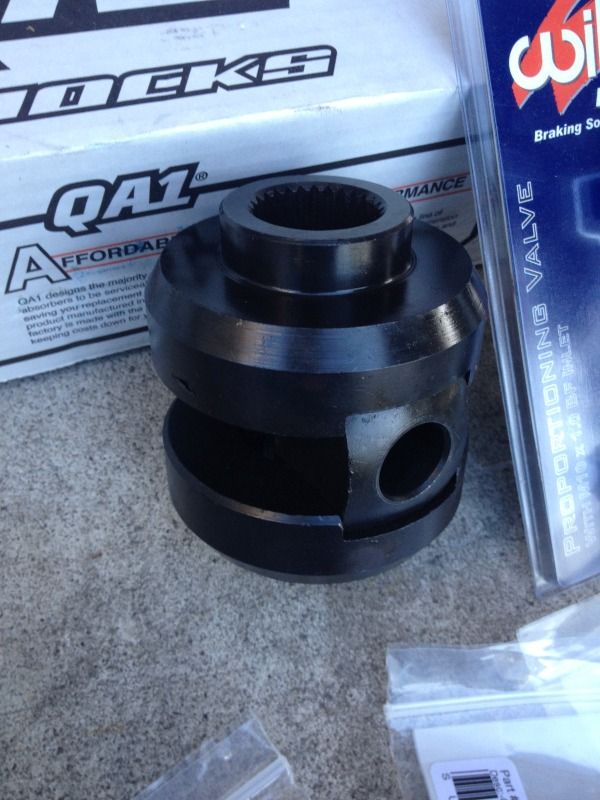
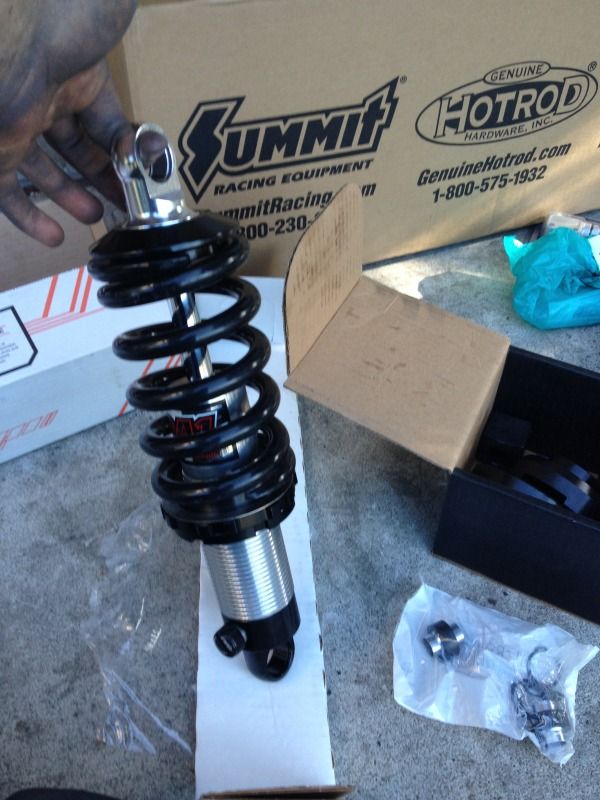
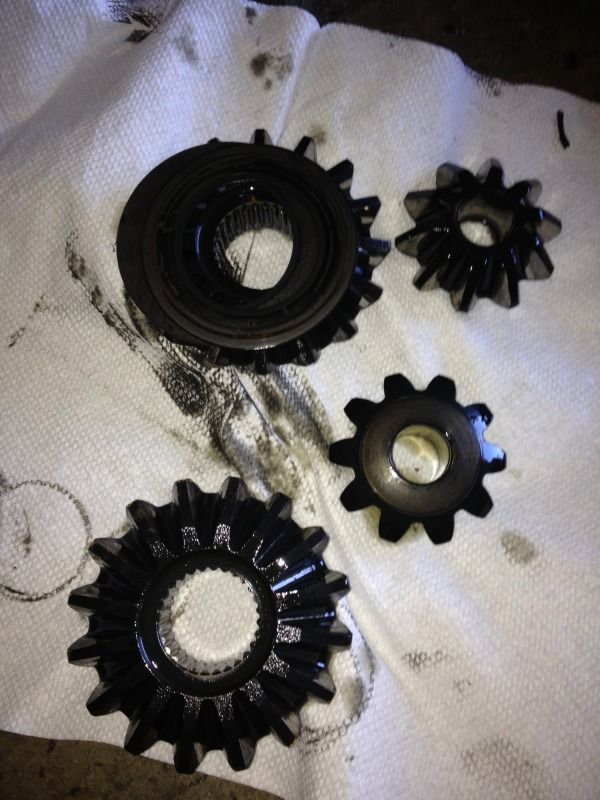
 .
.


Comment