Announcement

Collapse
No announcement yet.

Sookie the E36 (the asian german, wut?)

Collapse
X
 
  • Filter
  • Time
  • Show
Clear All
new posts

  • #46
    Thanks guys. Yea progress is alot slower than I'd like, work takes most of my time, plus saving for school leaves little funds. But hey, who doesnt lack time an money these days?

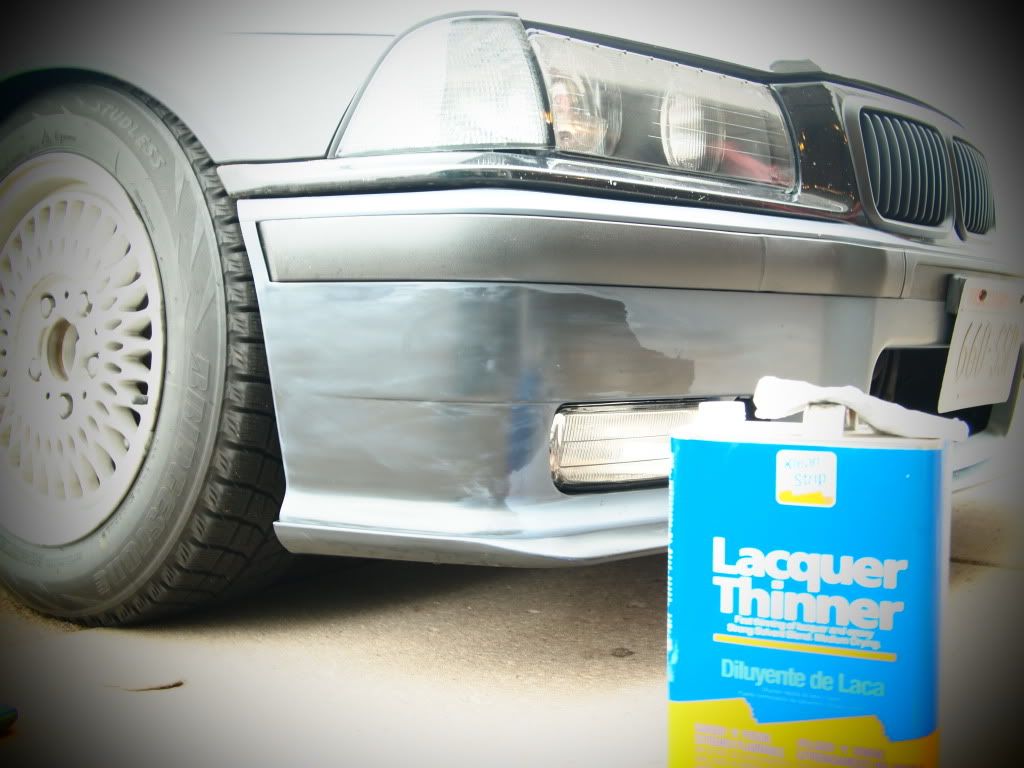
    Underpanel ran about $160.

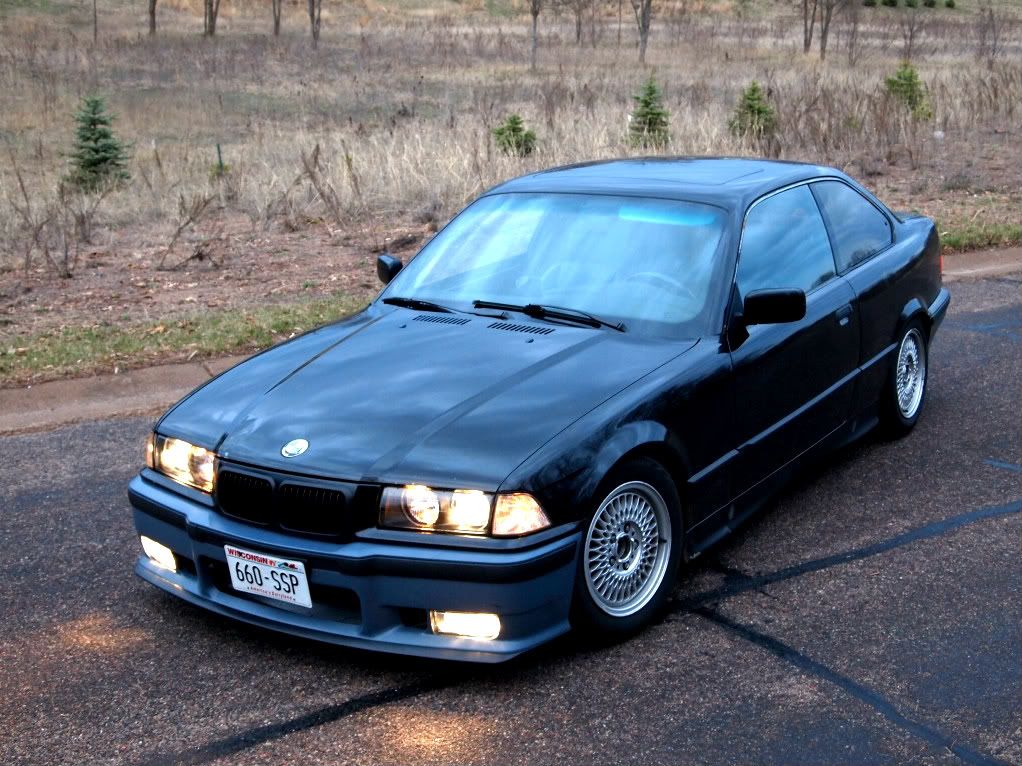
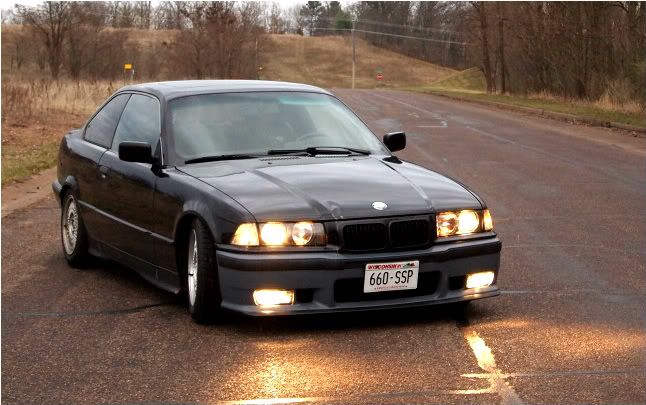
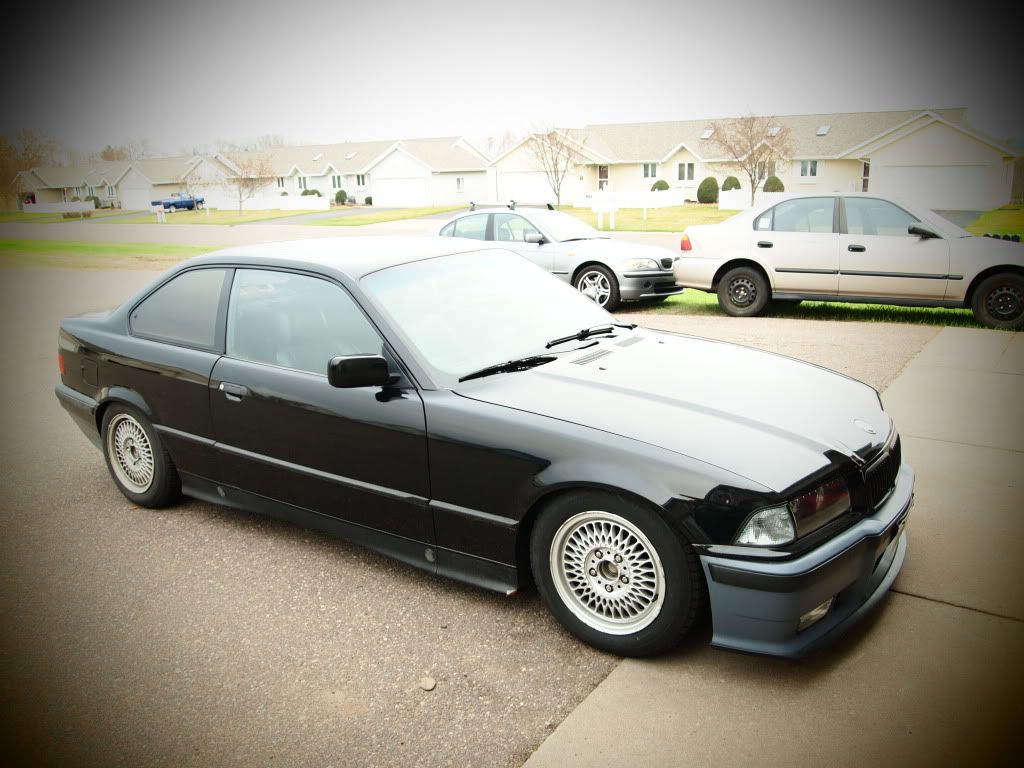
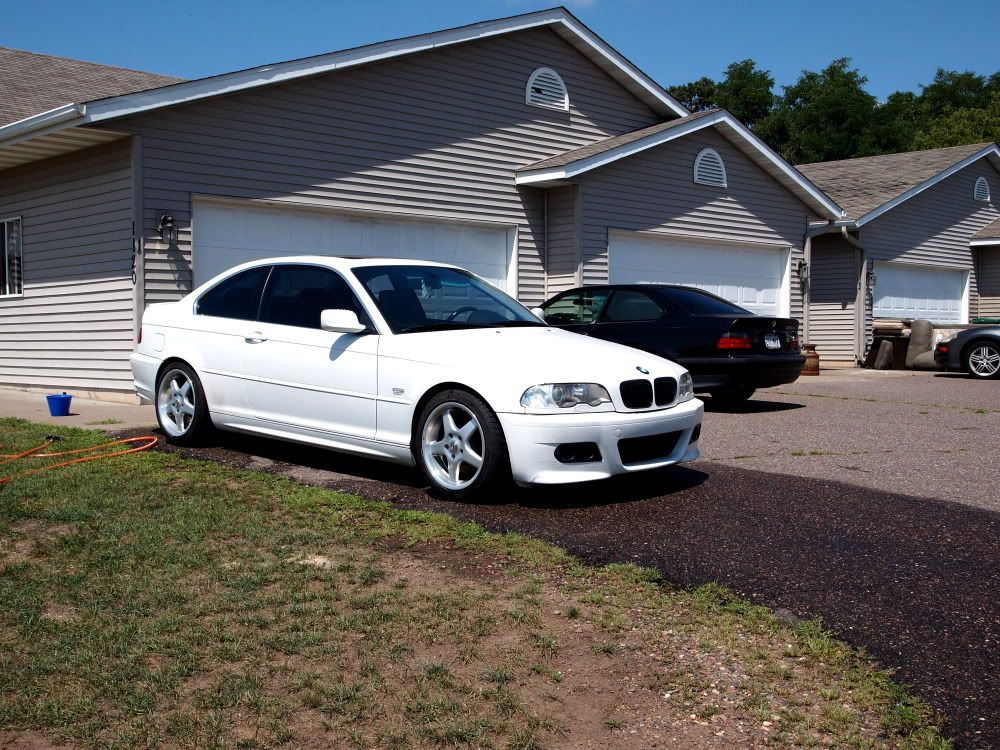
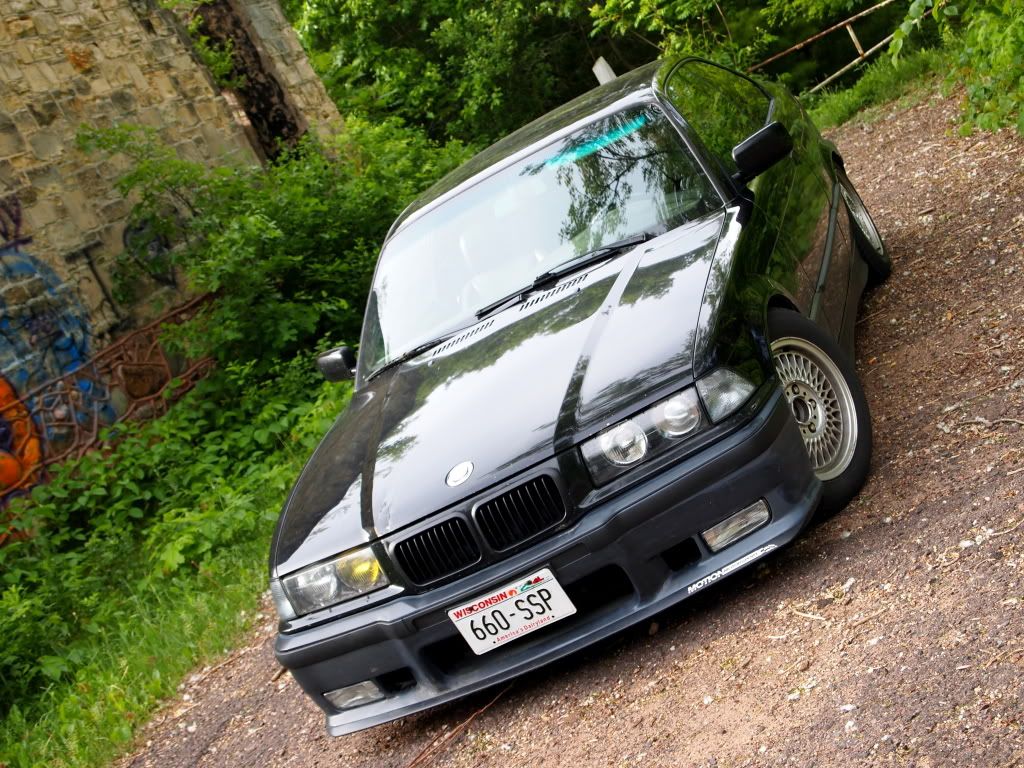
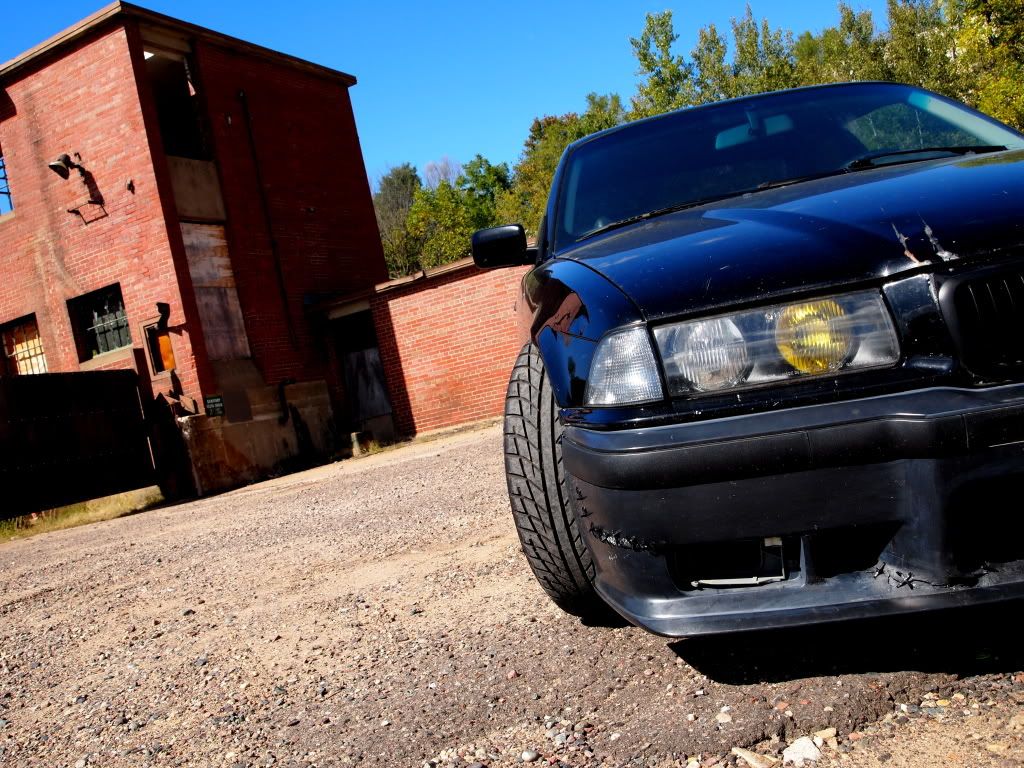
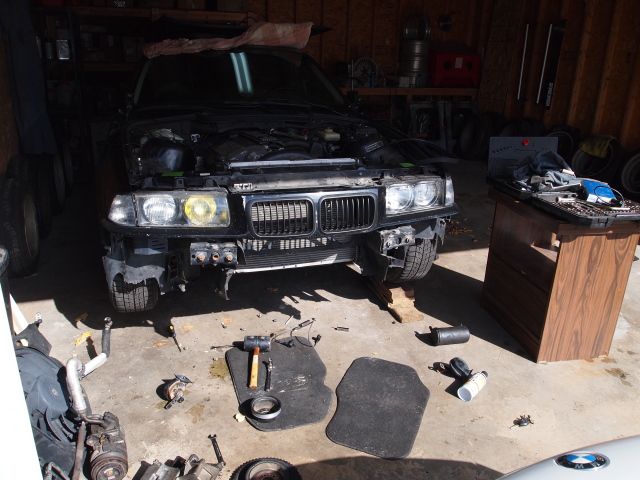
    Got the fogs, lip and grilles installed.
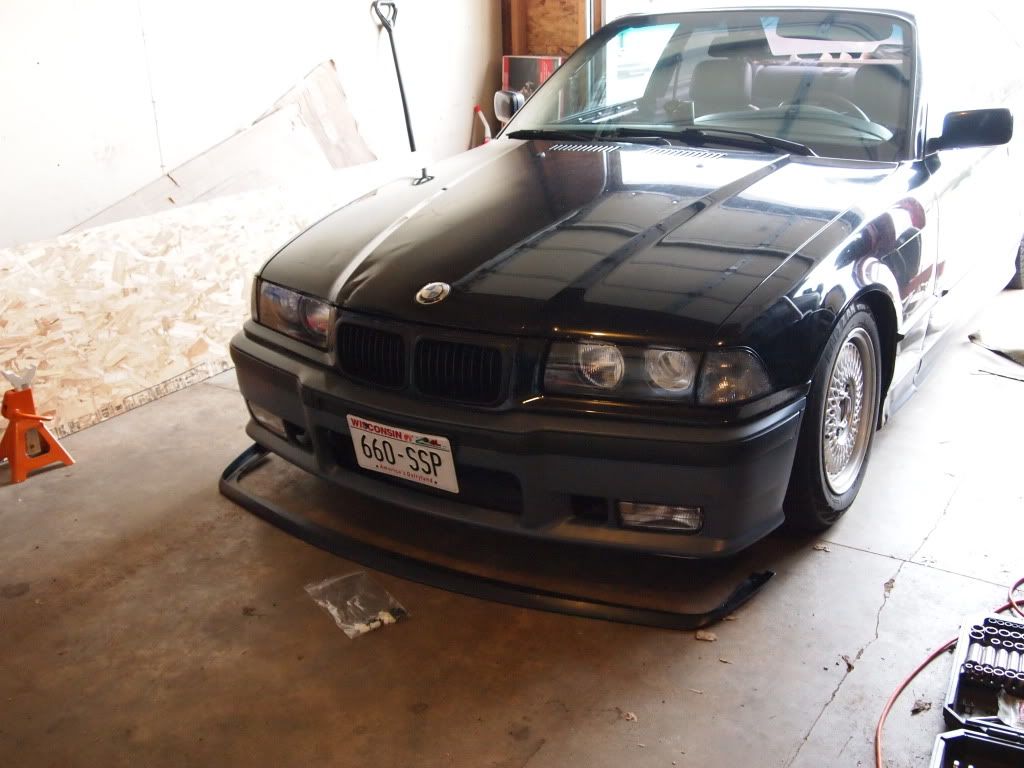
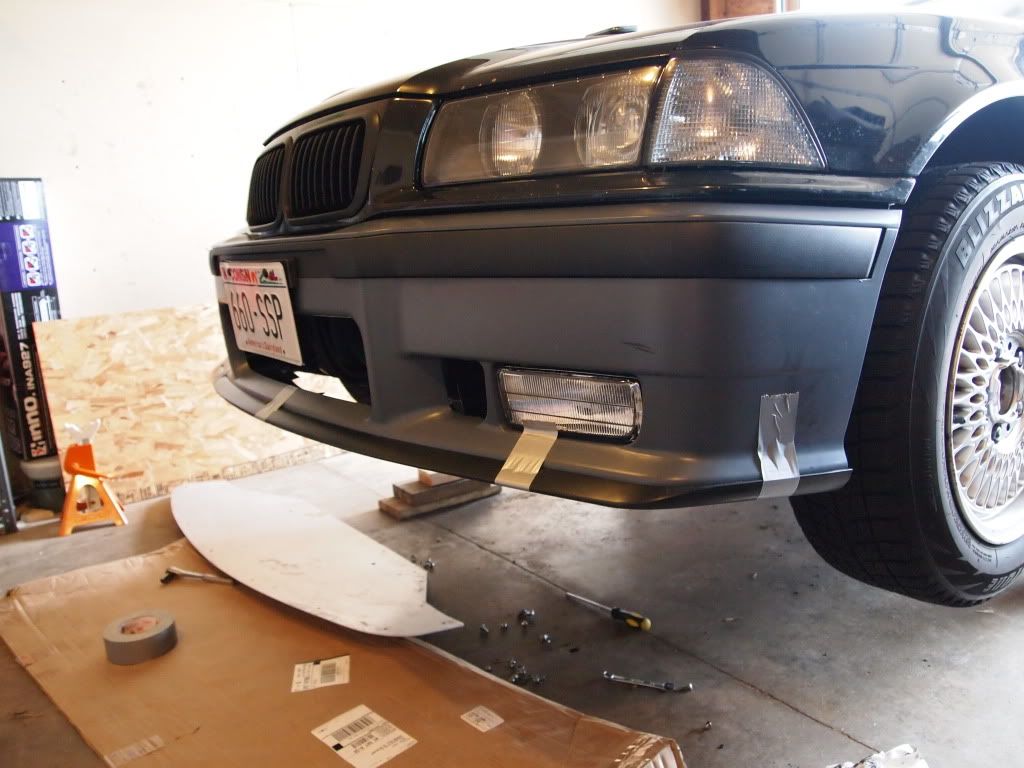
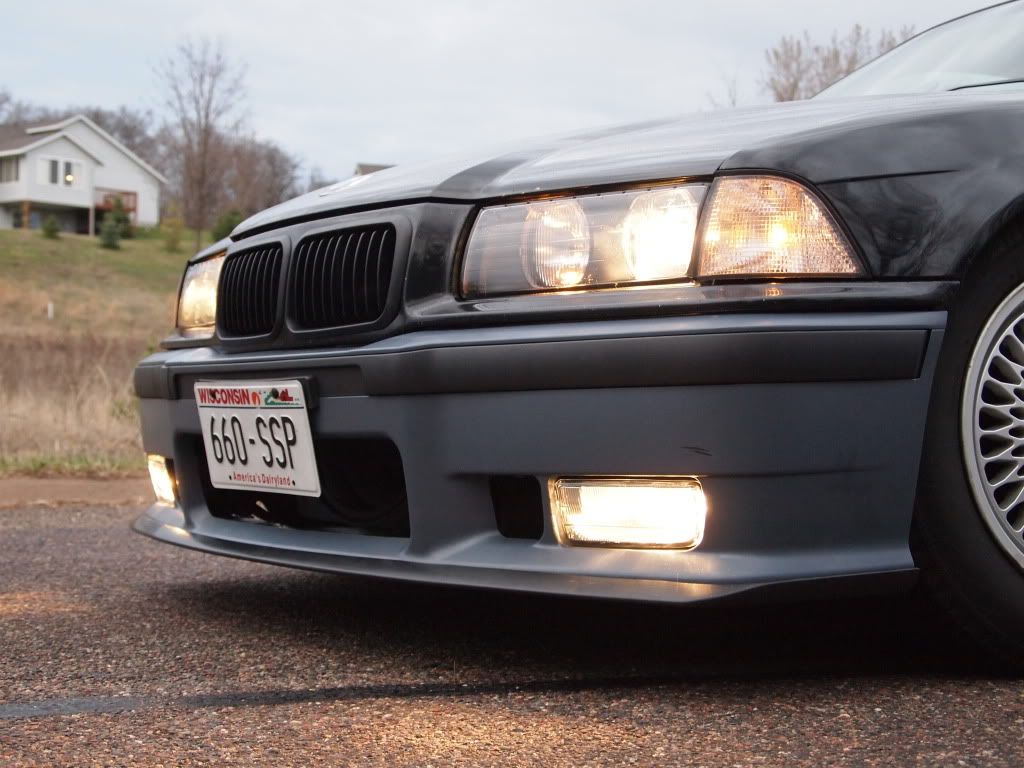


    Comment


    • #47
      last pic is the money shot, well done, great build so far

      Comment


      • #48
        nice work cant wait to see the door panels finished

        Comment


        • #49
          lol my car looks identical to yours.. colour. got the same grilles, clear corners and i have the exact same bumper, unpainted for now.
          IG: wade_rees_
          BMW 320i E30 turbo

          Comment


          • #50
            Well done!
            You re doing a fine job, not only giving some style to the bimmer but also restauring the whole car.

            Keep up the good work, and keep showing your progress

            Comment


            • #51
              Thanks everyone, comments keep me motivated. Working night shift kinda sucks the energy out of me, never feel like doing anything after waking up knowing in a few hours I'd be going back to work. But I complain too much haha.

              Originally posted by Spados. View Post
              lol my car looks identical to yours.. colour. got the same grilles, clear corners and i have the exact same bumper, unpainted for now.
              Yay! Lets be friends lol.

              FINALLY did some work to the (rather "a" wheel)s


              Some progress is better than none right?


              Took the time to band-aid the terrible window ledge trim. The rubber coating had dried up and almost totally peeled off, plus it looks like the PO tried masking and respraying them. Everyone on the internets said that in taking them off they would be destroyed. Well they were wrong it turns out, it was actually super easy to take them off.

              Tools:
              rubber mallet
              thin wooden stick (paint stir stick?) I actually used a chopped out part of my door panel.

              Primer (I used self-etching)
              trim paint (or satin black, whatever floats your boat)

              The beforesinator pixors...


              The passenger side was completly stripped.


              Tool pic


              You'll need to peel the weatherstripping down otherwise the the trim will get stuck at the leading edge of the vent window. Be careful not the rip the rubber, it'll come loose with a good tub. Mine are complete shit, but I dont feel like forking over $300 + per side for the seals :/


              Now starting at the front edge use your wooden utinsel and mallet to start tapping the trim out of its ledge.


              This is where it will get stuck. Drop the hammer and give it some gentle tugs (thats what she..... did?) and it should come free.


              In primer


              Supplies. When I paint the car I'd like to actually spray them with real paint with a gun... or just fork over the $180 of new pieces. Some day.


              And boom, shes lookin' sexy sauce.


              After a year of nasty rust and bare metal, Im very pleased with the results.

              Also, I was a bit weary on the quality of the primer of the replica bumper. So I did a quick swipe of laquer thinner and boom, shit wiped off. So the plan is to strip the rest of the bumper and prep the bumper as a raw plastic piece and actually get all the mold release agents off so paint will adhere. Plus side, after I strip it, the bumper will be black so it wont stick out like a sore thumb til I can go ahead with paint.

              Comment


              • #52
                My idea of being at the 'strip club' on the weekend...... stripping some wheels.


                Bolts soaking in some vinegar.


                Reppin'

                Comment


                • #53
                  Looking awesome so far, subbed!

                  Comment


                  • #54
                    Hey Michael! Your build is really coming along, I like the slow but proper builds. I gave you a shoutout on the Deathsquad Fanpage on Facebook for repping the shirt, and stickers like a BAU5.

                    Keep hittin' er hard dude.
                    Anthony, Vancouver Canada

                    1990 Nissan 240sx Daily driver
                    1990 Nissan laurel [Never ending project]


                    ----------------------------------------------------------------------

                    Comment


                    • #55
                      Just noticed the post on the DS facebook page and realized... I havent updated this thing in a long time. So time for some updates I suppose.

                      First things first, I picked up an '02 330ci to take over the DD duty. Dont have much for crazy plans on this one yet, just somthing nice to drive... and not break down... I hope.


                      *le sigh, 15's and snow tires

                      After I got that I actually planned on selling the E36. Met up with a guy an hour away from me to work out a possible trade. His car ended up being a sh*t bucket. And when he was done test driving my car he misjudged the front of the car because he's "not used to driving lowered cars" (his words) and proceeded to run it into a parking curb while trying to... well, park. So that cracked the bumper up and busted the fog light bracket nicely.. never even got a chance to paint the thing.

                      Screw it, zip ties it is then. Also, I have a stock pass. headlight (yellow high lens) and one Depo light... the other Depo light has busted corner light brackets I still need to fix.


                      The E46 came with some chrome 19" Breytons that I sold, and picked up some 17x8 Borbet Type E's, and threw on the 215 tires I planned on using for the Style 19's. Not enough tire for the e46, so I threw them on the e36 with 20mm spacers all around. Mmmmmm. That was enough to make me decide I want to keep the car. I need to roll the fenders to get the ass down some more.


                      Sookie and here 'beauty scar' on the hood.

                      Still not sure if I'm going the finish the door panels. My friend keeps saying I need to gut it and cage it, because race car. I may make a carbon rear seat delete, and a super simple door skin. We'll see.

                      And some DeathSquad lovin'.

                      Comment


                      • #56
                        I really should stick to one thing and actually finish it.. but instead Im moving onto a different area of the car. I think I have ADD or something.

                        Decided to start on cleaning up the engine bay. Plan is to delete the A/C, delete the ASC throttle body, relocate a few things, cut away unused brackets and weld in extra holes, then paint.

                        Obligatory stock/before pic.


                        And random pics of tearing it apart and the stock mess.


                        Passenger battery tray thing before.


                        And the plan. Moving the washer fluid reservoir and cruise control module there. Might just cut that tray out to make more room.

                        Comment


                        • #57
                          Tore out the rest of the A/C. I'll need to pick up a slim fan since the mechanical and aux fans are gone now. I really dont want want to add extra wiring and relays but I've only been able to find one pic of an adapter with an oem plug in an old for sale thread.

                          It turns a normal slim fan into a 2 speed like oem. Uses some kind of resistor, not sure what tho. Any help would be cool if someone know how to make one.


                          Well here she is torn down even more. To get the compressor bracket off.... easier... the crank and water pump pulley had to come off. Also moving the horns so the charcoal canister can mount in the bumper cavity on the drivers side.


                          And since theres all this room now I dont really feel like tearing all that apart again, I figured I'd install the new crank sensor I've had laying around for over a year.

                          Thats the old one tucked up in there.

                          Comment


                          • #58
                            good shyt so far

                            Comment


                            • #59
                              Project coming along nicely, but you should finish some little details like you said before moving on.

                              Keep us updated !

                              Comment

                              Working...
                              X