1983 733i
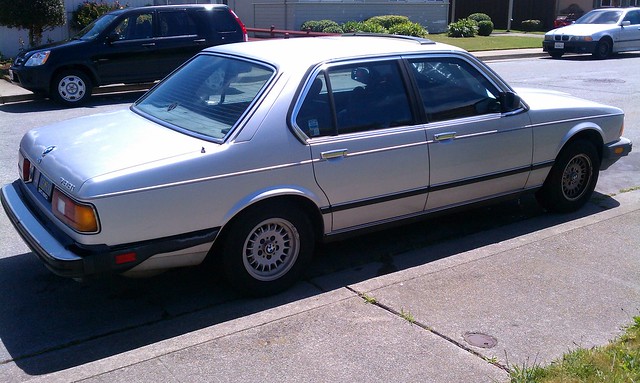
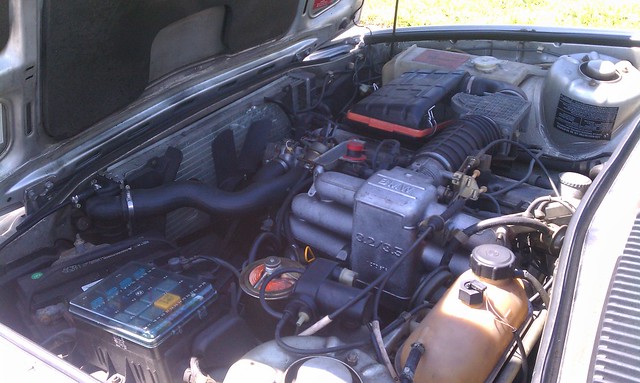
Straight body, no dents, but it has faded paint over the whole car. First generation 7 series is forgotten by many and you either love or h.a.t.e the car aesthetics wise. Some say its because its ugly, but I've always been a fan of big bodied BMWs.
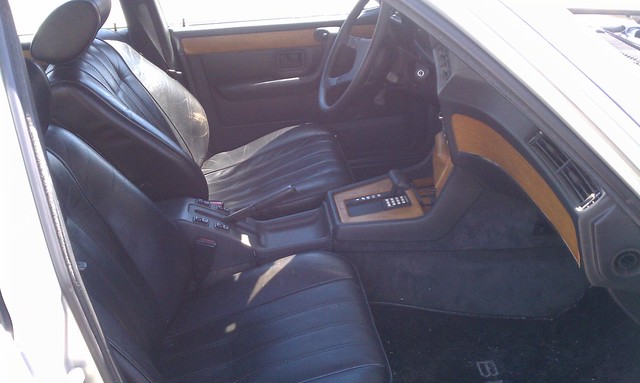
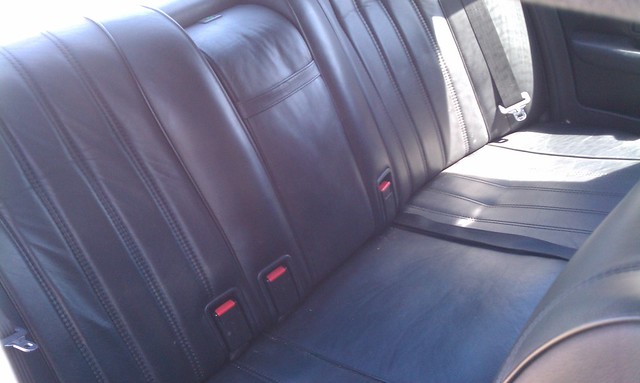
The interior is very clean. No tears or signs of severe wear.
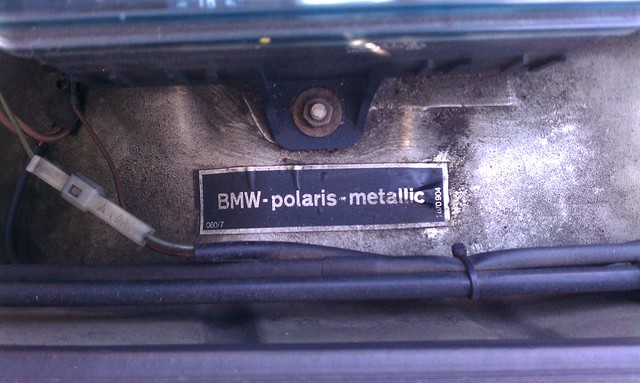
It needs to be cleaned up from the ground up. Typical 3.2, but since its an original Cali car, no rust. I'm not sure if i want to keep the stock color at the moment, but lots of work needs to be done first before I even start thinking about that.
The first thing I wanted to do was to get this car to squat down low. I decided to bag the car. Although I went with an Airlift setup all around, I accounted for an additional option for those looking to bag similar setups.
For the front you have two options. A UAS aerosport bag or an Airlift Lifestyles universal bag. Starting with the aerosport:
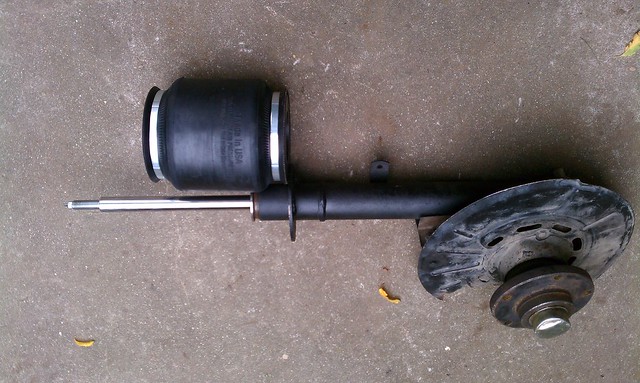
I used Koni g60 corrado inserts. You can see the difference in length.

The stock gland nuts hold the Koni well, but the outside diameter needs to be machined down in order for the aerosport bag to slip over.
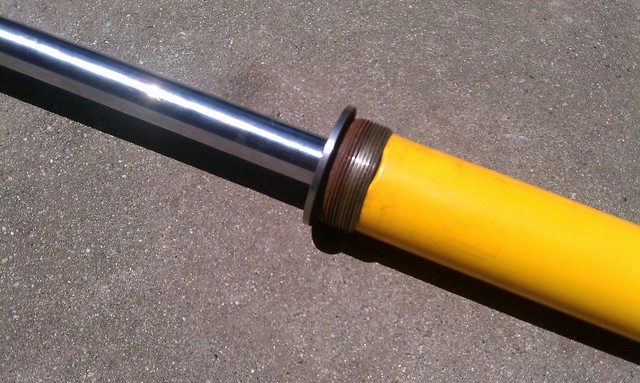
machined....
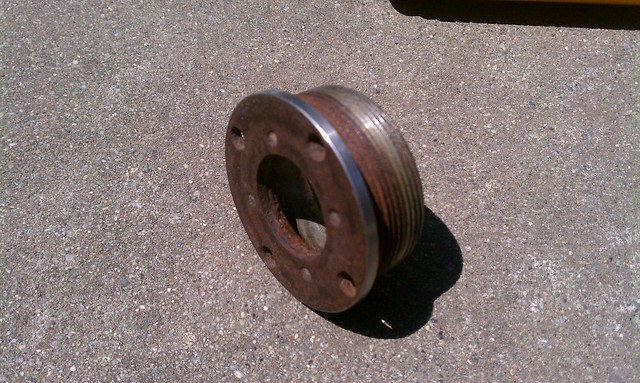
Cut off the stock spring mount from the strut assembly and tack weld on the aerosport bag mount onto the strut. Since the spindle on these cars is attached to the strut, it is easy to design off the car. Mount the wheel on to the hub to see how low you can bring the bracket before it interferes with the tire. The collapsed bag length is 4" , so take that into account when deciding on the bag mount position so that it does not sit below the gland nut. If it does, you need to shorten the housings.
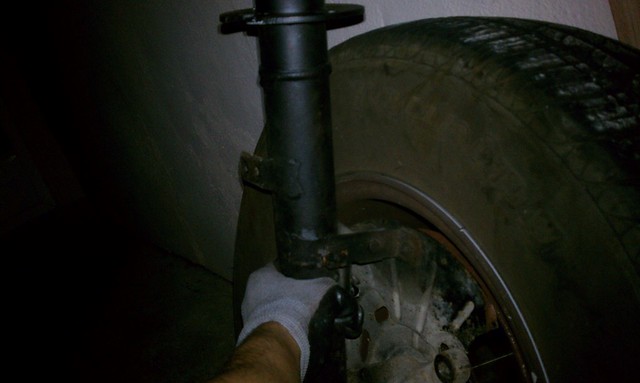
When you are set with that, mount the insert into the strut housing. If you dont plan on shortening the housings, you will need to install a spacer inside the housing to raise up the insert as it is much shorter. You can get an idea of the length of the shaft at full collapse and fully lifted. There is enough travel between both extremes.
Using a 1/8" or 1/4" steel plate, cut it and drill out the stud pattern for the top mount. A thrust bearing will be used to allow the assembly to twist just as the stock strut mounts do.
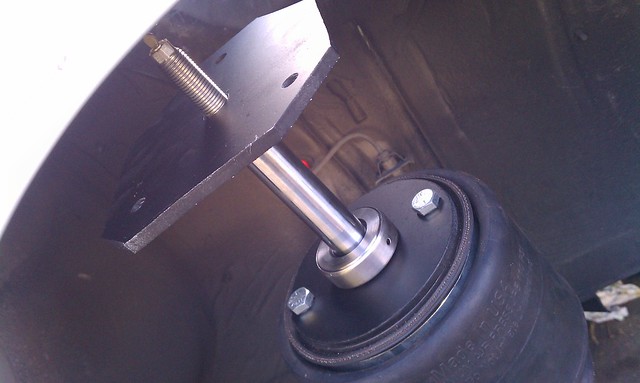
Done.
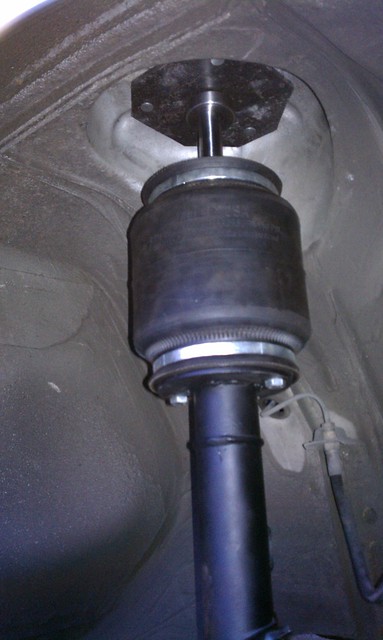
Second option for the front is the Airlift Lifestyles Universal Bellow bag.
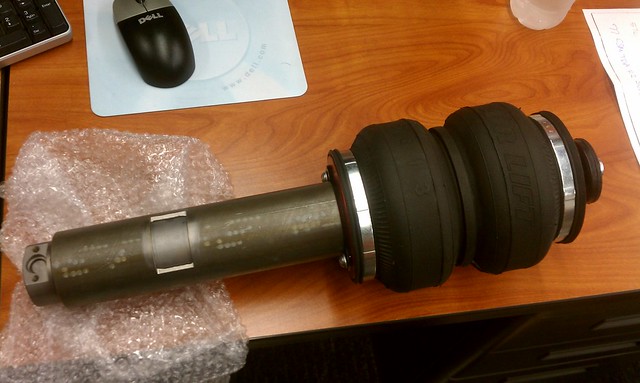
Same procedure as the aerosport bags applies when choosing the mounting height but this time you will need to cut the strut housings. After measuring how close the bag needed to be before interfering with the tire, I cut the housing leaving a small amount left on the spindle to act as a base for the bottom of the Airlift bag to rest on. This would also allow you get a general idea of the angle needed to clear the tire. Tack weld and adjust appropriately in order to achieve that angle. If you need more negative camber, that can be achieved with the strut mounts.
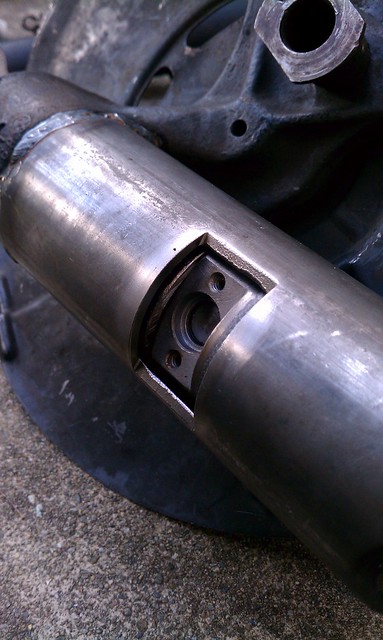
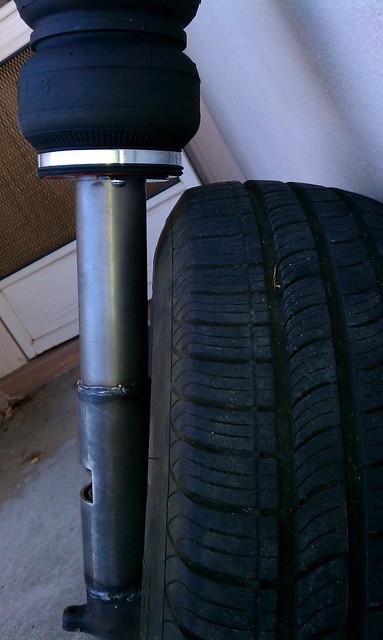
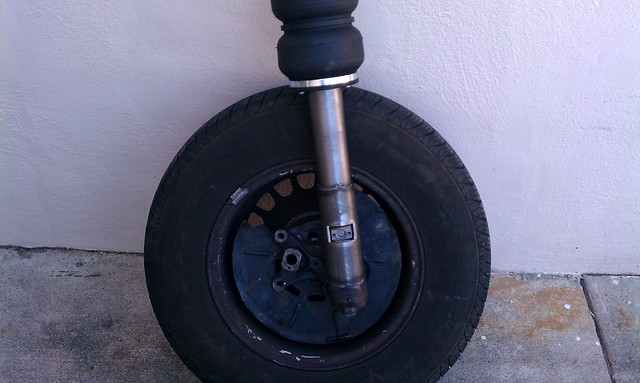
Airlift supplies you with a top plate. Drill out the stud pattern and mount.
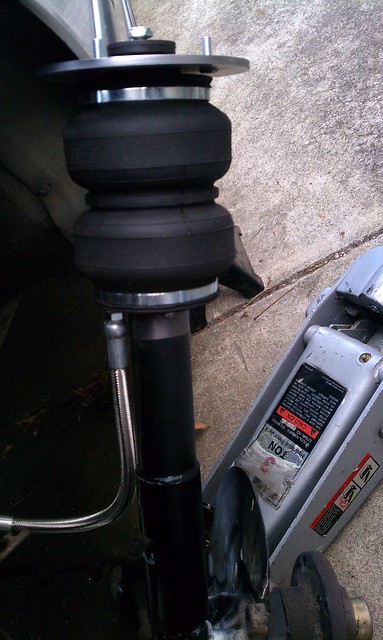
The rear assembly for these cars couldn't be easier.
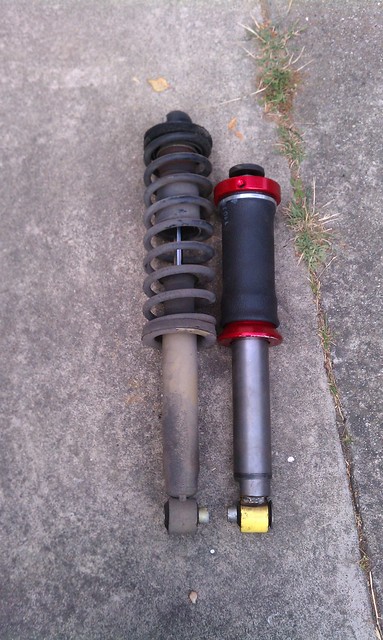
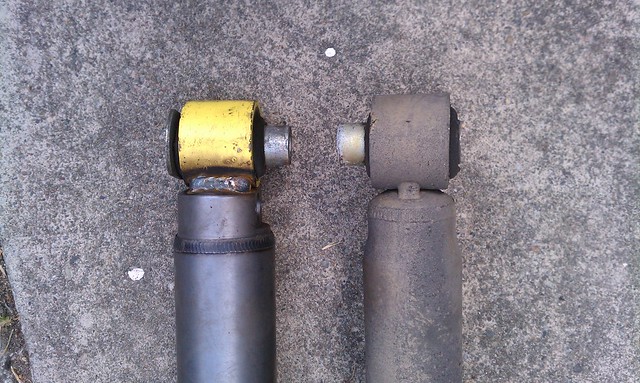
Using Airlift Universal Lifestyle sleeve bags, cut the eye mount off an old rear strut assembly. Again, Airlift supplies you with the top plate to act as the strut mount. Trim to the appropriate side and drill out stud pattern.
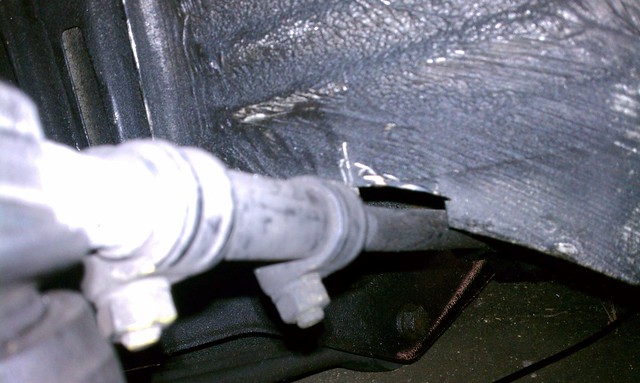
I needed to make a small notch in the body to clear the tie rods because they would hit when fully air'ed out. Oil pan, front cross-member and control arms lay out flat.
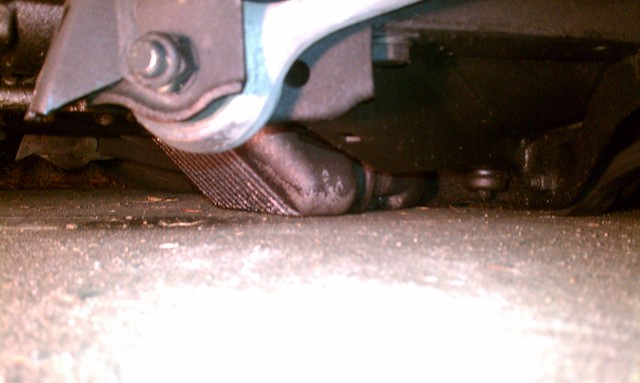
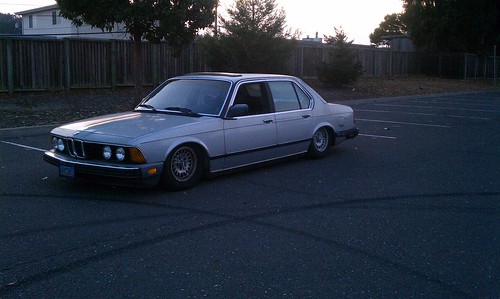
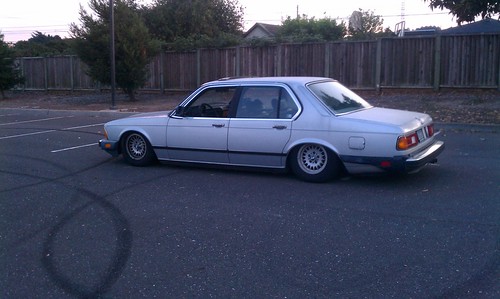
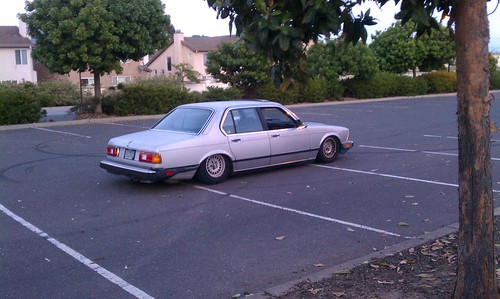
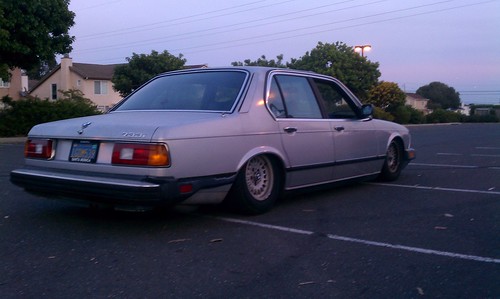
Lots more to come, but here are a few cell phone pics to give you an idea of the progress so far on stock 14" wheels.....
Straight body, no dents, but it has faded paint over the whole car. First generation 7 series is forgotten by many and you either love or h.a.t.e the car aesthetics wise. Some say its because its ugly, but I've always been a fan of big bodied BMWs.

The interior is very clean. No tears or signs of severe wear.


It needs to be cleaned up from the ground up. Typical 3.2, but since its an original Cali car, no rust. I'm not sure if i want to keep the stock color at the moment, but lots of work needs to be done first before I even start thinking about that.


The first thing I wanted to do was to get this car to squat down low. I decided to bag the car. Although I went with an Airlift setup all around, I accounted for an additional option for those looking to bag similar setups.
For the front you have two options. A UAS aerosport bag or an Airlift Lifestyles universal bag. Starting with the aerosport:
I used Koni g60 corrado inserts. You can see the difference in length.

The stock gland nuts hold the Koni well, but the outside diameter needs to be machined down in order for the aerosport bag to slip over.

machined....

Cut off the stock spring mount from the strut assembly and tack weld on the aerosport bag mount onto the strut. Since the spindle on these cars is attached to the strut, it is easy to design off the car. Mount the wheel on to the hub to see how low you can bring the bracket before it interferes with the tire. The collapsed bag length is 4" , so take that into account when deciding on the bag mount position so that it does not sit below the gland nut. If it does, you need to shorten the housings.

When you are set with that, mount the insert into the strut housing. If you dont plan on shortening the housings, you will need to install a spacer inside the housing to raise up the insert as it is much shorter. You can get an idea of the length of the shaft at full collapse and fully lifted. There is enough travel between both extremes.

Using a 1/8" or 1/4" steel plate, cut it and drill out the stud pattern for the top mount. A thrust bearing will be used to allow the assembly to twist just as the stock strut mounts do.

Done.

Second option for the front is the Airlift Lifestyles Universal Bellow bag.

Same procedure as the aerosport bags applies when choosing the mounting height but this time you will need to cut the strut housings. After measuring how close the bag needed to be before interfering with the tire, I cut the housing leaving a small amount left on the spindle to act as a base for the bottom of the Airlift bag to rest on. This would also allow you get a general idea of the angle needed to clear the tire. Tack weld and adjust appropriately in order to achieve that angle. If you need more negative camber, that can be achieved with the strut mounts.


Airlift supplies you with a top plate. Drill out the stud pattern and mount.

The rear assembly for these cars couldn't be easier.
Using Airlift Universal Lifestyle sleeve bags, cut the eye mount off an old rear strut assembly. Again, Airlift supplies you with the top plate to act as the strut mount. Trim to the appropriate side and drill out stud pattern.


I needed to make a small notch in the body to clear the tie rods because they would hit when fully air'ed out. Oil pan, front cross-member and control arms lay out flat.


Lots more to come, but here are a few cell phone pics to give you an idea of the progress so far on stock 14" wheels.....




 looking forward to see what you are gonna do with it.
 Instagram@jdjurhuus


Comment