If this is your first visit, be sure to
check out the FAQ by clicking the
link above. You may have to register
before you can post: click the register link above to proceed. To start viewing messages,
select the forum that you want to visit from the selection below.
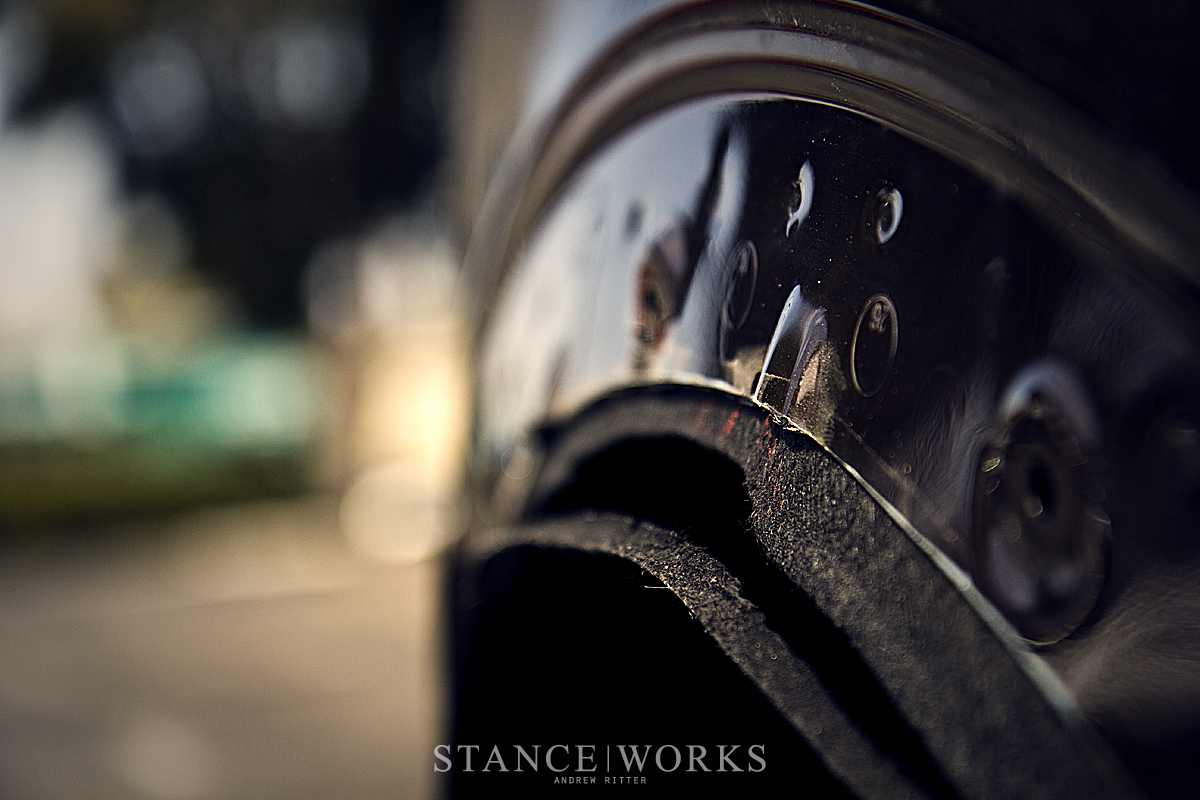
I've got a new rear bumper on the way, so it's time to do the woodgrain and shaved pillars again. The previous set was cracked when that wrap company stole my parts for months and despite an attempt at repairing the damage, the crack still showed through. Gonna do it all again now that I've learned a bit about plastic work and airbrushing. Might switch up the woodgrain color just a tad as well.
I've already documented the process previously, but I'm gonna try a slightly different method more akin to plastic welding this time around. I figured it would also be nice for the new members who may not have followed the process last time.
*I am not a professional. There may be a better way of doing this. Follow at your own risk :P*
-Start with two ABS body panels with the reflectors removed to show the resulting indentation.
-Use a template to create a filler piece from a raw sheet of ABS (purchased through McMasterCarr)
-After cutting and shaping with a dremel, contour the edges so they fit into the indentation tightly.
-Use a heat gun to shape the ABS filler plate to the form of the body panel.
-After you have the bend shaped well, you test fit it one last time before tacking it in place with ABS cement. The ABS cement (found in the plumbing section of most stores) consists of acetone and methyl Ketone which chemically melt and bond ABS plastic. After roughing up the mating surfaces, you apply a thin layer of the ABS cement and clamp the two pieces together following the directions for drying time.
-You want both edges to form a V-cut for the next step, plastic welding.
-After letting the ABS cement thoroughly dry, you start plastic welding the two pieces together. I did this the old fashioned way with a soldering iron, smooth flat tip, and a rod of ABS plastic to match the two joining surfaces. You slowly work the rod into the deep v-groove that you left between the two pieces, making sure that they all melt together.
-Then you knock down the high spots and smooth everything out. You'll be running a skim coat of plastic over this to hit any of the low spots that you'll inevitably have.
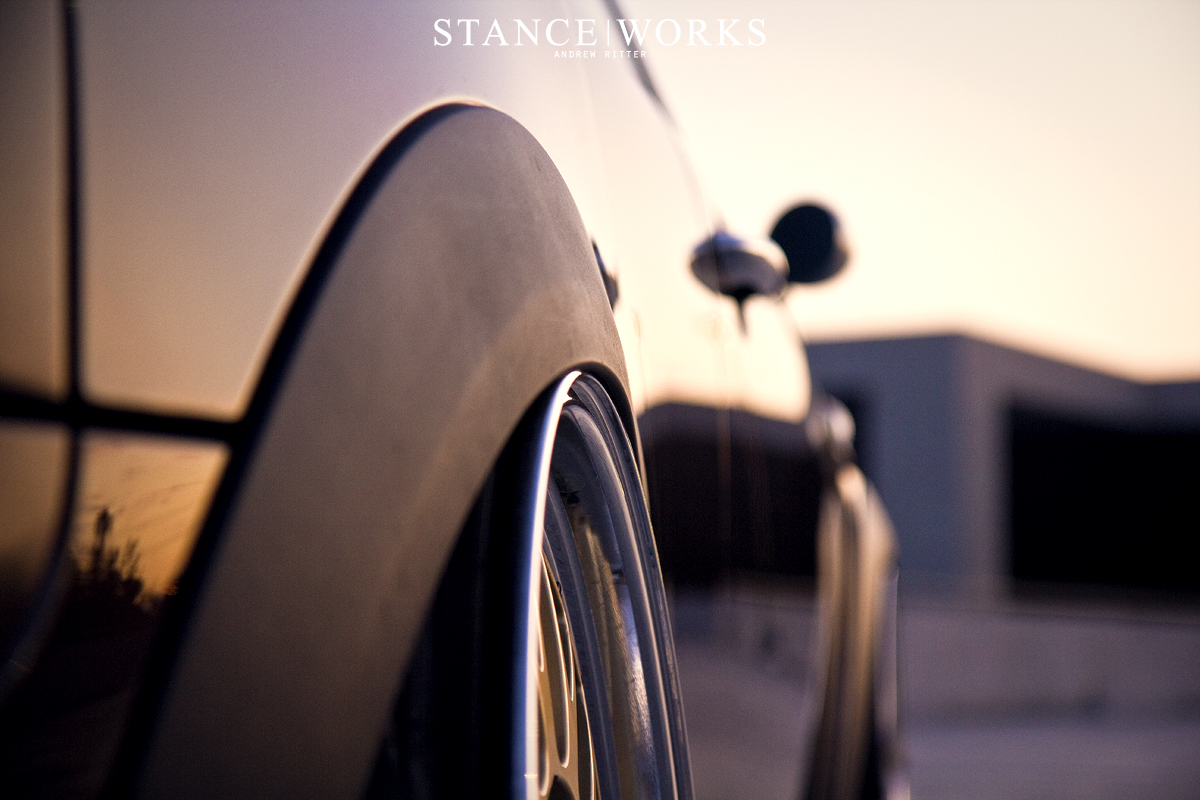
Oxer is over in the US visiting us here at the S|W California headquarters. He was kind enough to help me by trimming down the body panels that hide beneath the MINI's plastic arches. The sharp metal edges can wreak havoc on sidewalls and would hold me up from going lower on the wider wheels that I acquired.
It's now happily sitting on 17x8 and 17x9 BBS LM's with just barely enough clearance and camber to tuck the lip under the arches
And some shots courtesy of Mikey B.
Whered you get those side views from?
M7 Vortex-2 Scoop | M7 Aerogel Turbo Heatshield | Custom stainless CAI | Custom stainless pre-intercooler charge pipe | Alta cold side boost tube | Cravenspeed Short Shifter | H&R Sport Springs | NAM Torque Arm Insert | Alta Lightened Crank Pulley | AcessPORT Stage 3 | BSH OCC VTA w/ PCV delete | custom 2.5" straight pipe w/ twin 3" stealth tips | **20lbs of boost on a stock turbo**
 Tweet
Tweet


 ]
]
Comment