 Tweet
Tweet
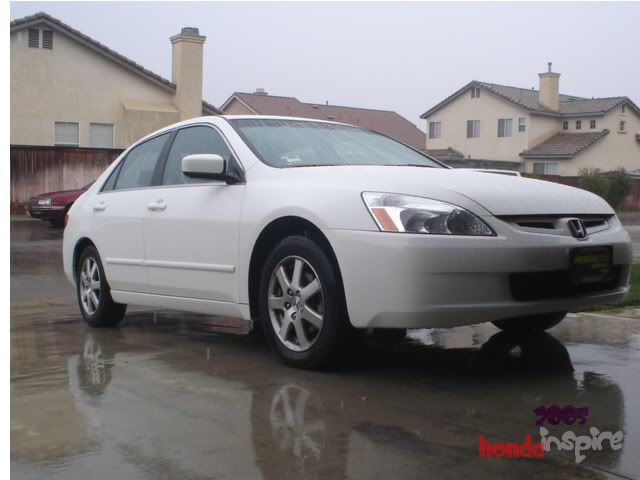
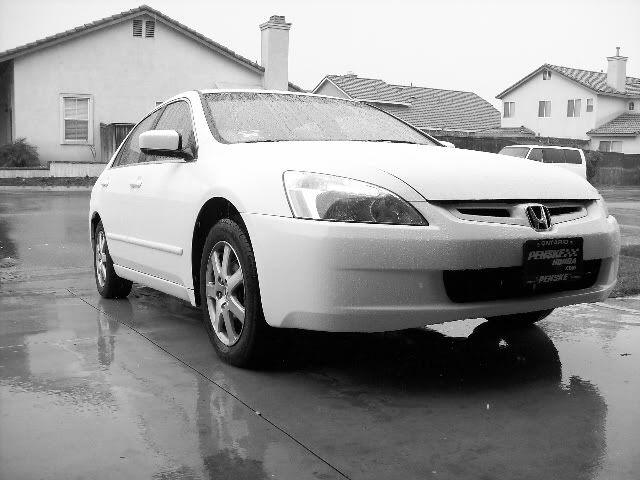
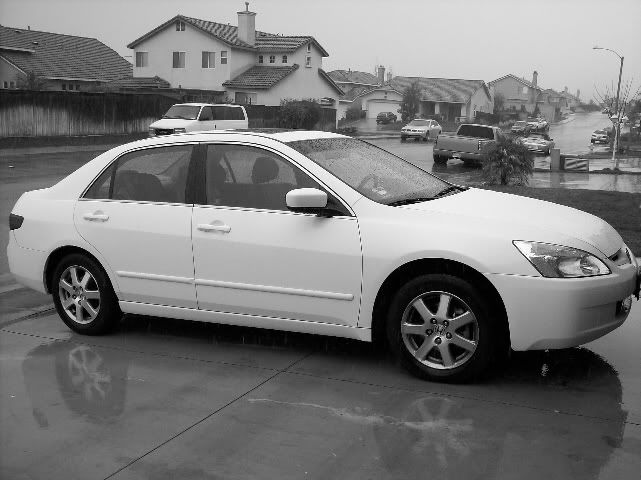
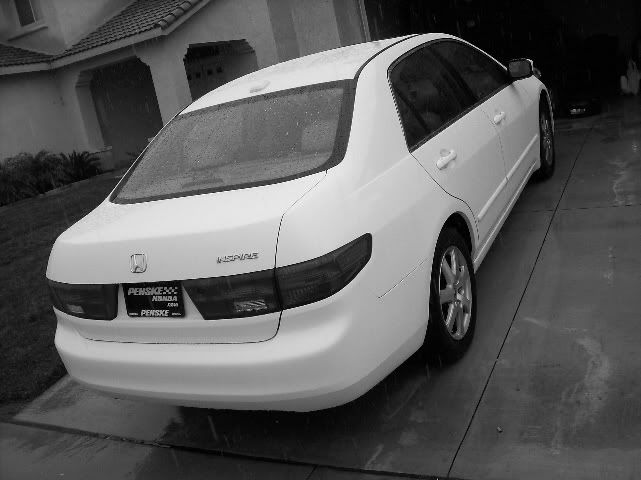
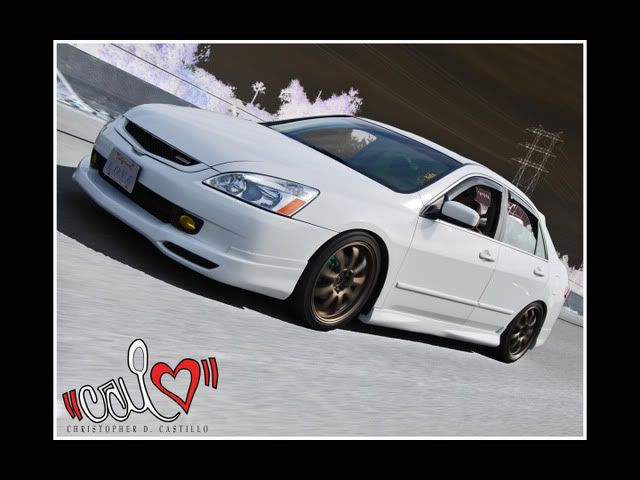
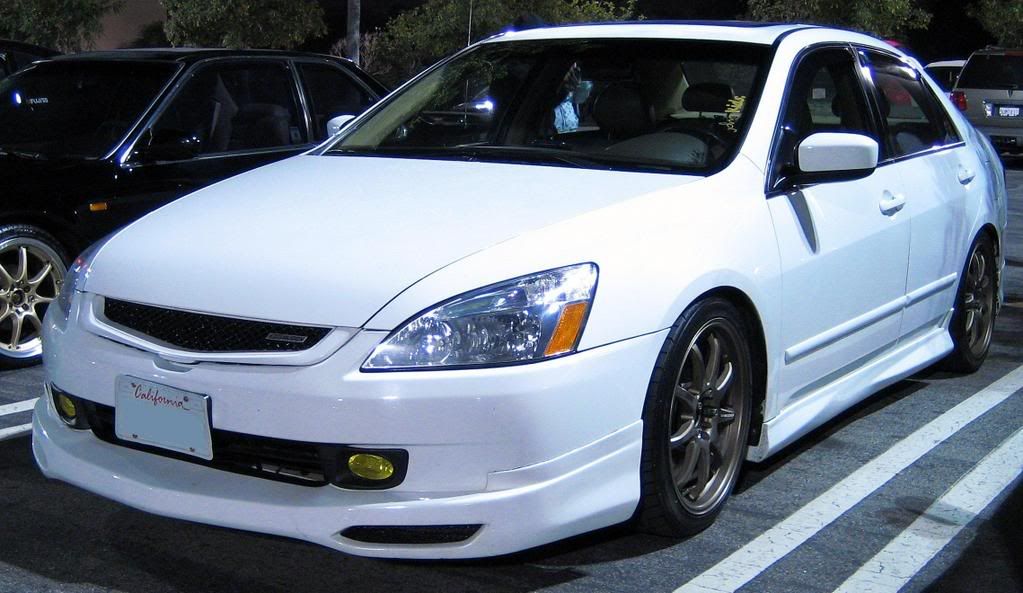
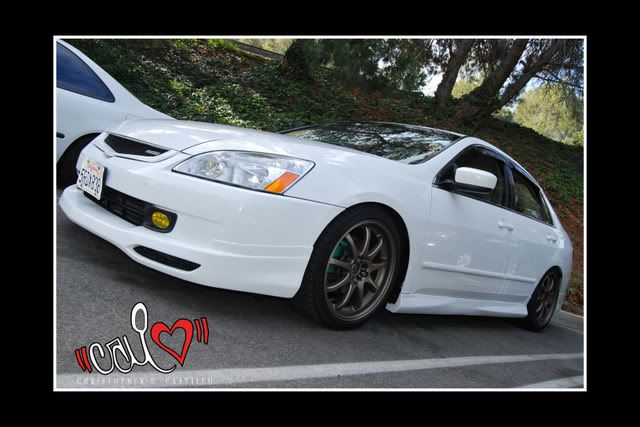
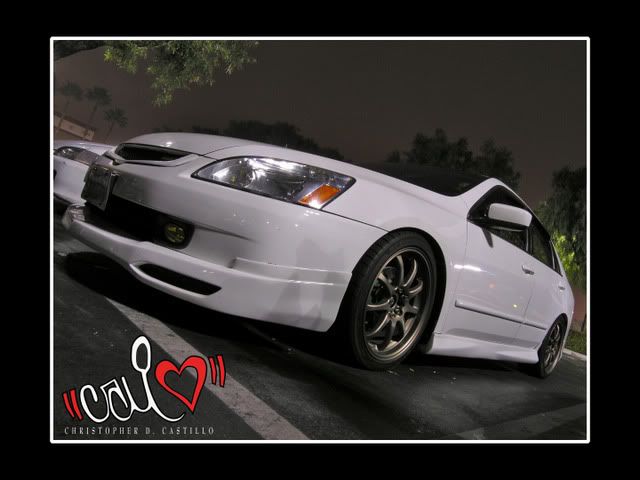
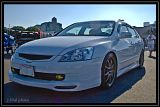
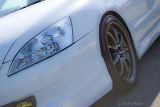
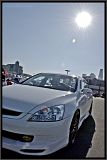
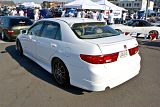
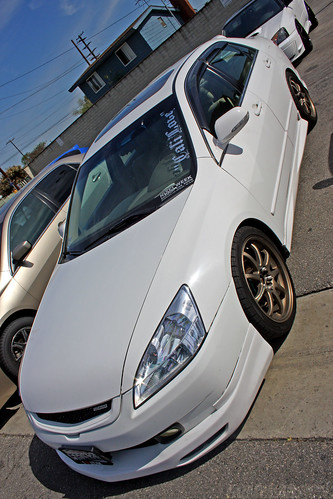
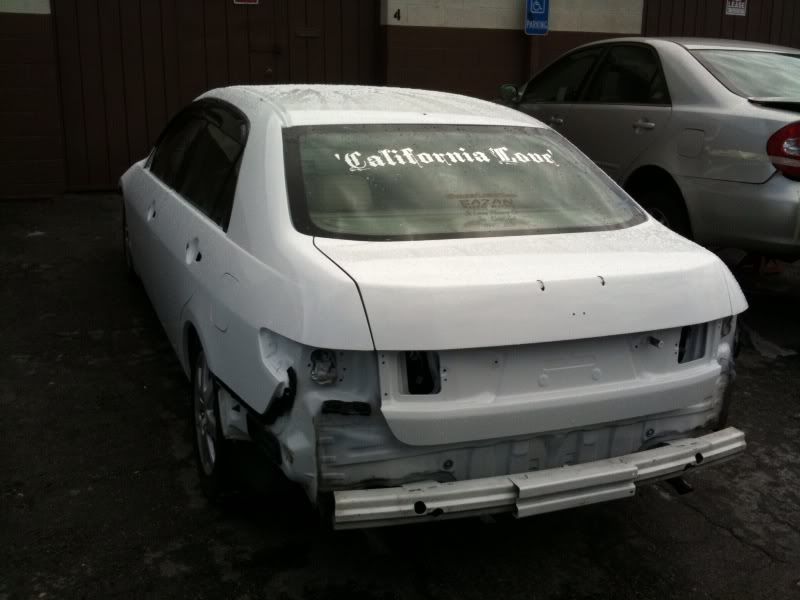
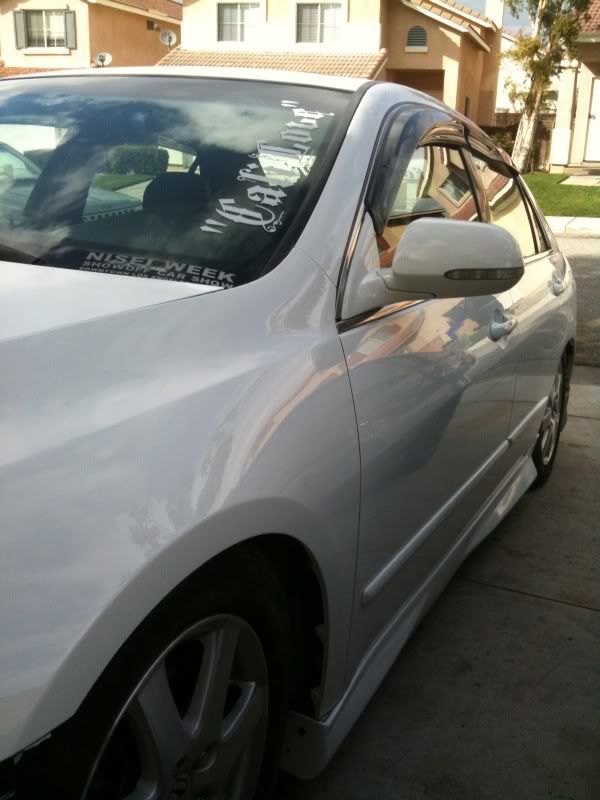
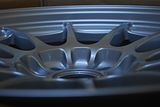
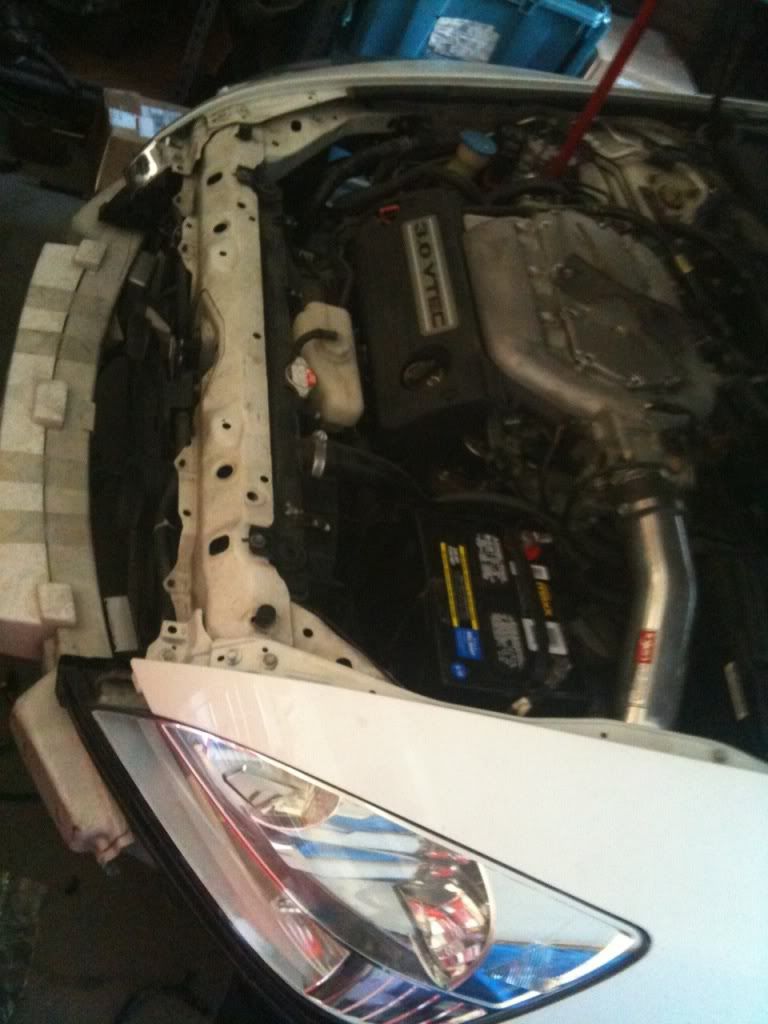
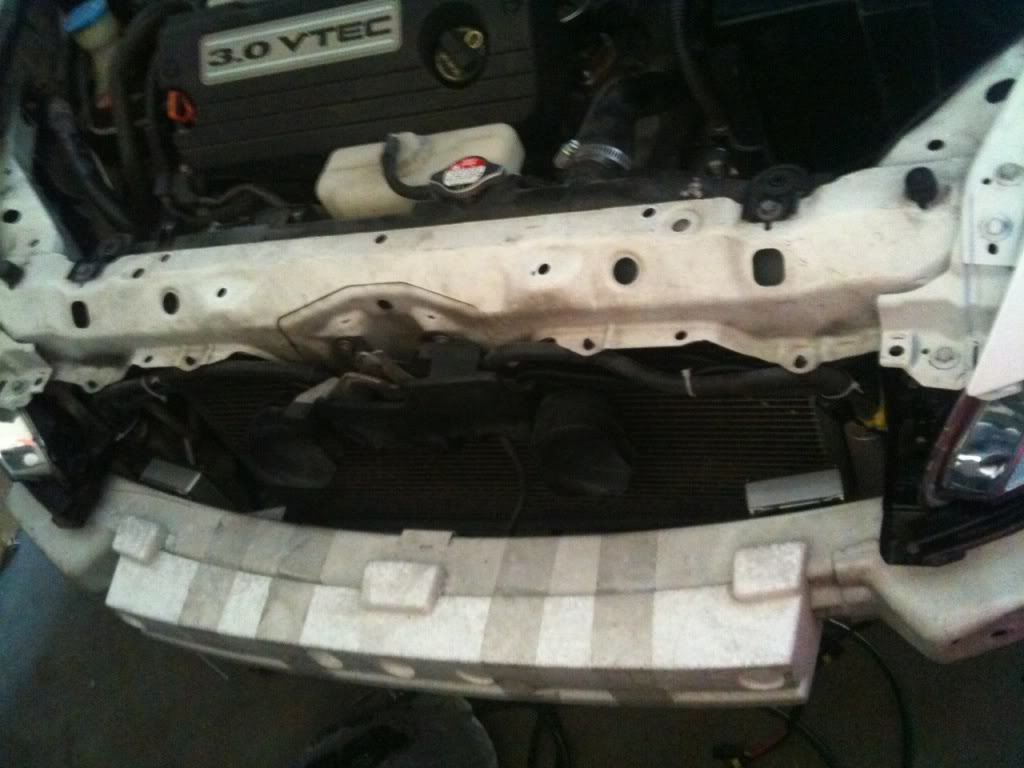
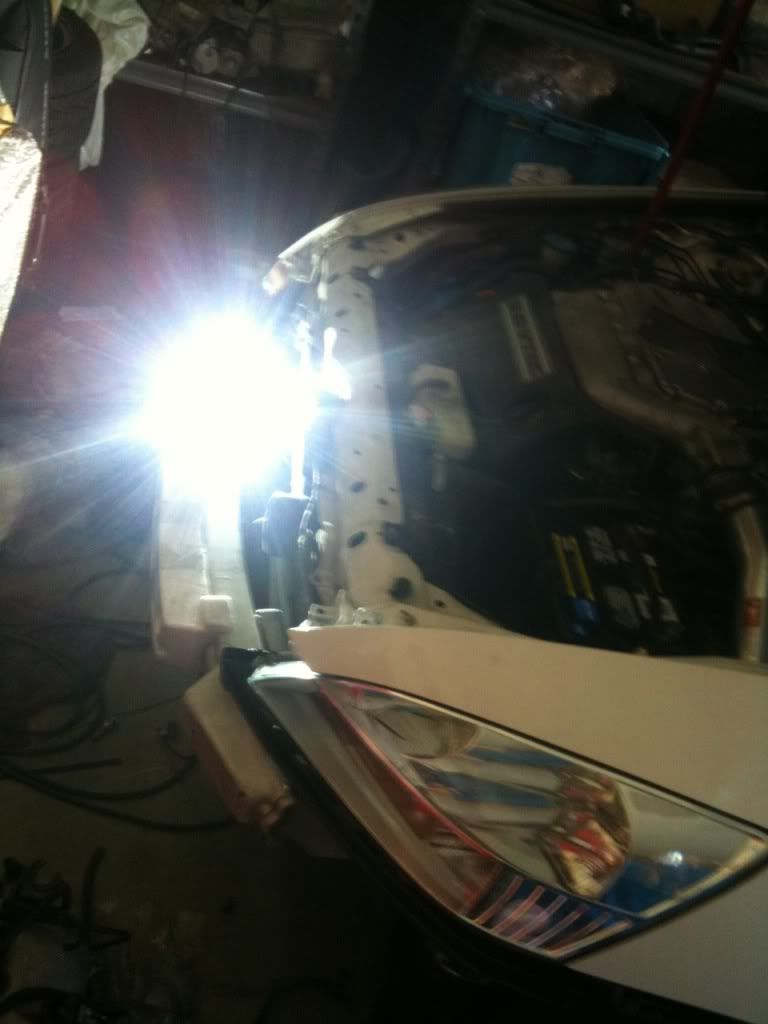
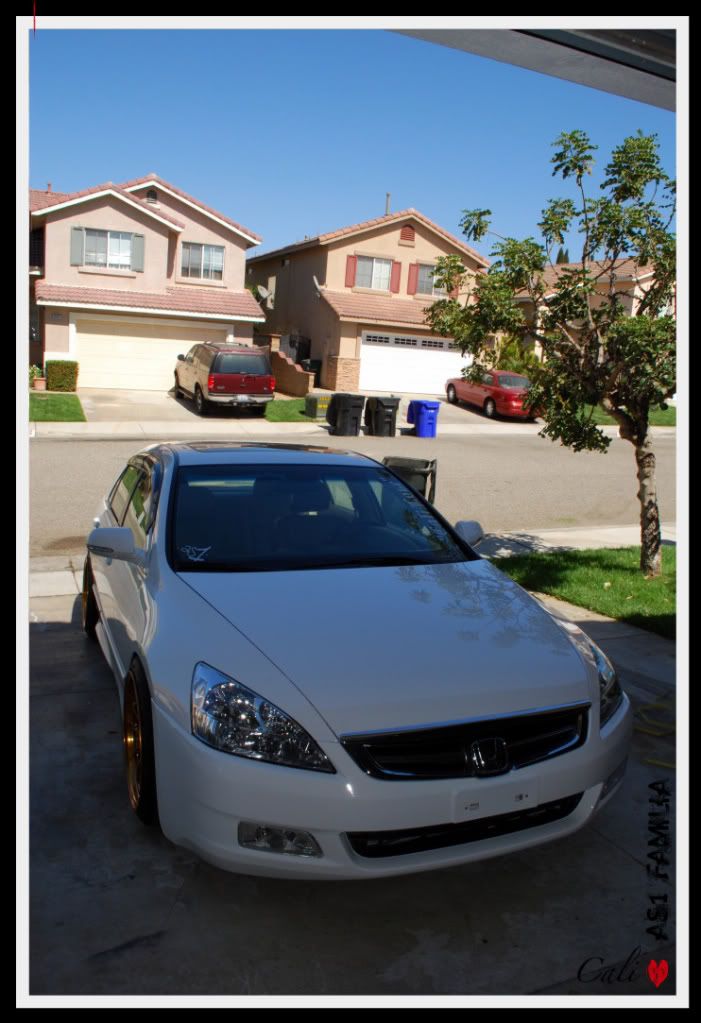
Here's the summary of the wife's 7th gen Accord, on it's path of changes & journey...more to come 
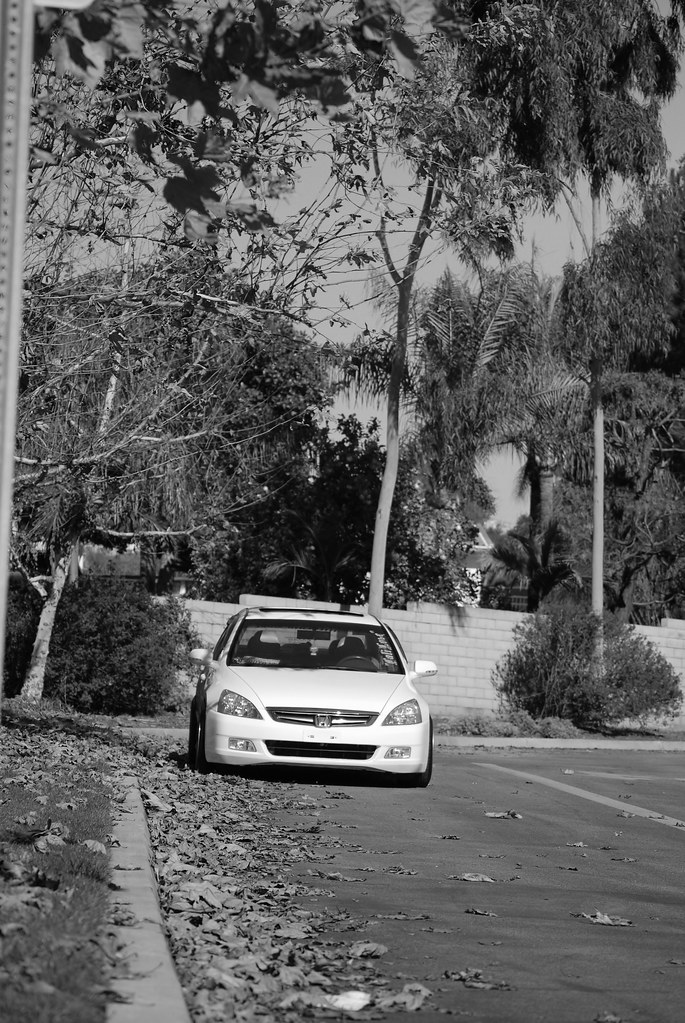
Naive - Back in 05' when we bought it
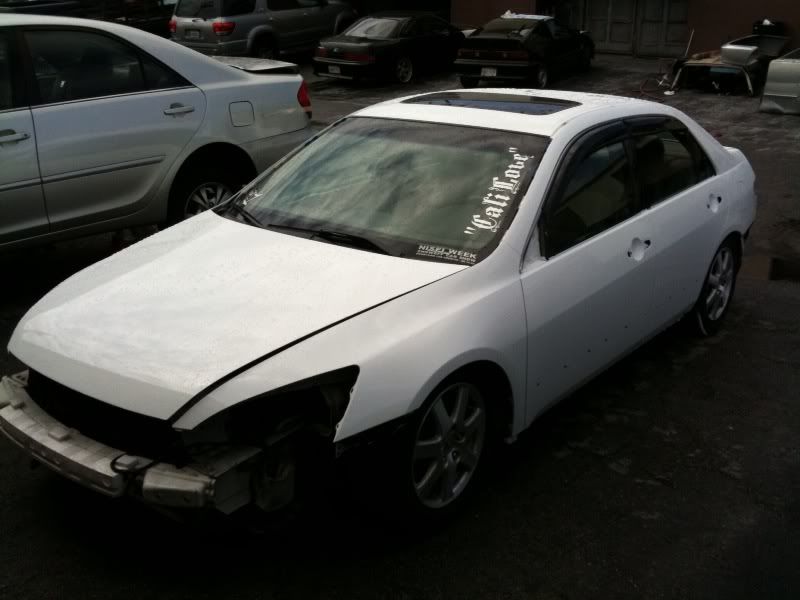
1st mod
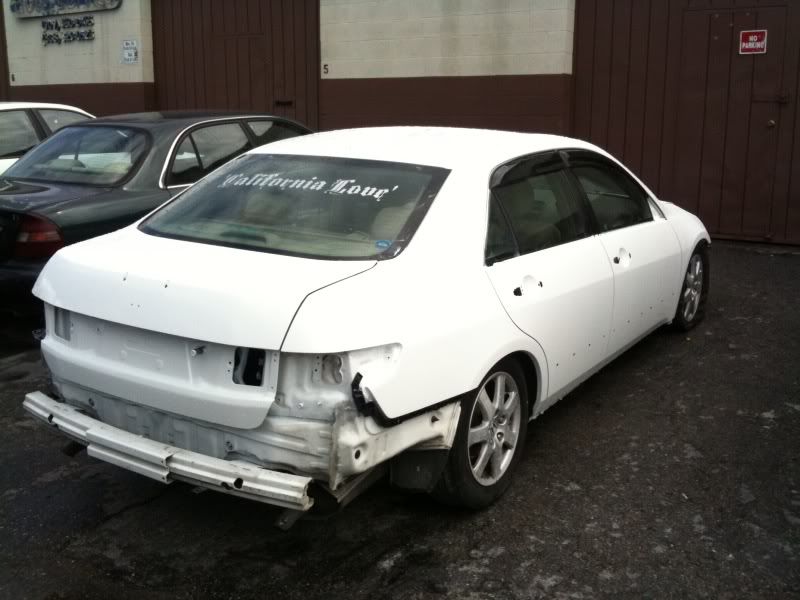
2nd
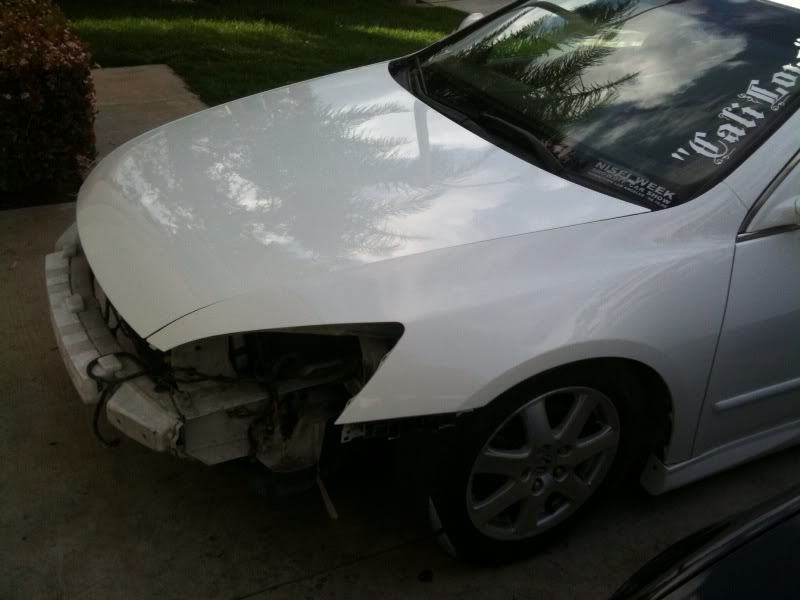
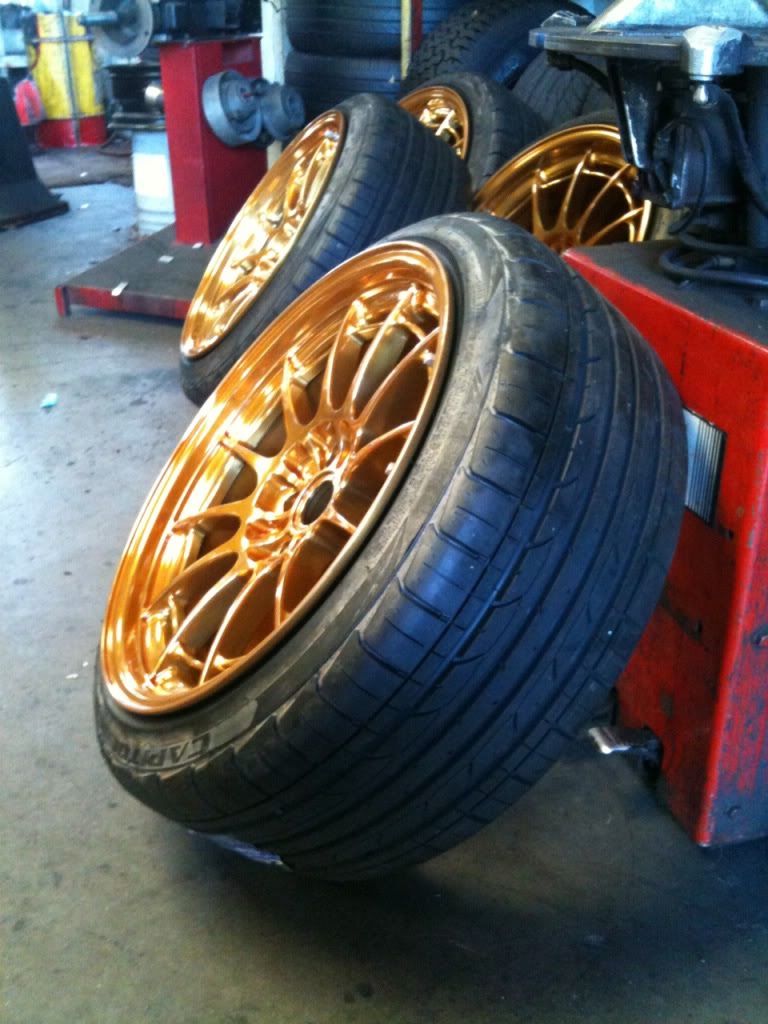
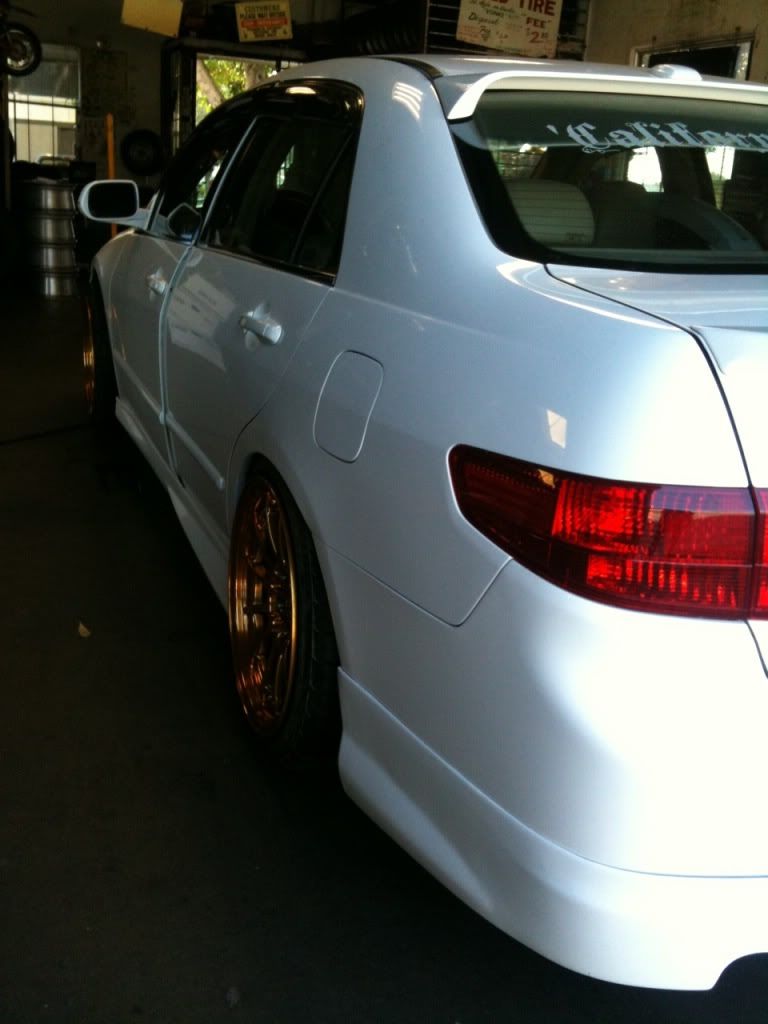
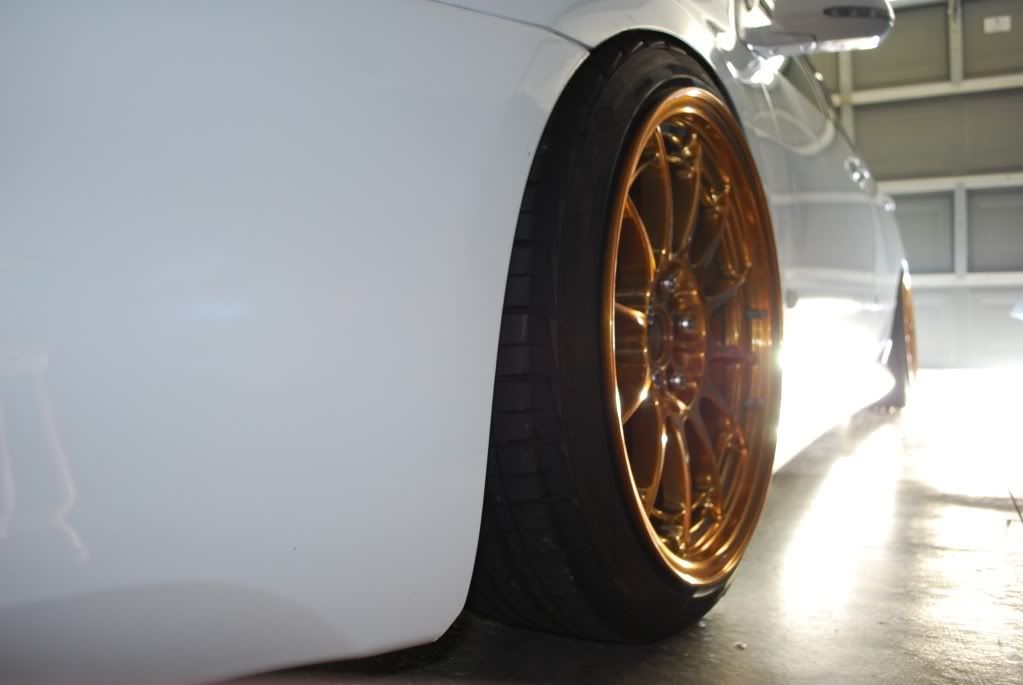
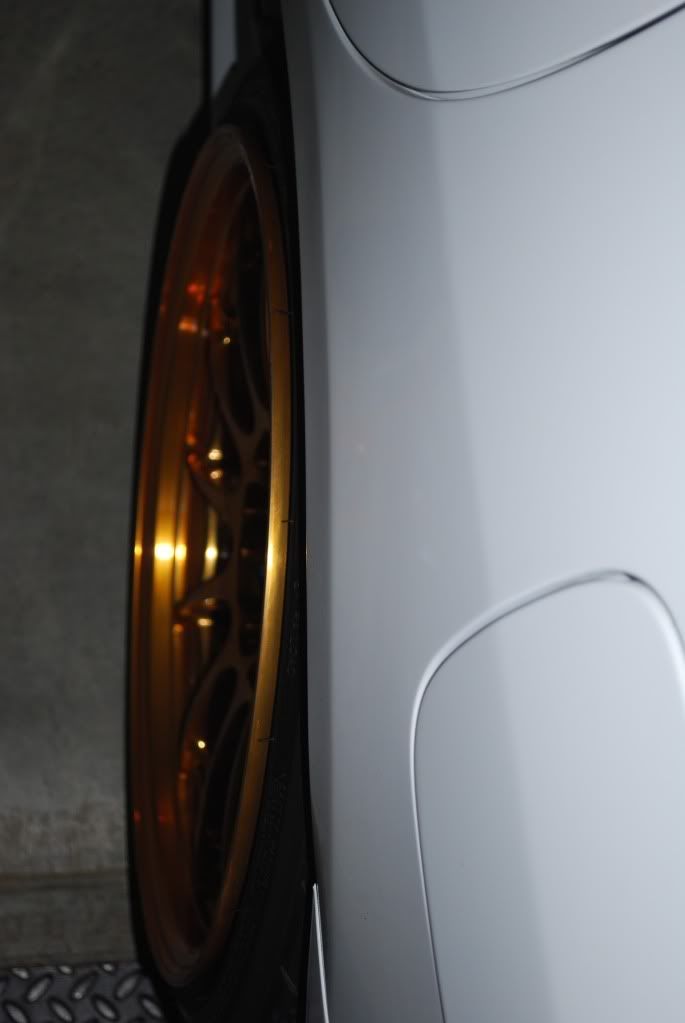
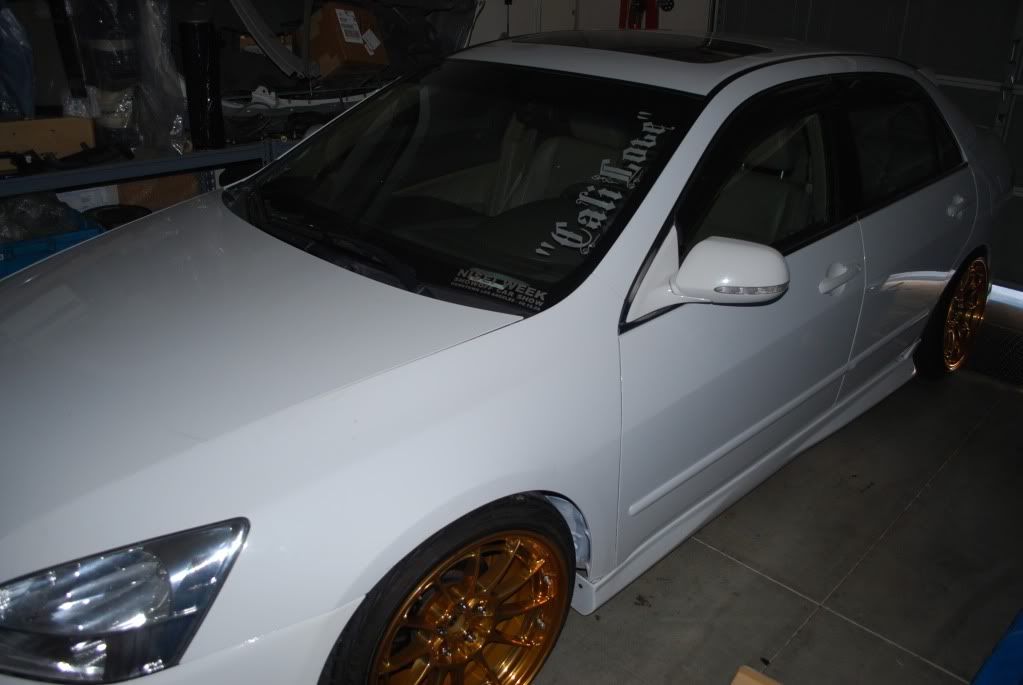
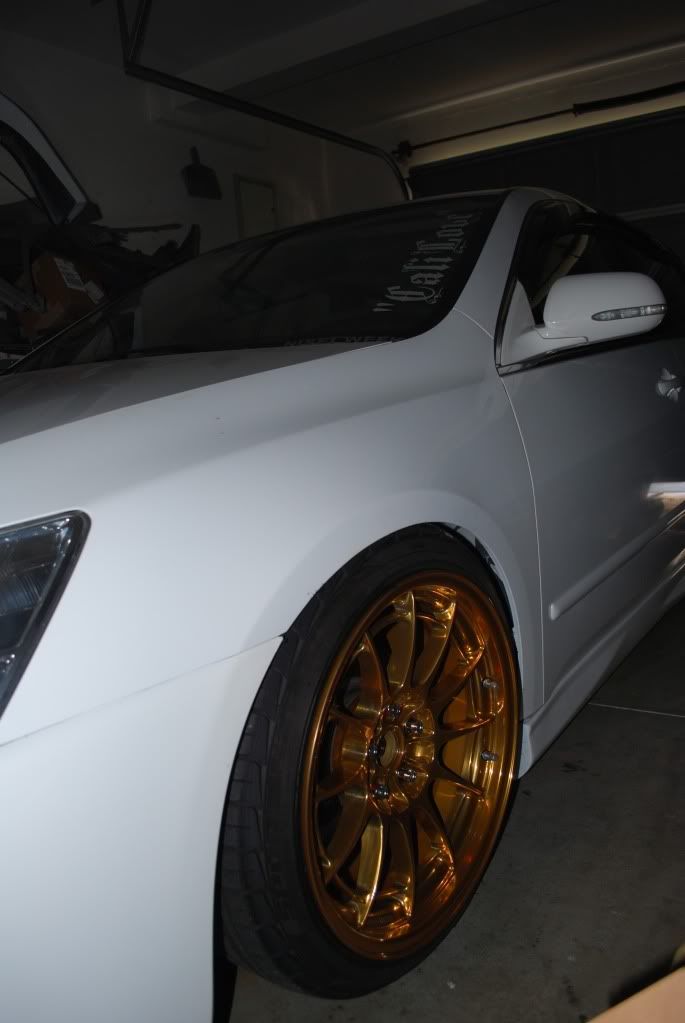
3rd, 4th, & so on.......
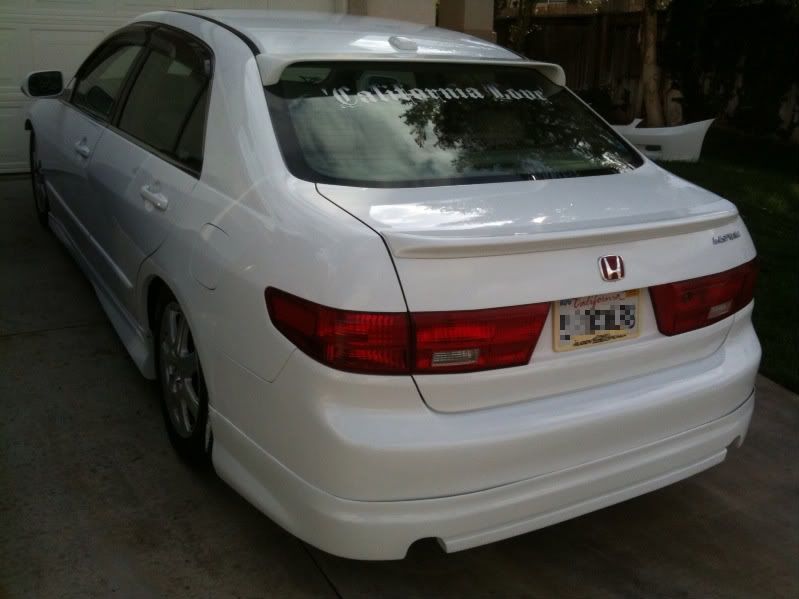
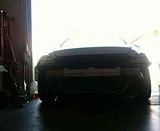
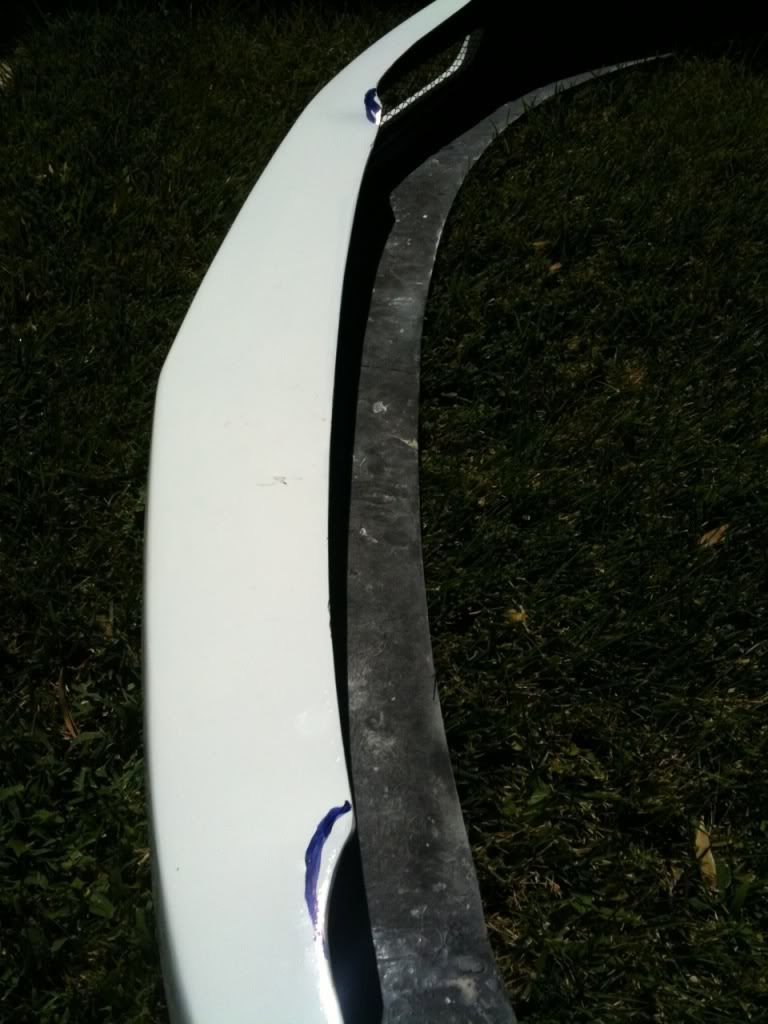
Before


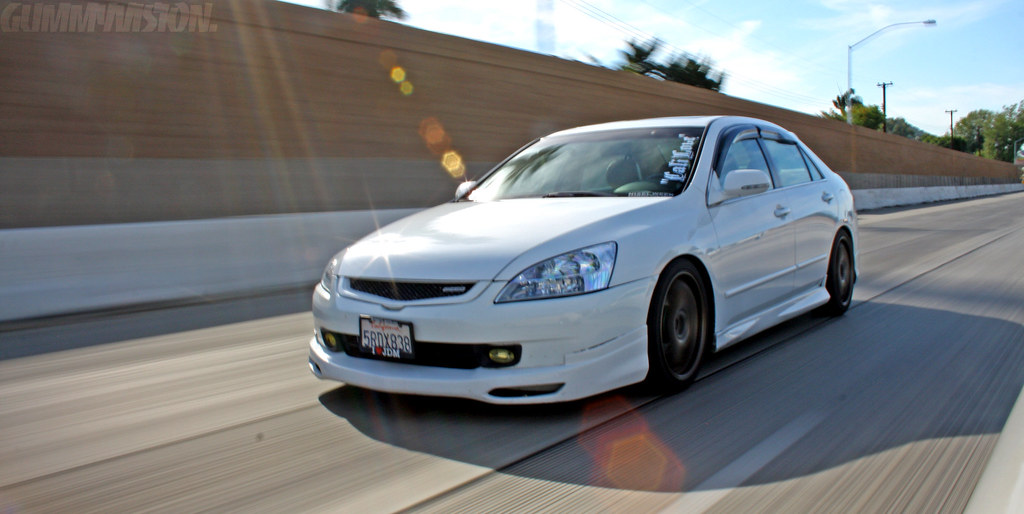
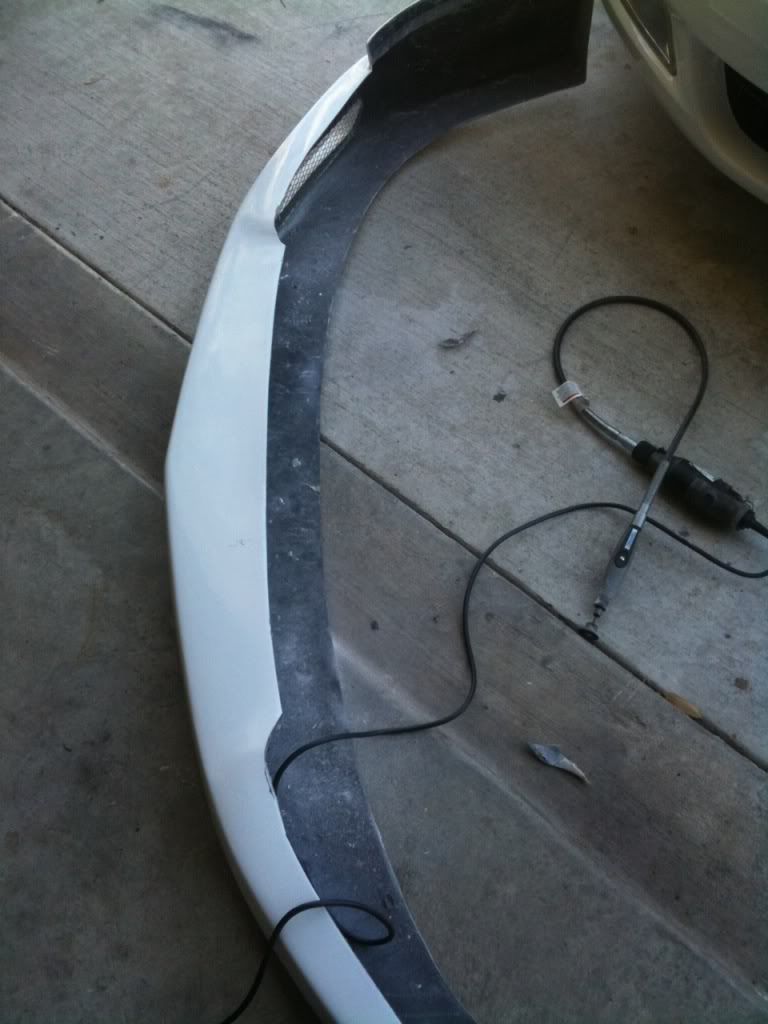
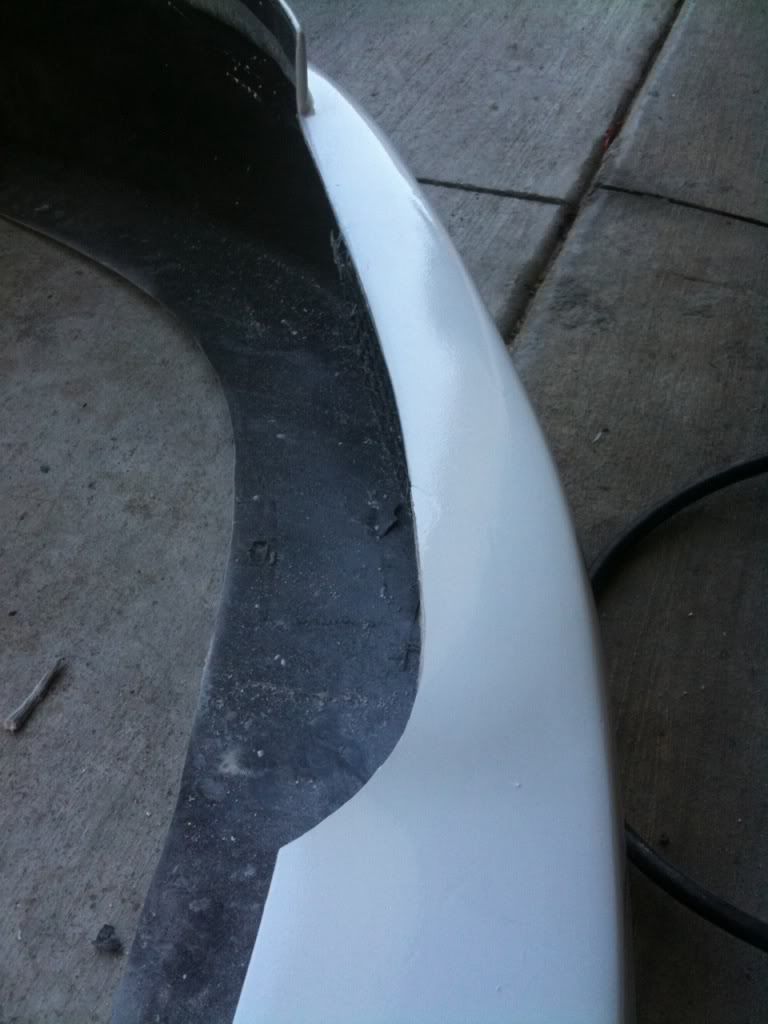
After........We pieced together this Mugen Replica kit
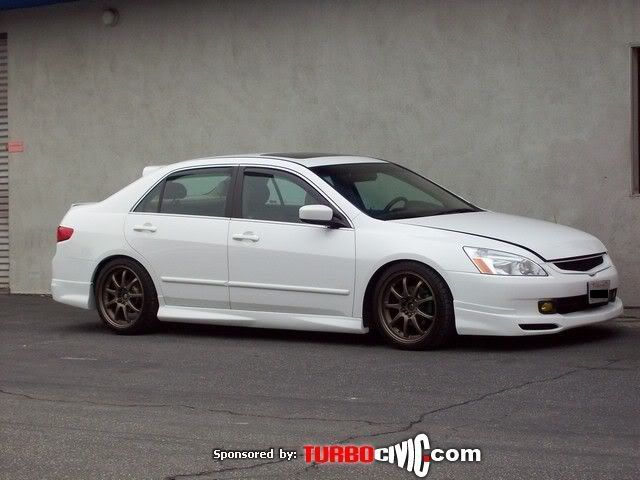


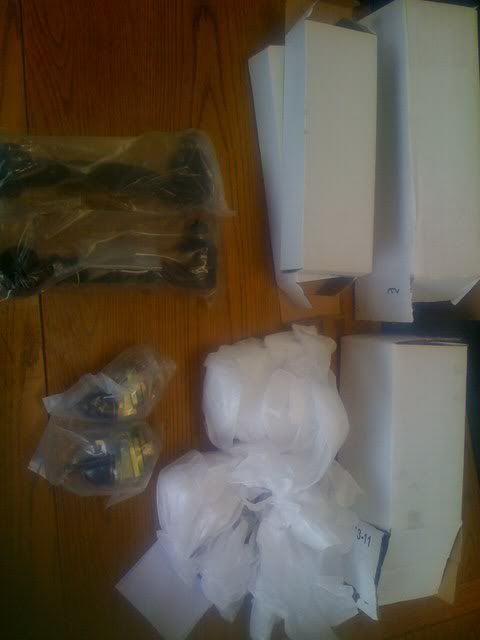
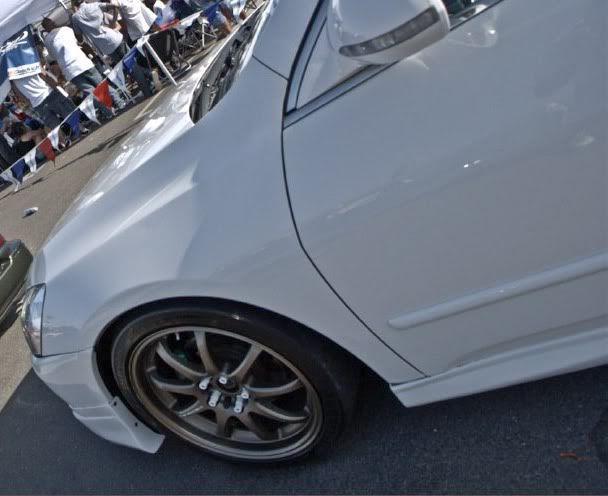
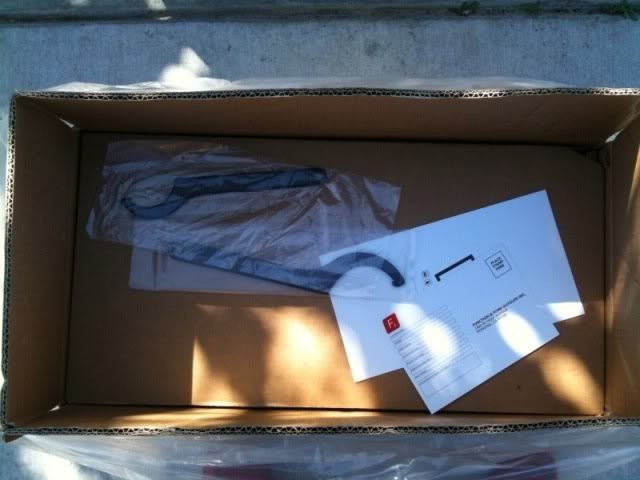
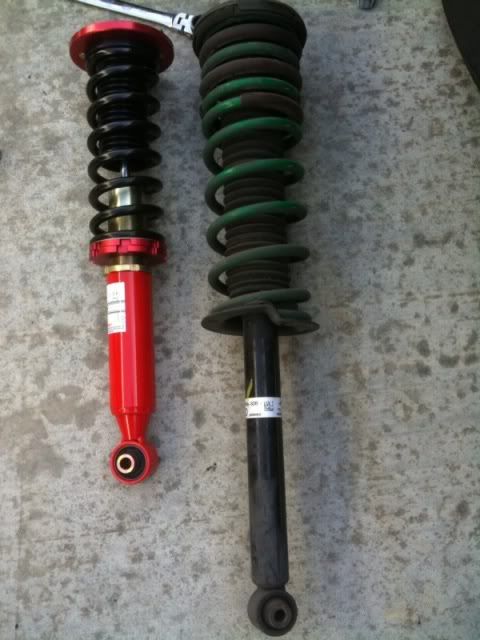
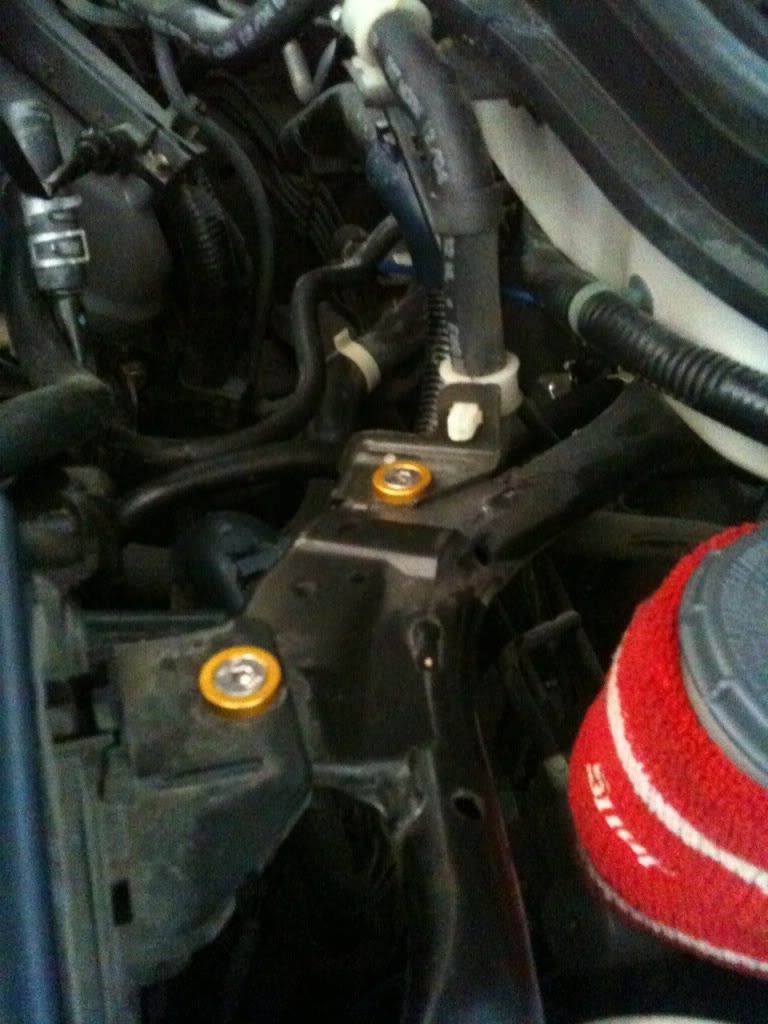
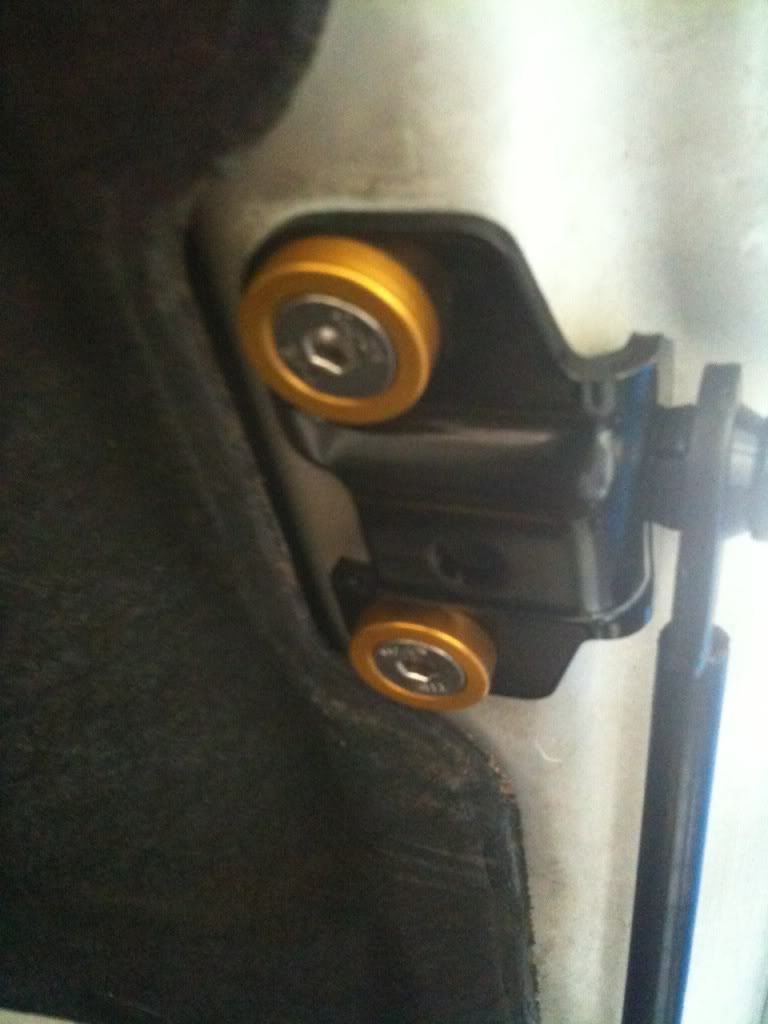
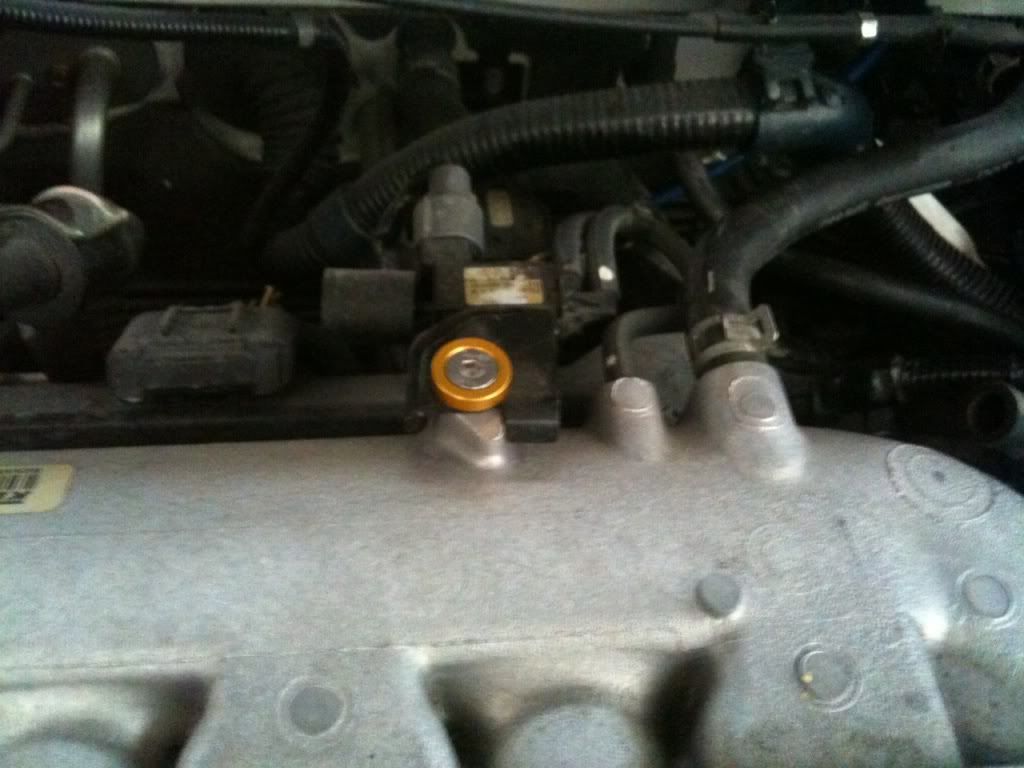
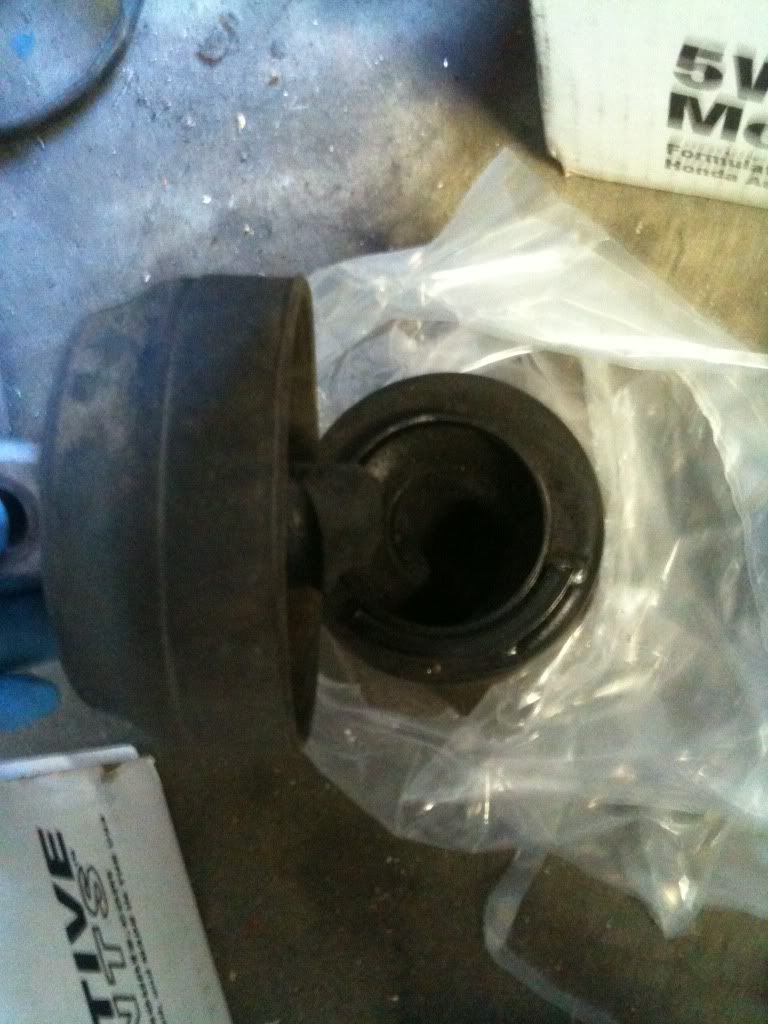
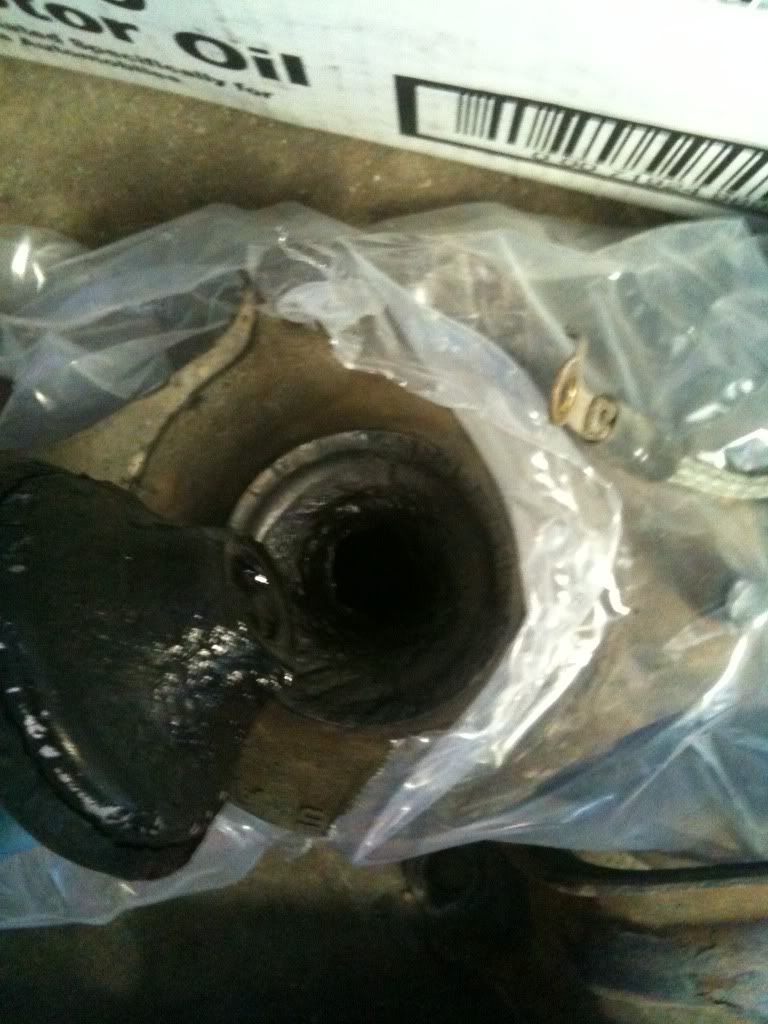
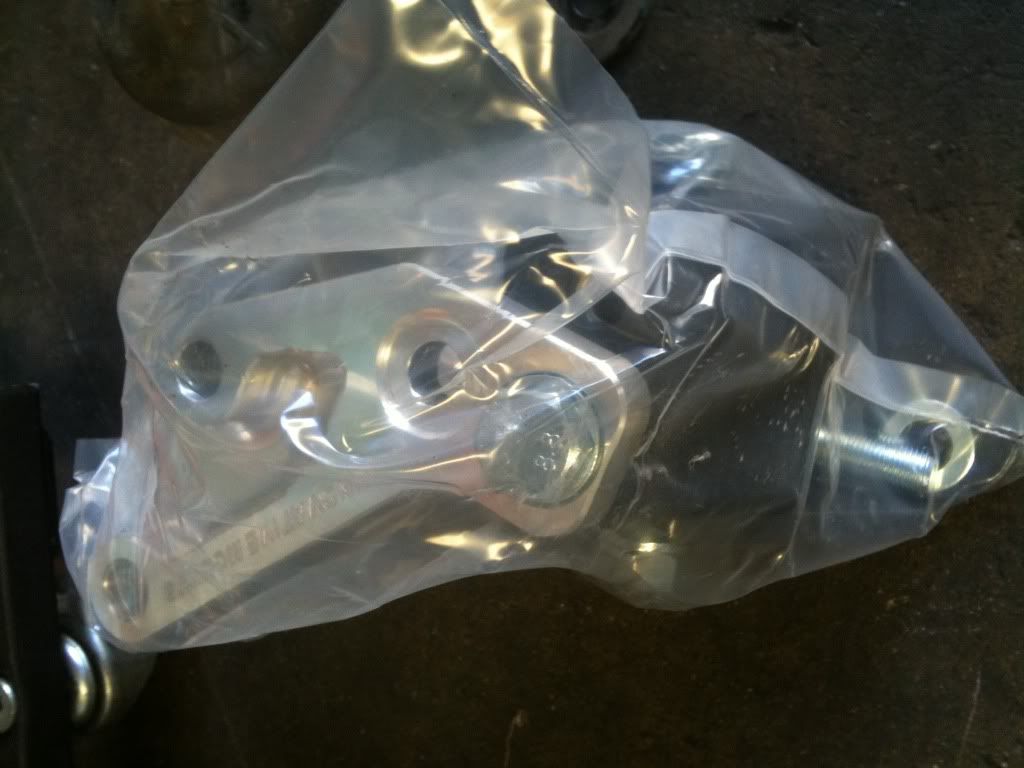
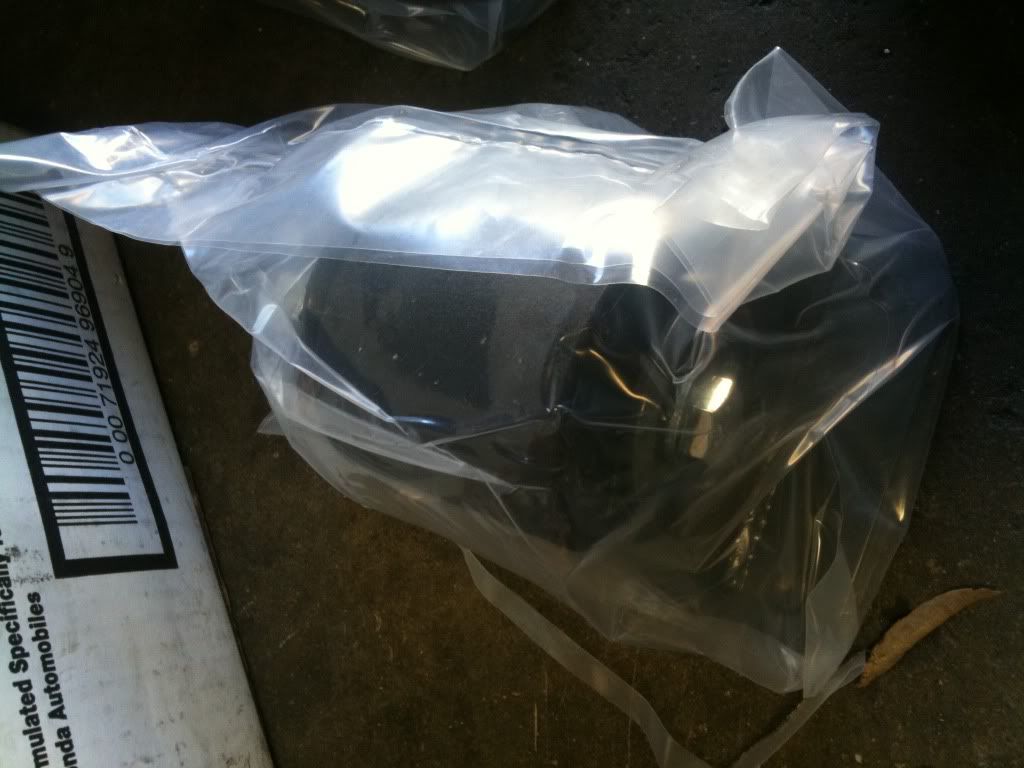
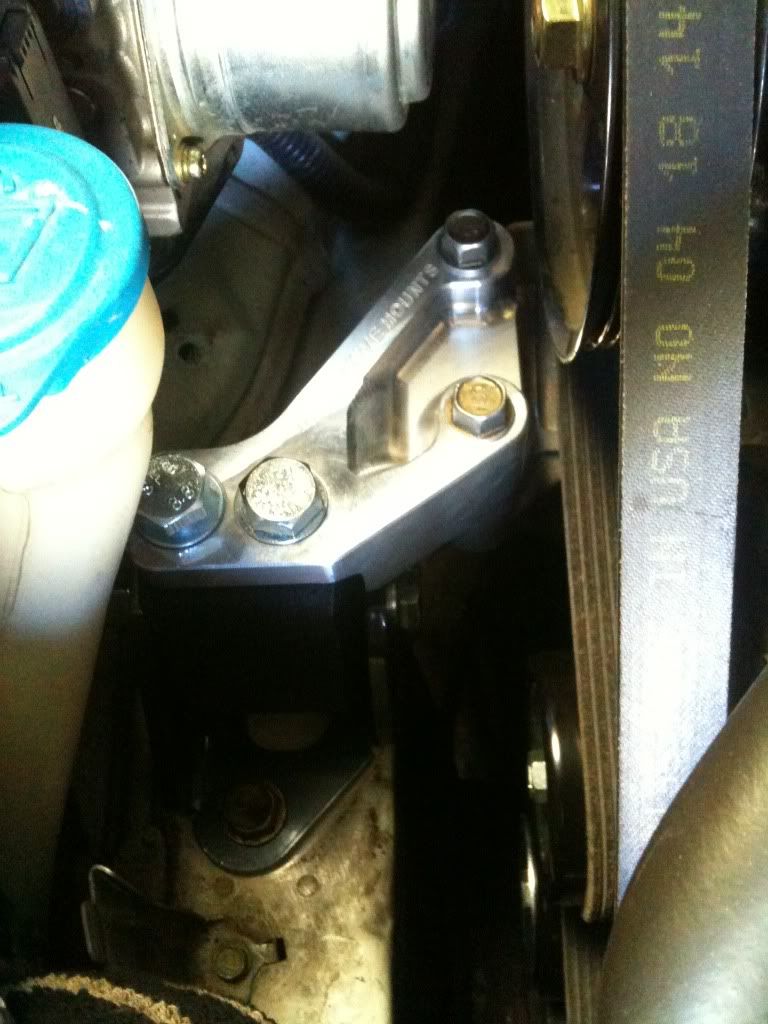
ST Camber kit FRONT & REAR
Adjustable ball Joints
Adjustable rear arms
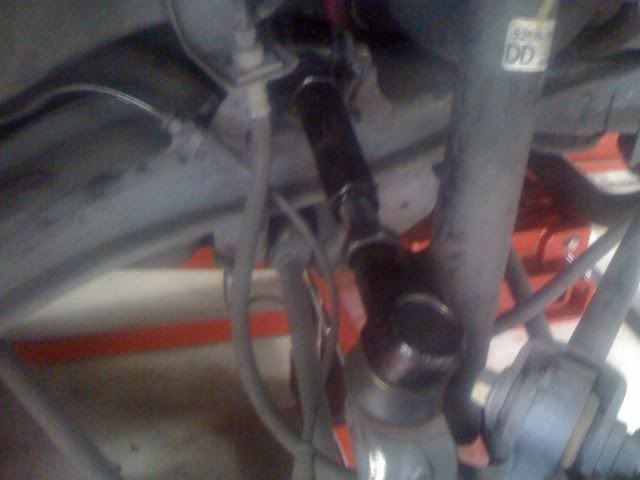
I need to get rid of this BJ & go skunk arm
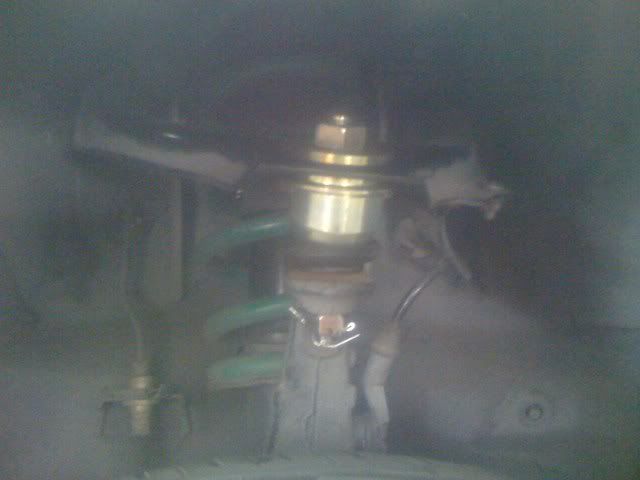
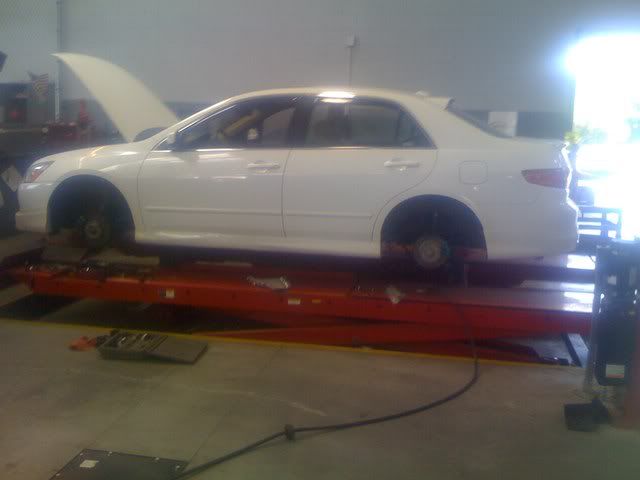
alignment @ work
My driving impression and product feedback.
PROS
FULL +/- 5.00 in the F & R adjustment
Fits like stock OEM Mounting locations. No mods. necessary
The camber kit came loaded with user friendly directions.
Product looks strong & durable.
Adjustments to camber are made almost effortlessly.
Very affordable yet competitive pricing
CONS
Overall design of front ball joints may need to be re-vamped, very noisy going over High/Deep bumps & potholes
Color is plain, Variety wouldn't be too bad.
Construction Material withheld
( unclear as to what lubricates the joints? spherical or?)
overall I give this product an 8.5
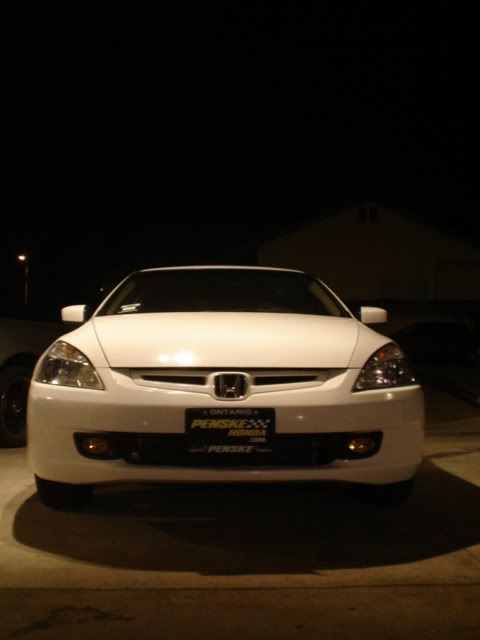
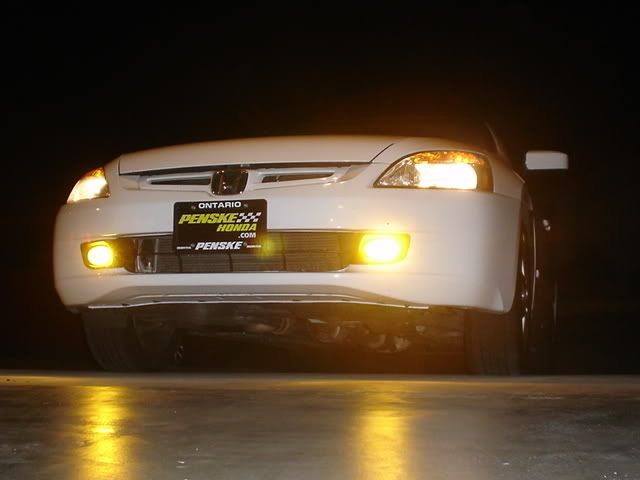
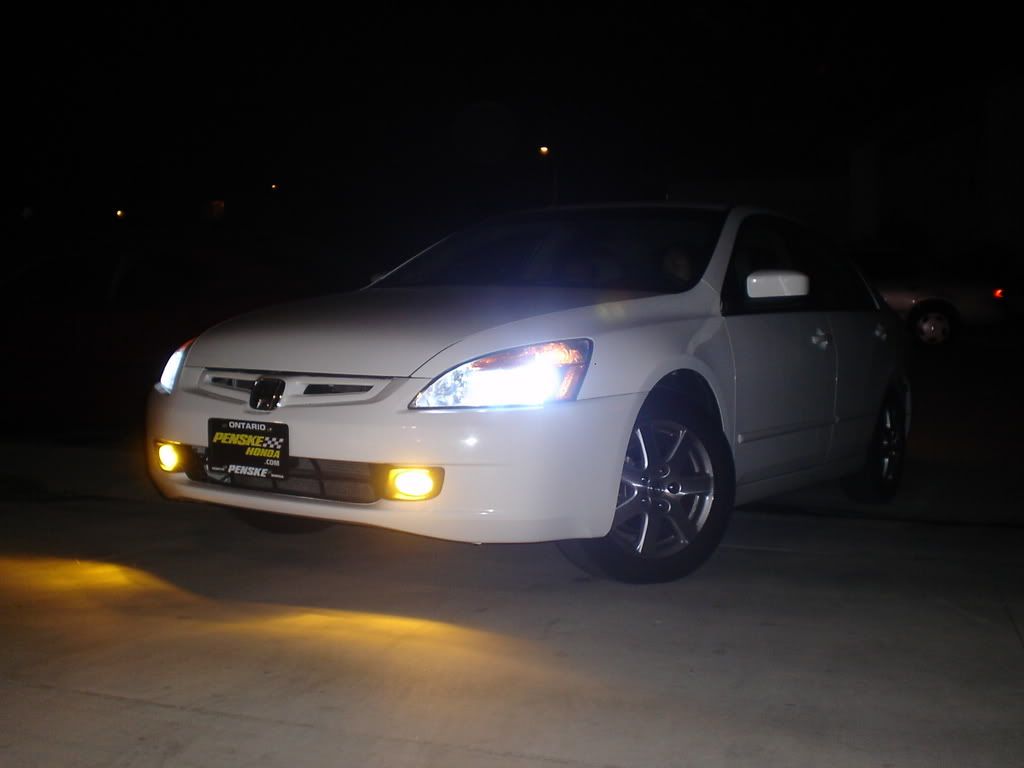
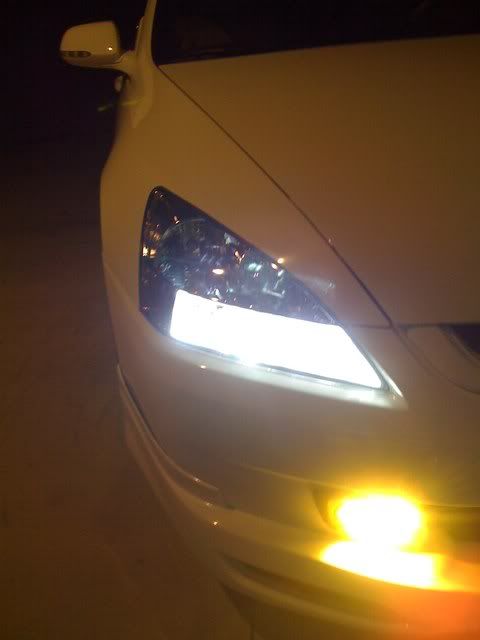
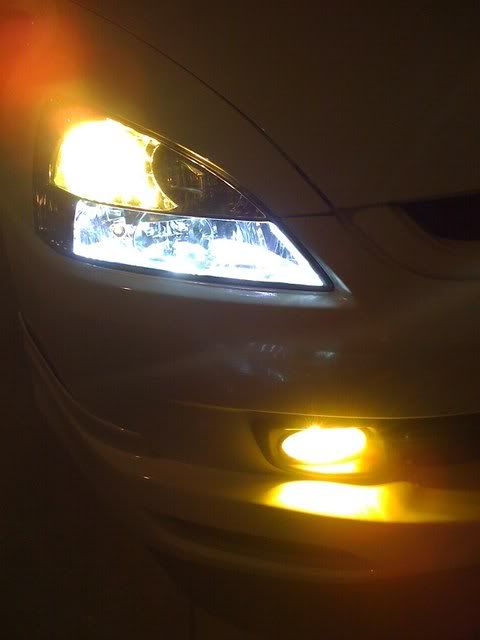
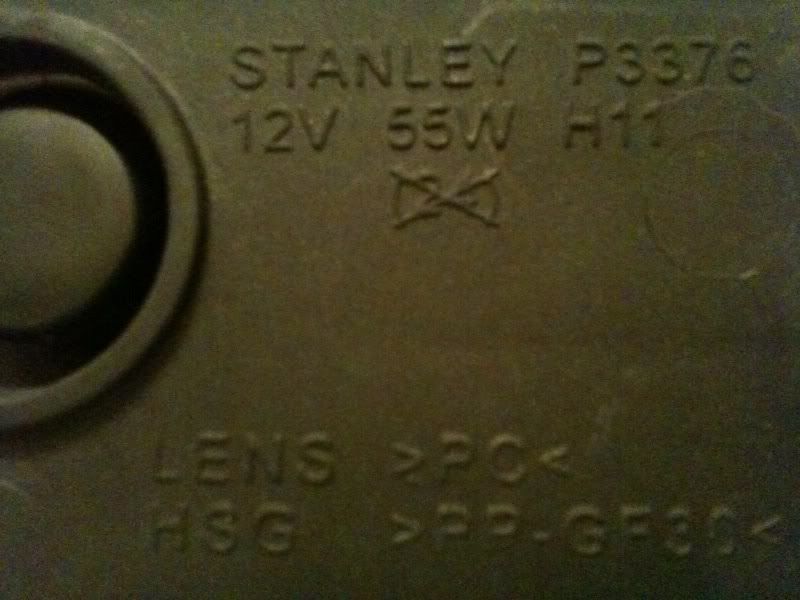
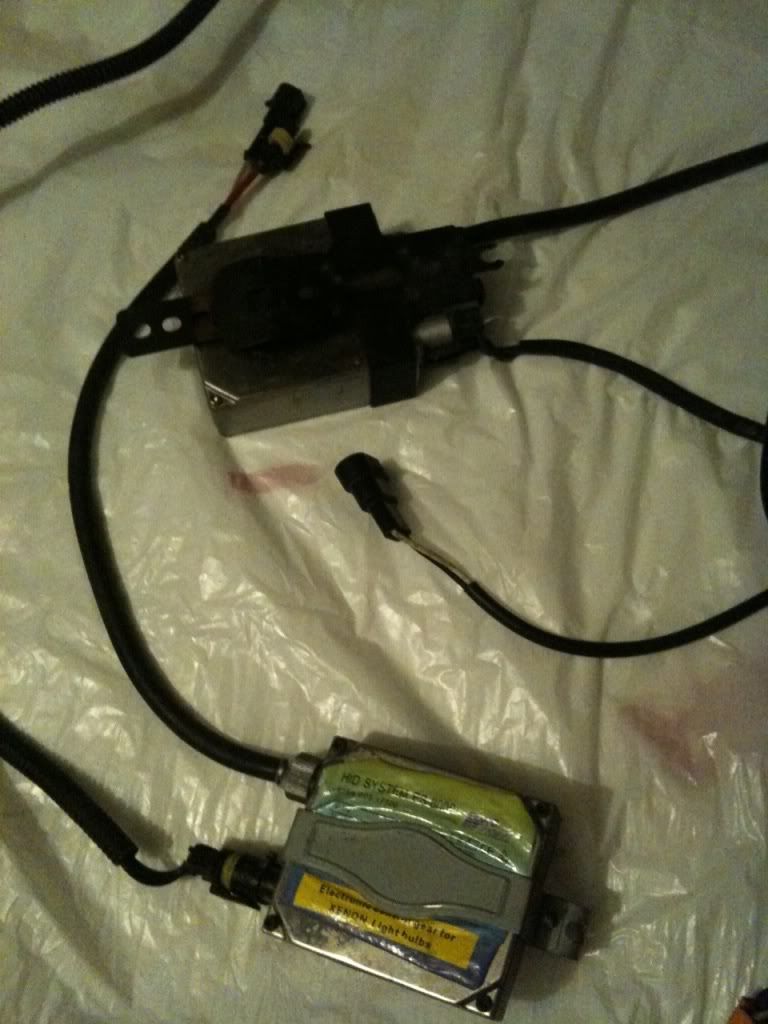
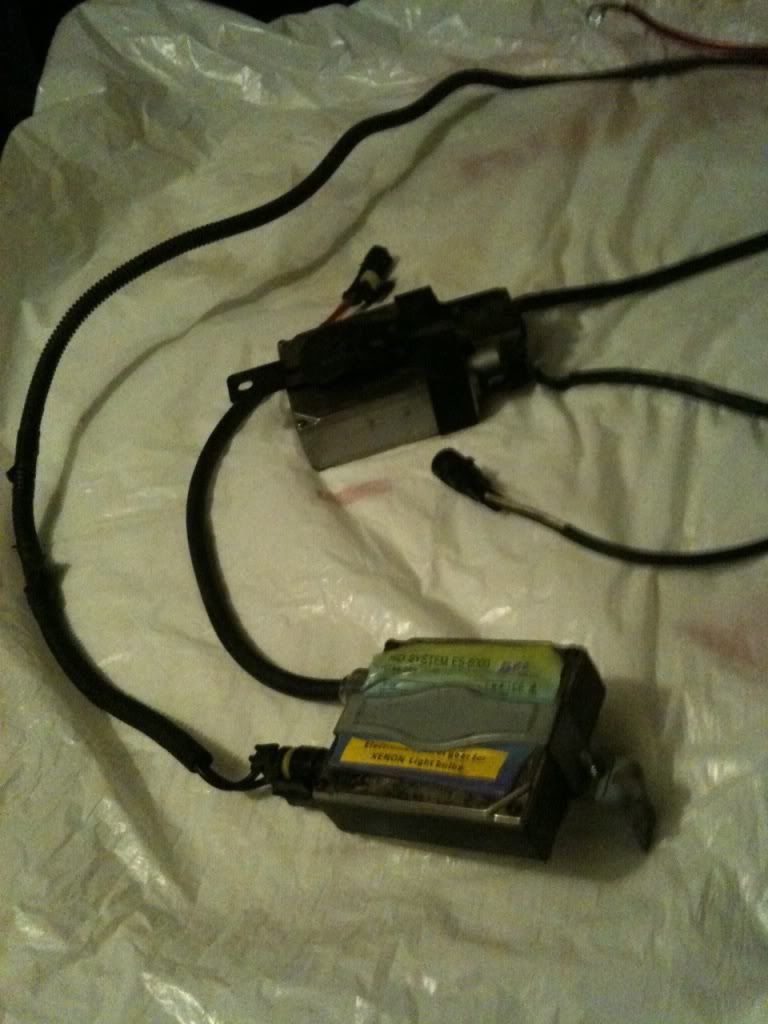
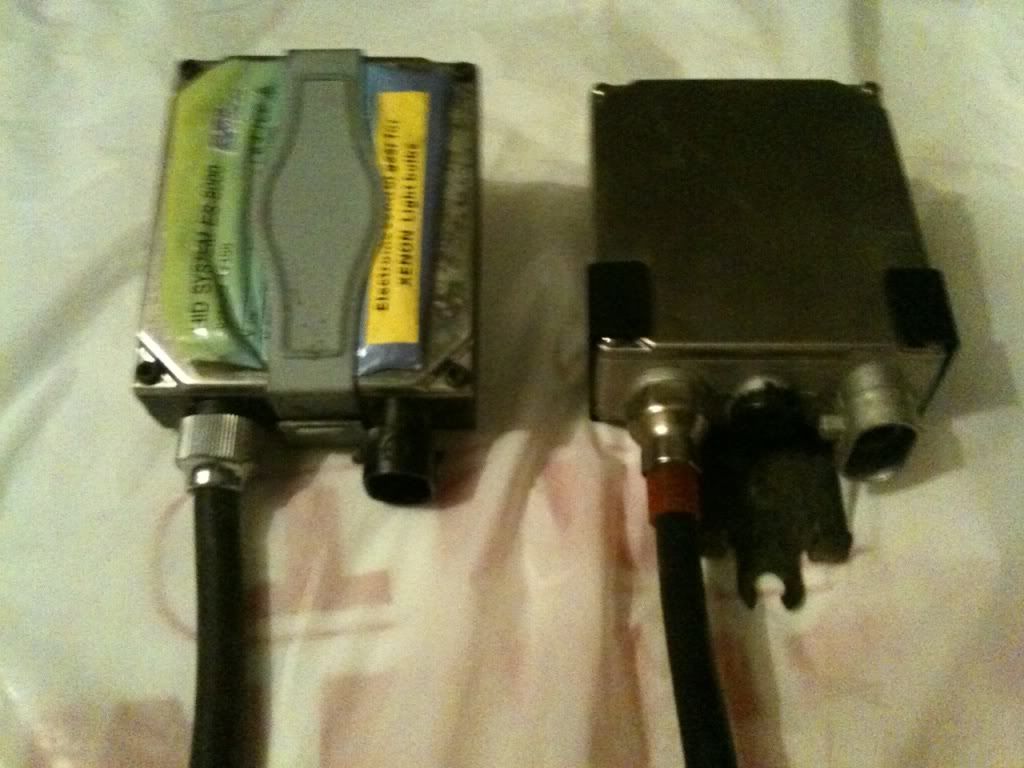
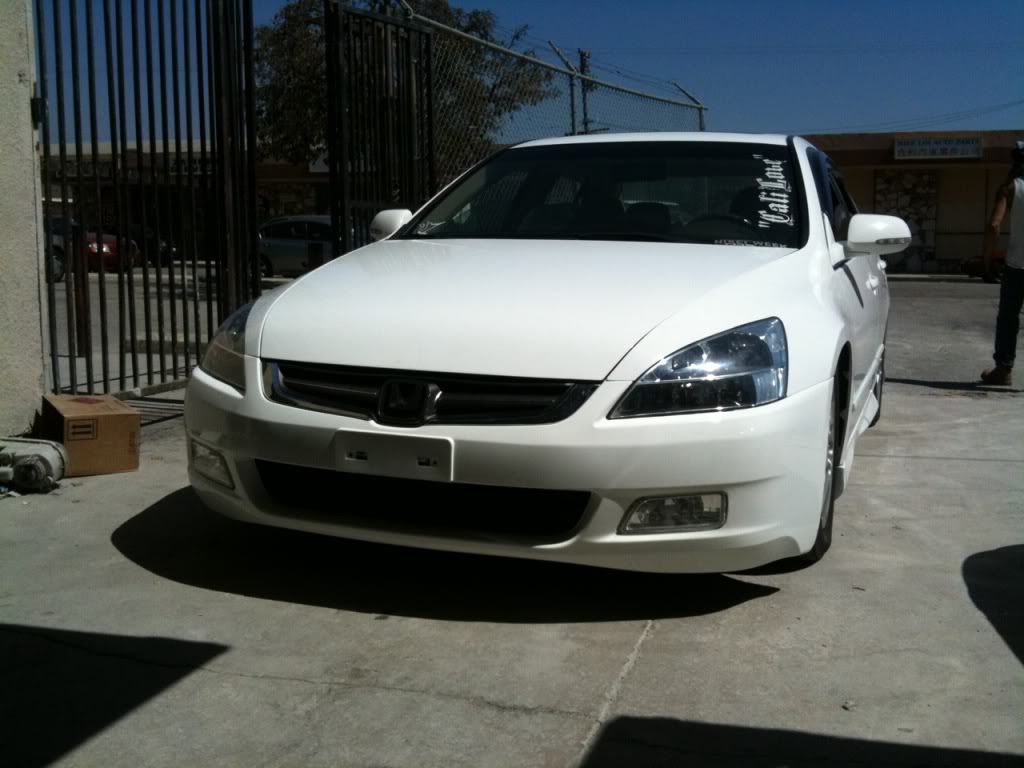
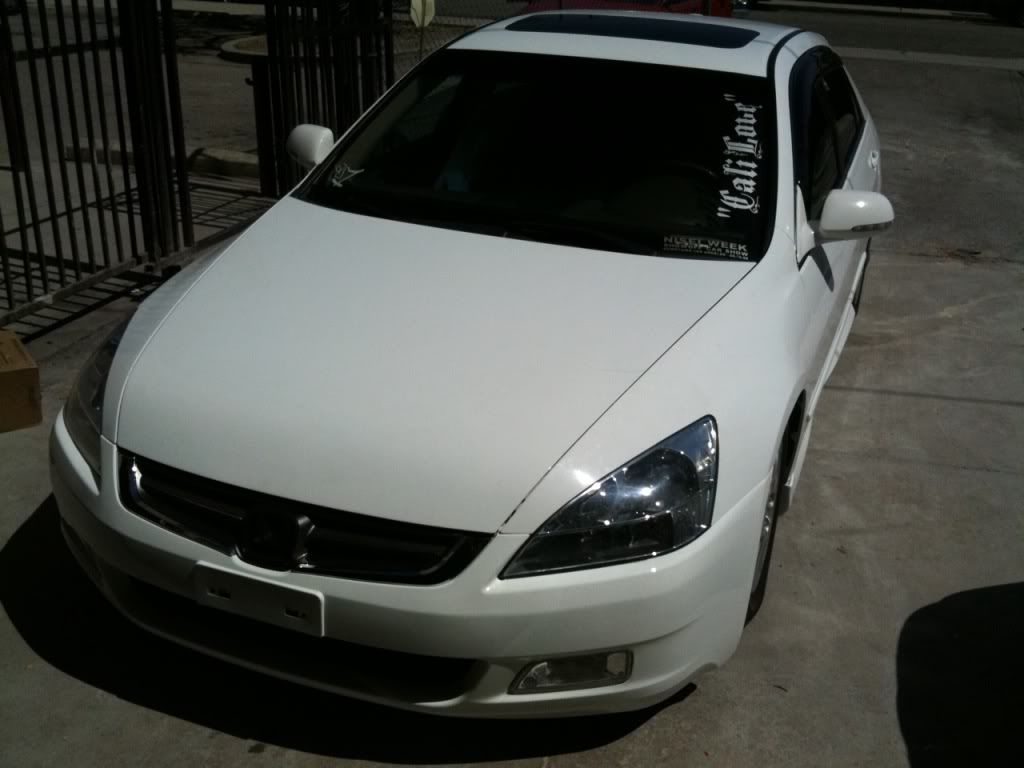
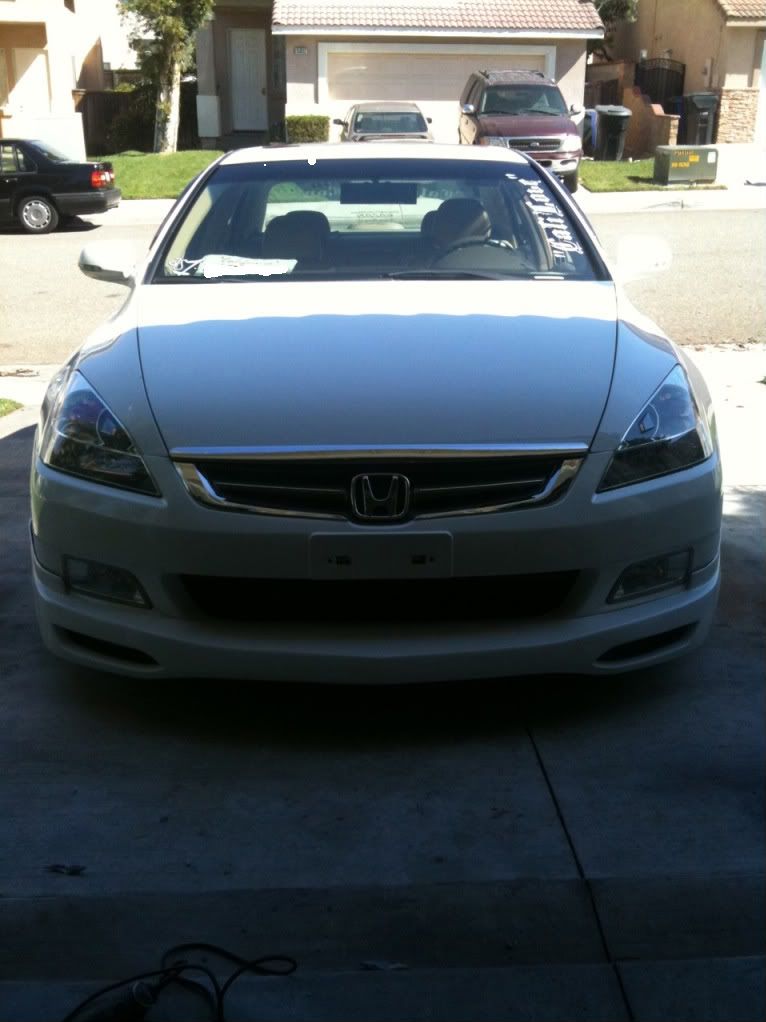
JAP - Inspire Chrome Headlights w/ 6k HID kit


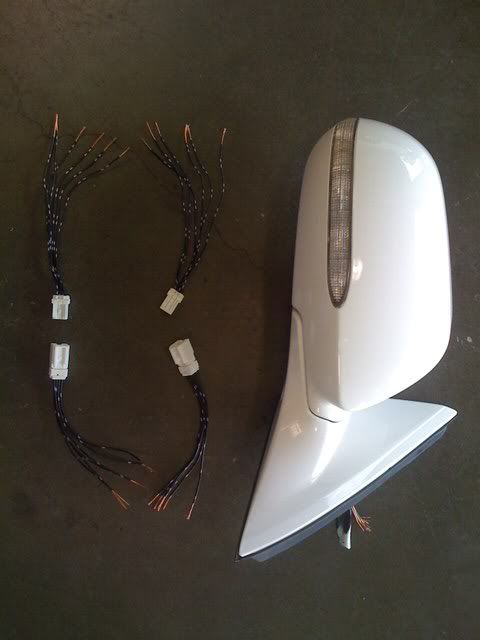
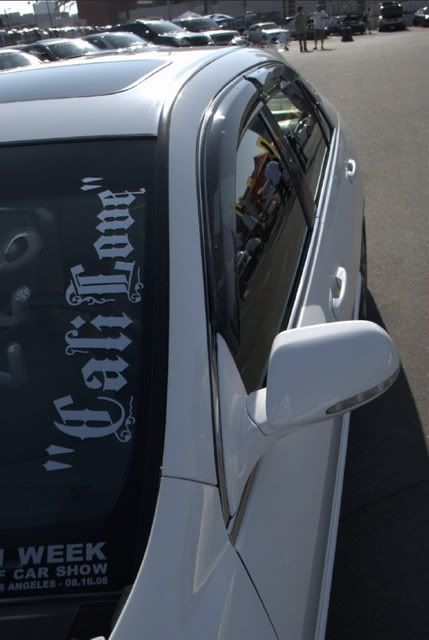
Hybrid/Inspire Mirror w/ led signal ( I will repaint the mirror and color-match the base)


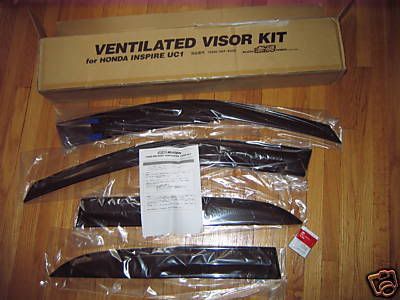
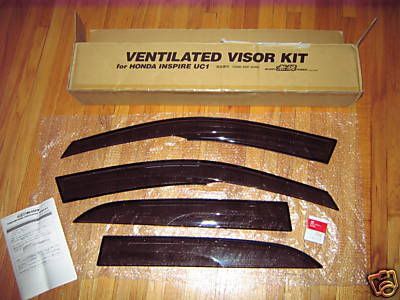
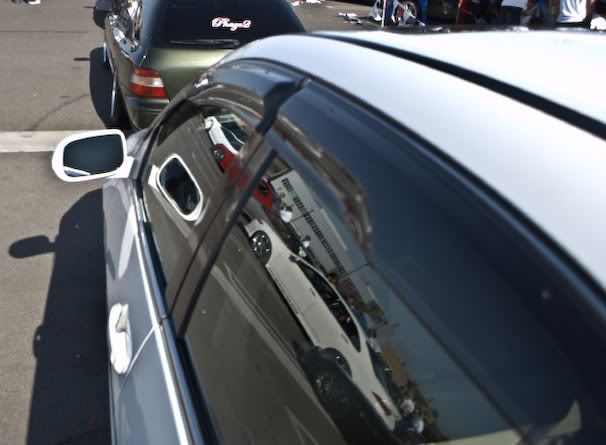
Mugen Ventilated visors ( installed by Norman @ nisei 08' )
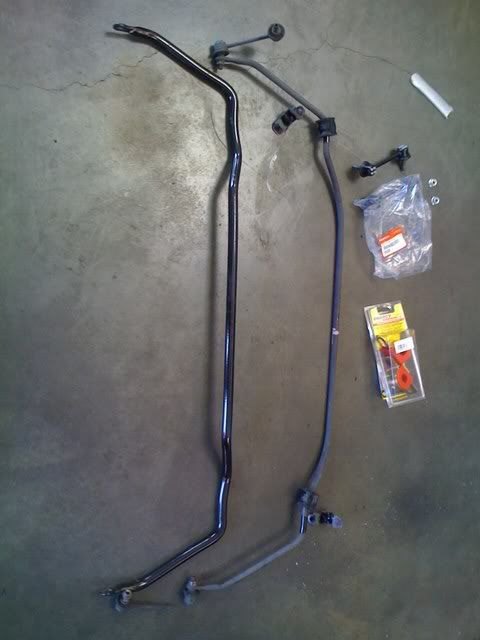
Here's another update guys. Finally did the TL-S sway bar install. I also had to order new endlinks due to a broken link on the drivers side.I opted to use the energy suspension bushings for pure flash. Just looked to plain for me.
so here's a little bit of feedback/review
Bushings: Overall the look good and do their job.
But Do not order the E.S. kit 20mm, I strongly recommend the 19mm although the bar states 20mm when you order. The ES kit will require modification to the universal bracket that attaches to the subframe.
SwayBar: Larger Diameter and solid, greater improvement over the stock spaghetti strap any day.
Endlink: Honda no longer sells them in singles due to the revision of the endlink. By observation only the new EL looks 1mm larger
Overall combination Review: ( results may differ depending on how in-tune you are with your vehicle, and conditions that brought forth the modification.)
Steering response: Increase (quicker, tighter turns)
Steering effort: Decrease (less driver input )
Body roll: D (very little roll with the new setup)
Ride Stability: I ( due to a broken endlink I noticed a big Improvement- reduce sloshing/oscillation with this mod. )
Oversteer: D
Understeer: I (favorably..I like to dive in them accelerate out)
New Upgrade parts 06 TL-S Swaybar 20mm, Updated Accord EndLinks, Energy Susp. Swaybar bushings

Old vs. New
My broken Endlink
Horrible pics of install ( I was in a rush )
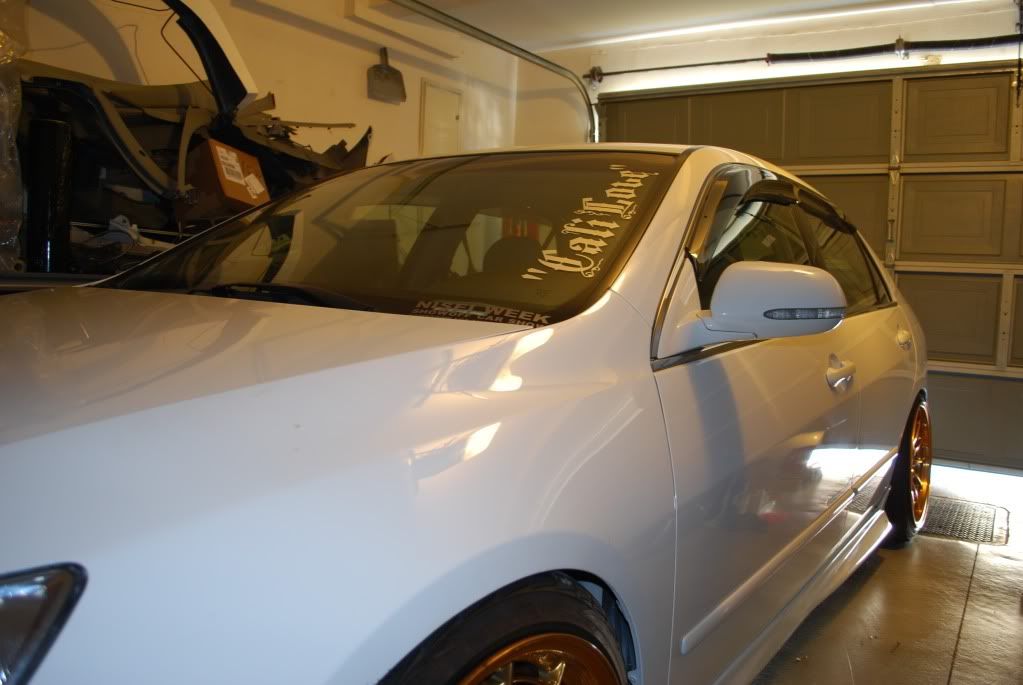
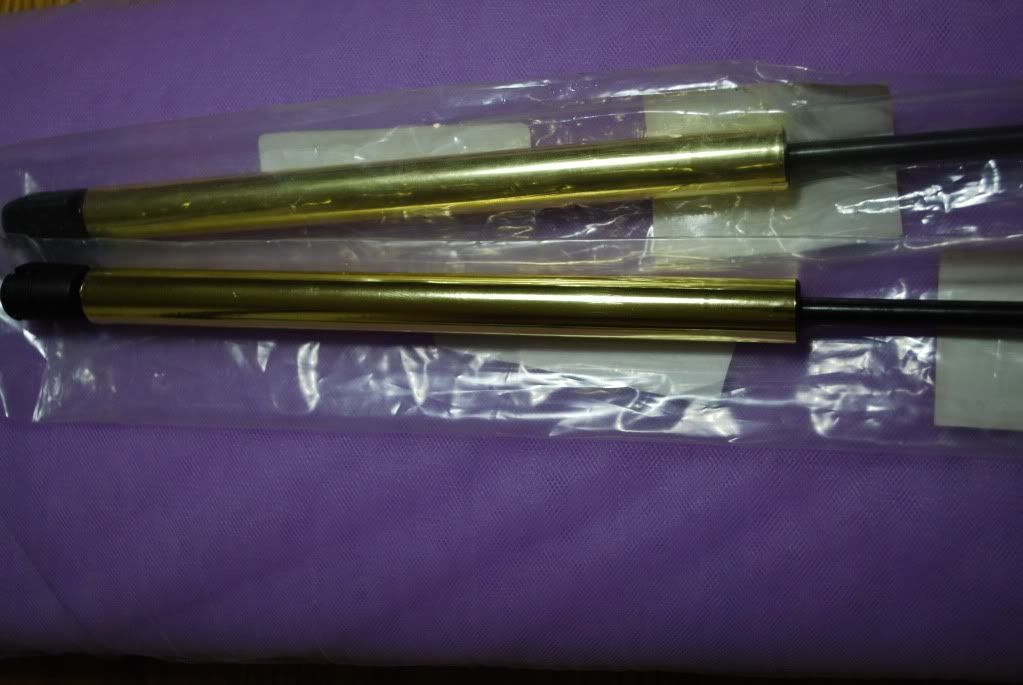
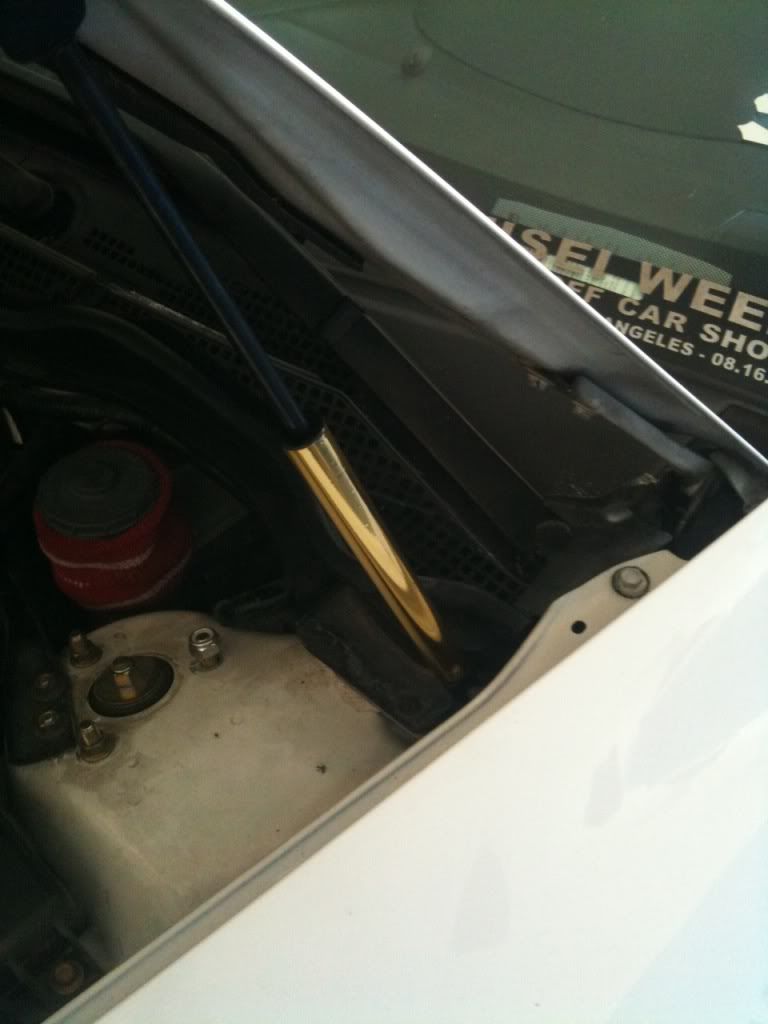
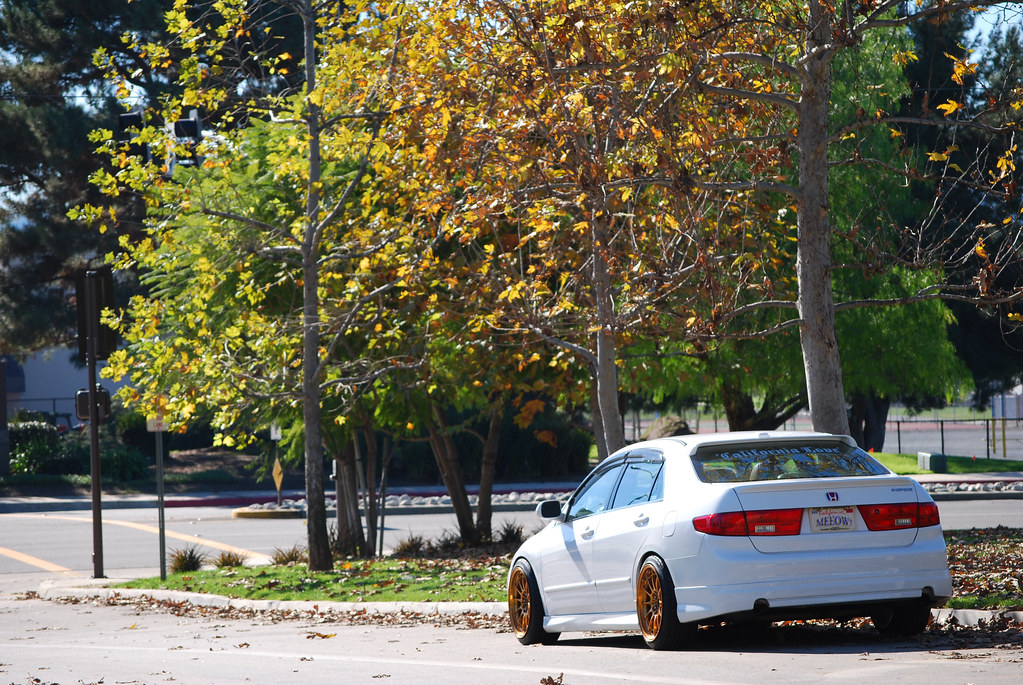
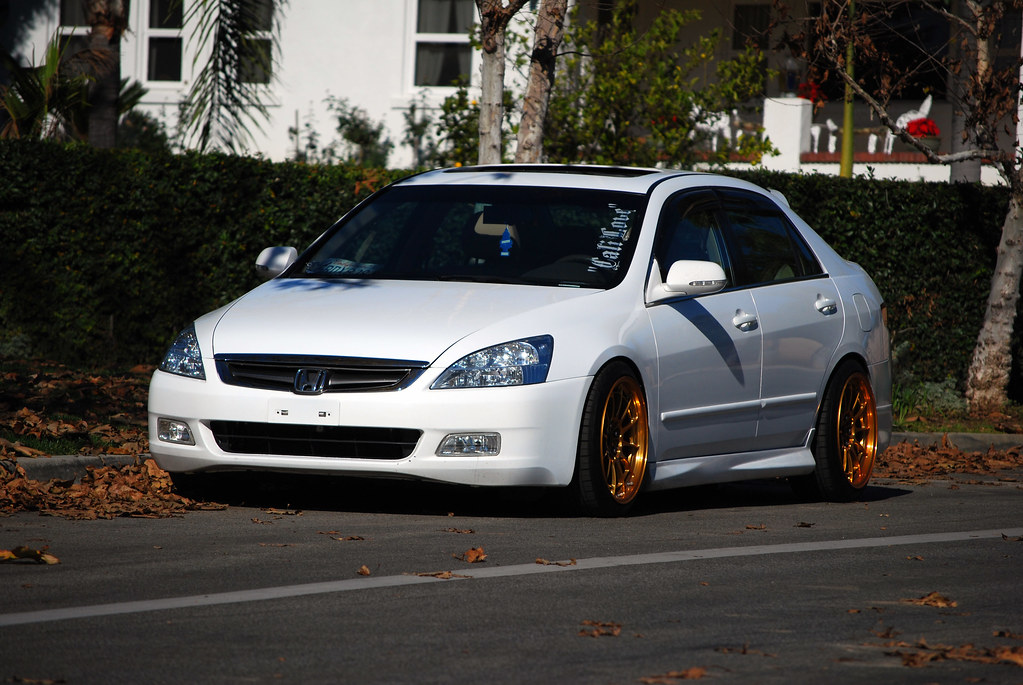
HERE'S A SNEEK PEEK OF IT ALL! (the past few days of mods, got it ready for Nisei showoff in LA. yesterday!) This was in 08'
JDM/OEM RED H replacement ( thieves tried to remove it)
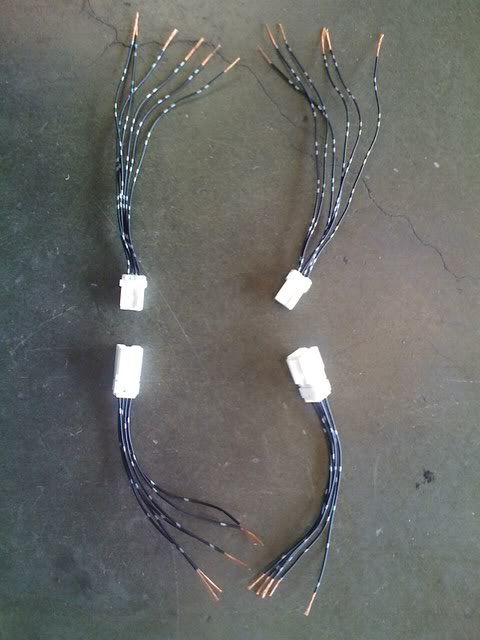
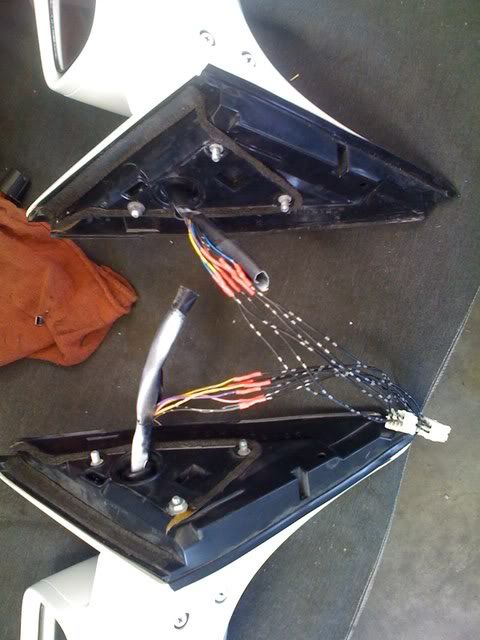
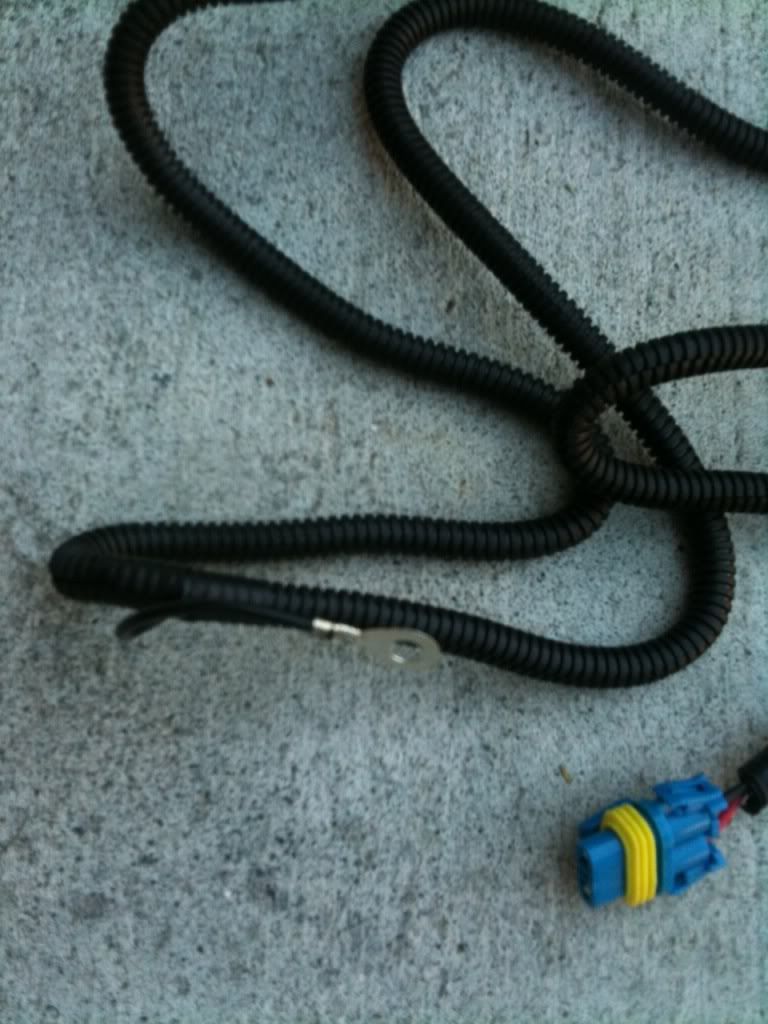
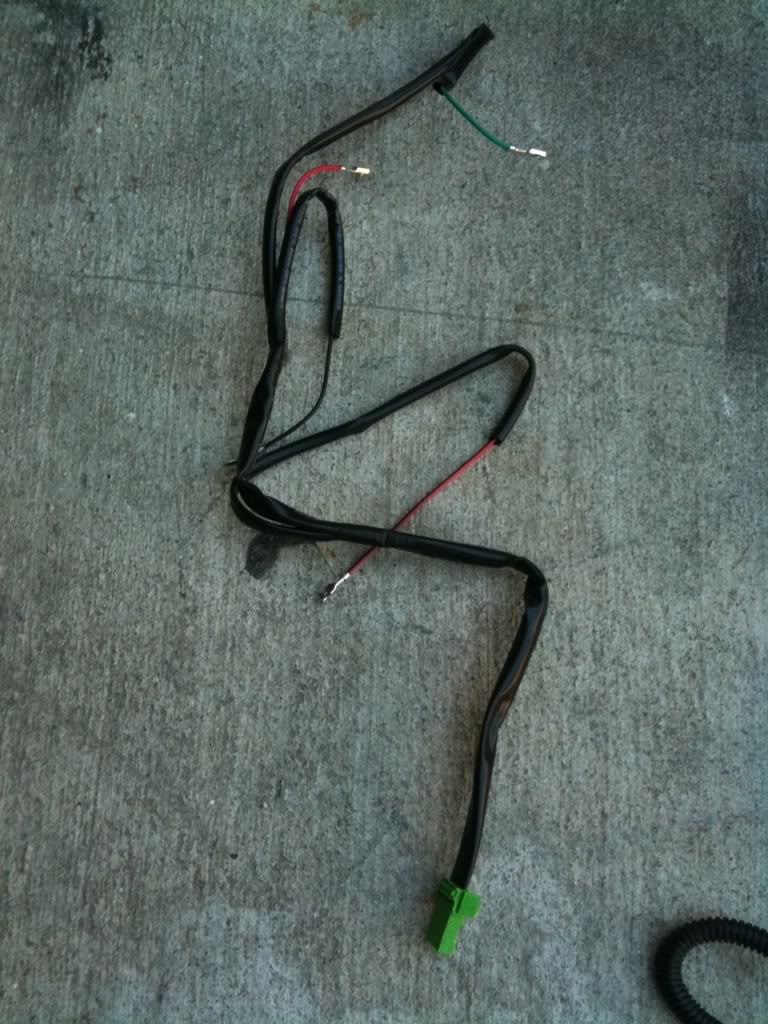
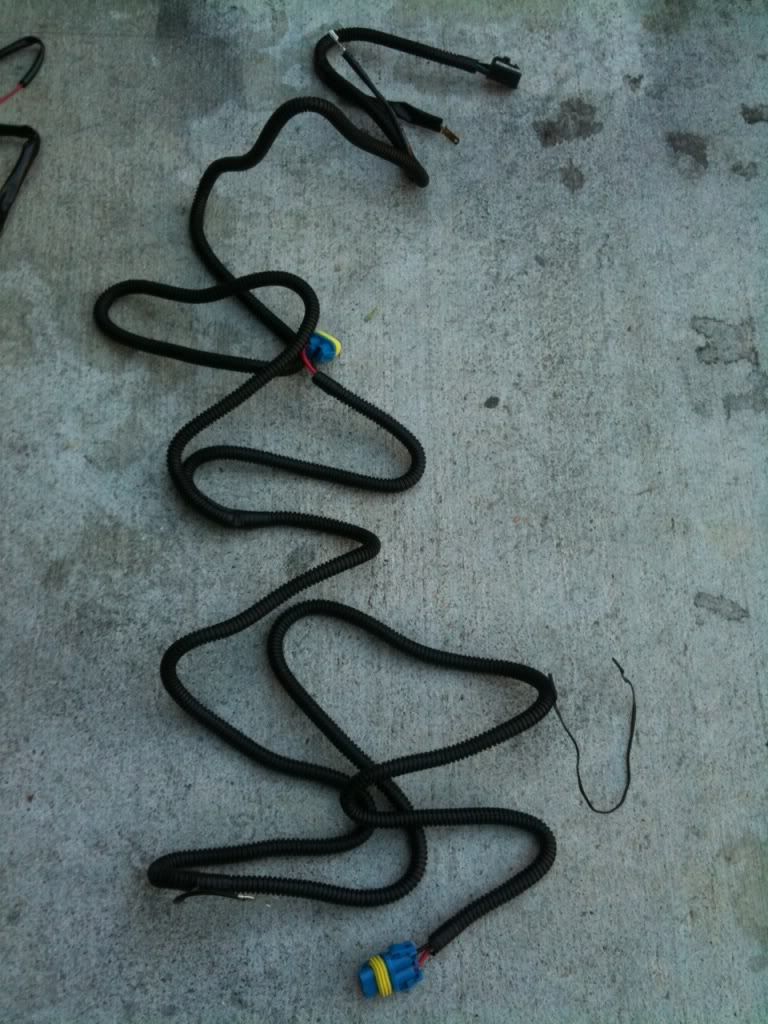
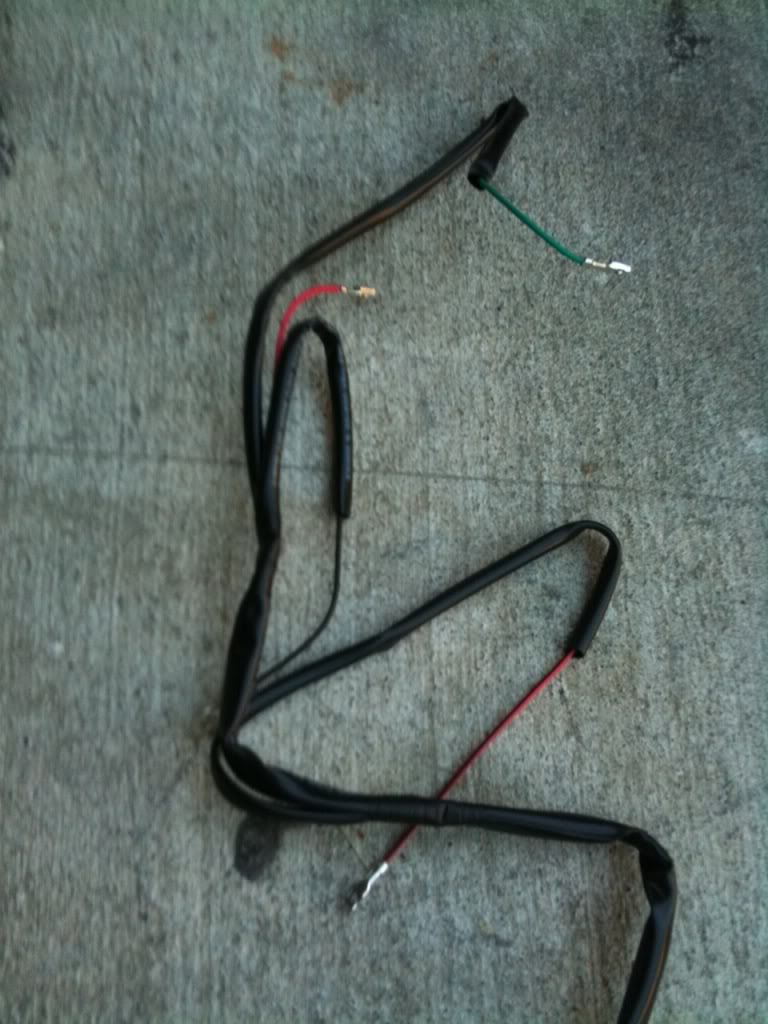
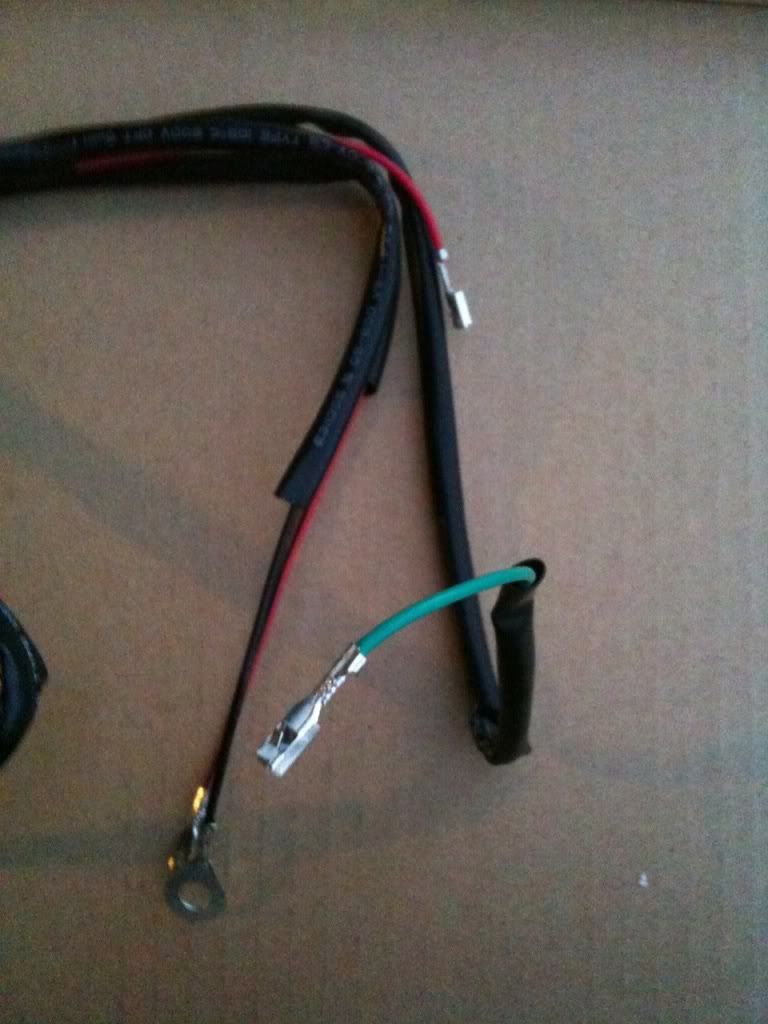
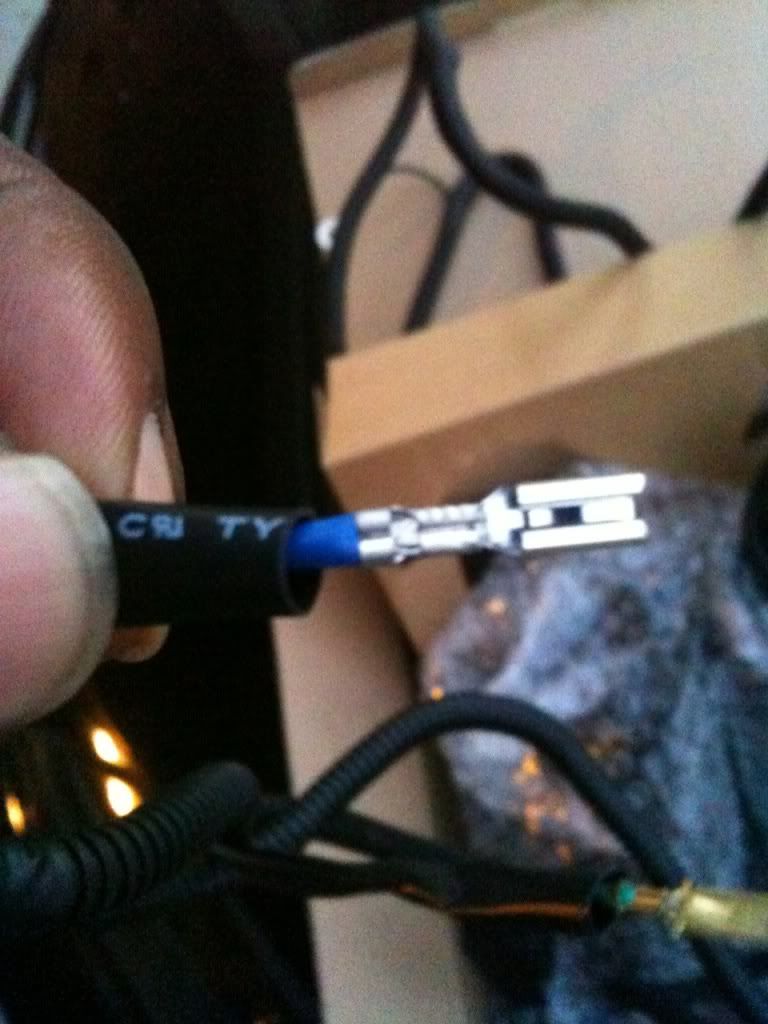
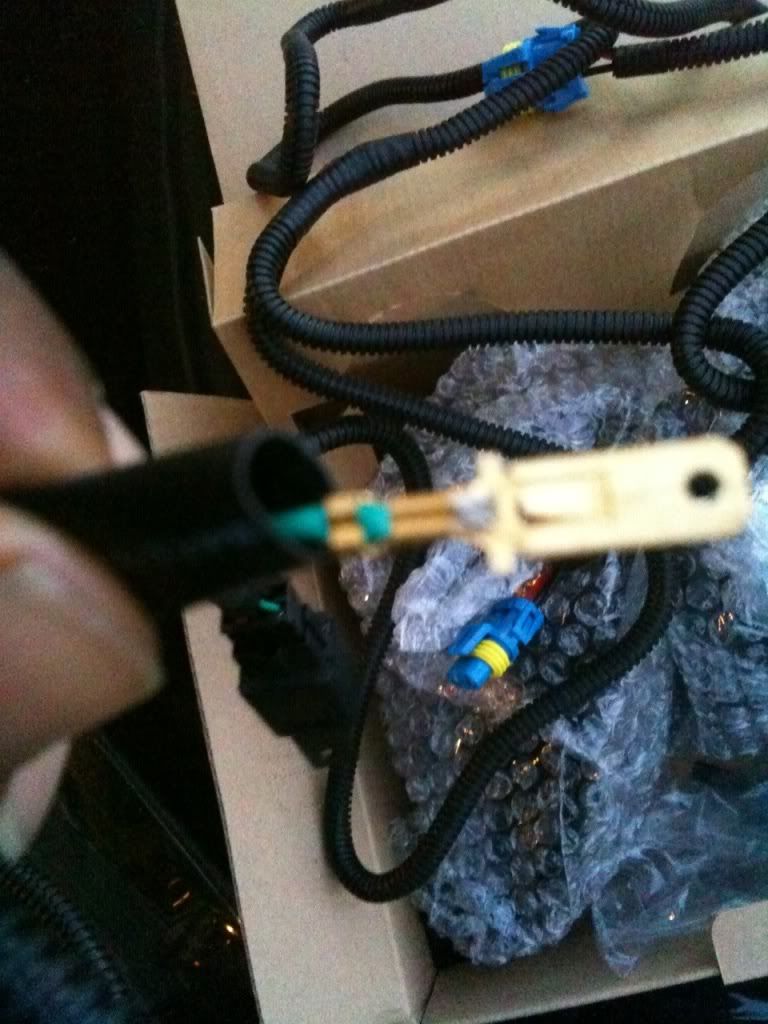
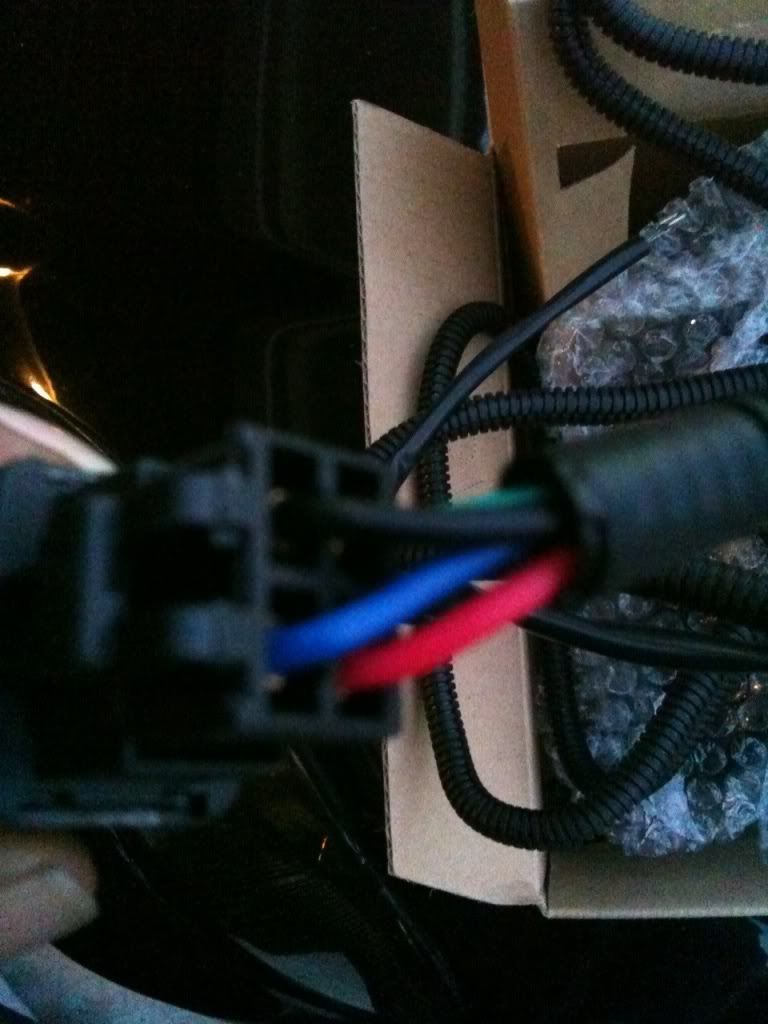
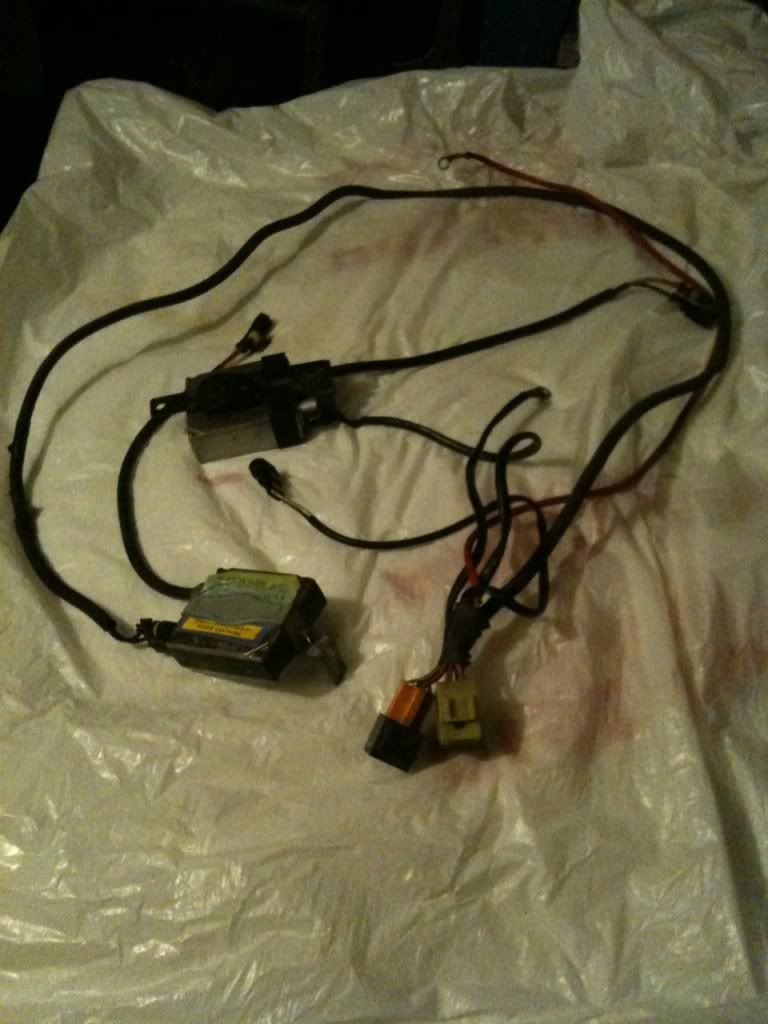
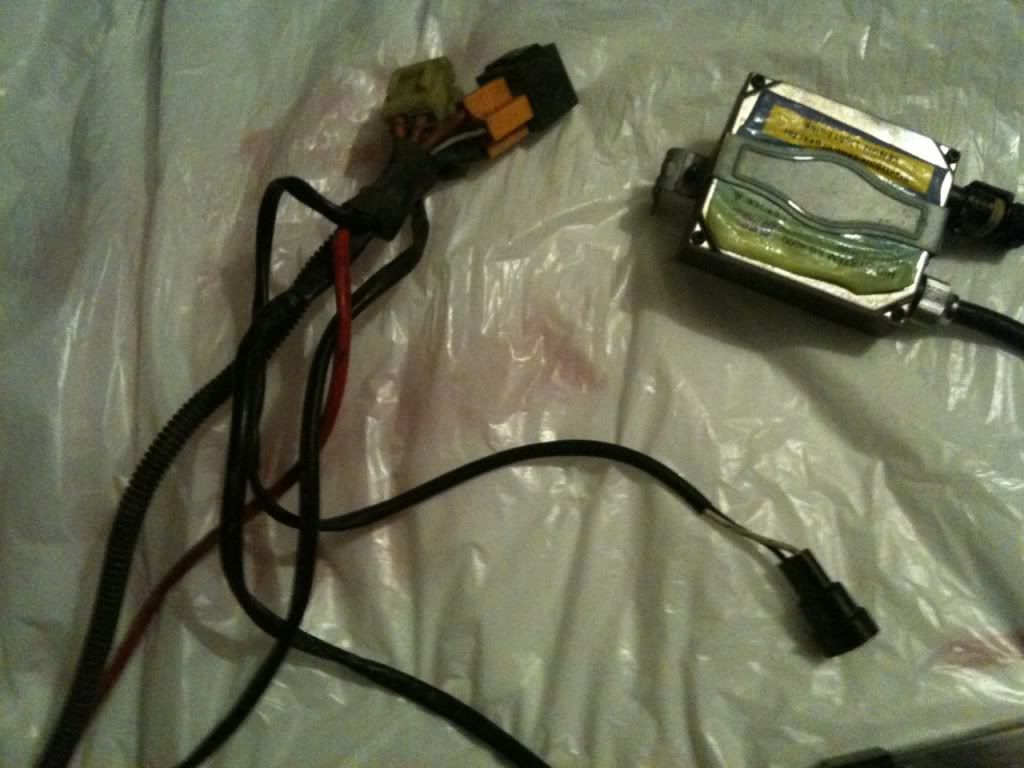
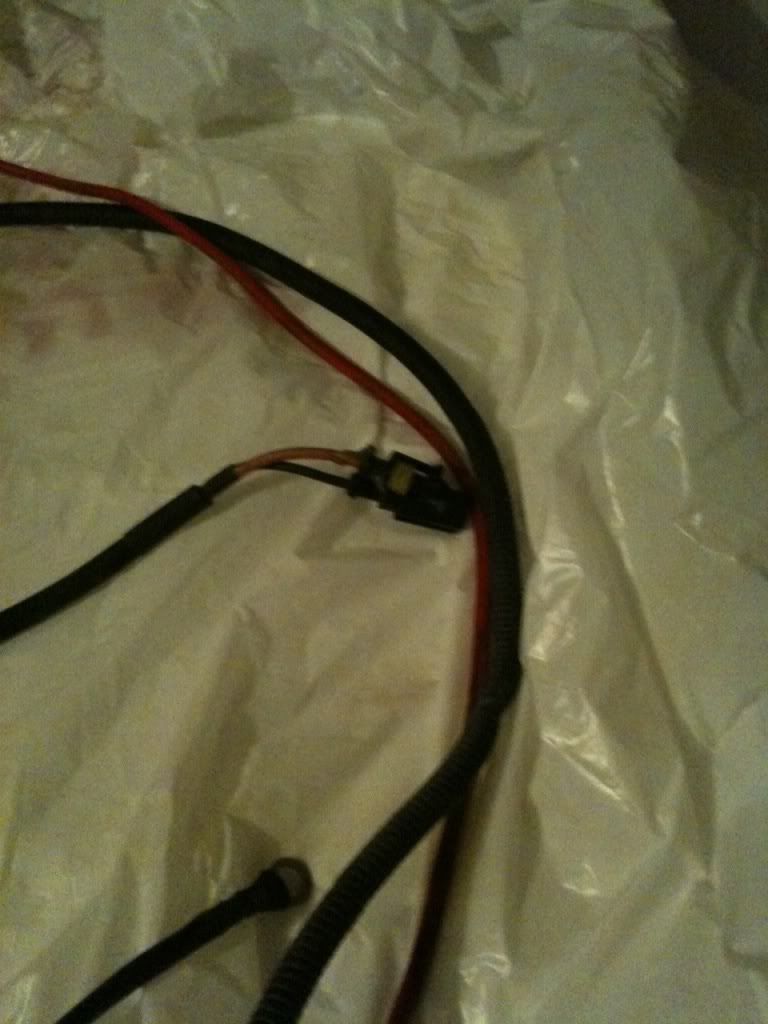
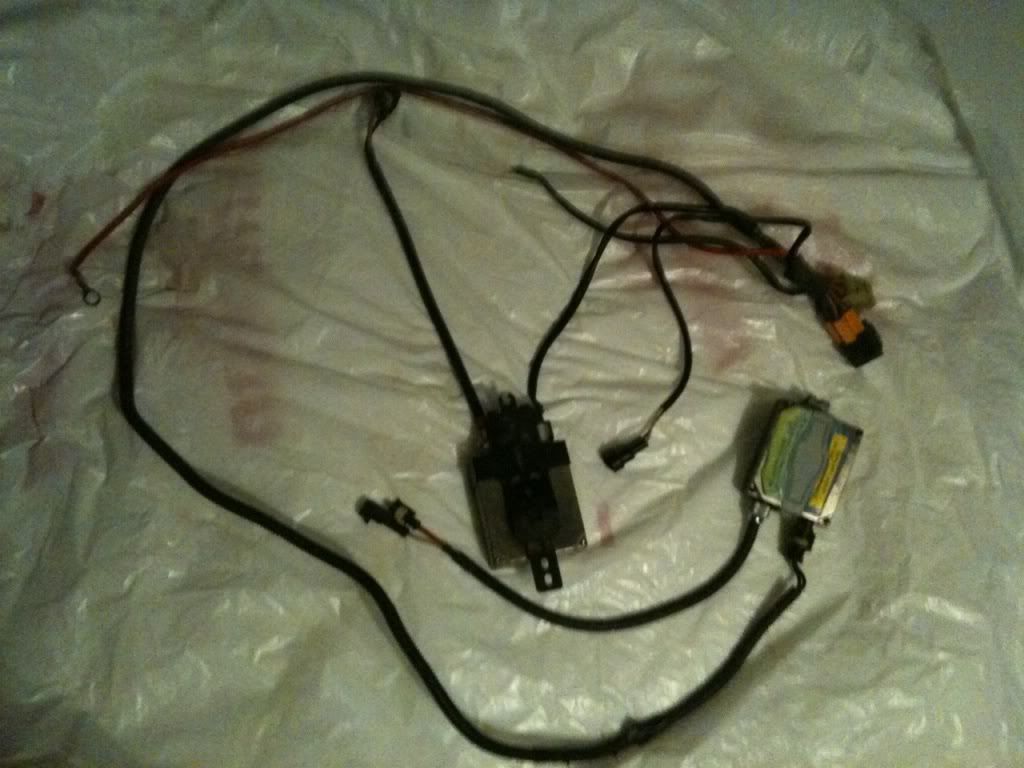
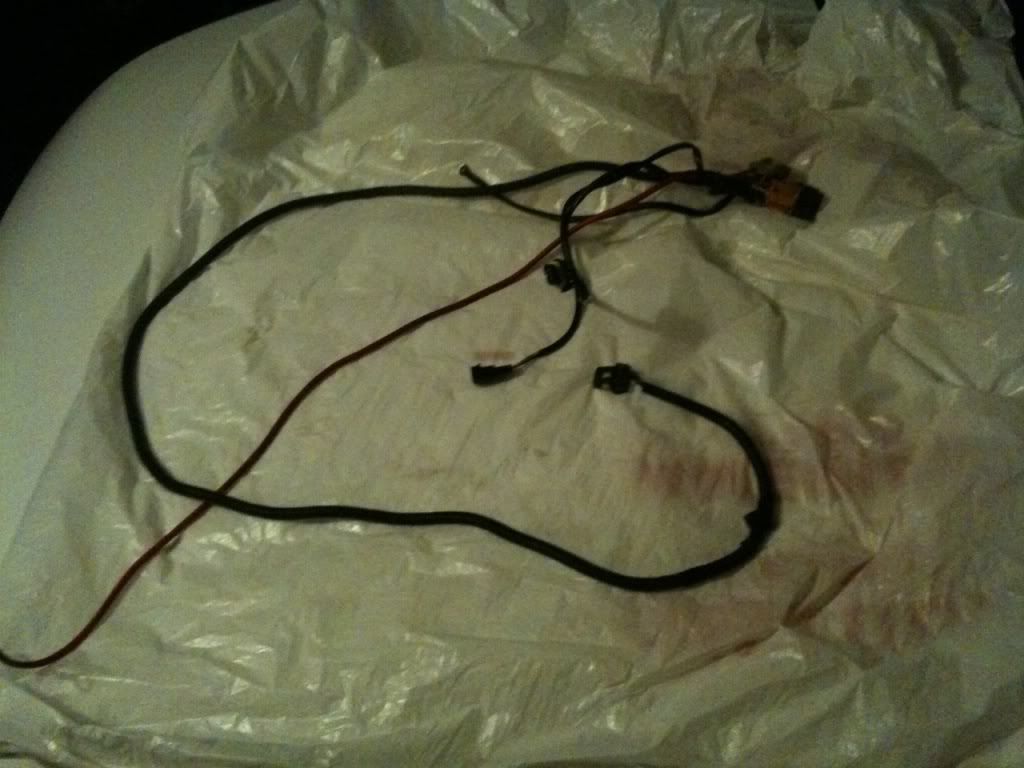
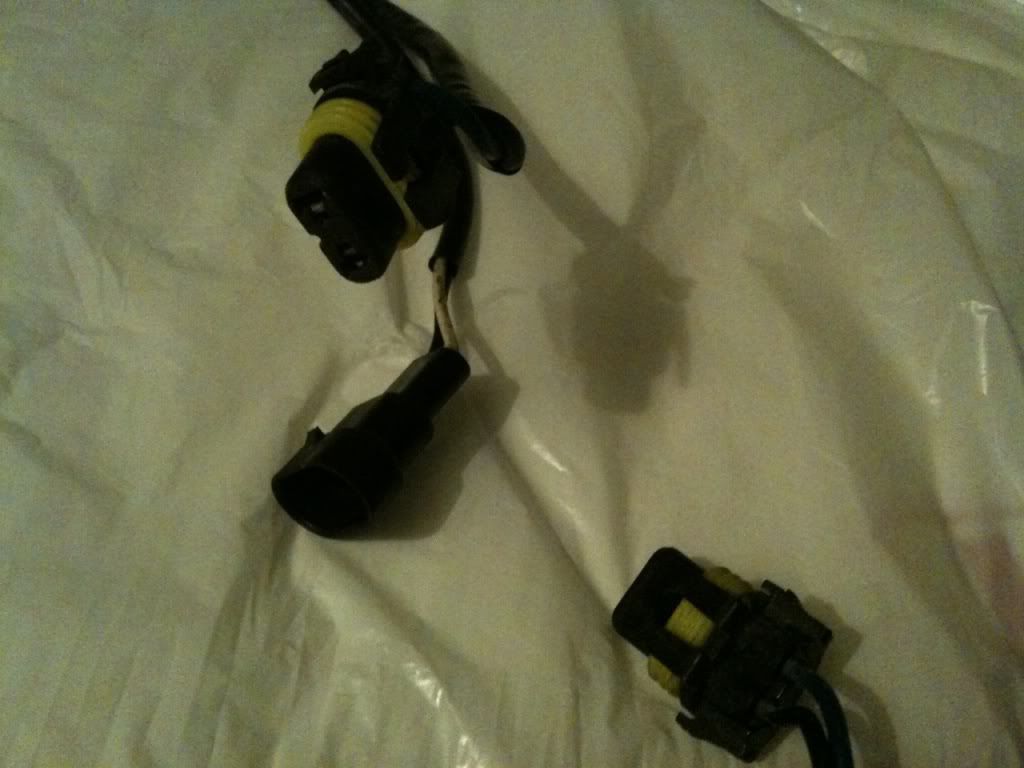
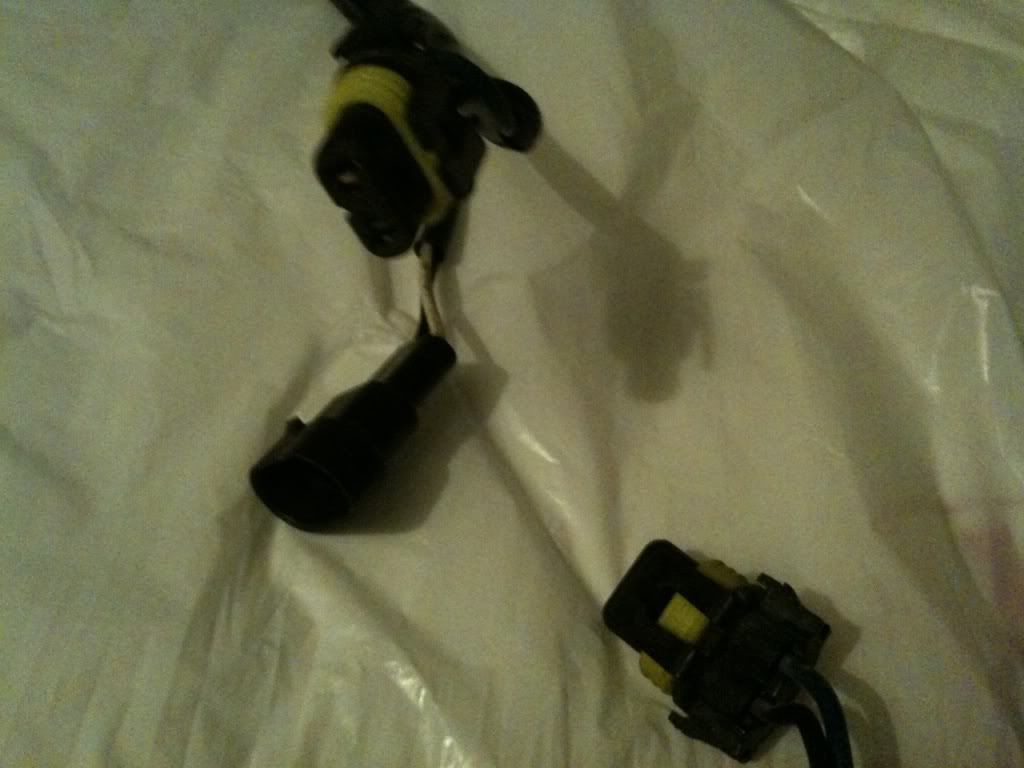
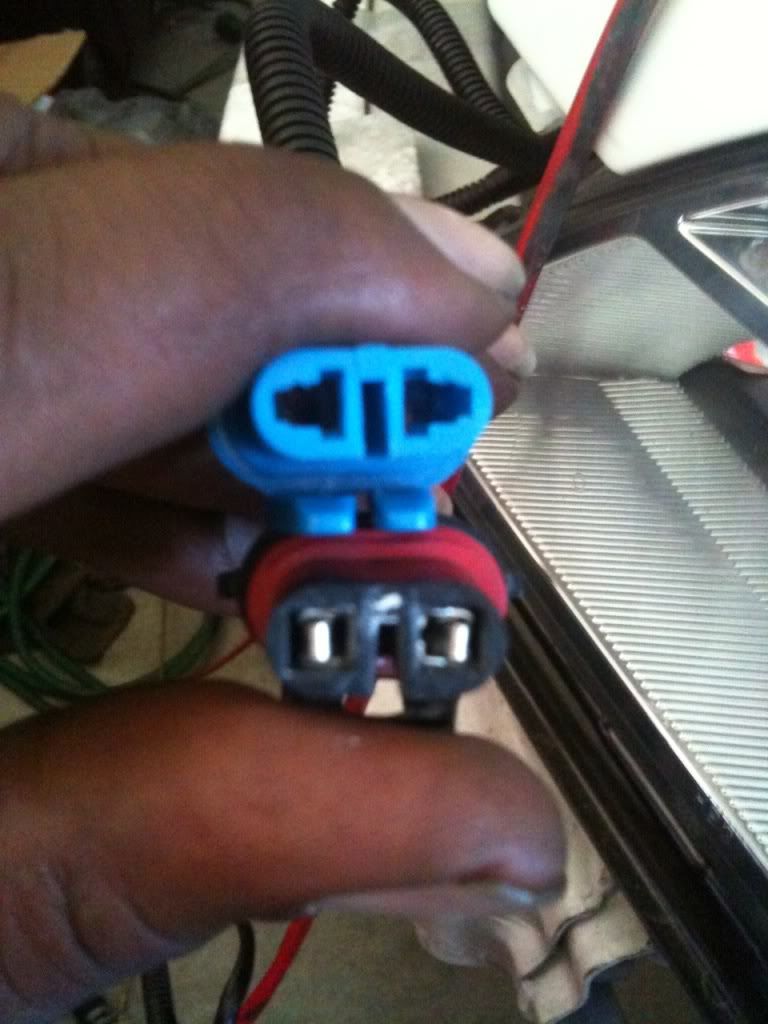
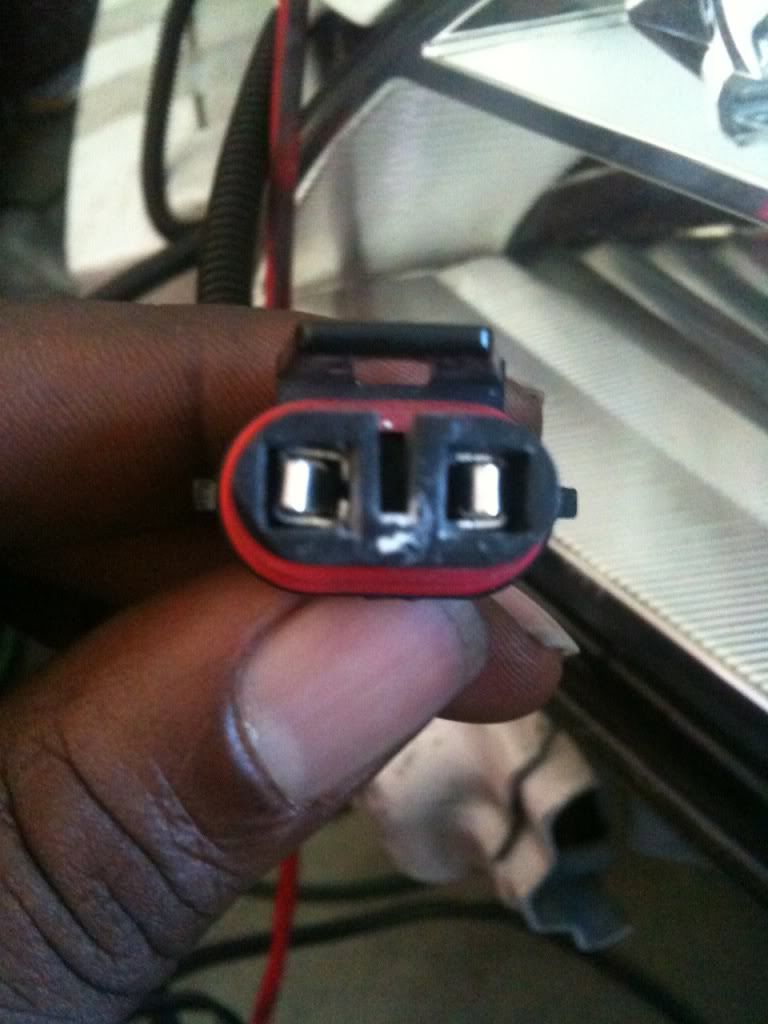
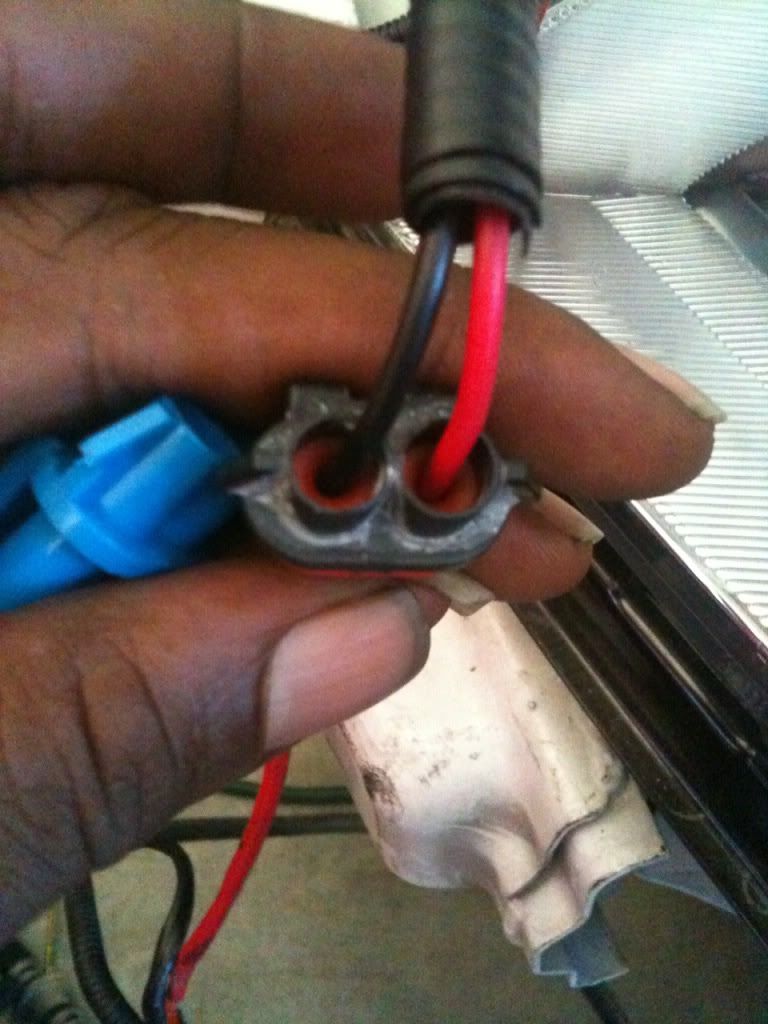
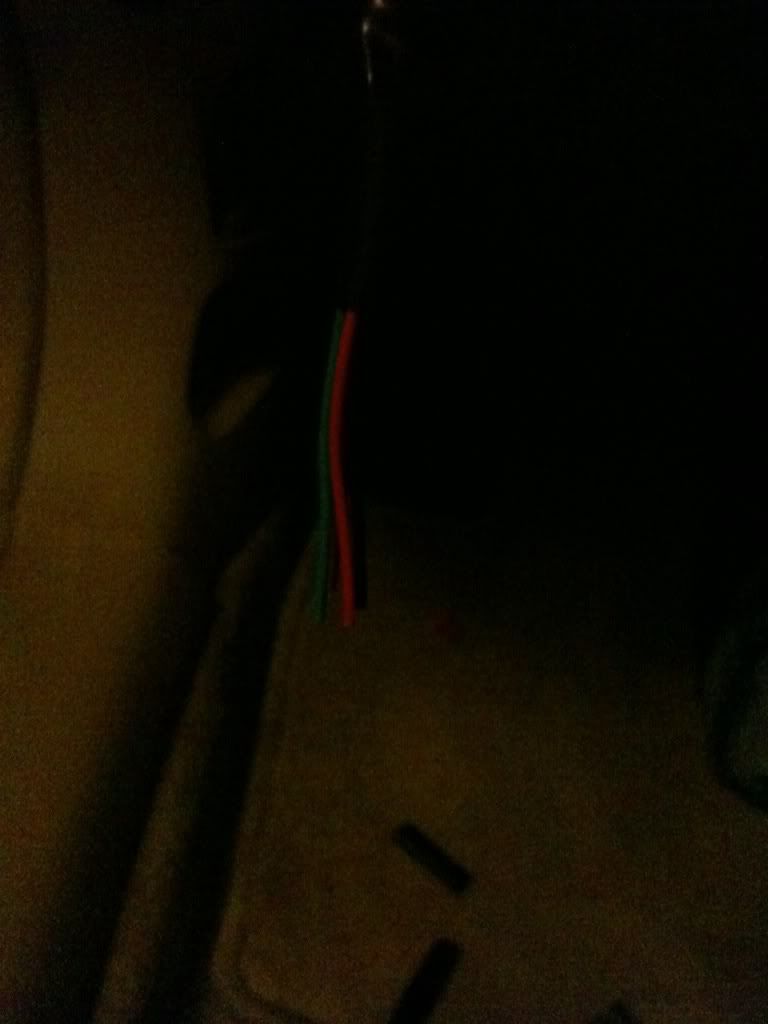
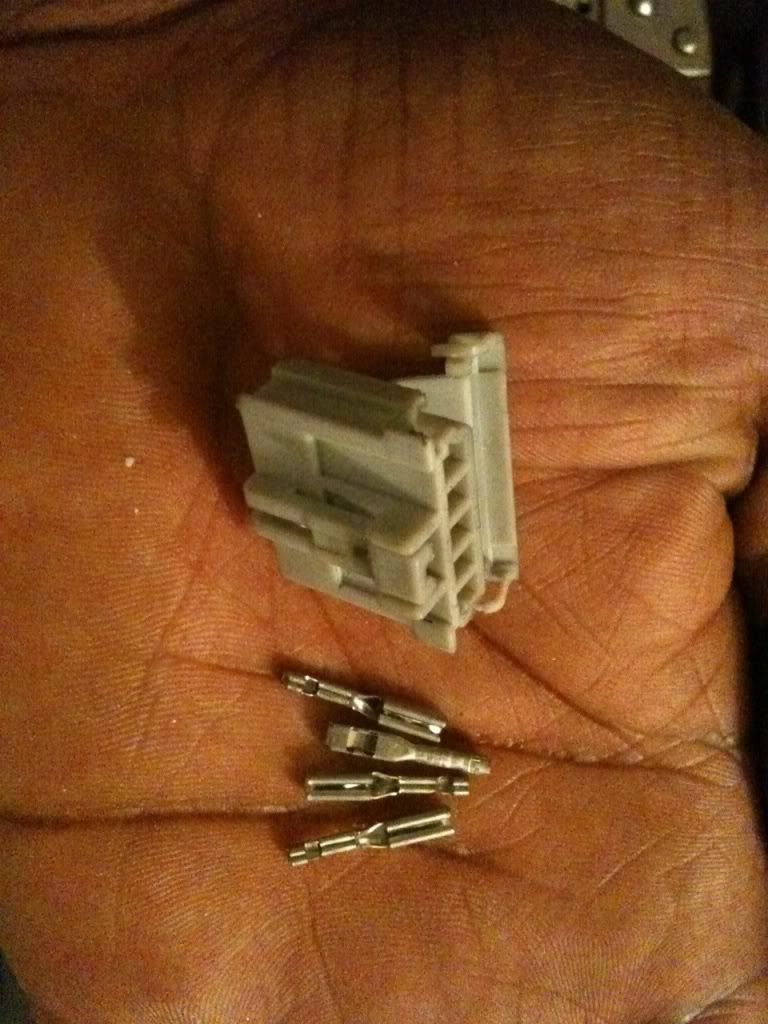
Identifying/verifying Wire color painted mirror, splice harness & connectors
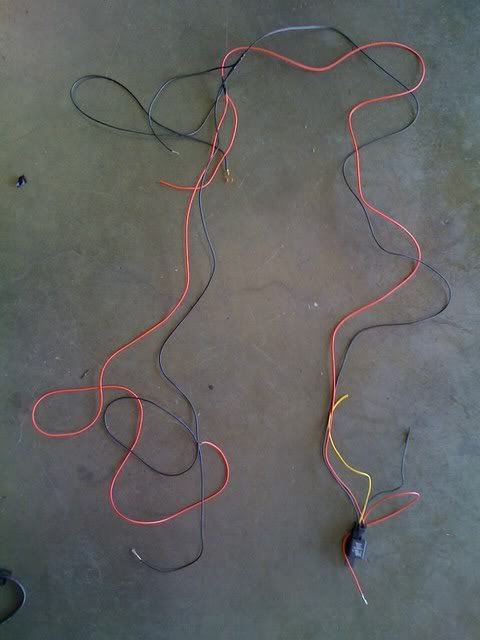
DRL city light circuit (actual had 1-leg too many hehe, fixed)
Install sneak peek forgot to showoff my DRL's :shock1:
Reg.
High beam
Signal only
Present Late 08'
.. the Bellflower, CA meet 09.

Thanks to Preston & the Nastie Garage
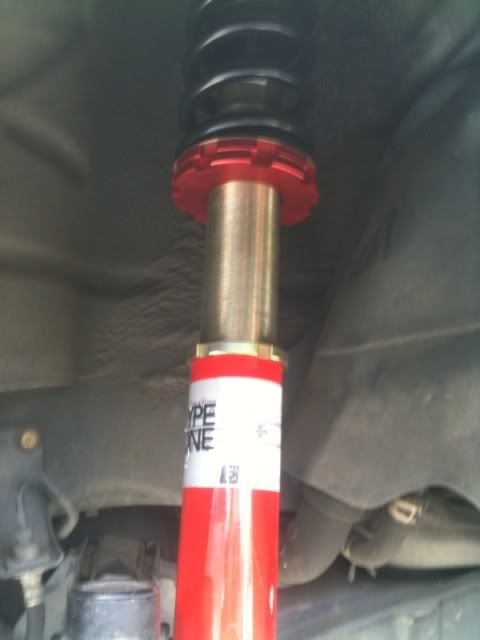
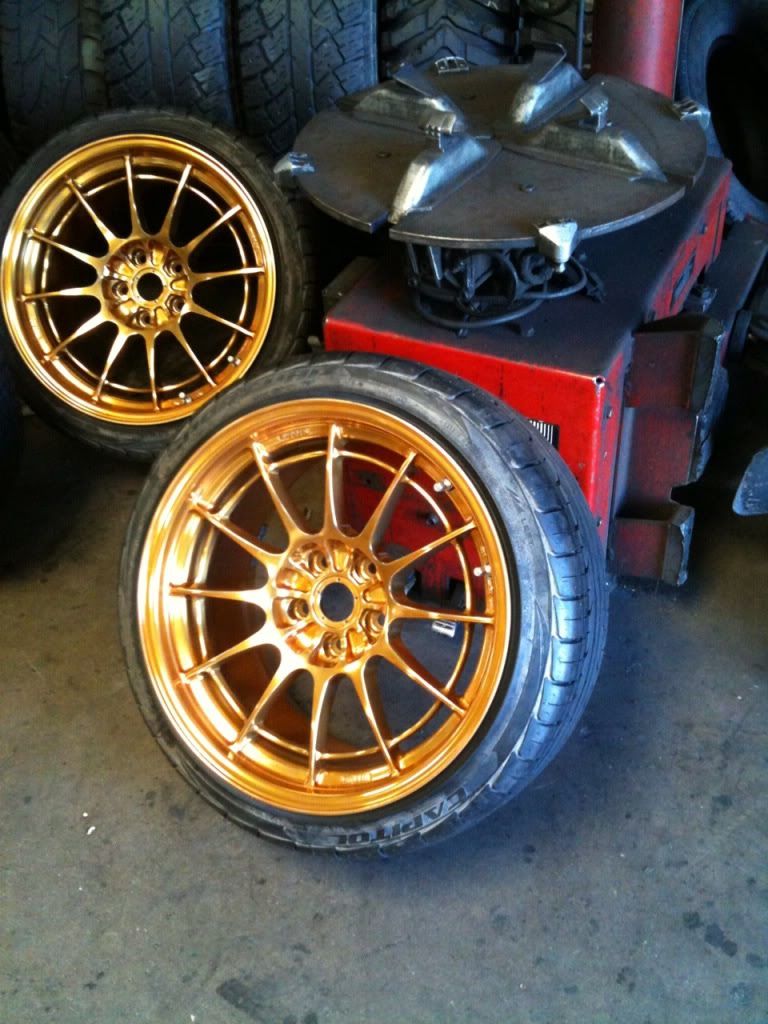
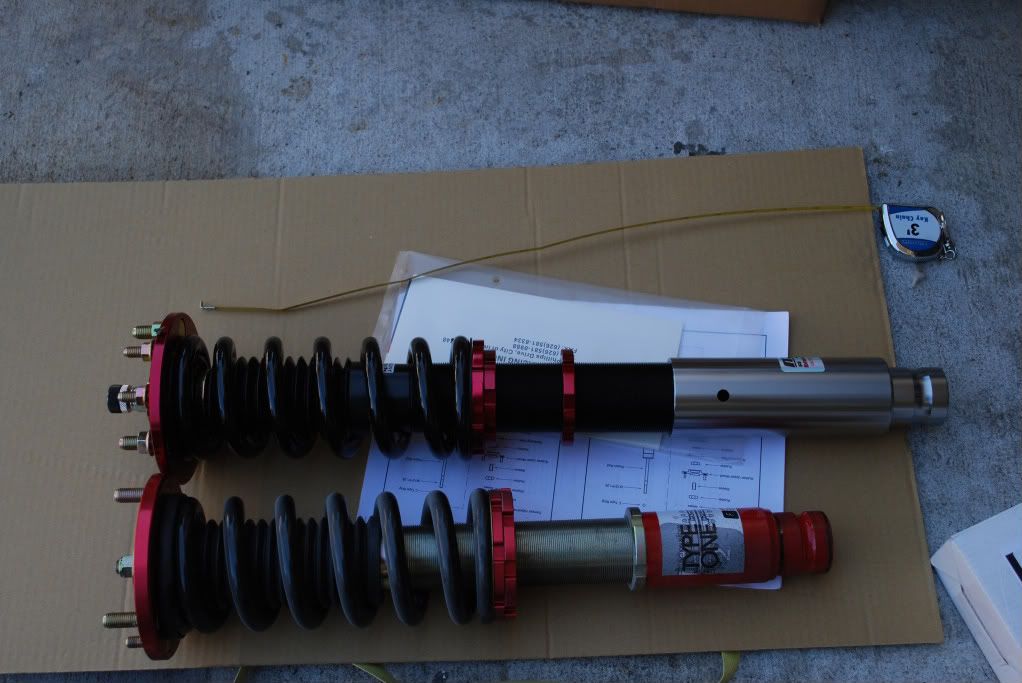
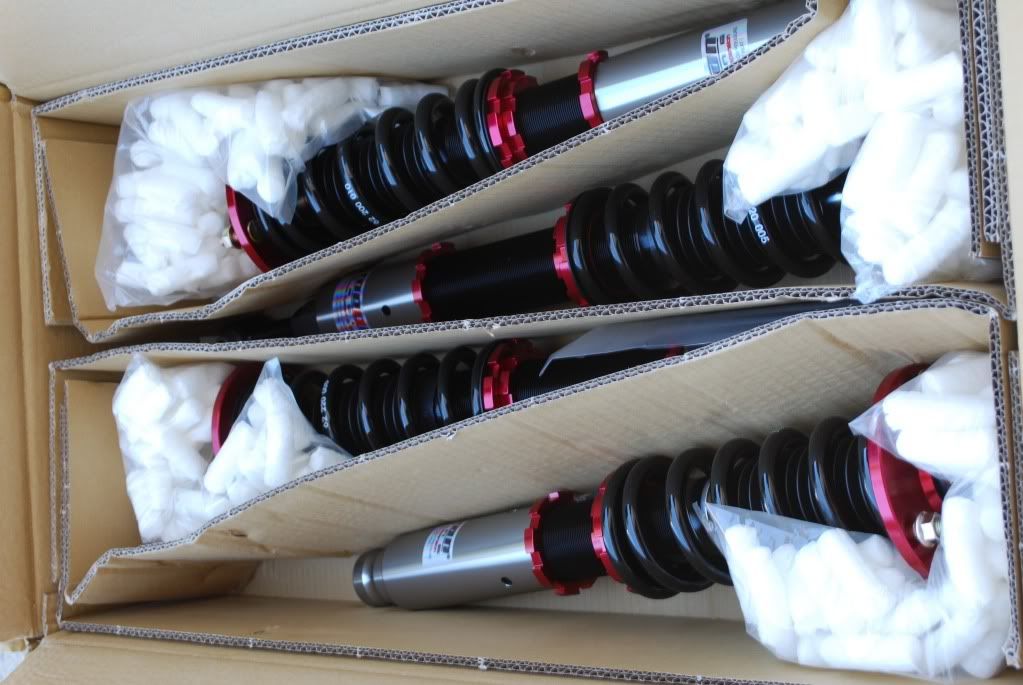
Some new susp. for mama F & F Type I's
Thanks To hazel-nuts and the AS1 Familia
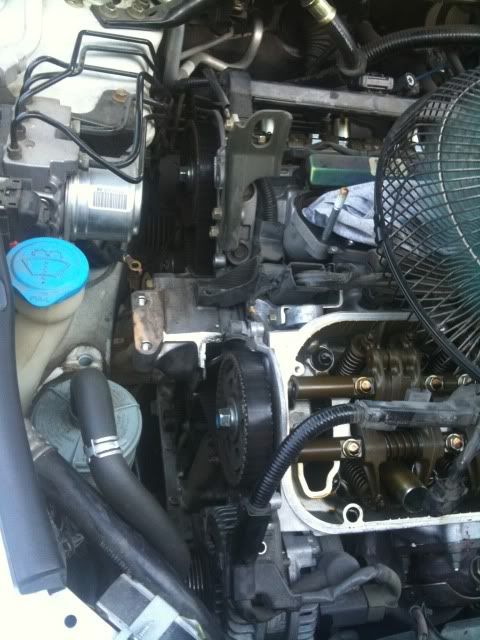
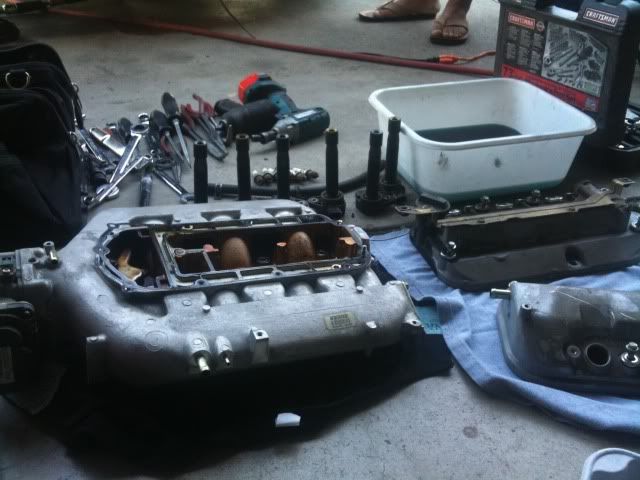
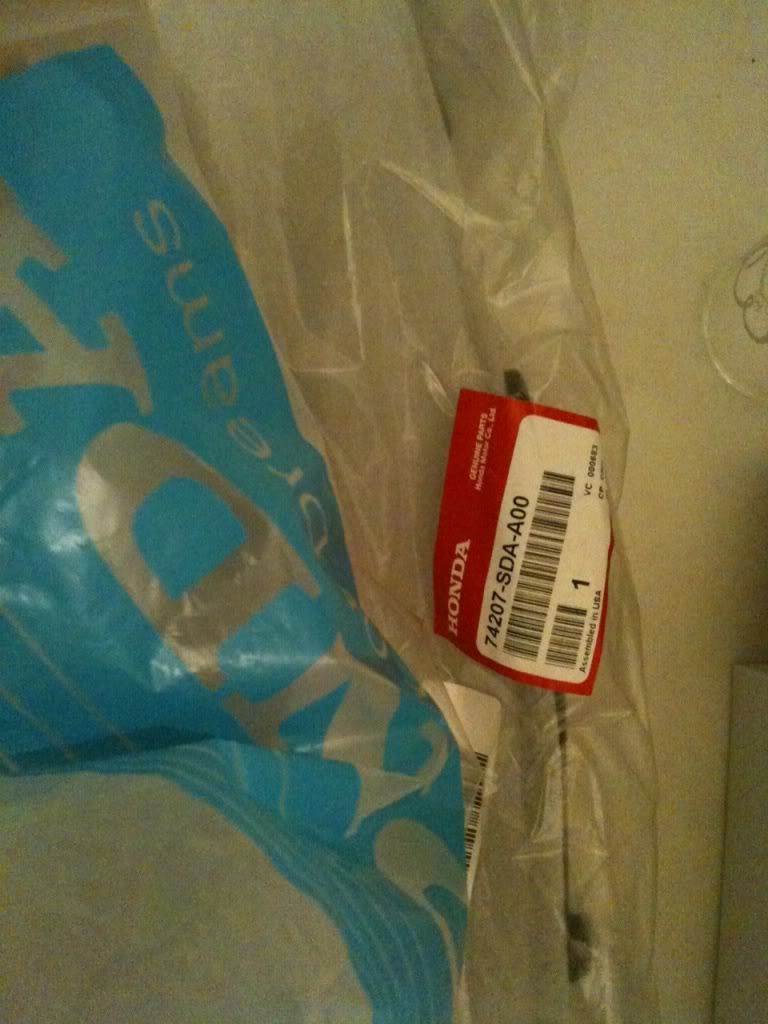
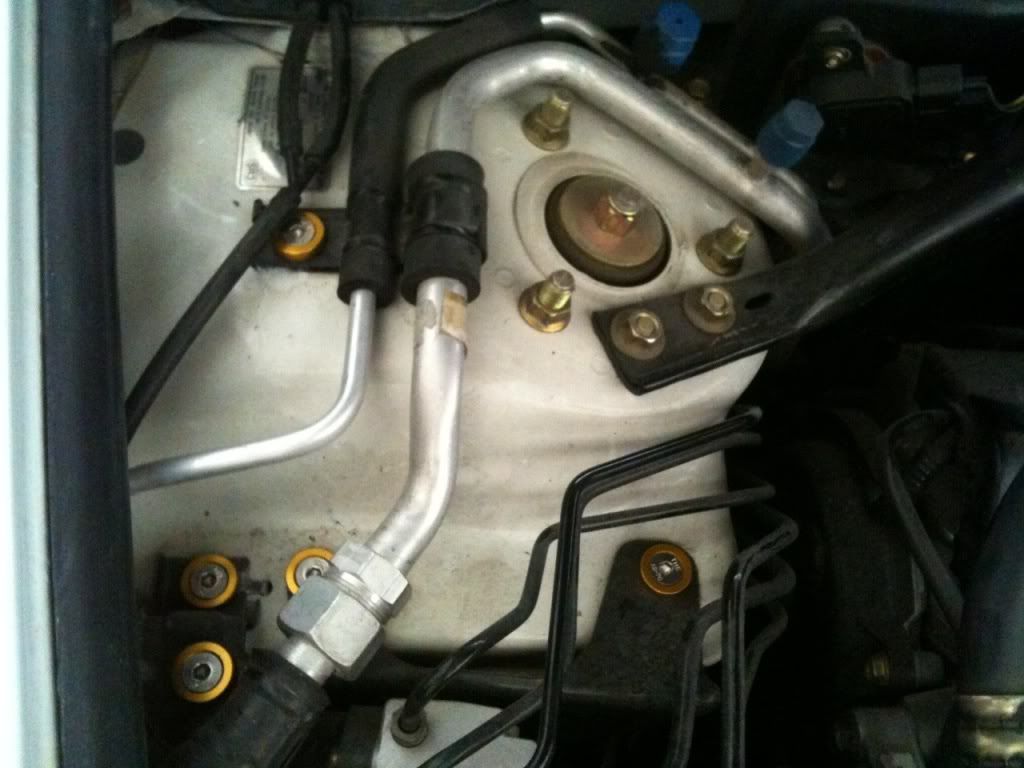
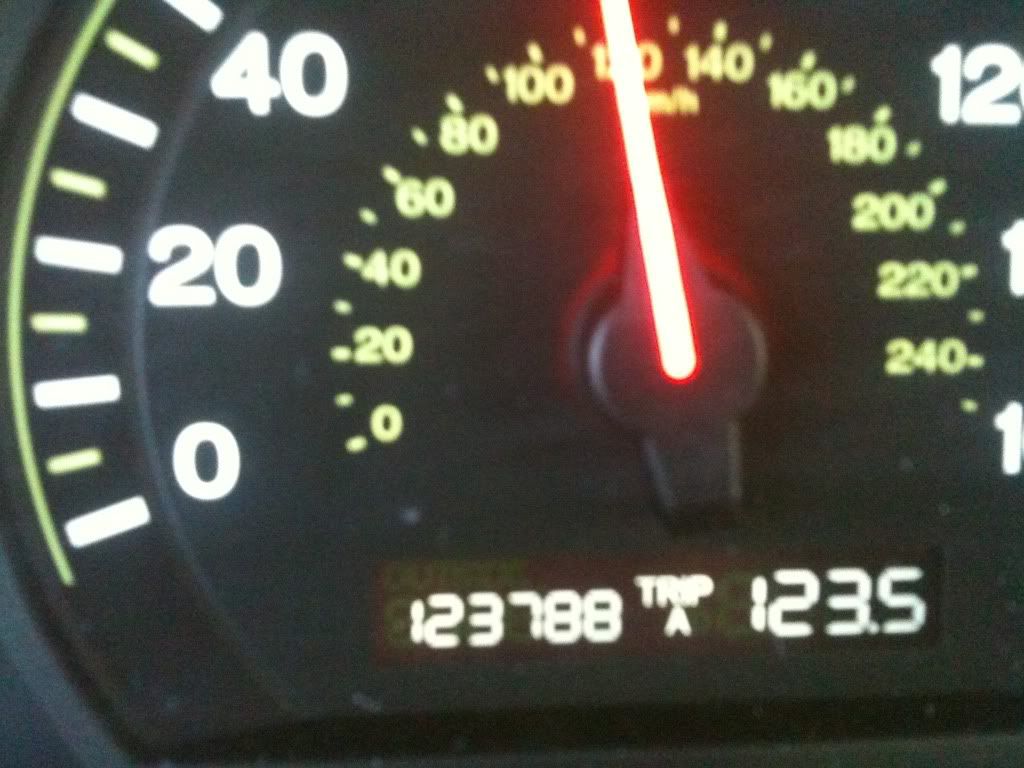
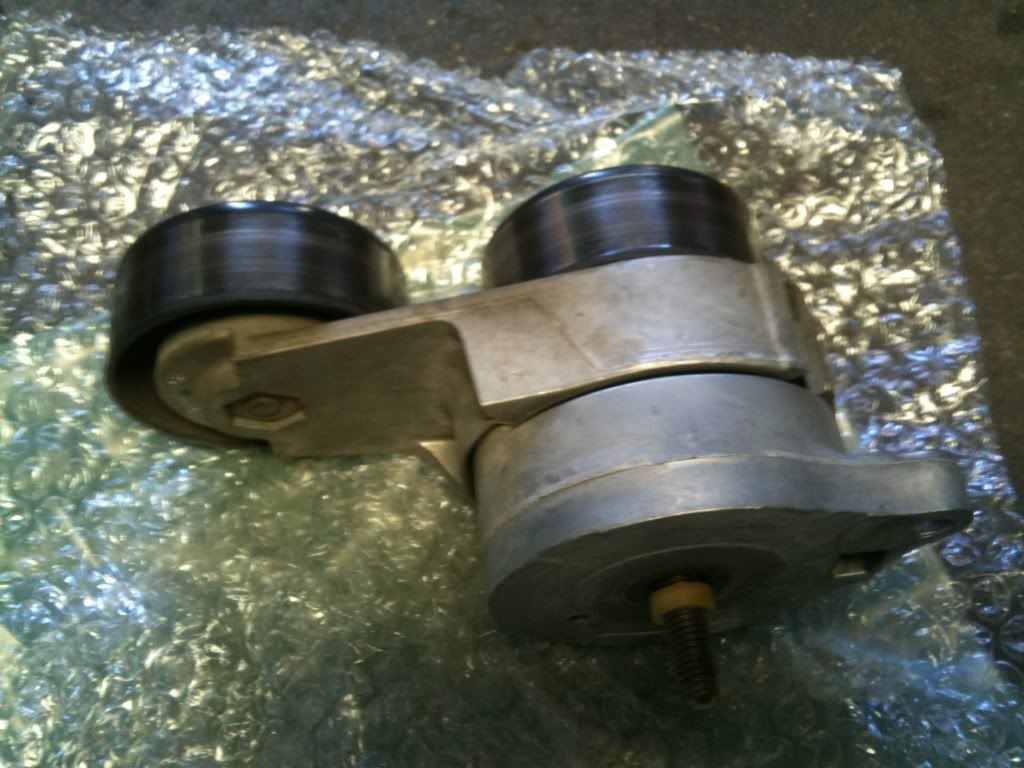
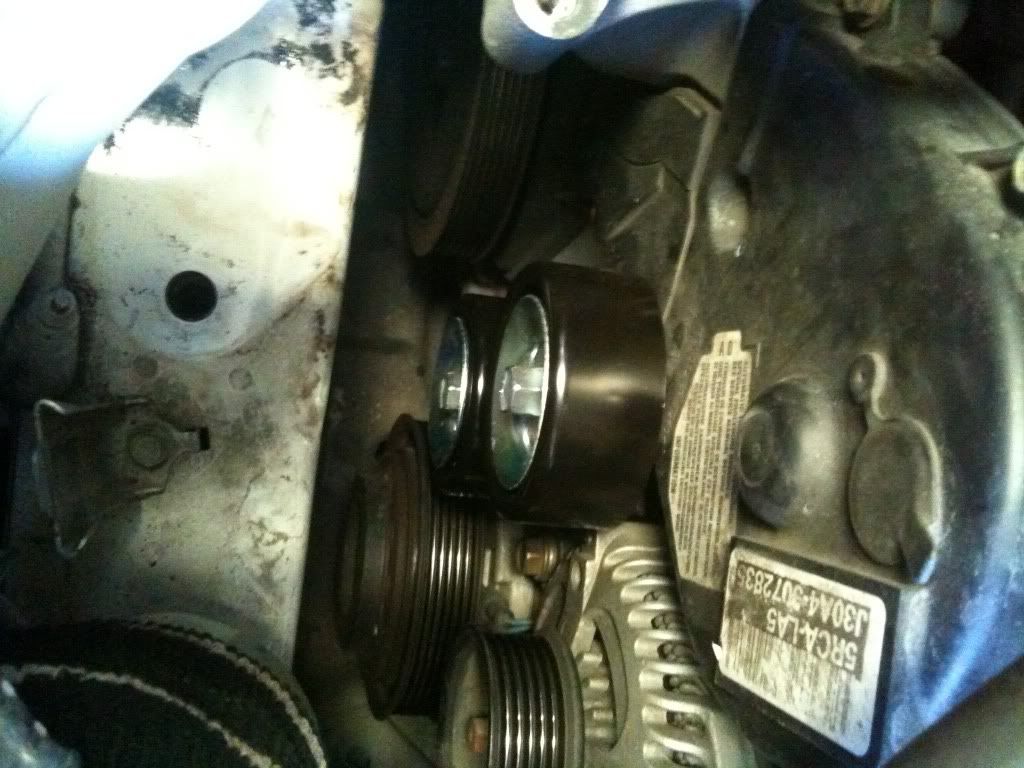
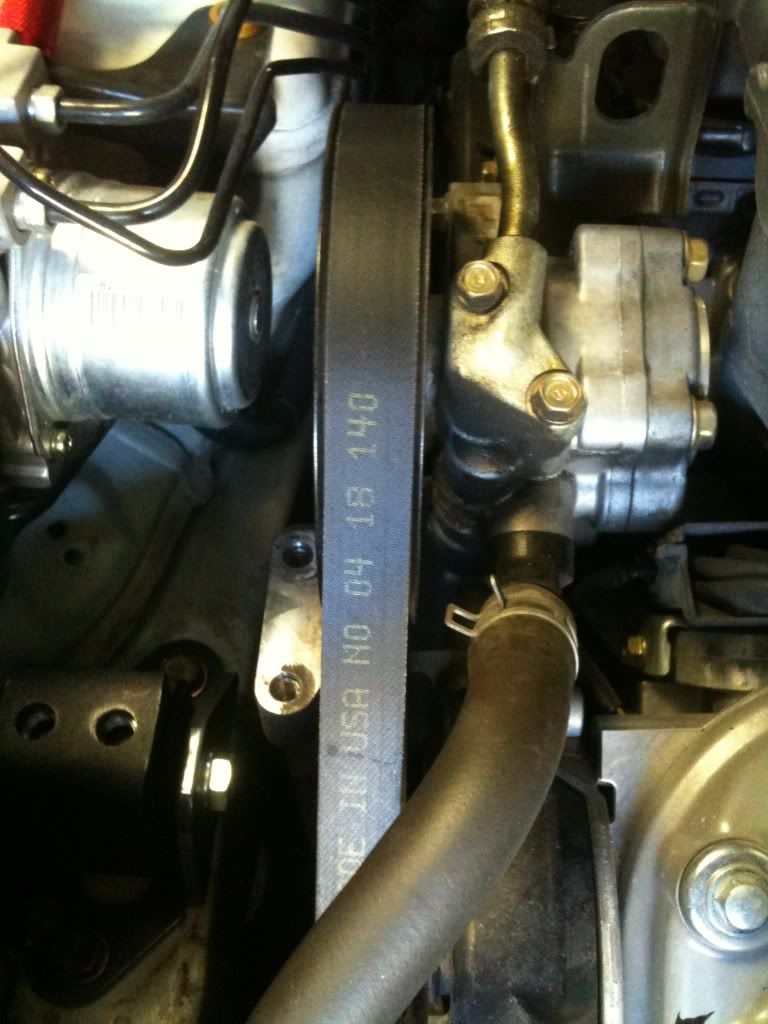
Did the 100k service today Clocked @120k I forgot to order the acc. tensioner, so that will be later
all from Honda -Today:
H20 pump
Timing belt
Tensioners
Acc belt
IM gaskets
spark plugs
coolant flush
Valve adjust
various seals
so I sold the tein springs & decided to at least install the rear F2's. Not ready to drop it yet until the fenders are rolled & the car comes outta paint. Here's some flicks for now
OTS F2 & Tein w/ stock shock
Tein w/ stock shock - 1-2 finger gap
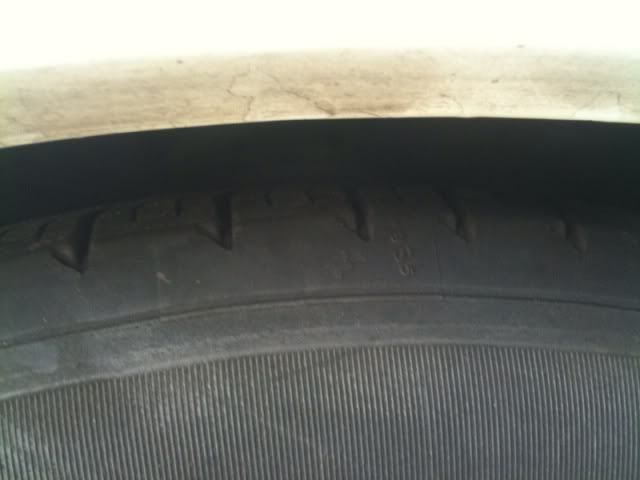
F2 extended to over all 22.6'' vs 26.4'' stock
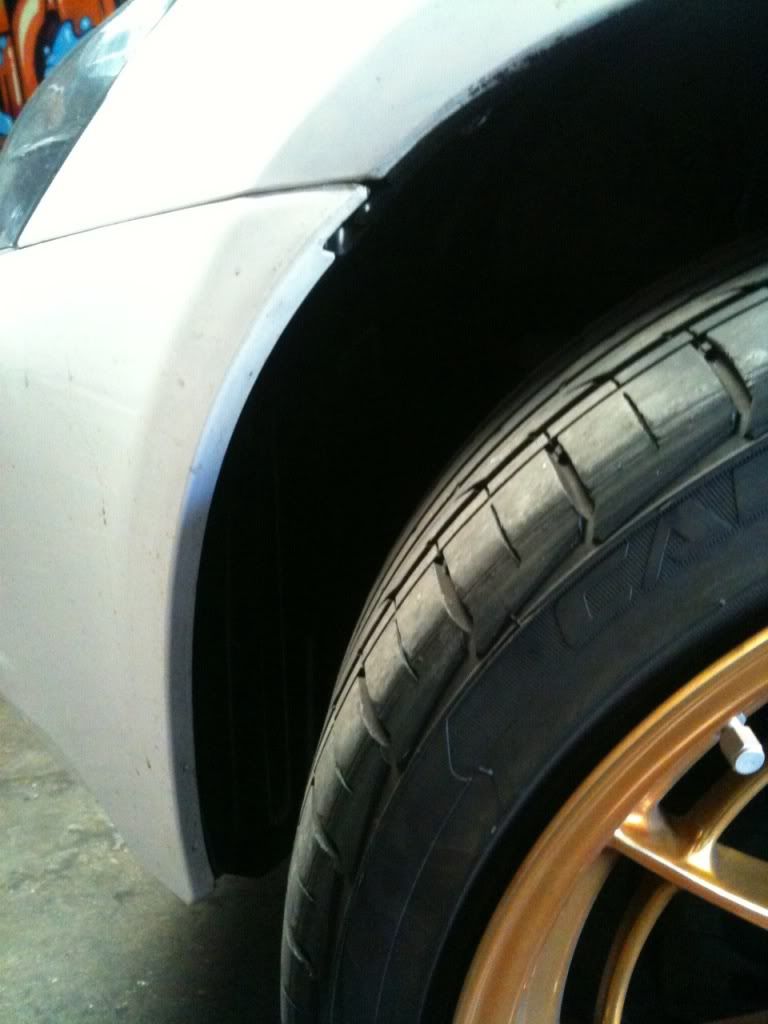
aftermath - needs a fender roll before paint
Did the fronts today!
Before
Went 17.9 and it's a tad low so I may go up to 19 even

The install

the after
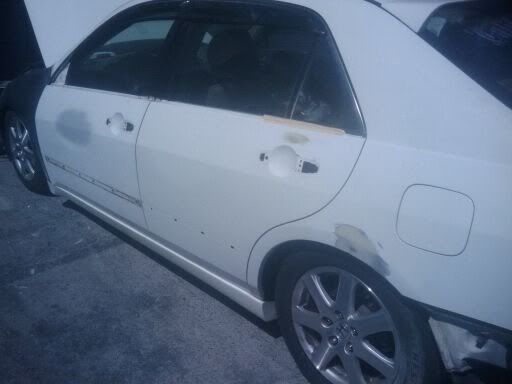
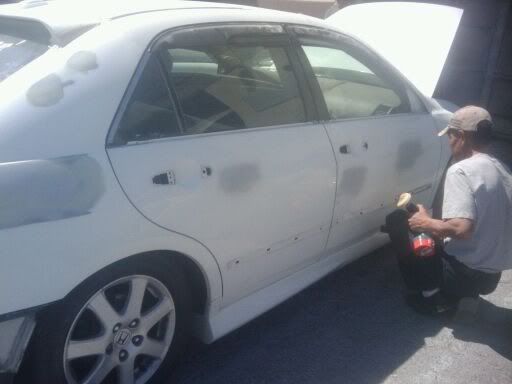
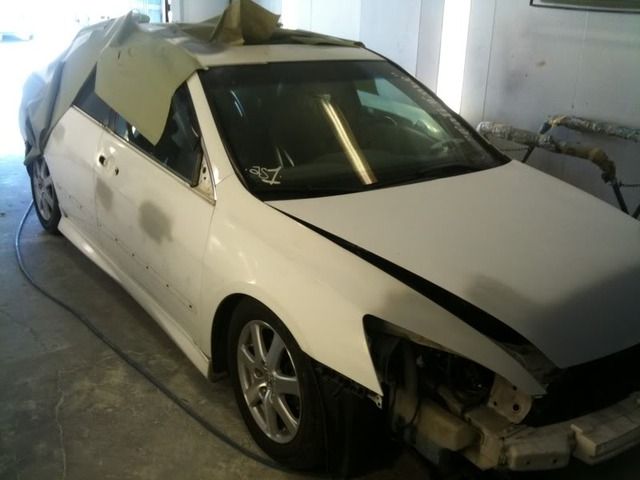
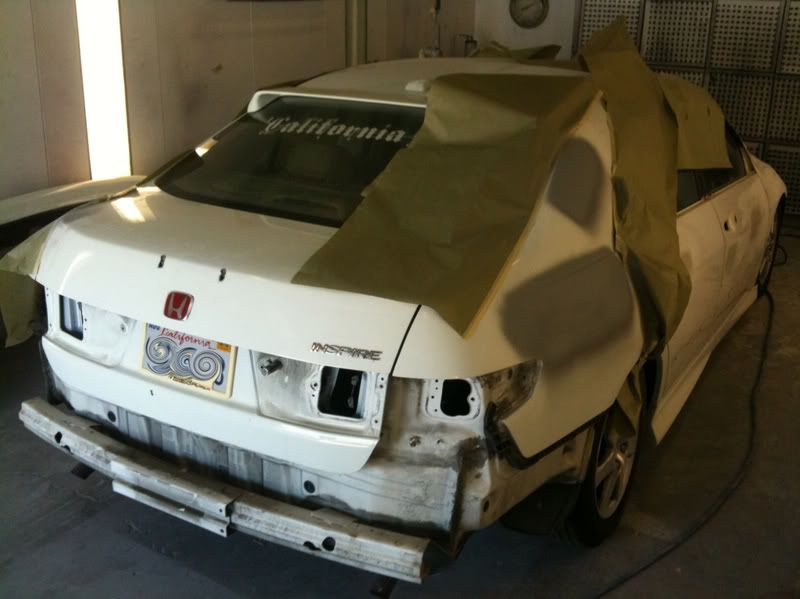
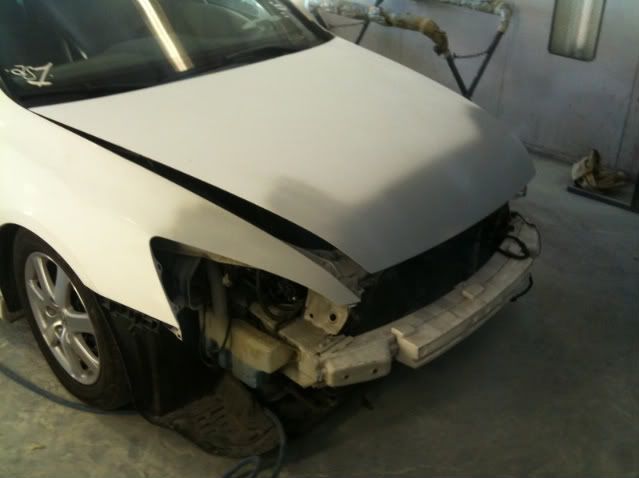
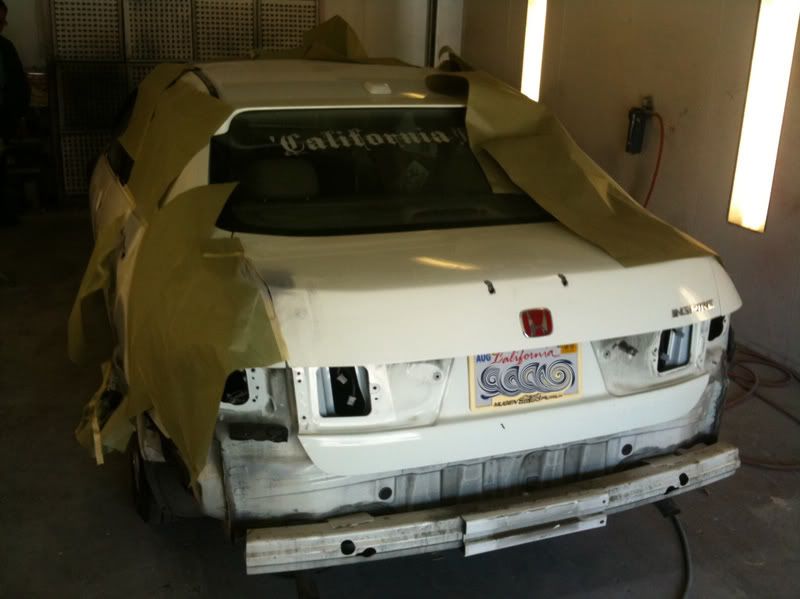
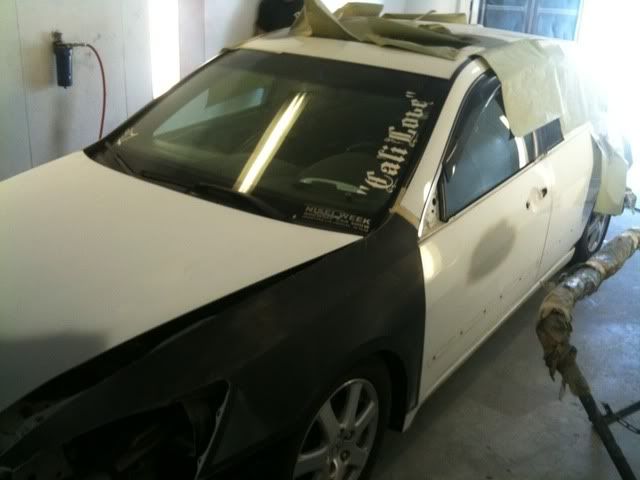
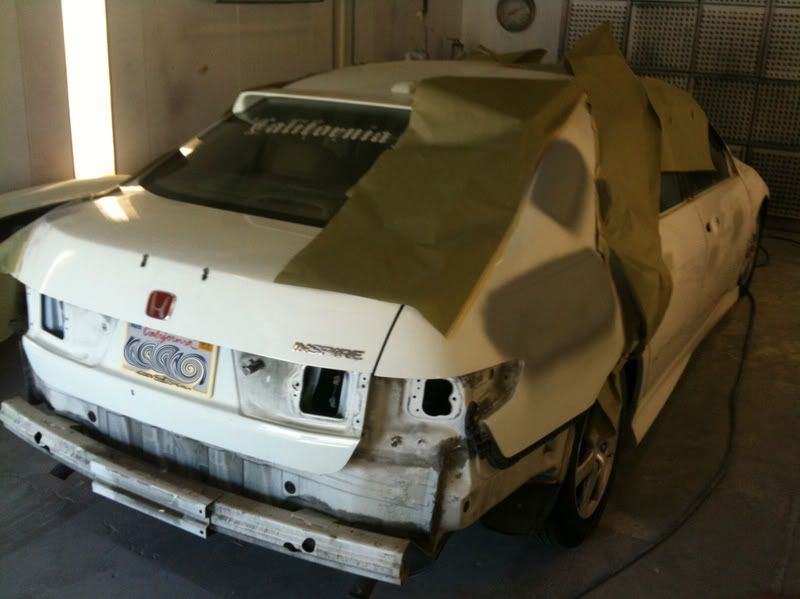
Had to take some funds to the painter, big ups to my boy's dad's shop! P & P Auto North Fontana. I snapped some pics, as well as received some via text.

Naive - Back in 05' when we bought it


1st mod


2nd


3rd, 4th, & so on.......

Before
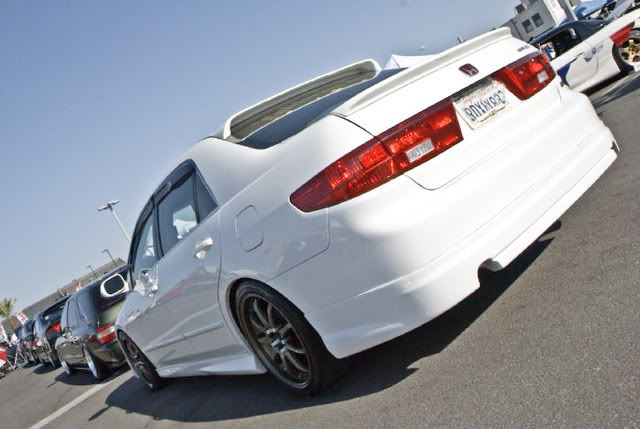
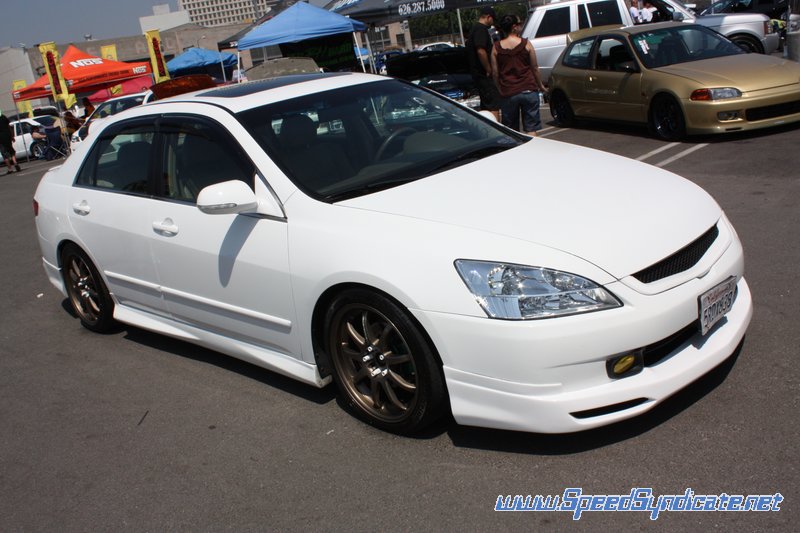
After........We pieced together this Mugen Replica kit
ST Camber kit FRONT & REAR
Adjustable ball Joints
Adjustable rear arms


I need to get rid of this BJ & go skunk arm

alignment @ work

My driving impression and product feedback.
PROS
FULL +/- 5.00 in the F & R adjustment
Fits like stock OEM Mounting locations. No mods. necessary
The camber kit came loaded with user friendly directions.
Product looks strong & durable.
Adjustments to camber are made almost effortlessly.
Very affordable yet competitive pricing
CONS
Overall design of front ball joints may need to be re-vamped, very noisy going over High/Deep bumps & potholes
Color is plain, Variety wouldn't be too bad.
Construction Material withheld
( unclear as to what lubricates the joints? spherical or?)
overall I give this product an 8.5
JAP - Inspire Chrome Headlights w/ 6k HID kit
Hybrid/Inspire Mirror w/ led signal ( I will repaint the mirror and color-match the base)
Mugen Ventilated visors ( installed by Norman @ nisei 08' )


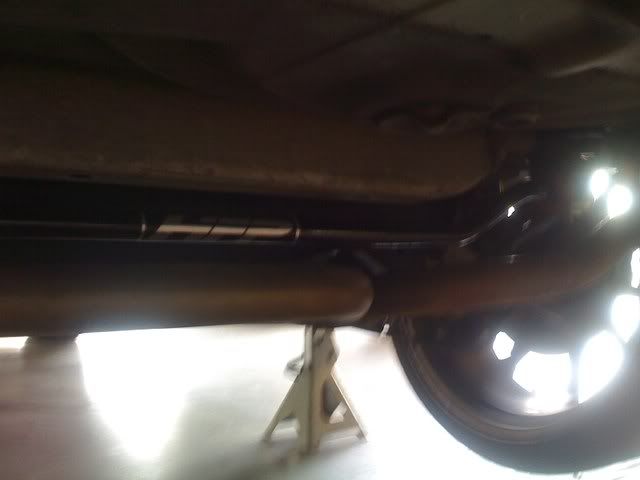
Here's another update guys. Finally did the TL-S sway bar install. I also had to order new endlinks due to a broken link on the drivers side.I opted to use the energy suspension bushings for pure flash. Just looked to plain for me.
so here's a little bit of feedback/review
Bushings: Overall the look good and do their job.
But Do not order the E.S. kit 20mm, I strongly recommend the 19mm although the bar states 20mm when you order. The ES kit will require modification to the universal bracket that attaches to the subframe.
SwayBar: Larger Diameter and solid, greater improvement over the stock spaghetti strap any day.
Endlink: Honda no longer sells them in singles due to the revision of the endlink. By observation only the new EL looks 1mm larger
Overall combination Review: ( results may differ depending on how in-tune you are with your vehicle, and conditions that brought forth the modification.)
Steering response: Increase (quicker, tighter turns)
Steering effort: Decrease (less driver input )
Body roll: D (very little roll with the new setup)
Ride Stability: I ( due to a broken endlink I noticed a big Improvement- reduce sloshing/oscillation with this mod. )
Oversteer: D
Understeer: I (favorably..I like to dive in them accelerate out)
New Upgrade parts 06 TL-S Swaybar 20mm, Updated Accord EndLinks, Energy Susp. Swaybar bushings

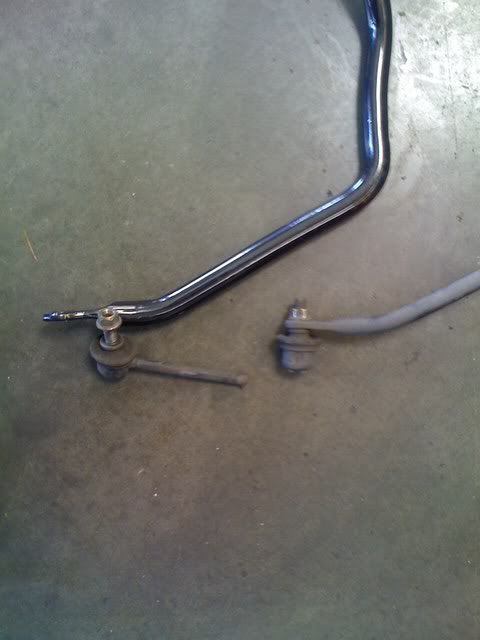
Old vs. New

My broken Endlink

Horrible pics of install ( I was in a rush )

HERE'S A SNEEK PEEK OF IT ALL! (the past few days of mods, got it ready for Nisei showoff in LA. yesterday!) This was in 08'
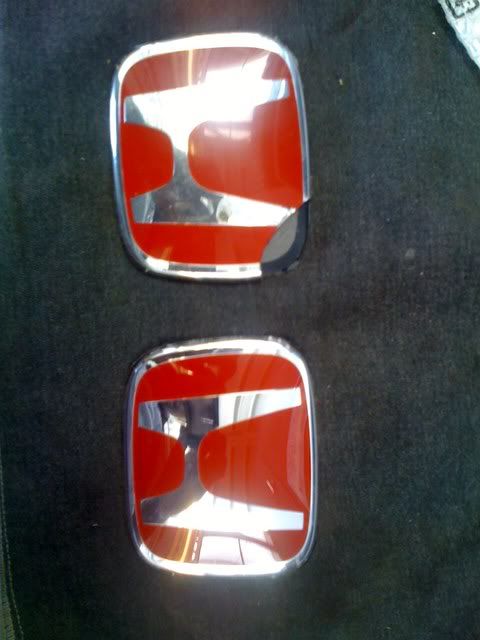
JDM/OEM RED H replacement ( thieves tried to remove it)

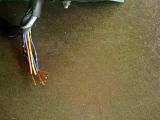
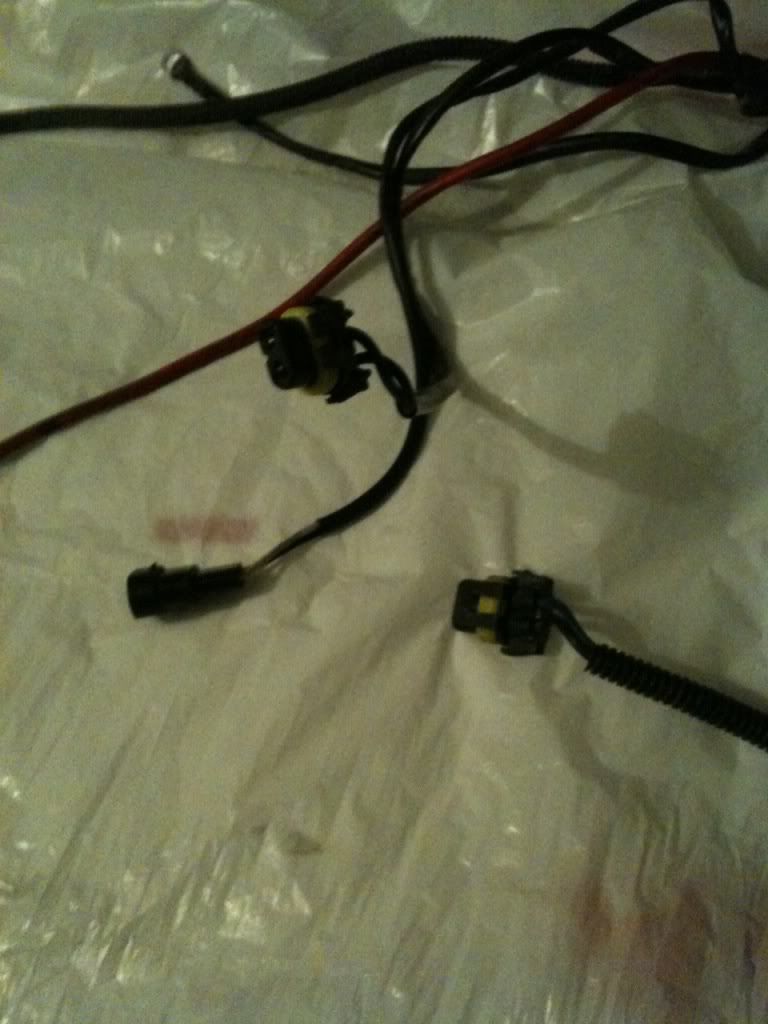
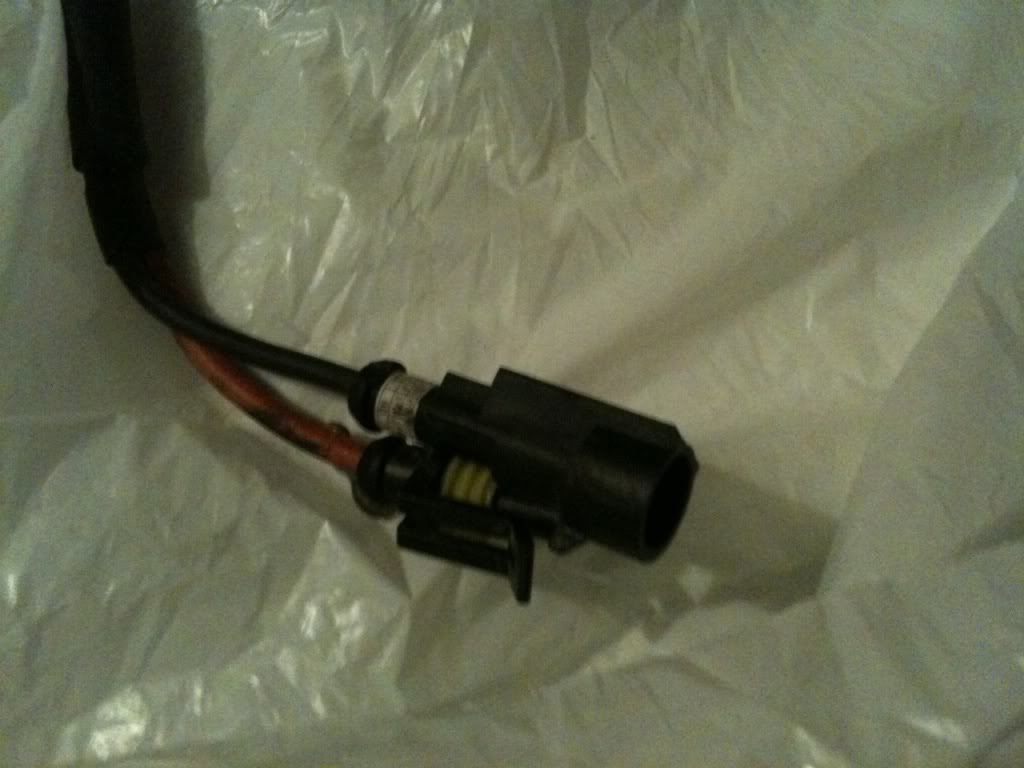
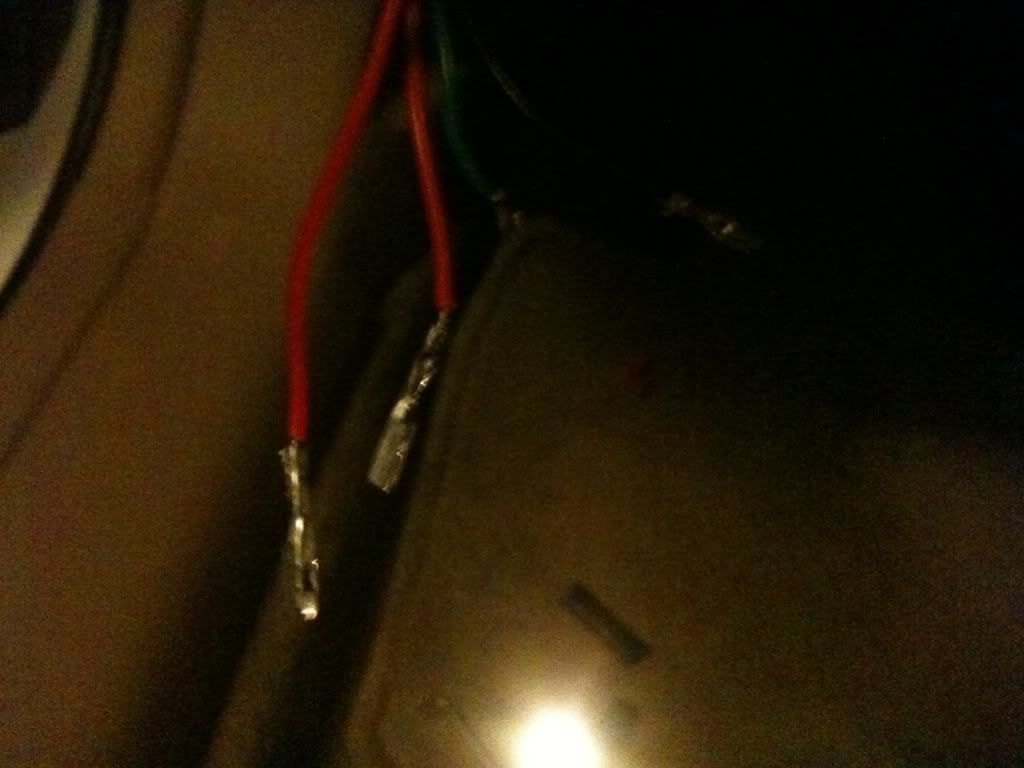
Identifying/verifying Wire color
painted mirror, splice harness & connectors


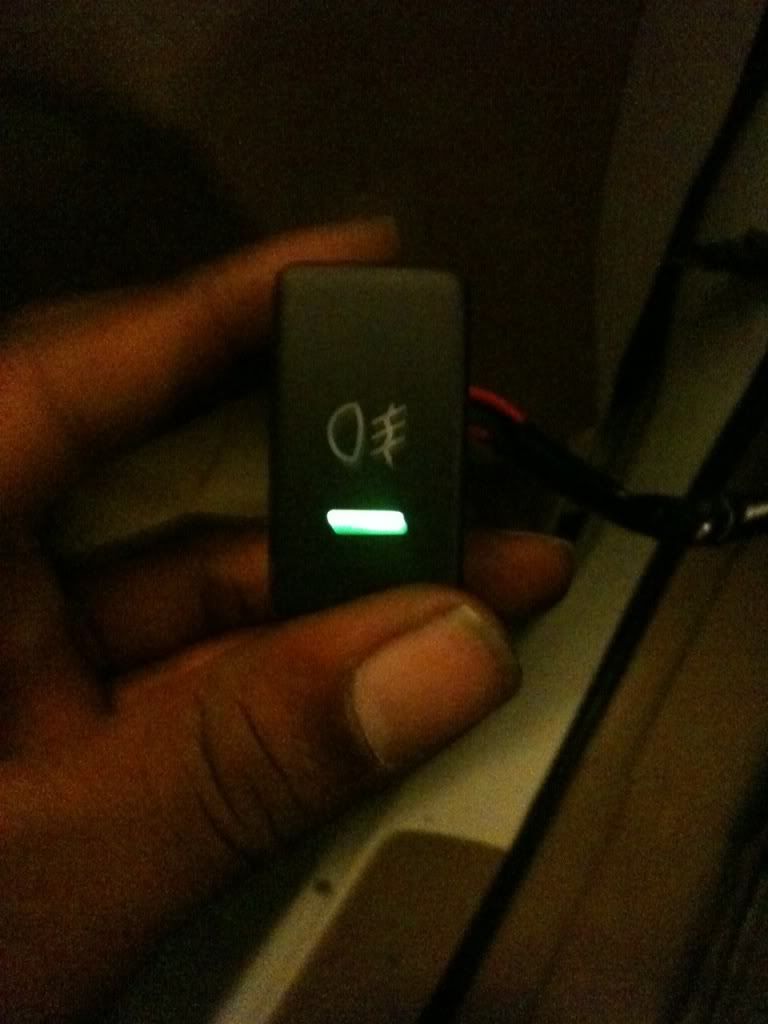
DRL city light circuit (actual had 1-leg too many hehe, fixed)

Install sneak peek forgot to showoff my DRL's :shock1:
Reg.

High beam

Signal only

Present Late 08'


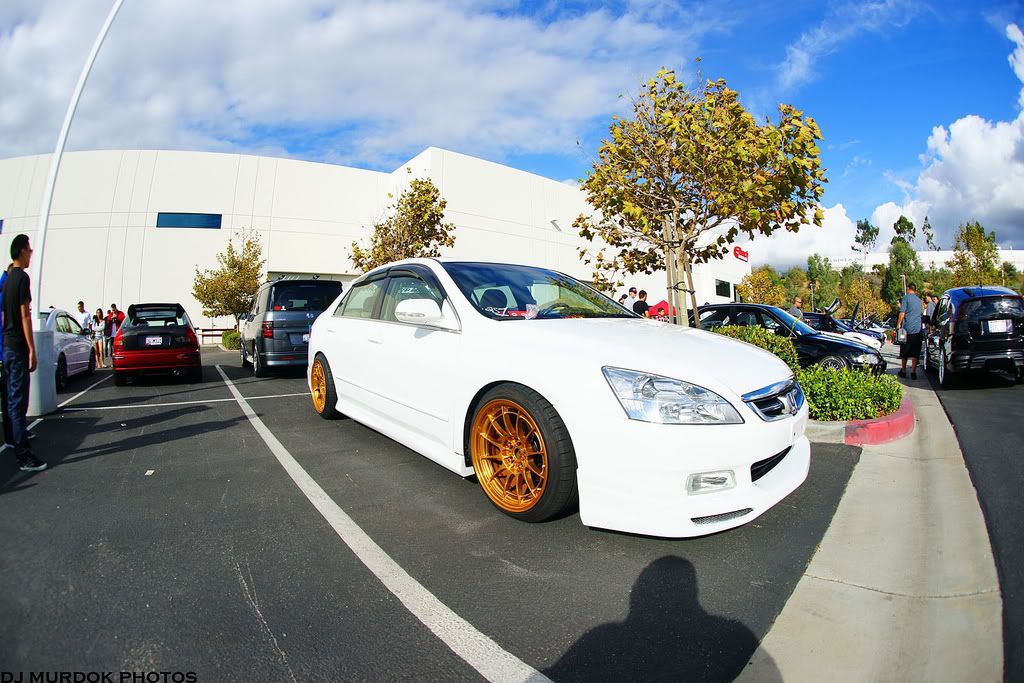
.. the Bellflower, CA meet 09.
Thanks to Preston & the Nastie Garage
Some new susp. for mama F & F Type I's


Thanks To hazel-nuts and the AS1 Familia
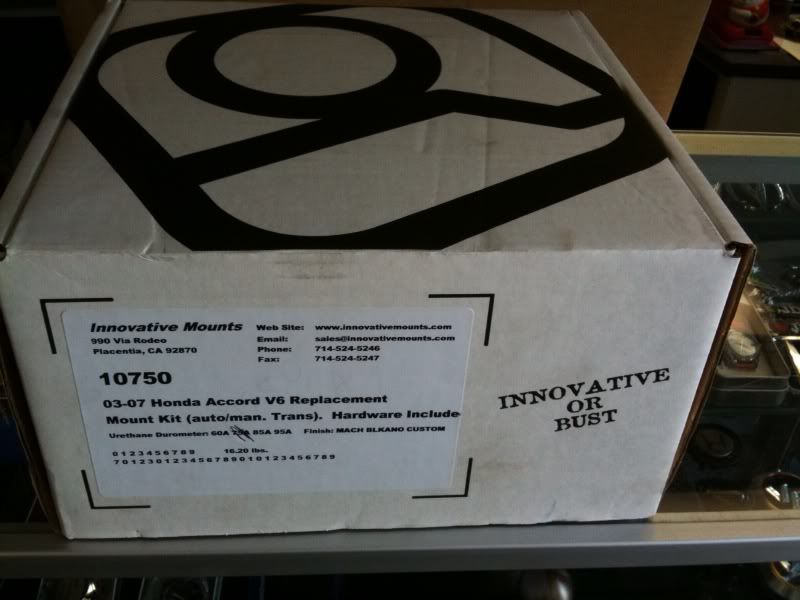
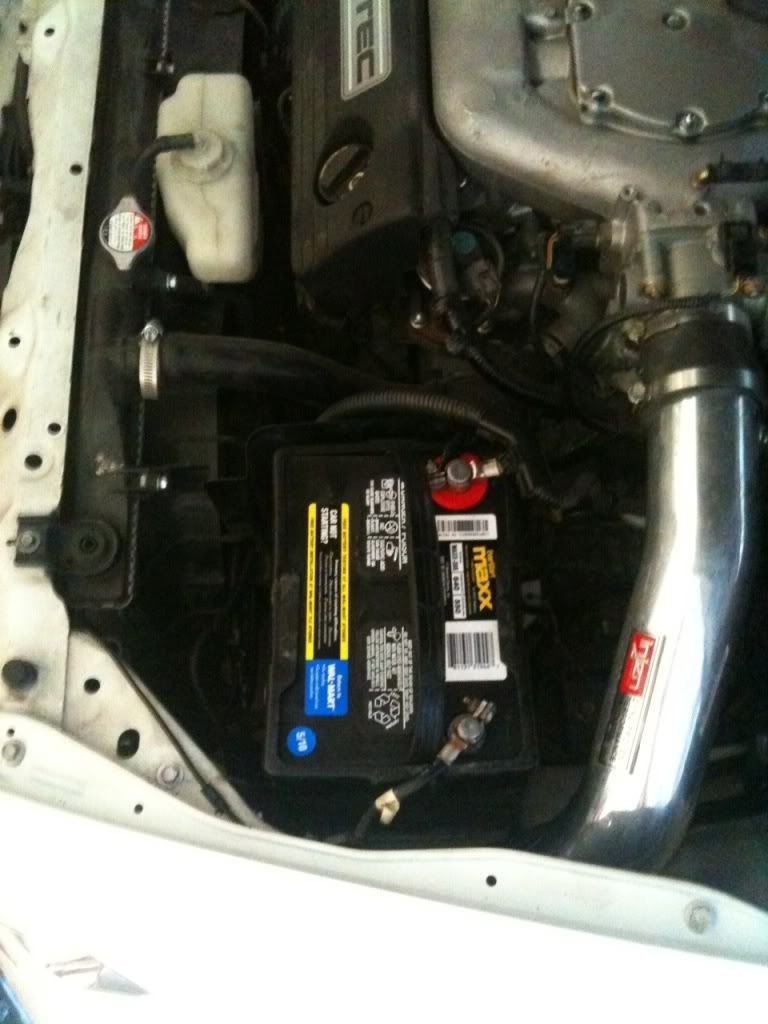
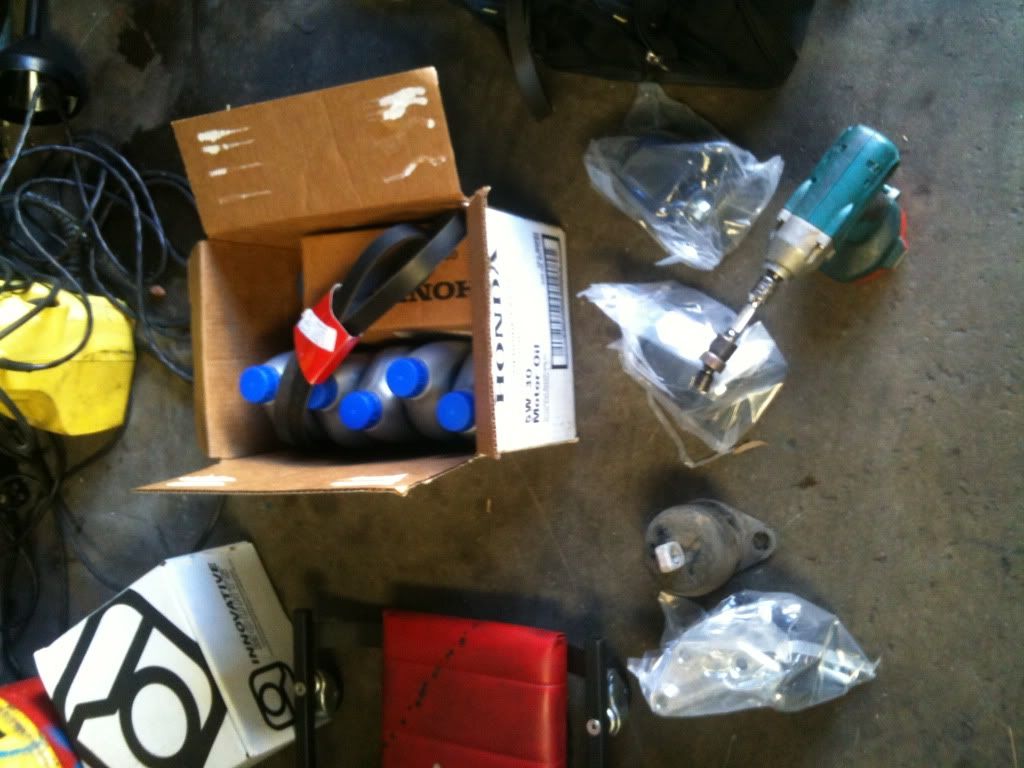
Did the 100k service today Clocked @120k I forgot to order the acc. tensioner, so that will be later
all from Honda -Today:
H20 pump
Timing belt
Tensioners
Acc belt
IM gaskets
spark plugs
coolant flush
Valve adjust
various seals


so I sold the tein springs & decided to at least install the rear F2's. Not ready to drop it yet until the fenders are rolled & the car comes outta paint. Here's some flicks for now
OTS F2 & Tein w/ stock shock
Tein w/ stock shock - 1-2 finger gap
F2 extended to over all 22.6'' vs 26.4'' stock
aftermath - needs a fender roll before paint
Did the fronts today!
Before
Went 17.9 and it's a tad low so I may go up to 19 even
The install
the after
Had to take some funds to the painter, big ups to my boy's dad's shop! P & P Auto North Fontana. I snapped some pics, as well as received some via text.


Comment