If this is your first visit, be sure to
check out the FAQ by clicking the
link above. You may have to register
before you can post: click the register link above to proceed. To start viewing messages,
select the forum that you want to visit from the selection below.
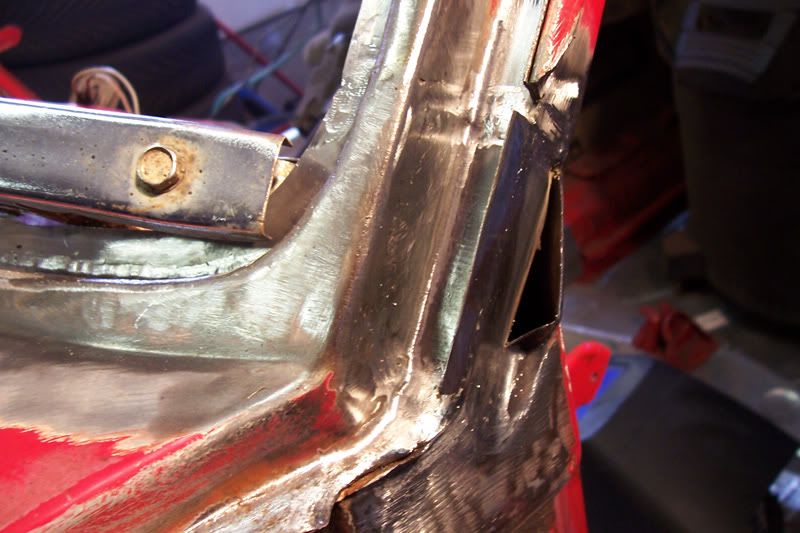
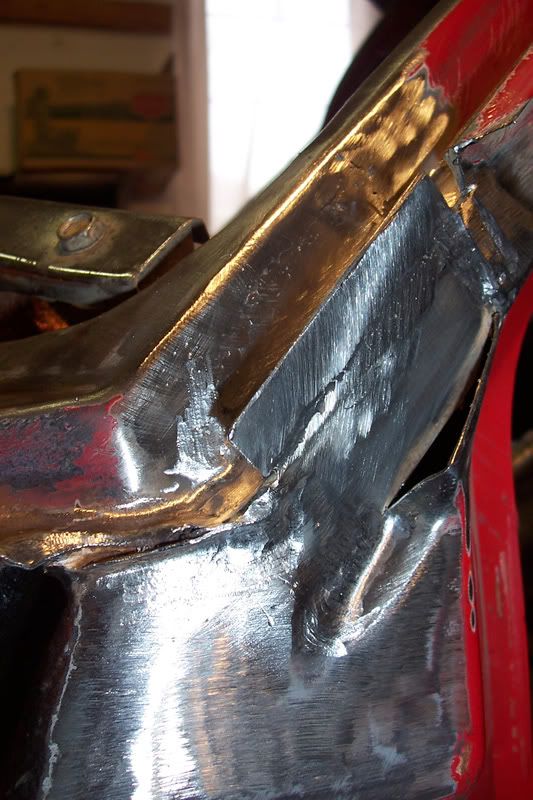
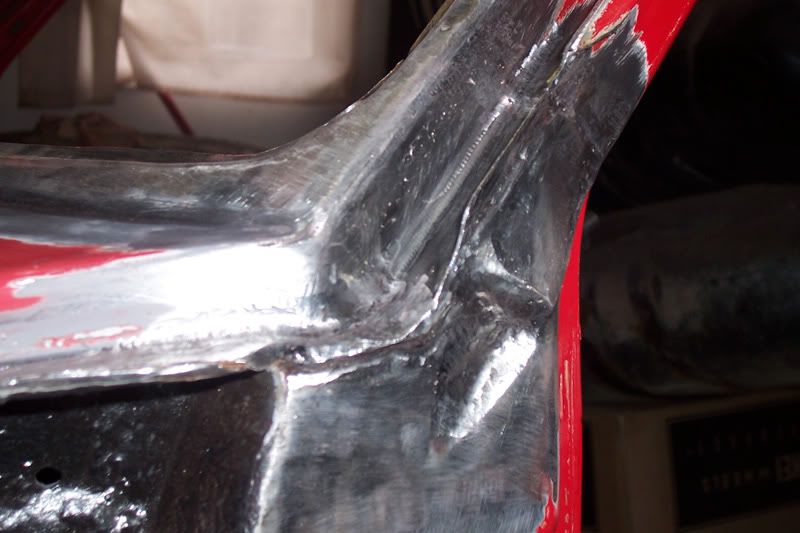
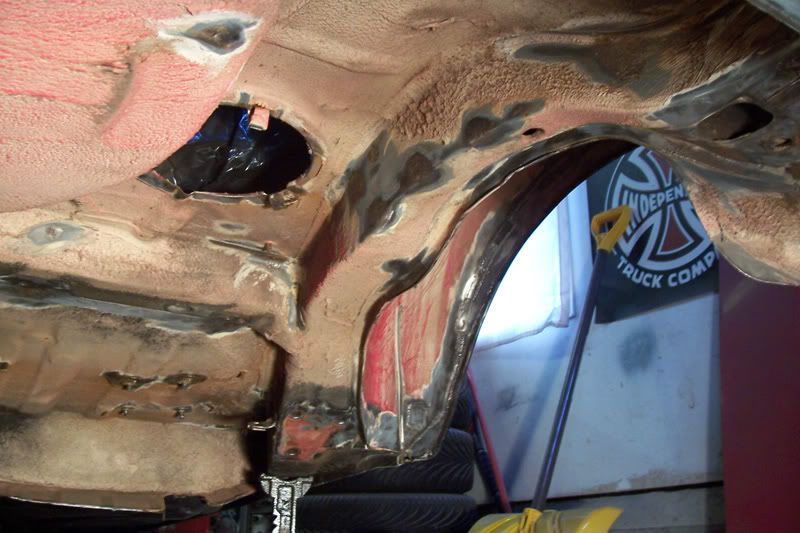
Super fun a-pillar is done. Spent a few hours on it today. Couple in between pics as well.
I tried to make it look as stock as possible to match the other side. Close enough.
The only thing rotted on the car is the rear hatch seal but I think I might just look for a replacement. maybe.
Super fun a-pillar is done. Spent a few hours on it today. Couple in between pics as well.
I tried to make it look as stock as possible to match the other side. Close enough.
The only thing rotted on the car is the rear hatch seal but I think I might just look for a replacement. maybe.
You are a magician!!! This is awesome.....before you start the Golf was in a really bad condition but now?! If u are done you will have a new 91er Golf...keep on working....
You are a magician!!! This is awesome.....before you start the Golf was in a really bad condition but now?! If u are done you will have a new 91er Golf...keep on working....
Yeah that became the idea more or less. To have a new-ish mk2 again and not worry about replacing everything down the road when this car will become the daily driver in a couple years time.
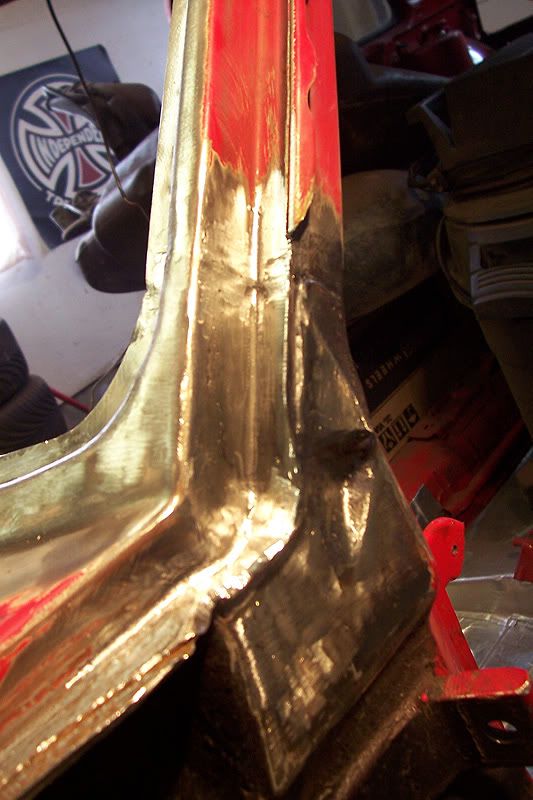
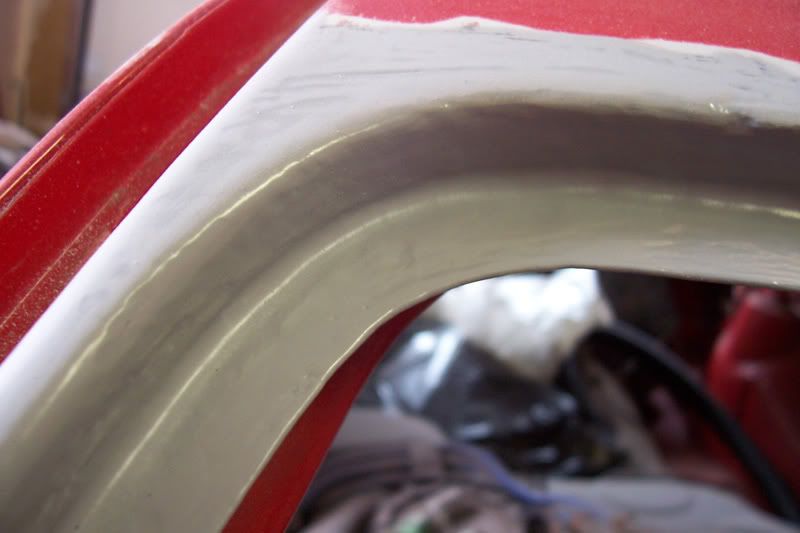
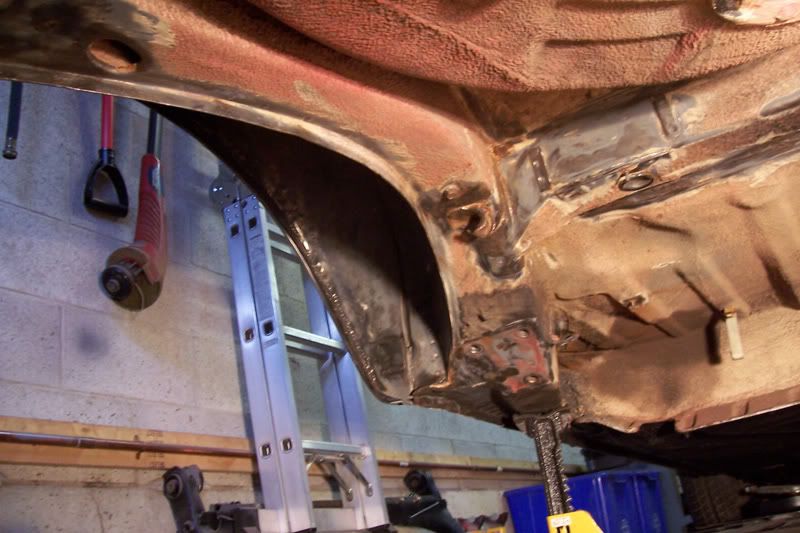
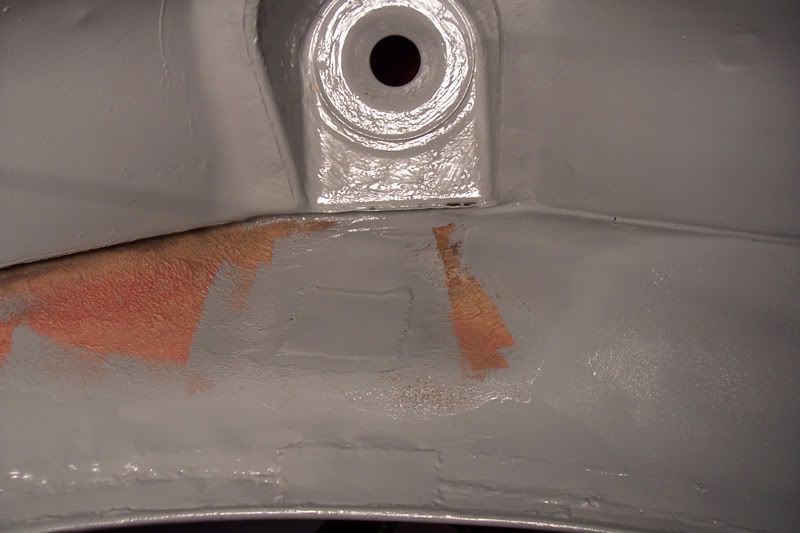
Got the windshield lip in epoxy primer. Much better than shitty rust.
The a-pillar part got covered in the same stuff. The drip rail trim will cover the channel and the door covers that lower a-pillar spot so Im not bothering to smooth anything out. Its just going to get painted.
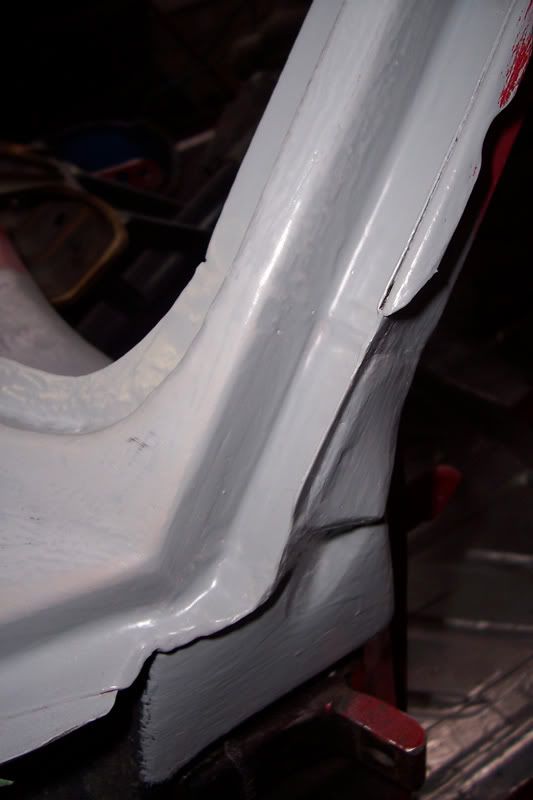
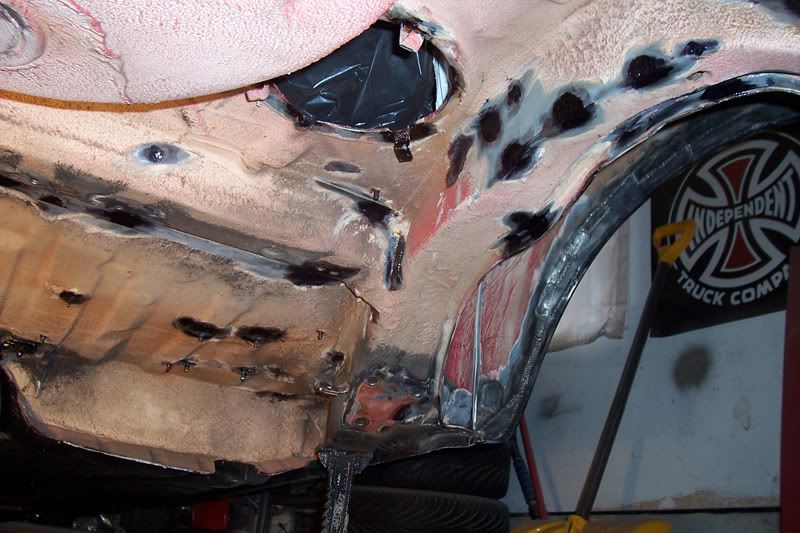
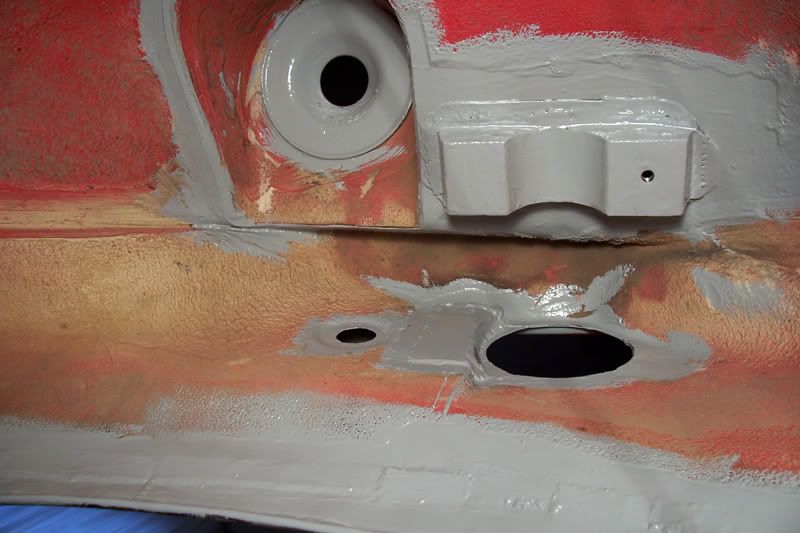
This is the part that sucks bag. All the welded seams got a coat of everglass. Topping it with evercoats z-grip. Once im satisfied with it ill throw some metal glaze over it and finish it off. **** working with bodyfiller. I think ill be taking a break from it and painint the wheel wells and rear floor portion soon.
are you going to have this at vagkraft this year, I would love to see this thing in person (I'm down in niagara, not far from you)
I really don't think it will be done by then
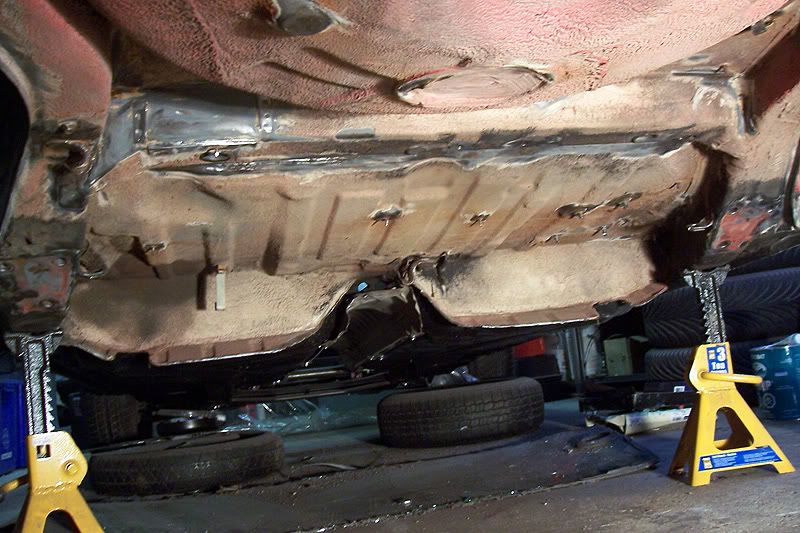
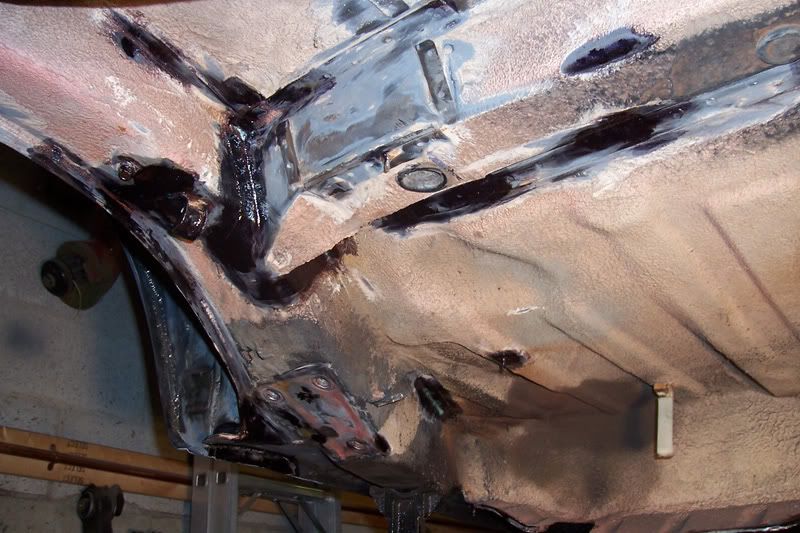
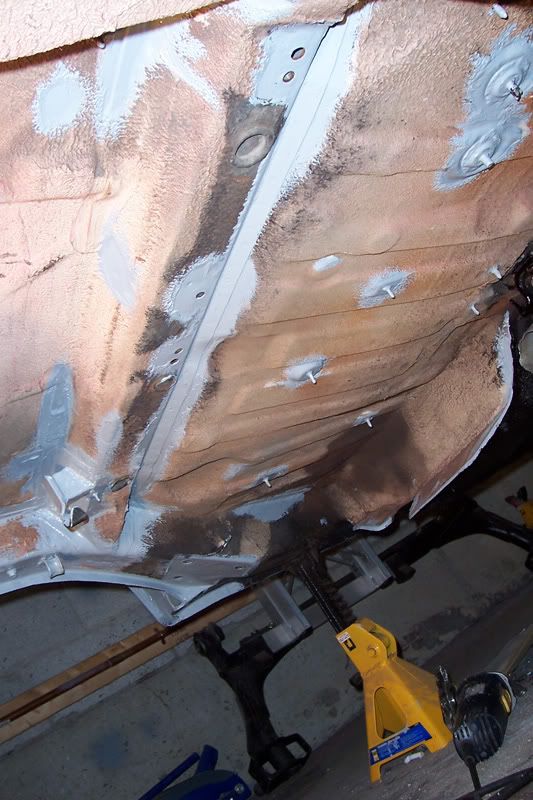
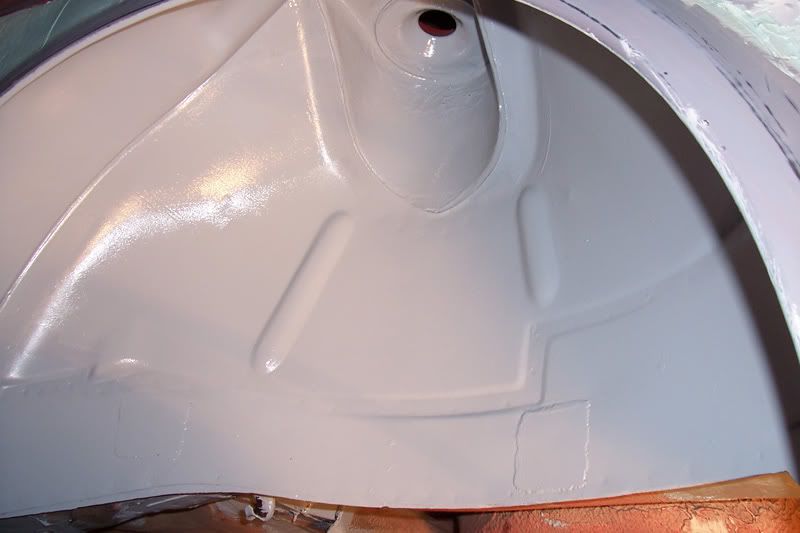
Took a break from sanding body filler and put in some time into the rear portion of the floors.
At times like this you really wish you had more room and a rotisserie to flip the car over but you gotta work with what you have.
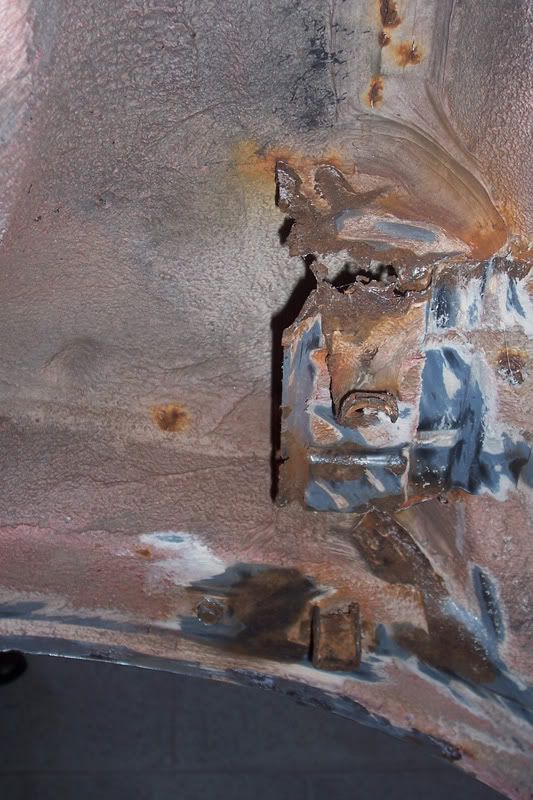
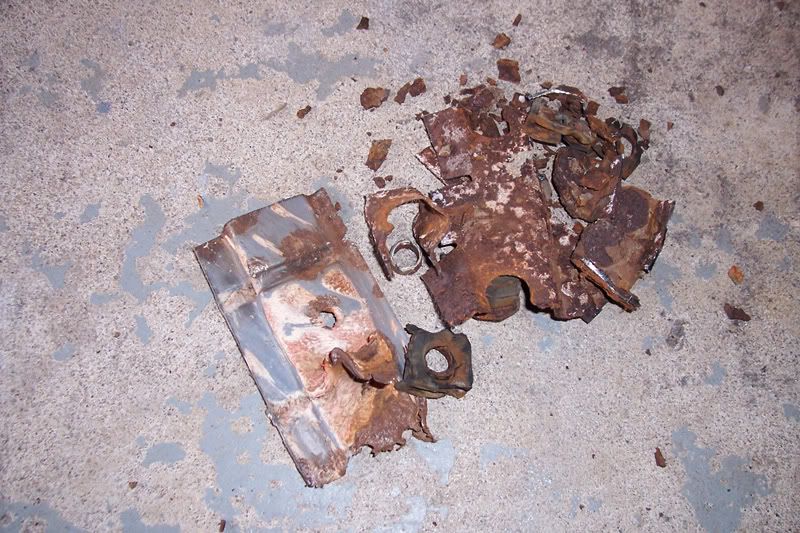
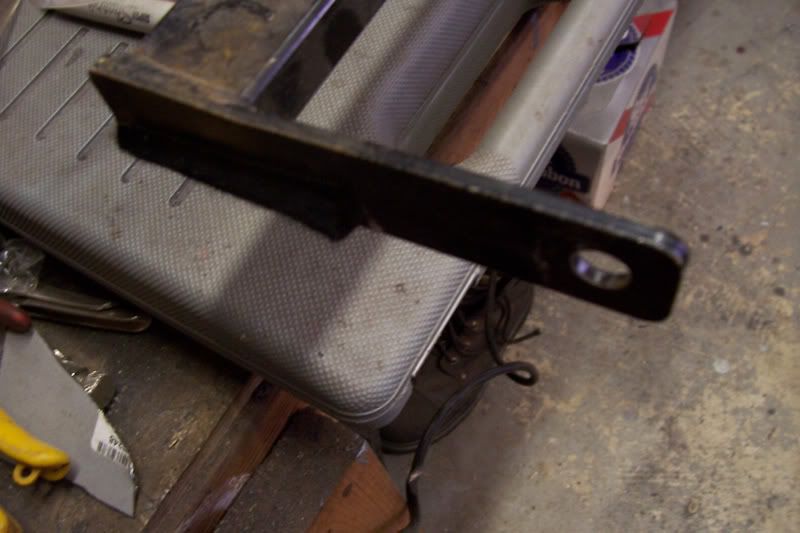
Piece of crap exhaust hanger and bracket
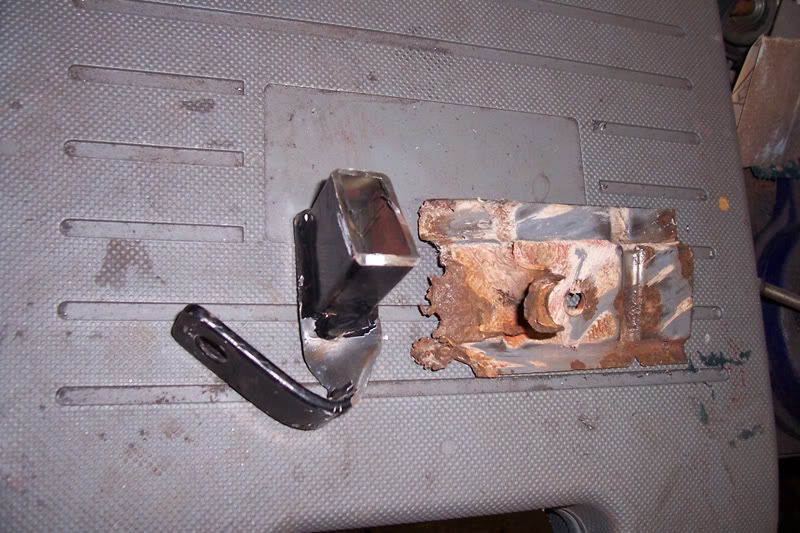
The remains of the hanger and the intermediate fuel pump bracket.
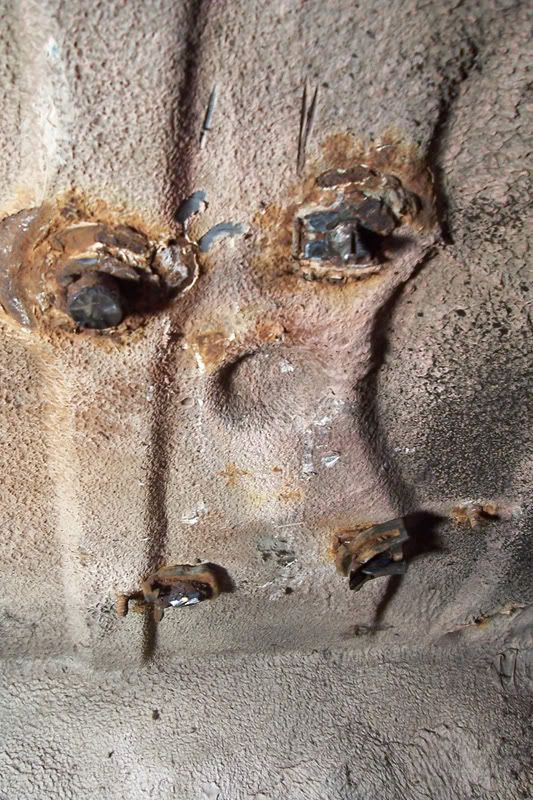
Intermediate bracket studs. I ended up cutting the nuts off and after cleaning it up the stud bases were still good so I decided to leave them in to see if the mk3 fuel filter housing can bolt up to it. if not ill just end up cutting them out and weld in some new studs for the housing.
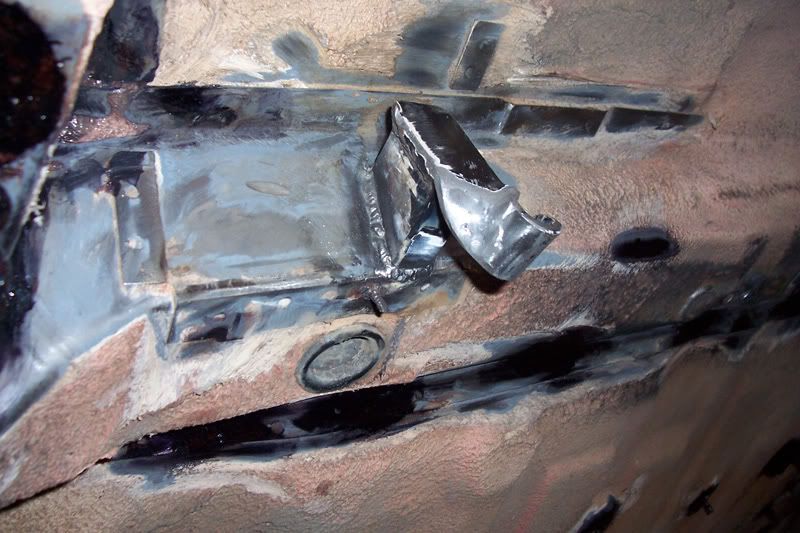
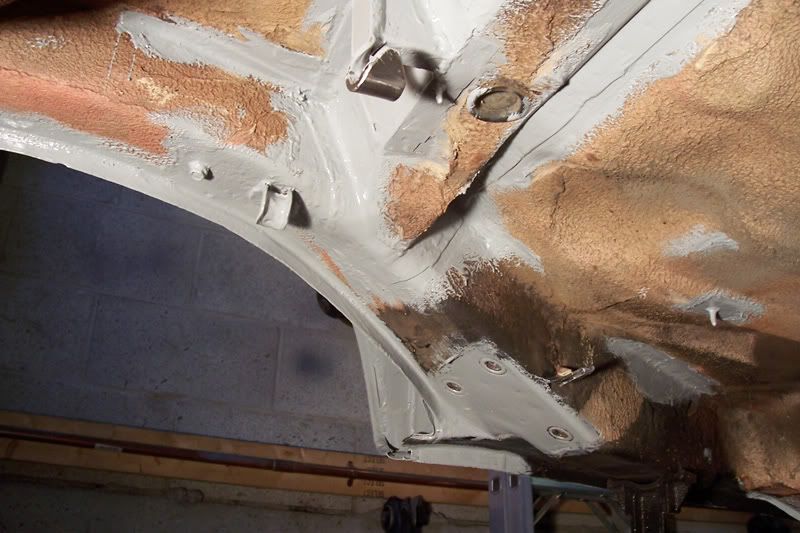
First few pics showing the bare floors with the rust spots being grinded out with a wire wheel. The bare spot to the left is where the previous hanger bracket was.
I used this stuff called Blue Steel (marine product) to convert the rust in the pits. Goes on creamy white and turns into a blackish blue colour after it reacts and acts as a primer afterwards.
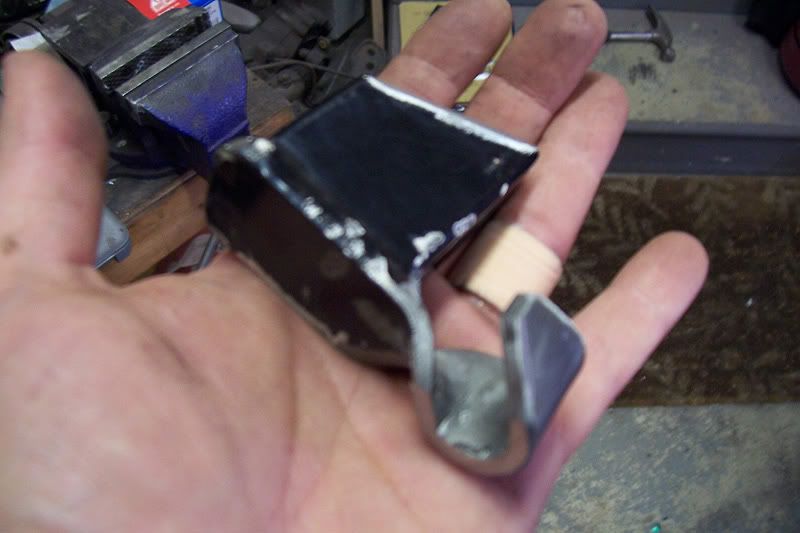
I started looking around for something to make an exhaust hanger out of.
Baby seat restraint bar.
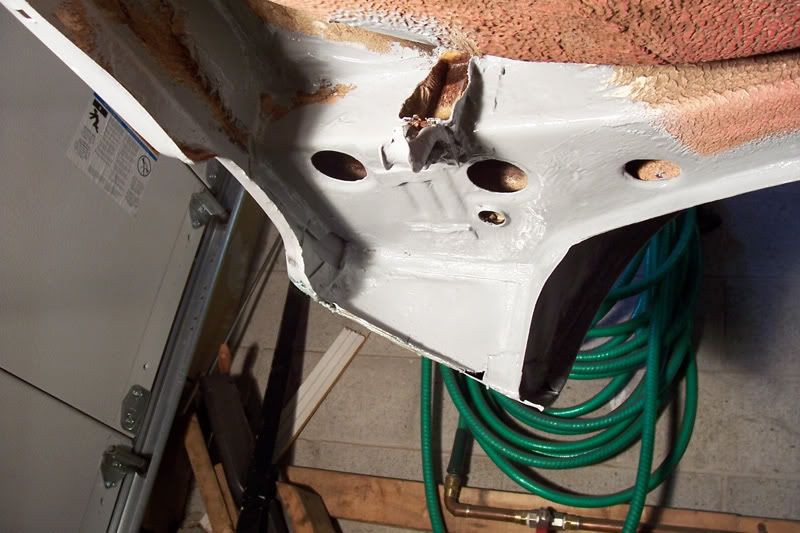
Mixed some epoxy primer later and went over the spots from the previous day.
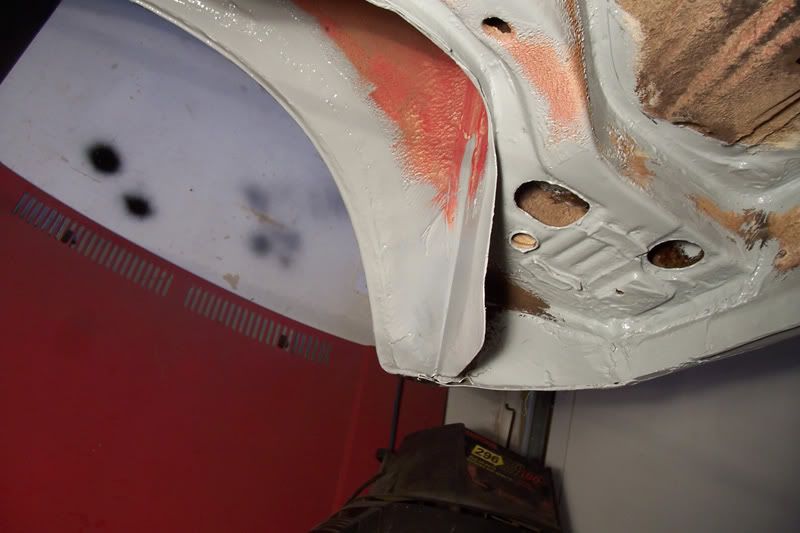
Previously fucked corners
passanger side
drivers
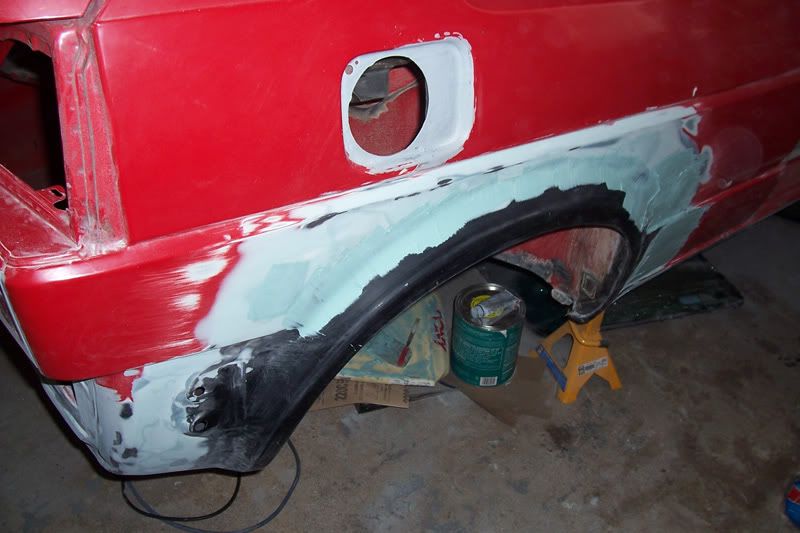
Really glad this stage is almost done. Once it dries some areas still need seam sealer, paint and rocker guard. Then its back to the smoothing the arches.
 Tweet
Tweet


Comment