 Tweet
Tweet
thanks man!
-
-
hey dude, is your pc-ing business in waterloo? might have some business for you if soGod bless this mess
Comment
-
Hey man,
I'm based out of Cambridge.
Check us out on Facebook:
Feel free to email me at jp@16sixty.ca I never check my PM's on here.Comment
-
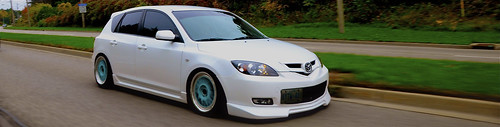
those futura's just sit right on point. Awesome build, and love the legacy wagon.call me spongebob.
Comment
-
actual pictures of the wagon
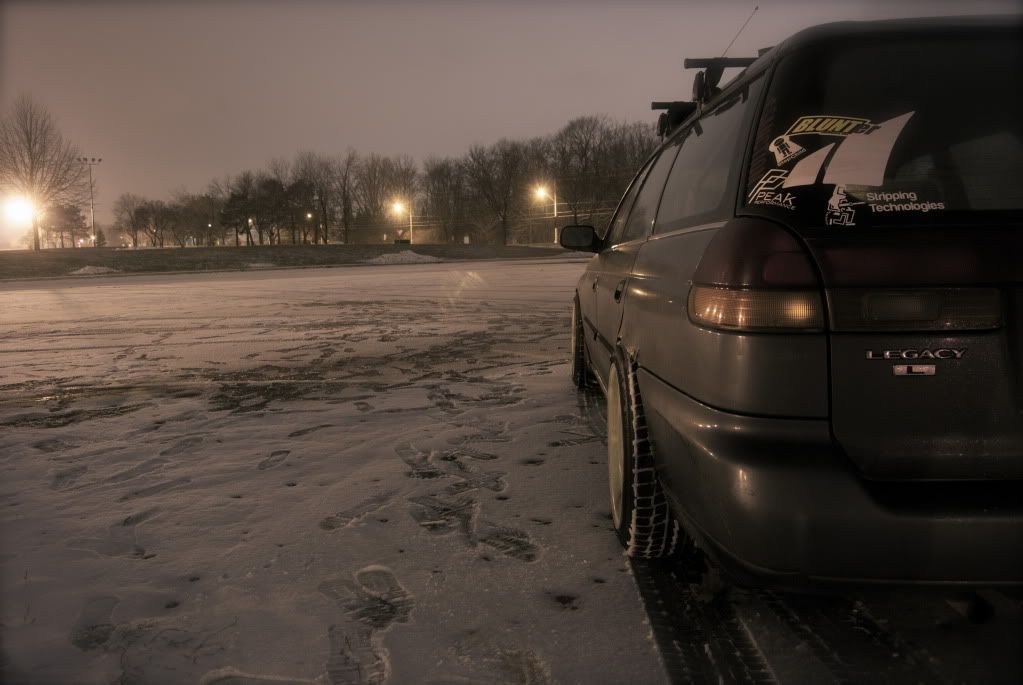
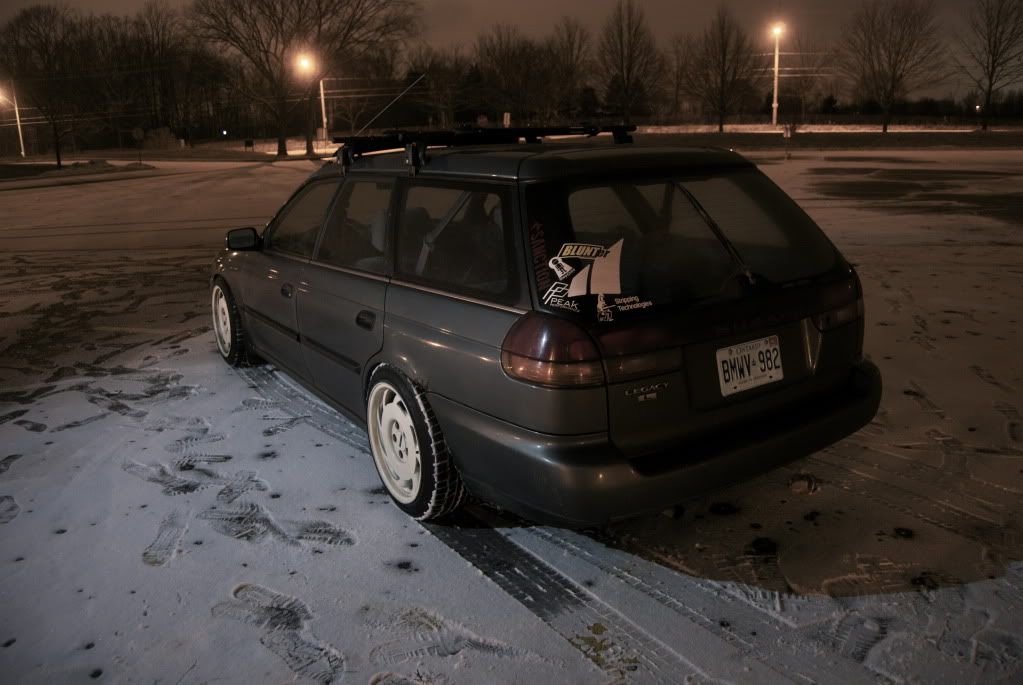

I put some 04 wrx seats and a woodgrain momo wheel in it today...yay?Comment
-
Your beater is so much cooler than my beater.MB Obsidian Black Metallic Crossfire SRT-6 Instagram - @osshwa
Comment
-
love the futuras on thereComment
-
I got back at it this weekend, and got almost the whole car blocked out, and ready for primer (before much much more sanding). The car was pretty banged up. If a panel wasnt dented it was waving at me. We did find a nasty little surprise in that the passenger rear quarter is rotted right through and will need to be replaced. Such is life.


It looks like plans have changed slightly. I am now definitely losing my storage sometime before spring, so the priority is to get the car painted and the bay cleaned up, in between work and school, this should prove to be an interesting stretch of weeks.Comment
-
Subbie looks great. Keep your head up and get it all painted. Hell even a good primer may do the trick for now
"Never argue with an idiot; they'll drag you down to their level and beat you with experience"Comment
-
Progress is getting better and better man. Looks great so far!Comment
-
We finished blocking out the wrx today, this week I need to locate a quarter and a scoop-less hood that hasnt had a tree fall on it, and the car will be ready for primer.
Anyway, tonight I started on my door cards.
I removed them from the car (pretty straight forward). Now on the back of each card there are three philips screws. Simply take them out.
Now you will see a bunch of plastic rivets attaching the upper portion of the door to the lower, simply cut these off with a utility knife:

Now pull the two parts apart. Be careful that you've cut the whole rivet off, if you pull and havent cut the head off completely, you'll break the base of the rivet off the back of the door. You should now have this:

Now, the material wraps around the back of the door car. Lift it with your fingers and pull it off. It comes off fairly easily.


Take this pattern and place it face down on the back of the material you wish to use and trace and outline and cut.
DO NOT do this (place fabric face up and trace. It will be backwards and you will swear a lot...especially if you've already done the other side):

Tomorrow I'll document gluing and reassembly.
Here's a little peek at a quick mock up:


Comment
-
Just got these form my machinist. They're out for gold plating now as I'm doing the centers pearl white:

Comment
-
And done:

Comment
-
Small update:
My scoopless hood arrived, and we fitted it a few weeks ago.

I've been busy working on other people's stuff, but this weekend I'll going hard on the car. This weekend We'll be fixing the rust, and installing these:

BC racing extreme lows. I picked them up from Samson at GBTires.ca
Excellent experiences from price to pick-up. Thanks samson!
I also grabbed some new adjustable lateral links from Flea.
Hopefully the car will be on the ground with the quick release bumper tabs welded on, the rust fixed, and frame notched by monday....hopefully.Comment
-
Slightly larger update.
Today I put my new BC Racing Extreme Low coil overs on. I also threw some spare wheels on and rolled Jeff (the name my WRX now goes by) out into the daylight under his own power for the first time in several months.
The goal today was to test fit my new lip, mock up my bumper, fix the rear quarter, and install said coilovers. So with the coils in, we proceeded to get to work!
Here's Jeff seeing daylight for the first time since November. In this picture the BC coils are wound all the way up and not settled. I figure I have at least another three inches to go down and still maintain full shock stroke and preload:

First order of the day was to tackle the rust. I was so excited about my new lip and bumper mounts, that I forgot to snap pictures of the end result, but it is now covered in short strain fiberglass (over the newly welded in patch and weld-through primer) and ready to be sanded out. Here's a taste of how much was cut out:

Next on my to-do list was to mount my lip, and front bumper. After a lot of cutting (that ended in a short run to the hospital...remember kids, always wear eye protection, even if you're not the one cutting) I got the bumper to fit MUCH better. So I measured, marked and cut, and mounted the tabs for the dzeus fasteners:

These are to aid in removing the bumper should the car ever need to be put on a trailer, tow truck, or I blow an intercooler pipe off while I'm making 123141241231lbs of boost.
Here's a shot of the bumper lined up, and fastened on:

The build is now headed into hyper-drive, as I'm losing my storage and would like to have this project done before I move into my new space, and shift my focus to Marsha, my 510 street/track build.Comment

Comment