

-
Picking it up tomorrow, then hoping to get the time to do a bit of a shoot at the weekend
-
More news from RT!
Originally posted by rt-performance
Originally posted by rt-performanceLeave a comment:
-
Haha, they've only had it for a few weeks too.Originally posted by Dr.AK View PostLeave a comment:
-
Man. I wish the d!ckhead who painted my car was as good as this looks to be.Leave a comment:
-
Great update. Fair moving along now!
Can't wait till my car is at the stage.Leave a comment:
-
So jealous man but mega excited for you at the same time lol.
Cant wait to see it all done
Leave a comment:
-
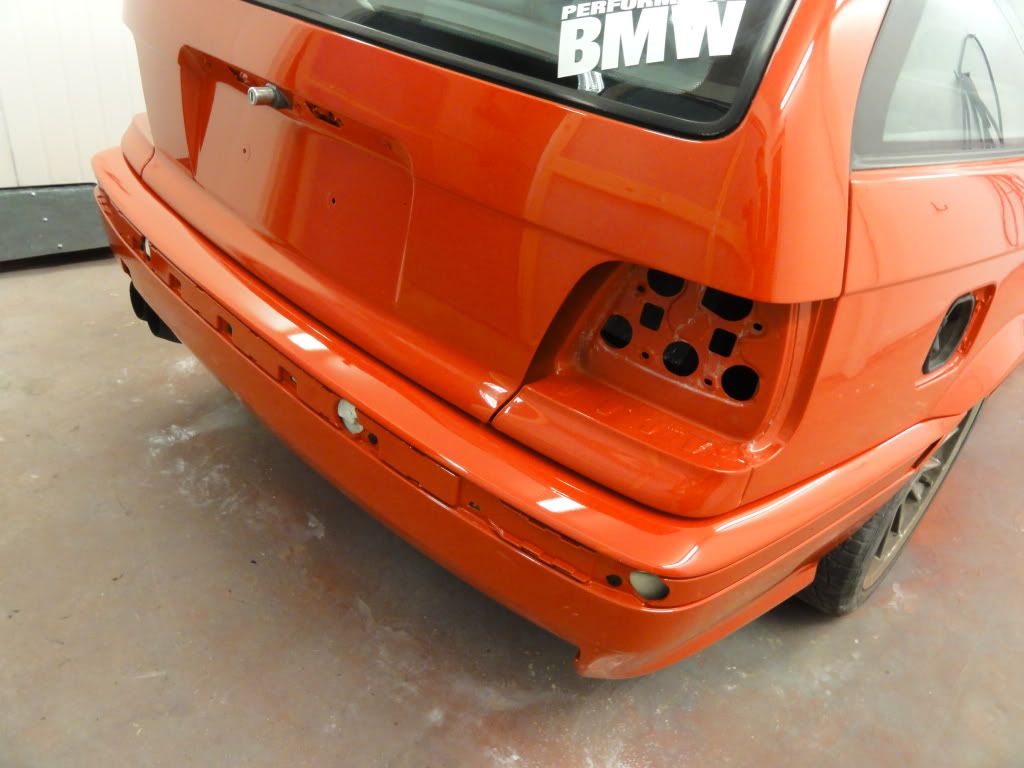
Some more progress pics in the shape of an update from the guys themselves - I'm also popping over again this afternoon to drop my front arch liners and a few other bits off that I forgot the other day (doh!).
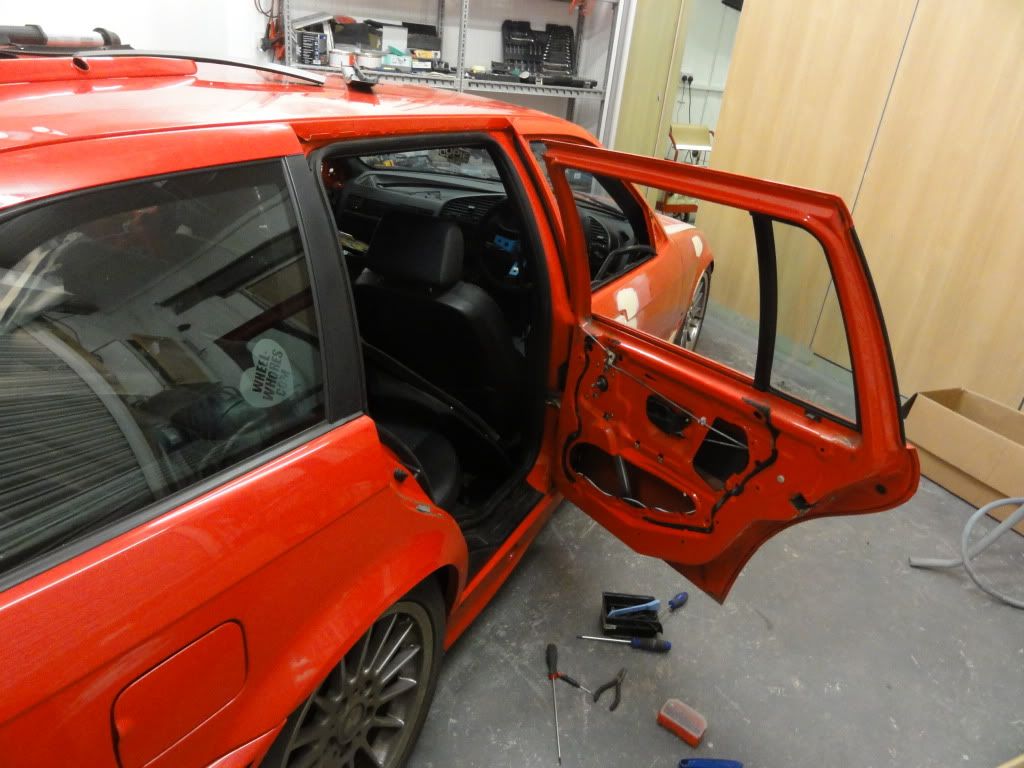
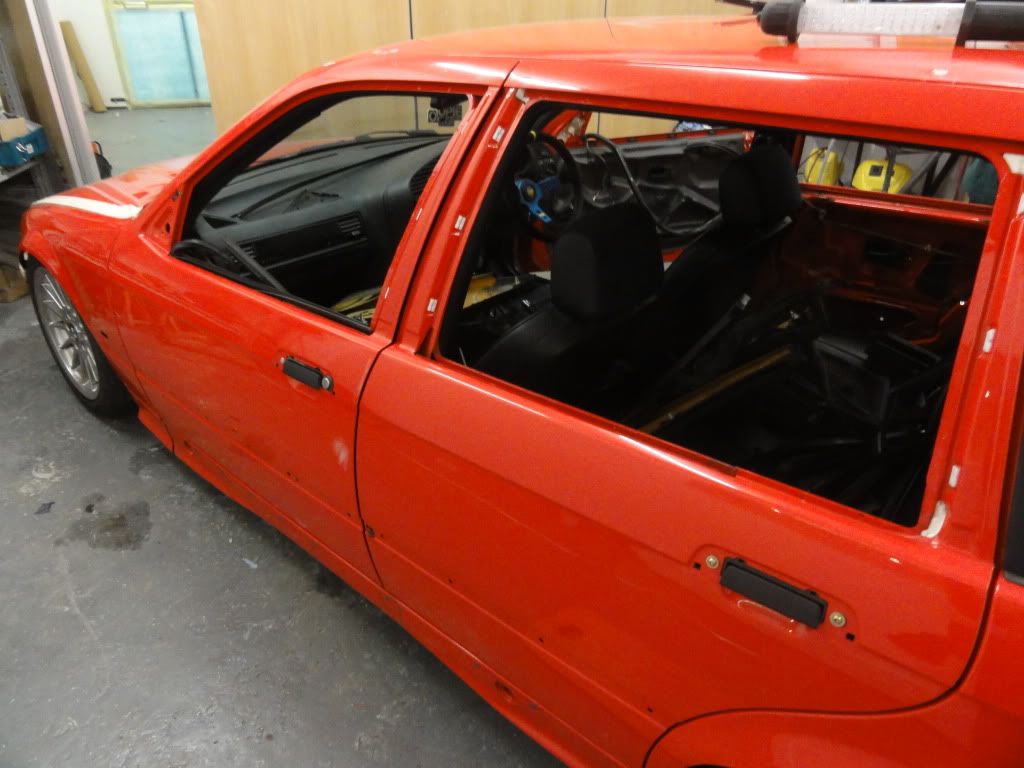
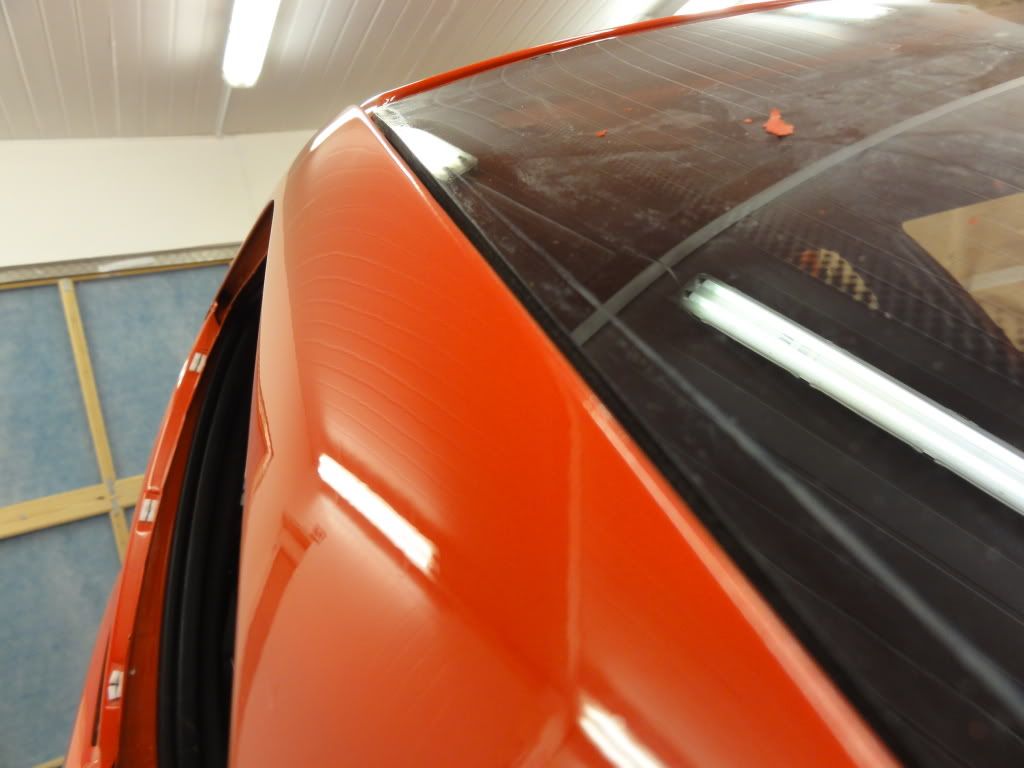
We was asked why did we not remove the rear and front windscreens?
More of a question was, why do you need to?
Everything which can be un-boltable will be removed to assist the job.
However the front and rear windscreens are glued down which means cutting out with a serrated cable. Easy job to do however as you can imagine, when you drag a serrated cable across a metal panel and glass it grinds and chips away causing some damage.
Then after you've removed the glass, you'll then spend a few hours scraping out the left over adhesive just to get to the gutter which is un necessary painted.
Further more glass can't be stuck down to a freshly painted surface as the paint needs to degas for a few days otherwise you'll risk the customer finding his windscreen may pop out as they drive home.
Bottom line is if it aint broke, don't fix it.
There are different levels of resprays which we do ranging from individual partial panels to total a total strip down to the bare shell and sprayed.
The only time we remove the front and rear glass is when:
-the glass it's self needs replacing.
-a total colour change and the car is being sprayed inside and out.
-repair work is needed in the window guttering it self and the glass is obstructing.
As you can imagine, the cost greatly varies depending on the task from £100 to the sky's your limit if you want your engine, glass, interior, transmission, front and rear subframe, suspension and entire electrical and fuel cabling.
It all depends on the job spec and how much the customer is prepared to pay which is why we always give a detailed consultation explaining what we will and will not do depending on your budget and for us to advise what's necessary or not necessary for the particular job.
We don't offer a flat rate budget £800 respray like the local phil, bob and paddy because we know every job is different and should be done with great care and attention to detail.
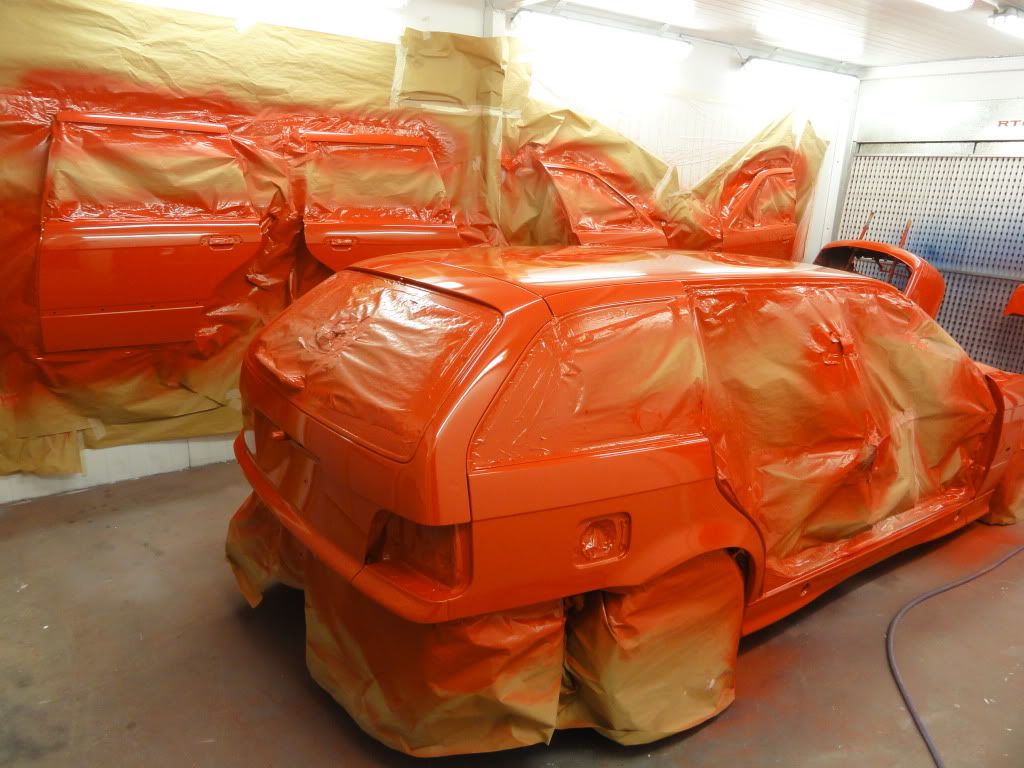
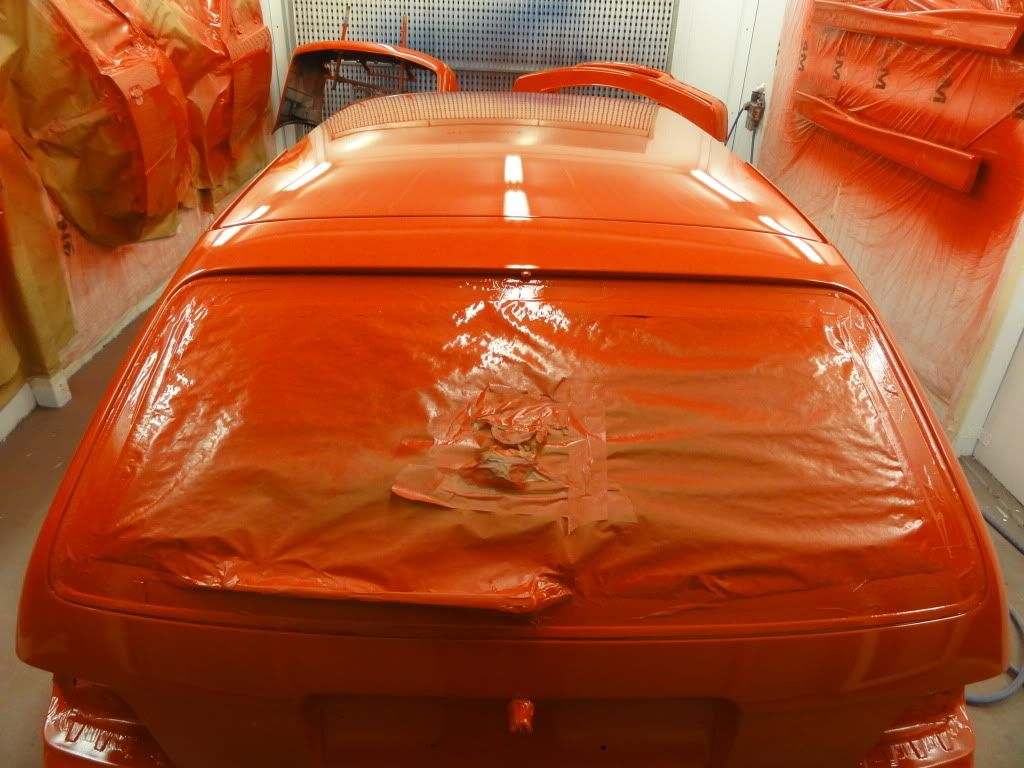
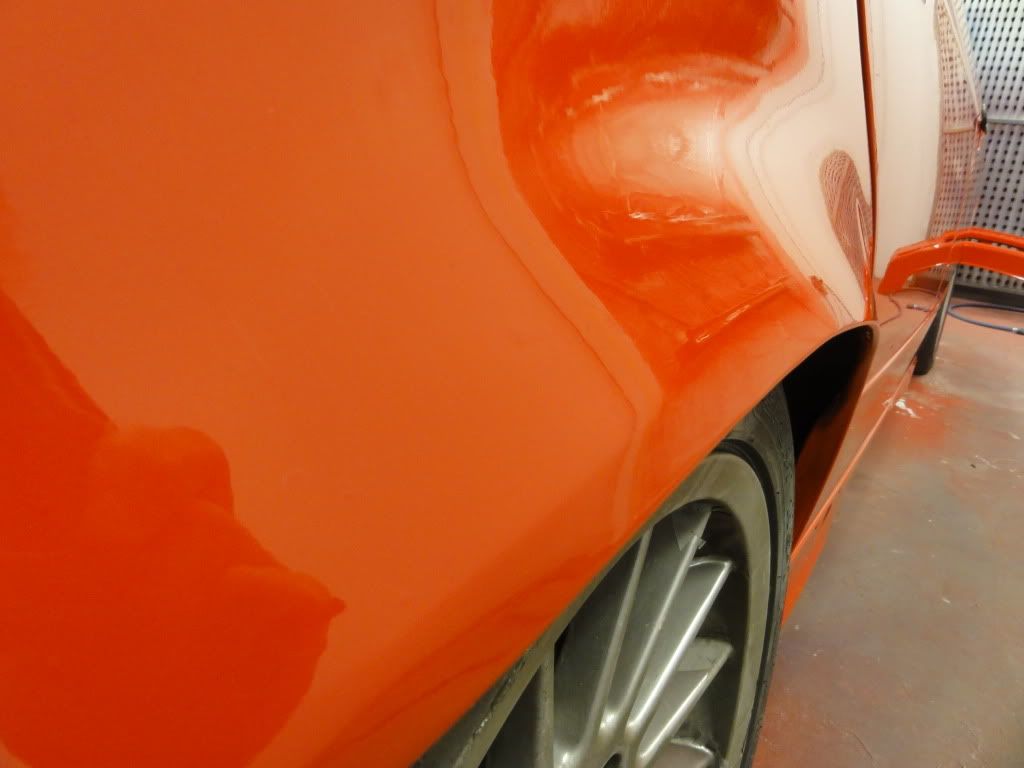
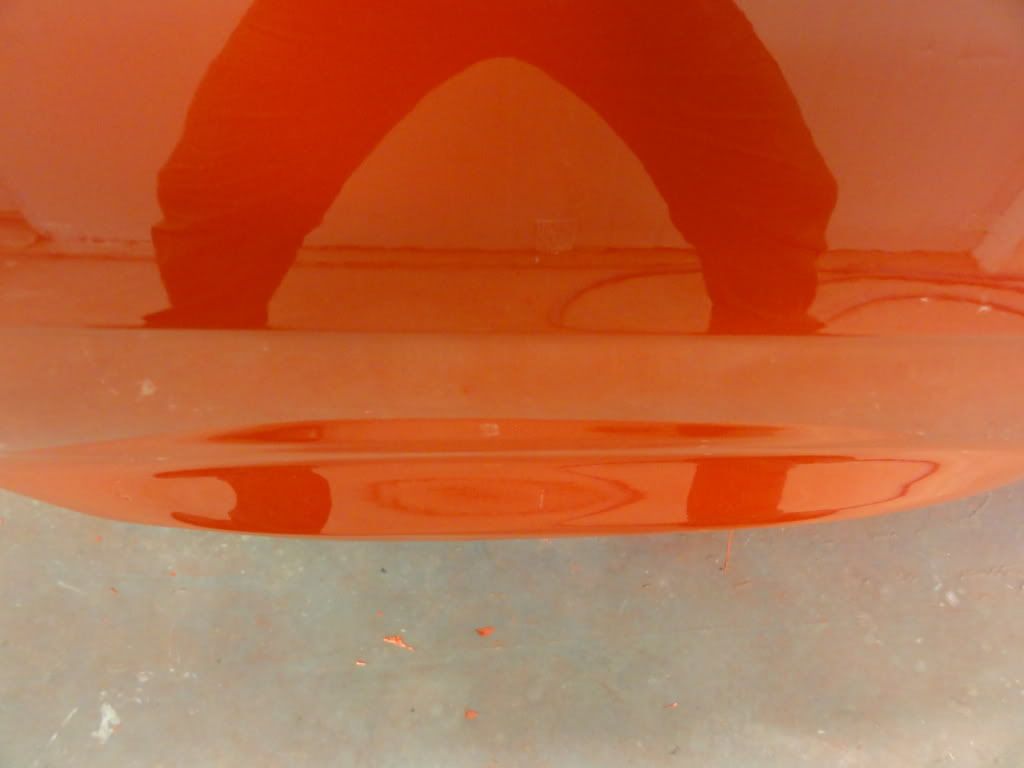
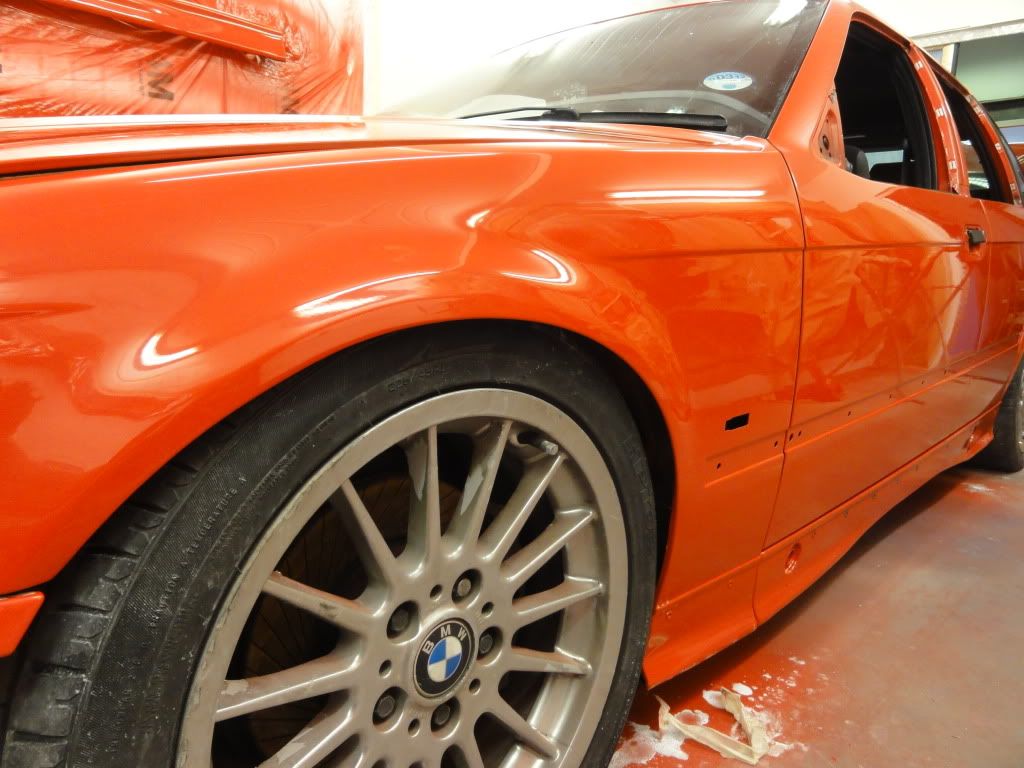
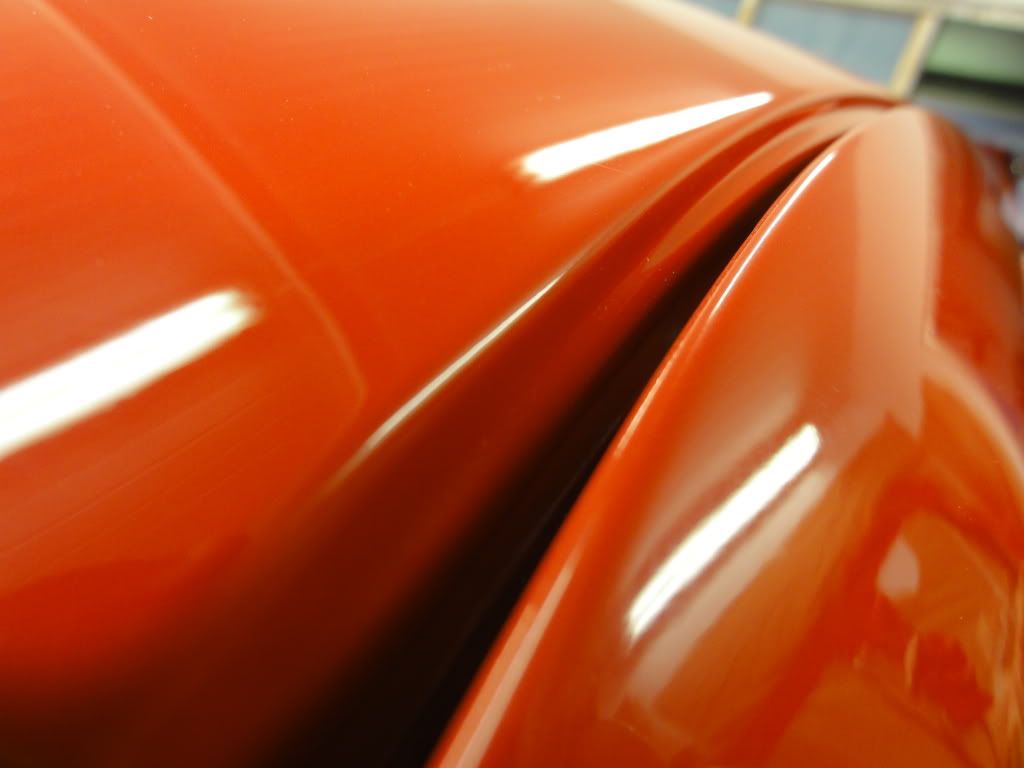
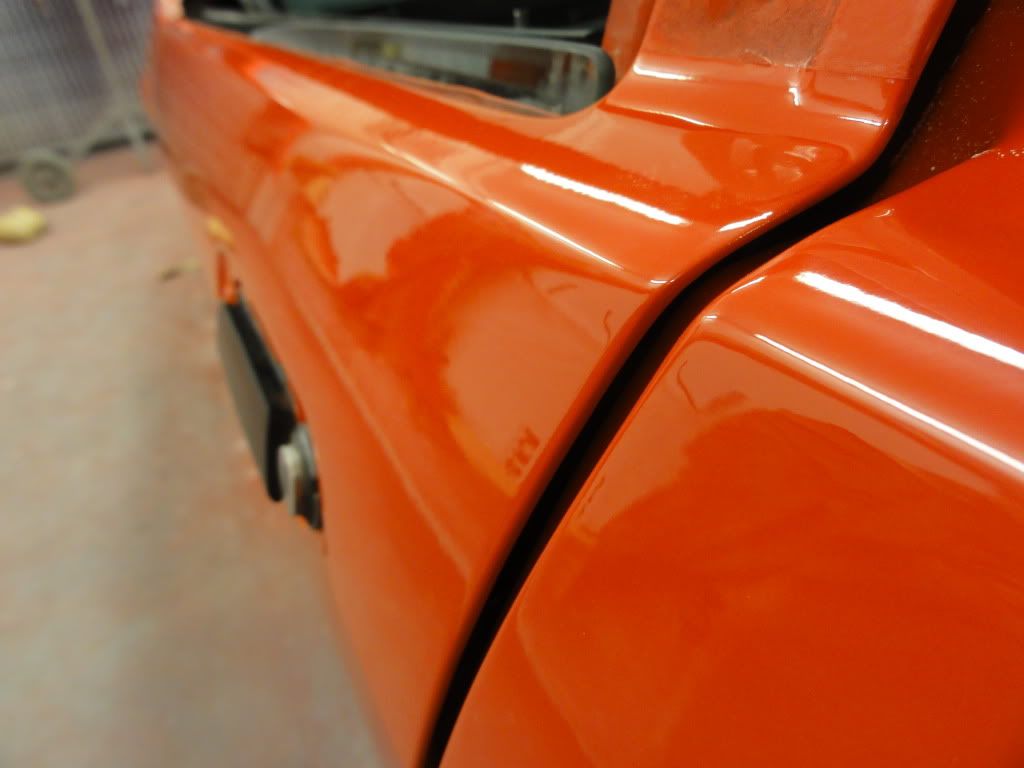
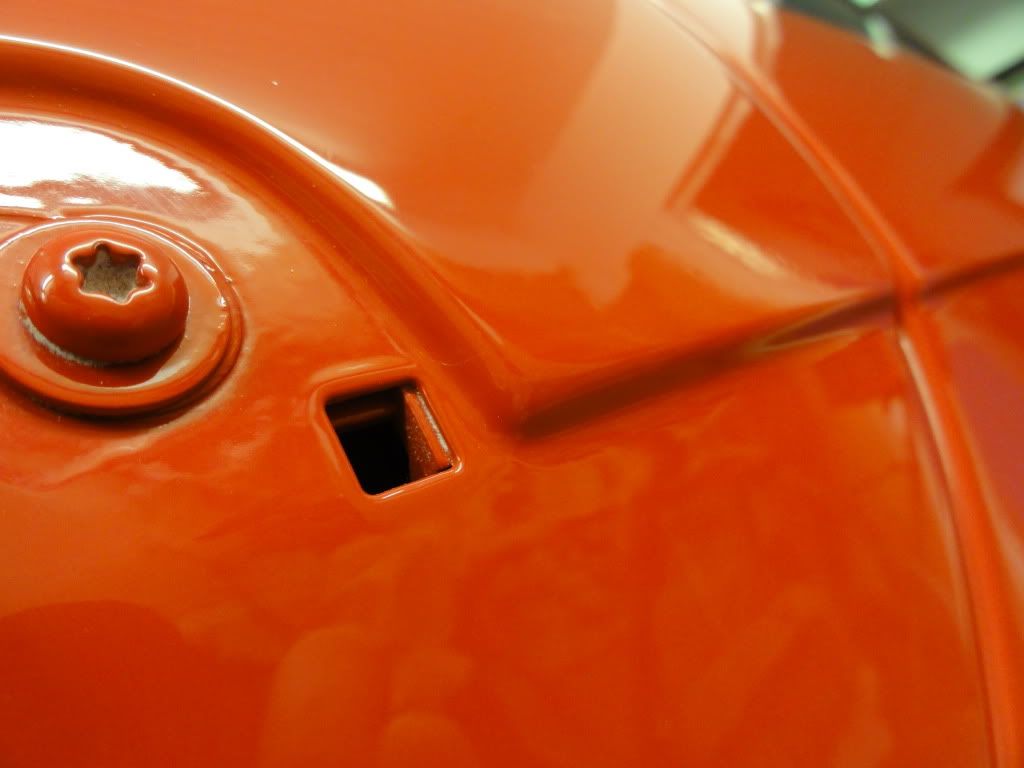
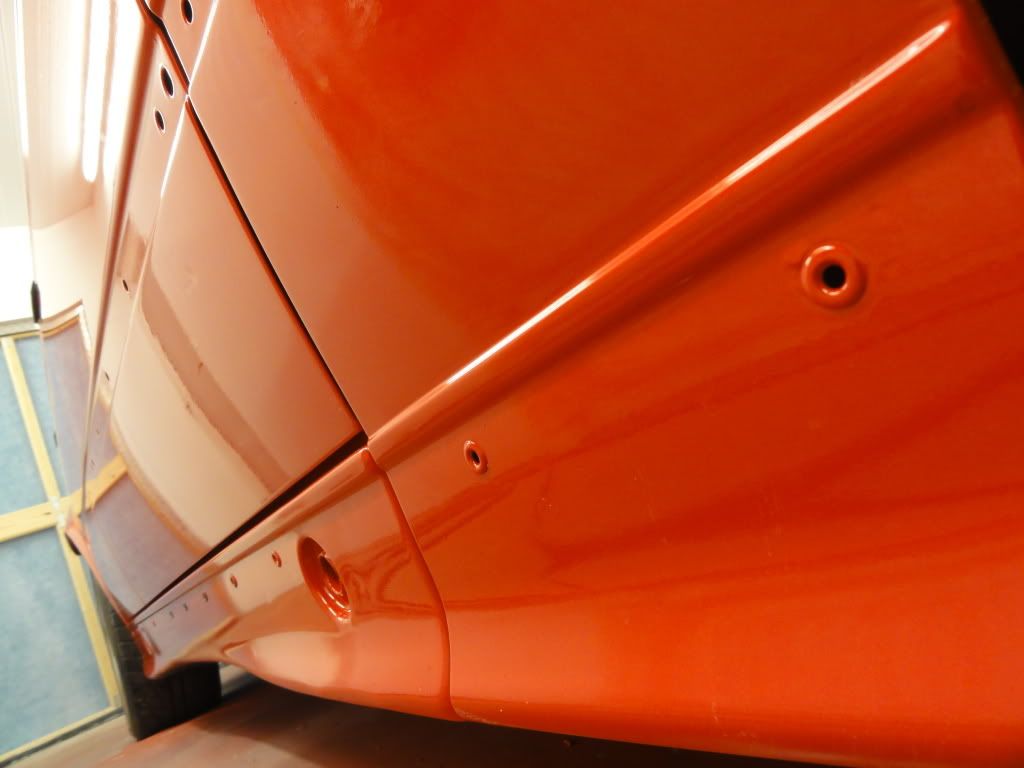
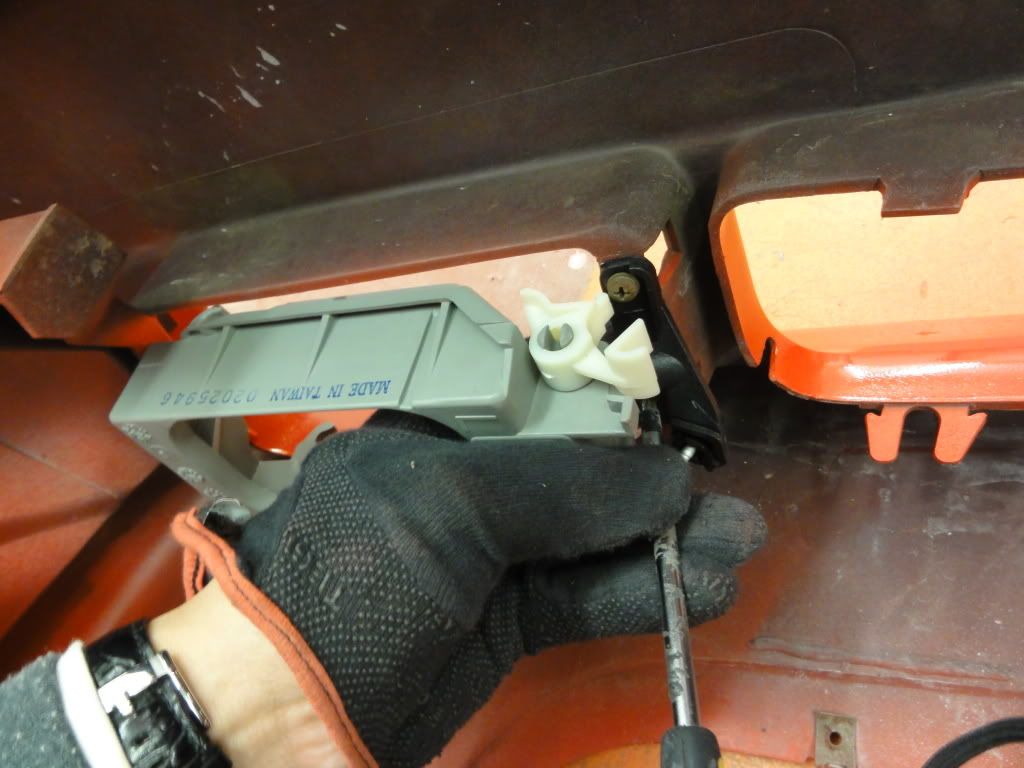
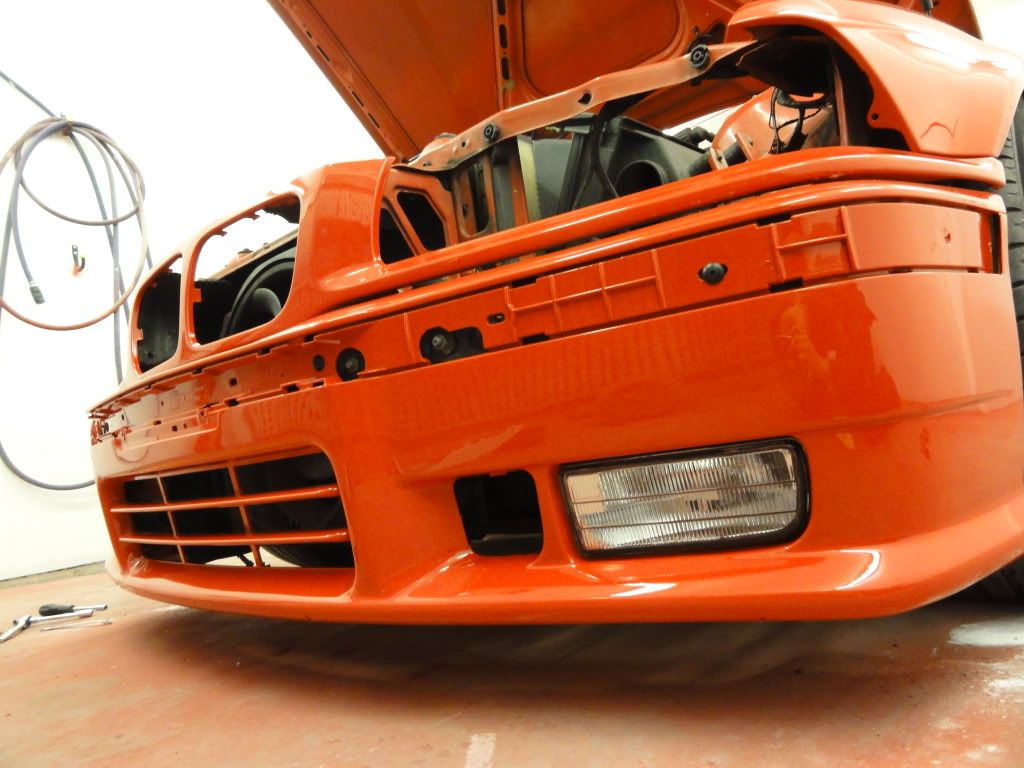
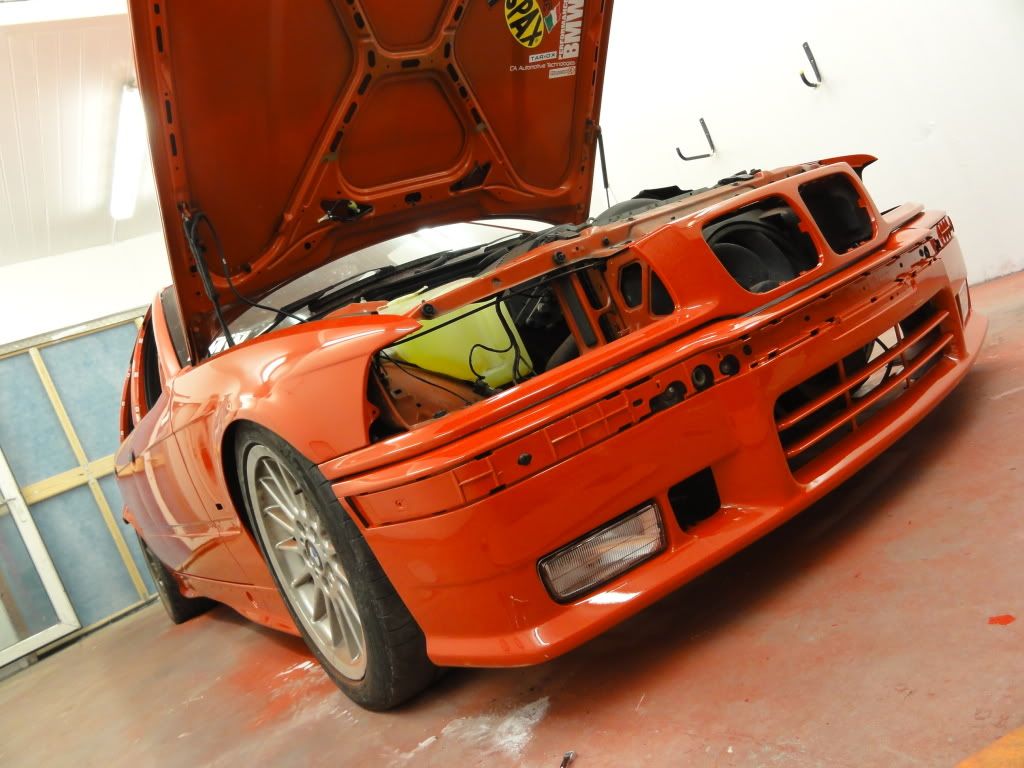
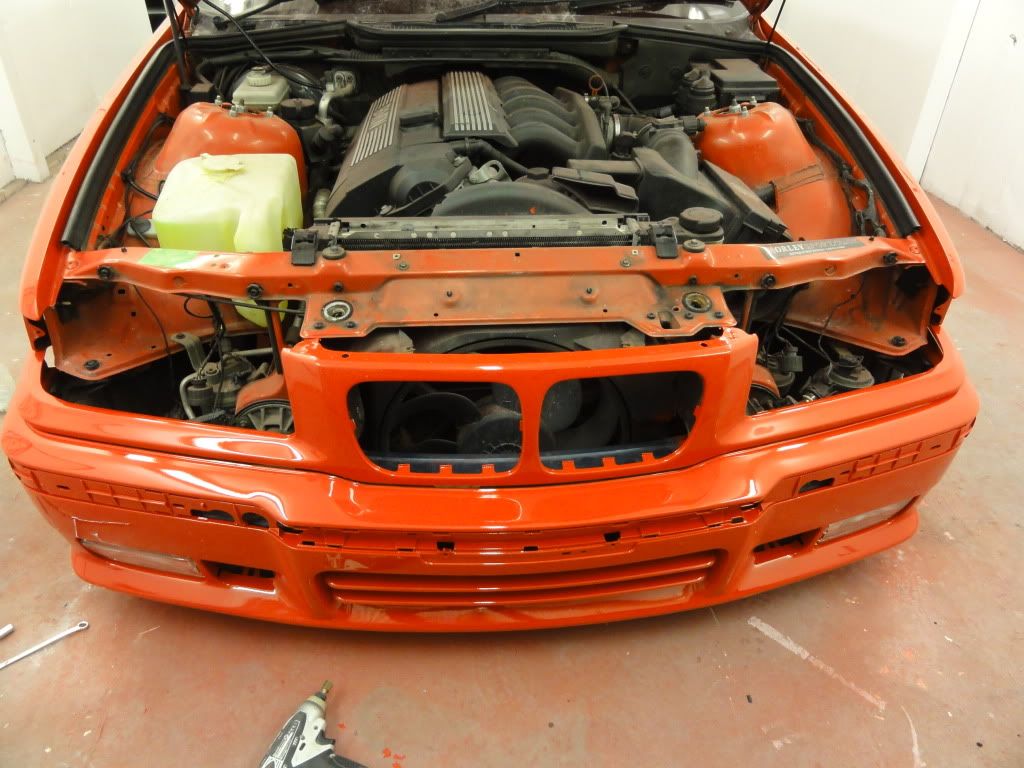
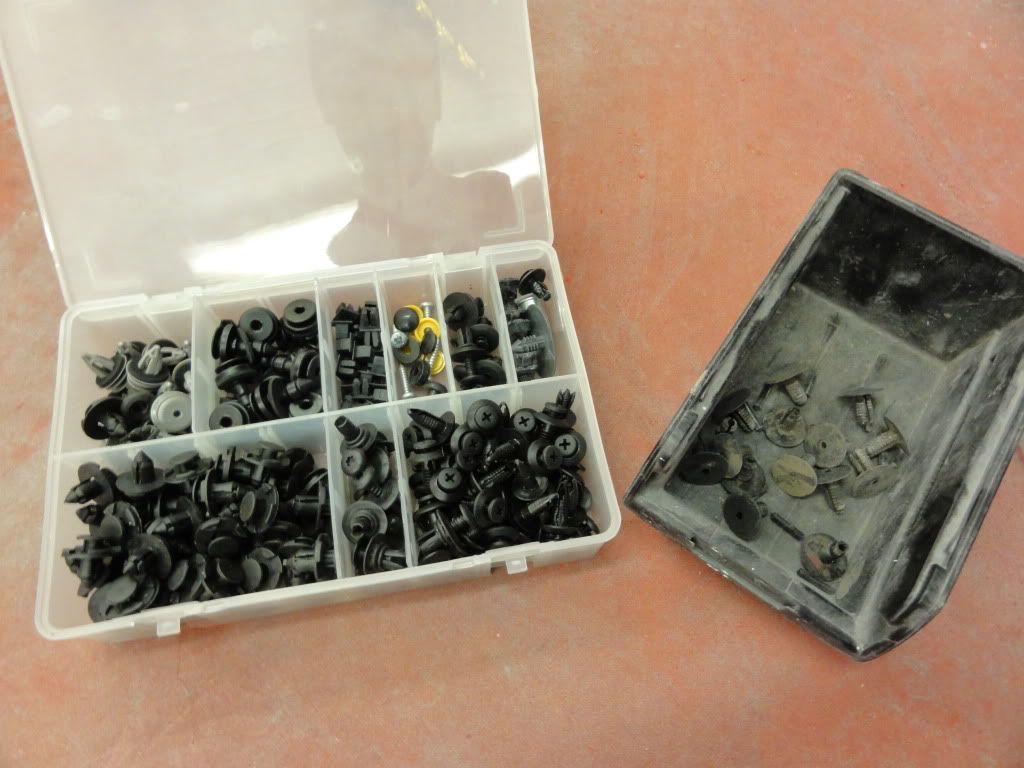
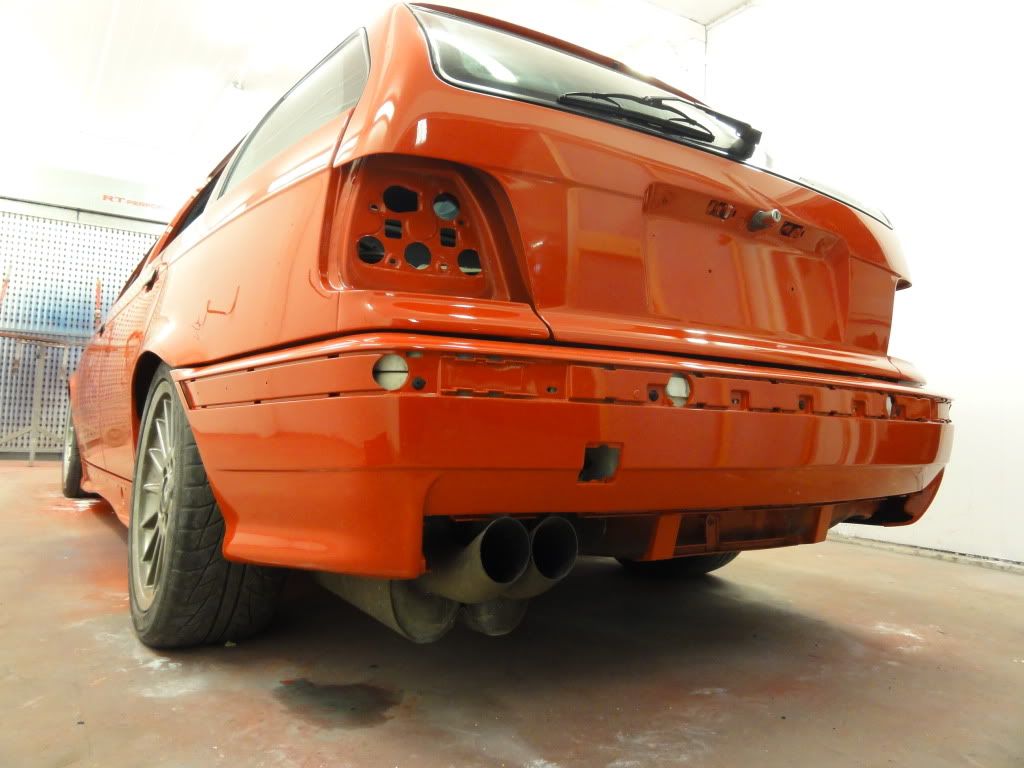
What we've done with Bens car is remove all the removable weather trims and blasted all the dirt out. What's left on the car is totally sealed so there's no dirt build left unattended.
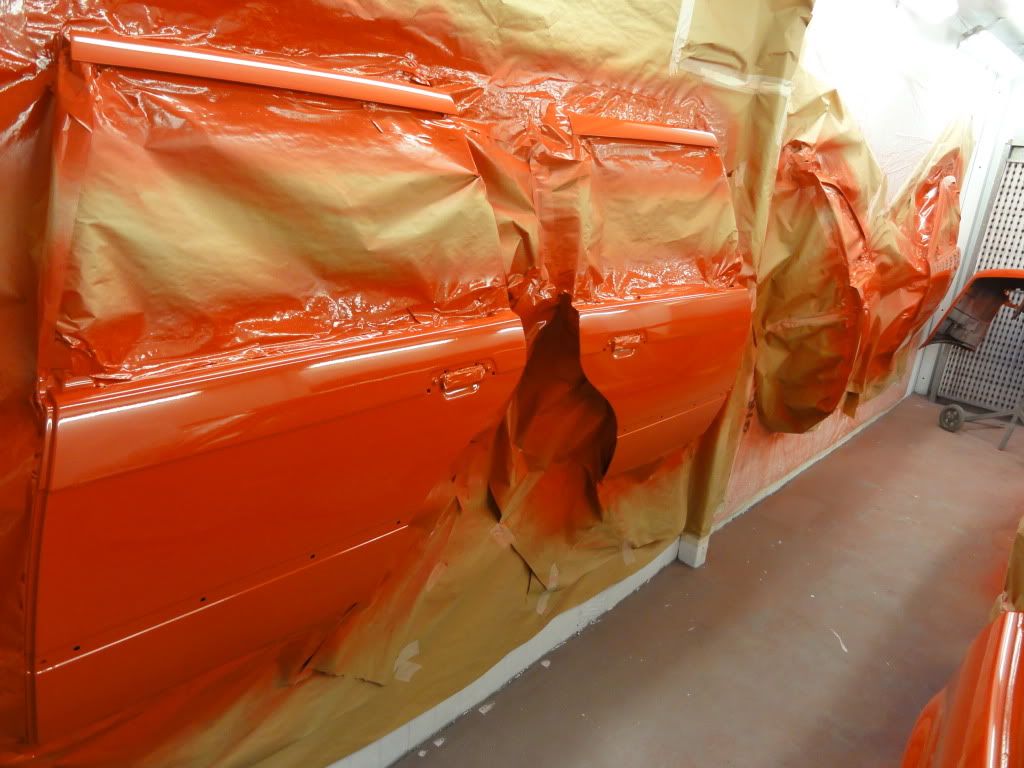
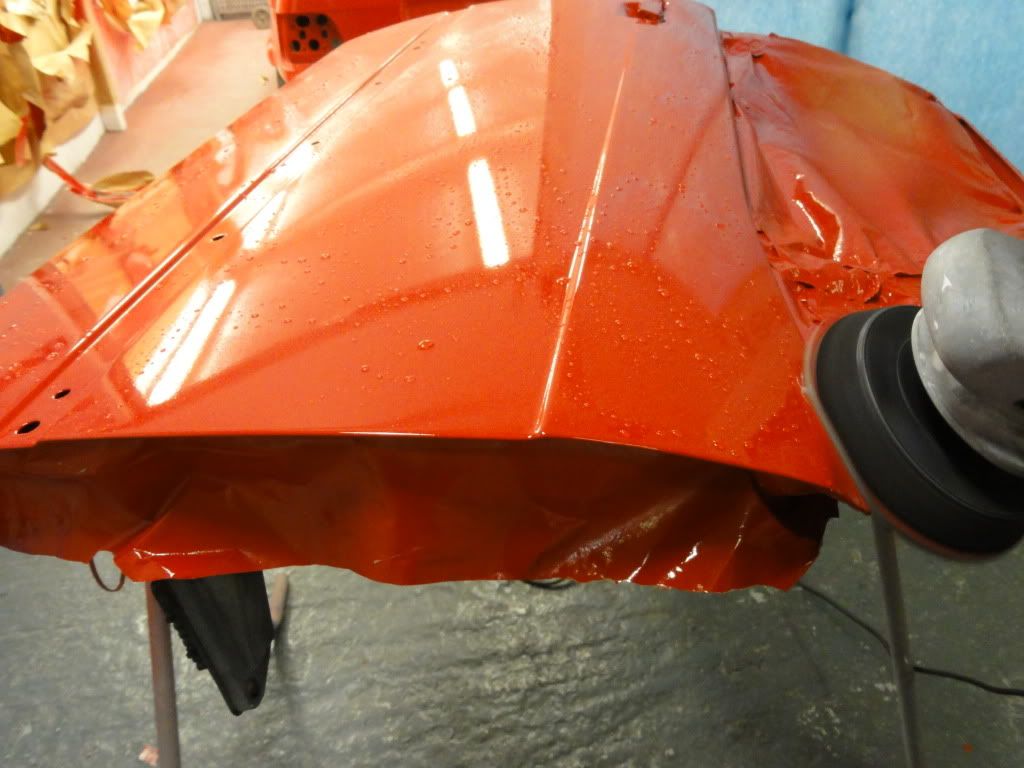
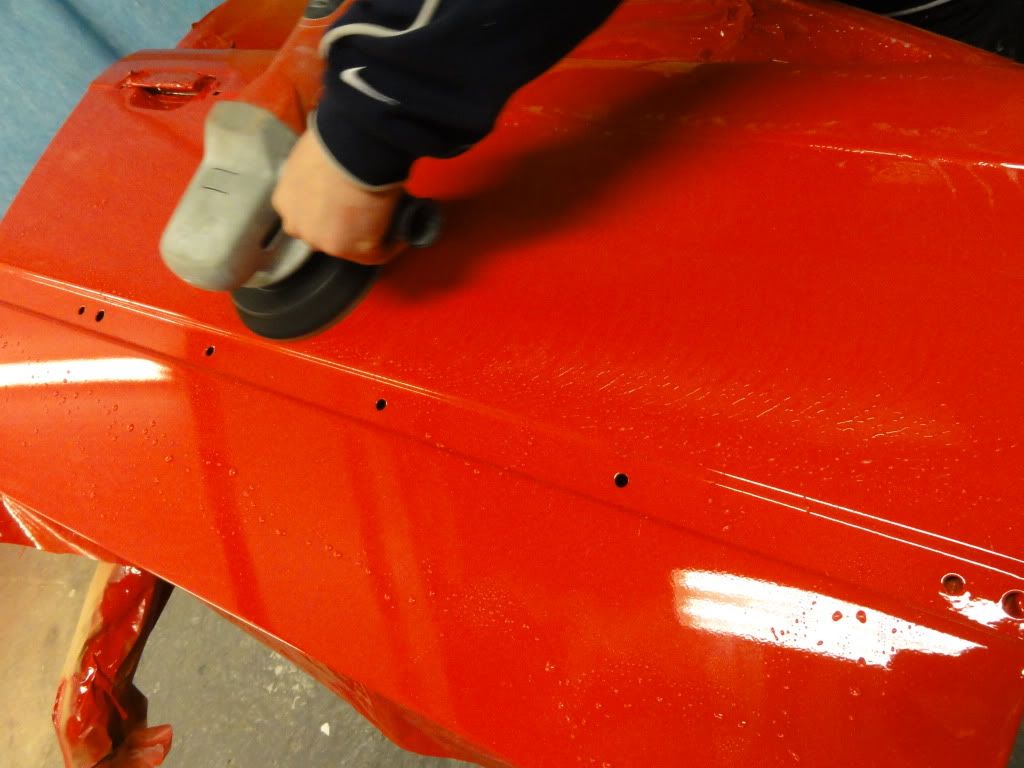
Since we've primed the doors, we've removed them off the car ready to be sprayed.
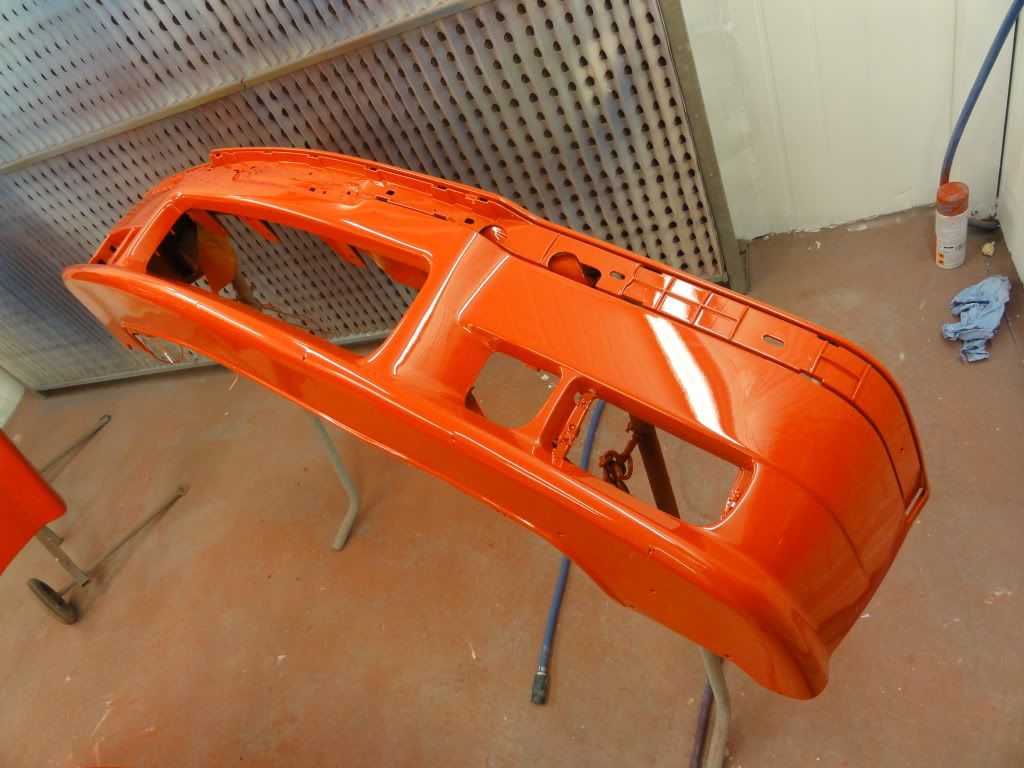
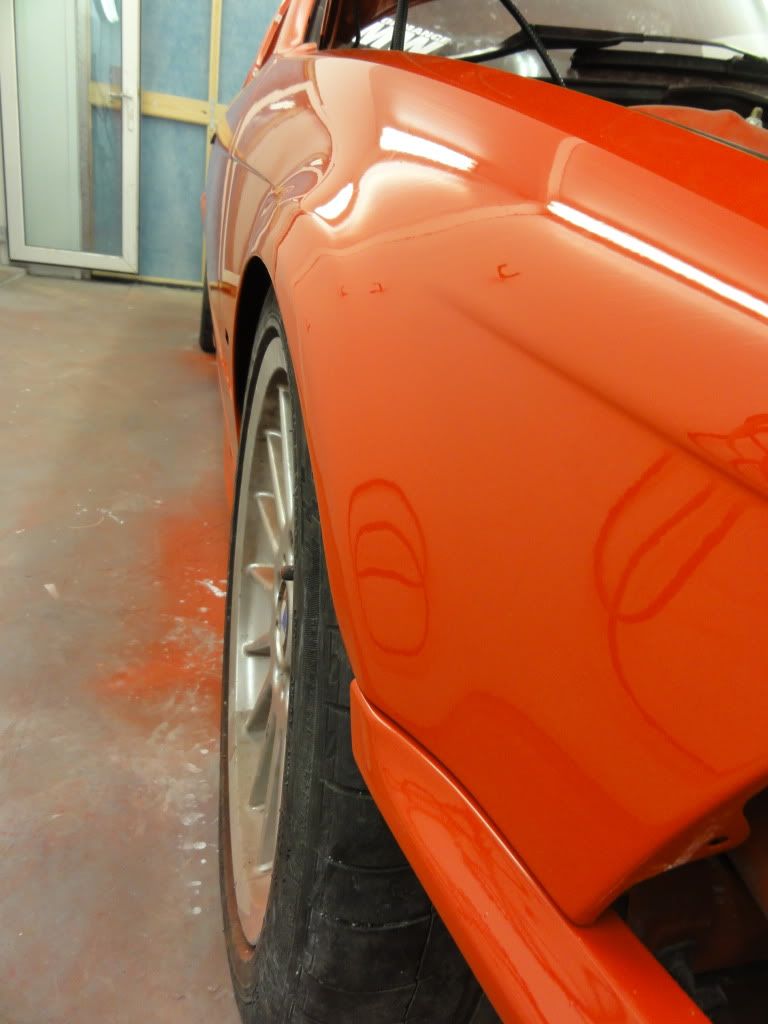
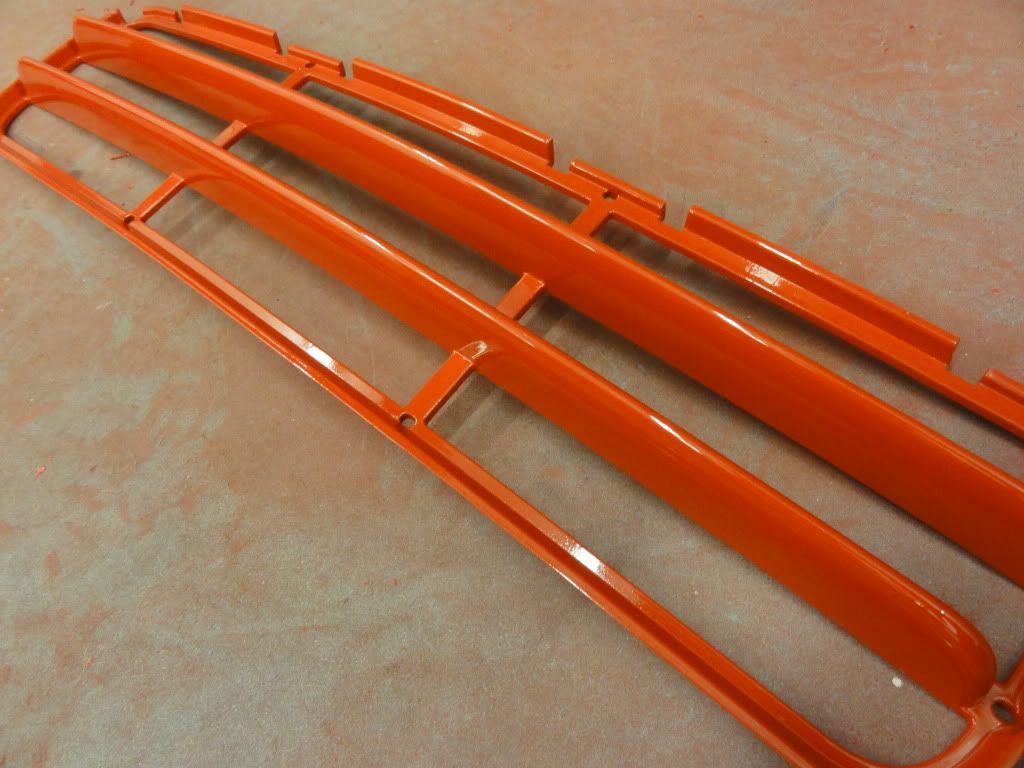
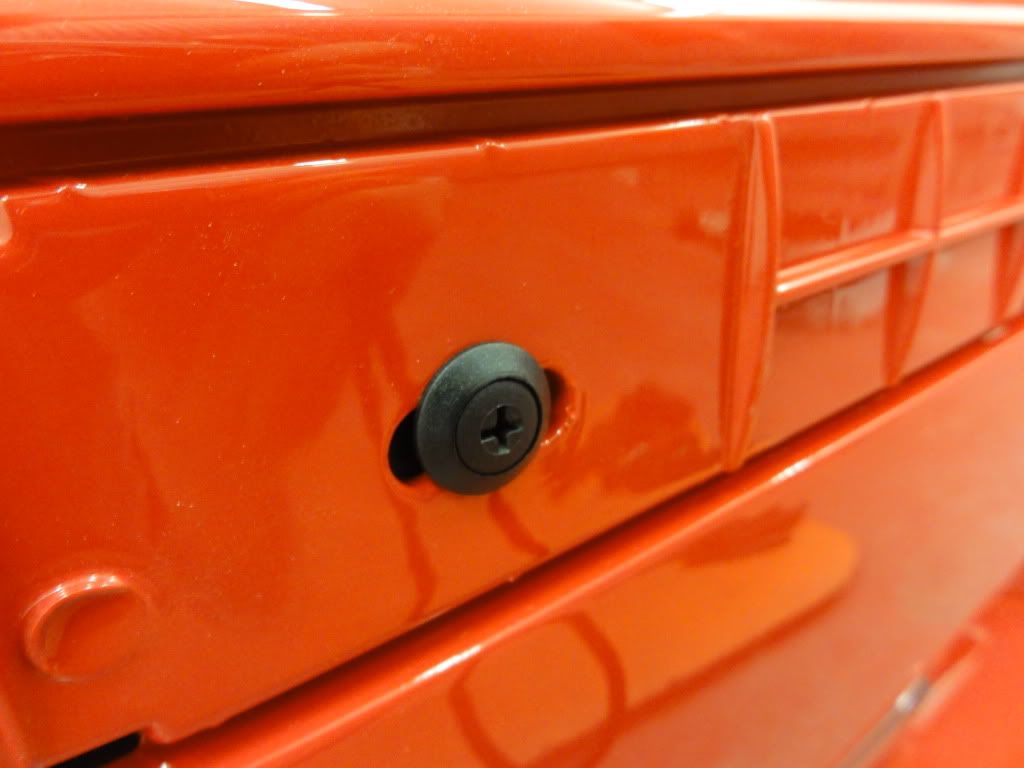
With our adaptable booth, everything was hung up and the car rolled in and sprayed.
Leave a comment:
-
im in love with this touring, first saw it at last years players. After reading about your power pulleys ive decided to do the same to mine
Leave a comment:
-
You could get them from BMW without roof rails I believe...Originally posted by Dr.AK View Post
I just prefer it, a big uncluttered and shiny roof will be IMO
IMO
Leave a comment:
-
Me gusta to the repaint!
Altough I'll have to say I can't understand why anyone would voluntarily remove the roof rails on an E36 Touring... it just looks strange without them. *shrugs*Leave a comment:
-
More news from RT!
Ben- I noted in another forum someone mentioned we're working really quick. TBH we're not. Stripping the car down is the easy bit and we're really taking our time doing your car in between our normal jobs.
The Prep work, filler and priming process is what we spend most of our time doing because it's actually the most important job of all for a good restoration.
Like everything else, there is a tool for every job and preparation is key.
We often do the filler work twice or three times to be sure it's totally settled before priming.
Anyway enough jibber jabber.
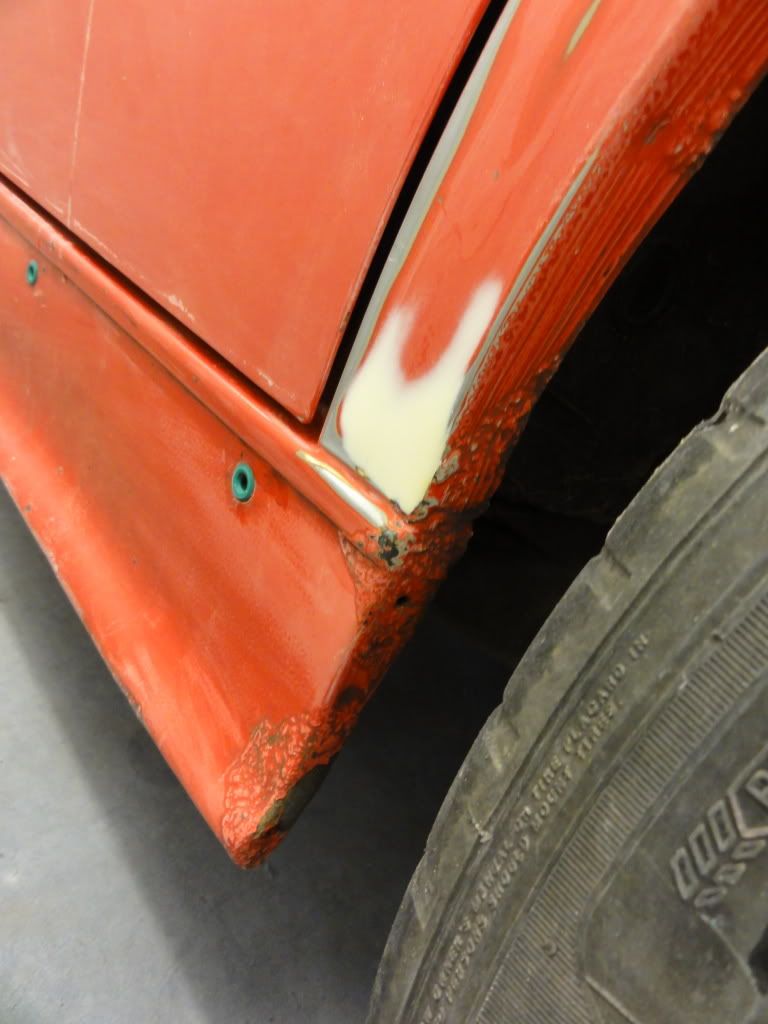
First filler work:
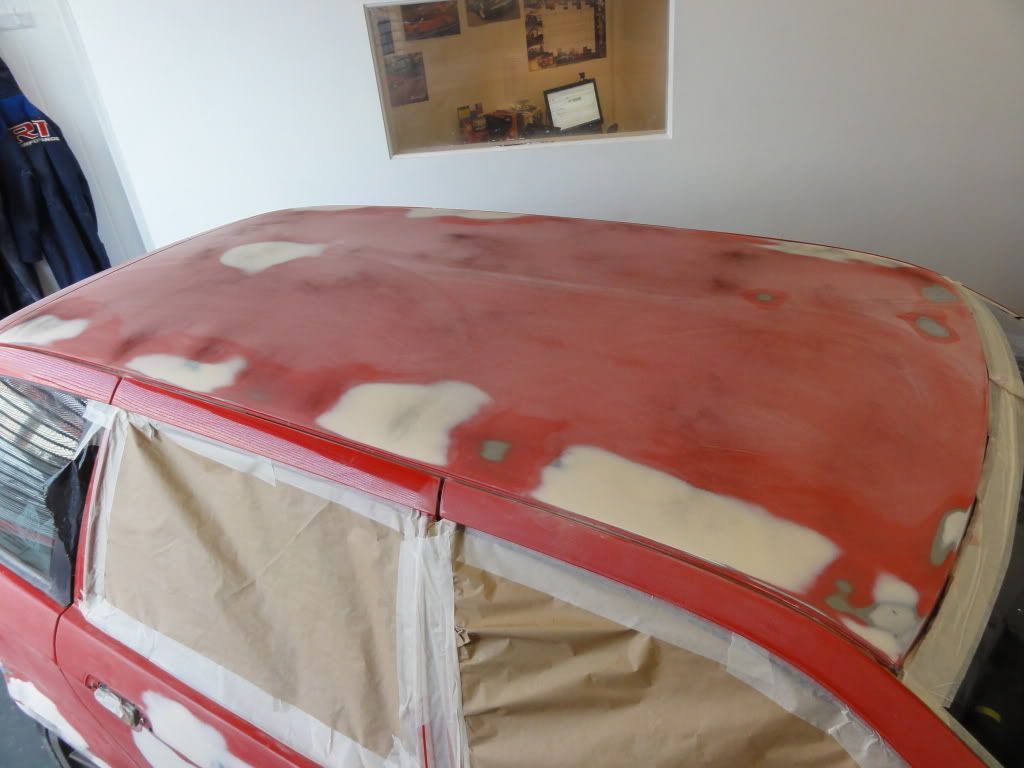
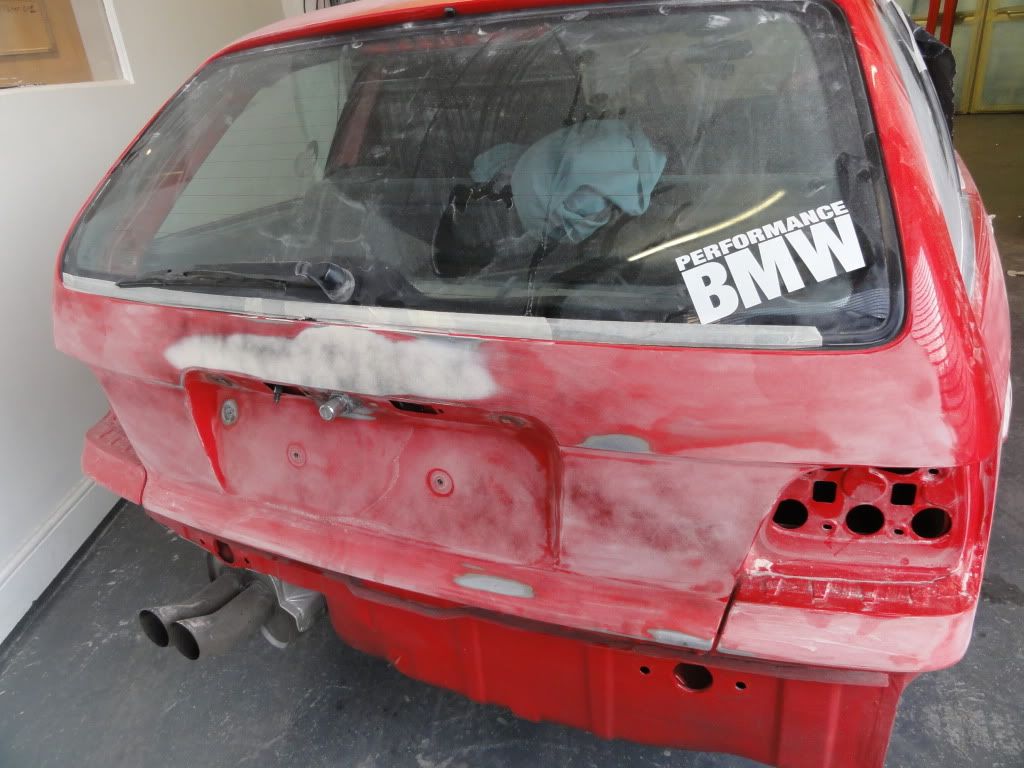
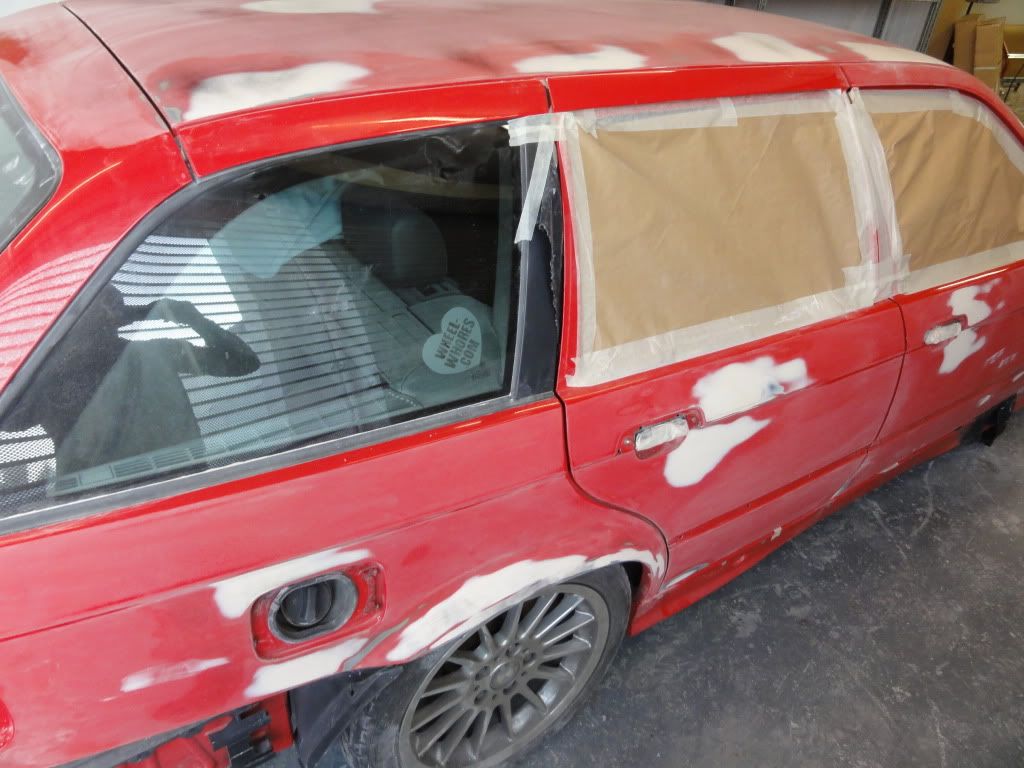
Second Filler work with a mist of high/low mask
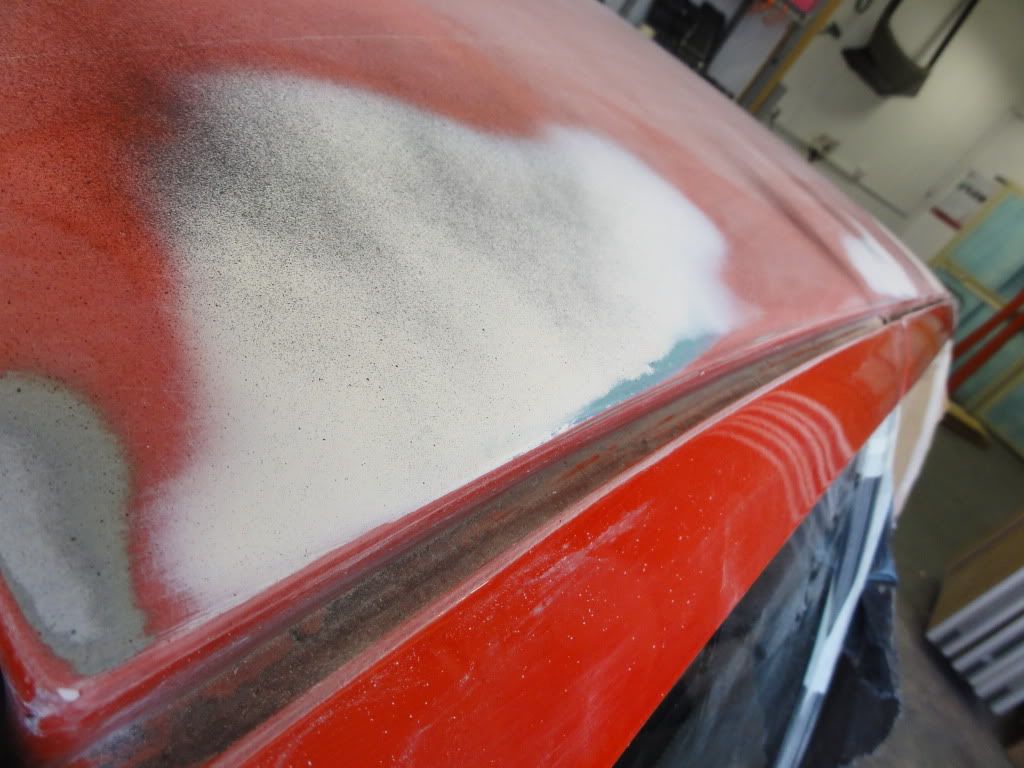
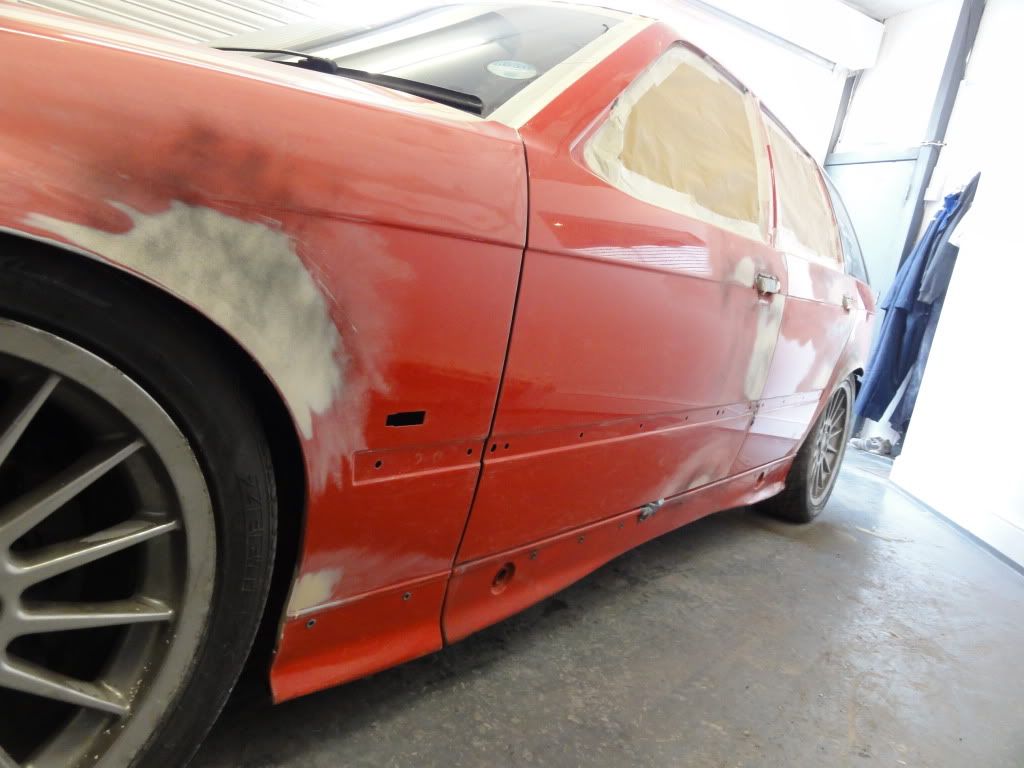
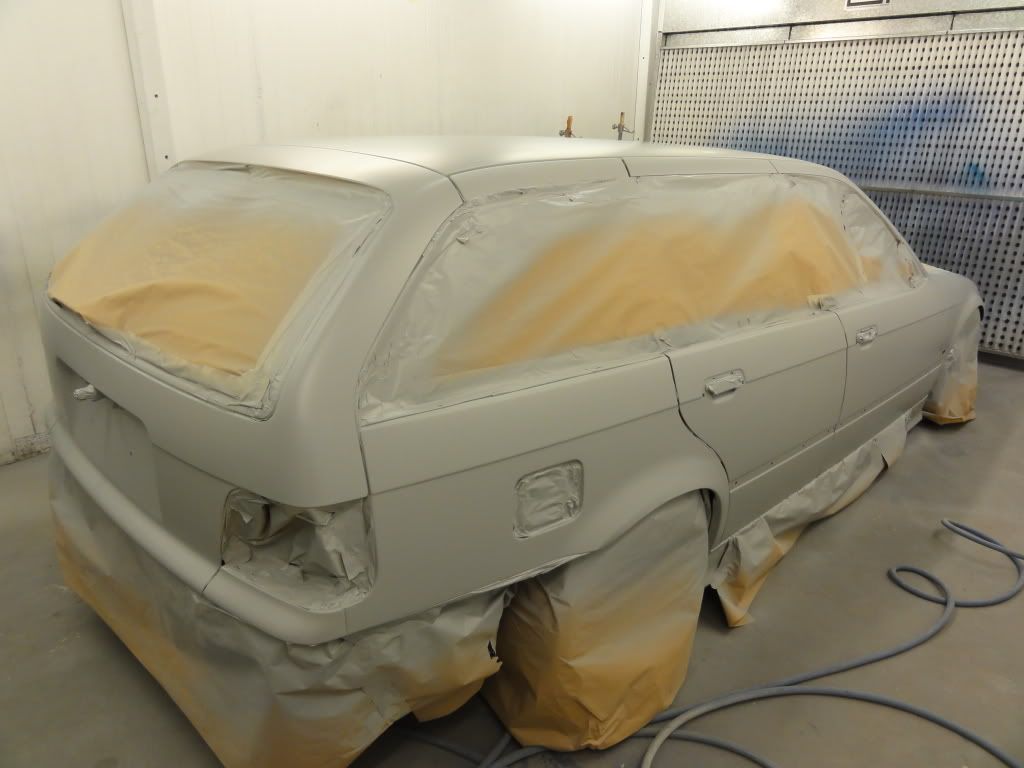
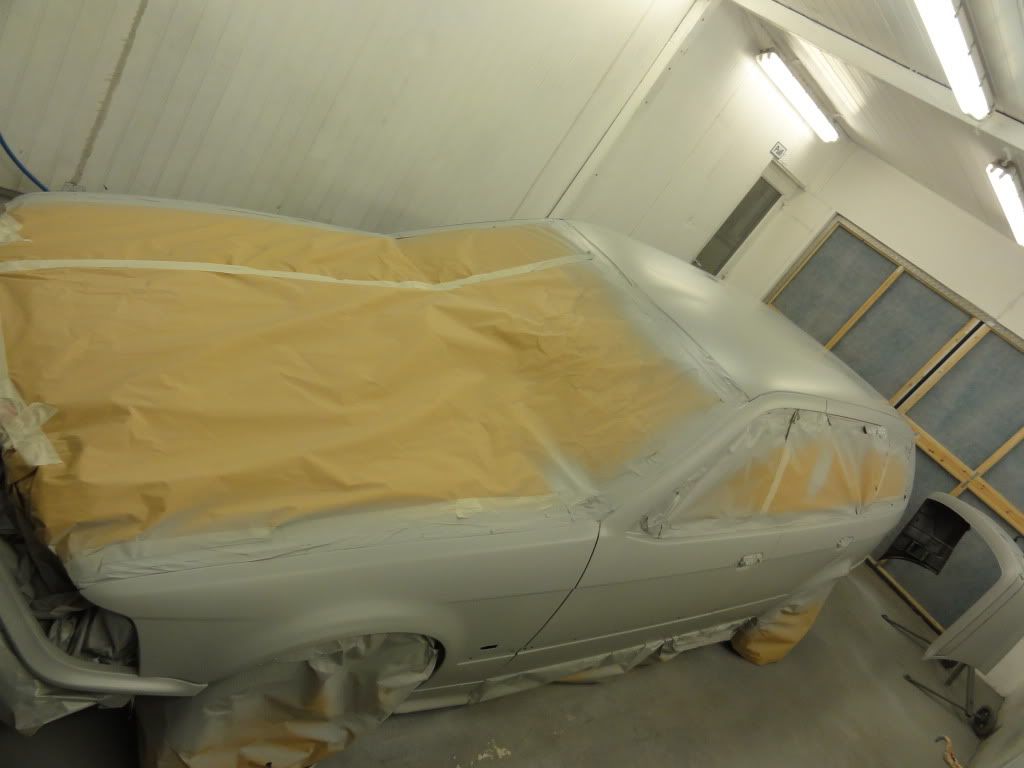
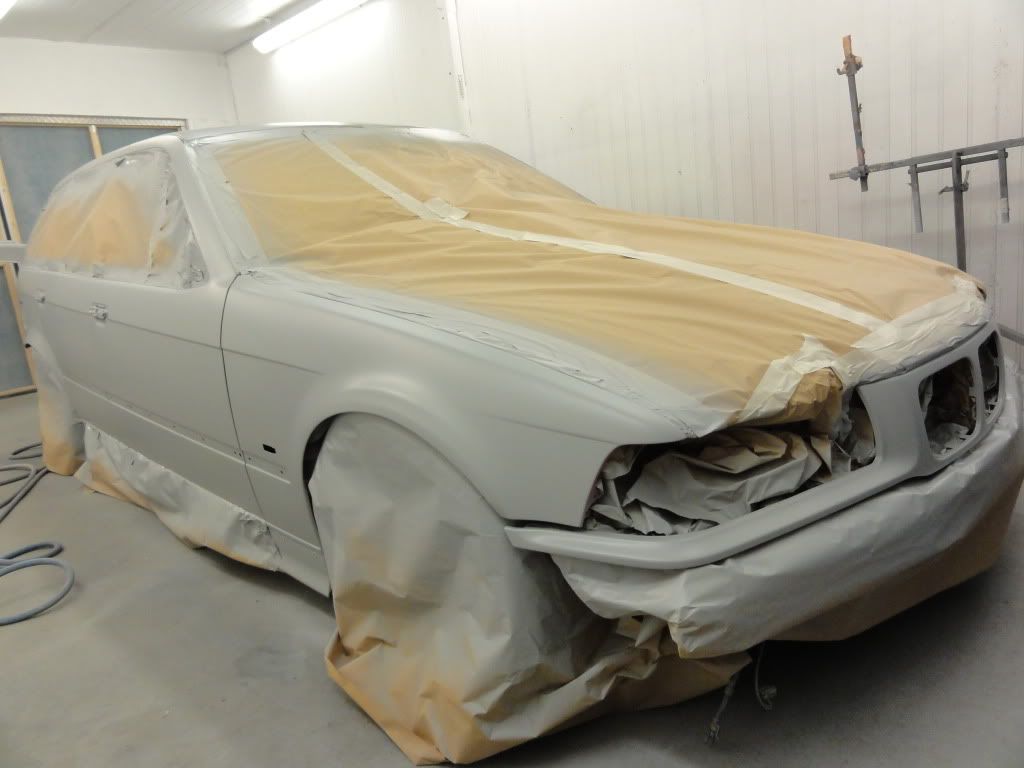
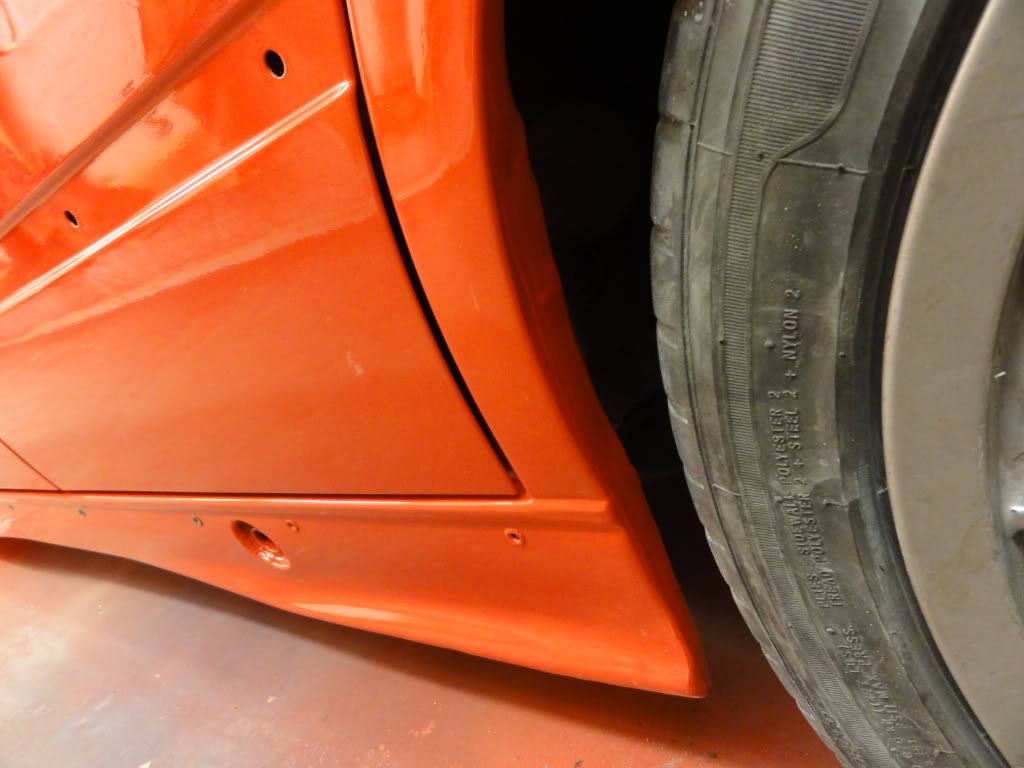
In the fallowing pics, notice how we kept the lines of the car even though it's filled to the edge where a lot of the rust had been removed including the wheel arches which where very wavy where it's been pulled and now straightened and made even on both sides.
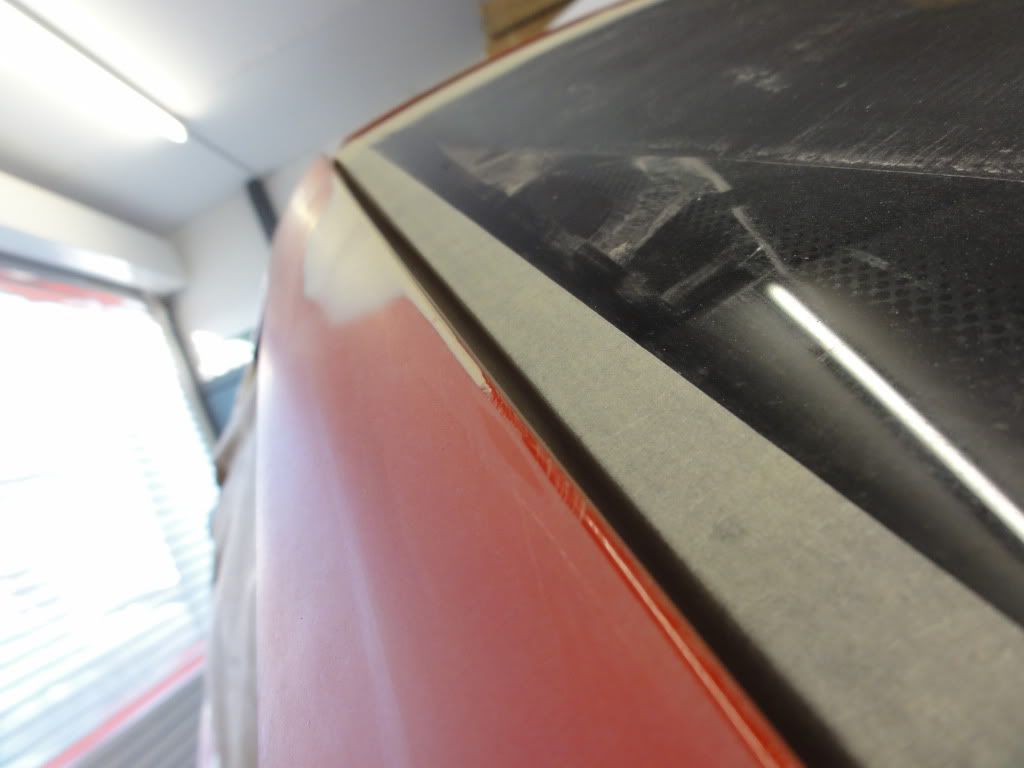
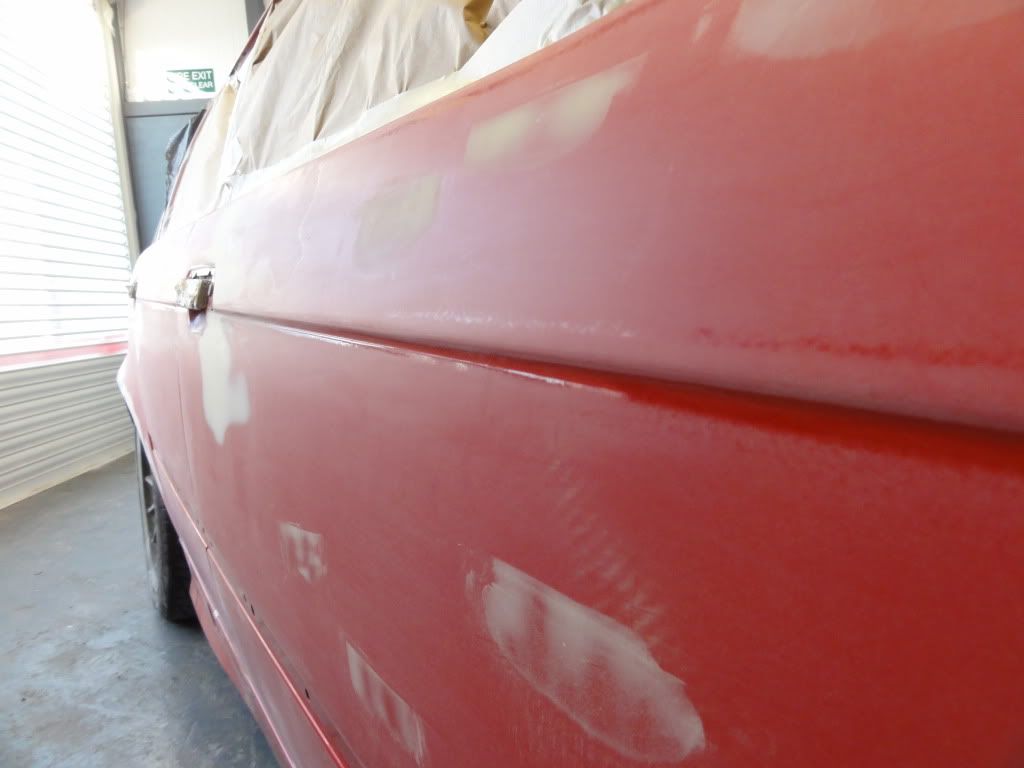
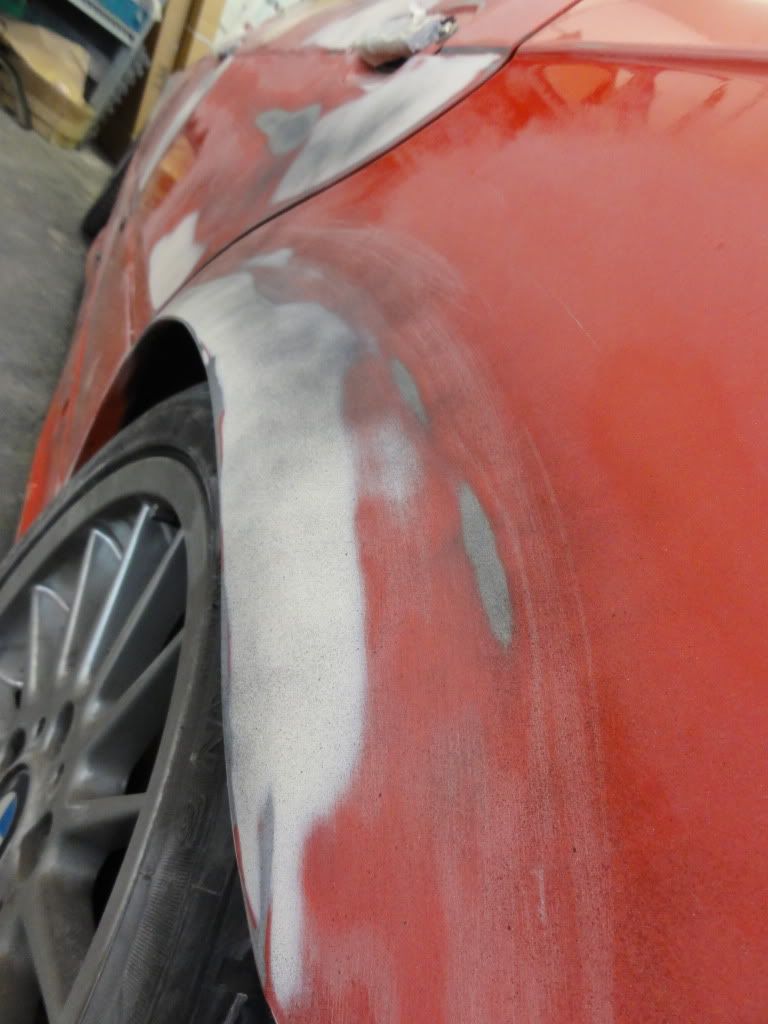
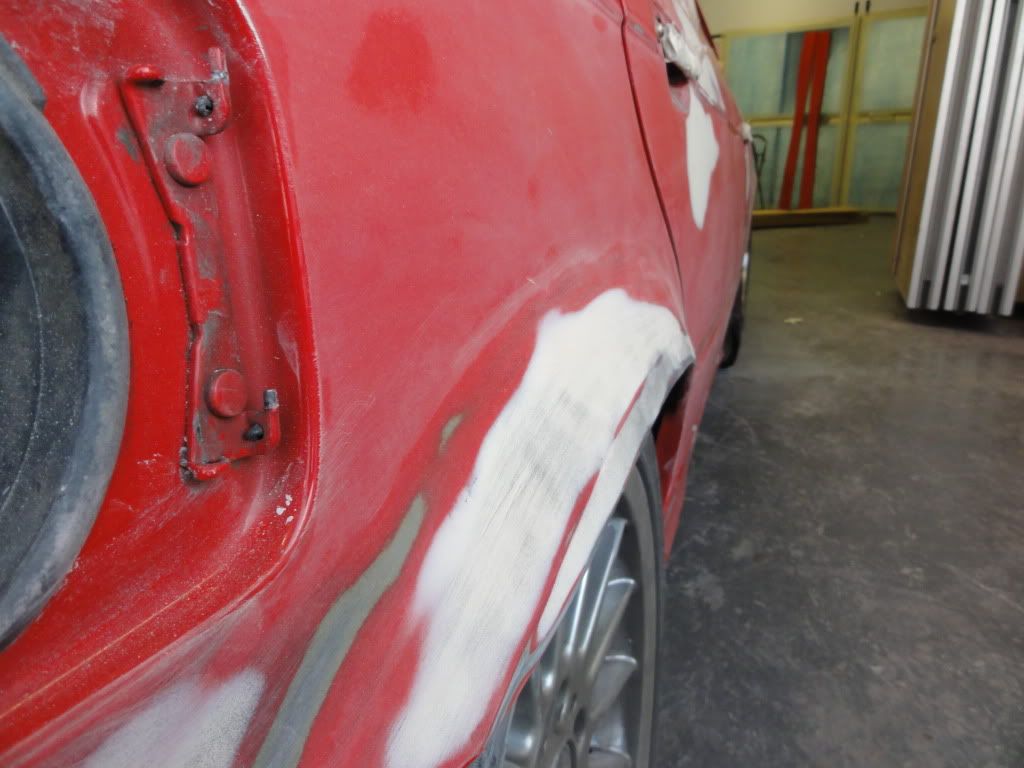
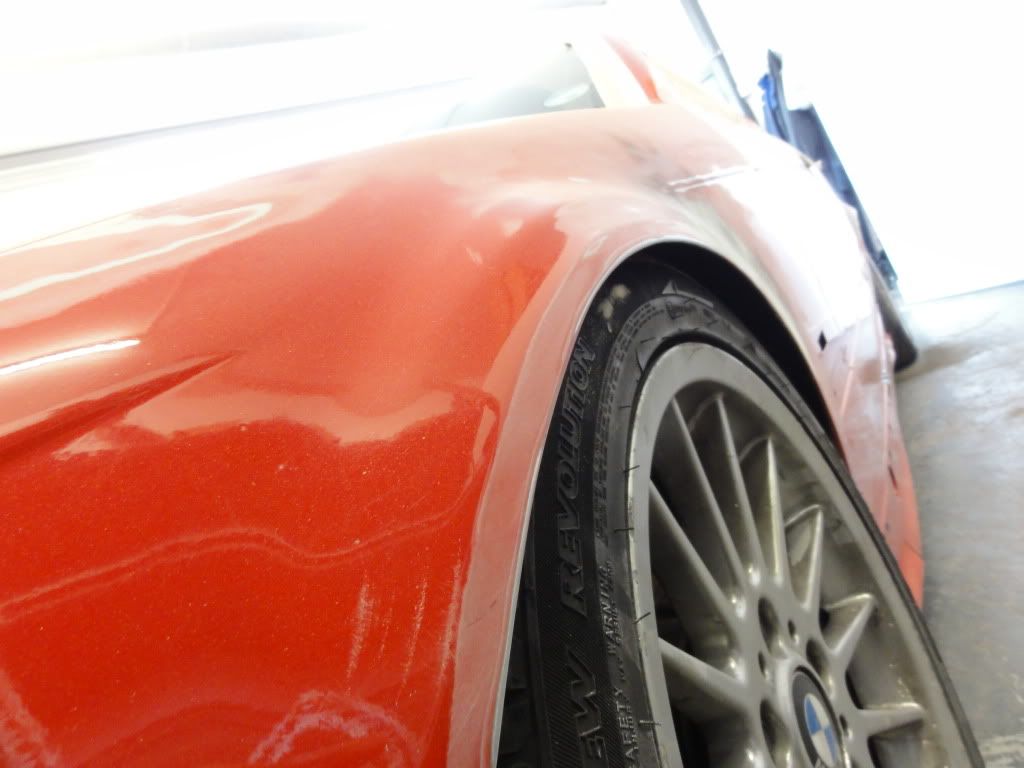
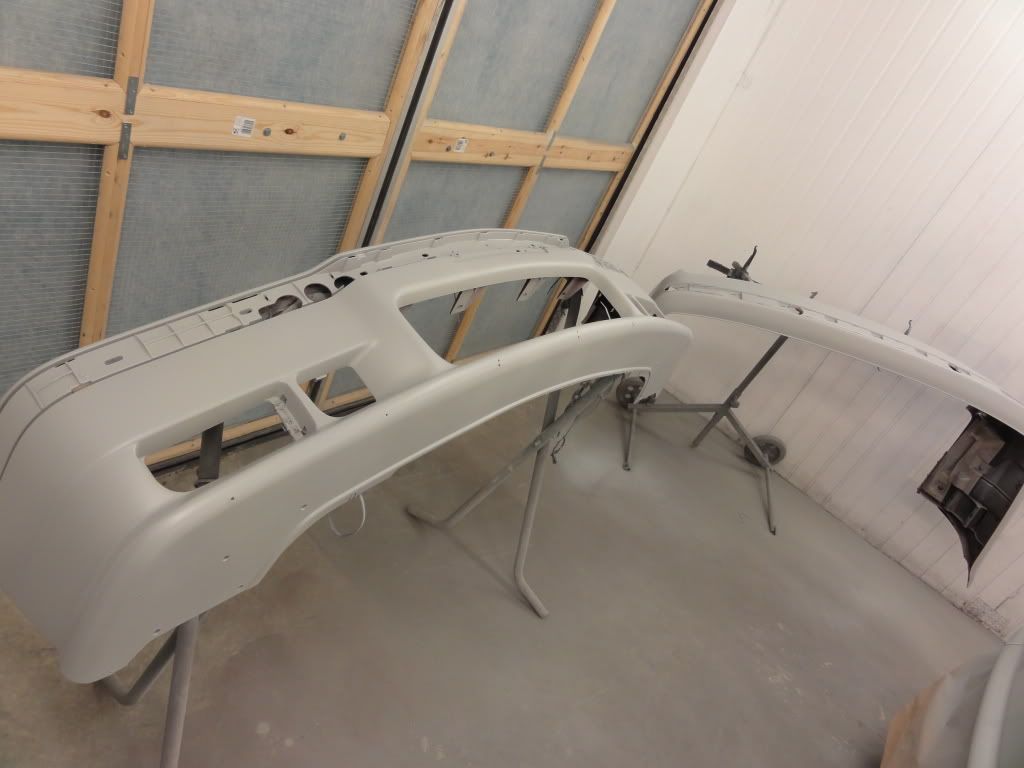
And dont forget the bumpers
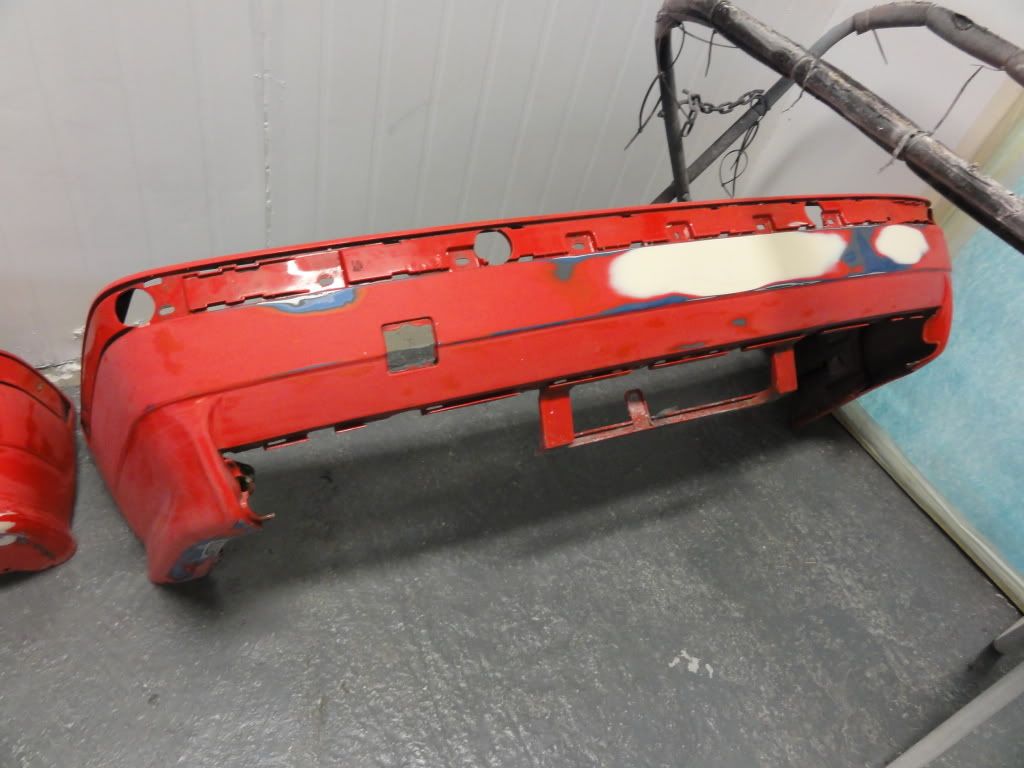
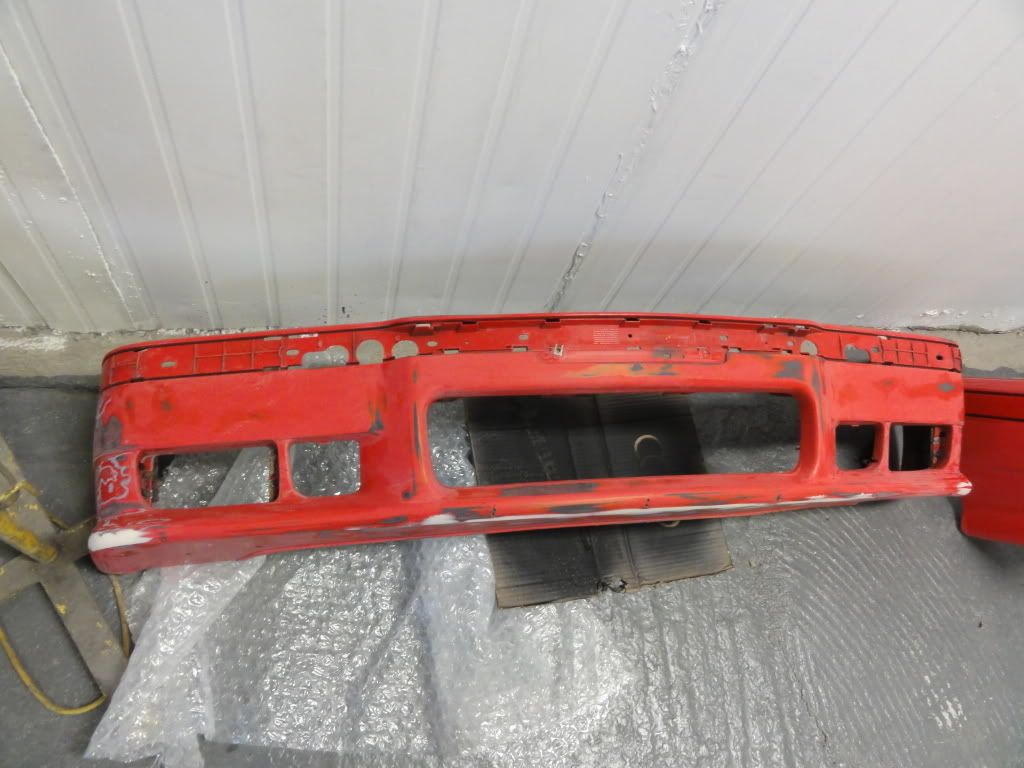
Then a secondary clean and wipe down before masked to go into the booth for priming.
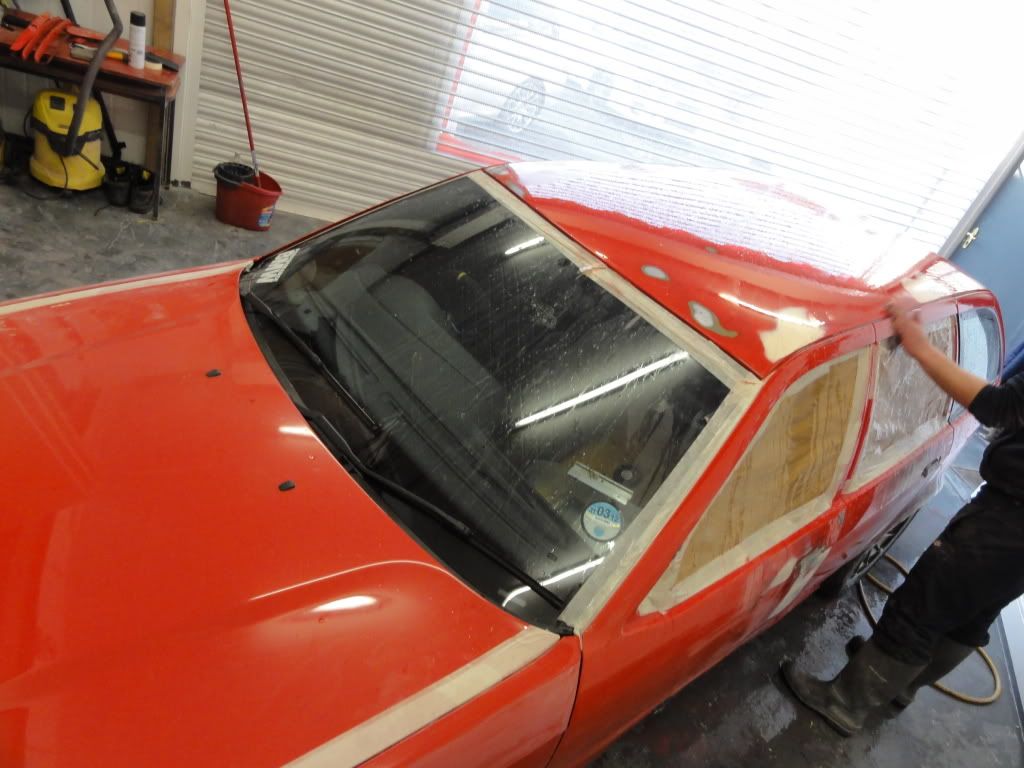
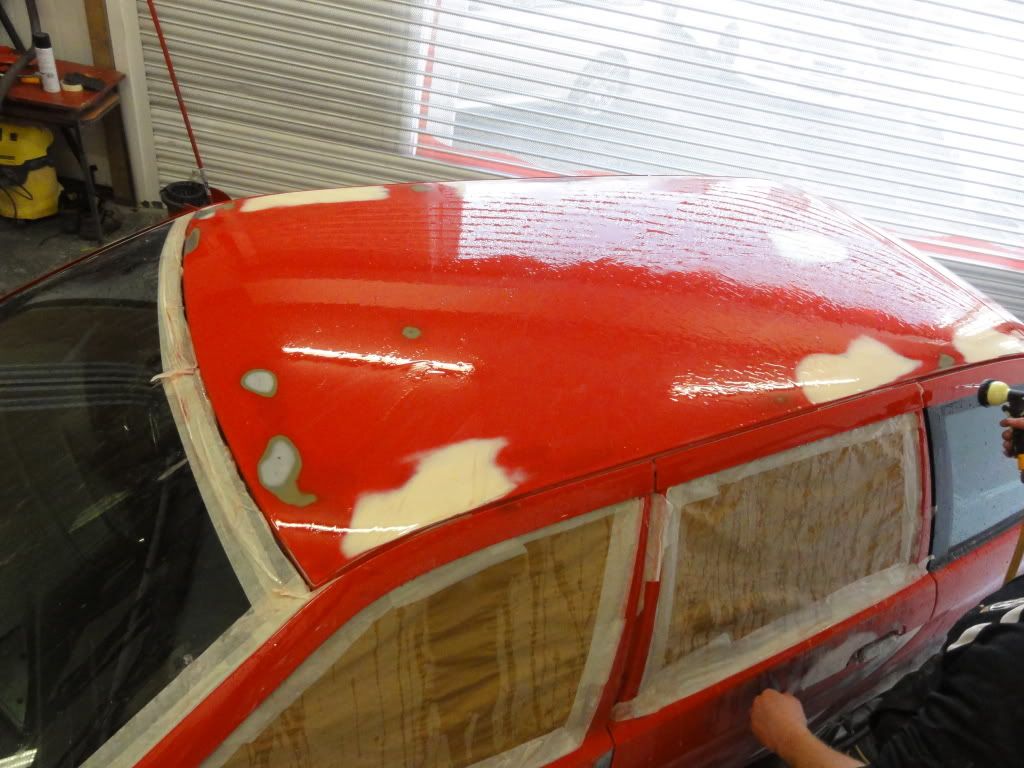
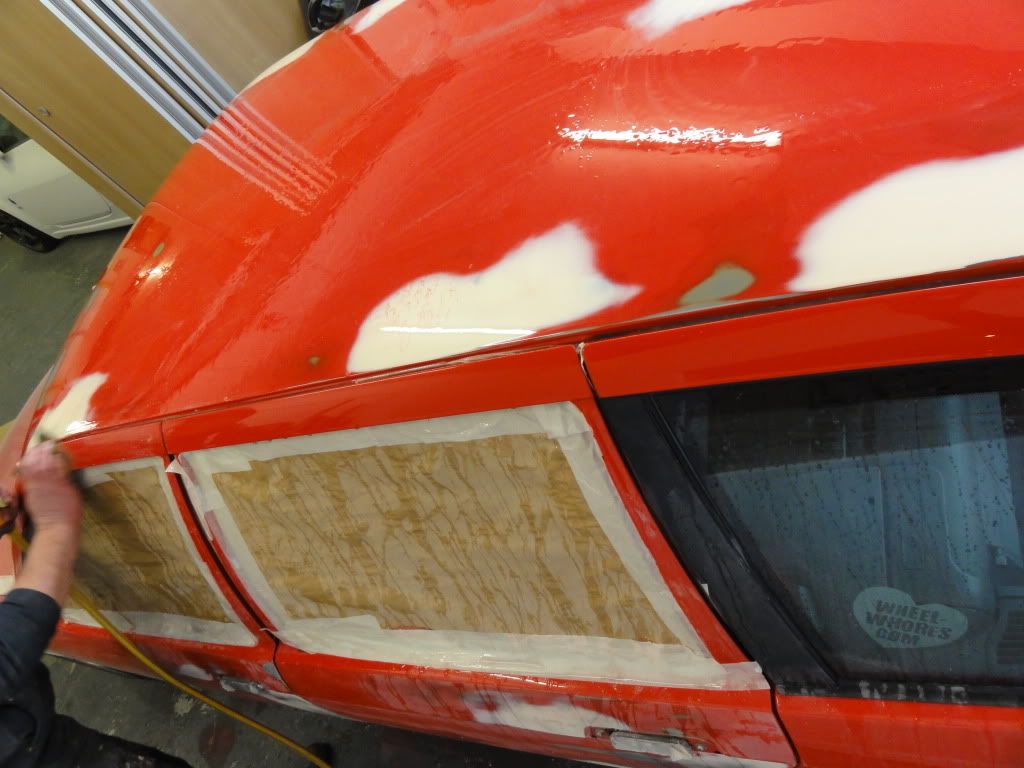
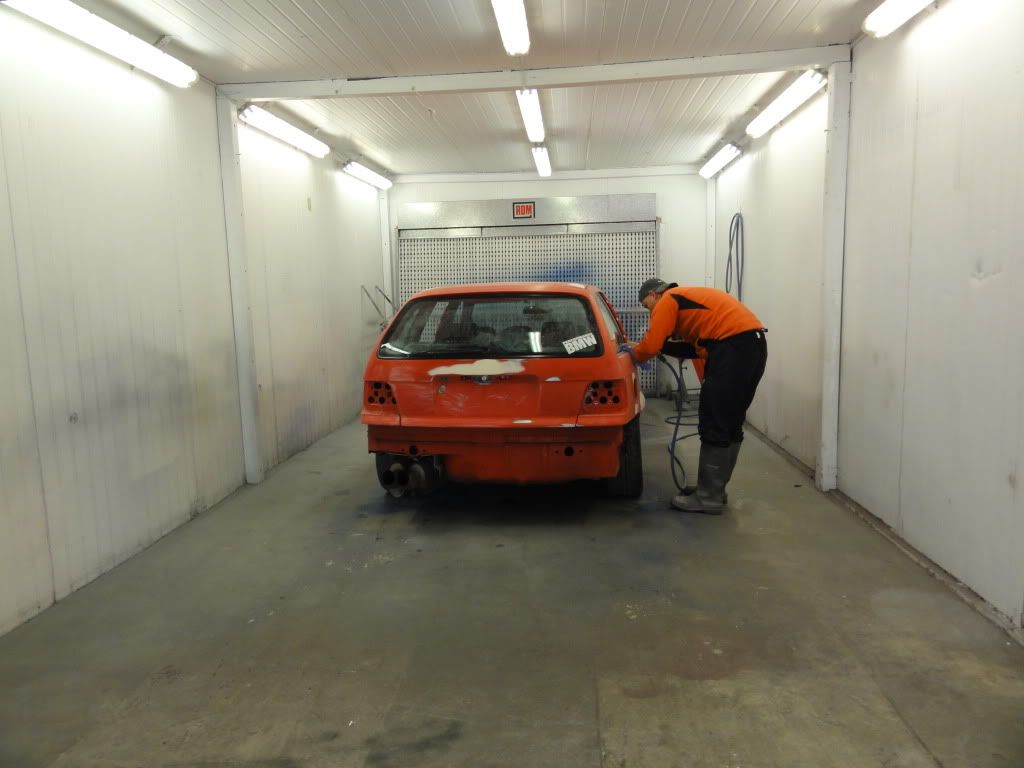
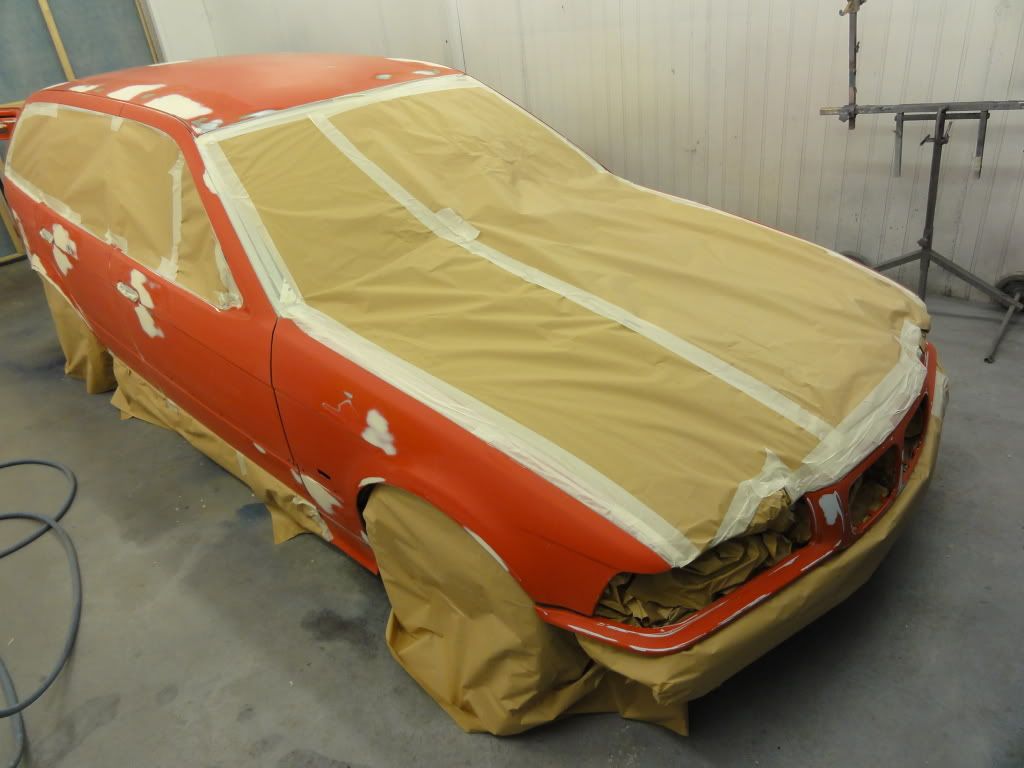
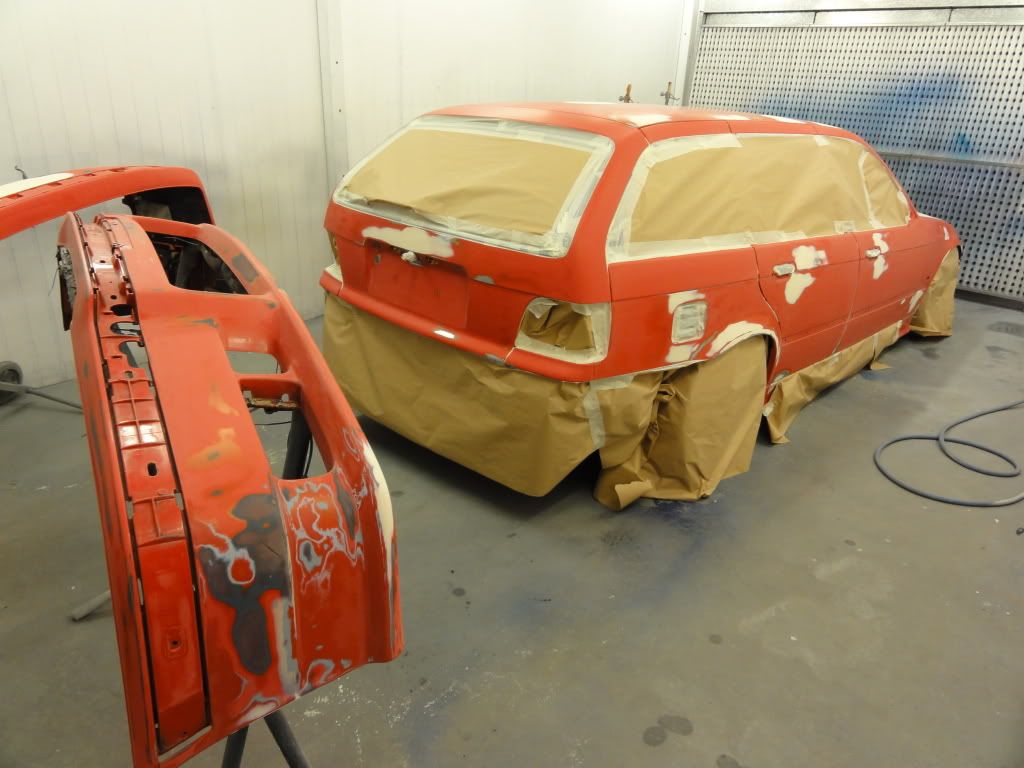
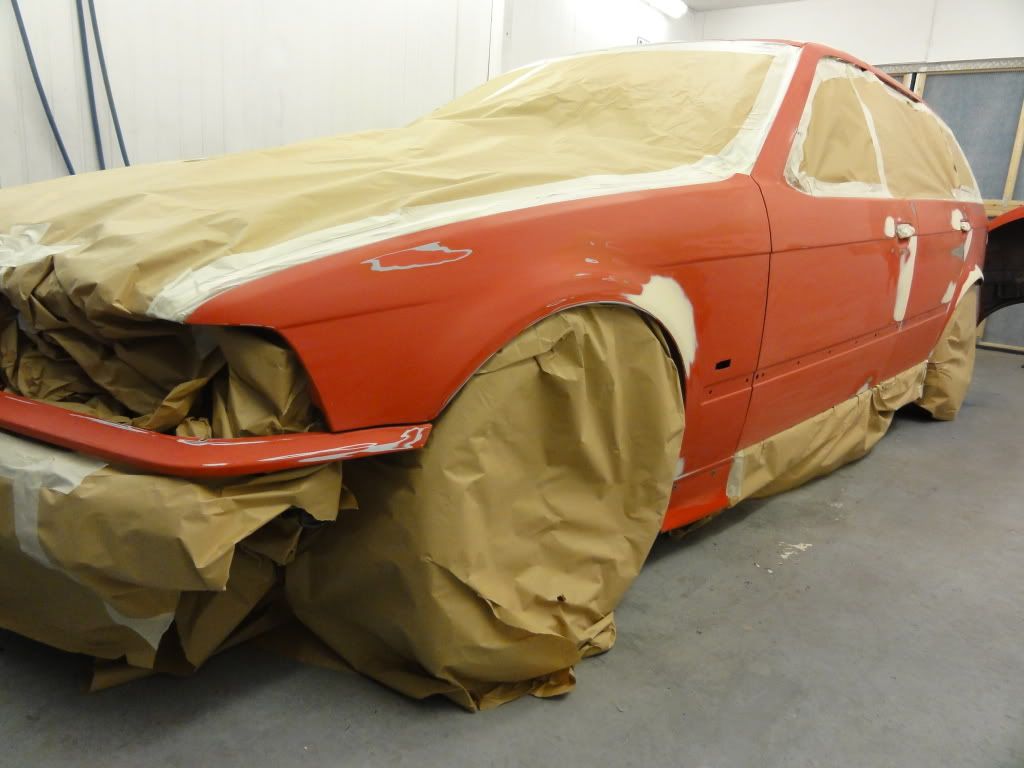
Then Primed
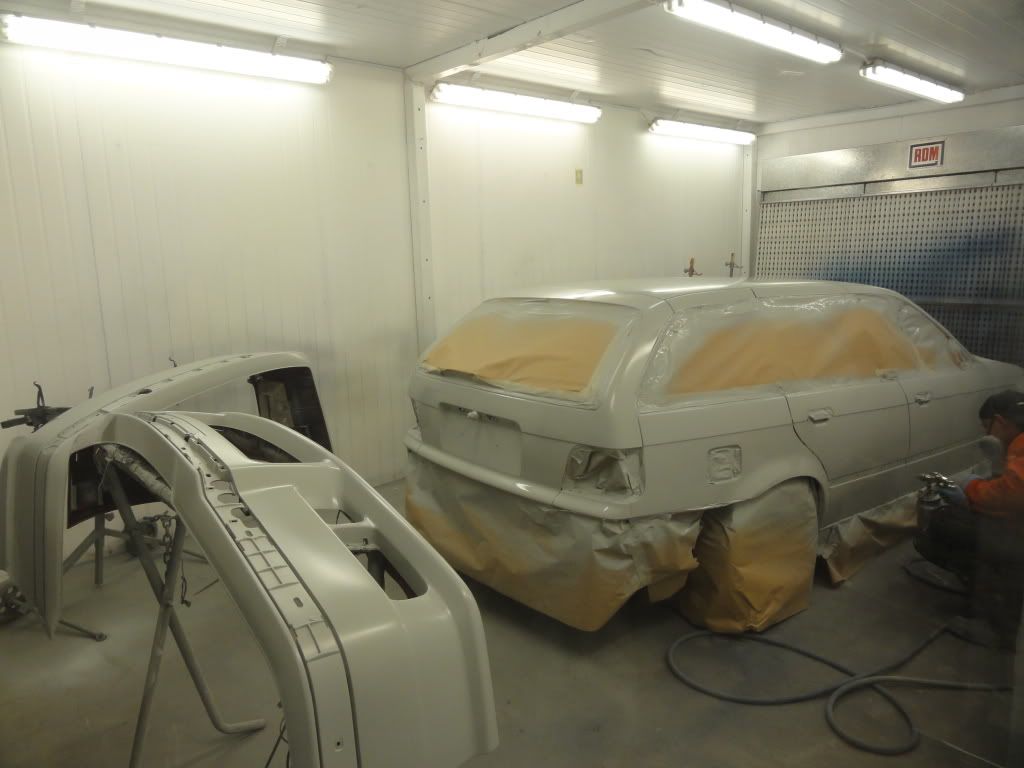
Leave a comment:
-
Just been pointed to the thread that RT are doing on bimmerforums
a small update on the work so far with the Performance Mag E36 restoration.
We ripped off the roof to repair the poorly filled holes but only to discover a nasty thick adhesive glue which needs removing.
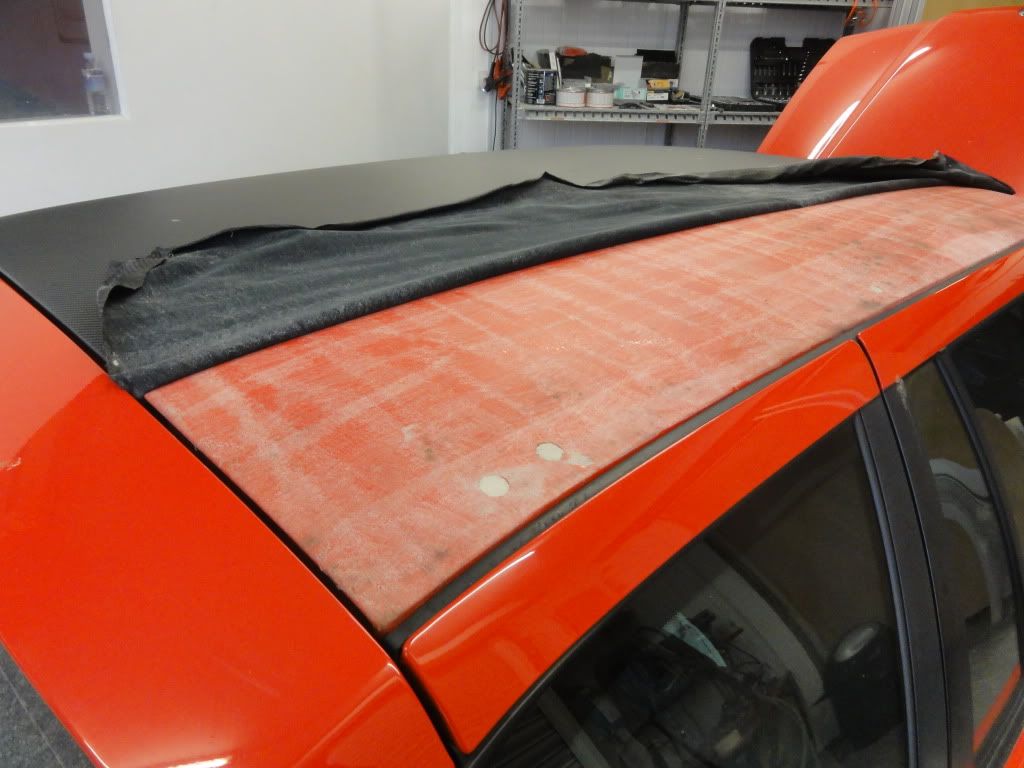
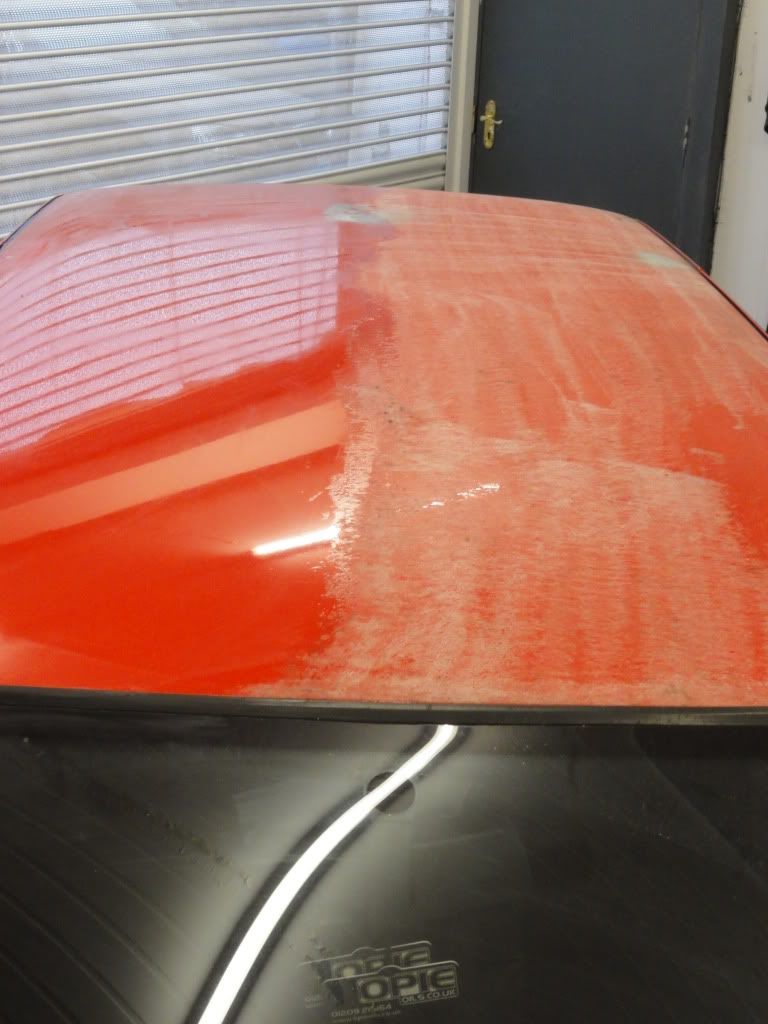
Trust me it was not easy to get this crap off.
Then we began the strip!
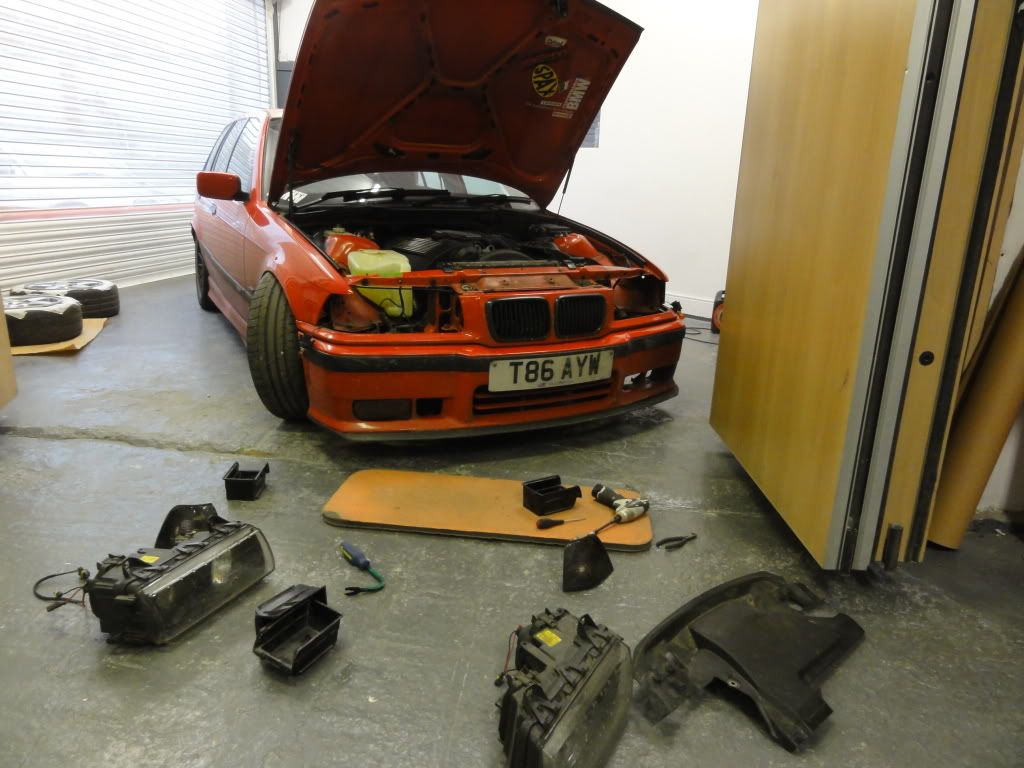
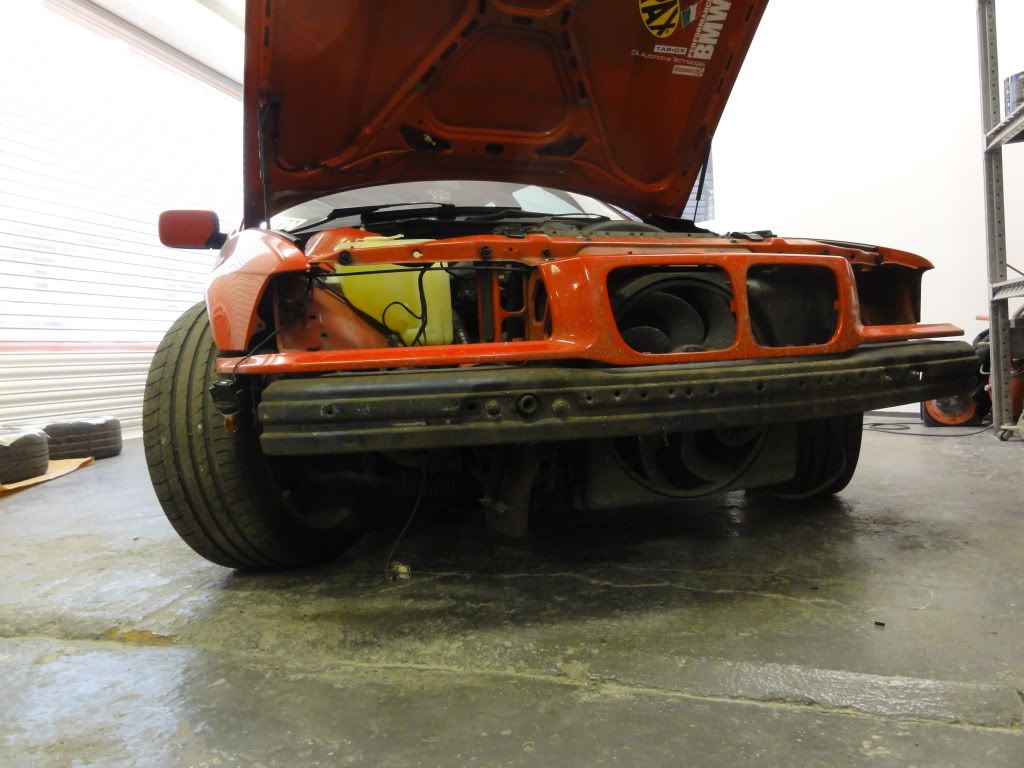
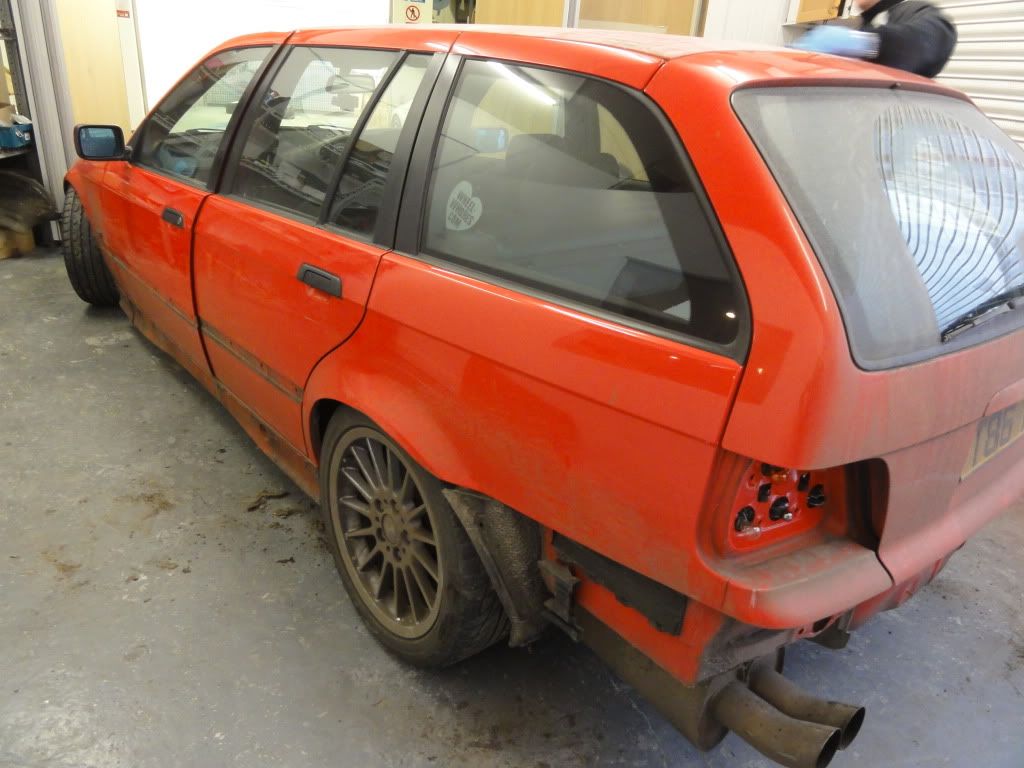
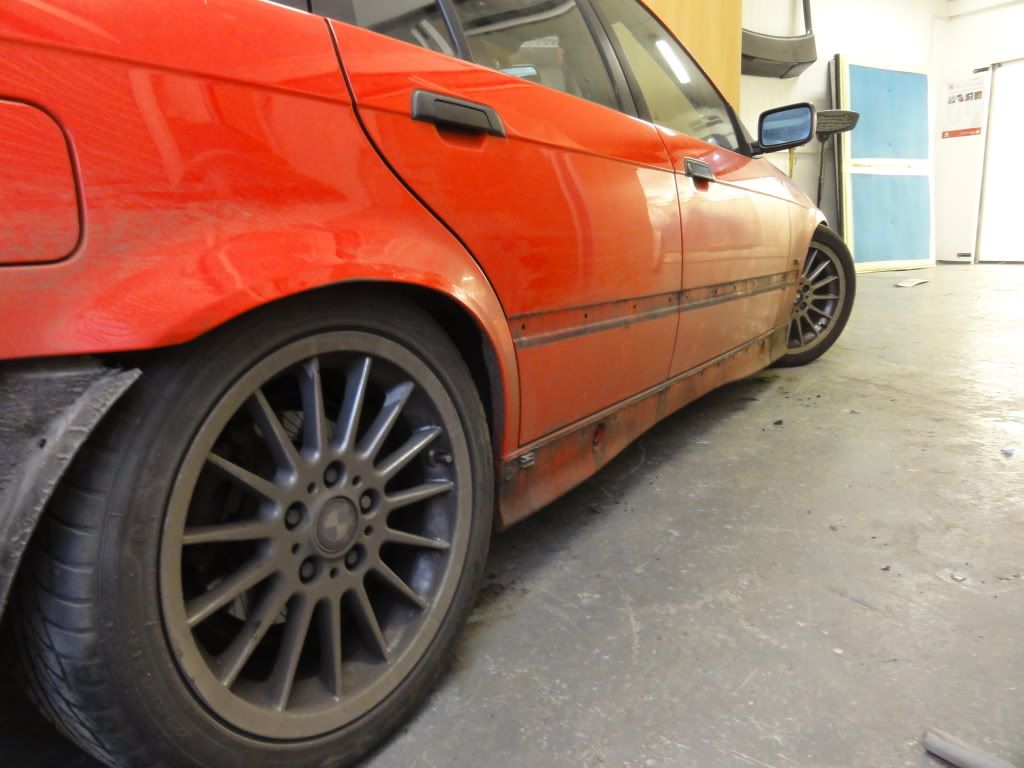
And the amount of crap built up over the years from under the bumpers and skirts was unbelievable.
Then everything was taken outside to be jet blasted off to ensure nothing is going to come off when it's in the spray booth.
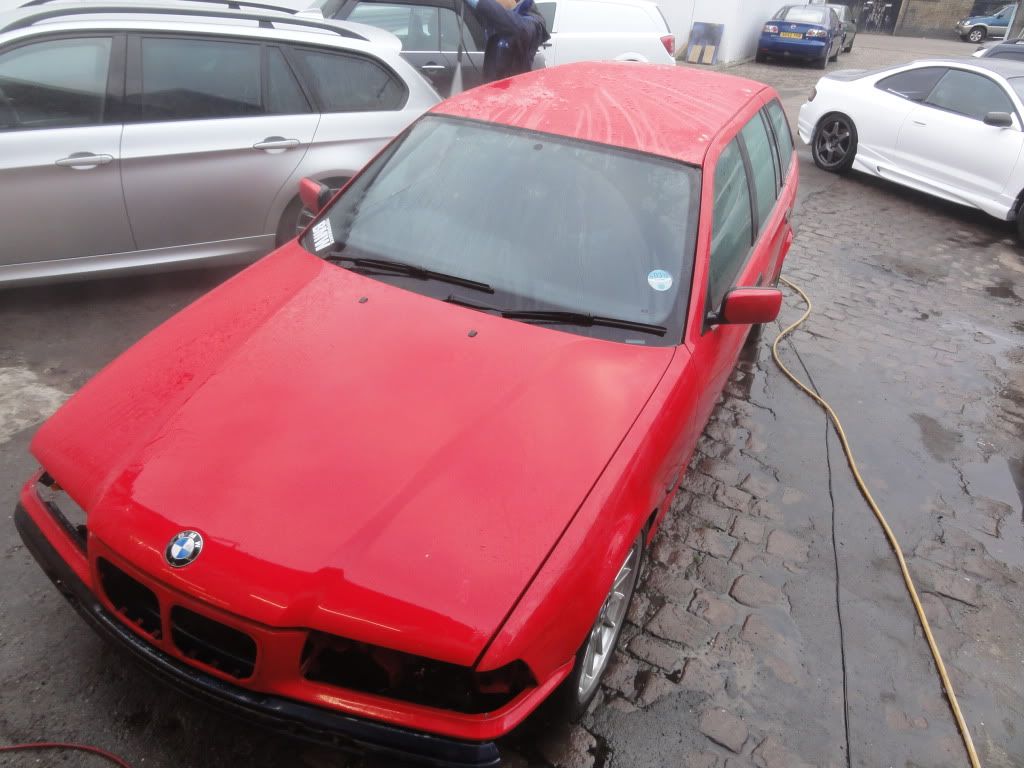
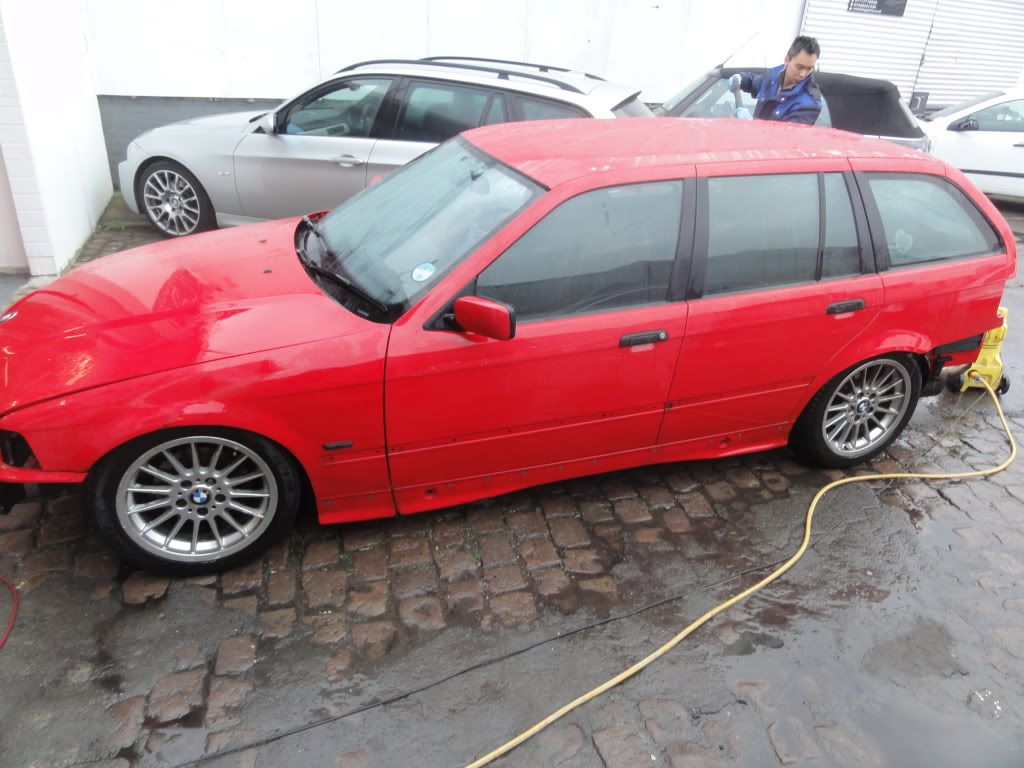
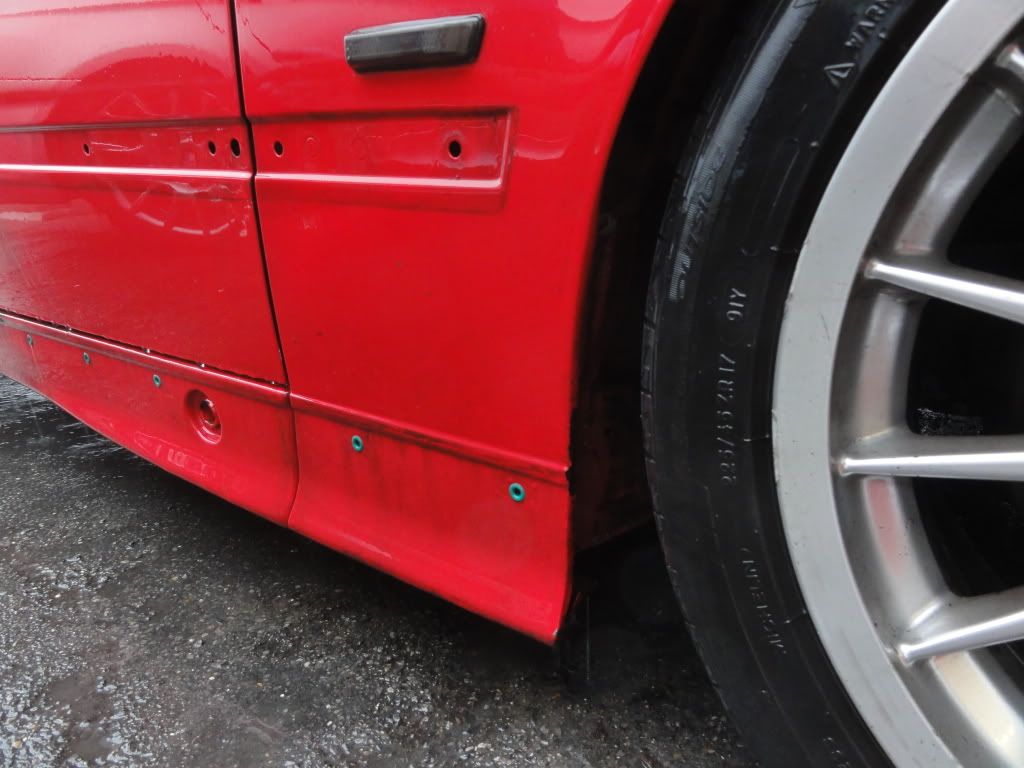
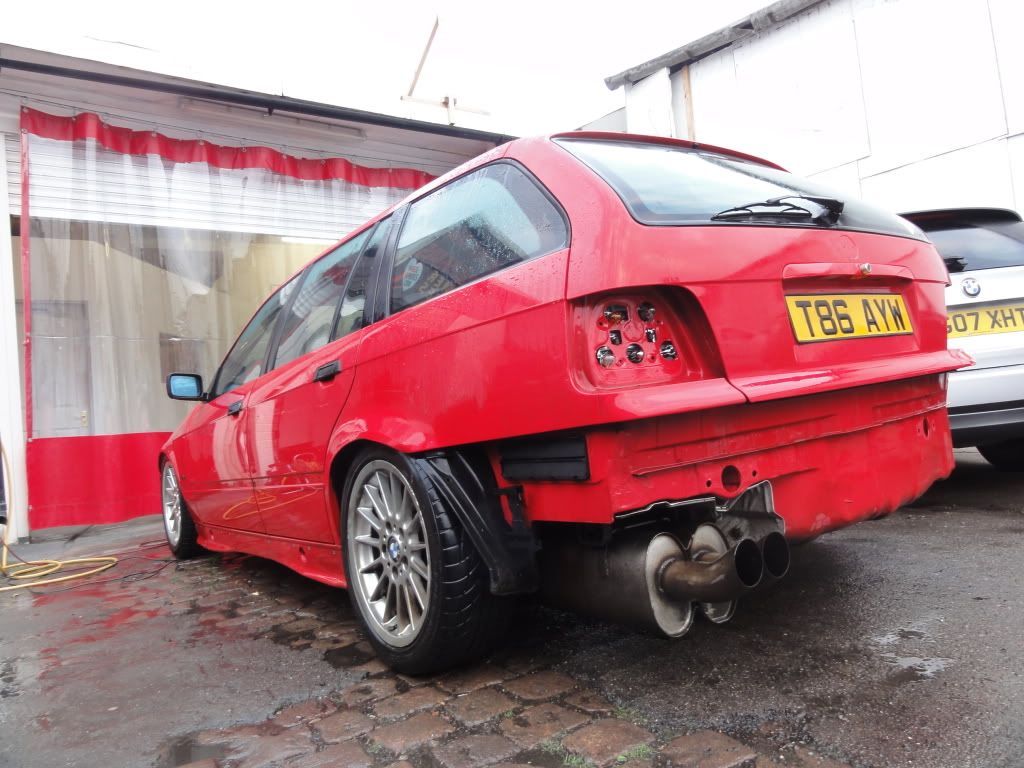 Once dried we continued to strip out the door handles, trims, badges, windows, weather strips and all rubber seals then finally chemically cleaned and wiped down.
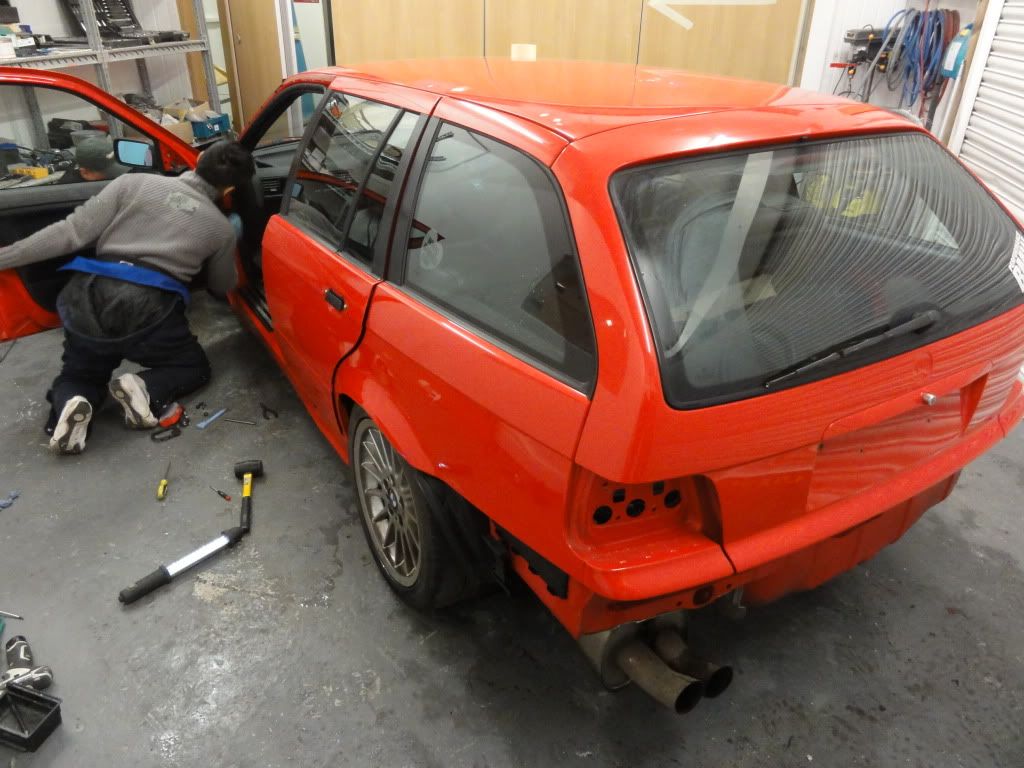
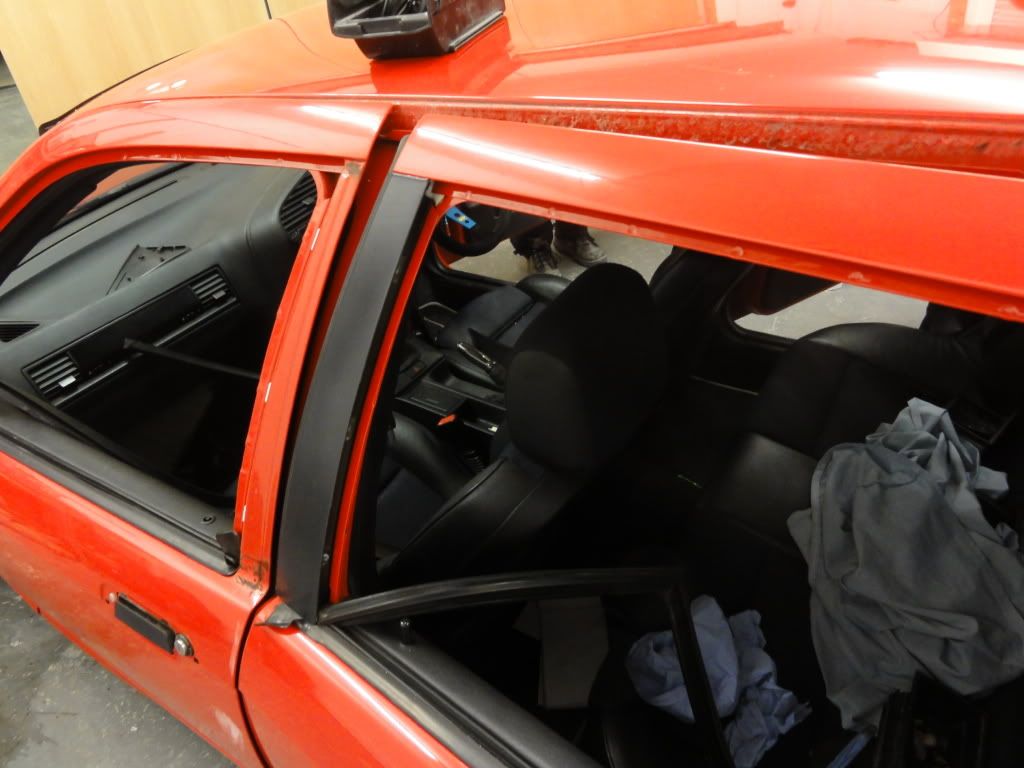
Looks to me rather like they're doing a proper job :wink:
The thread is here: http://www.bimmerforums.co.uk/forum/...09/index3.htmlLeave a comment:

Leave a comment: