 Tweet
Tweet
Hi guys
So, to begin with, this is a comprehensively updated first/original post of my thread. At some point Imageshack decided to delete all my pictures, and hence all my threads on forums are now just filled with boring words. I am fully aware that people don't come into my threads for my lyrical genius, they come for pictures. I will hopefully have this post completely updated to about now (late 2016).
If you're excited thinking that Brad finally got his ass into gear, I'm happy to disappoint you again in that not much has happened. I seem to be the laziest mofo on the planet, easily demotivated and distracted. I'm so good at reassuring myself that I won't bother putting an essay into why I think that is, as that'll only support the notion. Instead, I'm doing probably the most boring thing you could ever do in a forum to hopefully maintain the motivation I currently have.
Onto the story...
We got it in 2000, jack all happened until a few years ago, and I spent a tonne of money on it in 2015. I started this thread in 2012 as there seemed to be little reason to have on previously. This is a bit of a build log so that I can keep up to date, hopefully Flickr doesn't randomly delete all my photos. Anyway, on with the story...
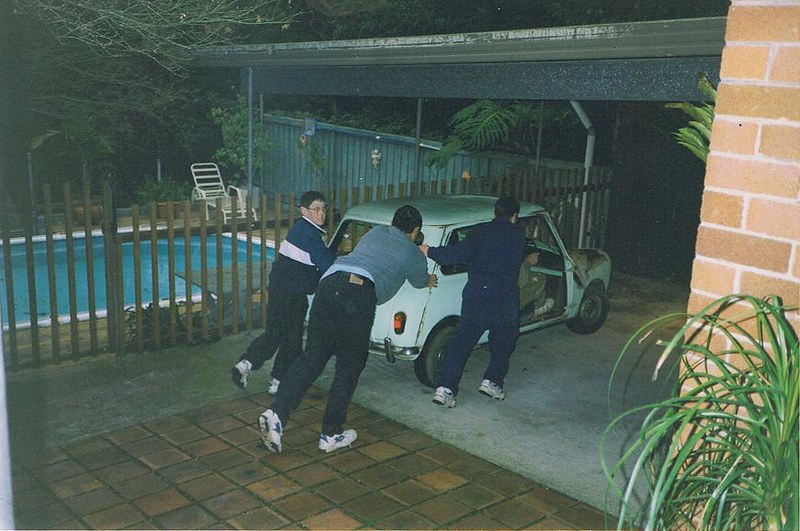
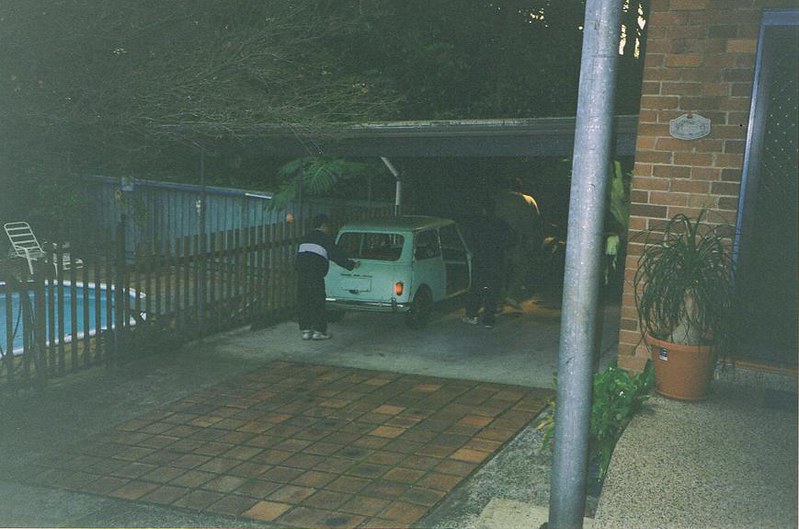
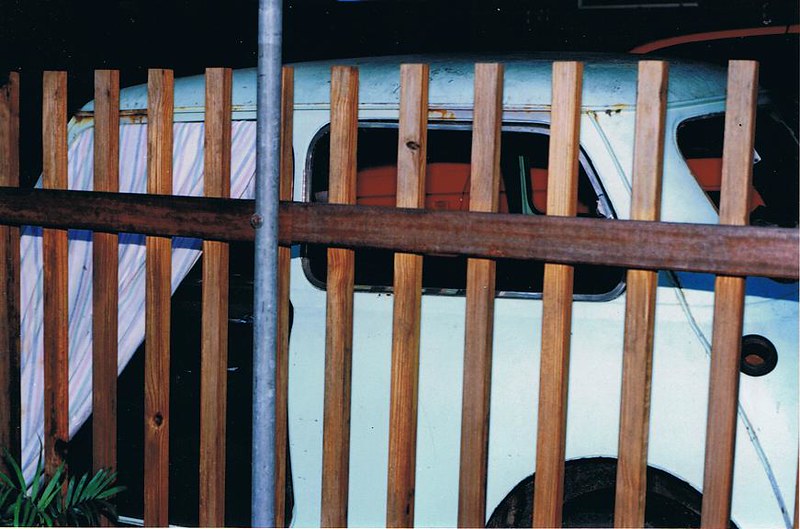
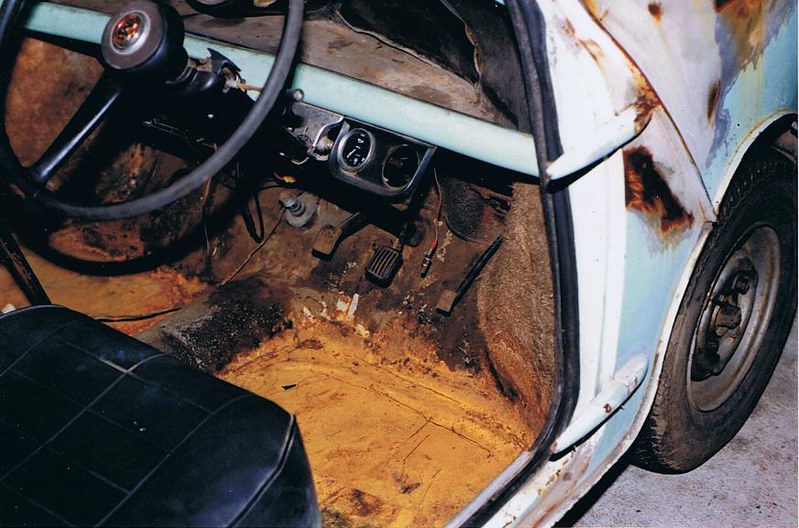
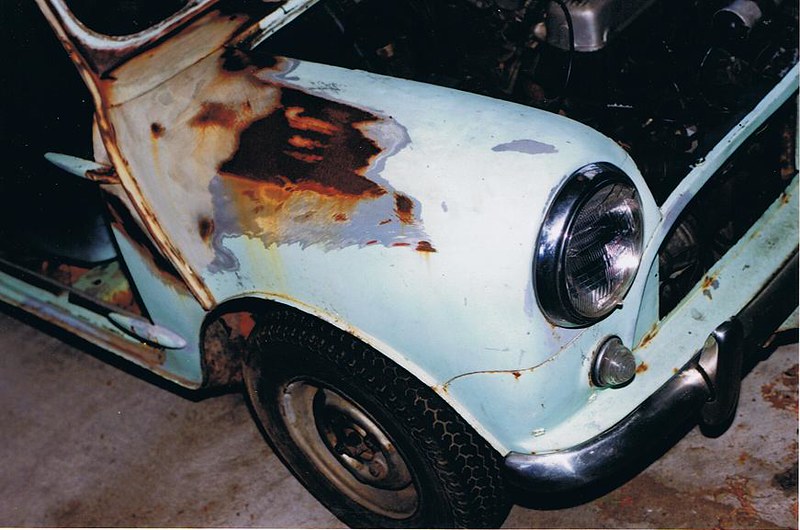
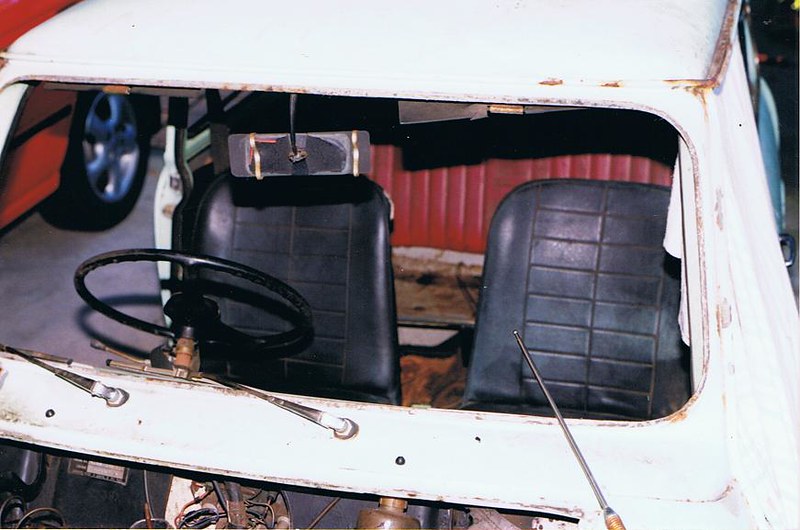
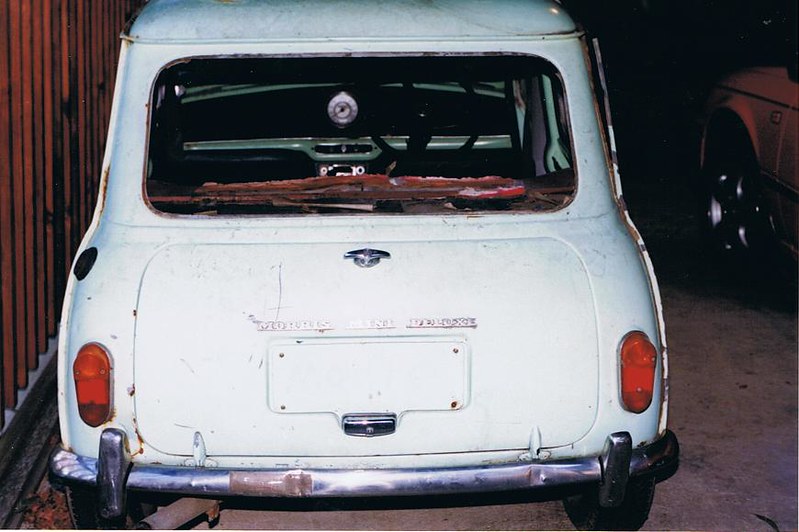
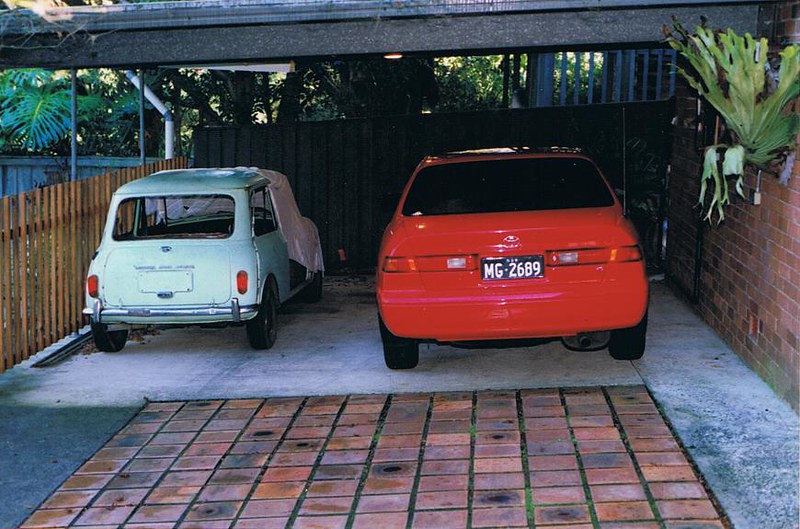
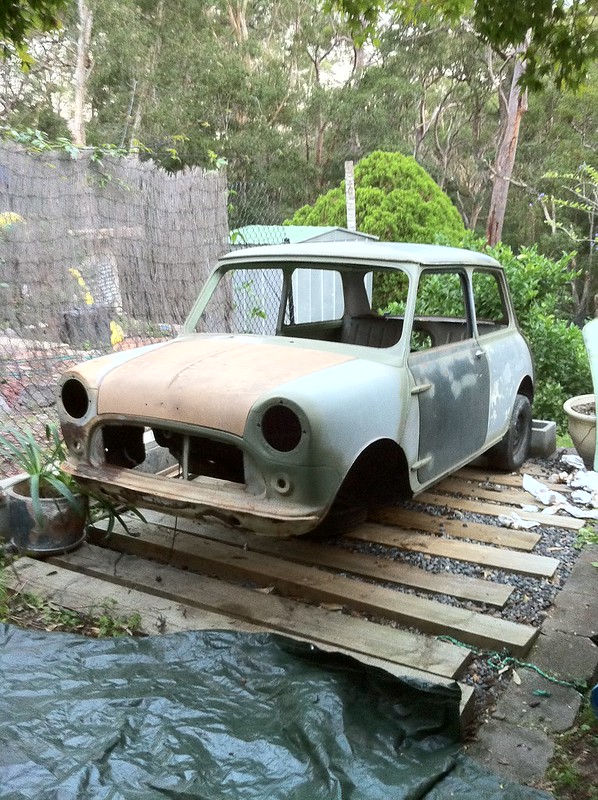
It all began back in June 2000 when a very close family friend, Richard, had an old 850 mini in storage at his mother�s place. It was supposedly a deluxe with a Twin SU 998 (ended up being an 1100), rust, and not much else. Out of his good will he gave it to us for the princely sum of one bottle of Jack Daniels. Dad had known Richard since he bought his old Mini K off him in 1984, so that would go some way of explaining the great "price". Long story short, we got it home to our place in Lugarno. Some pics of how it was on arrival -
My younger brother (Bryce), Rob Clarsen, Myself
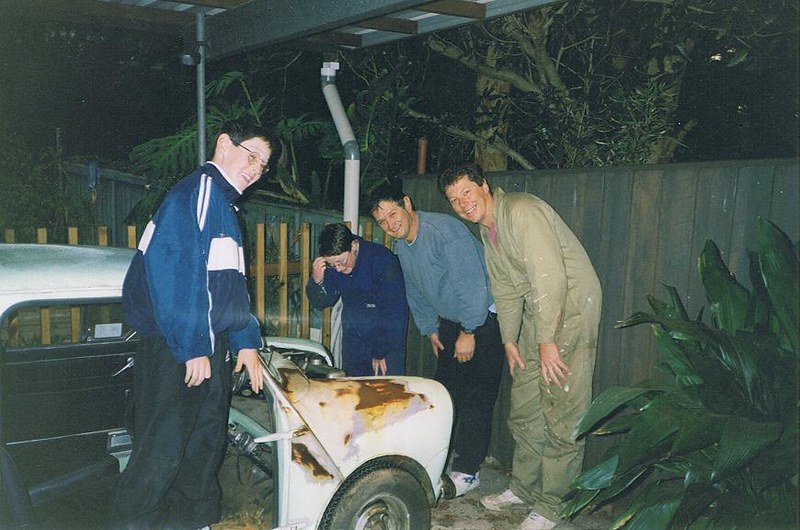
Bryce, me, Rob, and Dad all pondering what sort of trouble we have got into
And one which showed how small the little tyke was, next to our (then) fairly new Camry
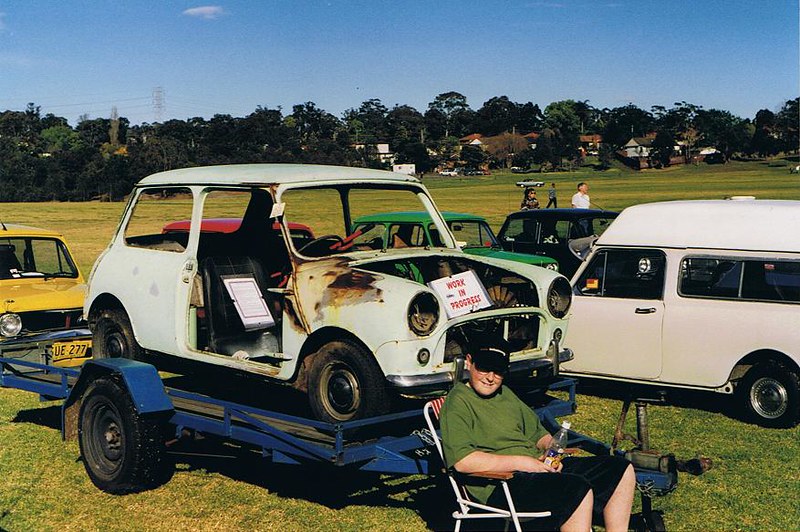
My dad, Graham Gorman, ran the Lugarno Lions Spring Fair car show for years (I think one of the lions said 8 or 9 years, but I�m not sure). Having joined the MCCNSW and knowing how many minis went down to the park on the third Sunday of September, we decided to trailer the 850 down for a laugh. We tried for 'Most original', and even had a little blurb printed up (lost to history). Some didn't get the joke and babbled on about the house paint, non-standard 1100, different seats and badges, etc. Whilst they were dull, they did ensure the path this mini went was not down the original/concourse route. Well done, it's definitely one way to ensure concourse classic cars don't have a following.
So, within a few months of ownership plans were slowly being hatched for a modified mini.
Here's me (what a pudge) with the mini
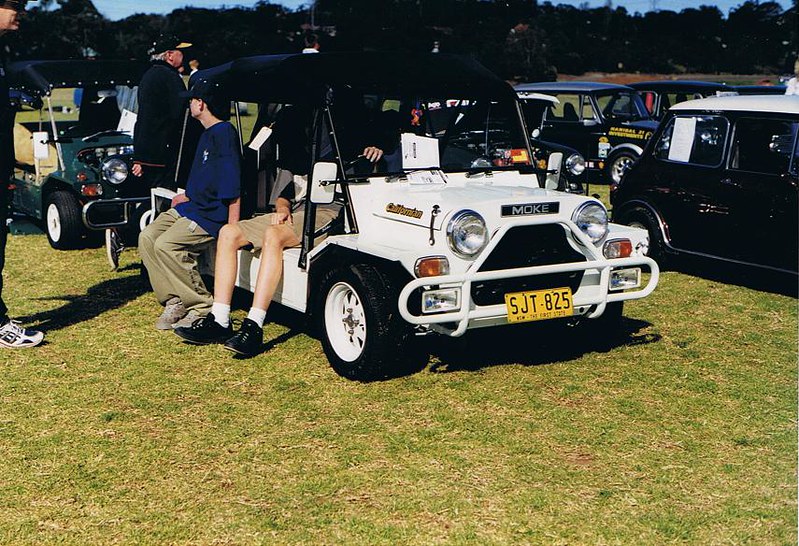
My best mates� dad had a California Moke. He had restored it and boy was it fun
In that same year, we had some bodywork done by a reputable panel beater, CT Auto resto's. We had the horrible rust cut from the drivers A-pillar/guard, rear hinge rust repaired, passenger aerial hole welded up and some other stuff all for $440. What actually happened was the tradesman who worked on the car is used to restoring GT falcons, so he finished the little drivers guard so quickly that he decided he would do the passenger side too! Nice generosity.
It seems ridiculous to get that work done for that price these days, but I guess it was a decade and a half ago...
My favourite picture of dad with the mini. Probably the only one of him with the car apart from the first few. This car was/is an extremely frustrating project
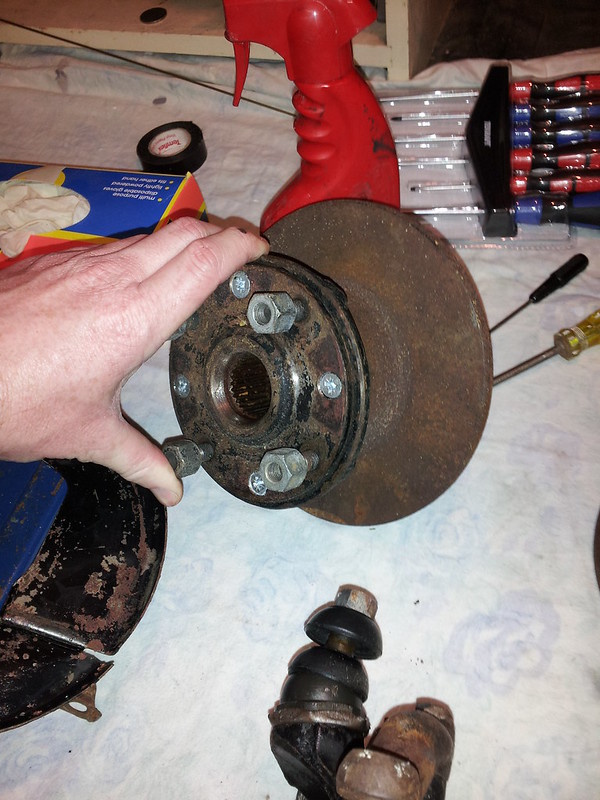
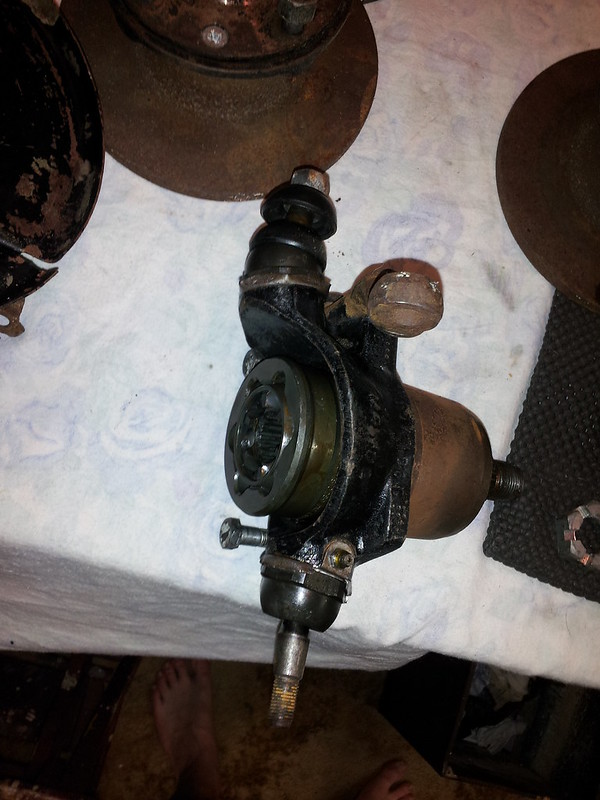
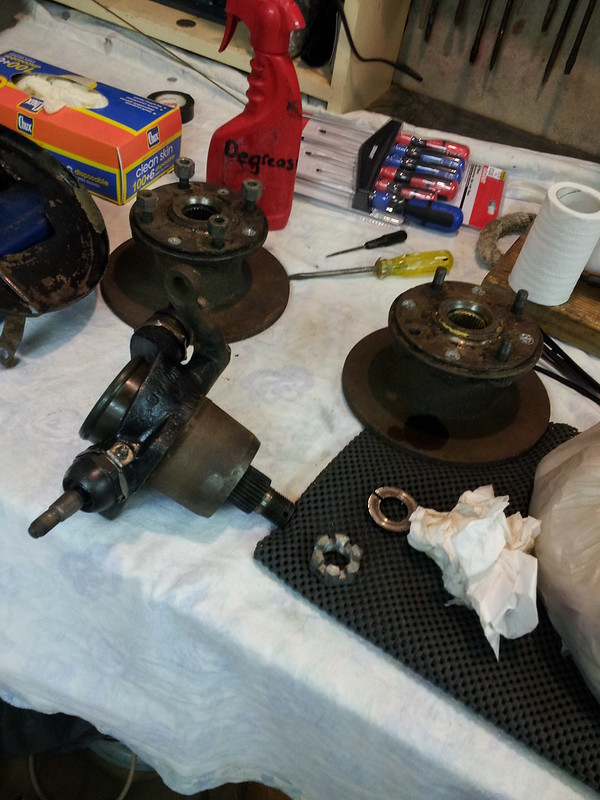
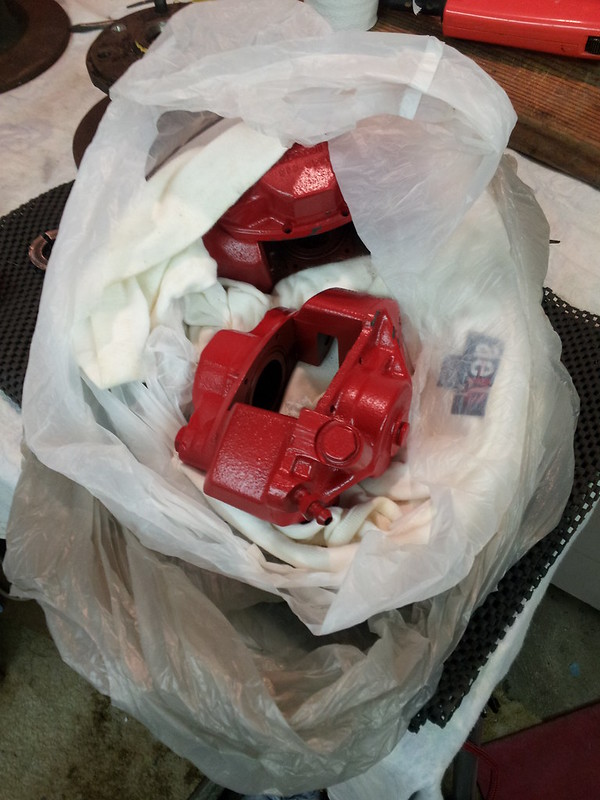
Throughout the following years, we got hold of a set of 7.5" discs/hubs for the front, and ended up getting the calipers rebuilt at the old Mini Spares at Padstow, Sydney. These were sprayed up red once completed and dad somehow managed to hide them from me for about 4 years. He always assured me they were safe!
I got John Leffler to rebuild the hubs and do the ball-joints etc, but I don�t have 'after' pics for that work
7.5" discs and hubs
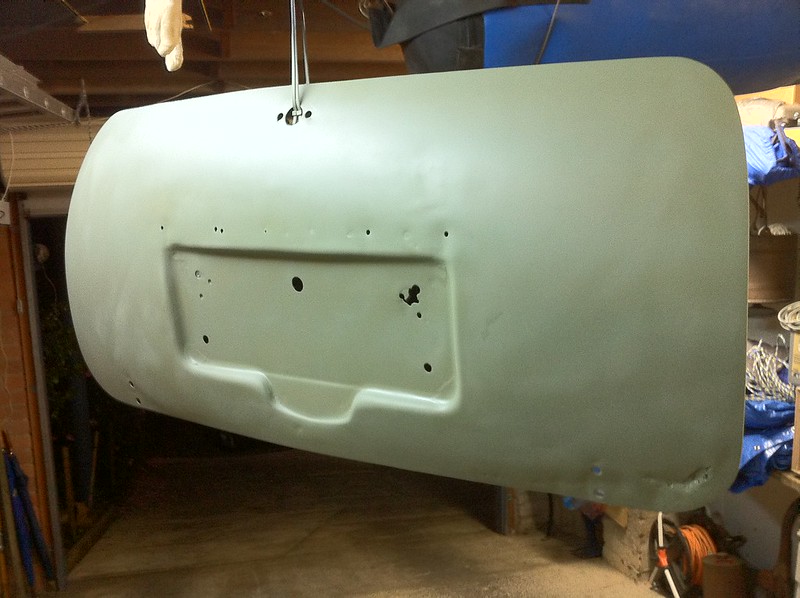
Along the way we have bought and been given a small amount of parts. A good etch-primed bonnet was had from a Lucas Heights swap meet (I don't know how I remember that), we also got a pair of Selby�s rear shocks off Richard, various tid-bits, numerous gearboxes, another 1100, wiring, gauges, etc.
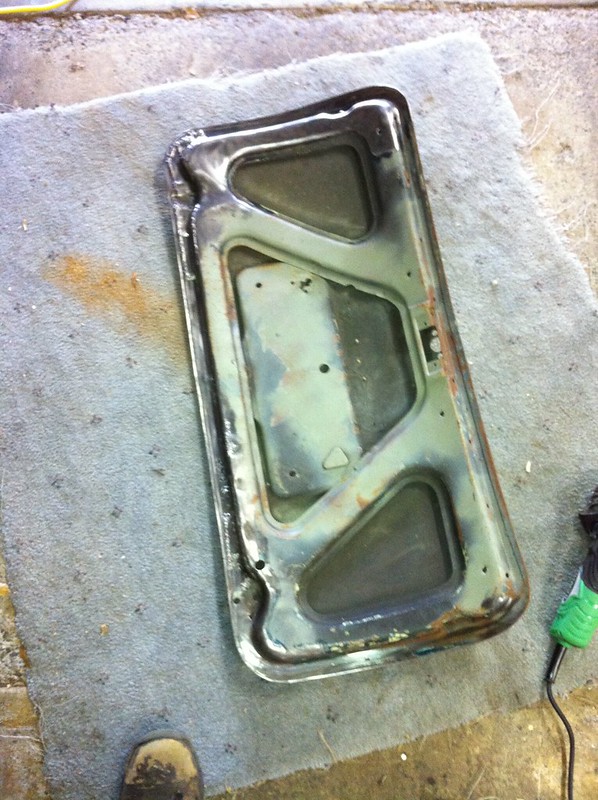
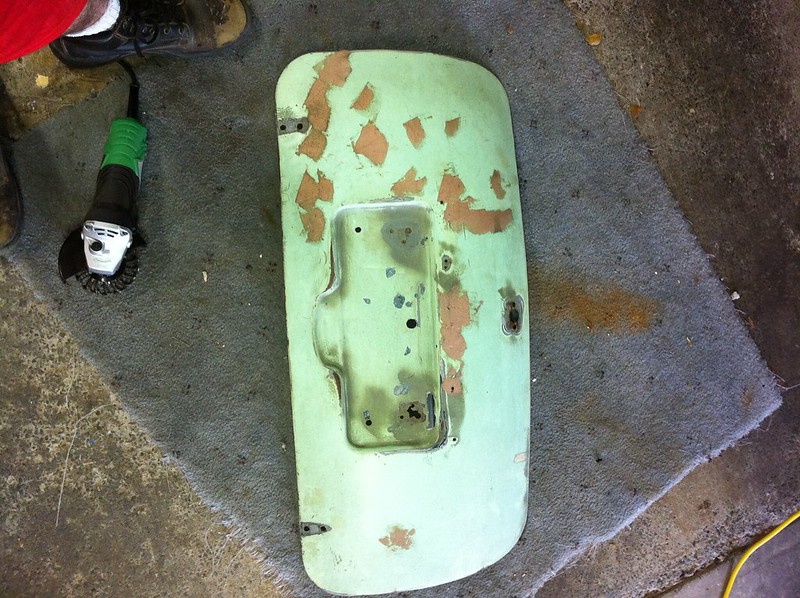
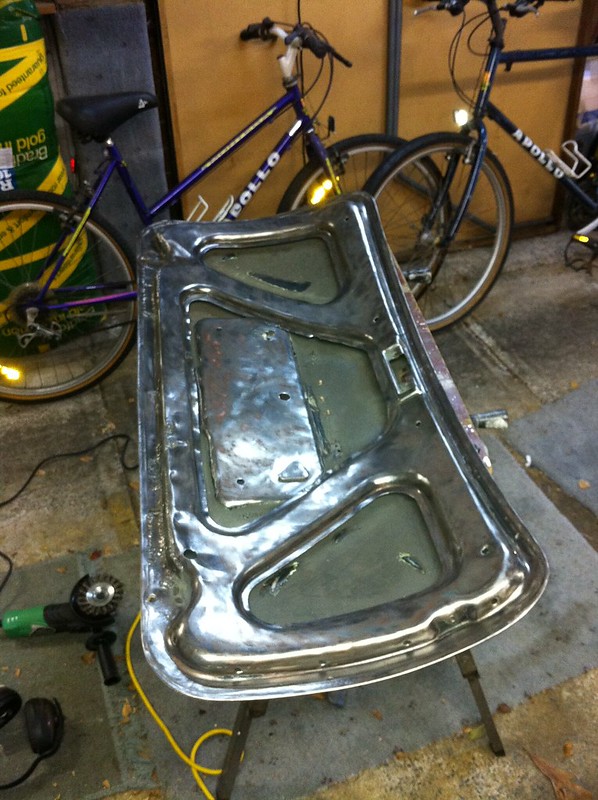
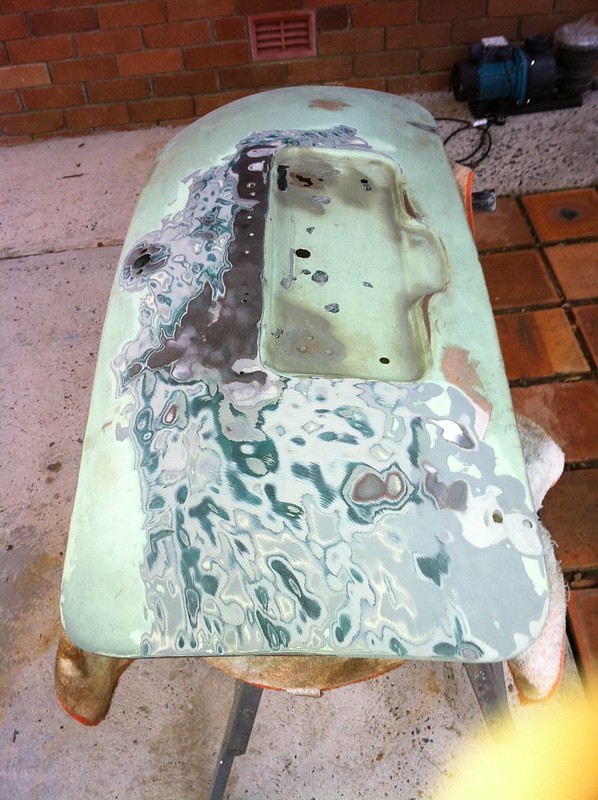
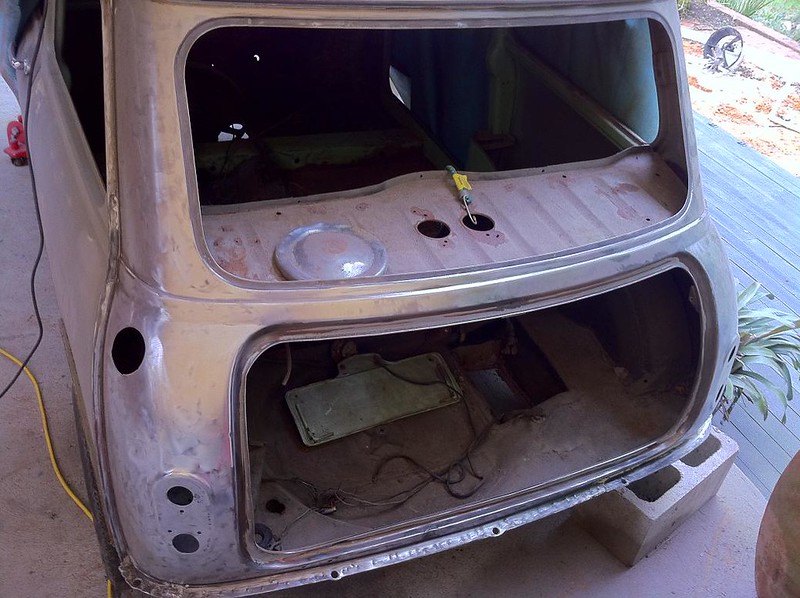
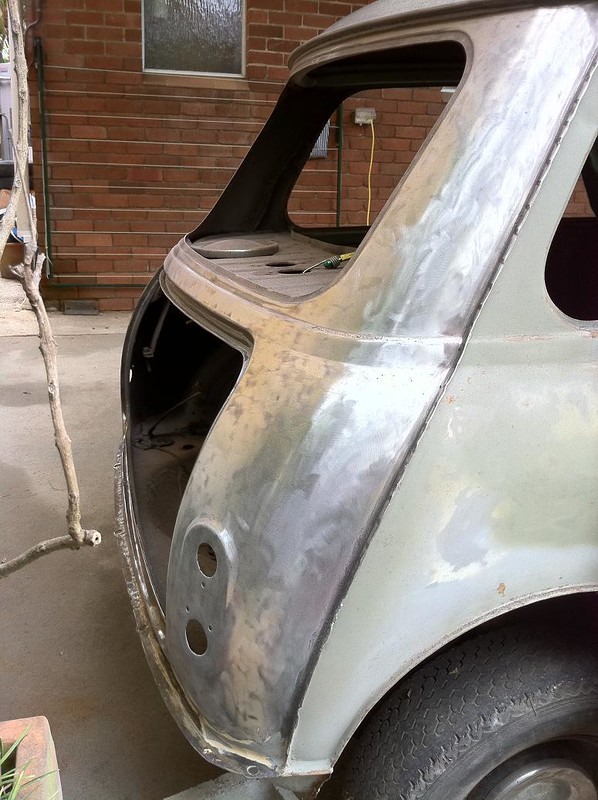
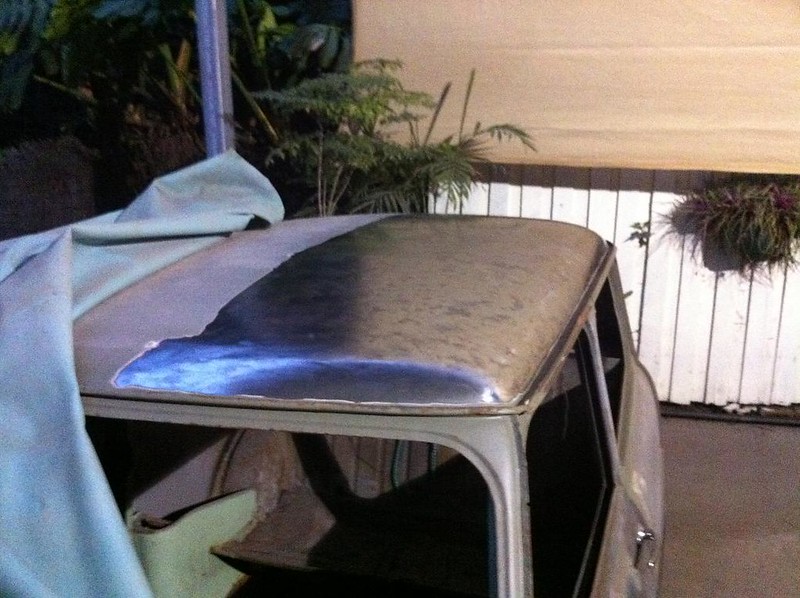
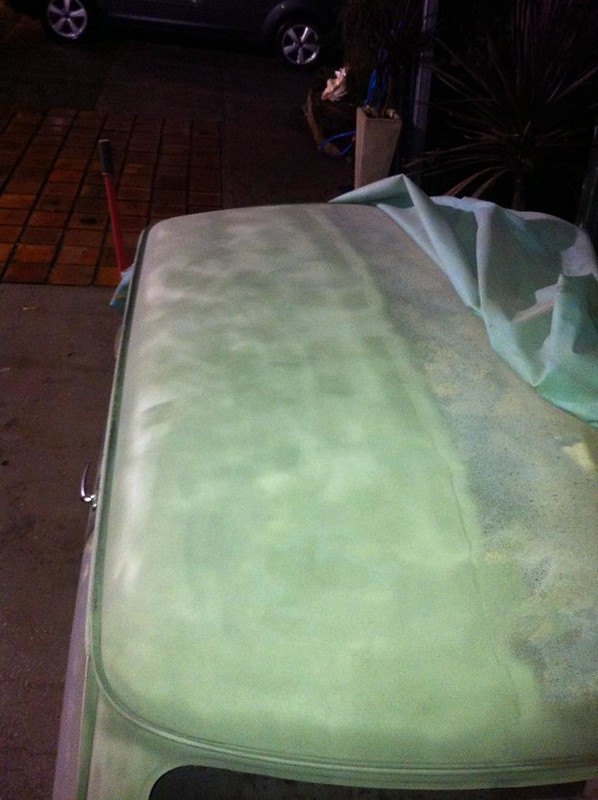
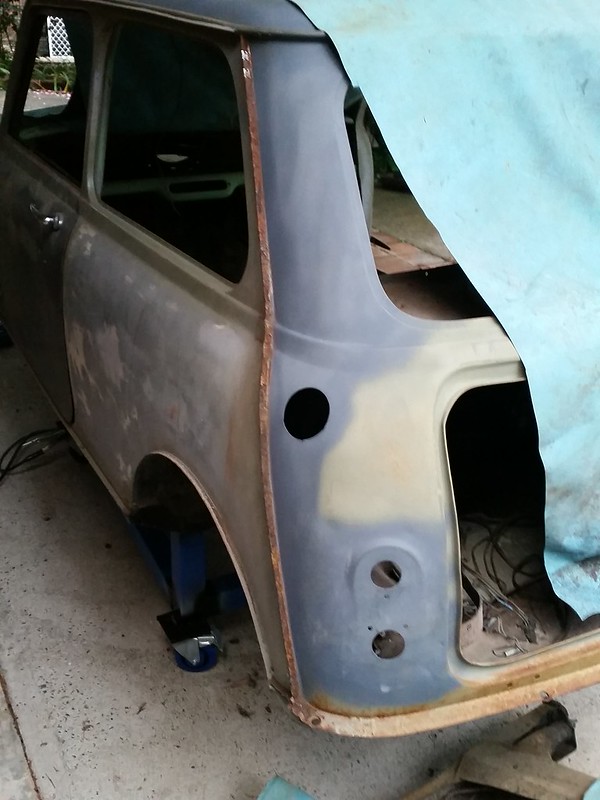
We had done some bodywork ourselves, taken a lot of the panels back to bare-metal and applied various levels of primer and sealants. From memory, we cut the front floors out around 2006. One of dads Lions mates worked at Lincoln Electric, so we managed to get a huge plasma cutter and MIG welder (+ all the gas) for use for a little while. The floors were out quickly and the new replacement floors tacked in (Dad possibly bought them from Mini Spares, I�m not sure). Unfortunately, they haven't been touched since, but have been covered so the time hasn�t have hurt them too much
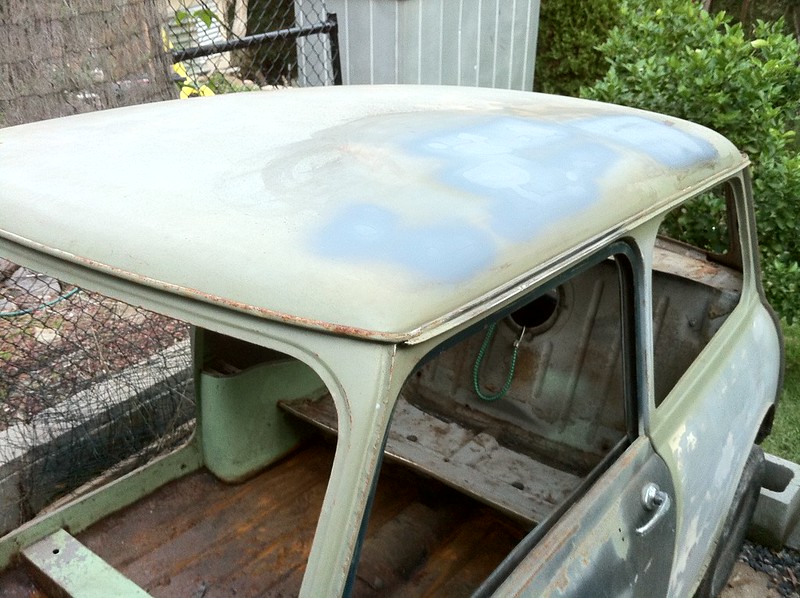
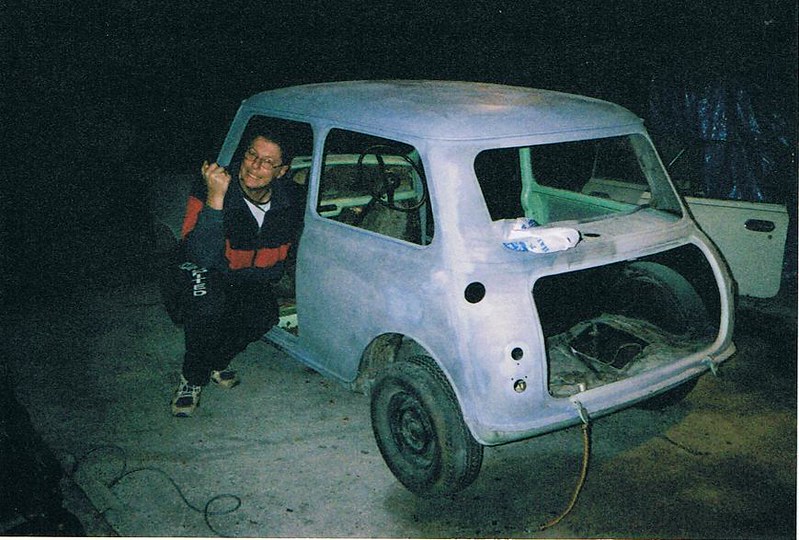
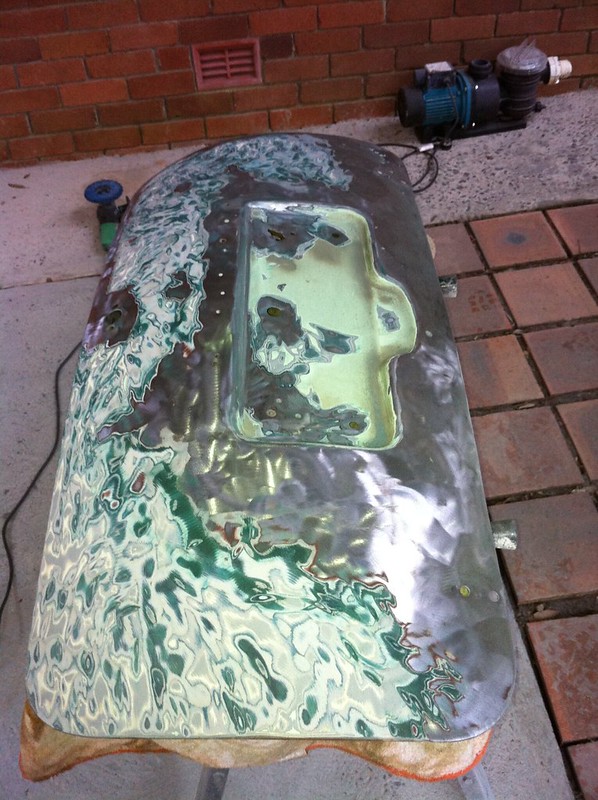
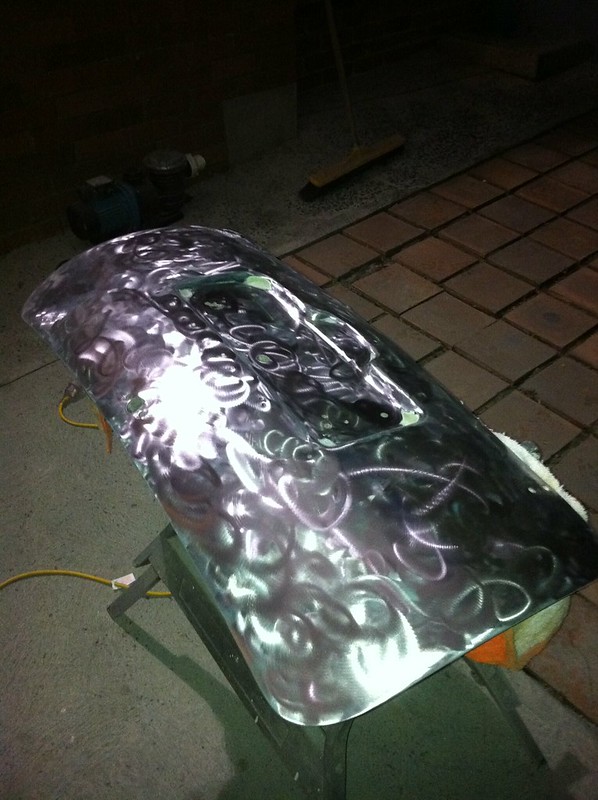
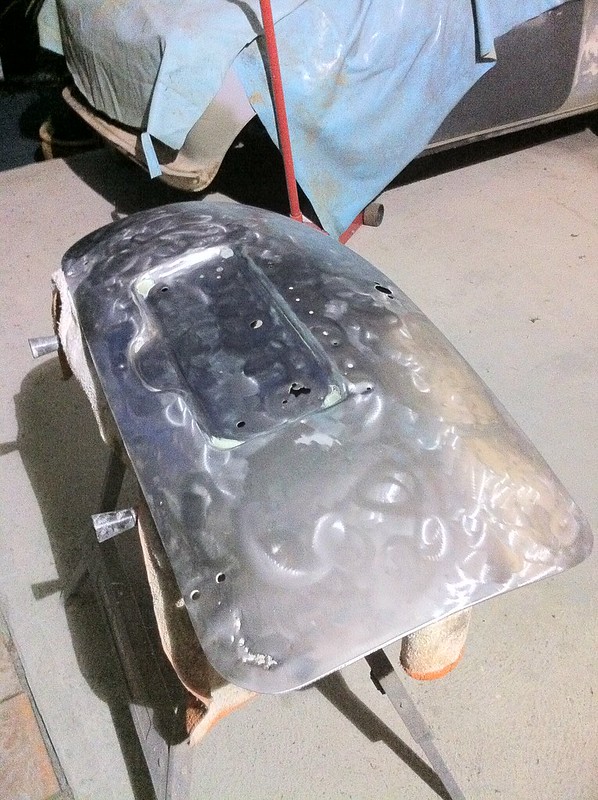
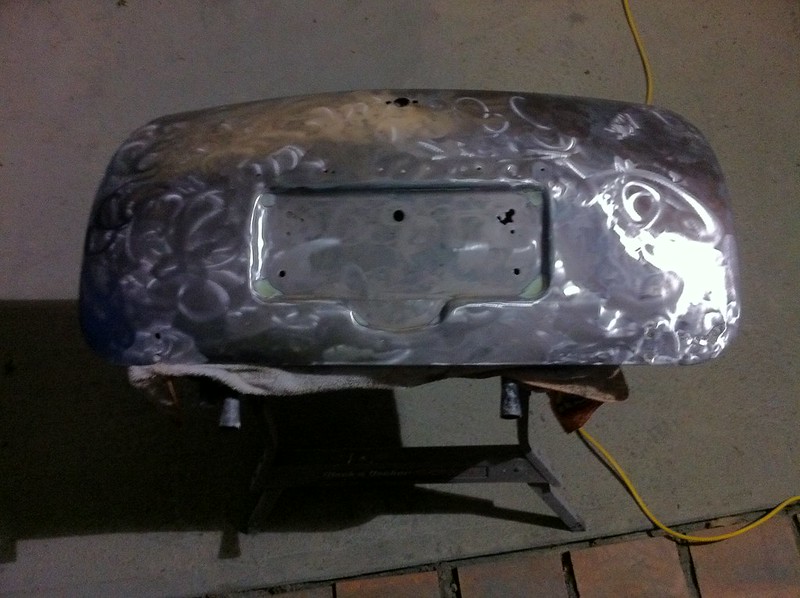
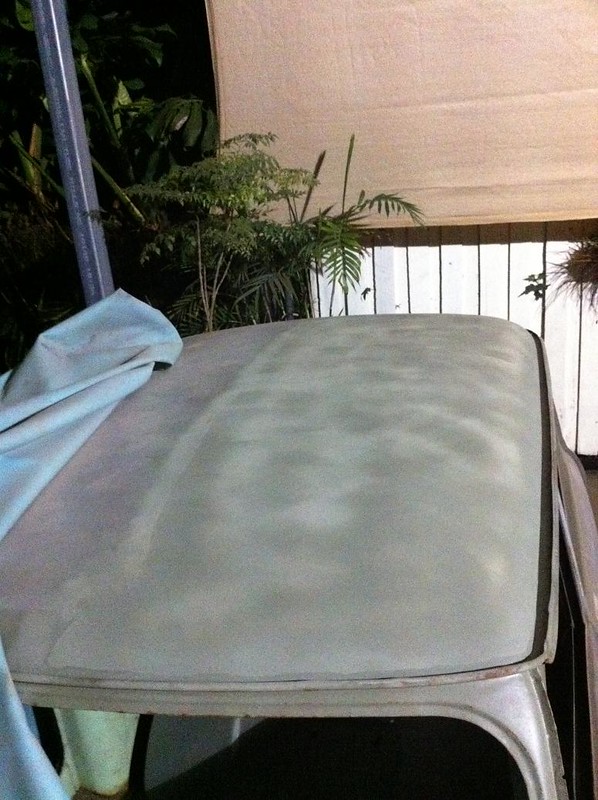
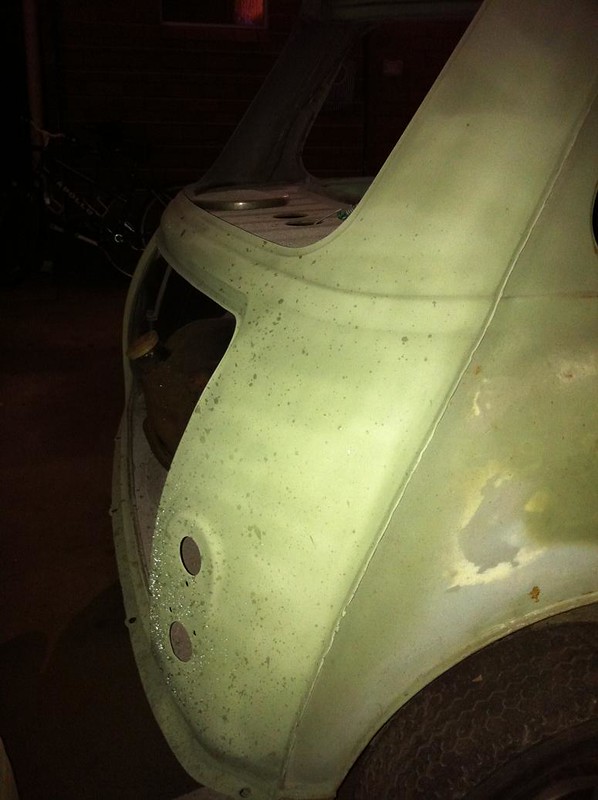
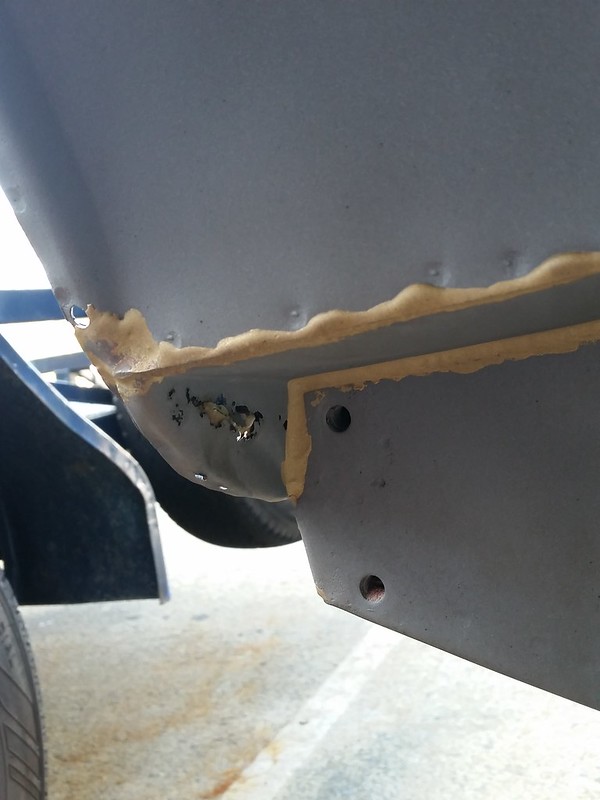
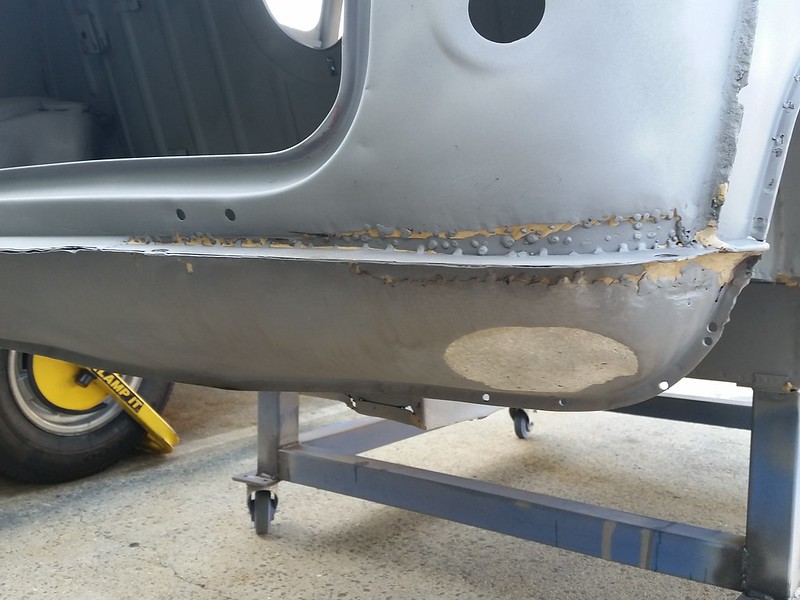
Some of the paint stripping and re-priming in 2011 -

My dad had battled off cancer in 1994 and had been cleared for many years. I never really knew why he was so sun aware, just assumed it was the usual small sun spots/skin cancers. Unfortunately near Christmas 2009 the melanoma had returned and despite his healthy lifestyle, chemo, radiation, and strong will, he succumbed to cancer on the 12th of June 2011. Under the assumption he'd make it to christmas that year, I was working feverishly to get it painted before his time was up, I had it booked in for media-blasting at Quikstrip Bankstown on the 10th of June, and Con from CT Autos was ready to assess, fix and paint it for me (at this point whatever money I had was no object as the sentimental value out-weighed any thoughts of financial savings)
Despite being "given" until the end of the year 2011, he was taken before I could get the mini done. I look back now and regret a few little things in that time as I had swapped jobs and started an apprenticeship, low on money and time-poor from being worked like crazy and studying. In his last days though we agreed that the "bloody mini will be finished". It was nice that he retained his good sense of humour.
Fortunately for me I had an excellent friendship with my dad and through him I had learned to love these little cars, so with our often-spoken plans in mind the mini build continues (and continues, and continues...). I'm still poor, just like any young Sydney side home-owner.
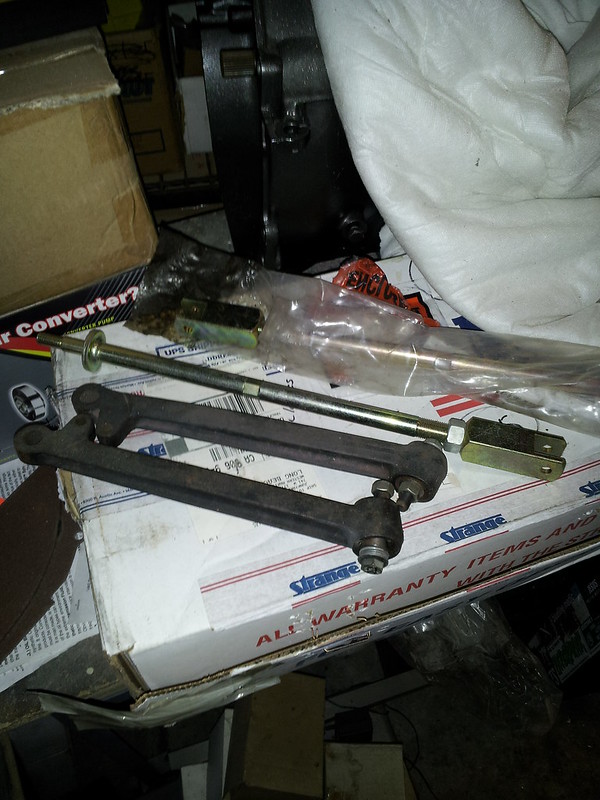
A few years back, before dad became ill, we had modified a subframe with camber slots, gusseting and general strengthening. Adjustable tie-rods and rose-jointed bottom arms were bought. We have some progressive rubber cones, some subtle geometry changing suspension pieces and a mini suspension guru. In October 2012, I degreased, sand-blasted, linished and filed the top arms. Leffler ordered a new bearing kit and is installed it. In 2012 I stated "All this is going to be mixed in and hopefully I�ll have a front subframe more or less built by February 2013", I wish I could say it has happened, but I changed my plans and spent more money. More on that later.
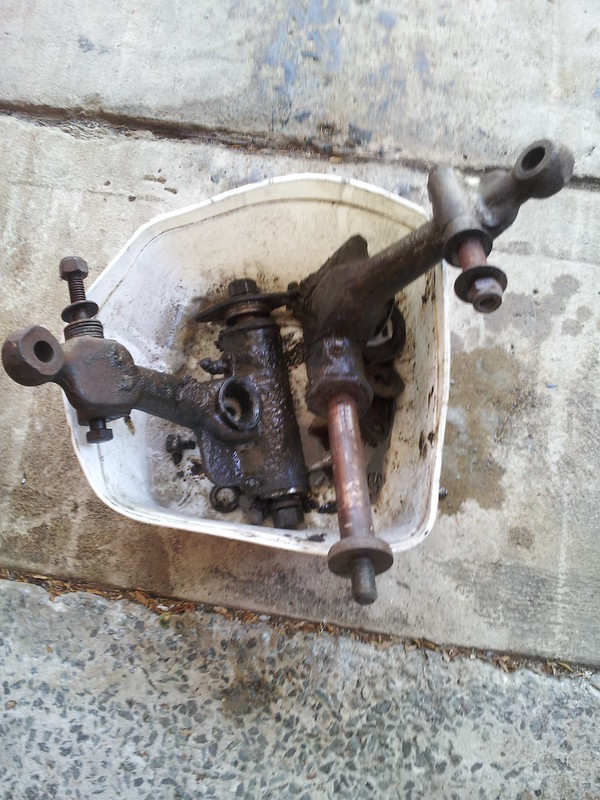
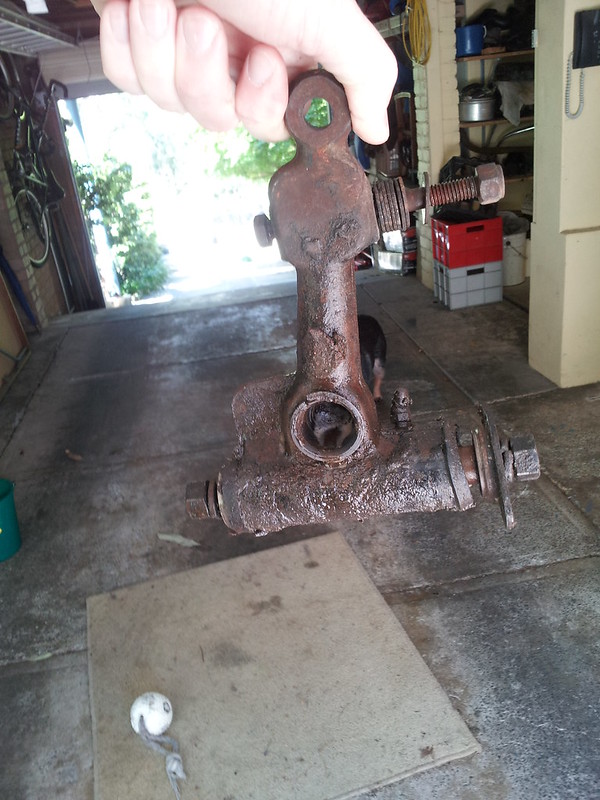
Some pics of the suspension bits before cleaning (I can't find any post-cleaning photos)


And with that, 2012 was brought to a close. However, 2013 was going to start with a bang as I ordered some JBW 10x6 mambas with Yokohama A008's wrapped around them.
They turned up Jan 2013
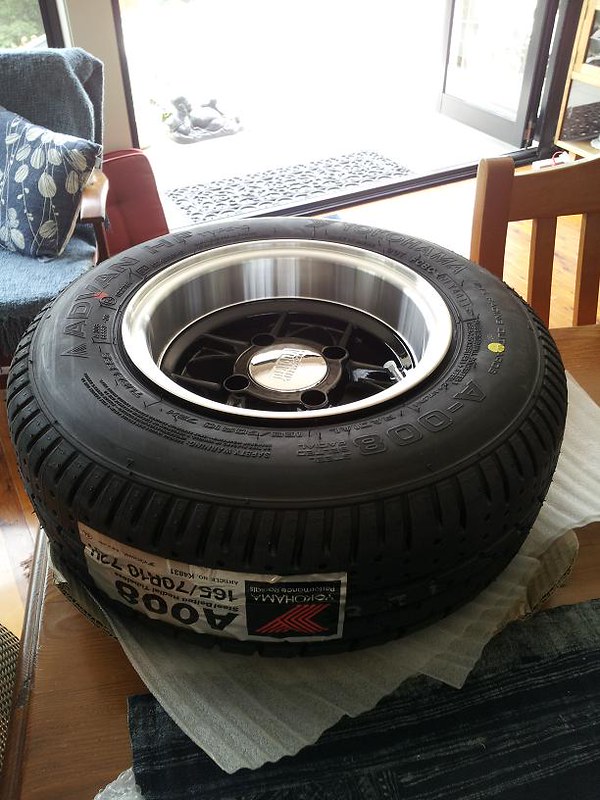
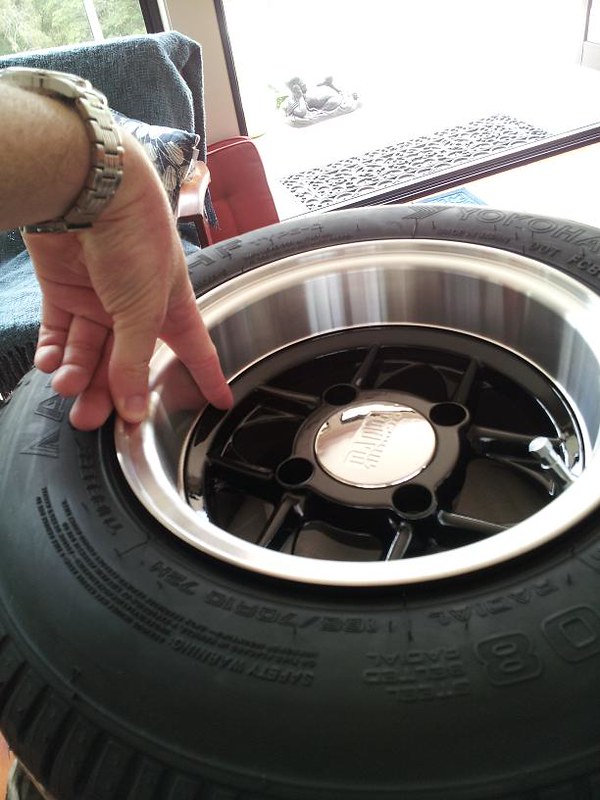
Not to get any wide-wheel mini fans disappointed, but they were sold off soon after to a nice bloke down in Hobart. I hadn't even opened one of the packaged pairs.
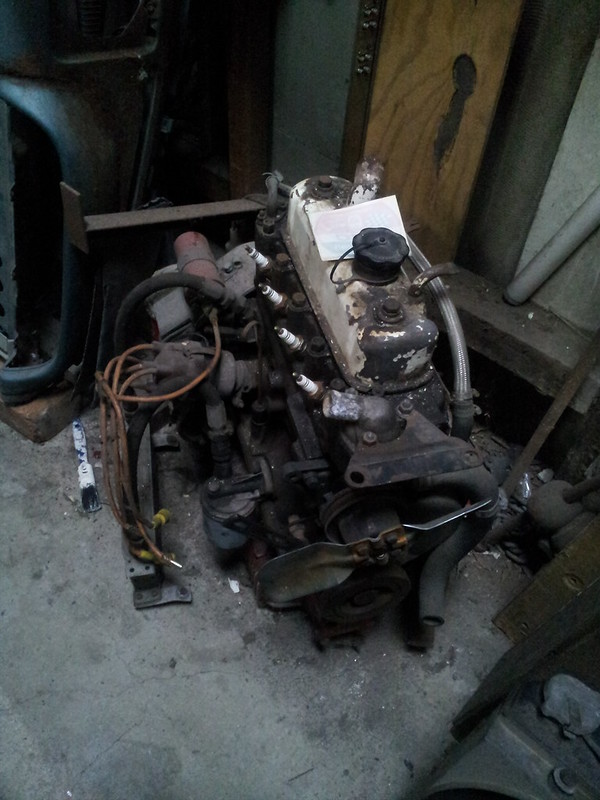
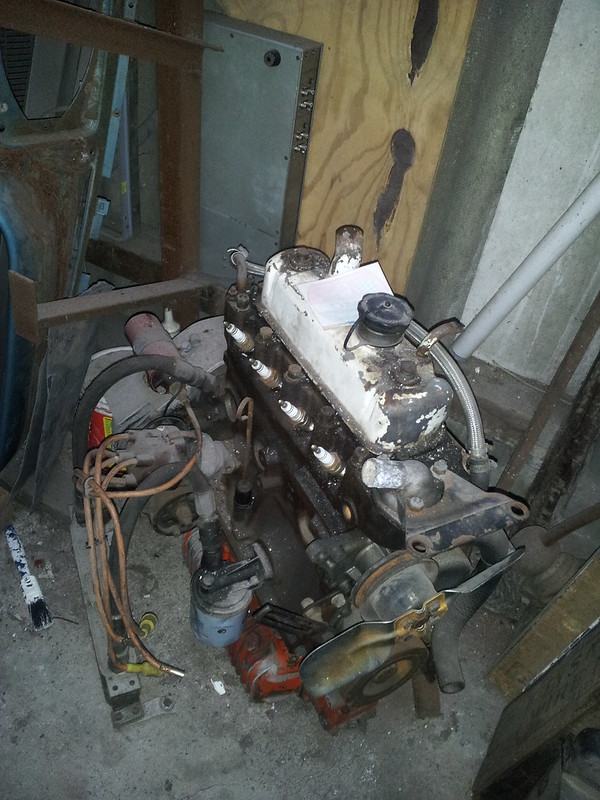
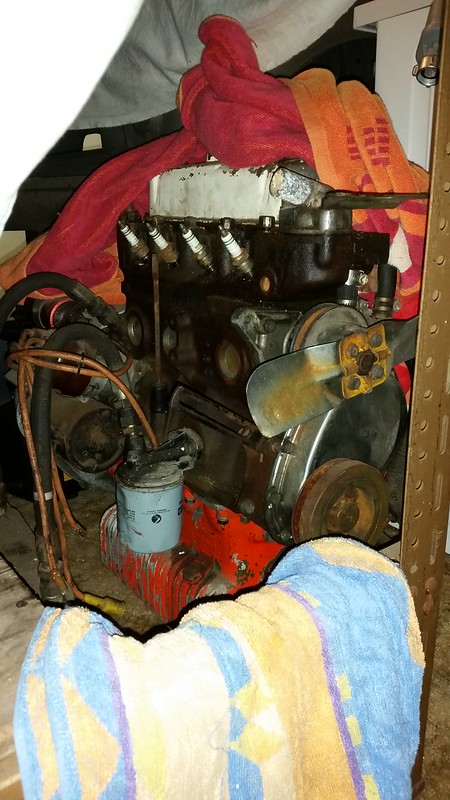
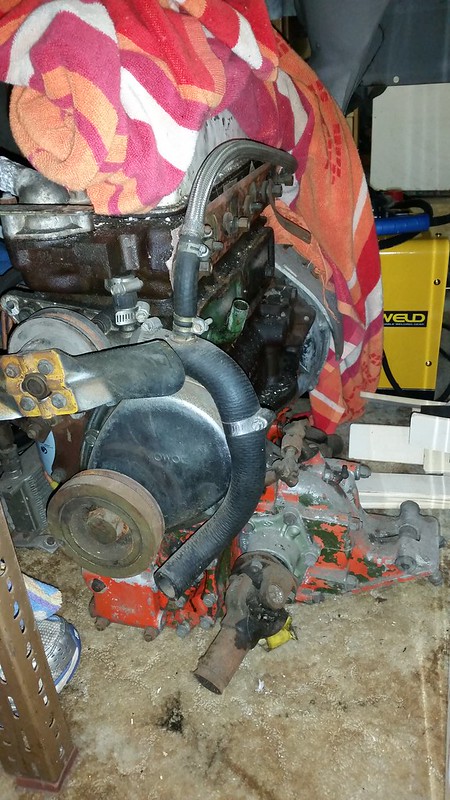
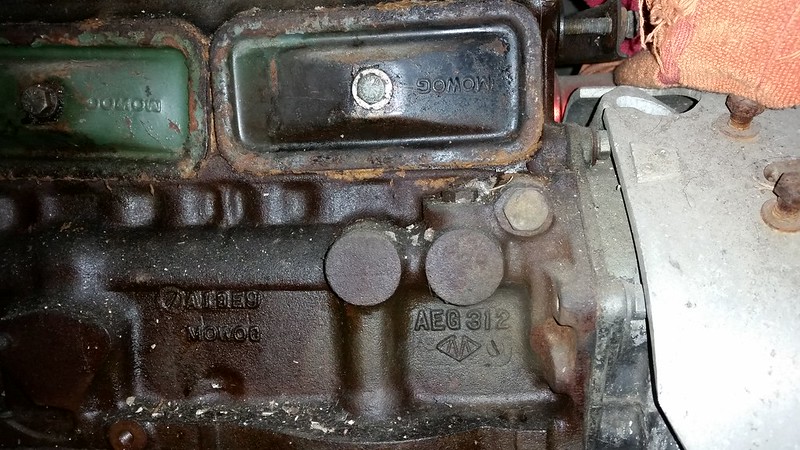
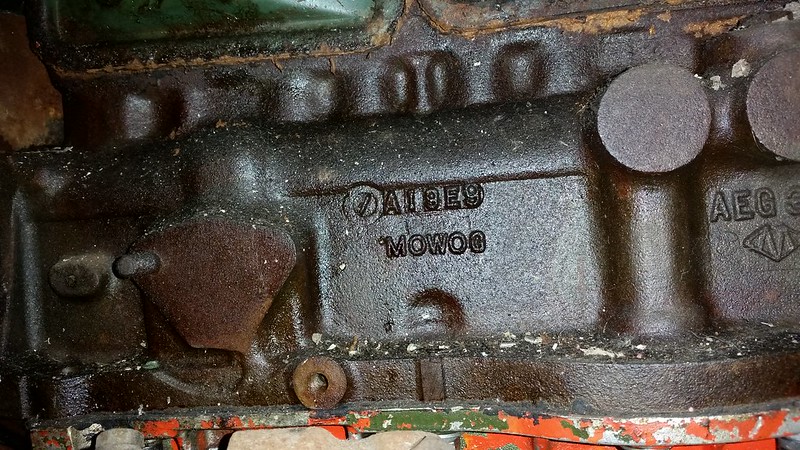
In September 2013 I took possession of Richards old motor. He built it up in the late 80's, so it's probably about 30 years old now. He built it up to some capacity above 1400cc. His memory is hazy on exactly what and we haven�t stripped it down yet (and it won't be until later). Anyway, it's a thick flange block on a gearbox. It's currently safely stored away all sealed so it can hopefully be refreshed one day and torque steer the mini
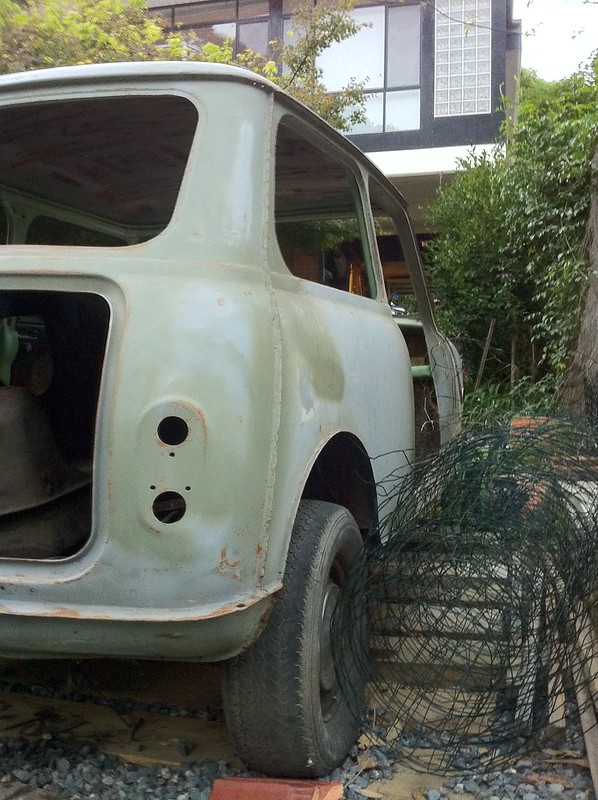
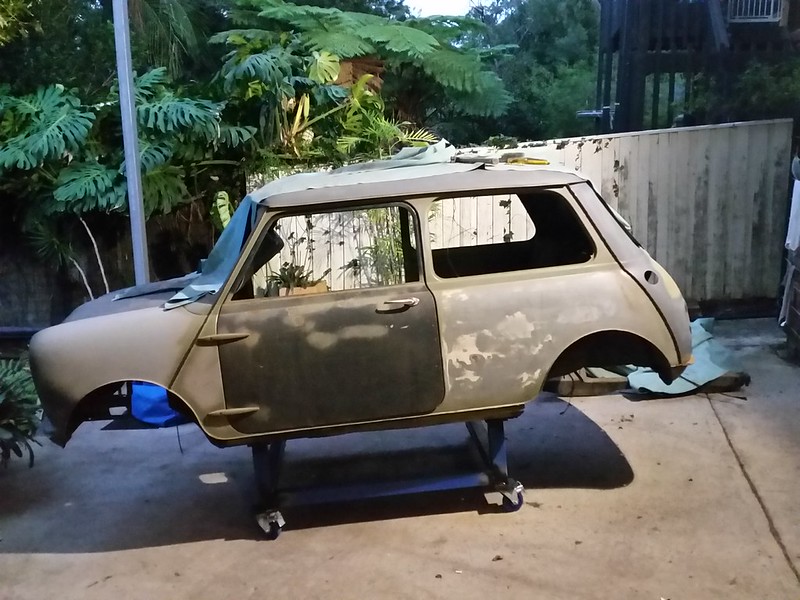
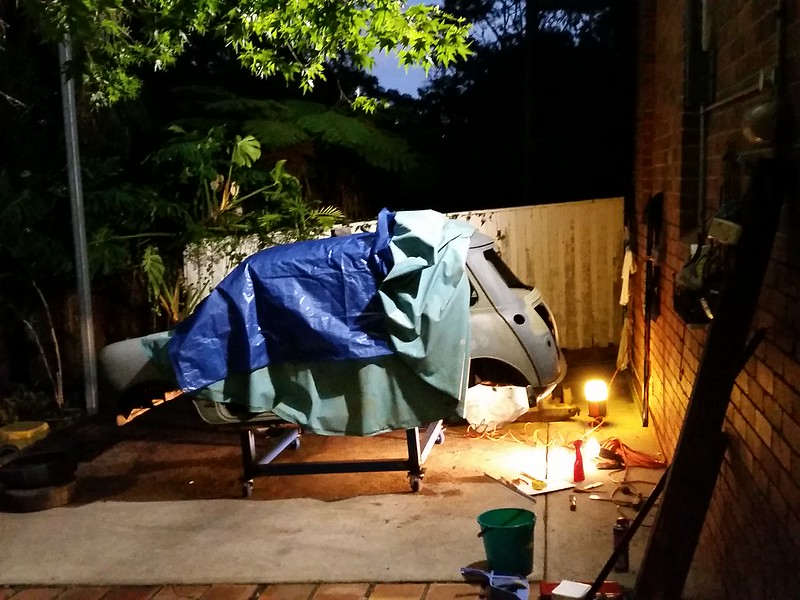
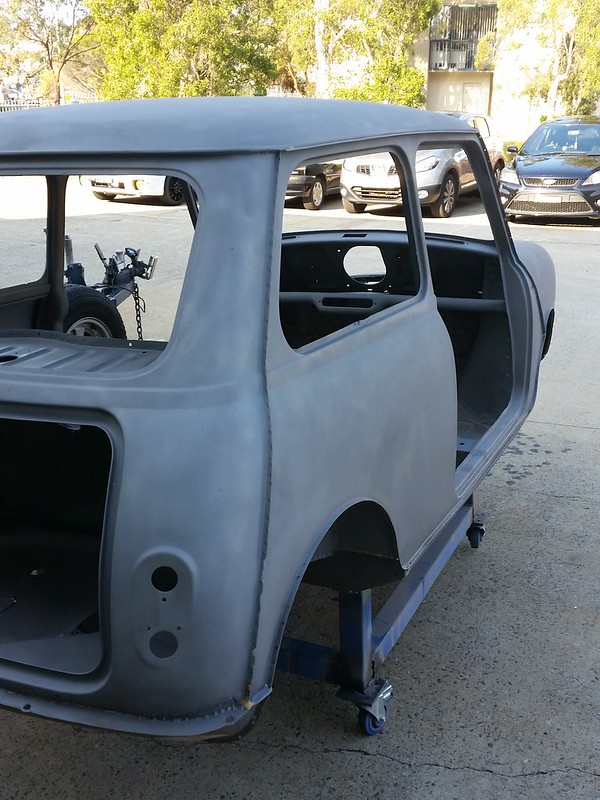
By 2015 I moved back in with mum. Rebuilt my life and found a fantastic new girl, travelled to Europe, been a tradesman for a bit over a year. The body looked rough after being left covered but outside, so I started making more plans.

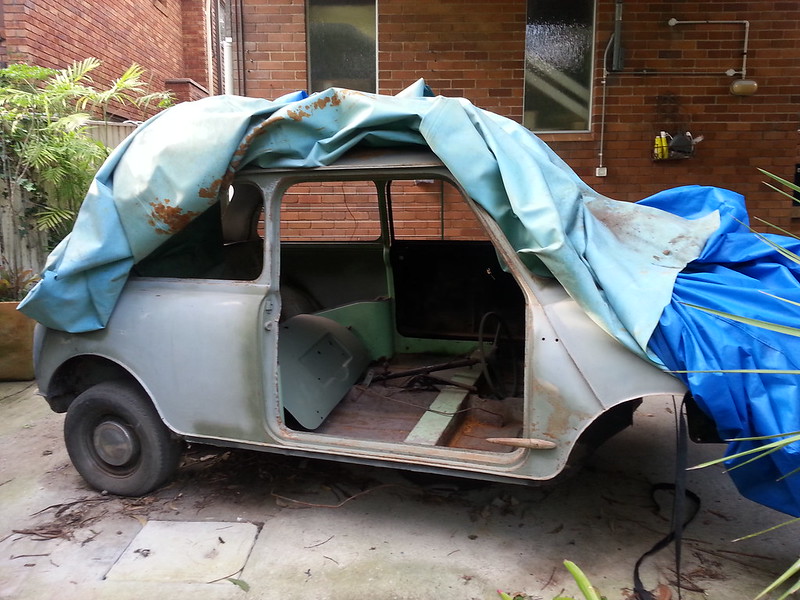
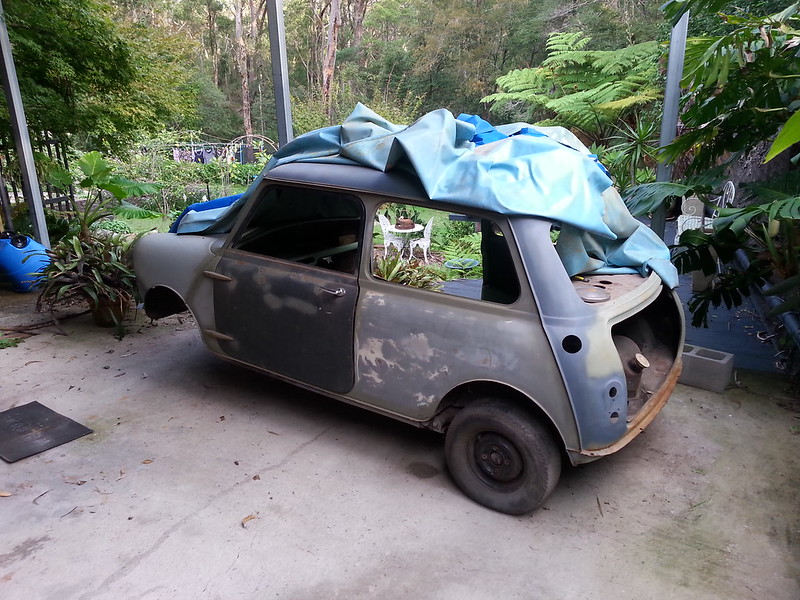

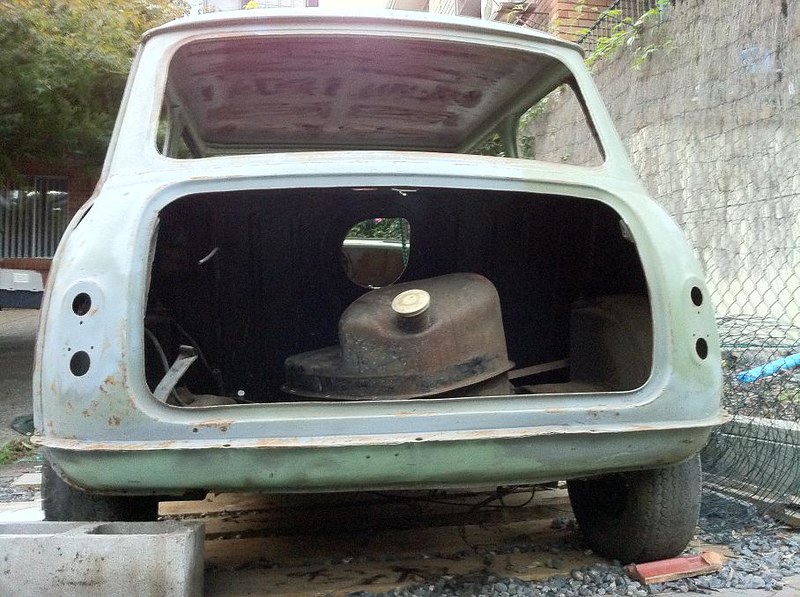
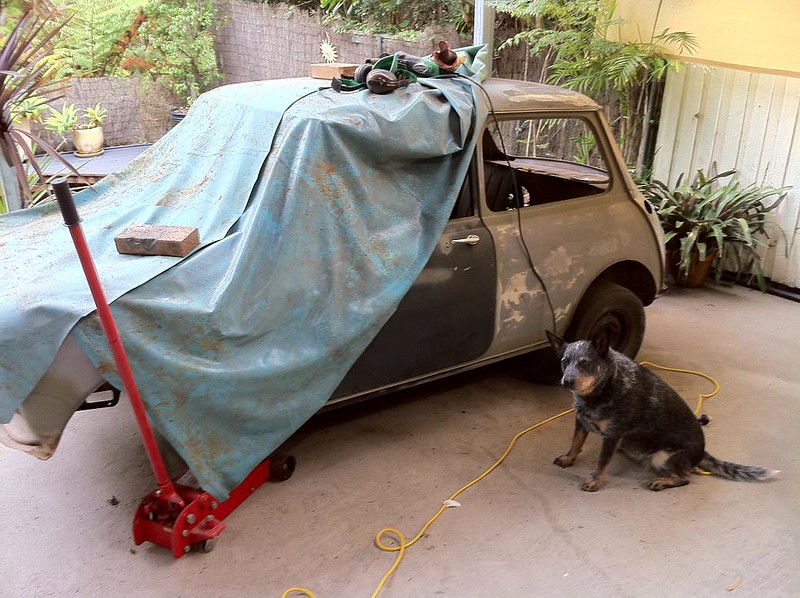
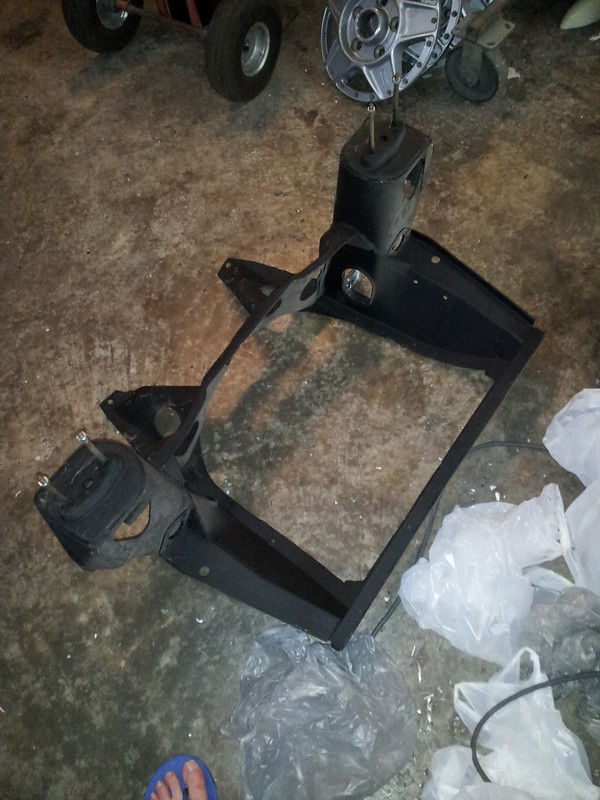
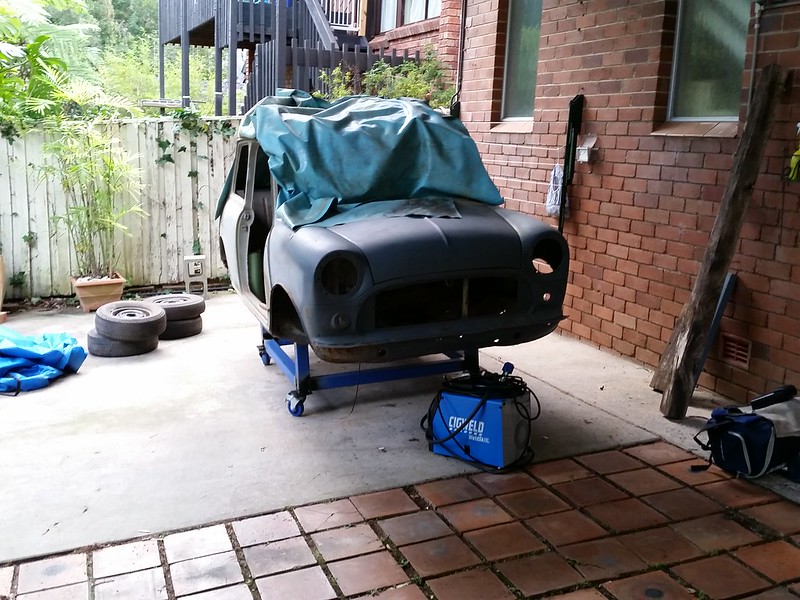
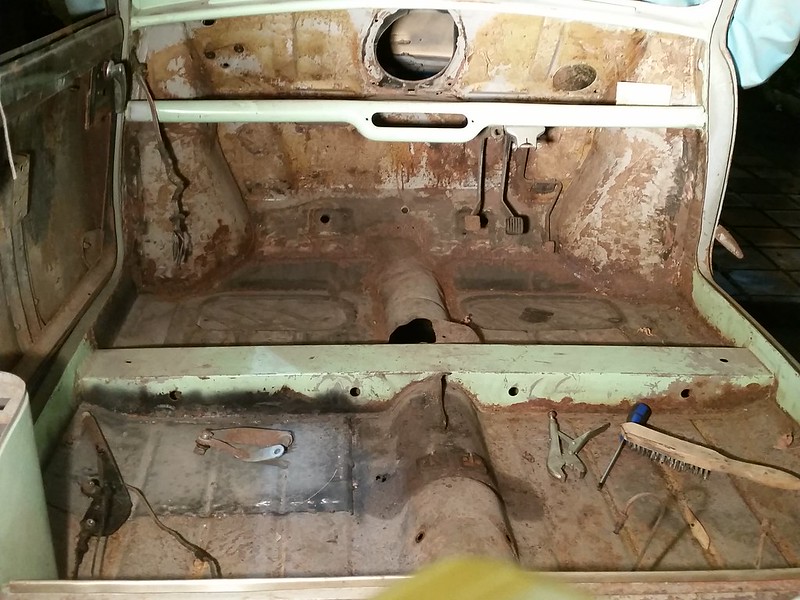
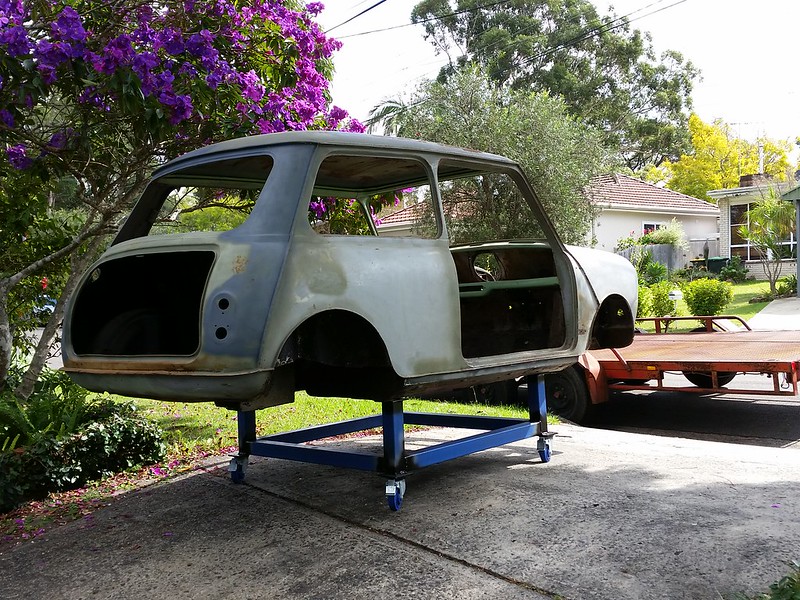
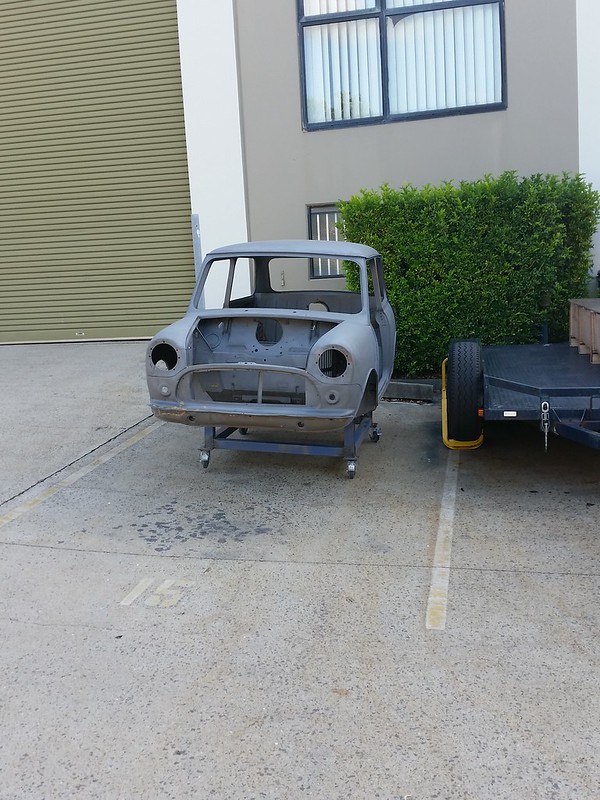
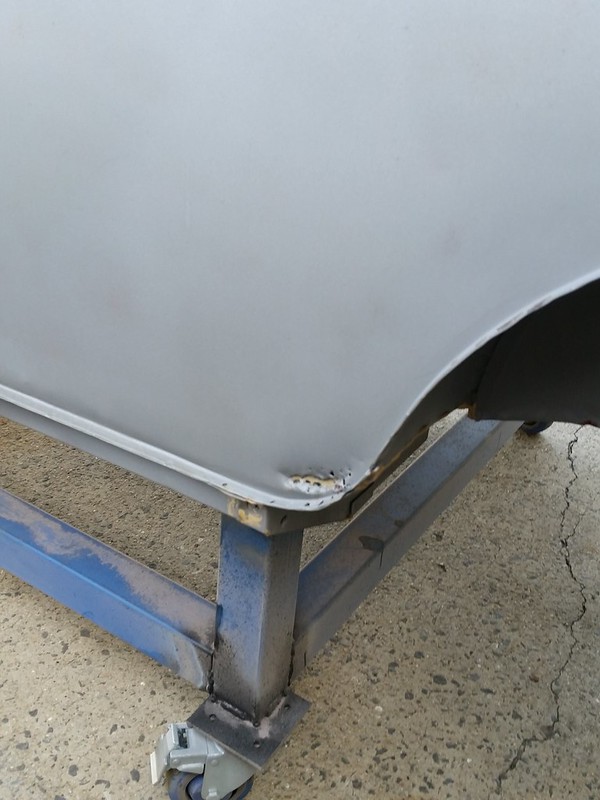
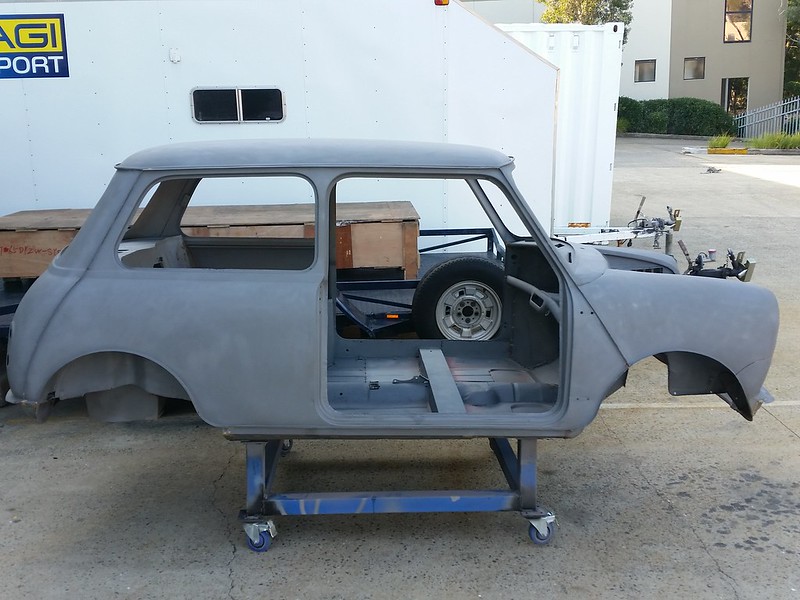
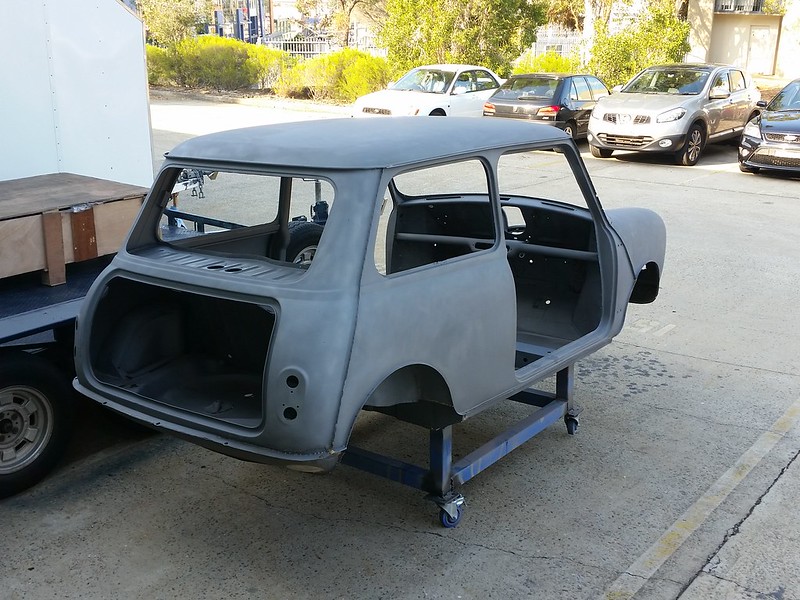
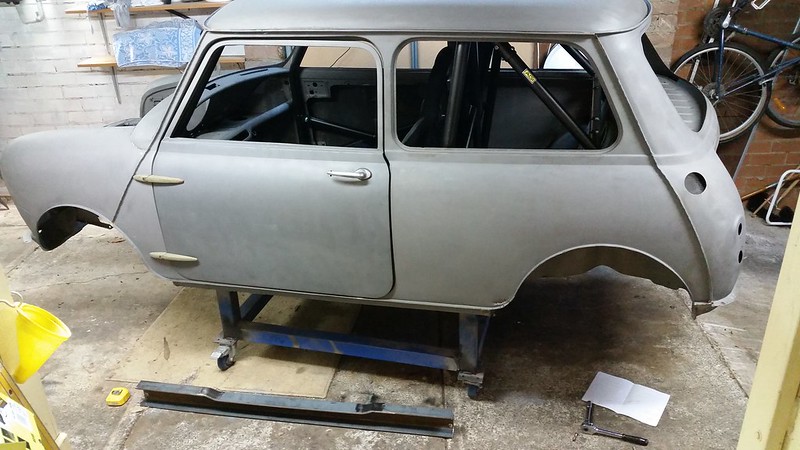
I had decided to get the shell blasted, and also decided to run coilovers with a rear beam. After discussion with the Engineer the rear beam has turned into something a little like a subframe, but a lot lighter and more adjustable. To do all of this, I needed to take some photos for reference of the boot and rear end, then strip and drop the rear suspension. This meant I needed to make a little jig/trolley for the shell to roll around. The body is no longer a wheelbarrow! That's what I call progress!
Indy assisting...
The new jig/trolley that I made up out of some pre-cut steel and Bunnings locking caster wheels

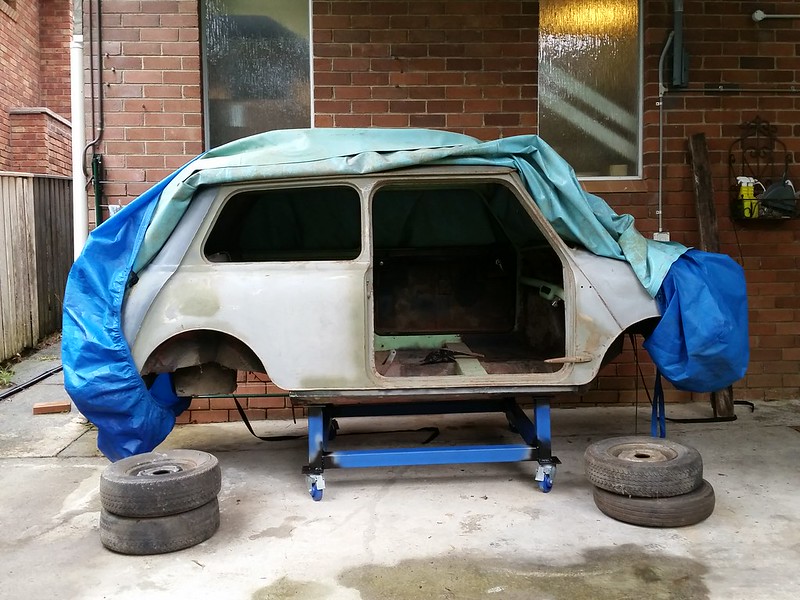
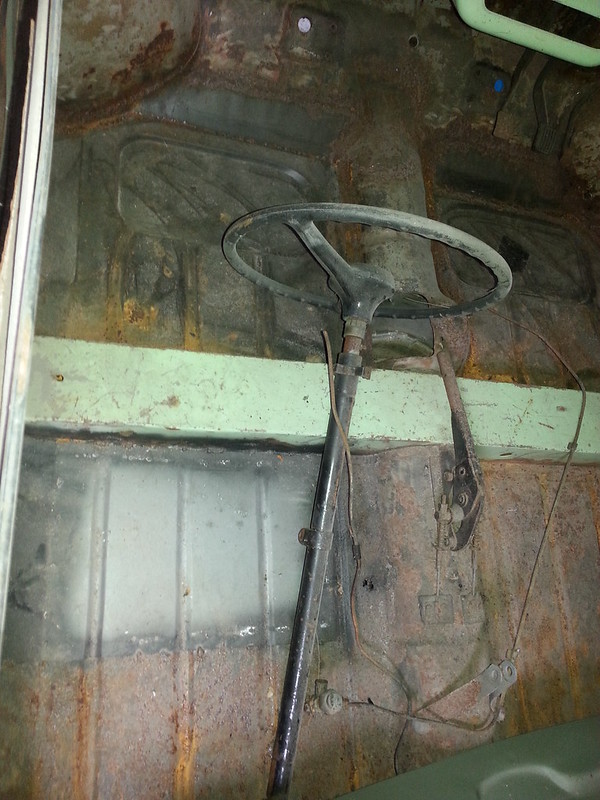
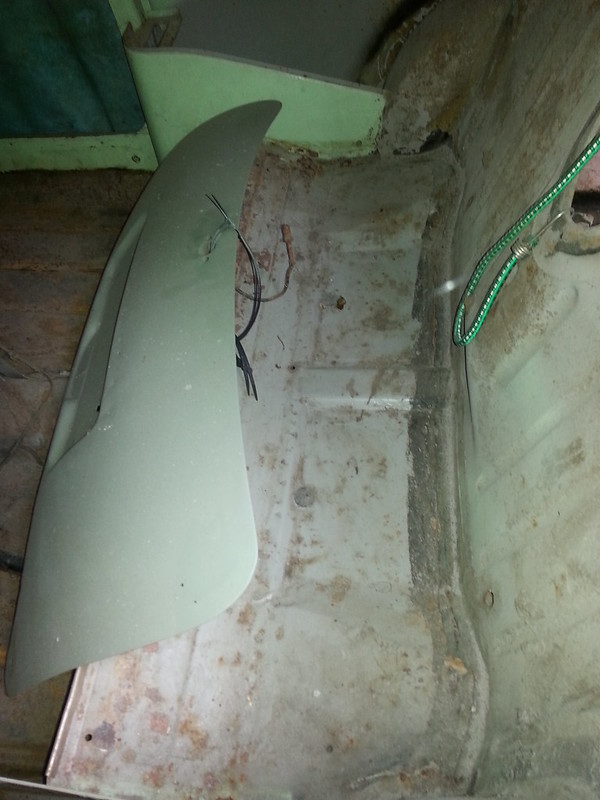
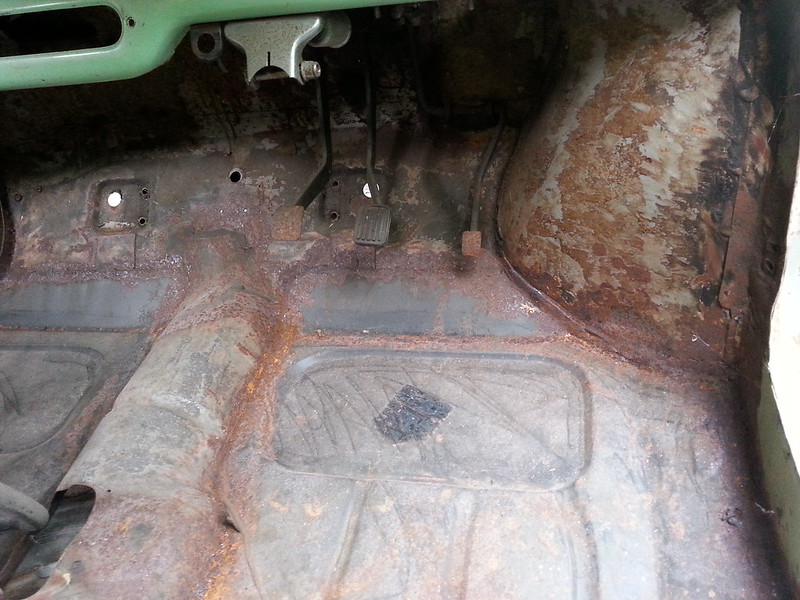
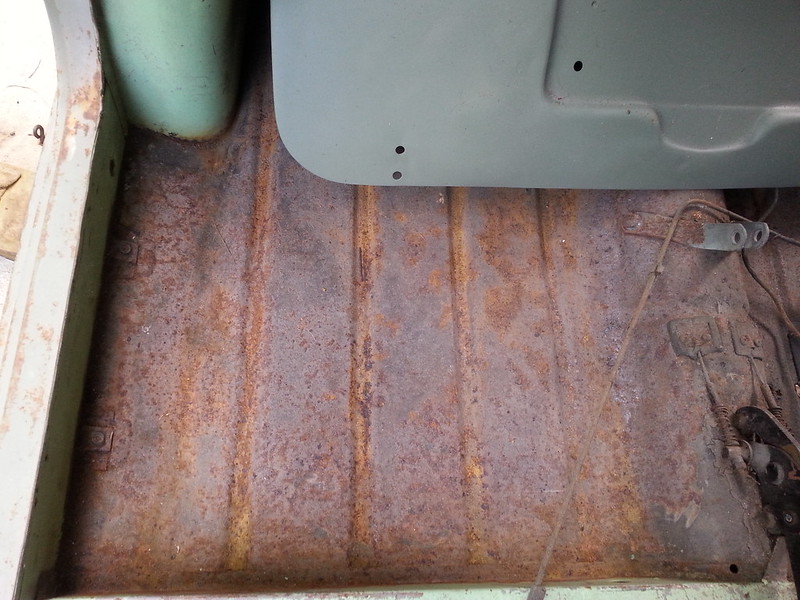
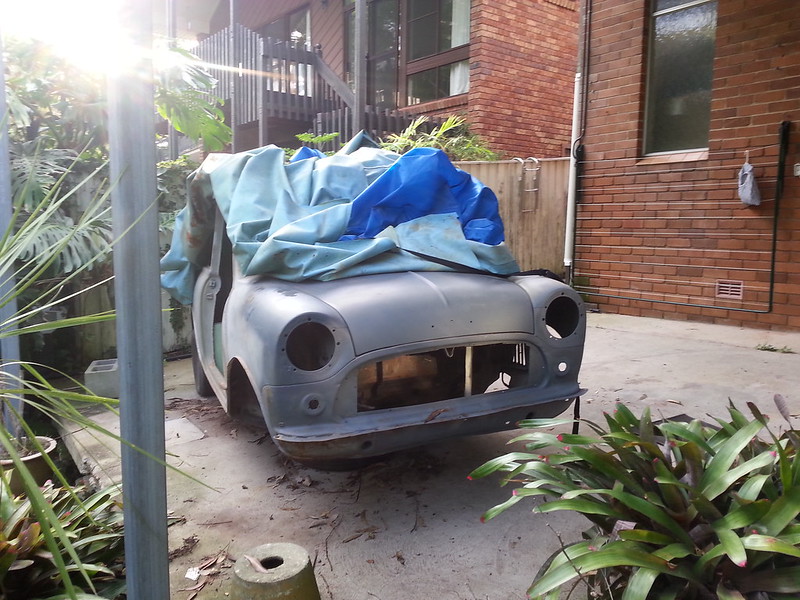
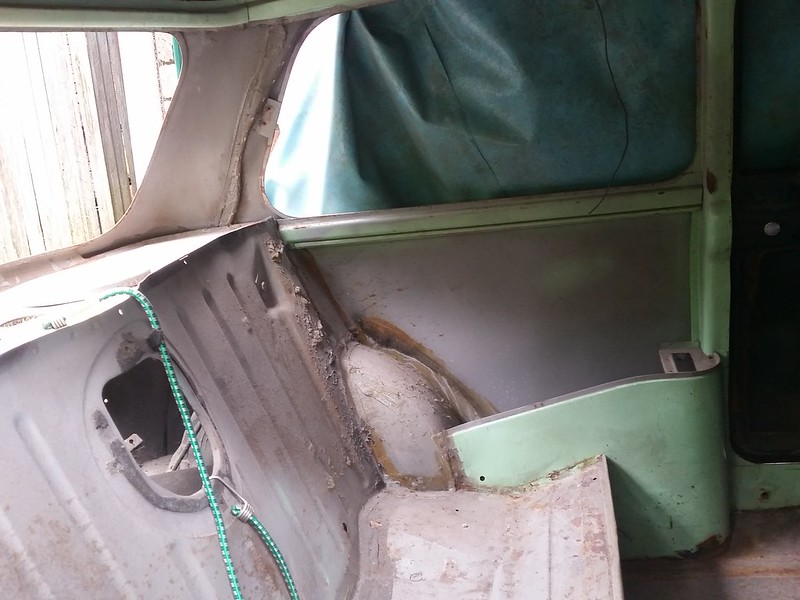
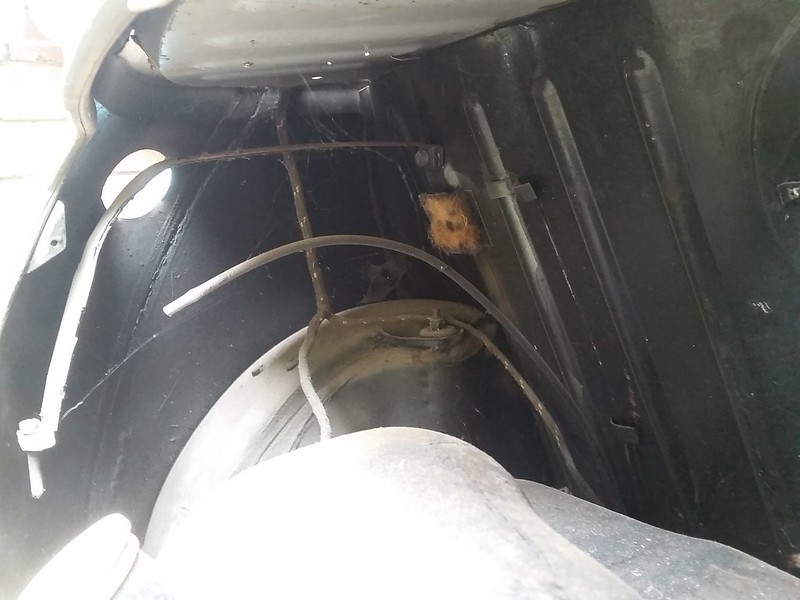
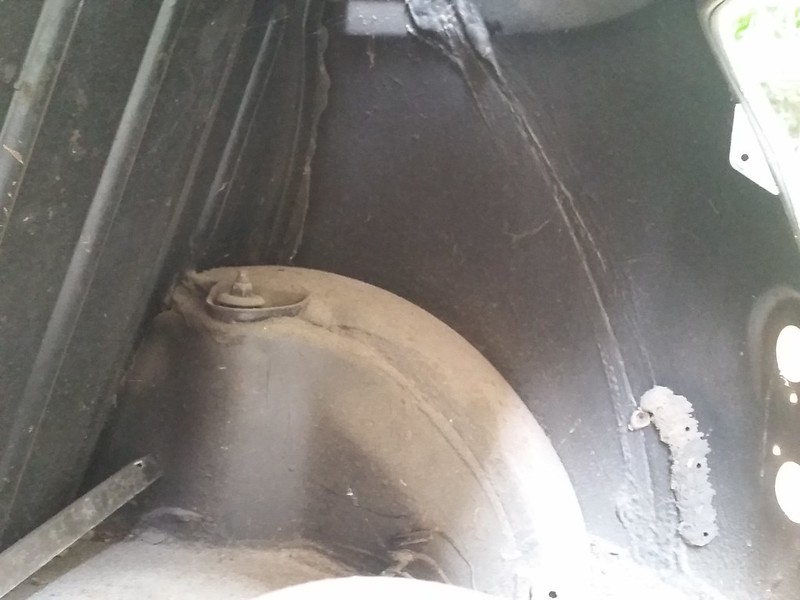
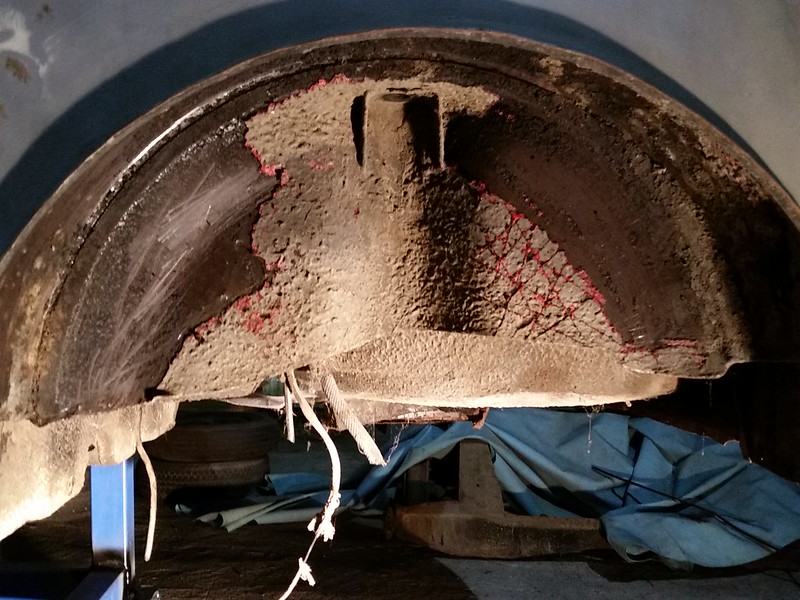
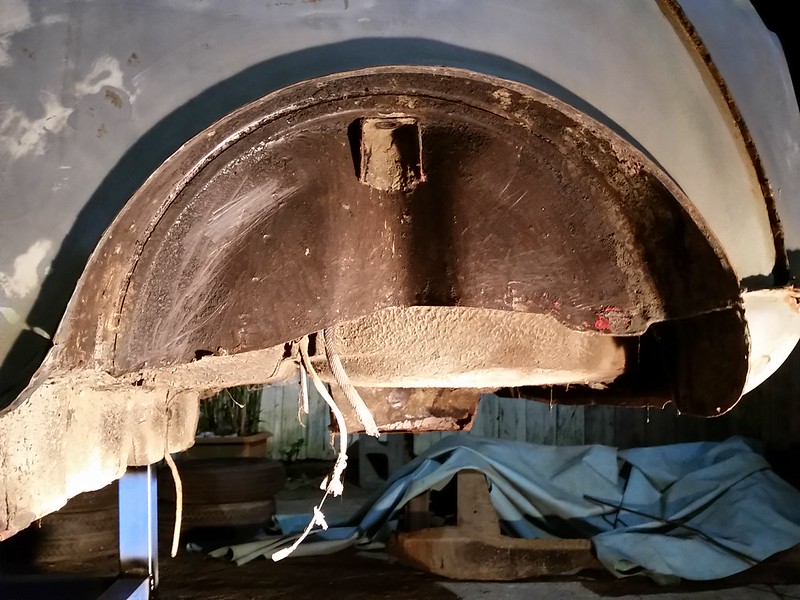
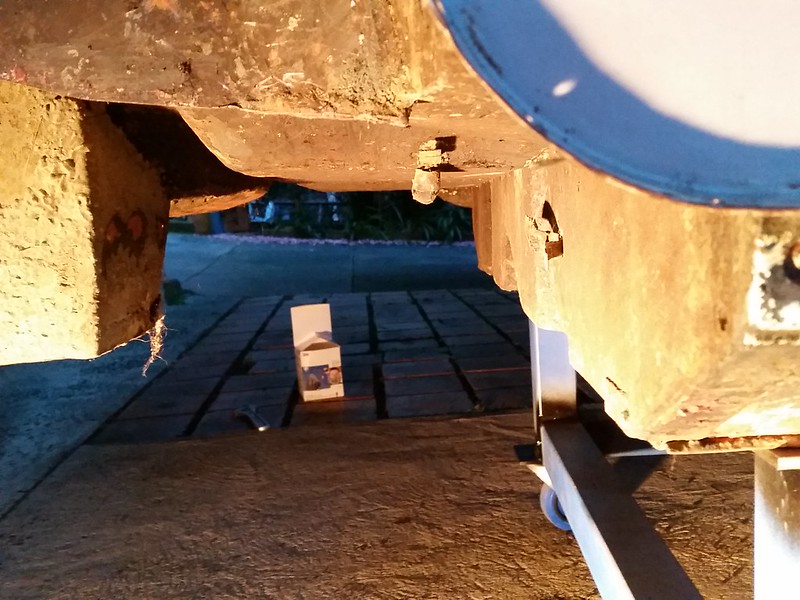
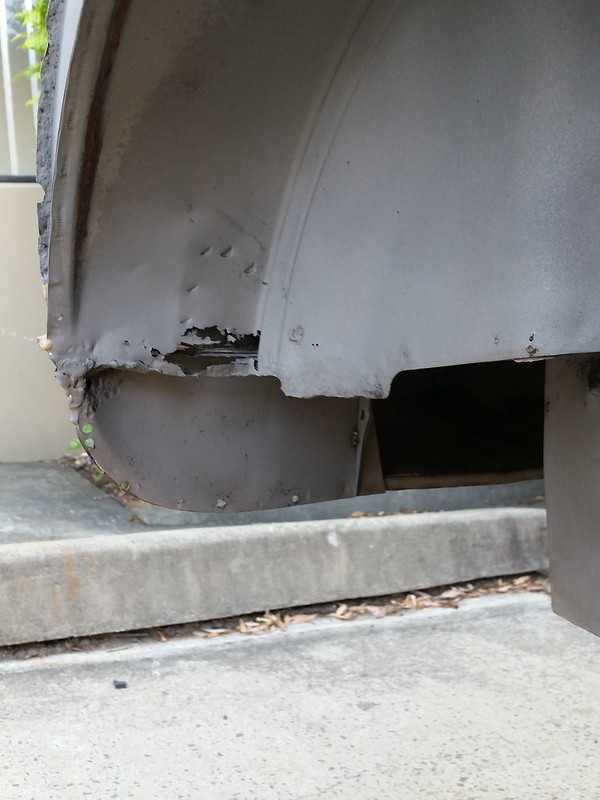
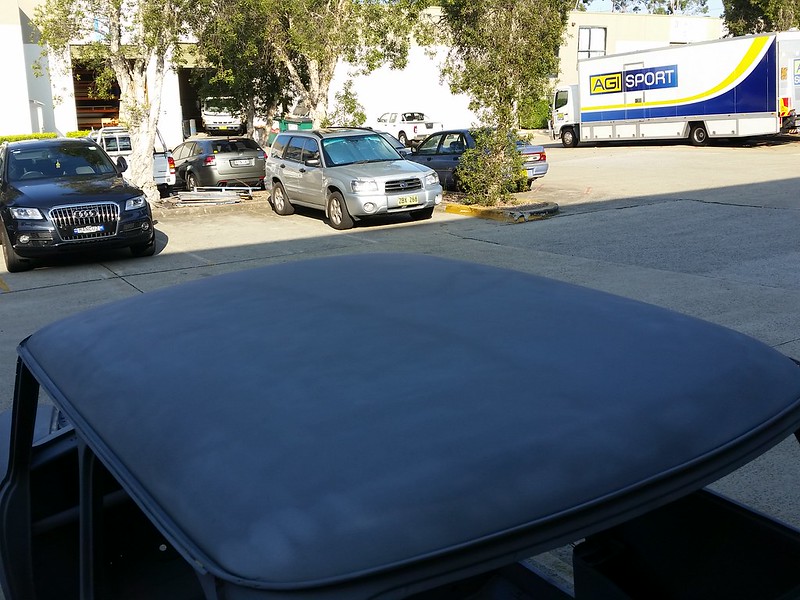
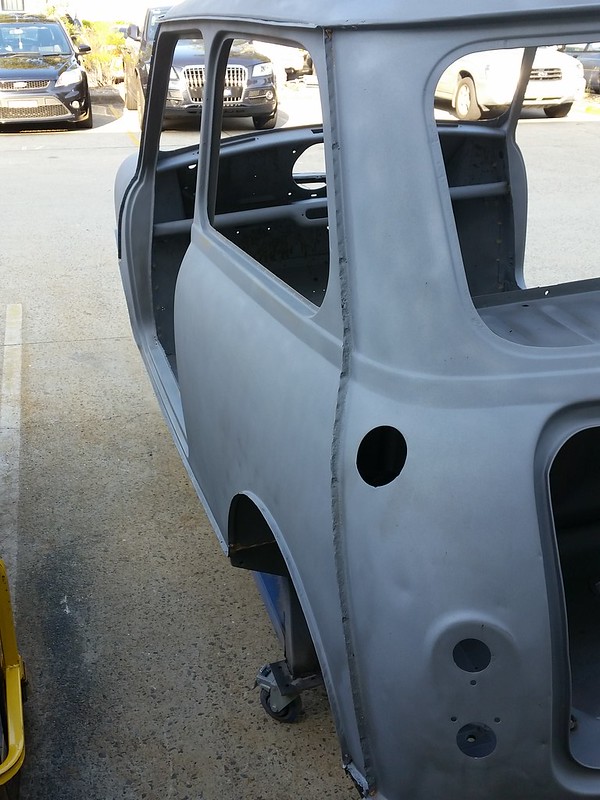
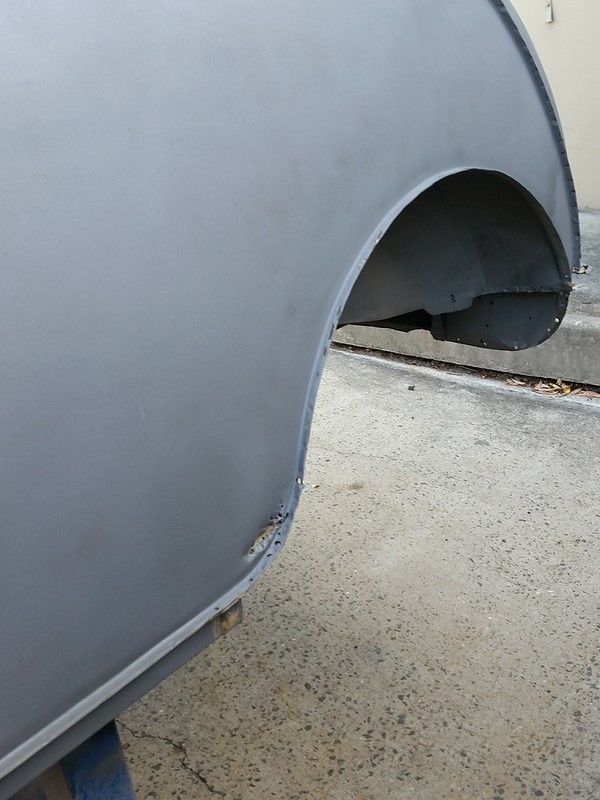
Then just before it was to be blasted I needed to remove as much of the gunked up crap on the underbody to ensure the blaster would have no issues with this crap. It sucked, it was super messy and dirty, uncomfortable lying on cold concrete on my back for hours and hours... but the results were well worth it. If in doubt, look at the pics further on after blasting
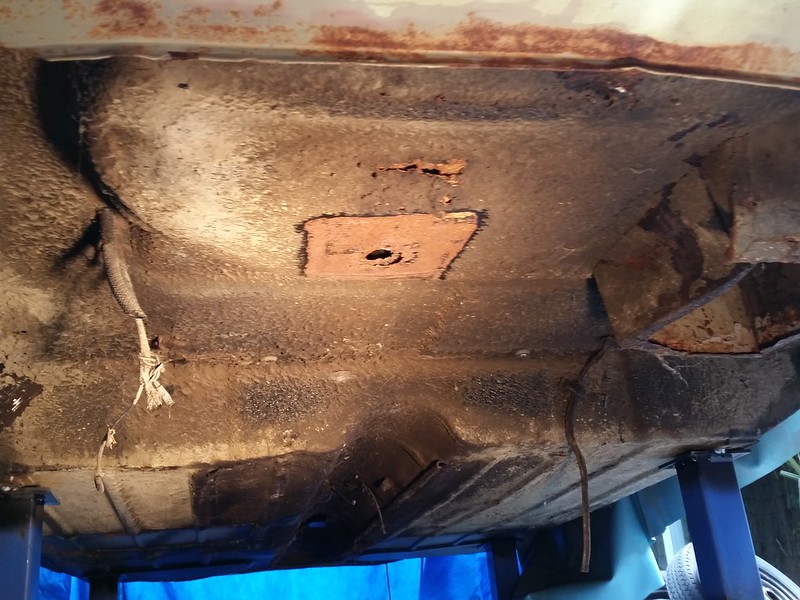
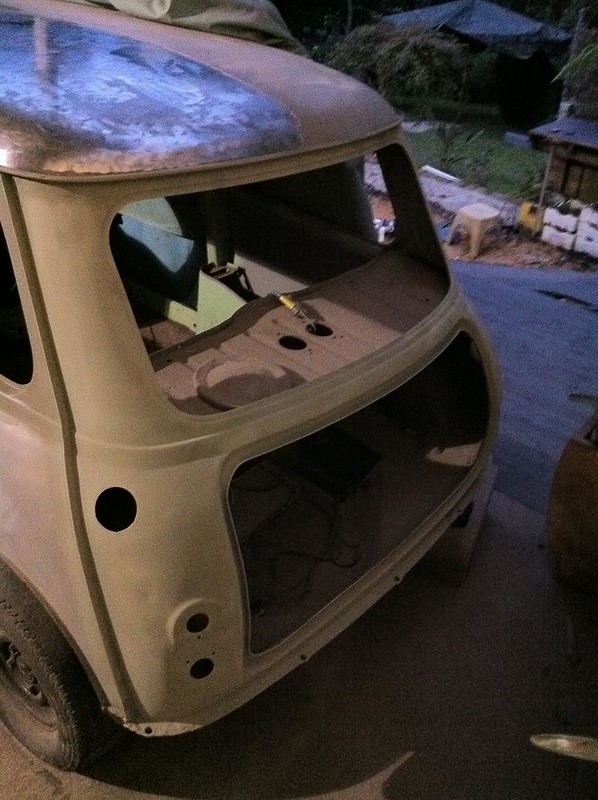
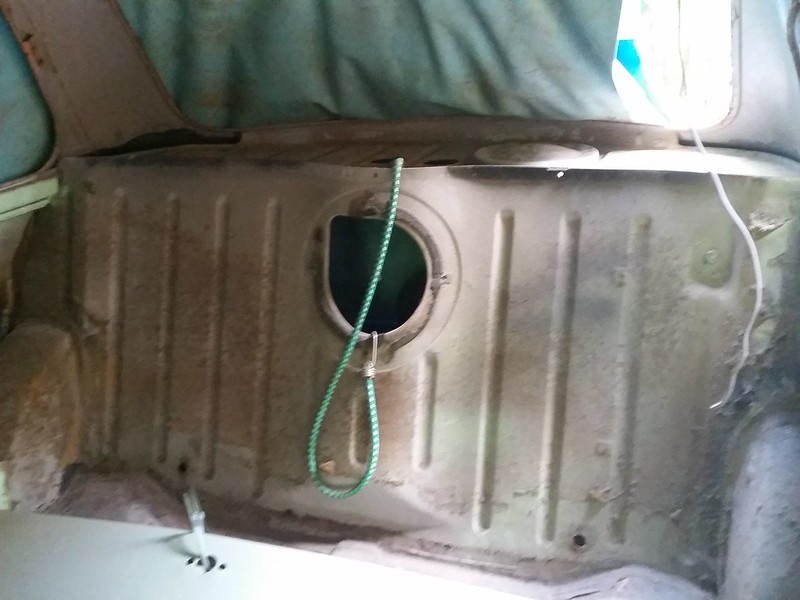
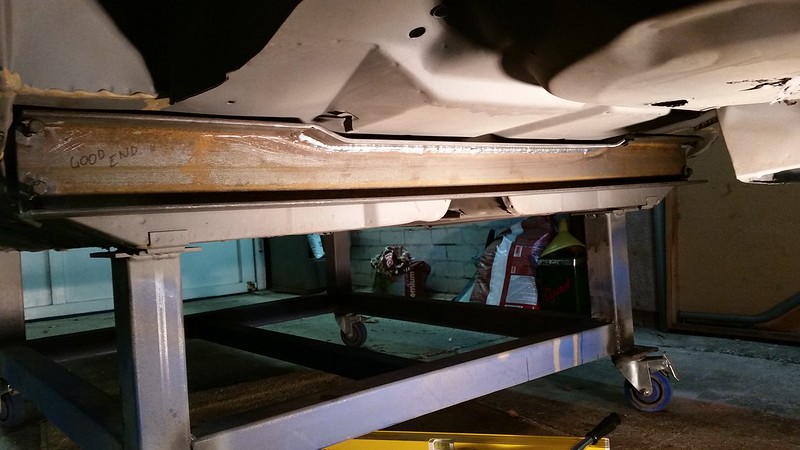
Interesting angles of the floor, they really came into play when we were designing the rear bar. I had assumed it was the same level right across the back end previously
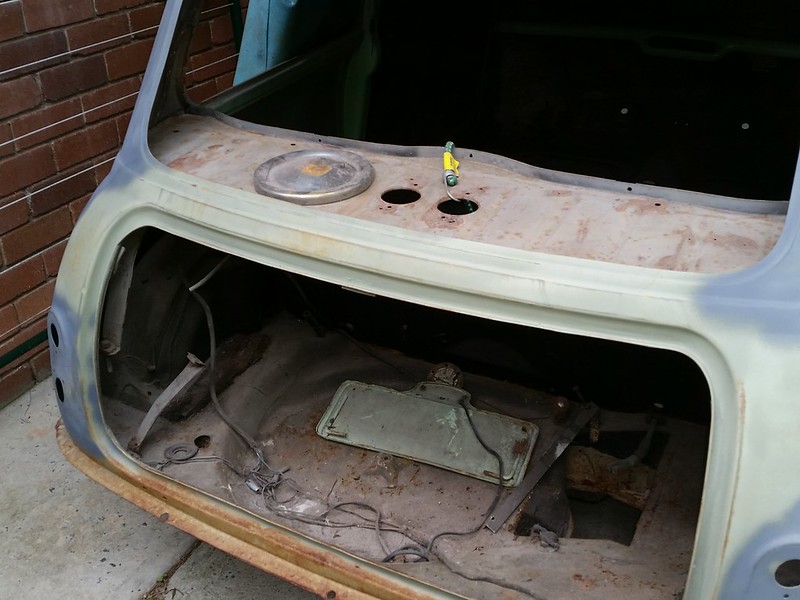
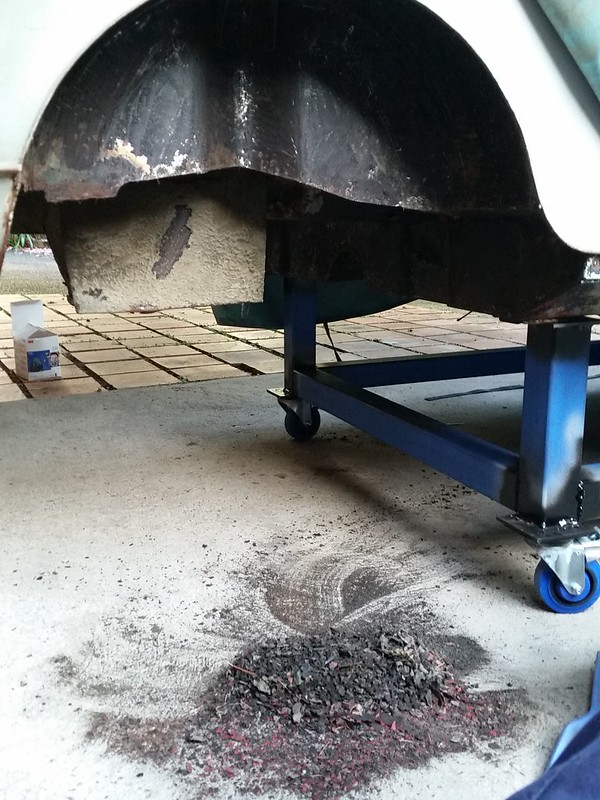
Last minute cleaning/scraping the night before the mini goes!
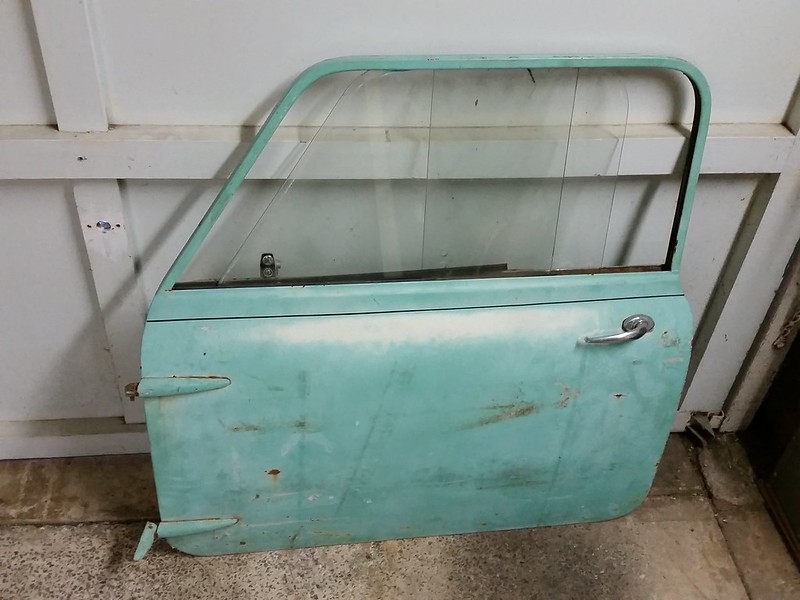
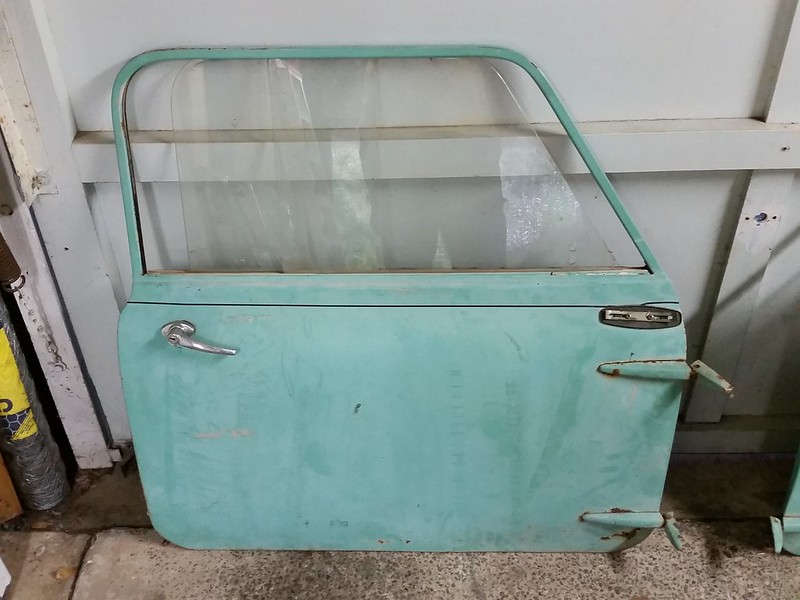
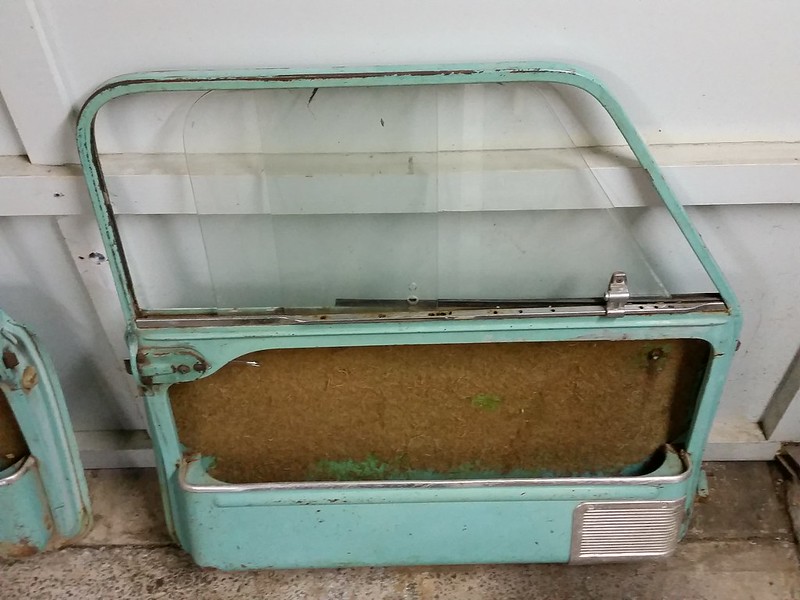
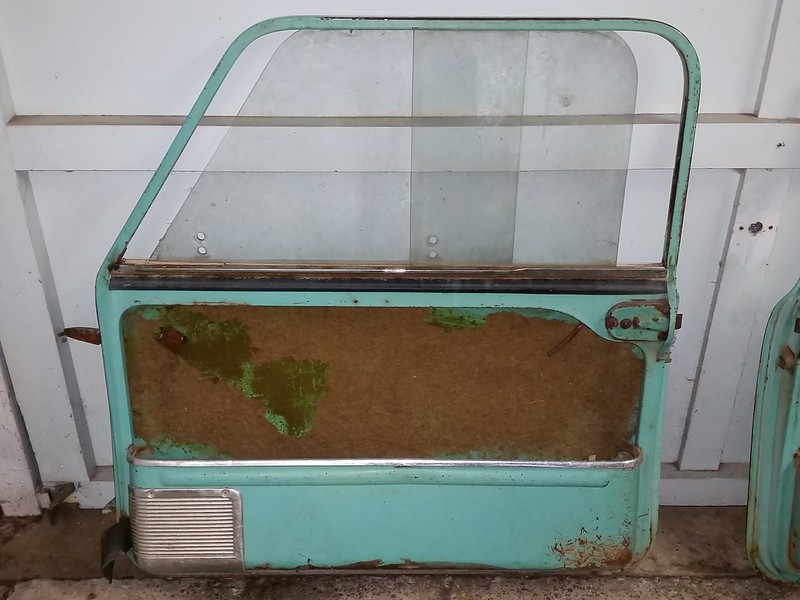
Some doors, they might be used in the build
April 2015 and the mini gets to see the street/a road for the first time in 15 years. The previous time was when we took it to the Spring fair in 2000 (there's a pic of pudgy Brad right at the beginning of this post).
To say I was excited would be a massive understatement. I even took a video of Jim driving off

The next time I saw it, I had it delivered to AGI. While I was scraping and cleaning over the previous month I had been in contact with Adam Gotch of AGI about getting a roll cage made up. Through Richard I found out Adams expanding business was looking for a classic mini to develop a roll cage. I was looking for a roll cage. It was a good partnership. So, Adam and his efficient work team took the mini, took a tonne of measurements, got me to get seats so we could figure out a seating position, took measurements for the door pockets, etc. and popped out a beautifully engineered roll cage for classic minis. Have a look if you're interested, there are a few different levels and prices, at www.agi-precision.com.au. Built to pass FIA and CAMS regulations, purely because that's how they do things...

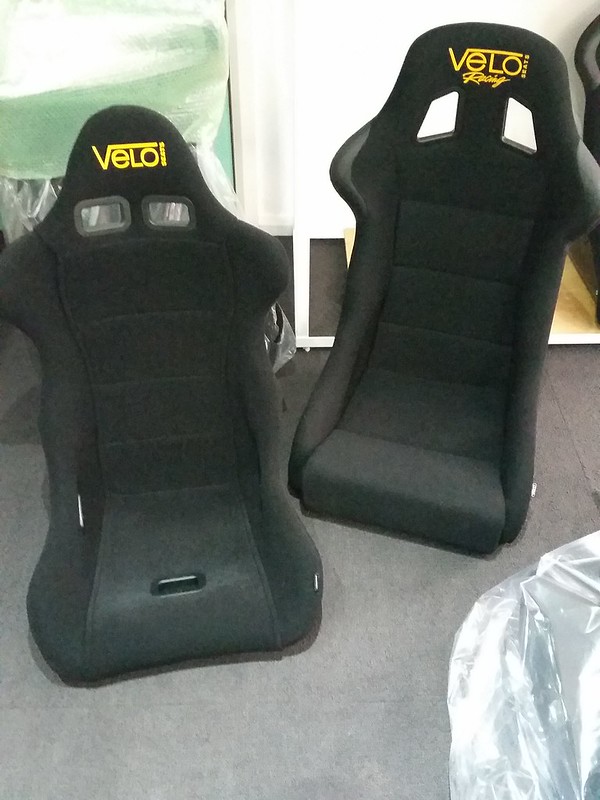
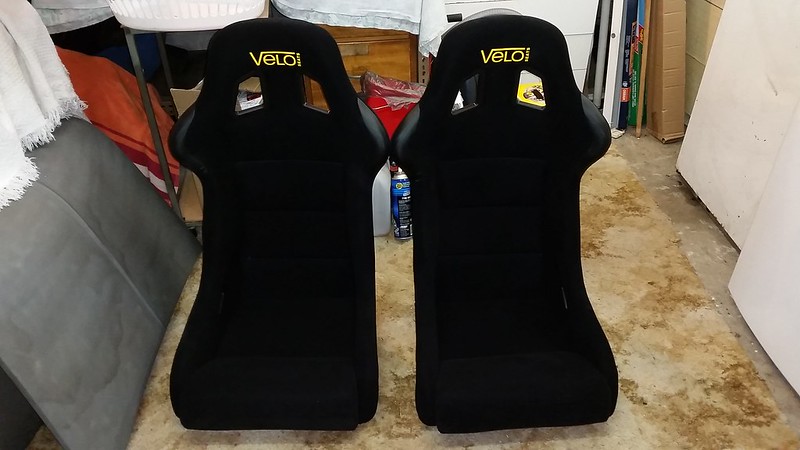
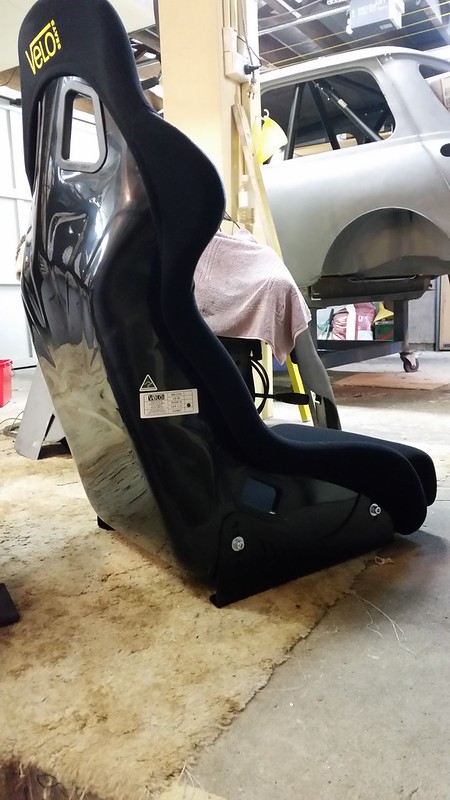
Whilst Adam had the car, I had to search for some seats that would fit in the mini. Problem is that I wanted fixed back that were high enough so the harness holes weren't below my body, that were wide enough to fit me in without breaking hips, yet not too wide so they could fit into the diminutive internal dimensions of the mini. Easily sorted! if you are thin, which I am not. So, after looking through spec sheets of brands like Sparco, Racetech, Corbeau, Recaro, Cobra and Bride without much success - sometimes due to size, sometimes due to difficulty of trying a seat (like Recaro, which don't have a NSW dealer). I thankfully found what I was looking for in Velo. Mr Sydney minis kindly lent me one of his old Velo Milano seats, and while it was comfy, the back wasn�t high enough. Not a big issue, Velo have heaps of seats, and being Australian, they have good sizing AND a local distributor to try the seats (Motorsports Connections in Seven Hills). I ended up taking a punt on their GPT-2 seats, with some advice ordering two from the same batch so the yellow stitching would be the same tone (yeah, I'm anal).
Matt's Velo Milano graciously loaned to me
The Milano vs a Velo GP
My GPT-2's in the garage
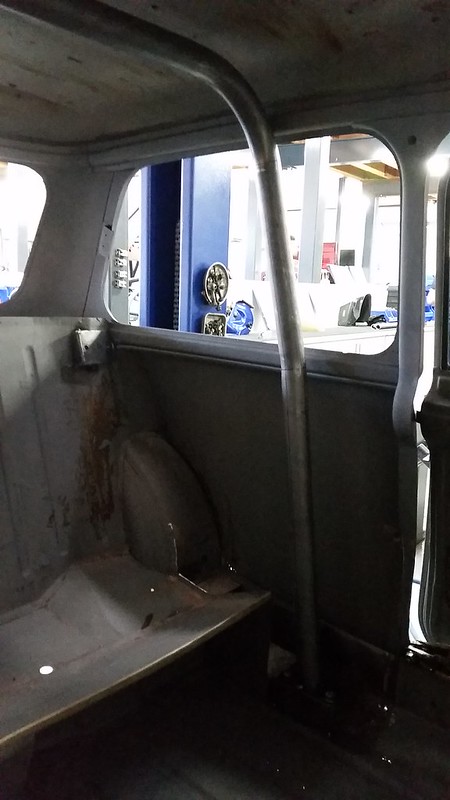
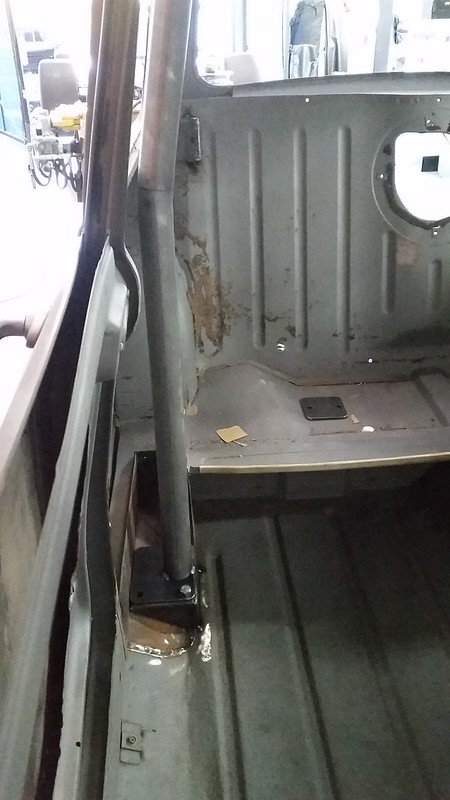
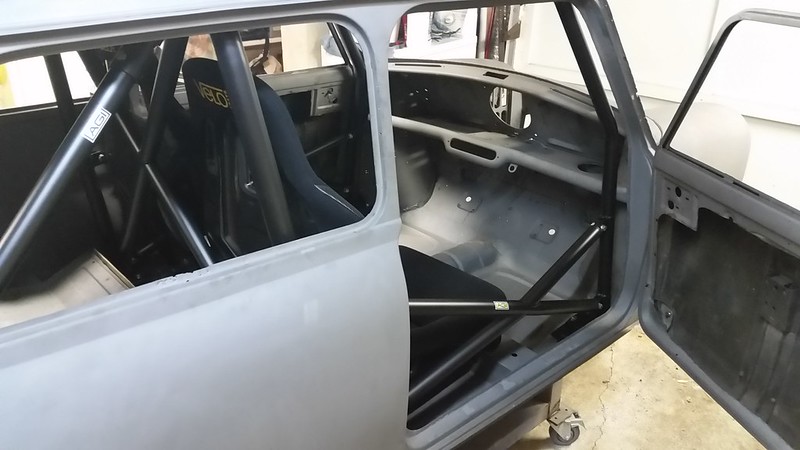
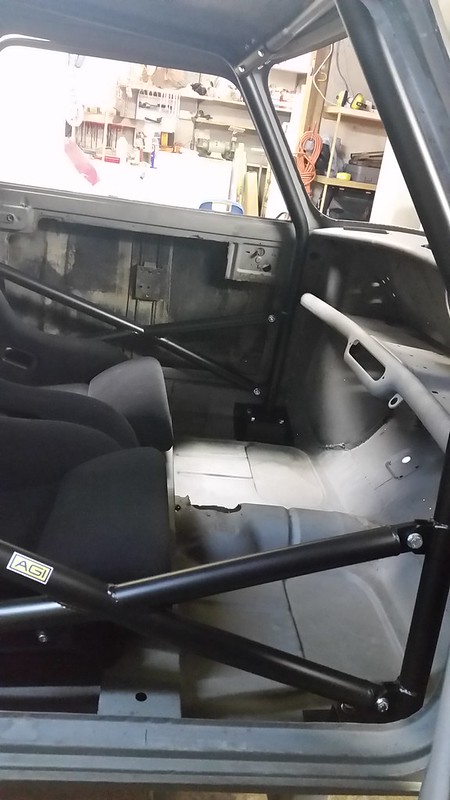
AGI were busy making the Roll cage, starting by welding in foot boxes to tie into a few surfaces as they were worried that in a roll-over the cage feet would possibly punch through the floor. The rear pockets were cut out, but with discussions with Adam I believe it may be possible to do without, and at worst case the pockets could be put back in (if interested, speak to Adam before taking my word as gospel)
The seats were needed mainly to determine how far back the main hoop was, thankfully I had a say in that as I'm a bit over 6'
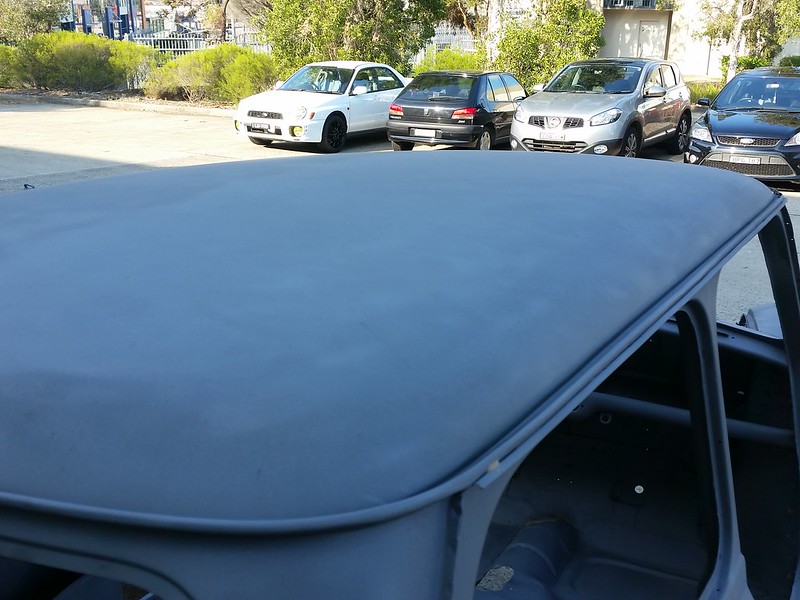
The Roll cage on AGI's jig before and after paint
Photos from AGI

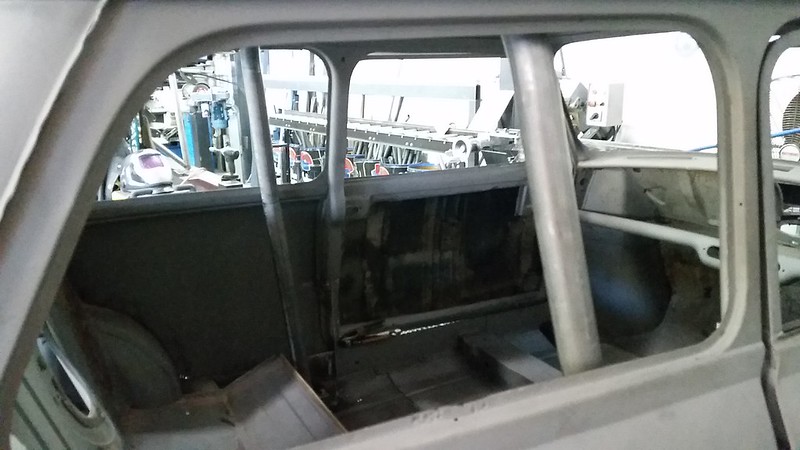
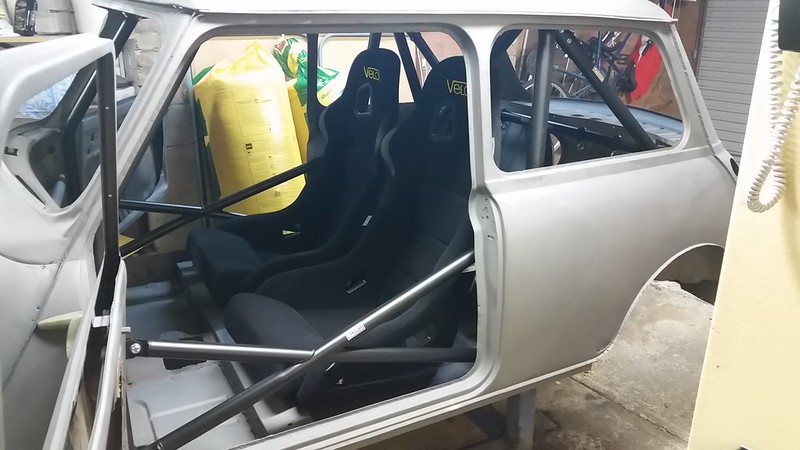
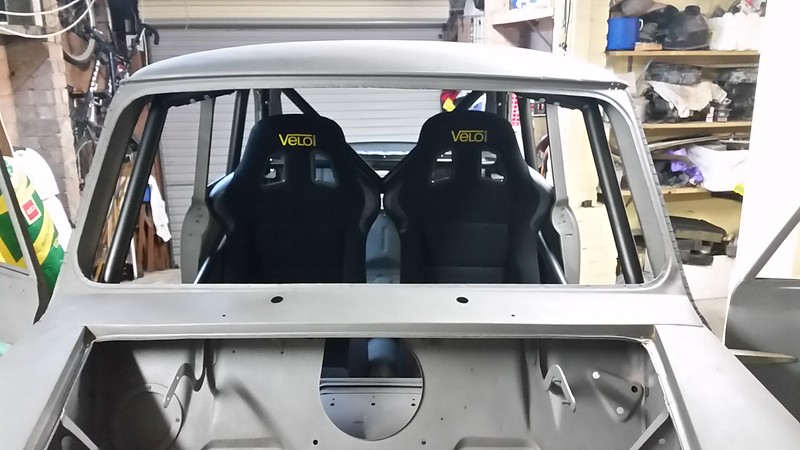
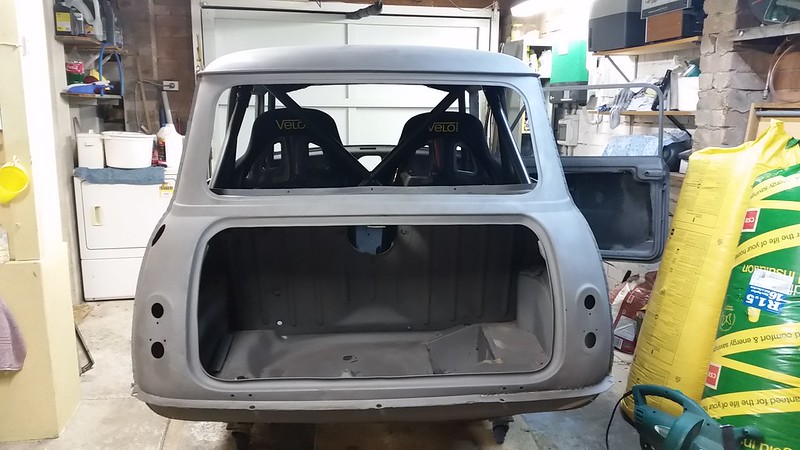
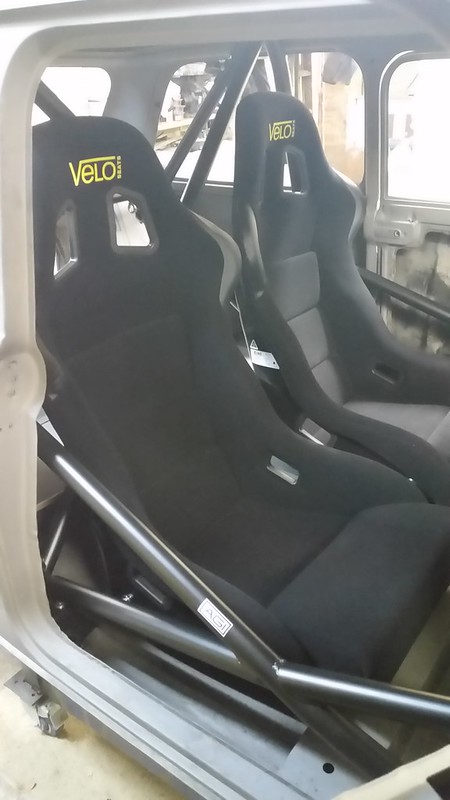
Then finally getting the car home I chucked the seats in to check how they look and for rough dimensions. It seems the dimensions were close! Not surprising in theory, but it's still a butt-tightening moment when it comes so close!
The idea for the seats is to have the drivers on slides and the passengers locked in solid. They have the side seat mounts with various holes so the seat angle can be adjusted, and the seats have pull out cushions, so there might be a future second set of cushions that are thicker/denser for a bit more comfort for the tushie.
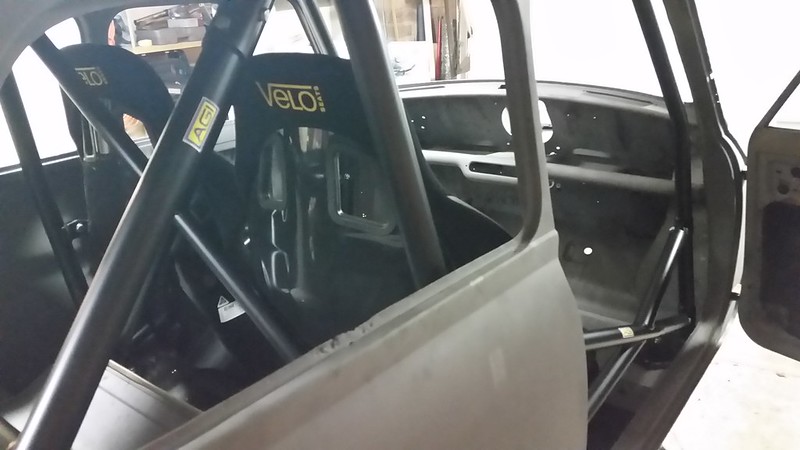
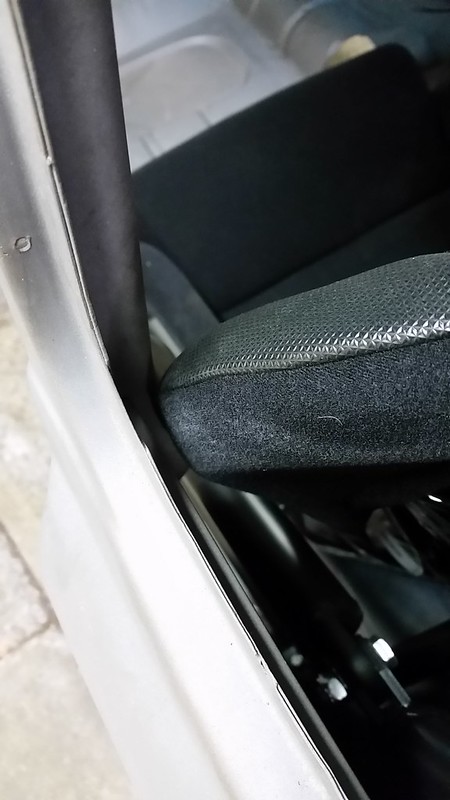
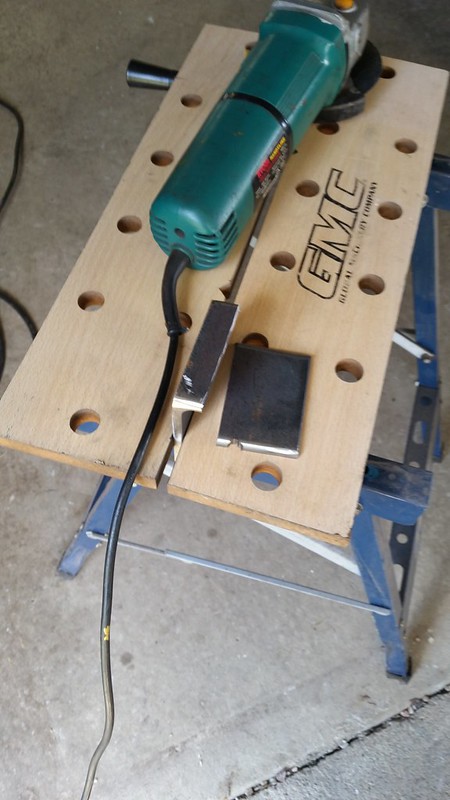
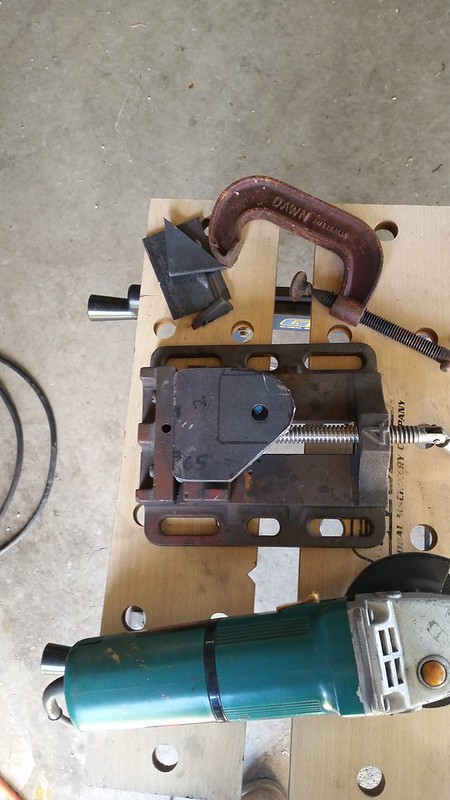
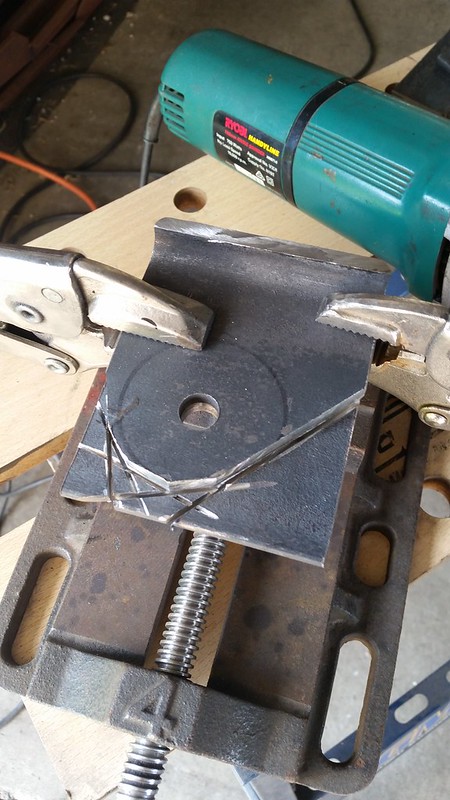
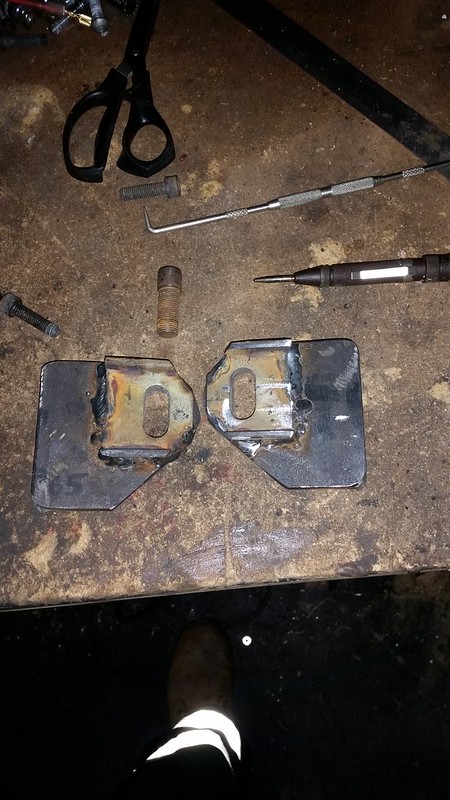
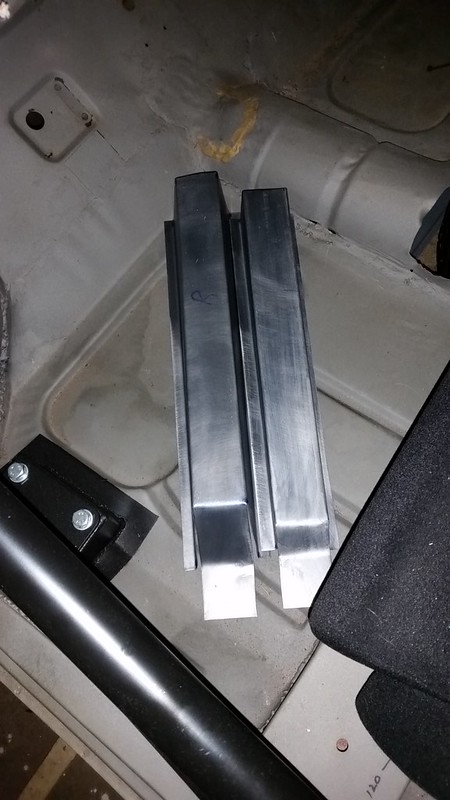
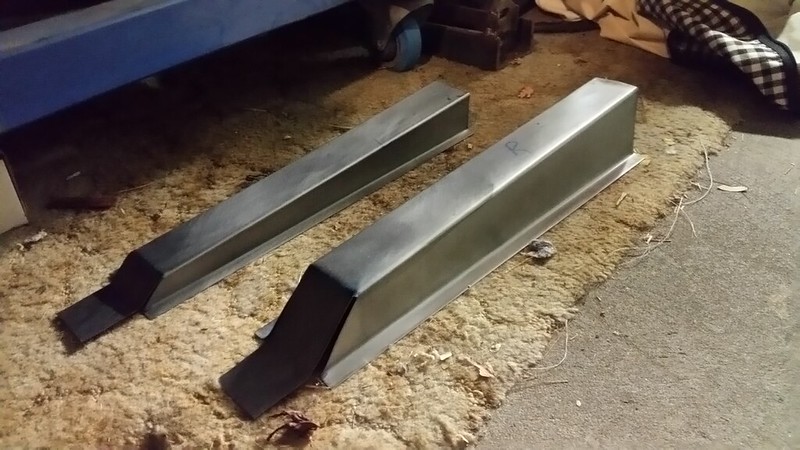
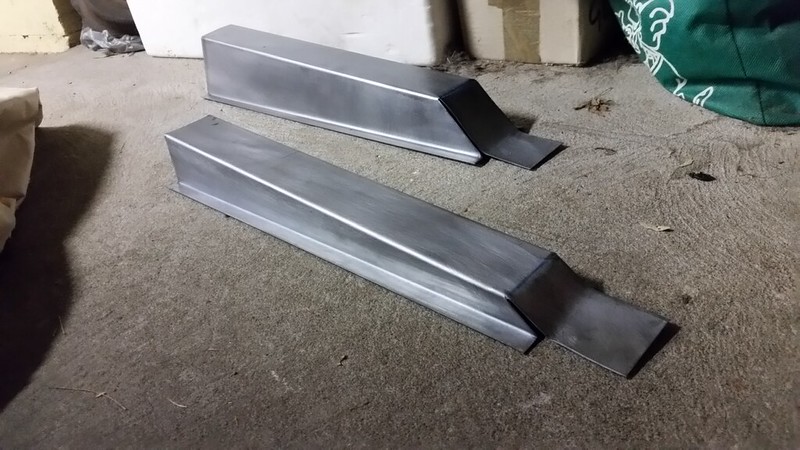
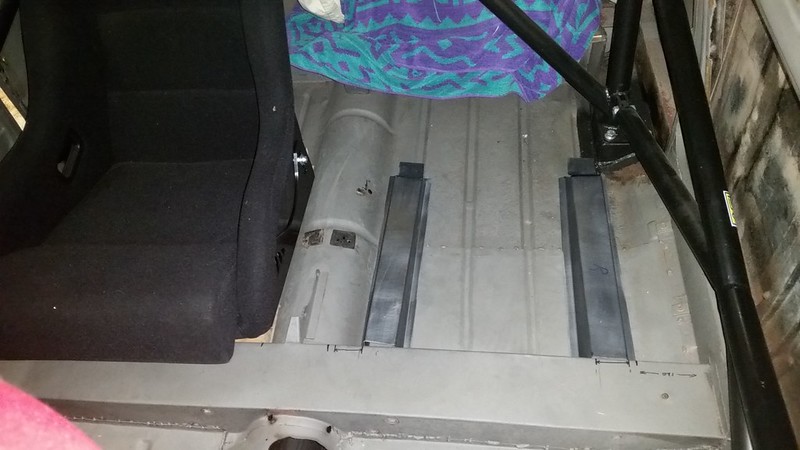
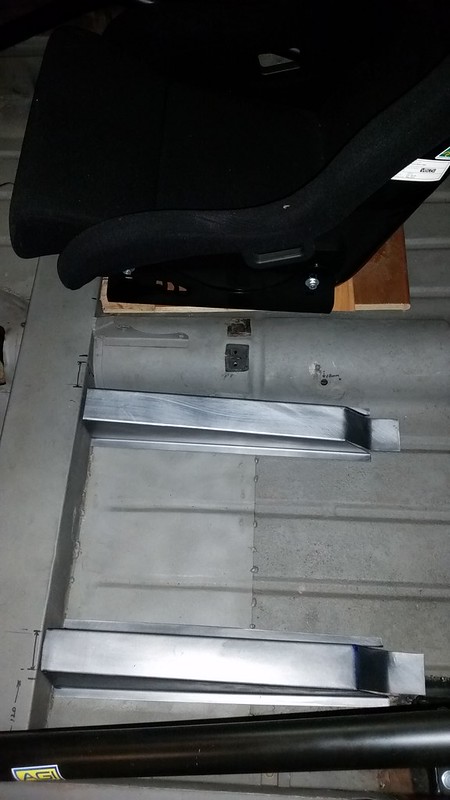
Position-ally, the passengers must have its left shoulder wing tucked behind the B-pillar to give the driver's side enough room to have it slide and rise over the door lock B-pillar indent. To facilitate the mounting, I have had some mounts made up out of sheet metal in the desired top-hat shape (dictated by engineer), however, because I'm pushing the dimensions the mounts interfere with the exhaust tunnel. More on this later in the post

The seat mounts are around the wrong way here, I have corrected this after asking Velo's helpful customer service bloke
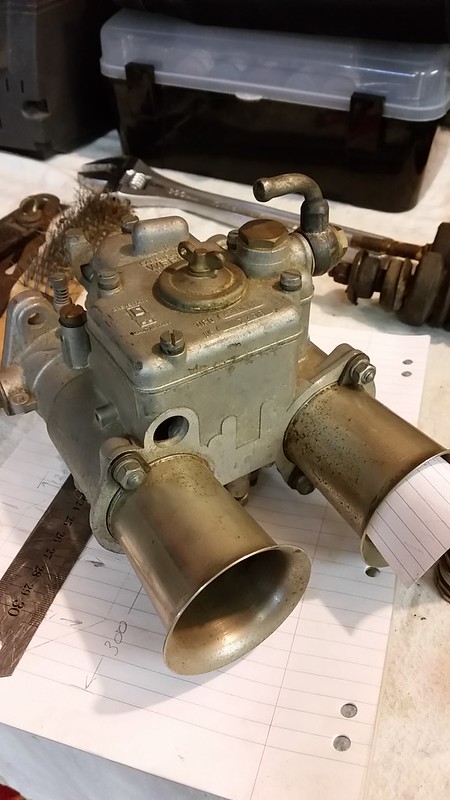
Got a Weber
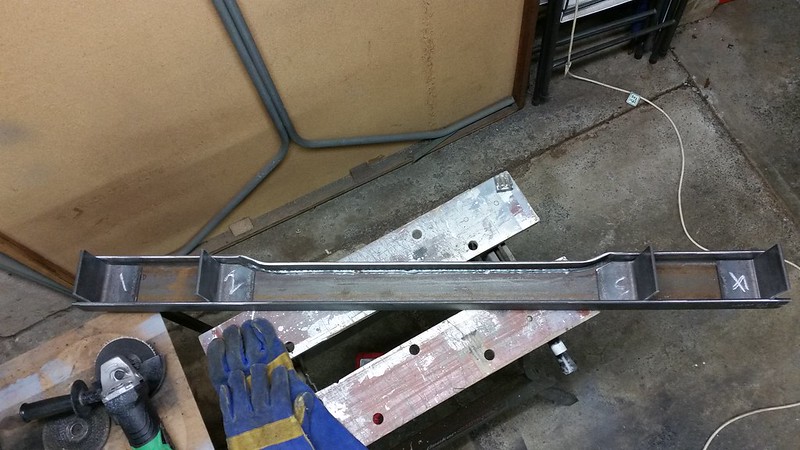
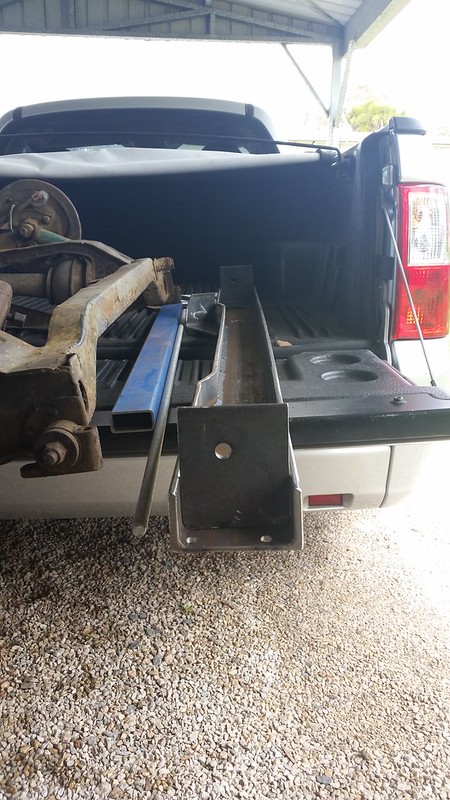
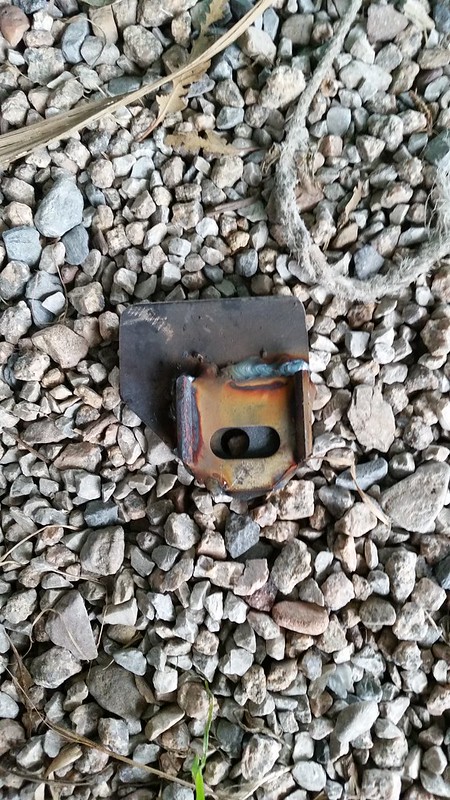
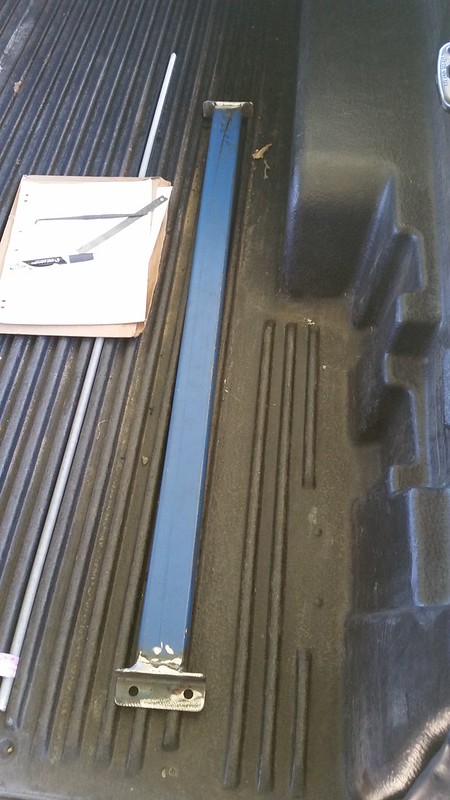
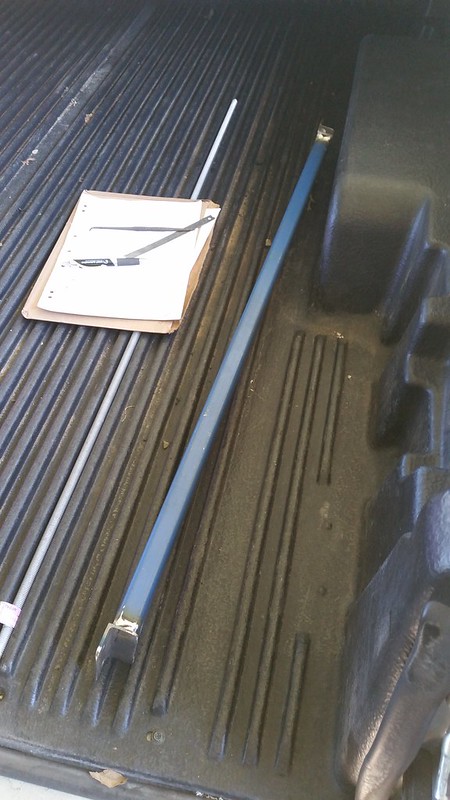
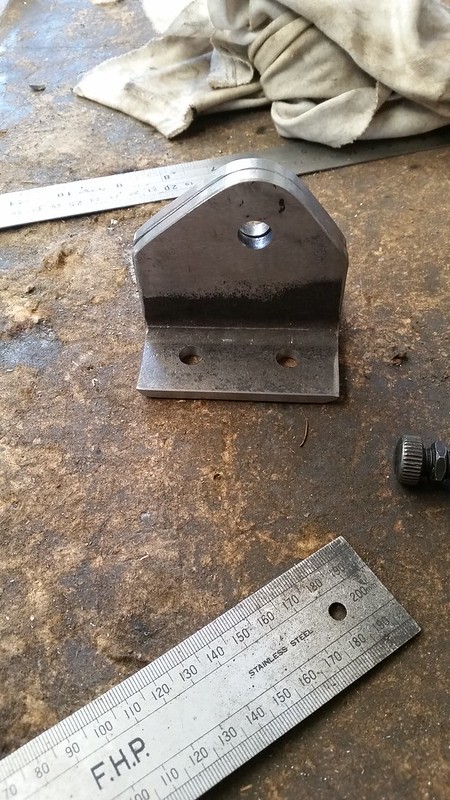
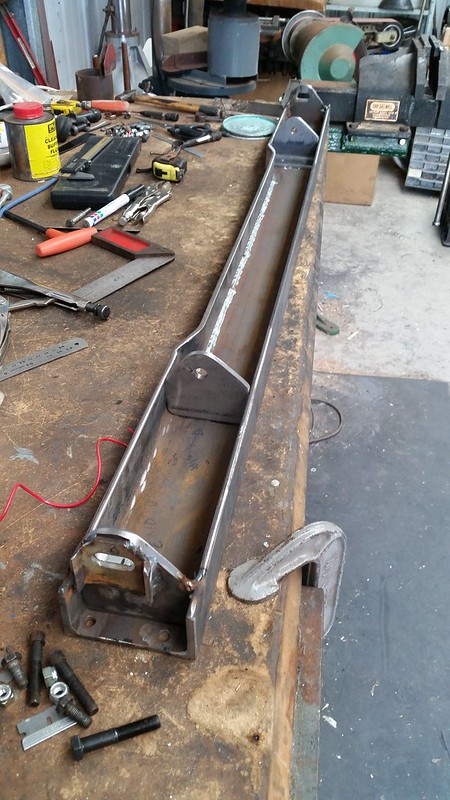
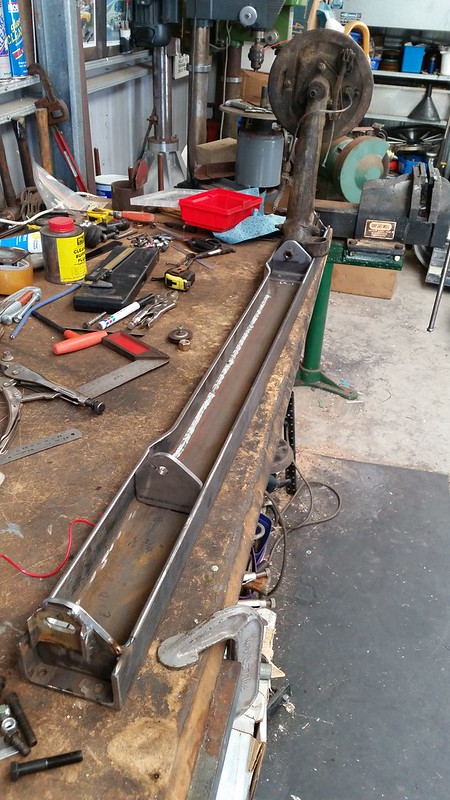
The plan is to run coilovers and remove the rear subframe and run a rear beam with trailing arms. I had a steel works place make up a thick beam using the dimensions I had taken when I was cleaning the crap off the underside of the body just before blasting. I also got them to make up some L-brackets to hold the trailing arms on. One weekend in Sept 2015 I ventured to Richards and we worked on the beam and the brackets. It currently sort of resembles something of use! I need to get someone to do some structural work to the beam (IIRC it's 5mm thick, too thick for me to cut with a grinder precisely), but hopefully by the end of these pics you'll see where we are headed with it. It will have a fair bit of camber and toe adjustment, and despite the necessary bar work (which now resembles a subframe), it's lighter than the original, and will suit the flat boot floor.

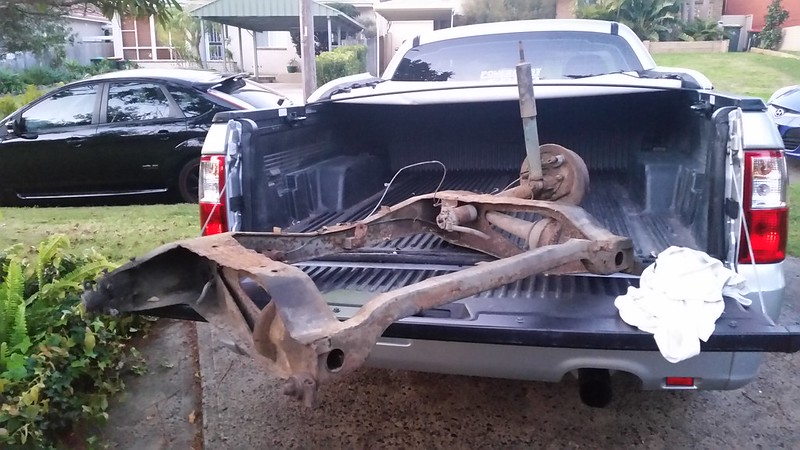
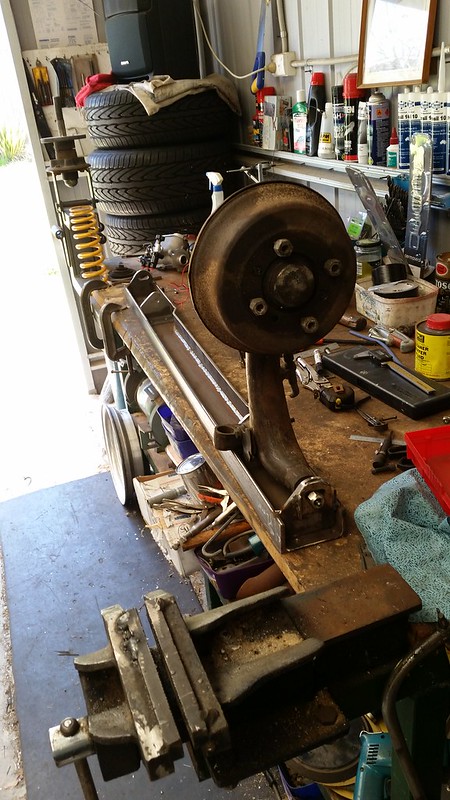
Took the old rear subframe for any reference measurements we'd need

Yes, I tried to get Richard to wear more safety stuff. No, he didn't listen to me

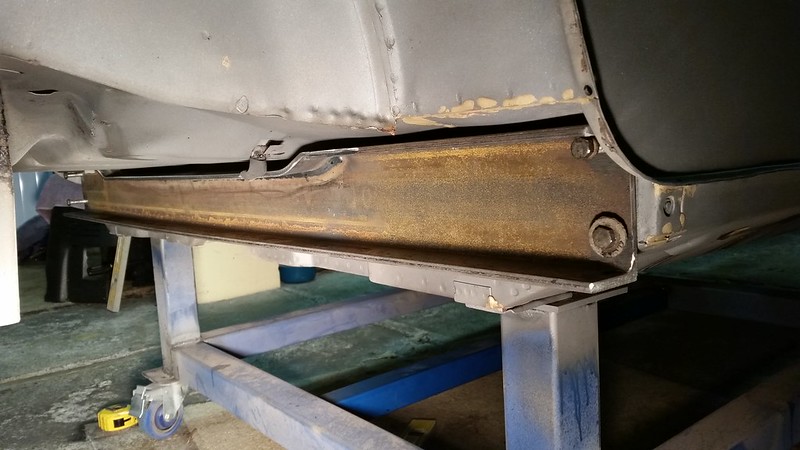
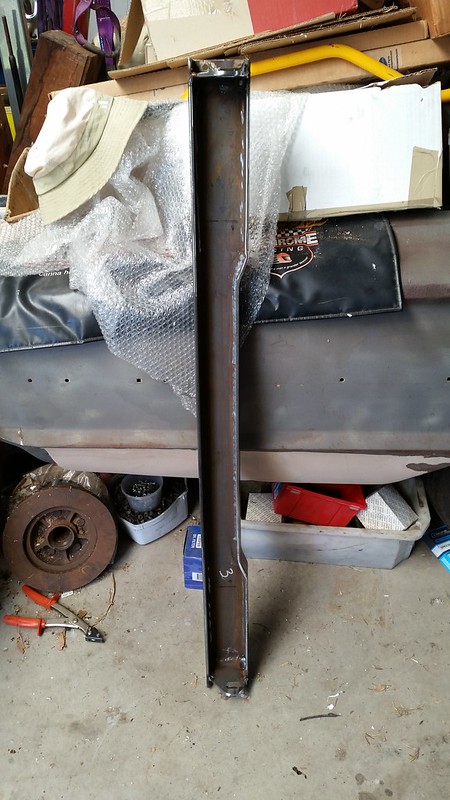
This beam will run across the back end, tying into the existing rear subframe bolt holes in the floor
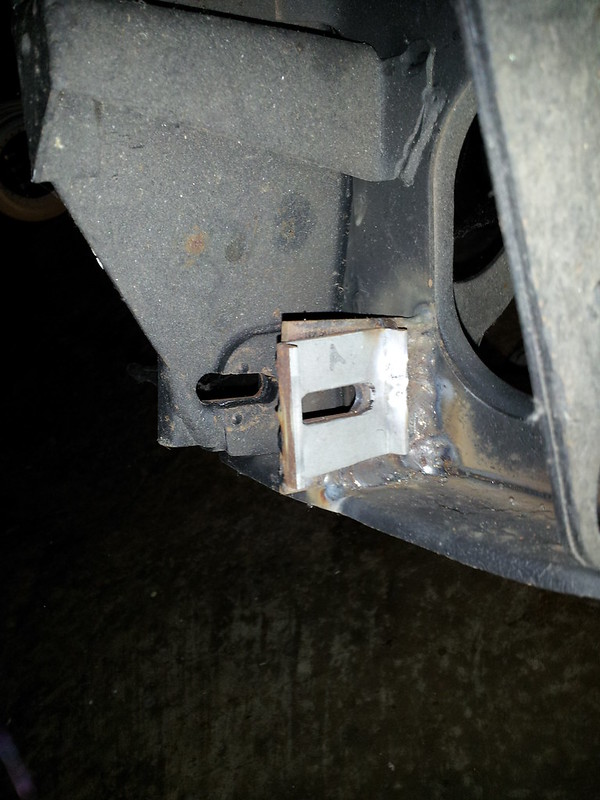
The beam with the rear plates welded in. The camber slots are welded on the end plates with the end plates then being drilled and filed to match the camber slot holes
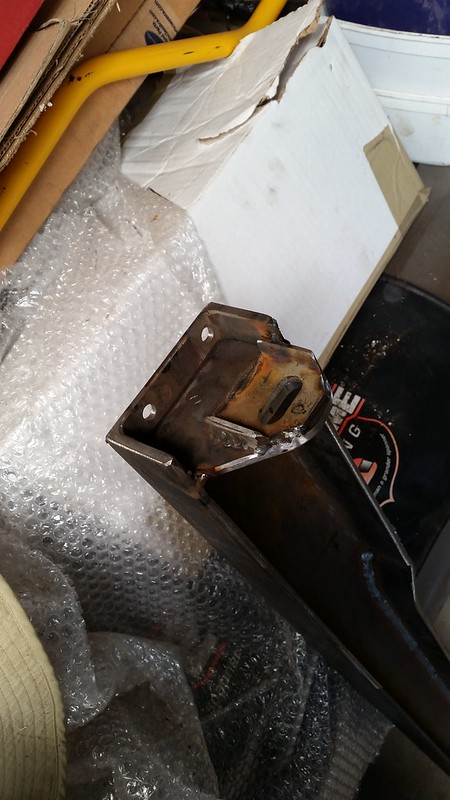
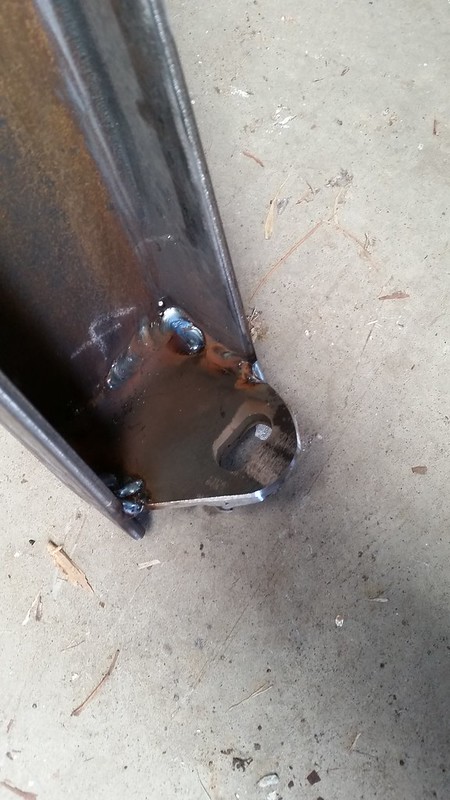
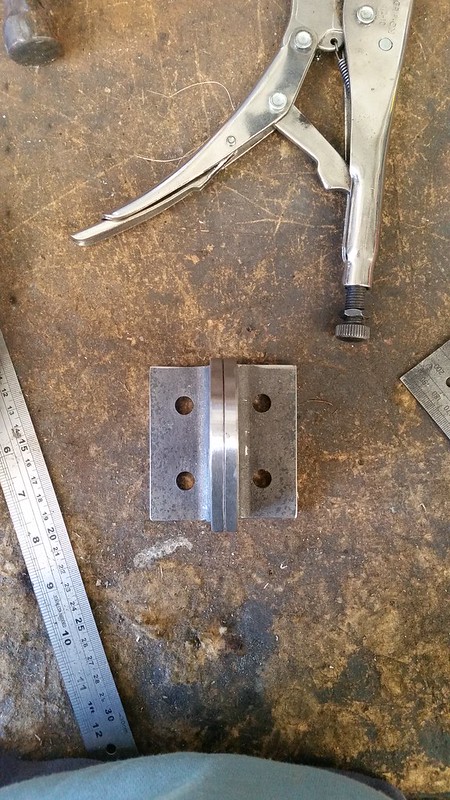
The inner brackets which will be able to be adjusted for toe with shims
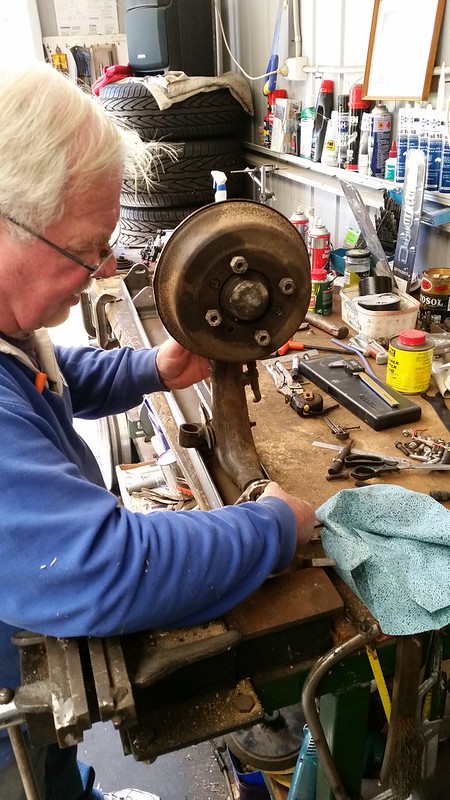
Richard fitting up the driver�s side trailing arm. The knob bit with receives the trumpet in a standard mini need to make way for proper rotation
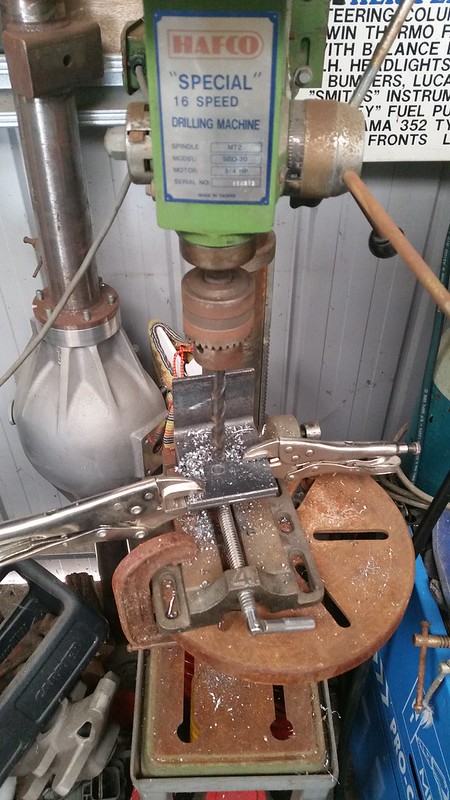
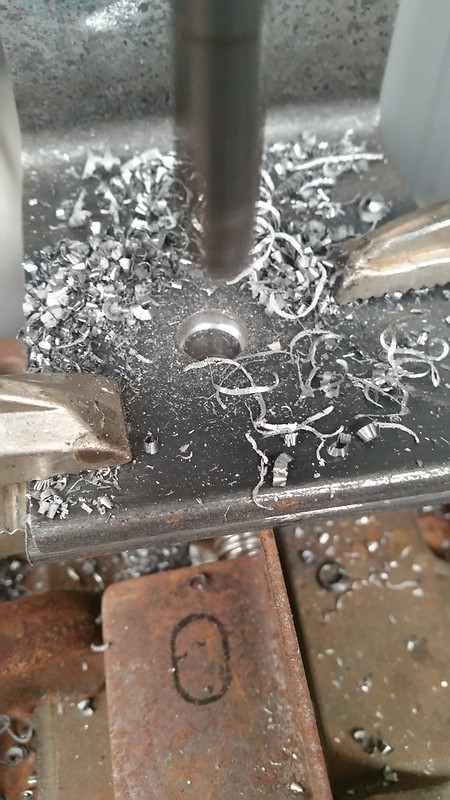
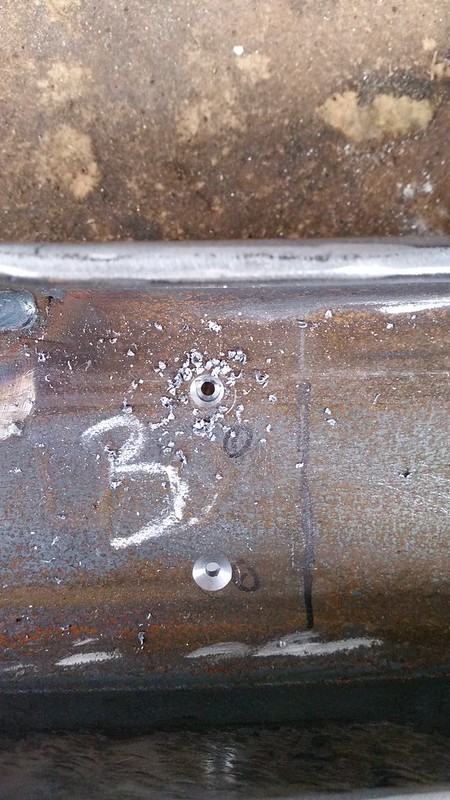
These holes are for the inner brackets. I will drill through the heel board of the shell and have captive bolts in the interior so the beam can mount up to, and we can adjust toe with shims from the outside
The next step with the beam is to modify it to match the profile of the exhaust tunnel and handbrake cable. I have some nice little aeronautical rollers that will route the cable through the beam and up the tunnel. Then trim it all up to make it fit nicely (more so for aesthetics). To mount it to the shell I will need to get some dome or cap head bolts, assumingly high-tensile, for the outer bolts, and then some bigger bolts for the internal trailing arm brackets (IIRC we drilled for either 3/8" or 5/8" but will check when needed).
Once the beam is done, then it will be a case of connecting some lengths of tube between the beam and the length of rectangular tube shown earlier. Sounds easy as hey!
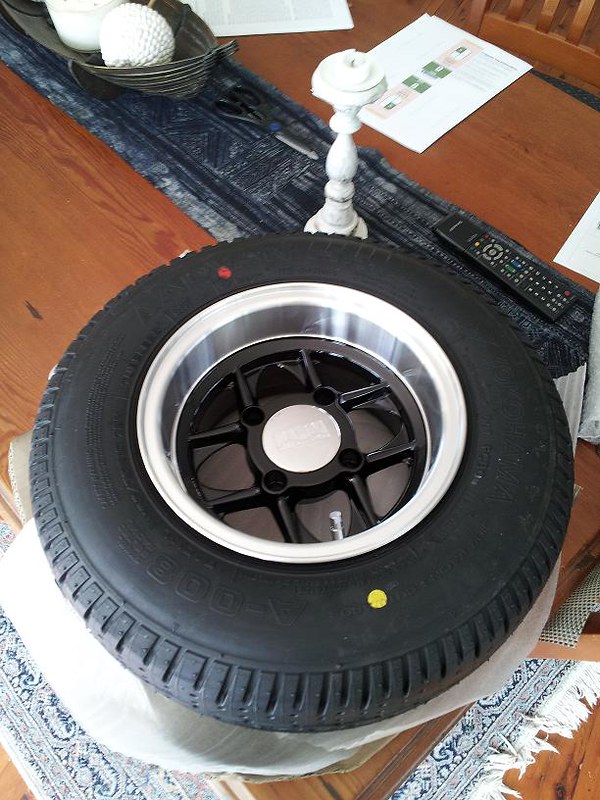
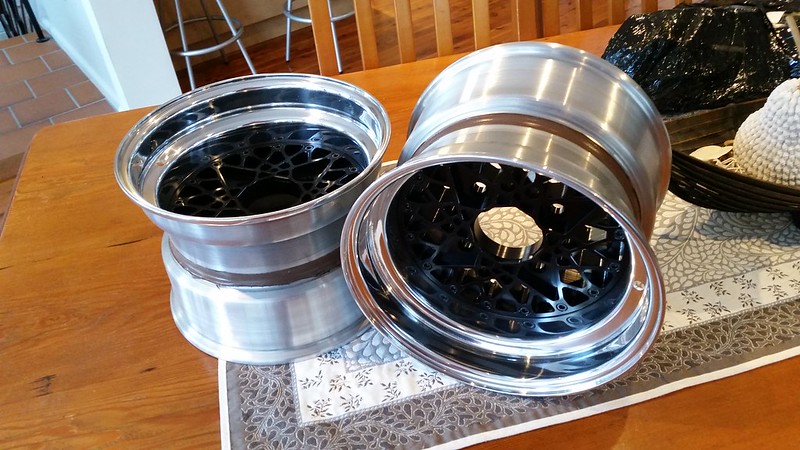
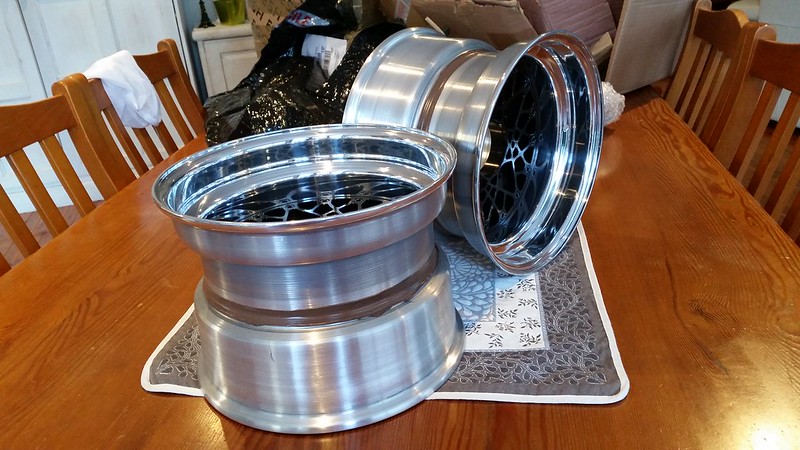
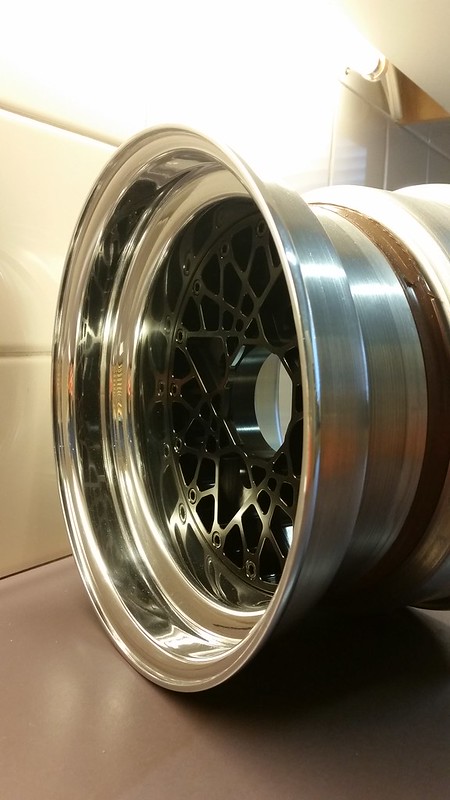
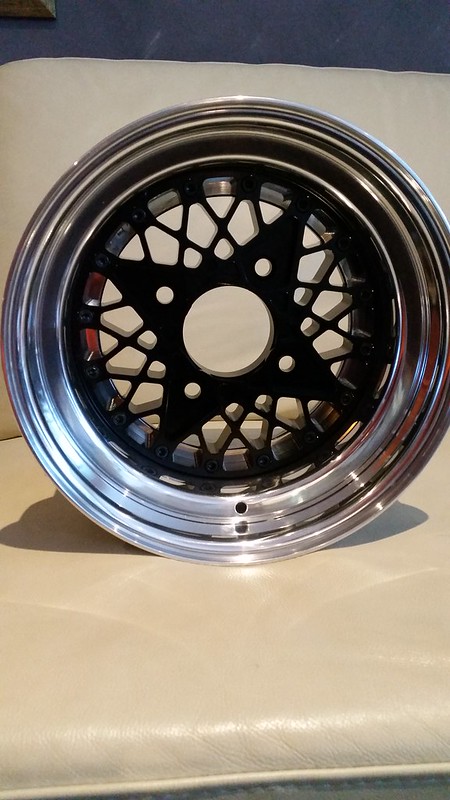
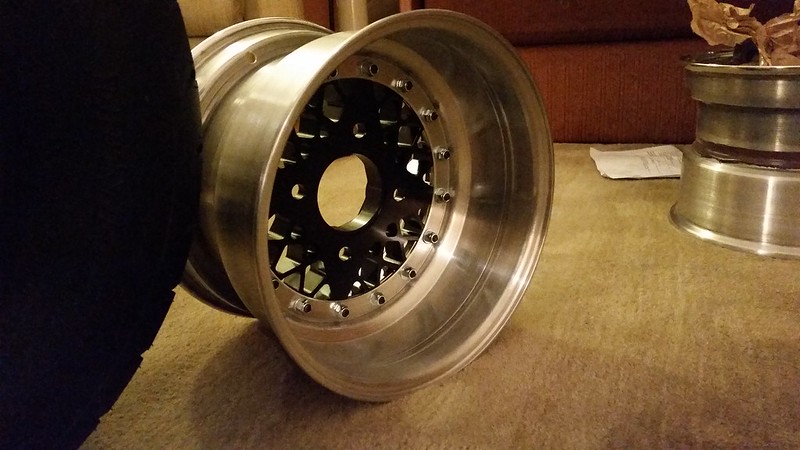
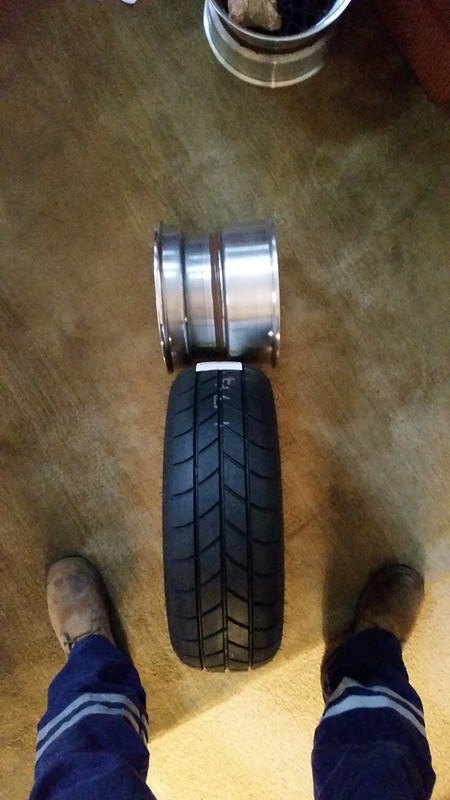
Onto the next few items, first I sold the mambas a while back without them ever touching the car (two of them weren't removed from their packaging from England). In their place, I went (imo) all-out. I contacted the lovely chap Carl from Force Racing in the UK about some wheels. Originally planning on buying their 3-piece mamba-style 10x7, I was swayed when Carl mentioned he was making a new mesh style design. So, I ummed and ahhed a bit and decided to throw caution to the wind, buy the wheels without seeing a proper one and go for it. I ordered some 10x7 with black centres and polished inner/outers with equal dimensions (both 3.5"). I enjoyed the fact they were the first set to head out of Europe and only the 3rd set at all, however they haven't been used yet, so the surprise is sort of ruined.
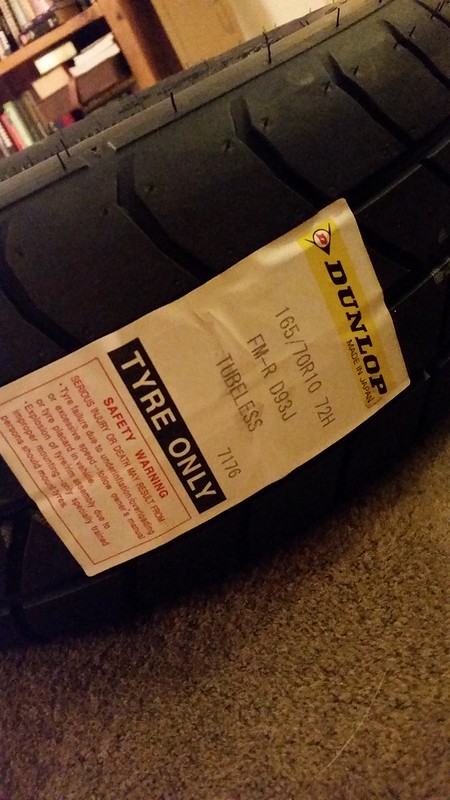
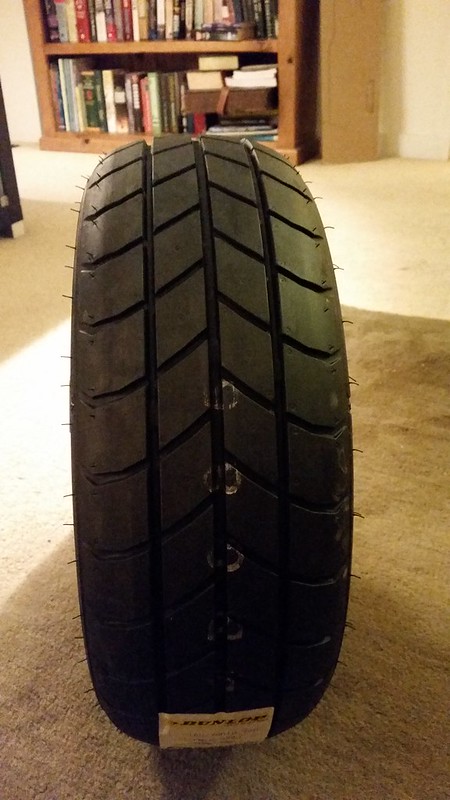
To compliment the wheels, I was looking at getting some Yokohama AO32R's, but another nice bloke from Sydney minis hooked me up with some lovely Dunlop Formula R's. Getting them mounted will be an interesting exercise.

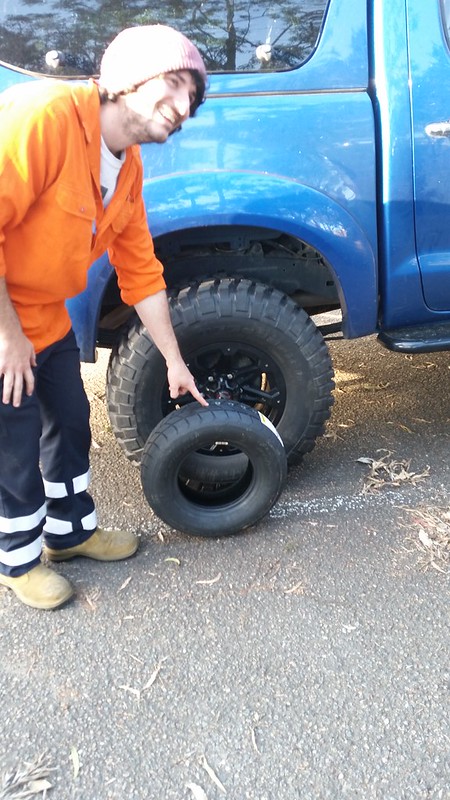
My mate thought it'd be funny to see them up next to his 33" muddies. He was correct, they look ridiculous
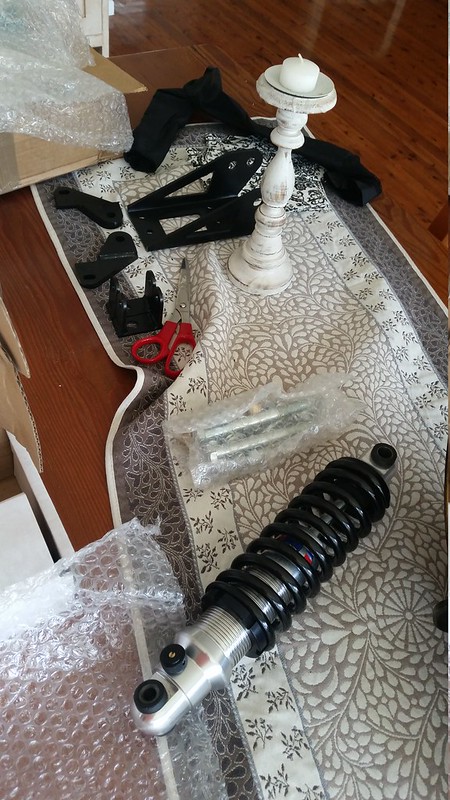
With the plan having evolved a while back to go a little nuts, I contacted Protech UK and had a good chat with Kevin (I think) and discussed my plans. He was a lovely bloke who was quite knowledgeable, with the discussion done, they ended up making me a slightly custom set which had a longer body for the rear to enable a bit more droop for road handling. Like the wheels, these were ordered and delivered then put into storage until they are needed.
Front coilover and mounting kit
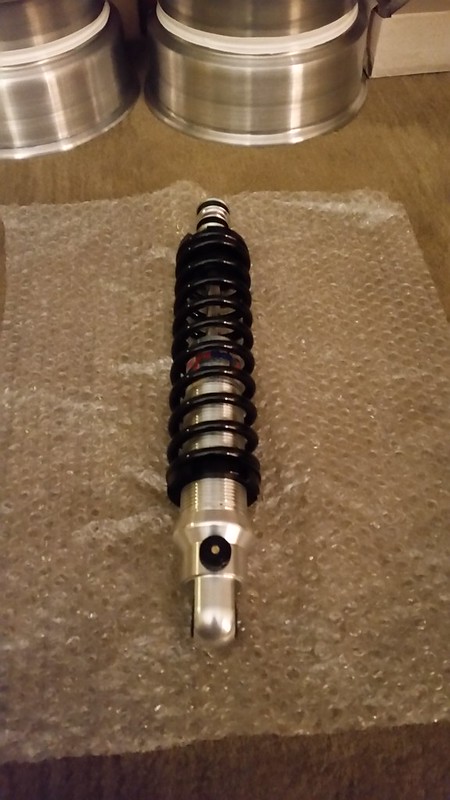
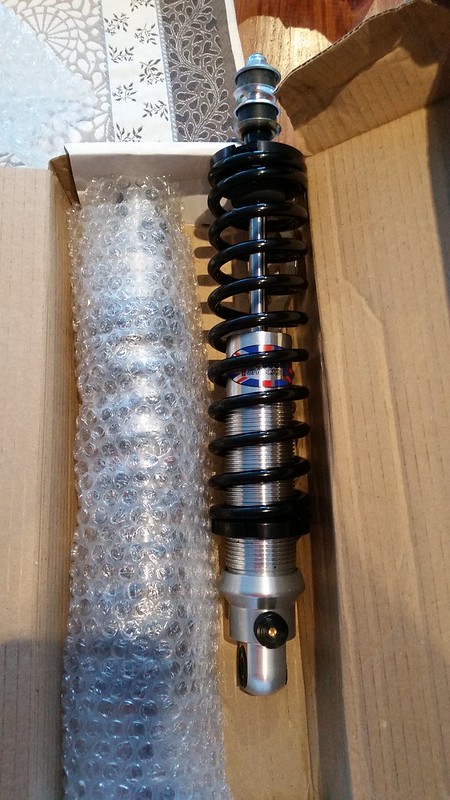
Rear coilovers, straight (not offset)
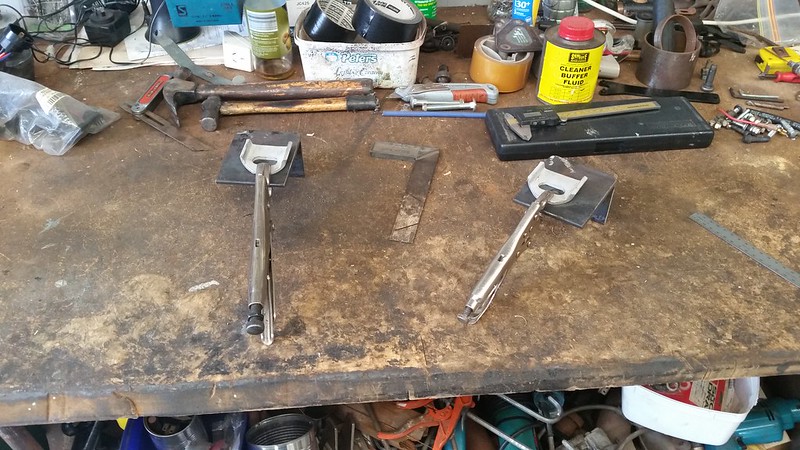
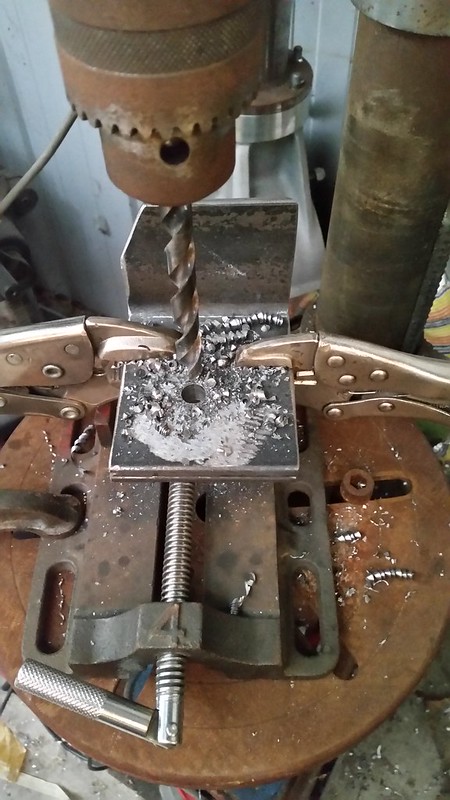
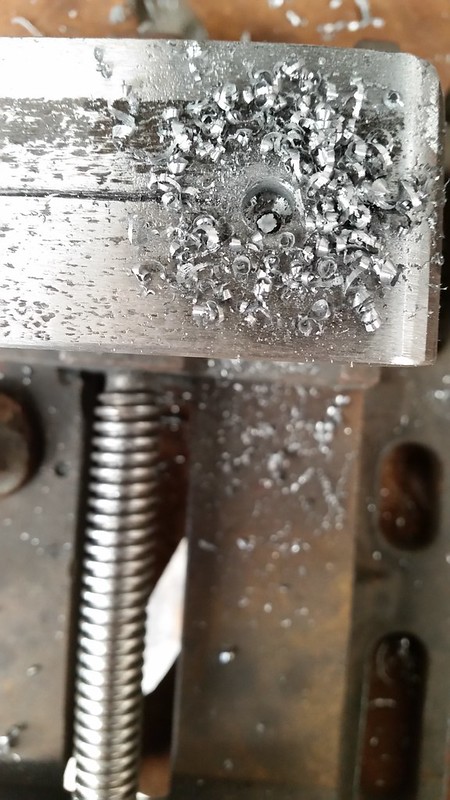
This year I have made a few little goals with the mini, one is the boot floor, another the turrets, another the seat mounts. So far I have drawn up the boot and turrets and left it at that, but I have managed to get some mounts made up. These are only the beginnings, as the inner ones interfere with the exhaust tunnel, so will need some chopping and welding. Hopefully I can make some modest progress and get the seats fixed in.
That�s most of what happened, 2000 was an exciting year when we got the mini, and it was an on again, off again type project, where Dad & I made little bits of progress (not forgetting the much more modest plans back then). It obviously took a massive hit in 2011 when Dad passed away. The next few years were a struggle with life and various things getting in the way. It wasn't until 2015 where most of what you have seen actually happened. It has been a quiet 12 months since, but I am hoping that I can slowly nut these little issues out and get the mofo into the next phase in the not-too-distant future. Fingers crossed
Brad
So, to begin with, this is a comprehensively updated first/original post of my thread. At some point Imageshack decided to delete all my pictures, and hence all my threads on forums are now just filled with boring words. I am fully aware that people don't come into my threads for my lyrical genius, they come for pictures. I will hopefully have this post completely updated to about now (late 2016).
If you're excited thinking that Brad finally got his ass into gear, I'm happy to disappoint you again in that not much has happened. I seem to be the laziest mofo on the planet, easily demotivated and distracted. I'm so good at reassuring myself that I won't bother putting an essay into why I think that is, as that'll only support the notion. Instead, I'm doing probably the most boring thing you could ever do in a forum to hopefully maintain the motivation I currently have.
Onto the story...
We got it in 2000, jack all happened until a few years ago, and I spent a tonne of money on it in 2015. I started this thread in 2012 as there seemed to be little reason to have on previously. This is a bit of a build log so that I can keep up to date, hopefully Flickr doesn't randomly delete all my photos. Anyway, on with the story...
It all began back in June 2000 when a very close family friend, Richard, had an old 850 mini in storage at his mother�s place. It was supposedly a deluxe with a Twin SU 998 (ended up being an 1100), rust, and not much else. Out of his good will he gave it to us for the princely sum of one bottle of Jack Daniels. Dad had known Richard since he bought his old Mini K off him in 1984, so that would go some way of explaining the great "price". Long story short, we got it home to our place in Lugarno. Some pics of how it was on arrival -
My younger brother (Bryce), Rob Clarsen, Myself
Bryce, me, Rob, and Dad all pondering what sort of trouble we have got into
And one which showed how small the little tyke was, next to our (then) fairly new Camry
My dad, Graham Gorman, ran the Lugarno Lions Spring Fair car show for years (I think one of the lions said 8 or 9 years, but I�m not sure). Having joined the MCCNSW and knowing how many minis went down to the park on the third Sunday of September, we decided to trailer the 850 down for a laugh. We tried for 'Most original', and even had a little blurb printed up (lost to history). Some didn't get the joke and babbled on about the house paint, non-standard 1100, different seats and badges, etc. Whilst they were dull, they did ensure the path this mini went was not down the original/concourse route. Well done, it's definitely one way to ensure concourse classic cars don't have a following.
So, within a few months of ownership plans were slowly being hatched for a modified mini.
Here's me (what a pudge) with the mini
My best mates� dad had a California Moke. He had restored it and boy was it fun
In that same year, we had some bodywork done by a reputable panel beater, CT Auto resto's. We had the horrible rust cut from the drivers A-pillar/guard, rear hinge rust repaired, passenger aerial hole welded up and some other stuff all for $440. What actually happened was the tradesman who worked on the car is used to restoring GT falcons, so he finished the little drivers guard so quickly that he decided he would do the passenger side too! Nice generosity.
It seems ridiculous to get that work done for that price these days, but I guess it was a decade and a half ago...
My favourite picture of dad with the mini. Probably the only one of him with the car apart from the first few. This car was/is an extremely frustrating project
Throughout the following years, we got hold of a set of 7.5" discs/hubs for the front, and ended up getting the calipers rebuilt at the old Mini Spares at Padstow, Sydney. These were sprayed up red once completed and dad somehow managed to hide them from me for about 4 years. He always assured me they were safe!
I got John Leffler to rebuild the hubs and do the ball-joints etc, but I don�t have 'after' pics for that work
7.5" discs and hubs
Along the way we have bought and been given a small amount of parts. A good etch-primed bonnet was had from a Lucas Heights swap meet (I don't know how I remember that), we also got a pair of Selby�s rear shocks off Richard, various tid-bits, numerous gearboxes, another 1100, wiring, gauges, etc.
We had done some bodywork ourselves, taken a lot of the panels back to bare-metal and applied various levels of primer and sealants. From memory, we cut the front floors out around 2006. One of dads Lions mates worked at Lincoln Electric, so we managed to get a huge plasma cutter and MIG welder (+ all the gas) for use for a little while. The floors were out quickly and the new replacement floors tacked in (Dad possibly bought them from Mini Spares, I�m not sure). Unfortunately, they haven't been touched since, but have been covered so the time hasn�t have hurt them too much
Some of the paint stripping and re-priming in 2011 -
My dad had battled off cancer in 1994 and had been cleared for many years. I never really knew why he was so sun aware, just assumed it was the usual small sun spots/skin cancers. Unfortunately near Christmas 2009 the melanoma had returned and despite his healthy lifestyle, chemo, radiation, and strong will, he succumbed to cancer on the 12th of June 2011. Under the assumption he'd make it to christmas that year, I was working feverishly to get it painted before his time was up, I had it booked in for media-blasting at Quikstrip Bankstown on the 10th of June, and Con from CT Autos was ready to assess, fix and paint it for me (at this point whatever money I had was no object as the sentimental value out-weighed any thoughts of financial savings)
Despite being "given" until the end of the year 2011, he was taken before I could get the mini done. I look back now and regret a few little things in that time as I had swapped jobs and started an apprenticeship, low on money and time-poor from being worked like crazy and studying. In his last days though we agreed that the "bloody mini will be finished". It was nice that he retained his good sense of humour.
Fortunately for me I had an excellent friendship with my dad and through him I had learned to love these little cars, so with our often-spoken plans in mind the mini build continues (and continues, and continues...). I'm still poor, just like any young Sydney side home-owner.
A few years back, before dad became ill, we had modified a subframe with camber slots, gusseting and general strengthening. Adjustable tie-rods and rose-jointed bottom arms were bought. We have some progressive rubber cones, some subtle geometry changing suspension pieces and a mini suspension guru. In October 2012, I degreased, sand-blasted, linished and filed the top arms. Leffler ordered a new bearing kit and is installed it. In 2012 I stated "All this is going to be mixed in and hopefully I�ll have a front subframe more or less built by February 2013", I wish I could say it has happened, but I changed my plans and spent more money. More on that later.
Some pics of the suspension bits before cleaning (I can't find any post-cleaning photos)
And with that, 2012 was brought to a close. However, 2013 was going to start with a bang as I ordered some JBW 10x6 mambas with Yokohama A008's wrapped around them.
They turned up Jan 2013
Not to get any wide-wheel mini fans disappointed, but they were sold off soon after to a nice bloke down in Hobart. I hadn't even opened one of the packaged pairs.
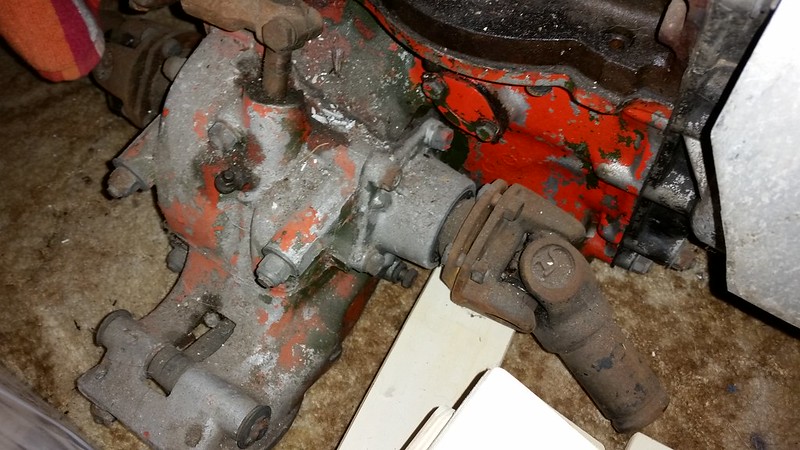
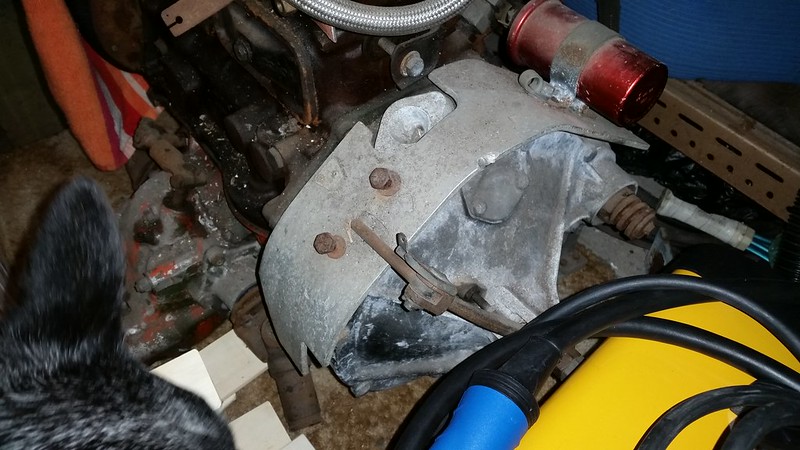
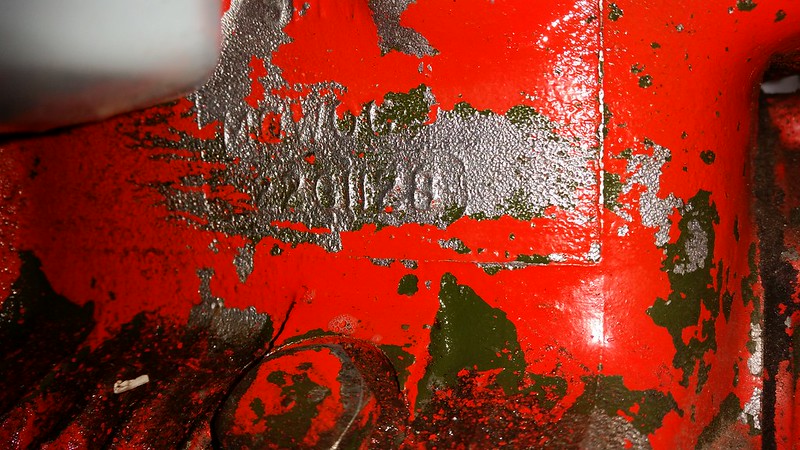
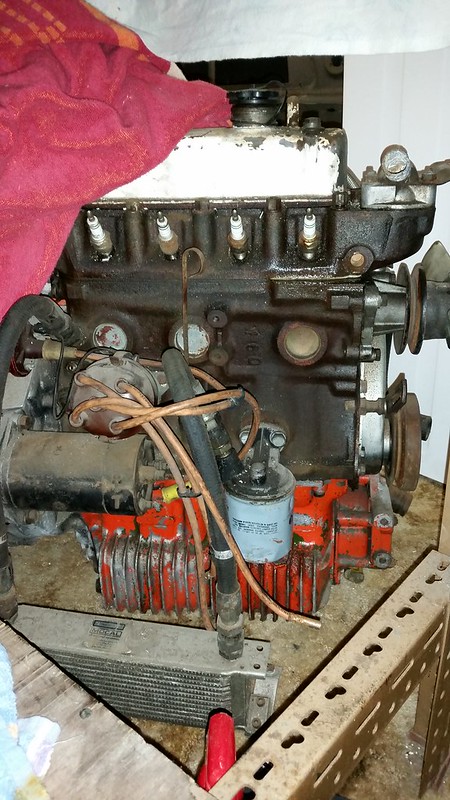
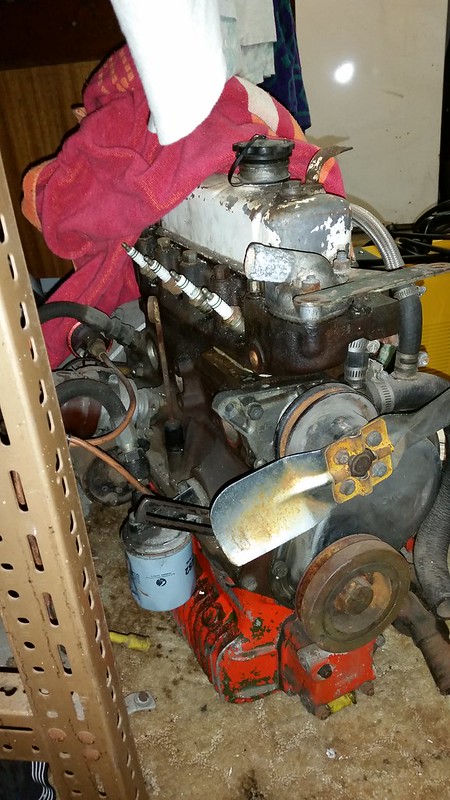
In September 2013 I took possession of Richards old motor. He built it up in the late 80's, so it's probably about 30 years old now. He built it up to some capacity above 1400cc. His memory is hazy on exactly what and we haven�t stripped it down yet (and it won't be until later). Anyway, it's a thick flange block on a gearbox. It's currently safely stored away all sealed so it can hopefully be refreshed one day and torque steer the mini
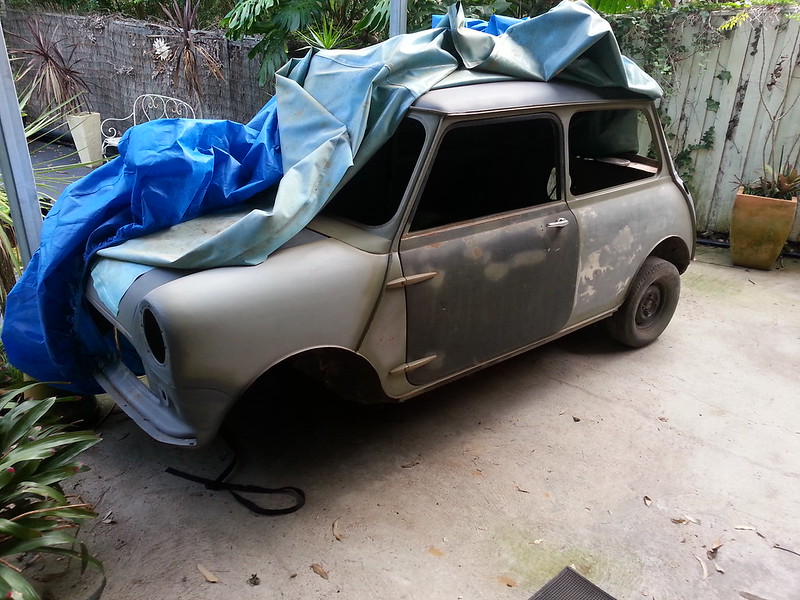
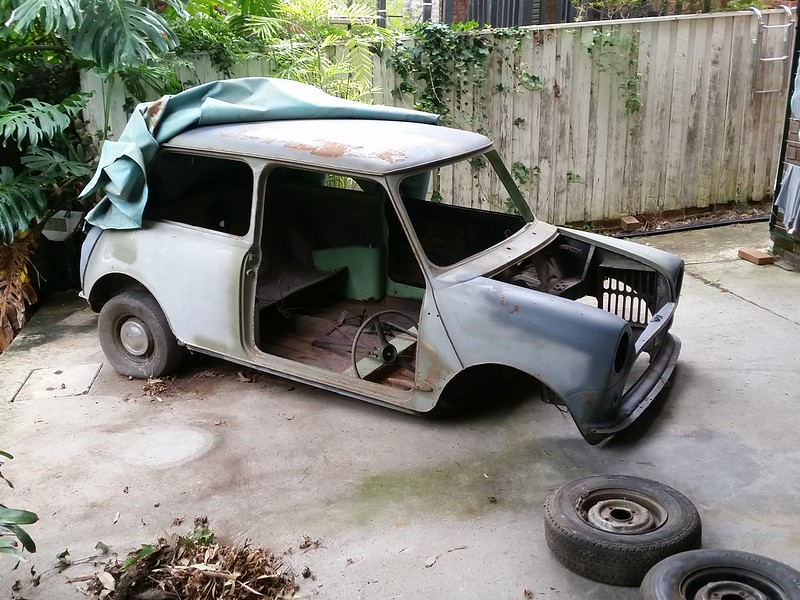
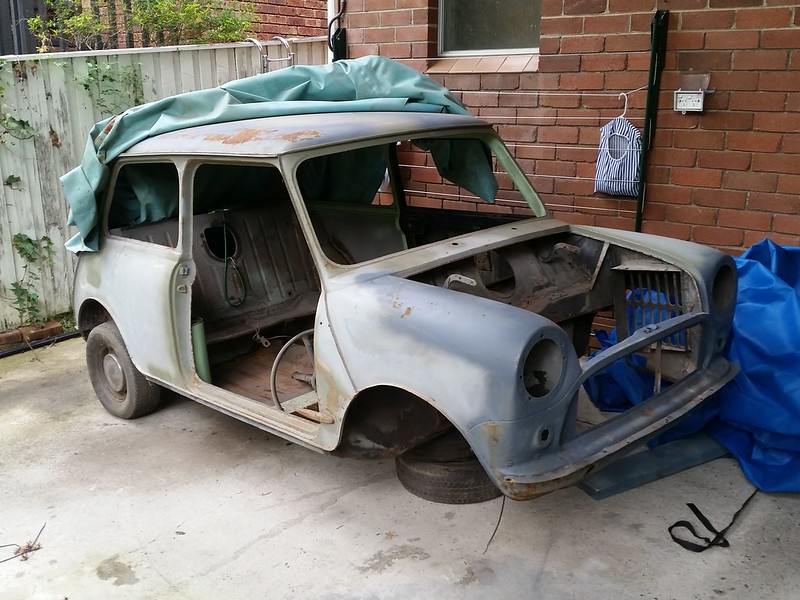
By 2015 I moved back in with mum. Rebuilt my life and found a fantastic new girl, travelled to Europe, been a tradesman for a bit over a year. The body looked rough after being left covered but outside, so I started making more plans.
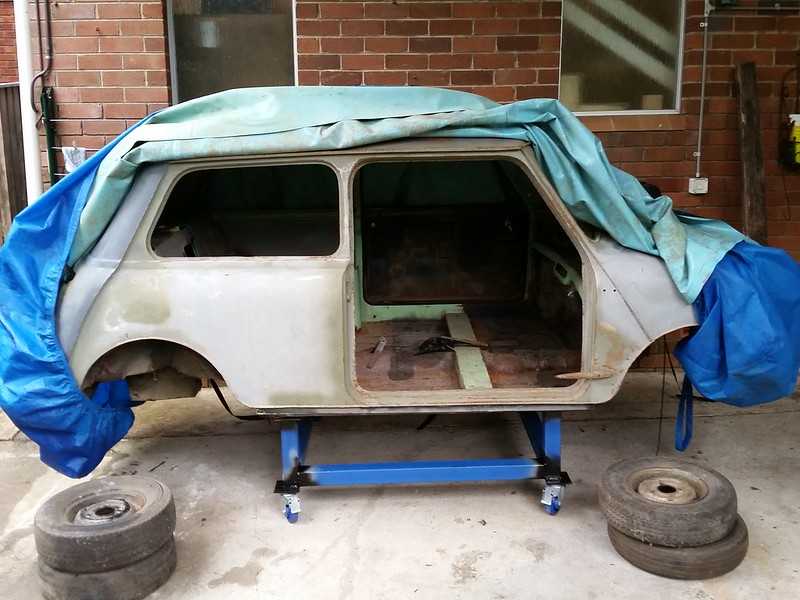
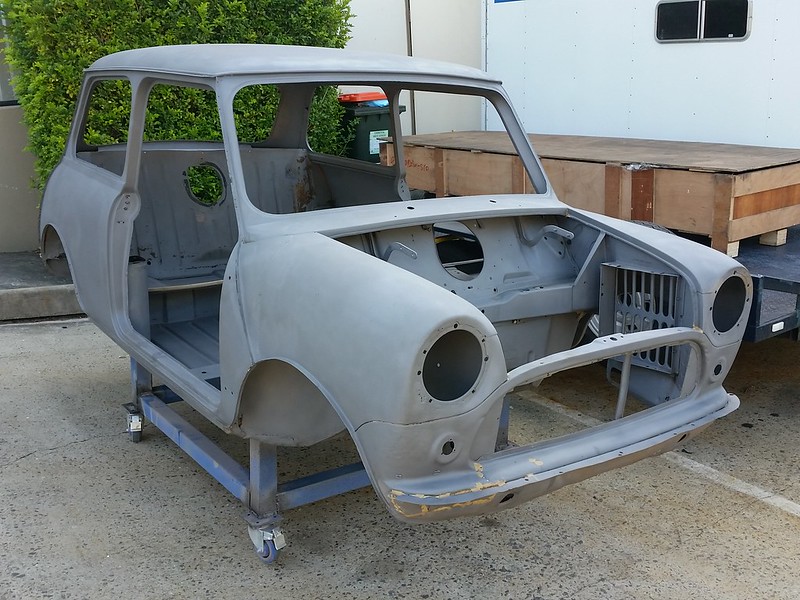
I had decided to get the shell blasted, and also decided to run coilovers with a rear beam. After discussion with the Engineer the rear beam has turned into something a little like a subframe, but a lot lighter and more adjustable. To do all of this, I needed to take some photos for reference of the boot and rear end, then strip and drop the rear suspension. This meant I needed to make a little jig/trolley for the shell to roll around. The body is no longer a wheelbarrow! That's what I call progress!
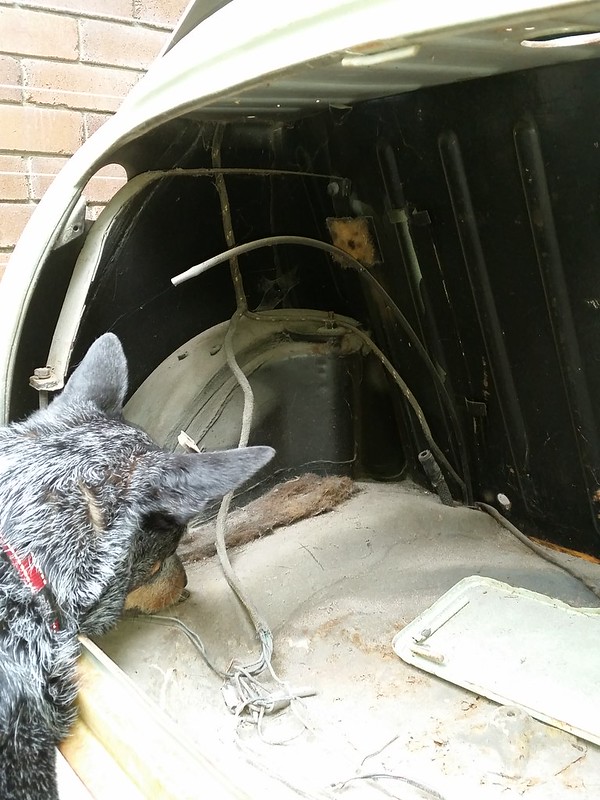
Indy assisting...
The new jig/trolley that I made up out of some pre-cut steel and Bunnings locking caster wheels
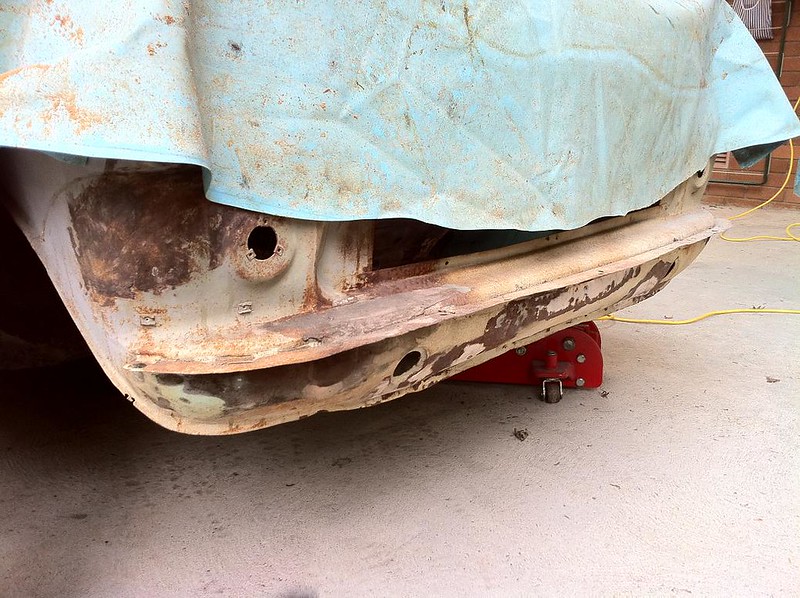
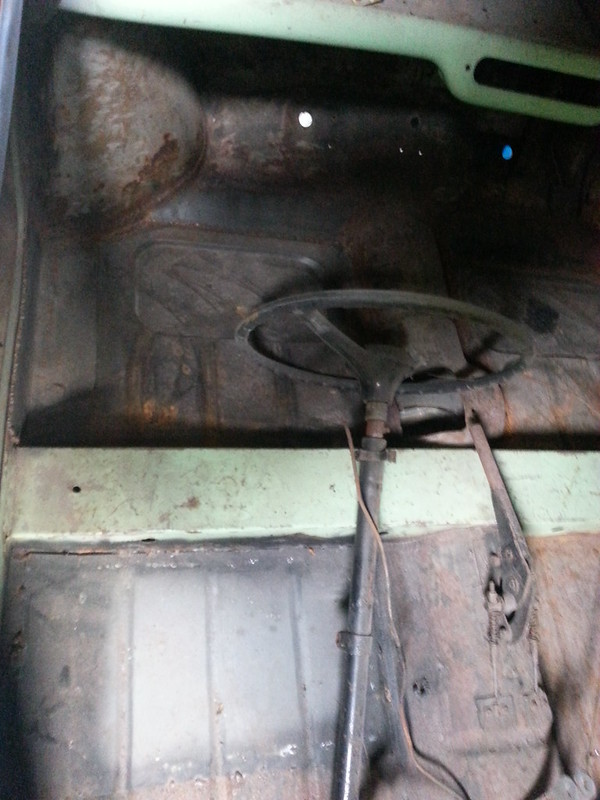
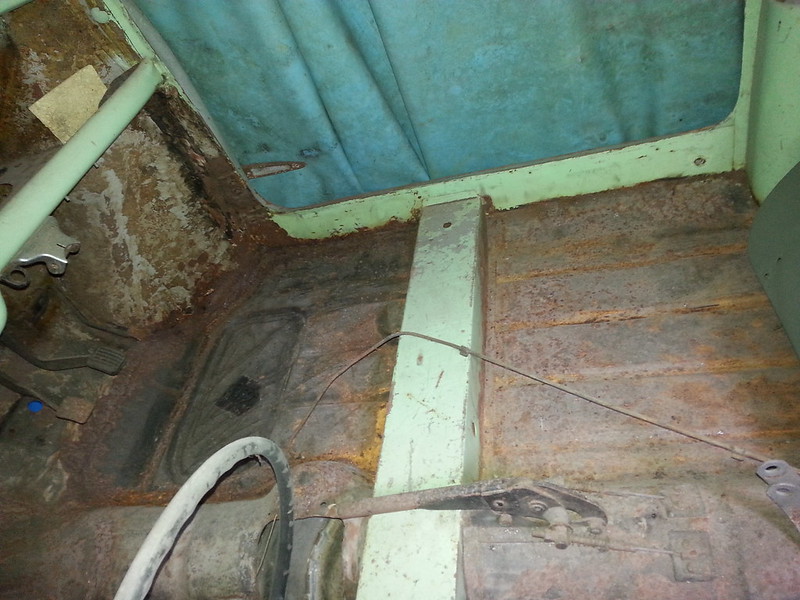
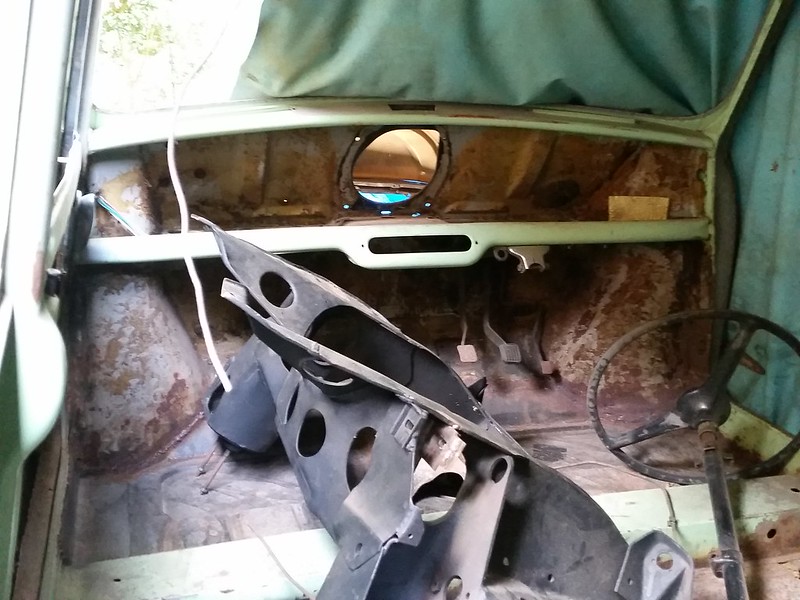
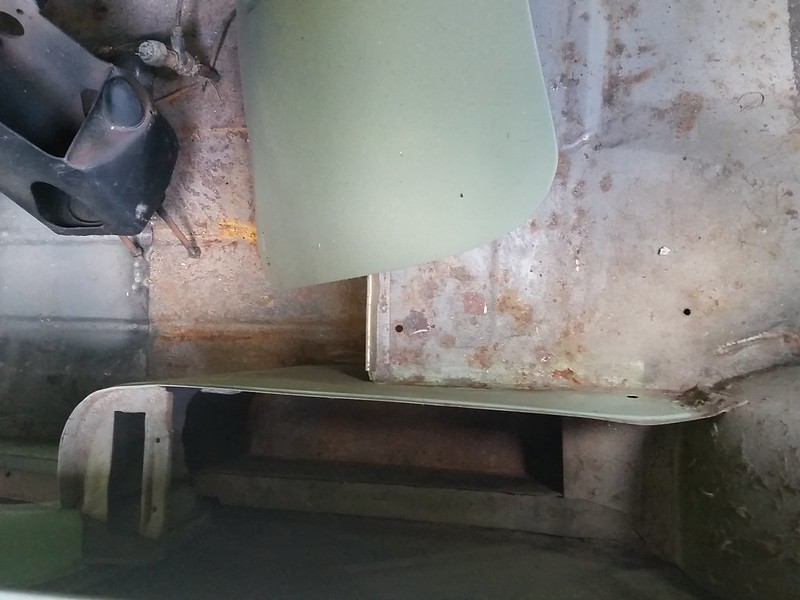
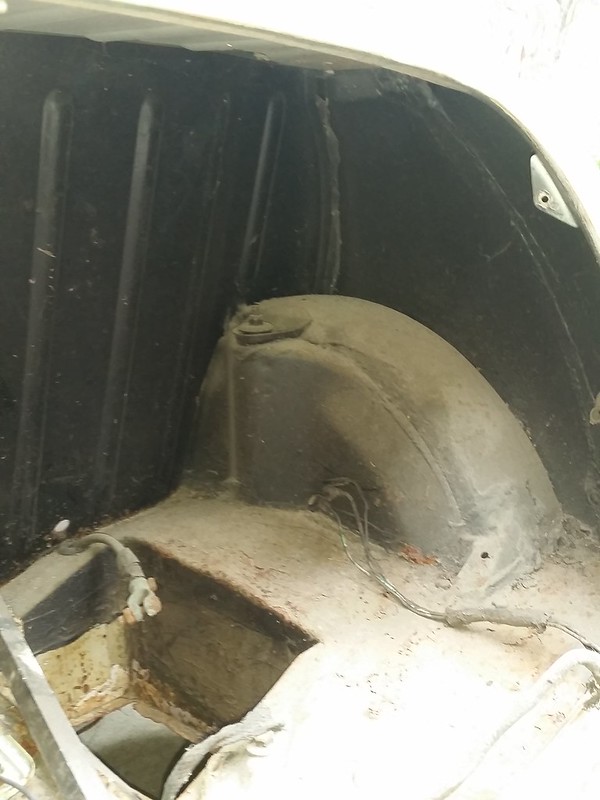
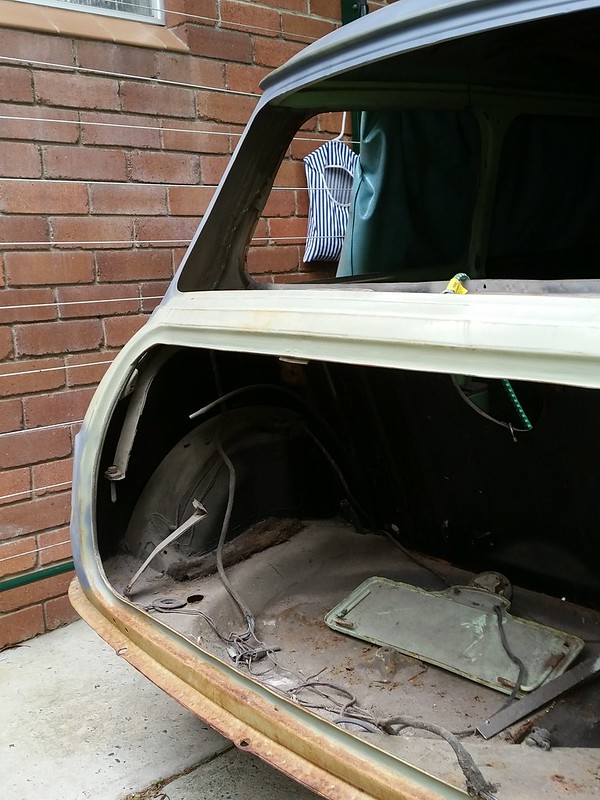
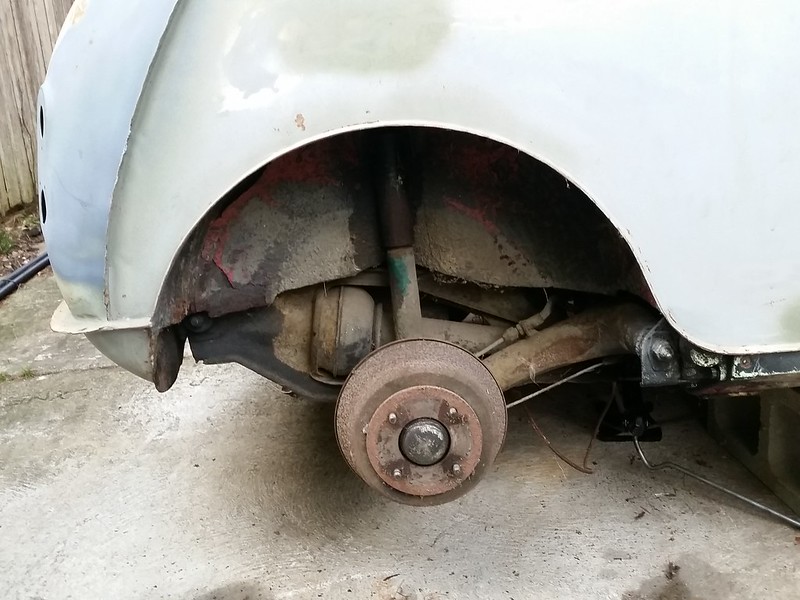
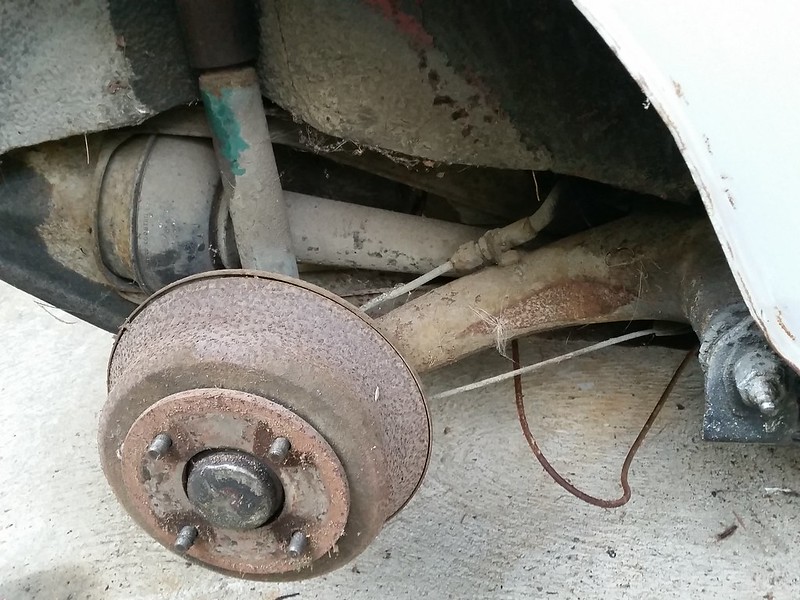
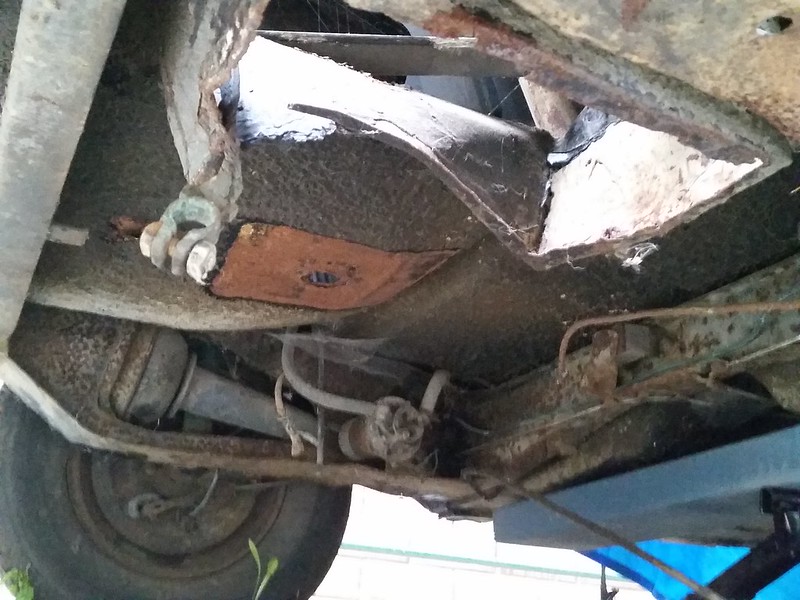
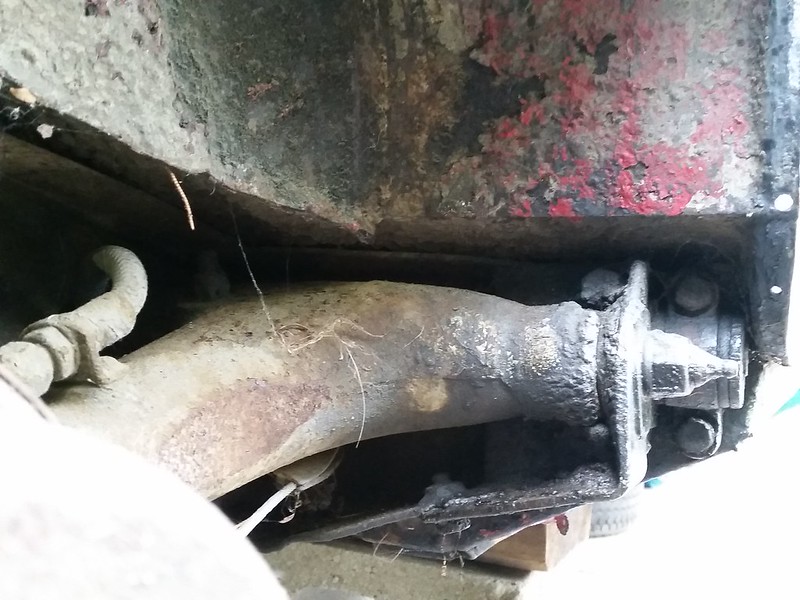
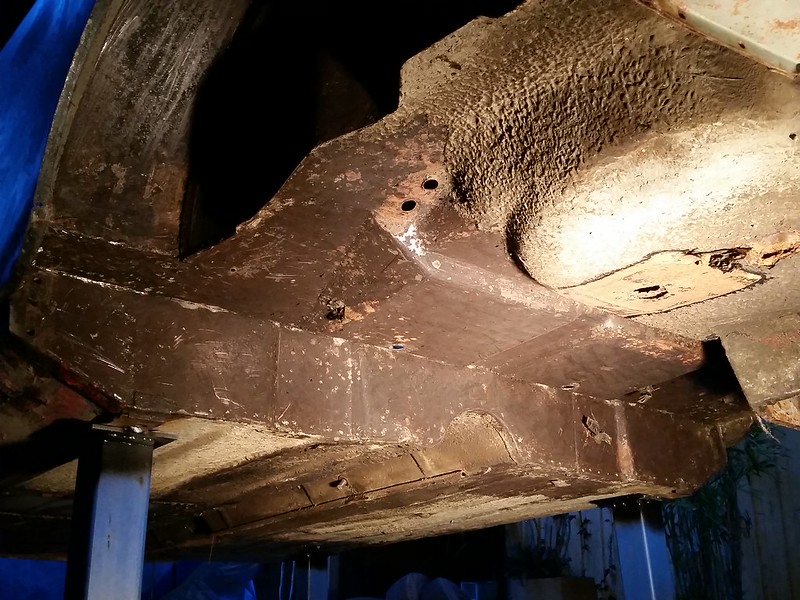
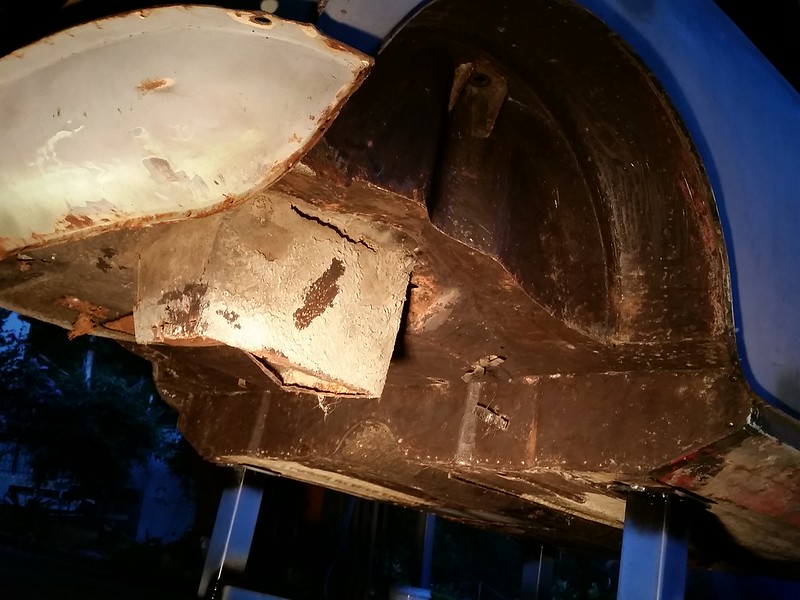
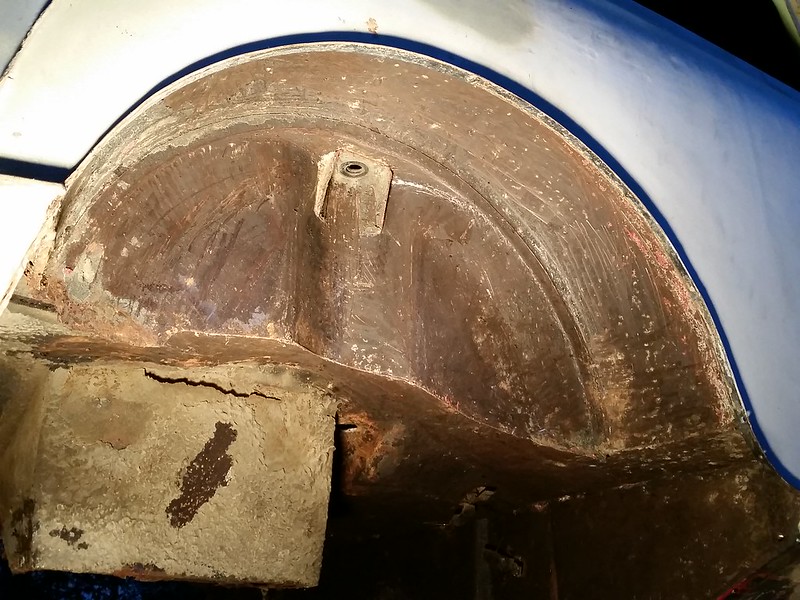
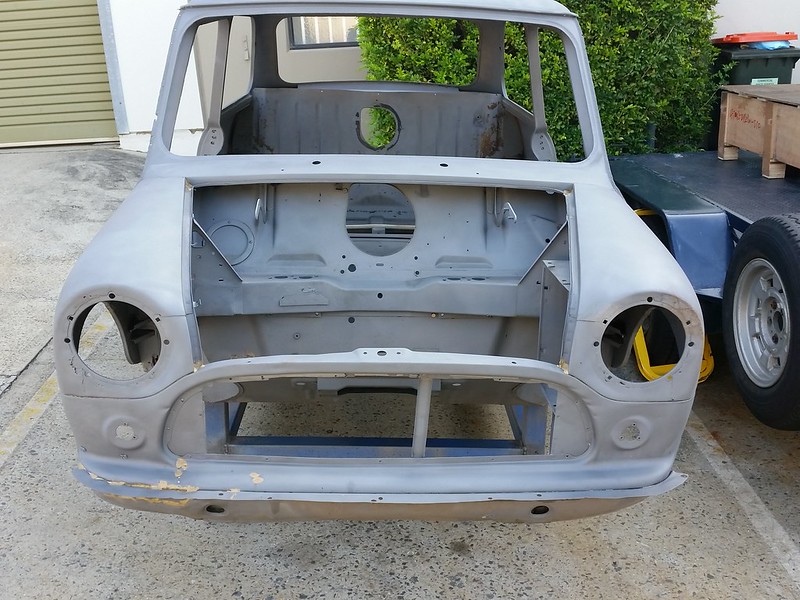
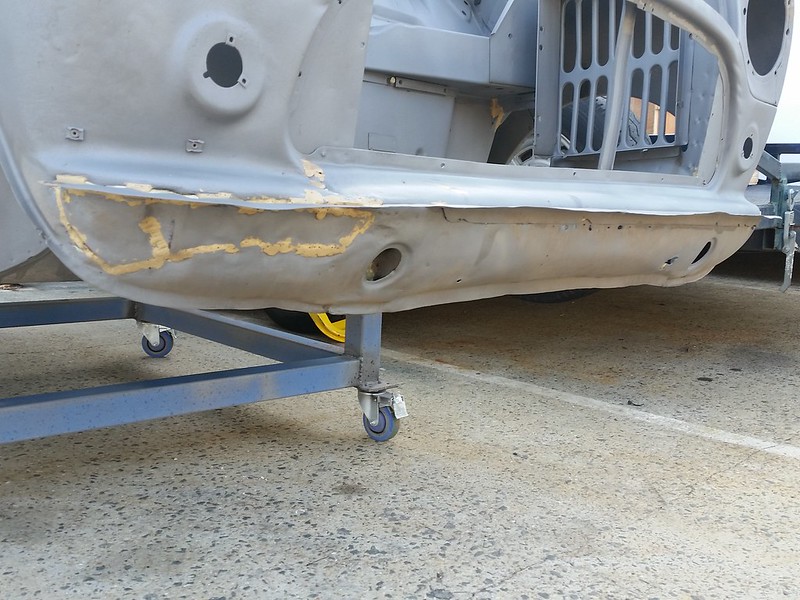
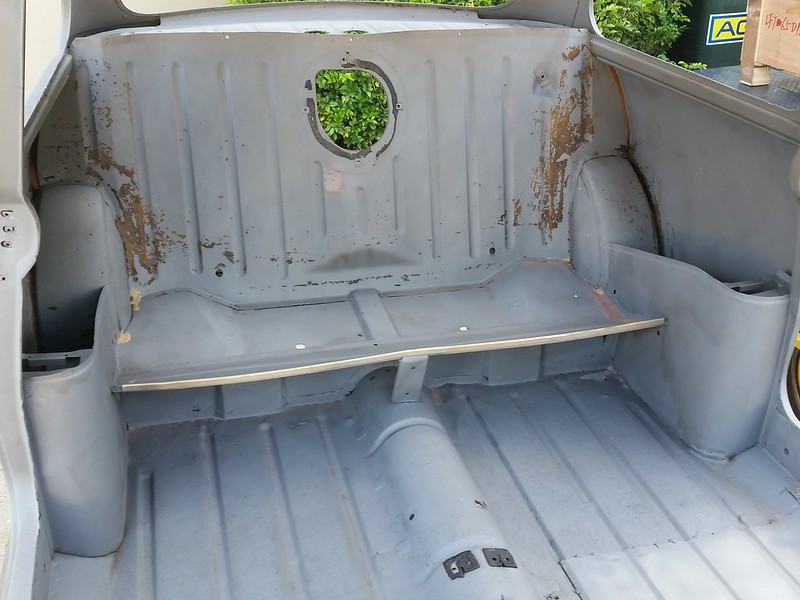
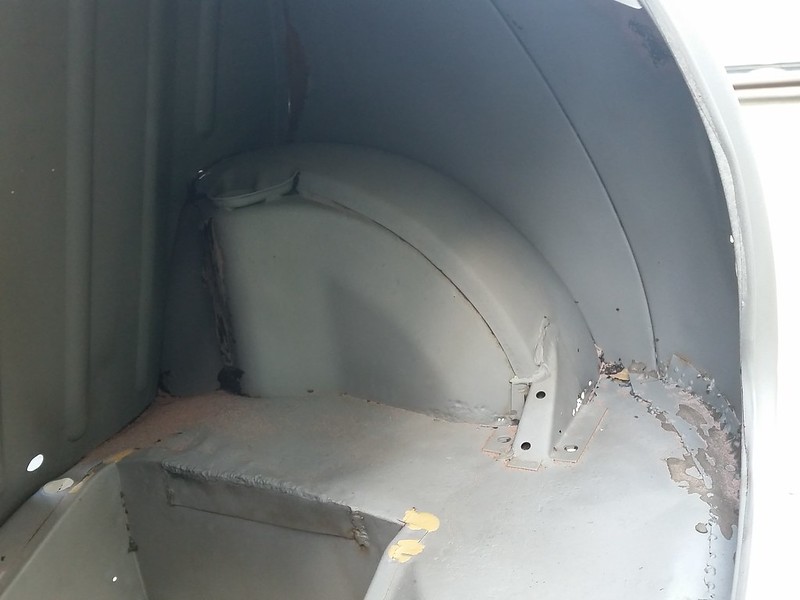
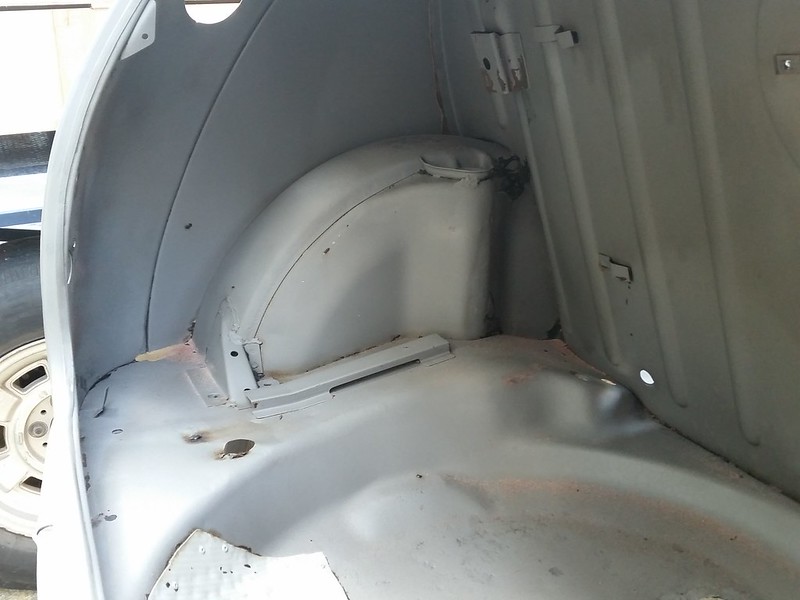
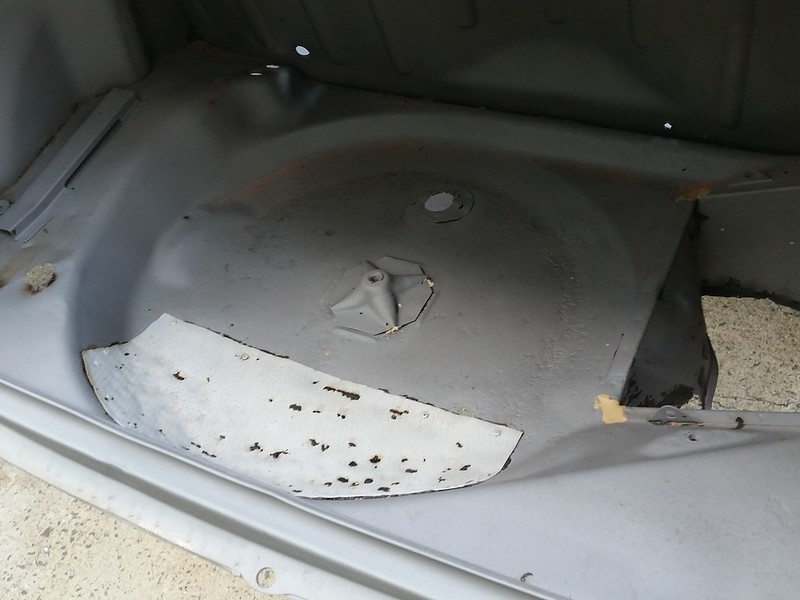
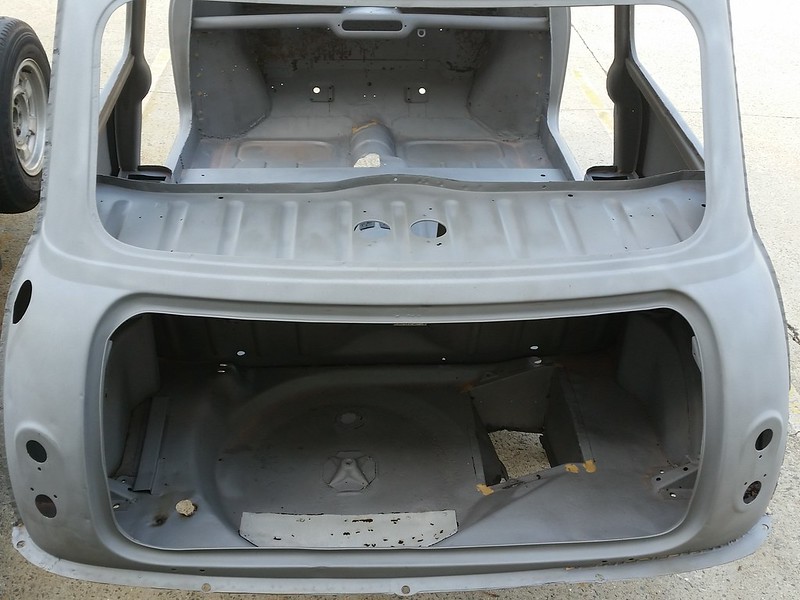
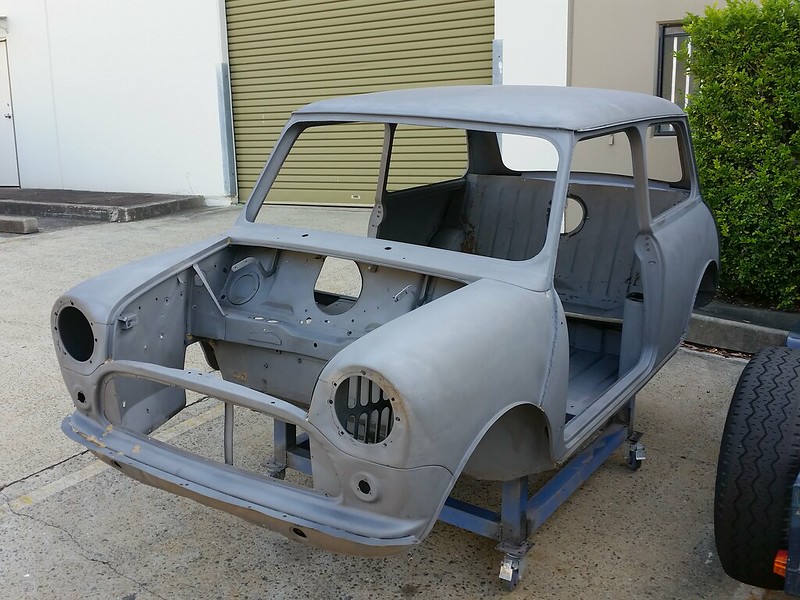
Then just before it was to be blasted I needed to remove as much of the gunked up crap on the underbody to ensure the blaster would have no issues with this crap. It sucked, it was super messy and dirty, uncomfortable lying on cold concrete on my back for hours and hours... but the results were well worth it. If in doubt, look at the pics further on after blasting
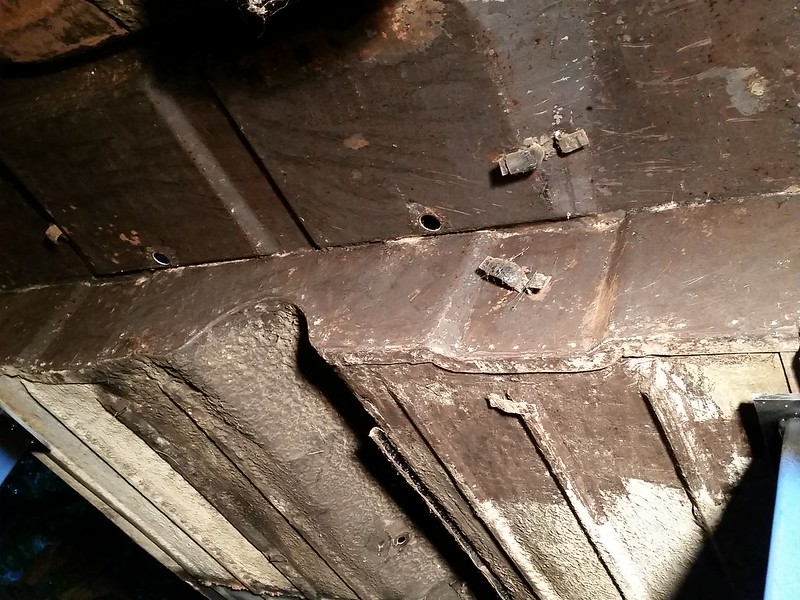
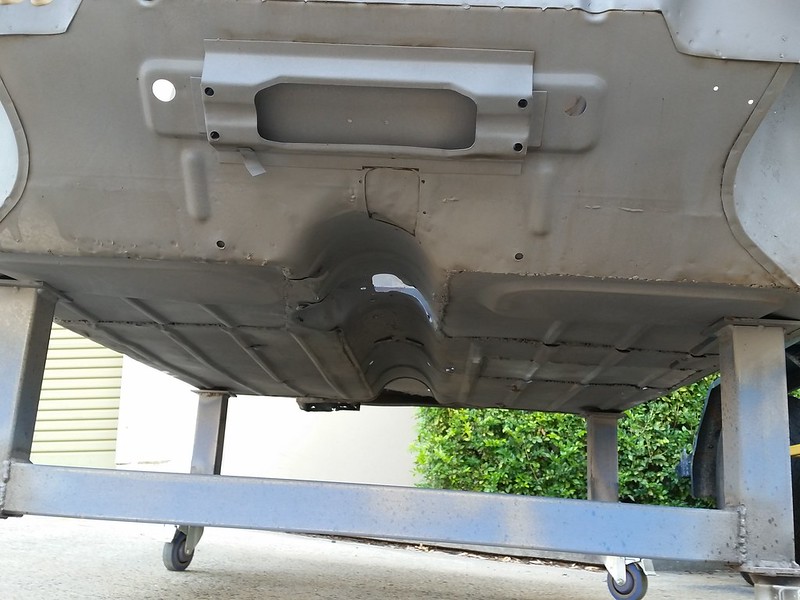
Interesting angles of the floor, they really came into play when we were designing the rear bar. I had assumed it was the same level right across the back end previously
Last minute cleaning/scraping the night before the mini goes!
Some doors, they might be used in the build
April 2015 and the mini gets to see the street/a road for the first time in 15 years. The previous time was when we took it to the Spring fair in 2000 (there's a pic of pudgy Brad right at the beginning of this post).
To say I was excited would be a massive understatement. I even took a video of Jim driving off
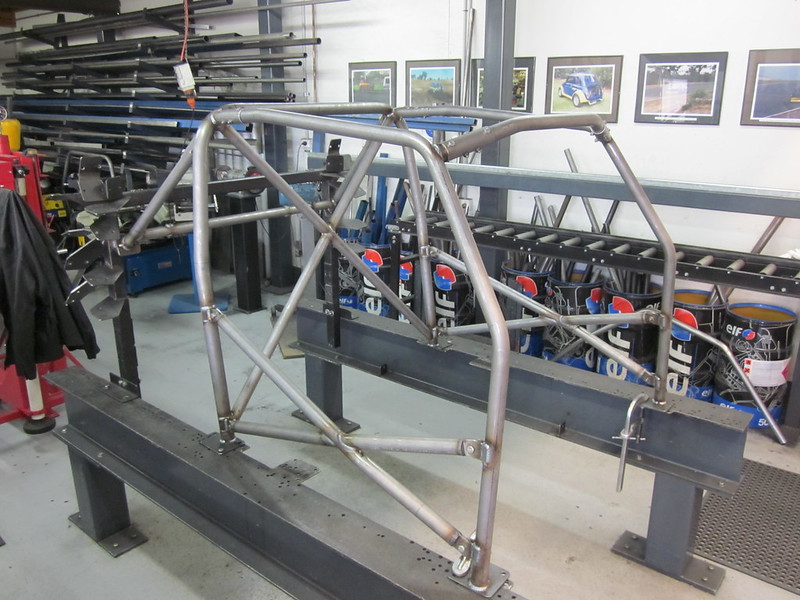
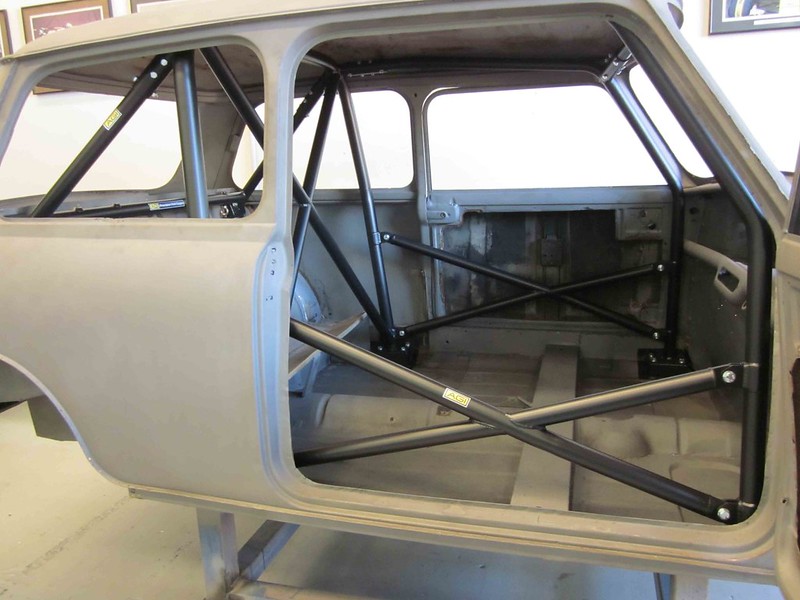
The next time I saw it, I had it delivered to AGI. While I was scraping and cleaning over the previous month I had been in contact with Adam Gotch of AGI about getting a roll cage made up. Through Richard I found out Adams expanding business was looking for a classic mini to develop a roll cage. I was looking for a roll cage. It was a good partnership. So, Adam and his efficient work team took the mini, took a tonne of measurements, got me to get seats so we could figure out a seating position, took measurements for the door pockets, etc. and popped out a beautifully engineered roll cage for classic minis. Have a look if you're interested, there are a few different levels and prices, at www.agi-precision.com.au. Built to pass FIA and CAMS regulations, purely because that's how they do things...
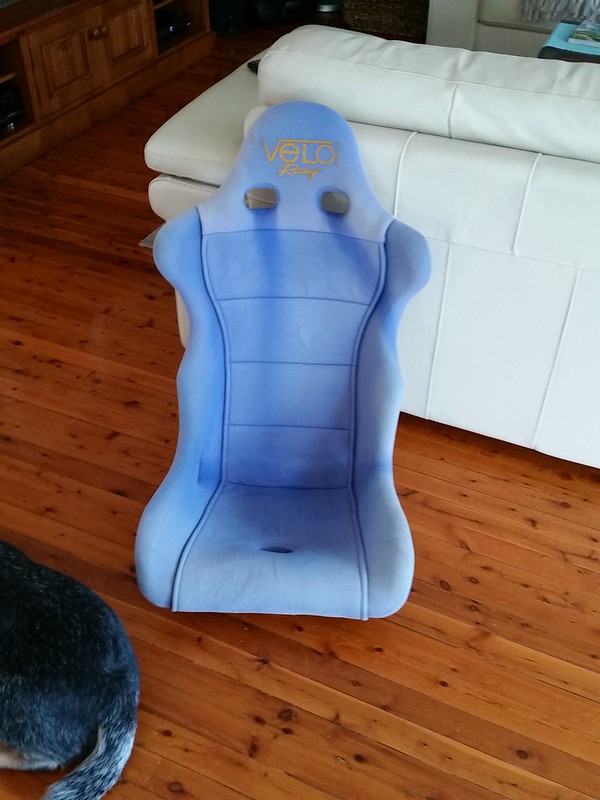
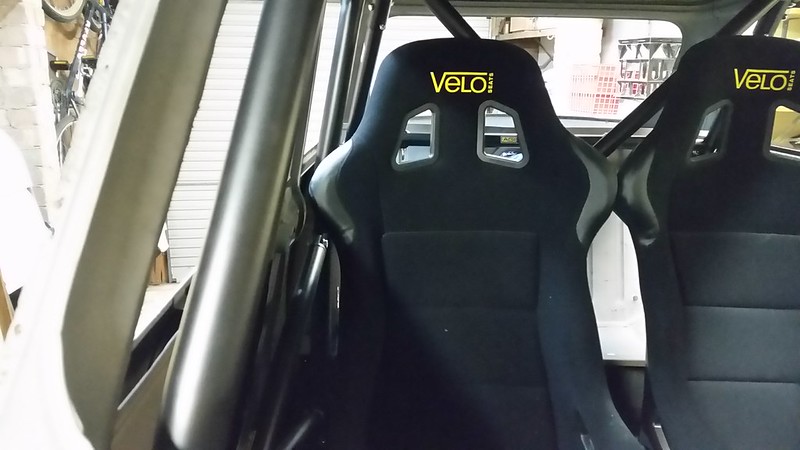
Whilst Adam had the car, I had to search for some seats that would fit in the mini. Problem is that I wanted fixed back that were high enough so the harness holes weren't below my body, that were wide enough to fit me in without breaking hips, yet not too wide so they could fit into the diminutive internal dimensions of the mini. Easily sorted! if you are thin, which I am not. So, after looking through spec sheets of brands like Sparco, Racetech, Corbeau, Recaro, Cobra and Bride without much success - sometimes due to size, sometimes due to difficulty of trying a seat (like Recaro, which don't have a NSW dealer). I thankfully found what I was looking for in Velo. Mr Sydney minis kindly lent me one of his old Velo Milano seats, and while it was comfy, the back wasn�t high enough. Not a big issue, Velo have heaps of seats, and being Australian, they have good sizing AND a local distributor to try the seats (Motorsports Connections in Seven Hills). I ended up taking a punt on their GPT-2 seats, with some advice ordering two from the same batch so the yellow stitching would be the same tone (yeah, I'm anal).
Matt's Velo Milano graciously loaned to me
The Milano vs a Velo GP
My GPT-2's in the garage
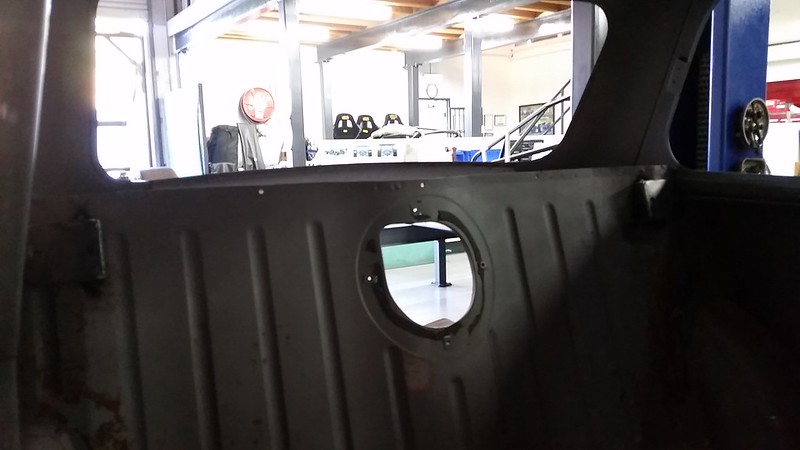
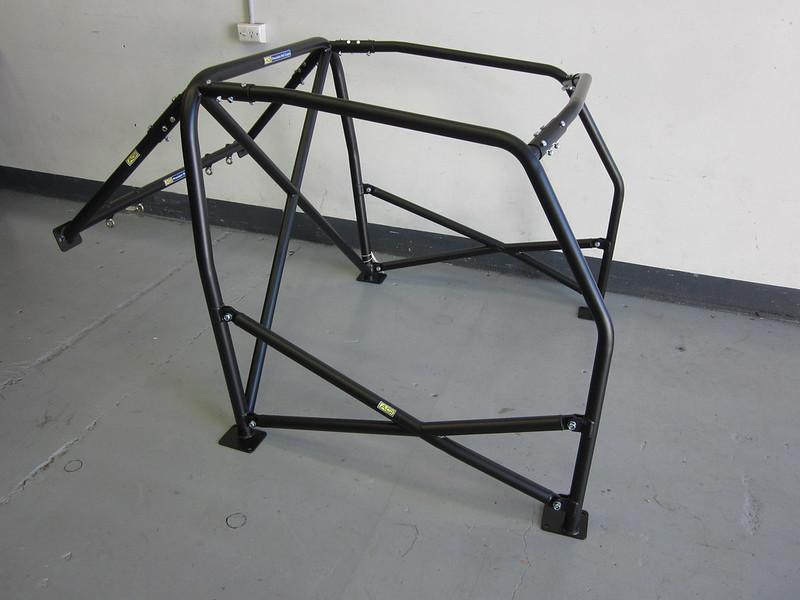
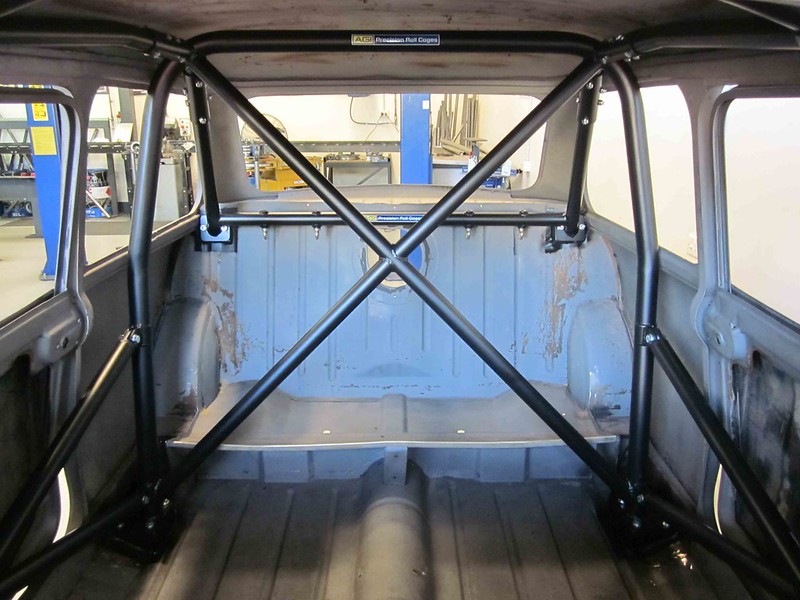
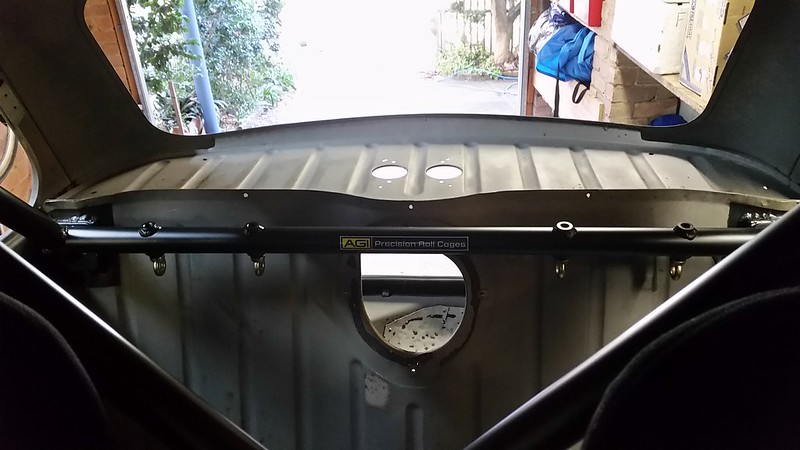
AGI were busy making the Roll cage, starting by welding in foot boxes to tie into a few surfaces as they were worried that in a roll-over the cage feet would possibly punch through the floor. The rear pockets were cut out, but with discussions with Adam I believe it may be possible to do without, and at worst case the pockets could be put back in (if interested, speak to Adam before taking my word as gospel)
The seats were needed mainly to determine how far back the main hoop was, thankfully I had a say in that as I'm a bit over 6'
The Roll cage on AGI's jig before and after paint
Photos from AGI
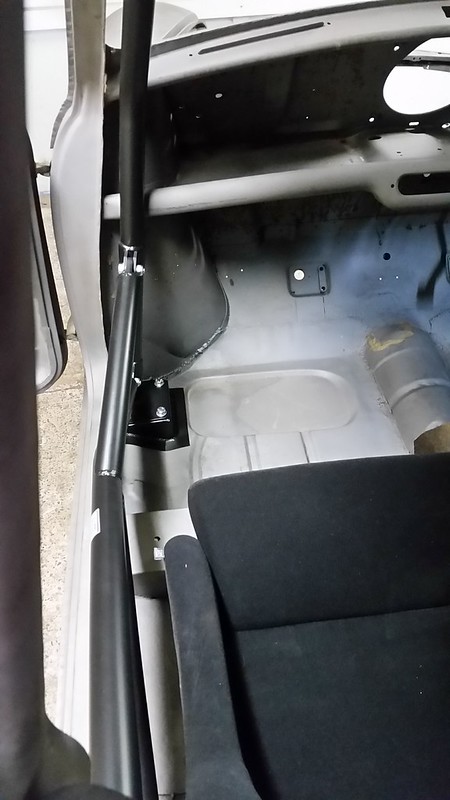
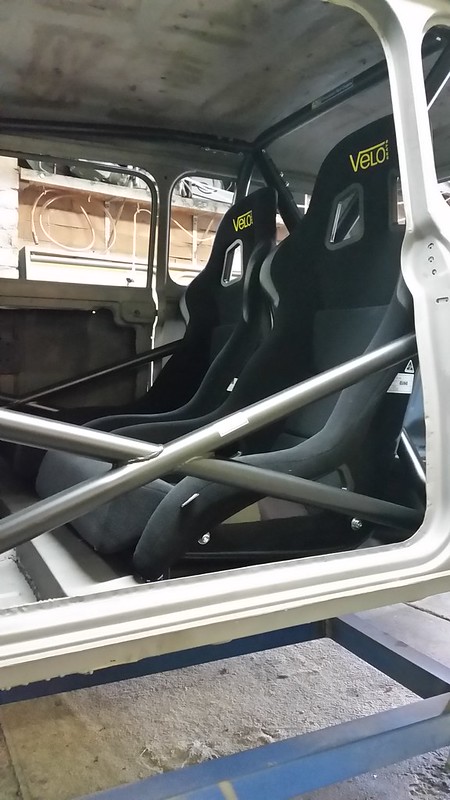
Then finally getting the car home I chucked the seats in to check how they look and for rough dimensions. It seems the dimensions were close! Not surprising in theory, but it's still a butt-tightening moment when it comes so close!
The idea for the seats is to have the drivers on slides and the passengers locked in solid. They have the side seat mounts with various holes so the seat angle can be adjusted, and the seats have pull out cushions, so there might be a future second set of cushions that are thicker/denser for a bit more comfort for the tushie.
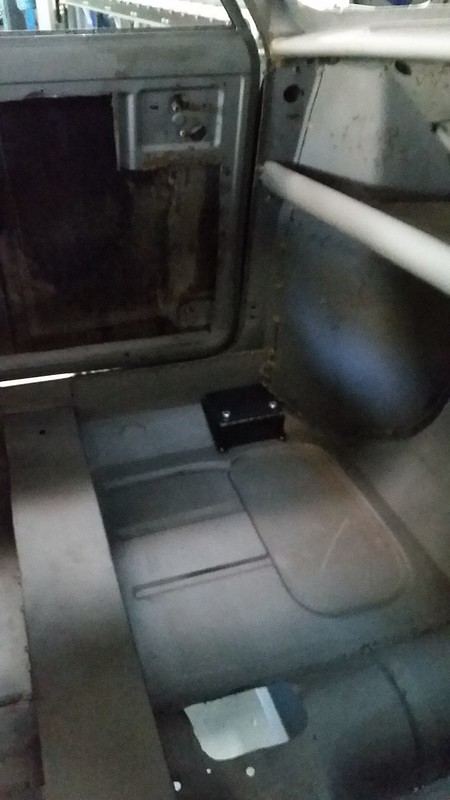
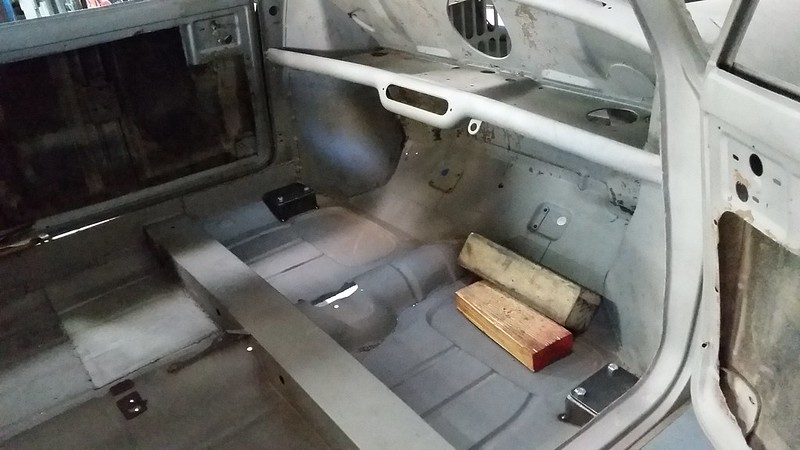
Position-ally, the passengers must have its left shoulder wing tucked behind the B-pillar to give the driver's side enough room to have it slide and rise over the door lock B-pillar indent. To facilitate the mounting, I have had some mounts made up out of sheet metal in the desired top-hat shape (dictated by engineer), however, because I'm pushing the dimensions the mounts interfere with the exhaust tunnel. More on this later in the post
The seat mounts are around the wrong way here, I have corrected this after asking Velo's helpful customer service bloke
Got a Weber
The plan is to run coilovers and remove the rear subframe and run a rear beam with trailing arms. I had a steel works place make up a thick beam using the dimensions I had taken when I was cleaning the crap off the underside of the body just before blasting. I also got them to make up some L-brackets to hold the trailing arms on. One weekend in Sept 2015 I ventured to Richards and we worked on the beam and the brackets. It currently sort of resembles something of use! I need to get someone to do some structural work to the beam (IIRC it's 5mm thick, too thick for me to cut with a grinder precisely), but hopefully by the end of these pics you'll see where we are headed with it. It will have a fair bit of camber and toe adjustment, and despite the necessary bar work (which now resembles a subframe), it's lighter than the original, and will suit the flat boot floor.
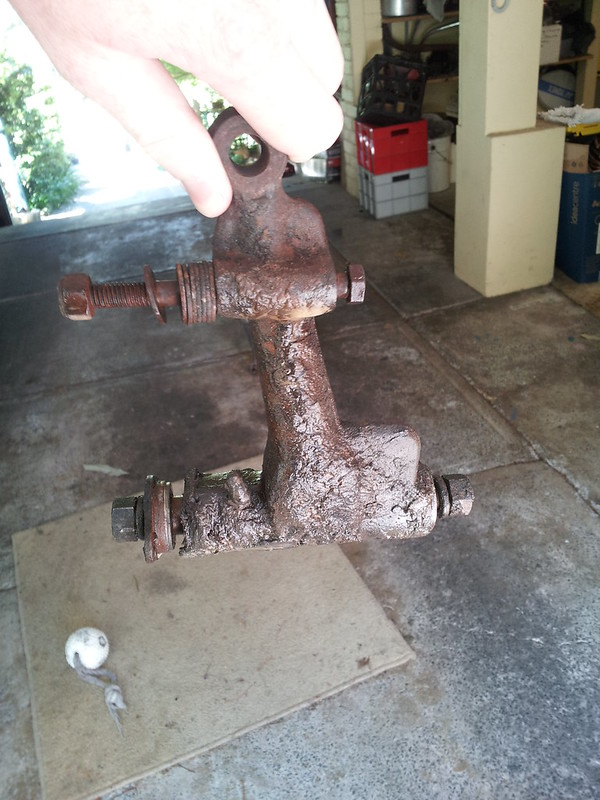
Took the old rear subframe for any reference measurements we'd need
Yes, I tried to get Richard to wear more safety stuff. No, he didn't listen to me
This beam will run across the back end, tying into the existing rear subframe bolt holes in the floor
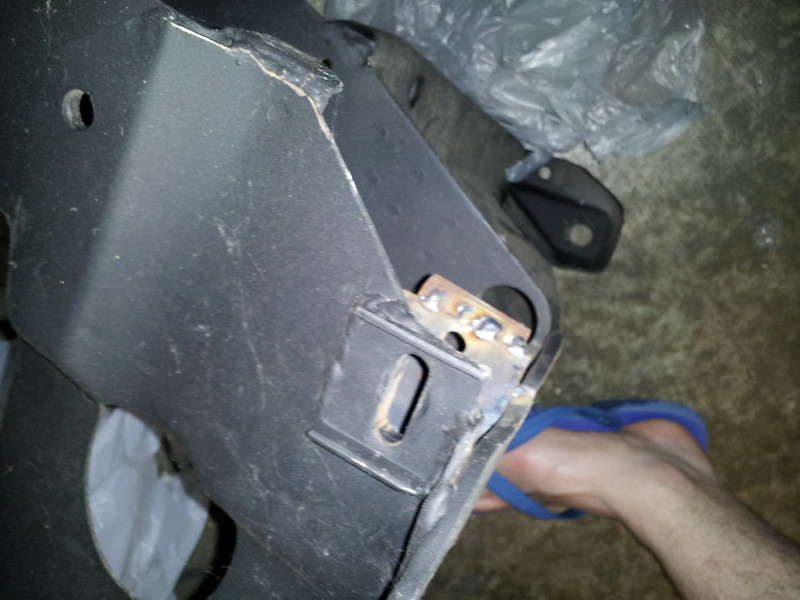
The beam with the rear plates welded in. The camber slots are welded on the end plates with the end plates then being drilled and filed to match the camber slot holes
The inner brackets which will be able to be adjusted for toe with shims
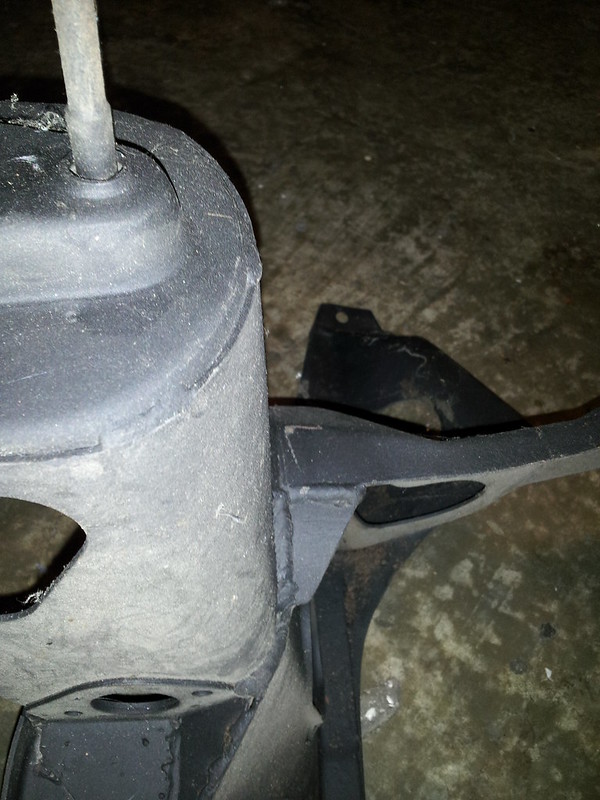
Richard fitting up the driver�s side trailing arm. The knob bit with receives the trumpet in a standard mini need to make way for proper rotation
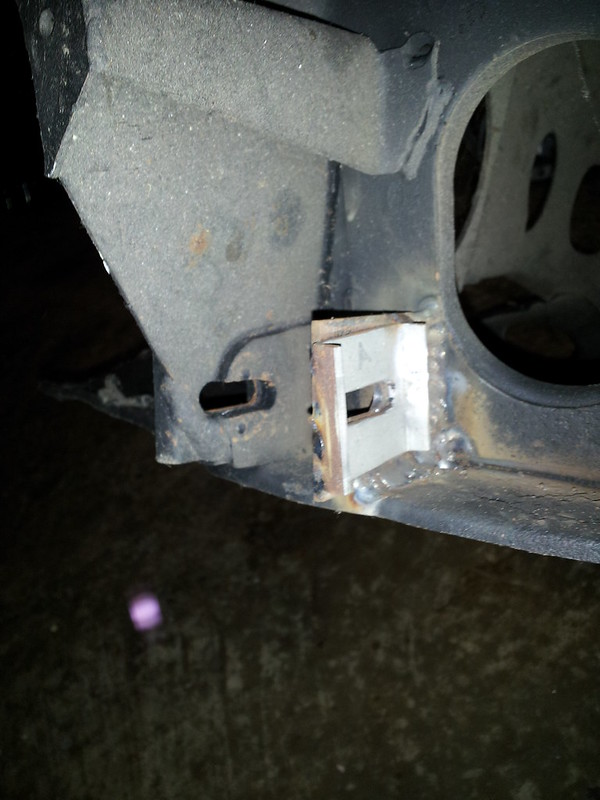
These holes are for the inner brackets. I will drill through the heel board of the shell and have captive bolts in the interior so the beam can mount up to, and we can adjust toe with shims from the outside
The next step with the beam is to modify it to match the profile of the exhaust tunnel and handbrake cable. I have some nice little aeronautical rollers that will route the cable through the beam and up the tunnel. Then trim it all up to make it fit nicely (more so for aesthetics). To mount it to the shell I will need to get some dome or cap head bolts, assumingly high-tensile, for the outer bolts, and then some bigger bolts for the internal trailing arm brackets (IIRC we drilled for either 3/8" or 5/8" but will check when needed).
Once the beam is done, then it will be a case of connecting some lengths of tube between the beam and the length of rectangular tube shown earlier. Sounds easy as hey!
Onto the next few items, first I sold the mambas a while back without them ever touching the car (two of them weren't removed from their packaging from England). In their place, I went (imo) all-out. I contacted the lovely chap Carl from Force Racing in the UK about some wheels. Originally planning on buying their 3-piece mamba-style 10x7, I was swayed when Carl mentioned he was making a new mesh style design. So, I ummed and ahhed a bit and decided to throw caution to the wind, buy the wheels without seeing a proper one and go for it. I ordered some 10x7 with black centres and polished inner/outers with equal dimensions (both 3.5"). I enjoyed the fact they were the first set to head out of Europe and only the 3rd set at all, however they haven't been used yet, so the surprise is sort of ruined.
To compliment the wheels, I was looking at getting some Yokohama AO32R's, but another nice bloke from Sydney minis hooked me up with some lovely Dunlop Formula R's. Getting them mounted will be an interesting exercise.
My mate thought it'd be funny to see them up next to his 33" muddies. He was correct, they look ridiculous
With the plan having evolved a while back to go a little nuts, I contacted Protech UK and had a good chat with Kevin (I think) and discussed my plans. He was a lovely bloke who was quite knowledgeable, with the discussion done, they ended up making me a slightly custom set which had a longer body for the rear to enable a bit more droop for road handling. Like the wheels, these were ordered and delivered then put into storage until they are needed.
Front coilover and mounting kit
Rear coilovers, straight (not offset)
This year I have made a few little goals with the mini, one is the boot floor, another the turrets, another the seat mounts. So far I have drawn up the boot and turrets and left it at that, but I have managed to get some mounts made up. These are only the beginnings, as the inner ones interfere with the exhaust tunnel, so will need some chopping and welding. Hopefully I can make some modest progress and get the seats fixed in.
That�s most of what happened, 2000 was an exciting year when we got the mini, and it was an on again, off again type project, where Dad & I made little bits of progress (not forgetting the much more modest plans back then). It obviously took a massive hit in 2011 when Dad passed away. The next few years were a struggle with life and various things getting in the way. It wasn't until 2015 where most of what you have seen actually happened. It has been a quiet 12 months since, but I am hoping that I can slowly nut these little issues out and get the mofo into the next phase in the not-too-distant future. Fingers crossed
Brad


Comment