 Tweet
Tweet
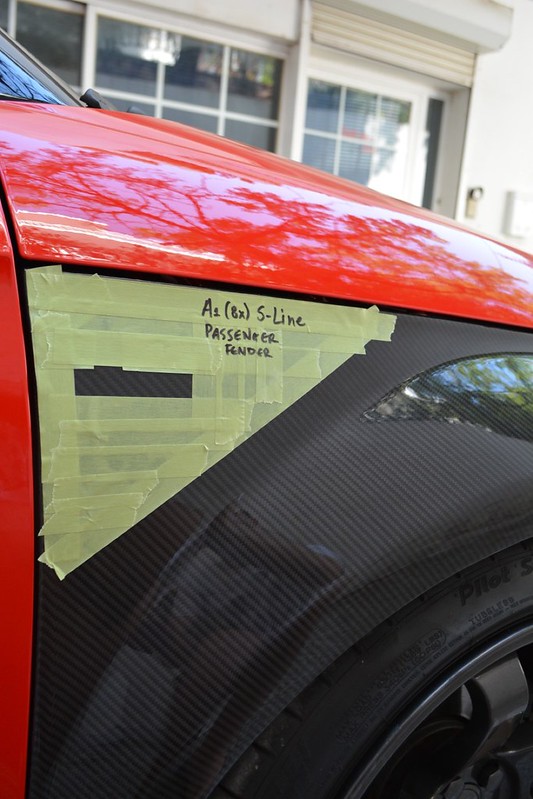
So another update to show you, is about the mirrors on the A1. I have been running CF ones for some years now. The work done by that guy was not the best as it seems, since through time, the fabric lifted, and got some white marks, even though the car is kept in parking at all time when not driven. However I thought i'd do something different.
So here goes.
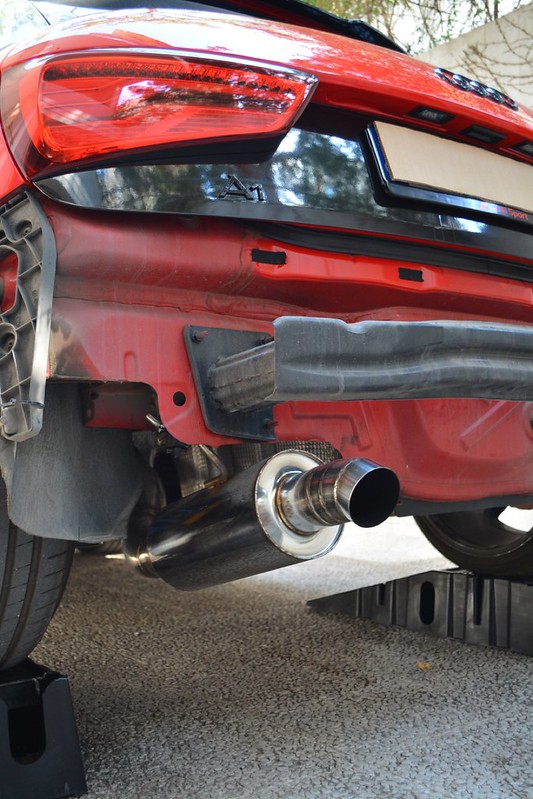
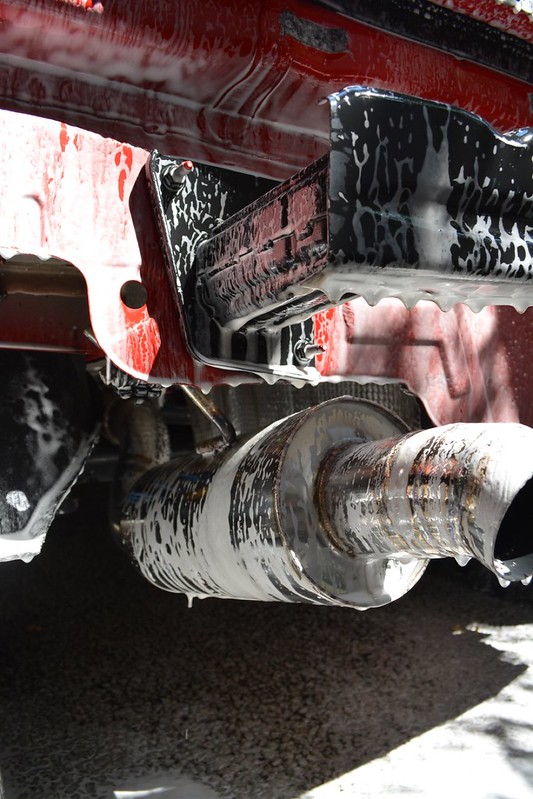
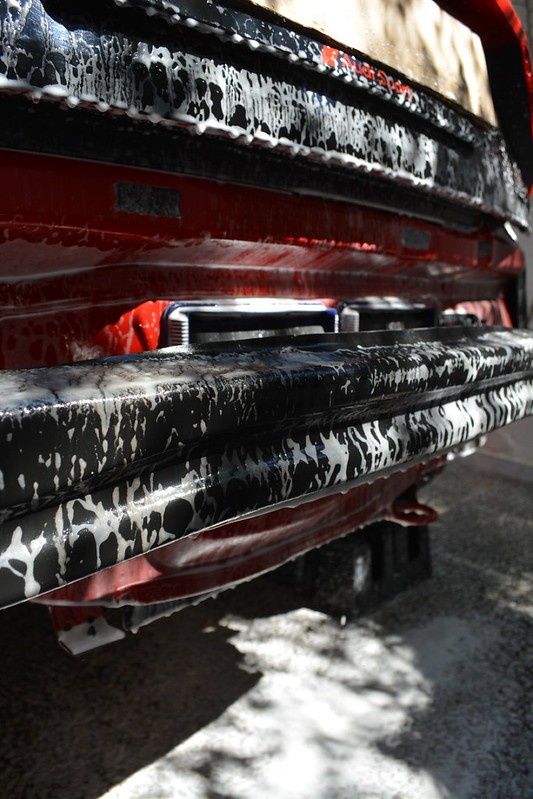
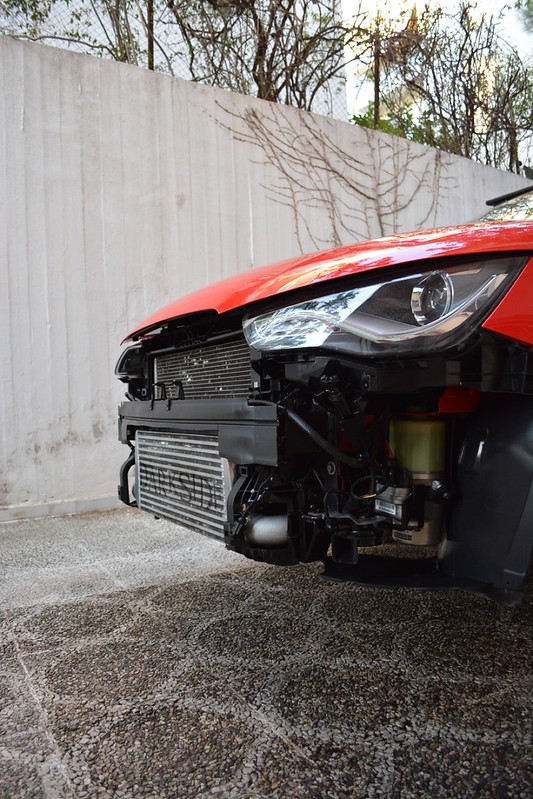
Gave it a quick wash to work on a clean car
 Untitled by mgpdoc, on Flickr
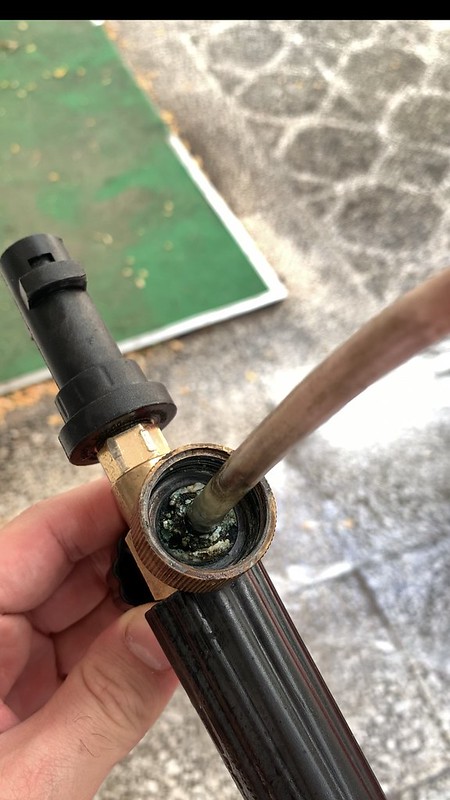
This new set came in handy for the job ahead
 Untitled by mgpdoc, on Flickr
Old setup
 Untitled by mgpdoc, on Flickr
 Untitled by mgpdoc, on Flickr
 Untitled by mgpdoc, on Flickr
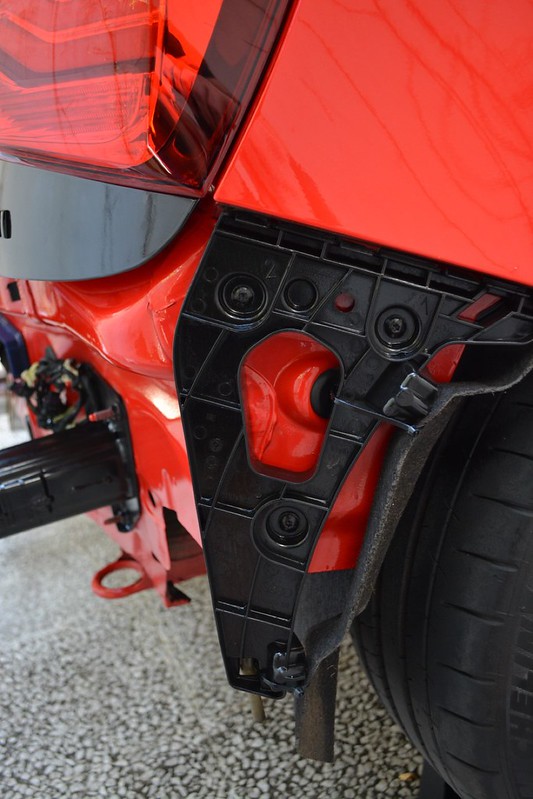
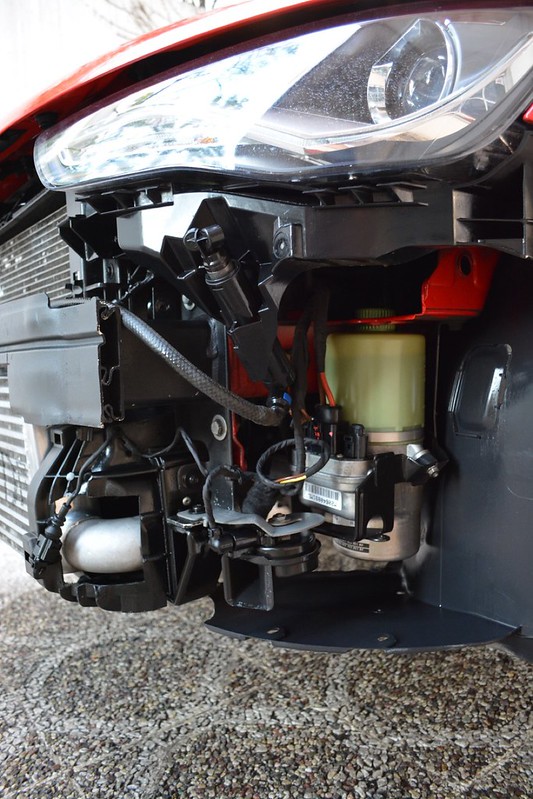
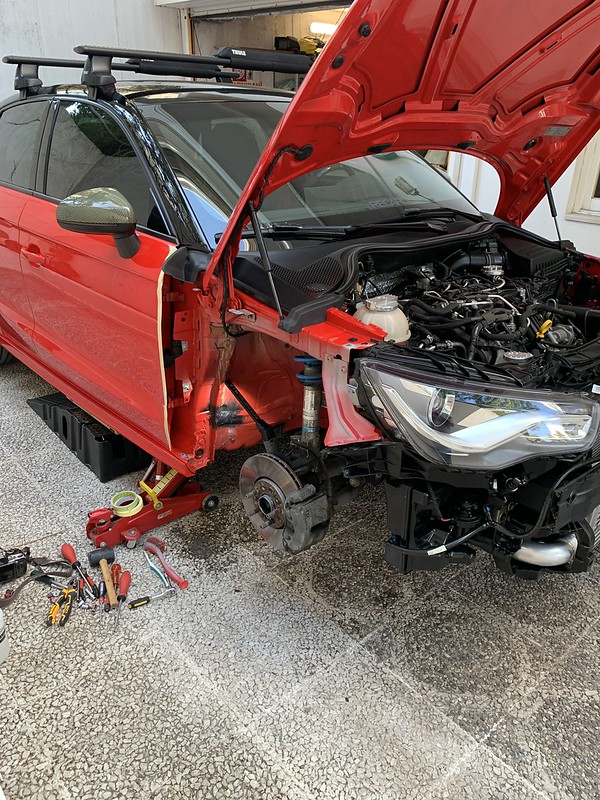
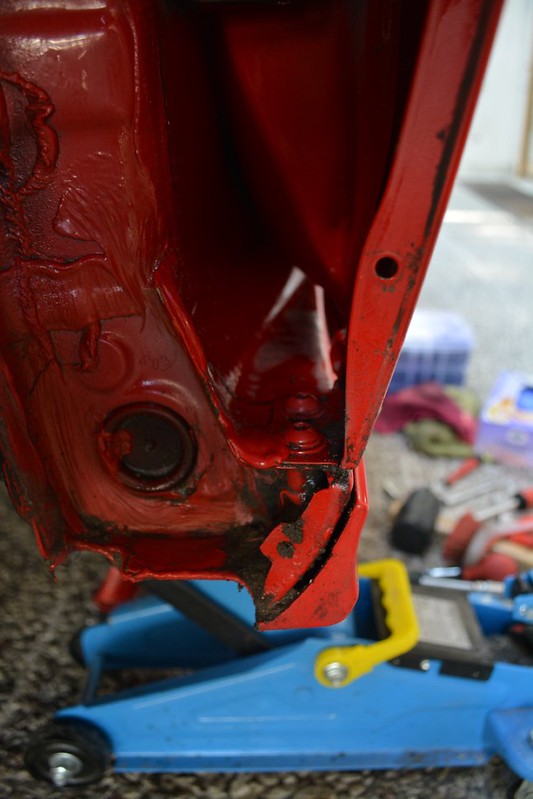
Took everything apart
 Untitled by mgpdoc, on Flickr
Then it was cleaning time, as always
 Untitled by mgpdoc, on Flickr
 Untitled by mgpdoc, on Flickr
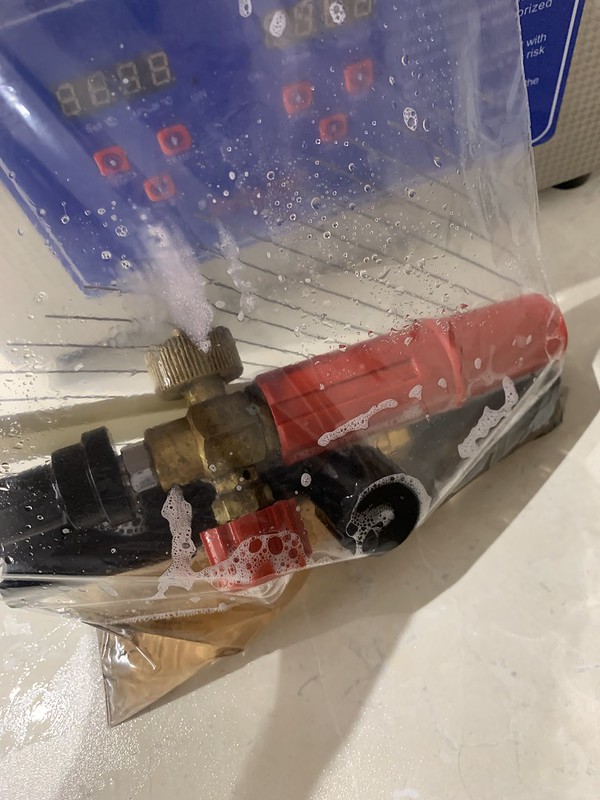
Scrubbing with a toothpaste, wipe over and then compressed air. Then dress everything up with something to keep the plastics hydrated.
 Untitled by mgpdoc, on Flickr
 Untitled by mgpdoc, on Flickr
Time to install these
 Untitled by mgpdoc, on Flickr
 Untitled by mgpdoc, on Flickr
 Untitled by mgpdoc, on Flickr
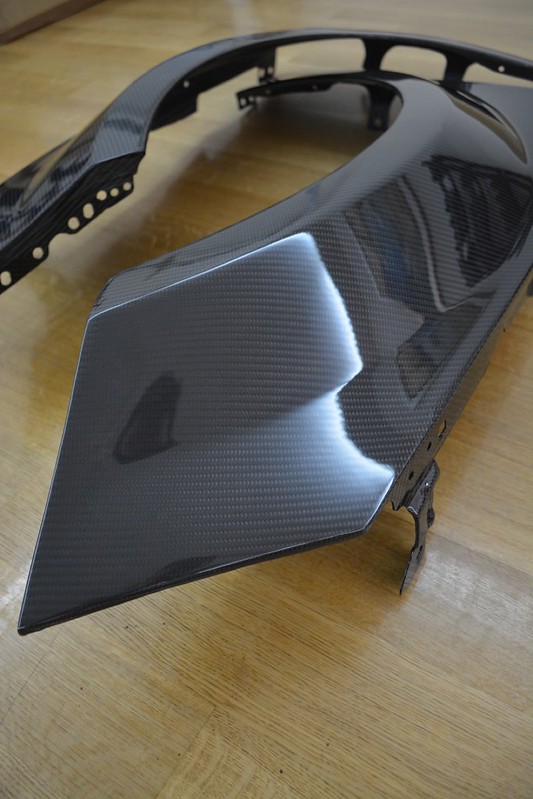
Real carbon kevlar in gloss finish
 Untitled by mgpdoc, on Flickr
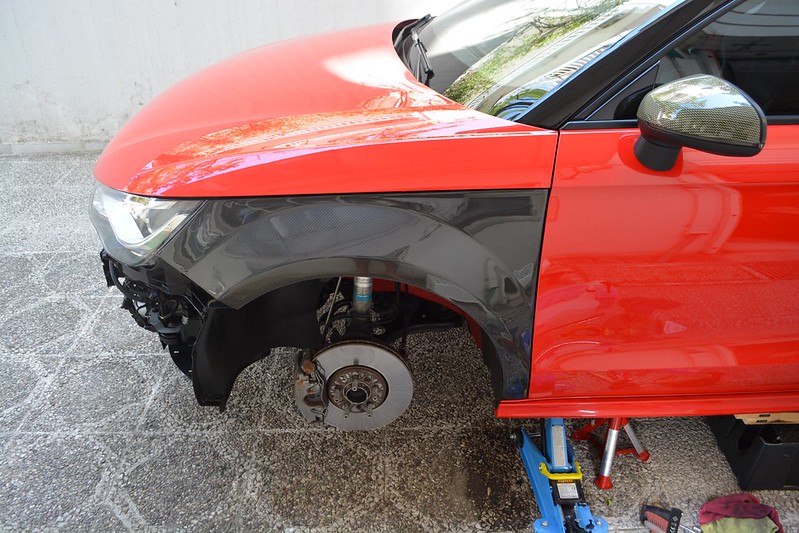
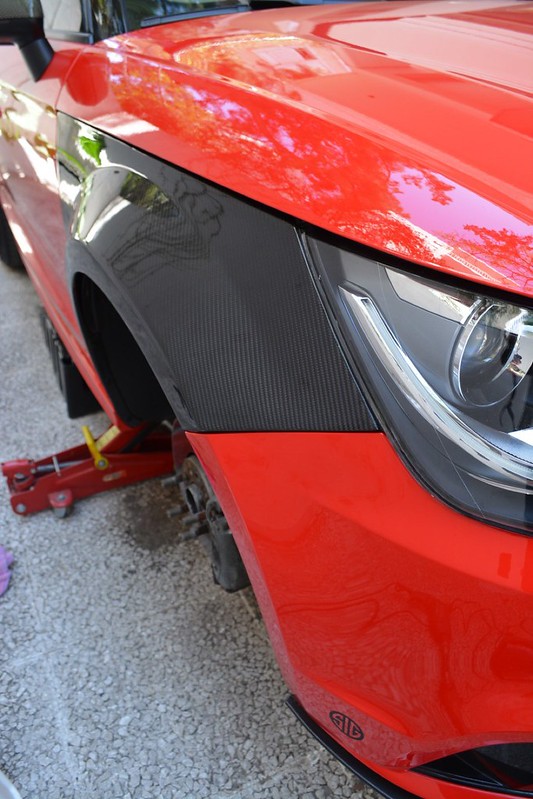
Installed
 Untitled by mgpdoc, on Flickr
 Untitled by mgpdoc, on Flickr
 Untitled by mgpdoc, on Flickr
 Untitled by mgpdoc, on Flickr
 Untitled by mgpdoc, on Flickr
 Untitled by mgpdoc, on Flickr
They change colours from yellow, to almost green, I am in love. Cheers guys
Mike
So here goes.
Gave it a quick wash to work on a clean car
Untitled by mgpdoc, on FlickrThis new set came in handy for the job ahead
Untitled by mgpdoc, on FlickrOld setup
Untitled by mgpdoc, on FlickrUntitled by mgpdoc, on FlickrUntitled by mgpdoc, on FlickrTook everything apart
Untitled by mgpdoc, on FlickrThen it was cleaning time, as always
Untitled by mgpdoc, on FlickrUntitled by mgpdoc, on FlickrScrubbing with a toothpaste, wipe over and then compressed air. Then dress everything up with something to keep the plastics hydrated.
Untitled by mgpdoc, on FlickrUntitled by mgpdoc, on FlickrTime to install these
Untitled by mgpdoc, on FlickrUntitled by mgpdoc, on FlickrUntitled by mgpdoc, on FlickrReal carbon kevlar in gloss finish
Untitled by mgpdoc, on FlickrInstalled
Untitled by mgpdoc, on FlickrUntitled by mgpdoc, on FlickrUntitled by mgpdoc, on FlickrUntitled by mgpdoc, on FlickrUntitled by mgpdoc, on FlickrUntitled by mgpdoc, on FlickrThey change colours from yellow, to almost green, I am in love. Cheers guys
Mike


 Untitled
 Untitled
 Untitled
 Untitled
 Untitled
 Untitled
 Untitled
 Untitled
 Untitled
 Untitled
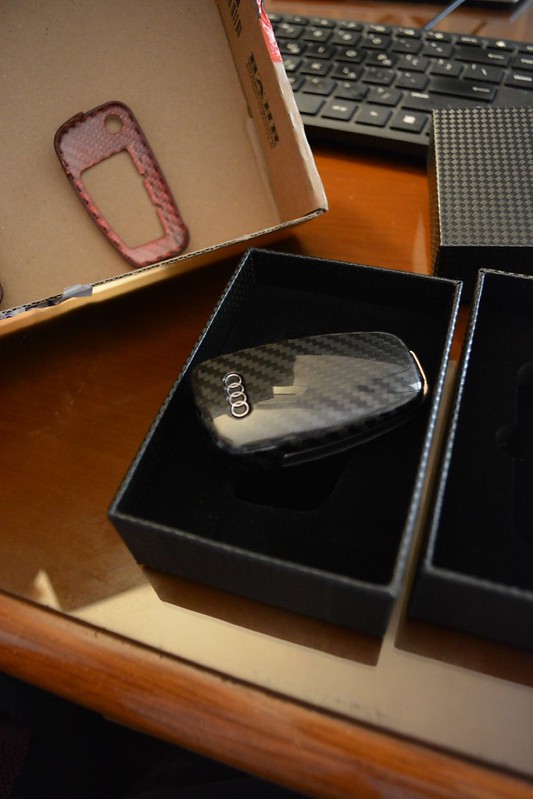 Untitled
 Untitled
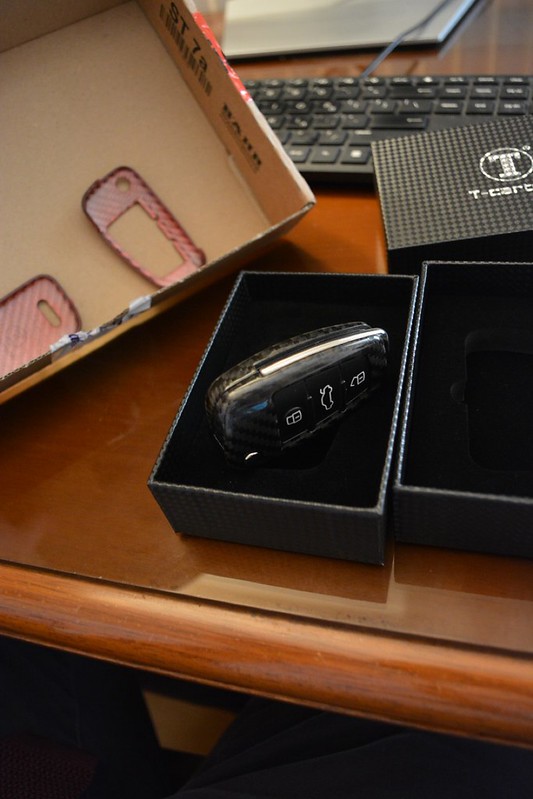 Untitled
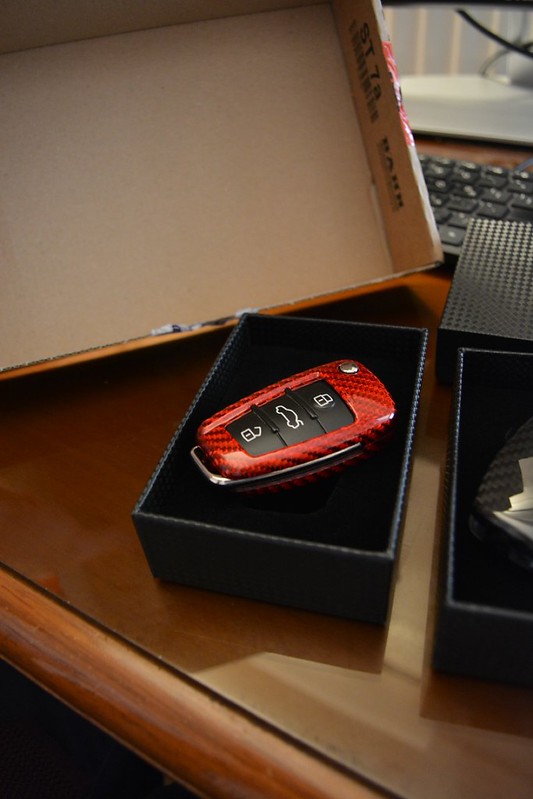 Untitled
 Untitled
 Untitled
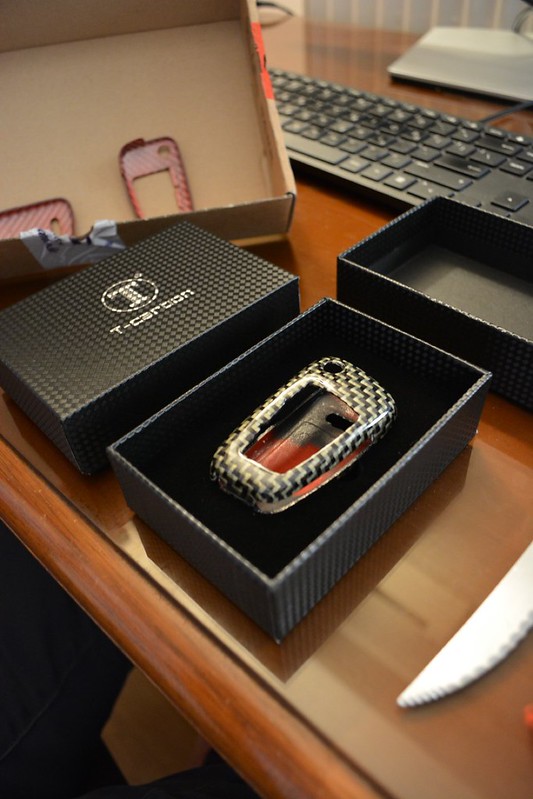 Untitled
 Untitled
 Untitled
 Untitled
 Untitled
 Untitled
 Untitled
 Untitled
 Untitled
 Untitled
 Untitled
 Untitled
 Untitled
 Untitled
 Untitled
 Untitled
 Untitled
 Untitled
 Untitled
 Untitled
 Untitled
 Untitled
 Untitled
 Untitled
 Untitled
 Untitled
 Untitled
 Untitled
 Untitled
 Untitled
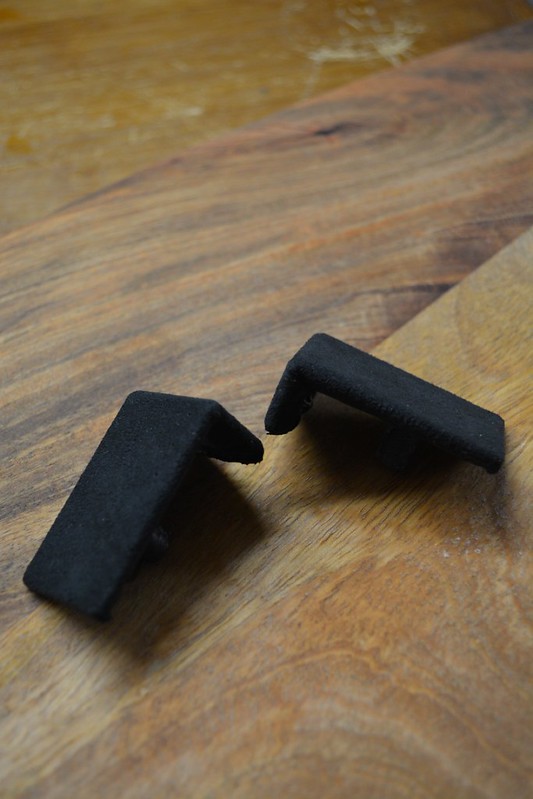 Untitled
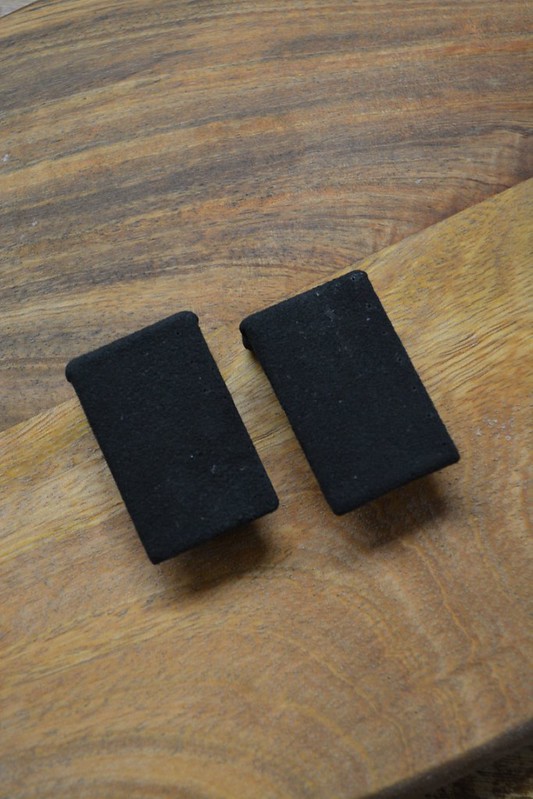 Untitled
 Untitled
 Untitled
 Untitled
 Untitled
 Untitled
 Untitled
 Untitled
 Untitled
 Untitled
 Untitled
 Untitled
 Untitled
 Untitled
 Untitled
 Untitled
 Untitled
 Untitled
Comment