 Tweet
Tweet
I wanted one of these for a few years now and the GT-B Legacy was the reason why I bought an EDM 96 Legacy 2.2 GX wagon as a daily driver when I decided to end my GTI 20th anniversary's lifespan last year.
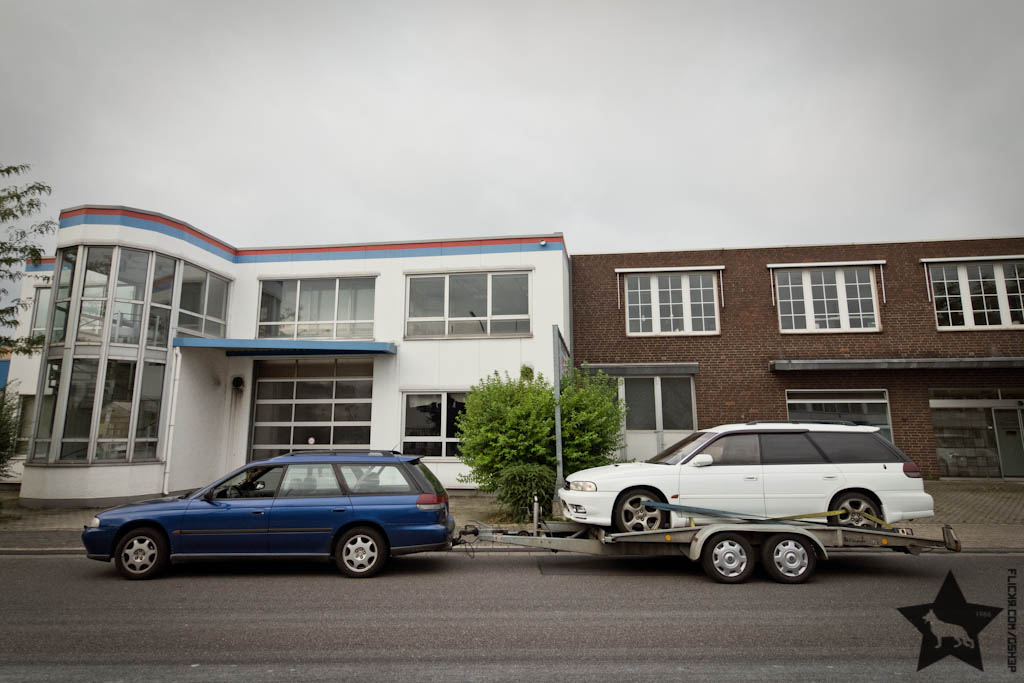
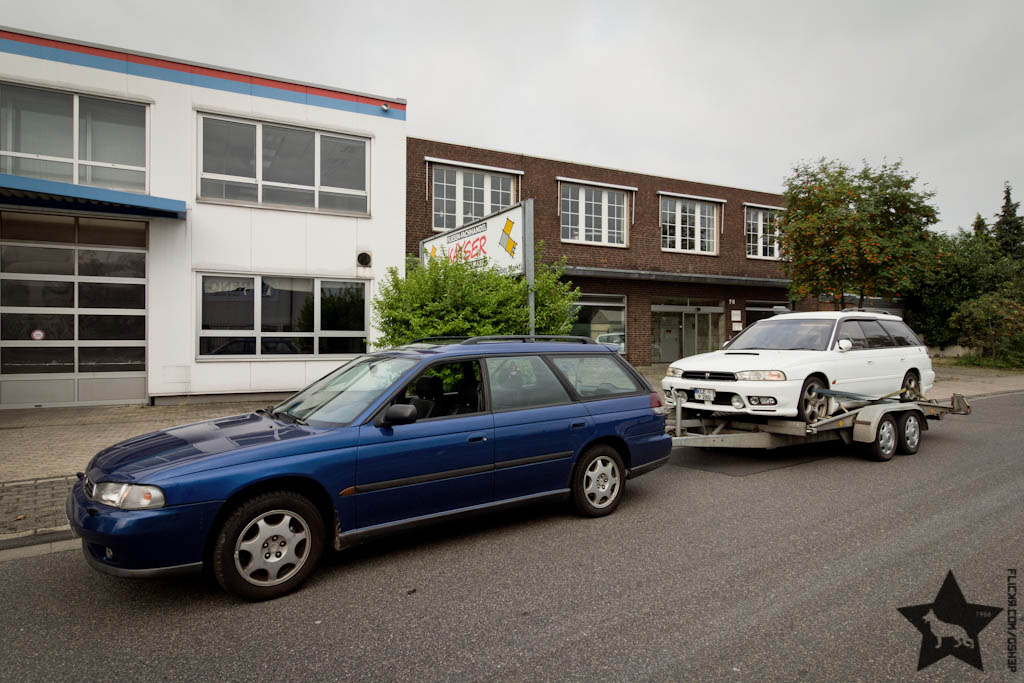
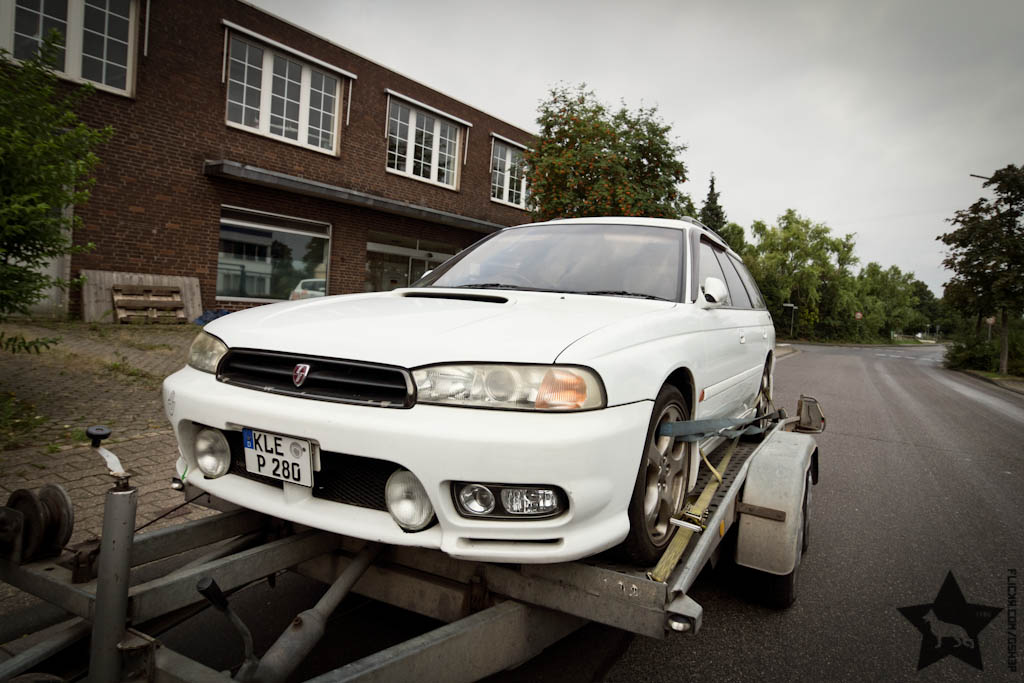
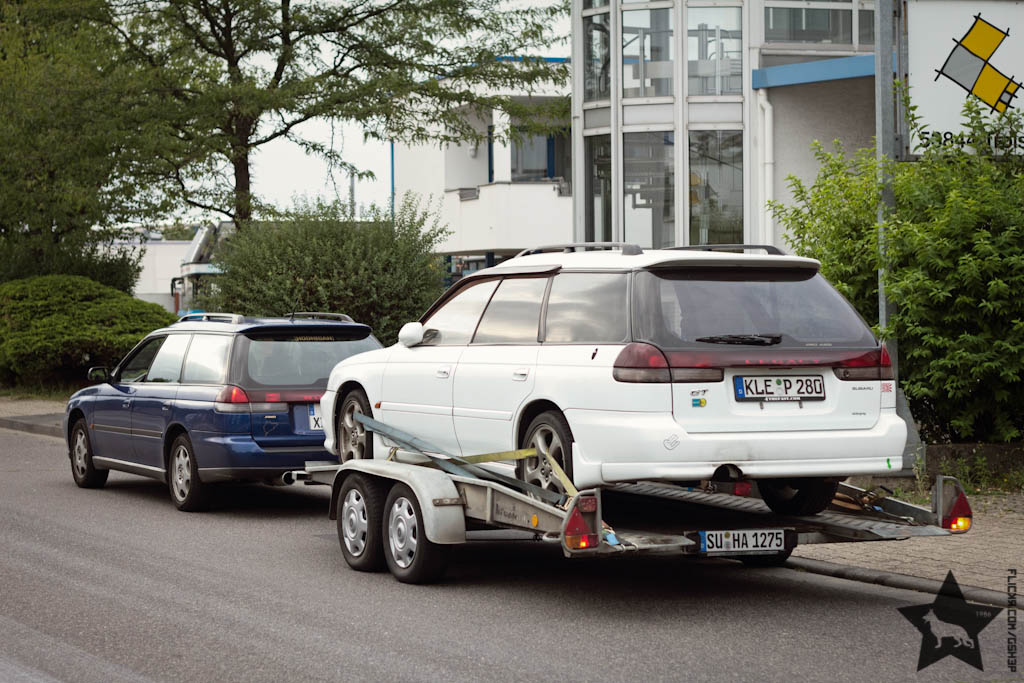
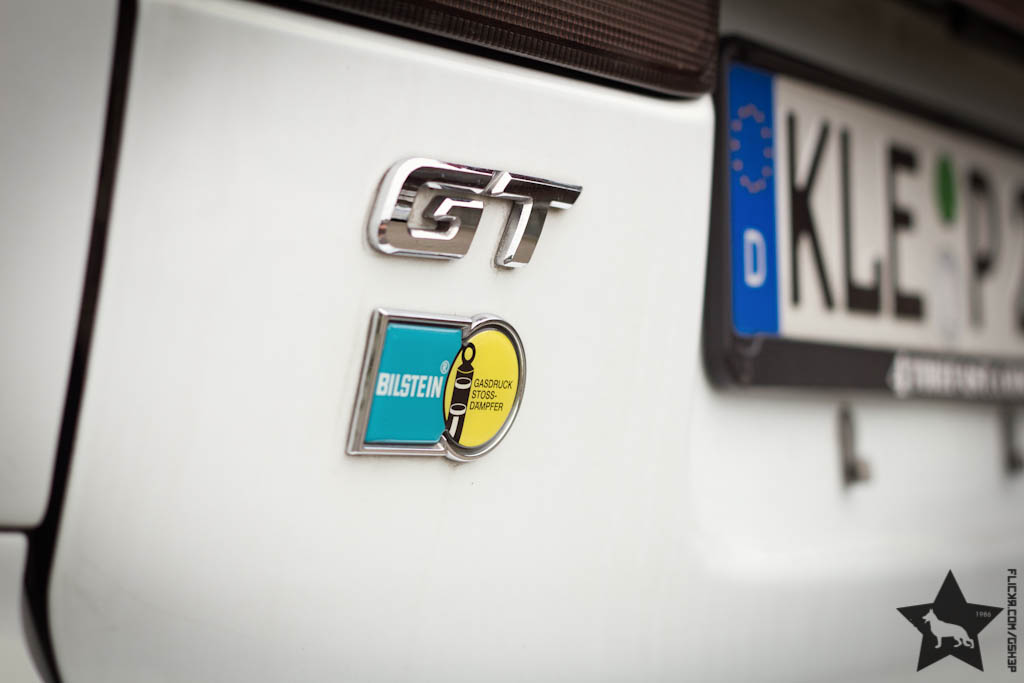
So this year I came across an ad for a 98 Legacy GT-B Limited with a broken engine.
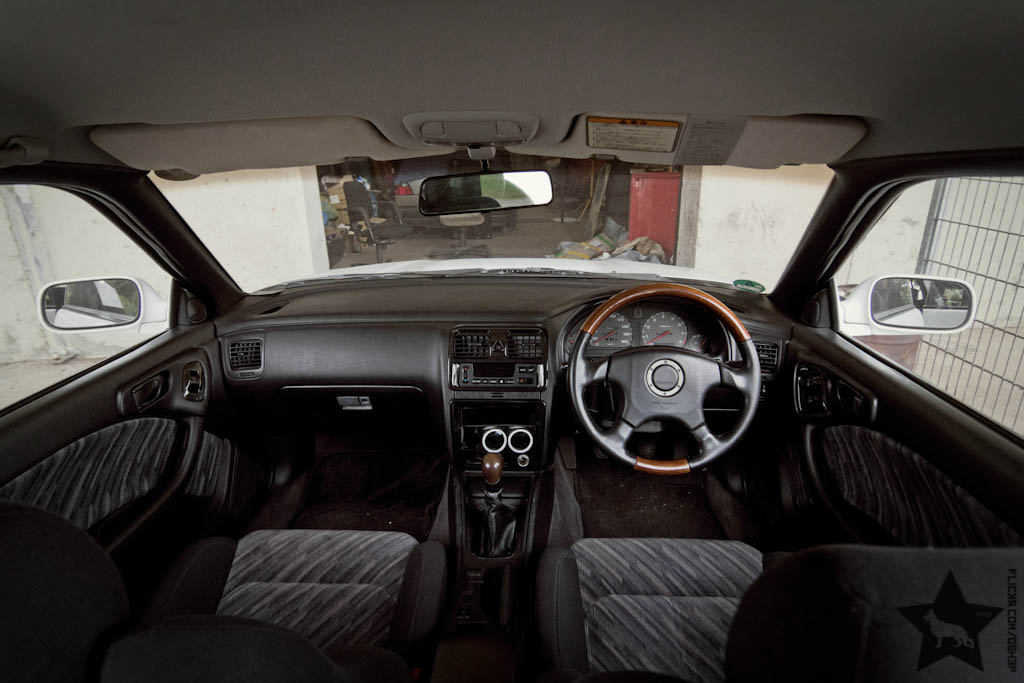
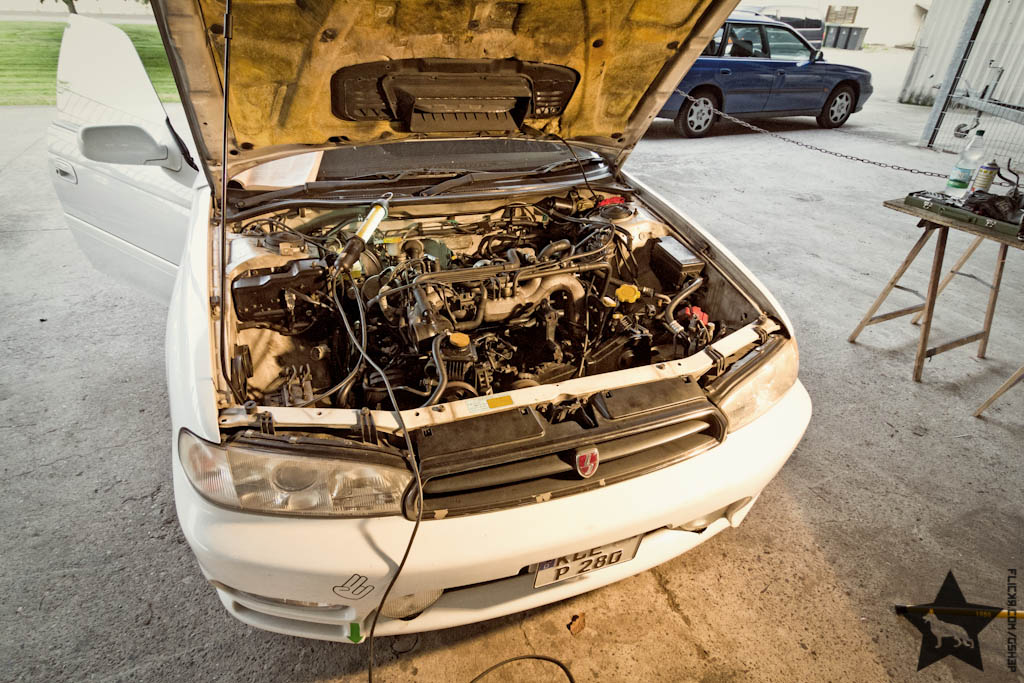
White, direct import from Japan to Germany, german registration and bone stock and it even was located almost around the corner (2h drive).
Had a look at it, engine did run but wiggled like J-Lo's ass, body was in a really mint condition, no sign of rust, dents etc.
The seller just didn't want it anymore, he already had the second engine in it as a valve ripped off on the first engine, so the price was damn cheap.
Next day I picked it up.


Just a few days later I got right to work.

The reason why the engine shook pretty hard was that one of the cylinders didn't want to play anymore.
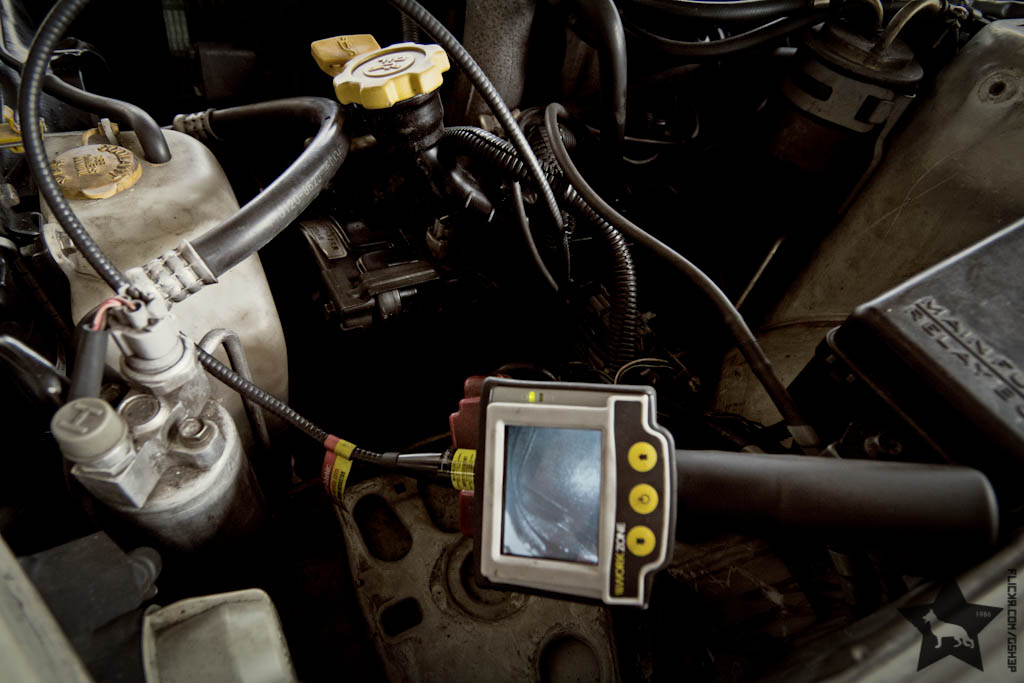
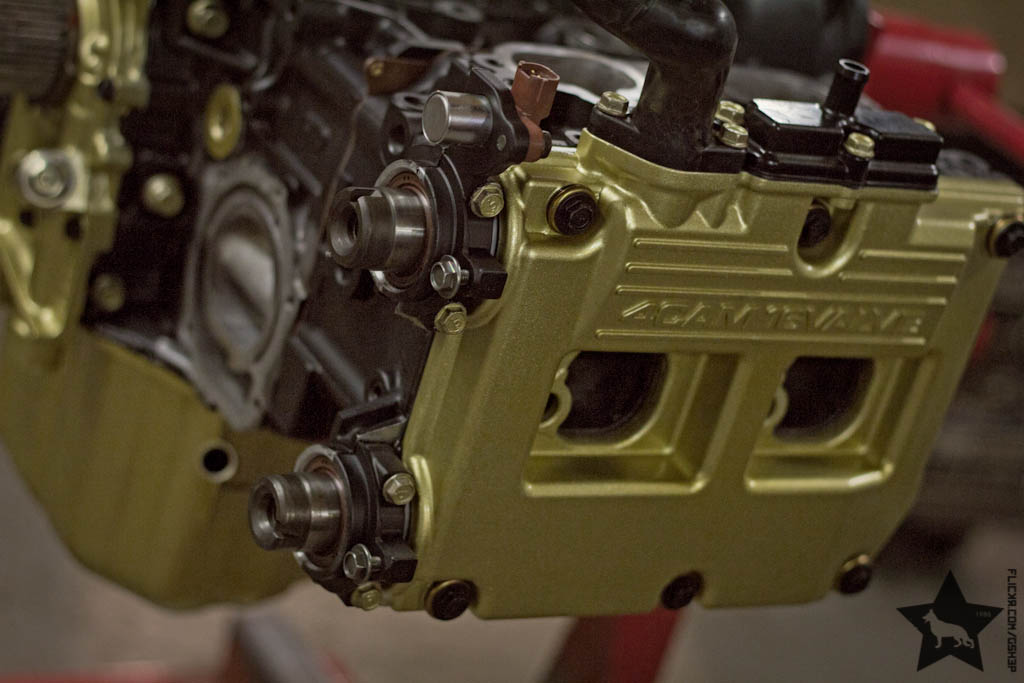
Aside of the shaking, the EJ20R did sound all normal, but blew blue smoke out of the back. We figured that that one of the piston rings might be broken, so first things first, I checked the cylinders with the endoscope.

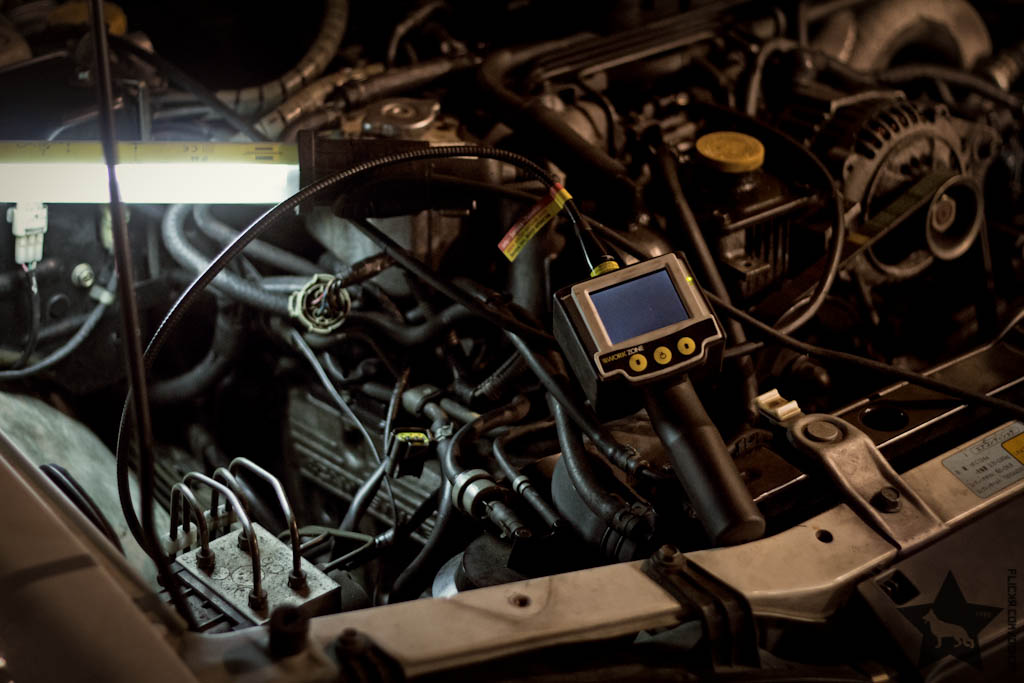

Wouldn't have needed to get the endoscope out though.
After a proper clean the engine probably would've run normal again...

...but that wouldn't have fixed the problem.

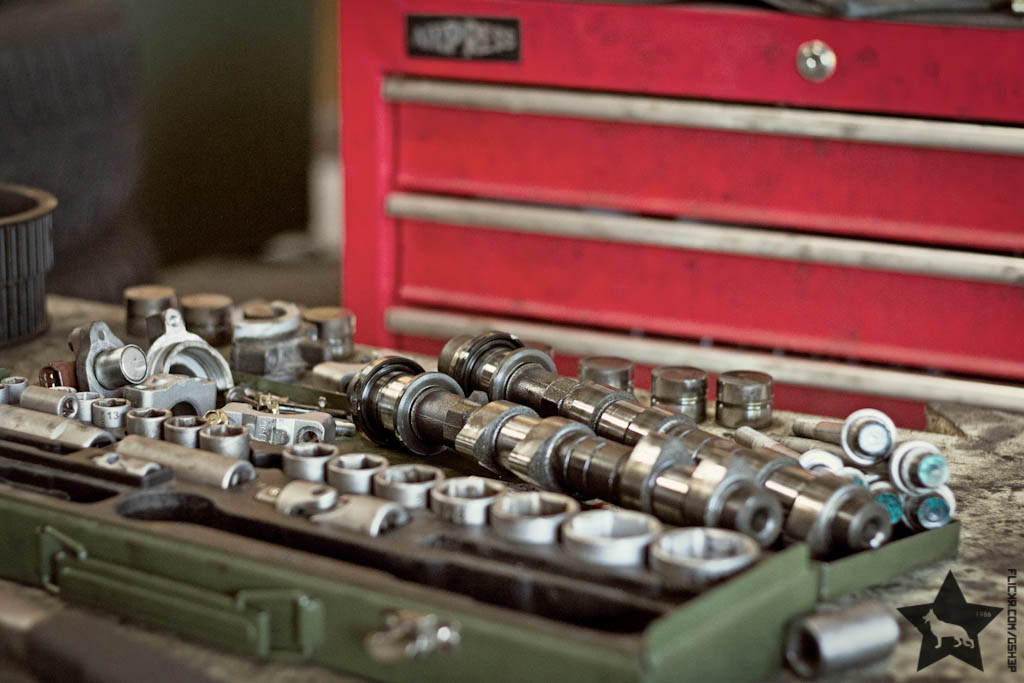
So I pulled the engine out.

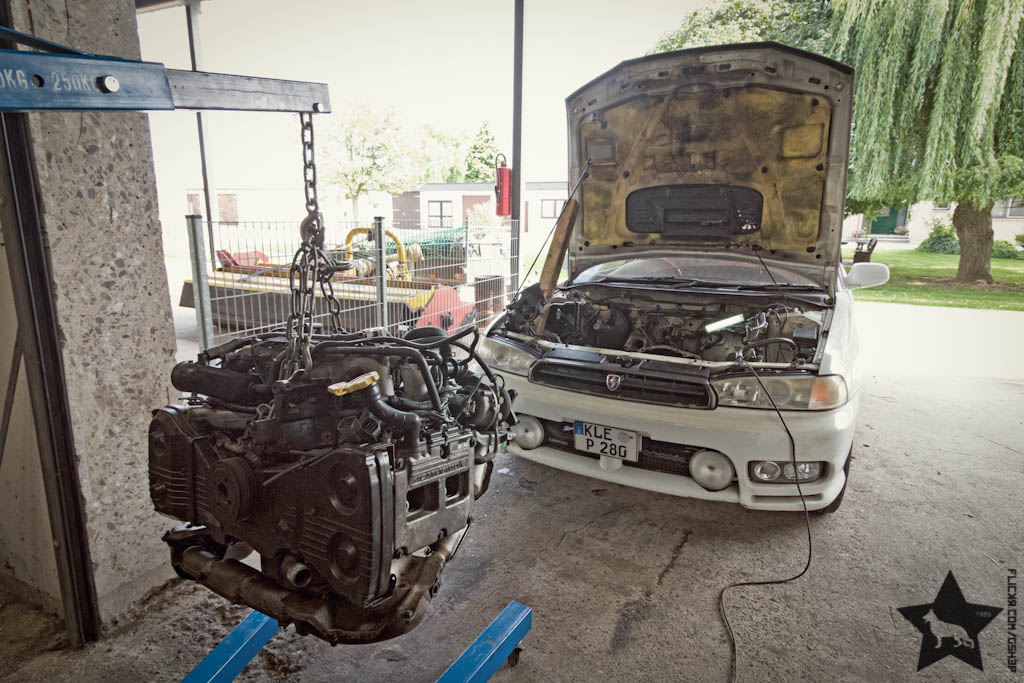
Engine stand is supposed to hold twice the weight... yeah of course.")
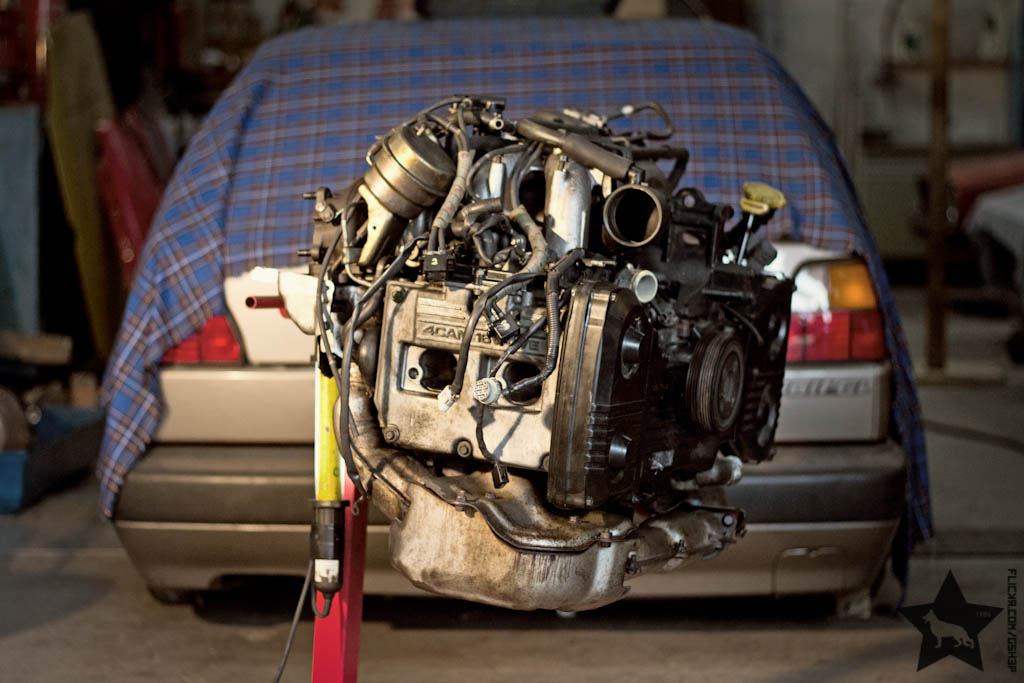
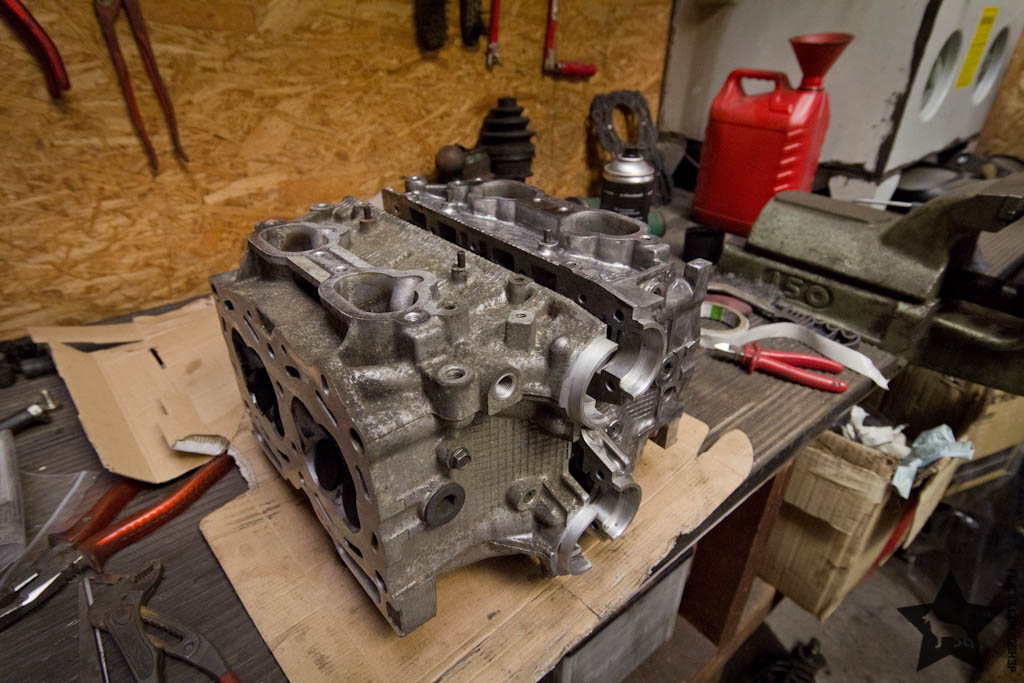
Piece for piece coming off.

Hone was still looking pretty good.

Not on cylinder 2 though...

Less oil coal on the piston on cylinder 2... suspicious.

Whoops. Melted piston.
Looks like the injector malfunctioned and caused the cylinder to overheat and from that point everything just went shit.

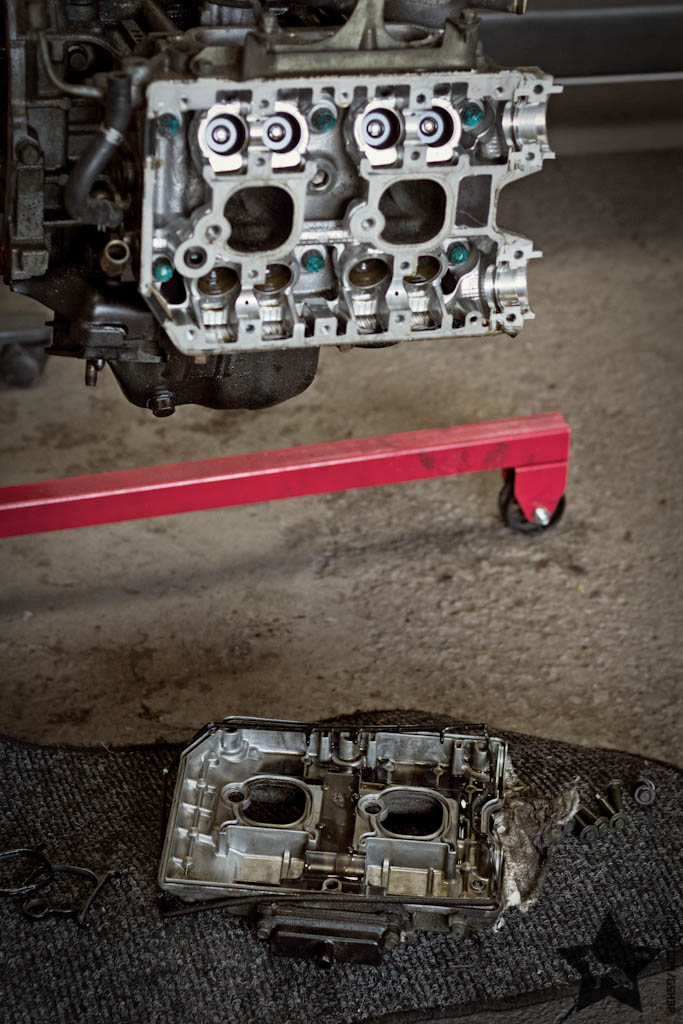
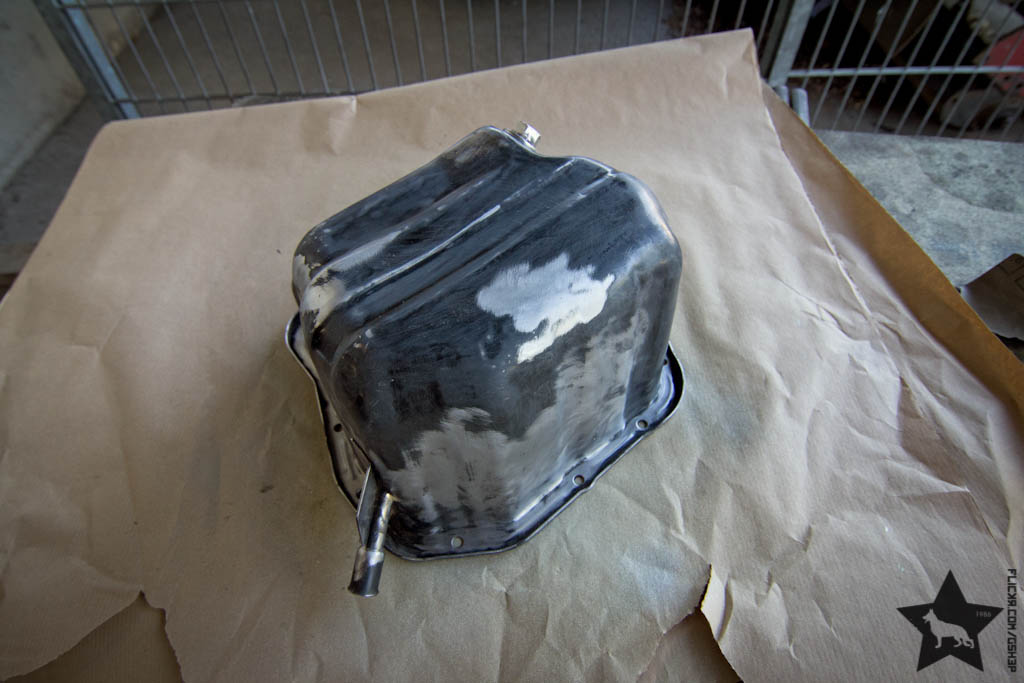
More parts coming off...
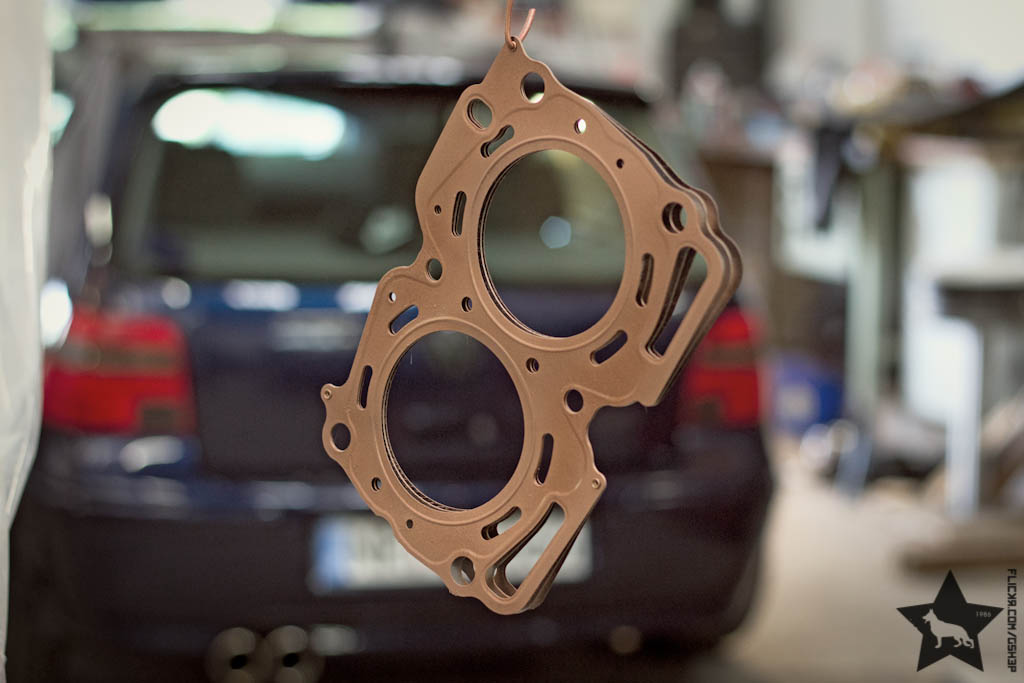
Heads looking pretty mint as well.
Cylinder one and three looked good as well.


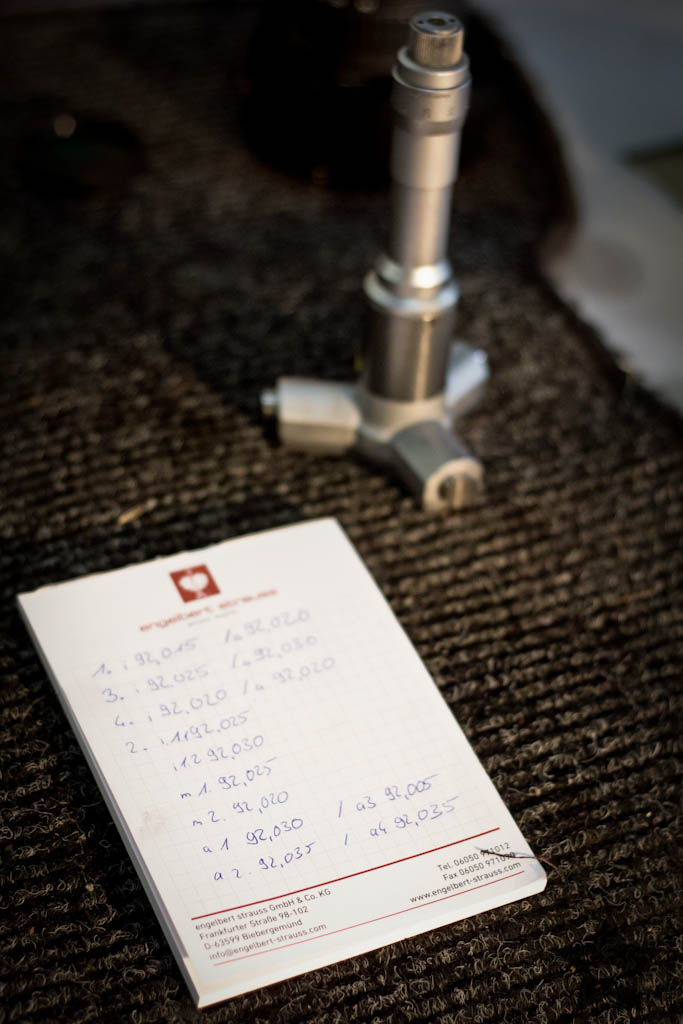
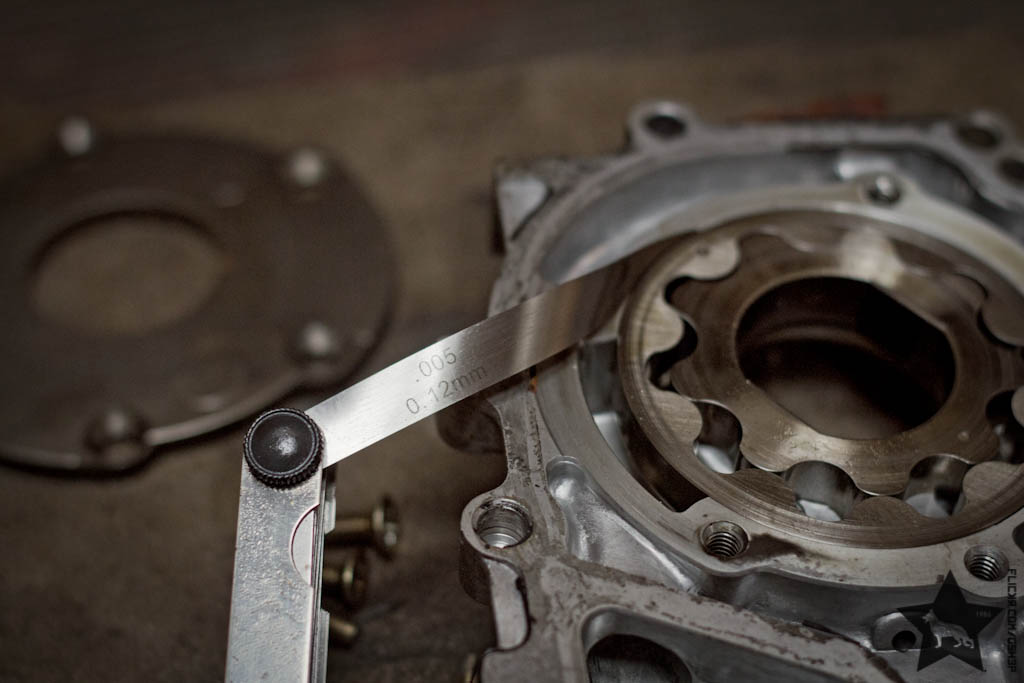
My brother and I then measured the cylinders with the three point micrometer and afterwards with the two point micrometer to see if the cylinders are still within the clearances.
They weren't, which pretty much killed the idea to throw in one new piston and new piston rings for all cylinders.


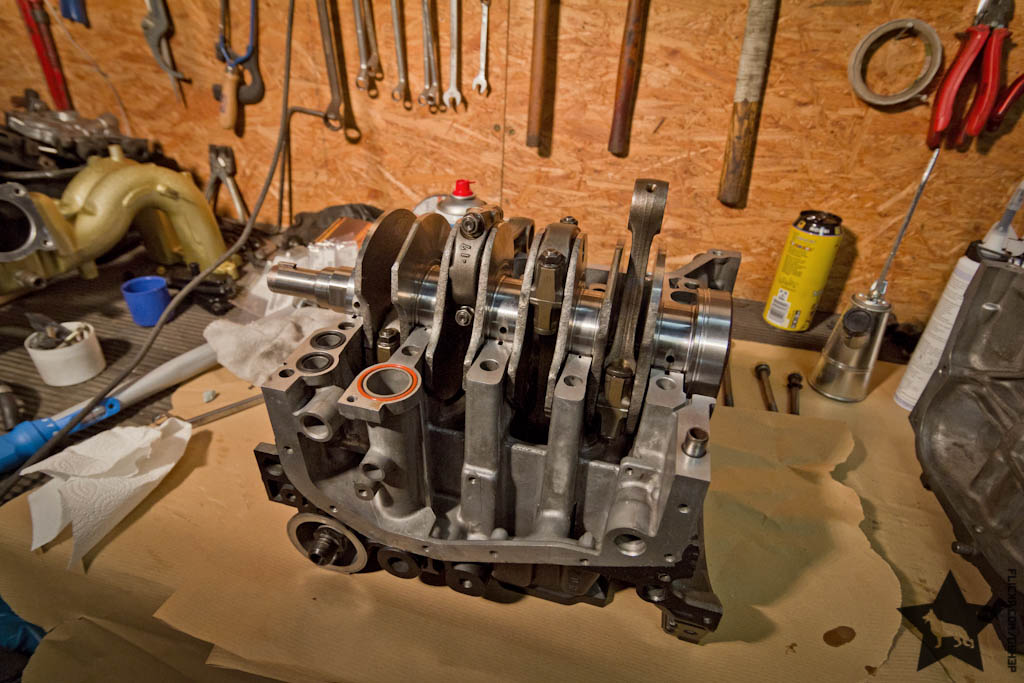
Took apart the block then and found more broken things.


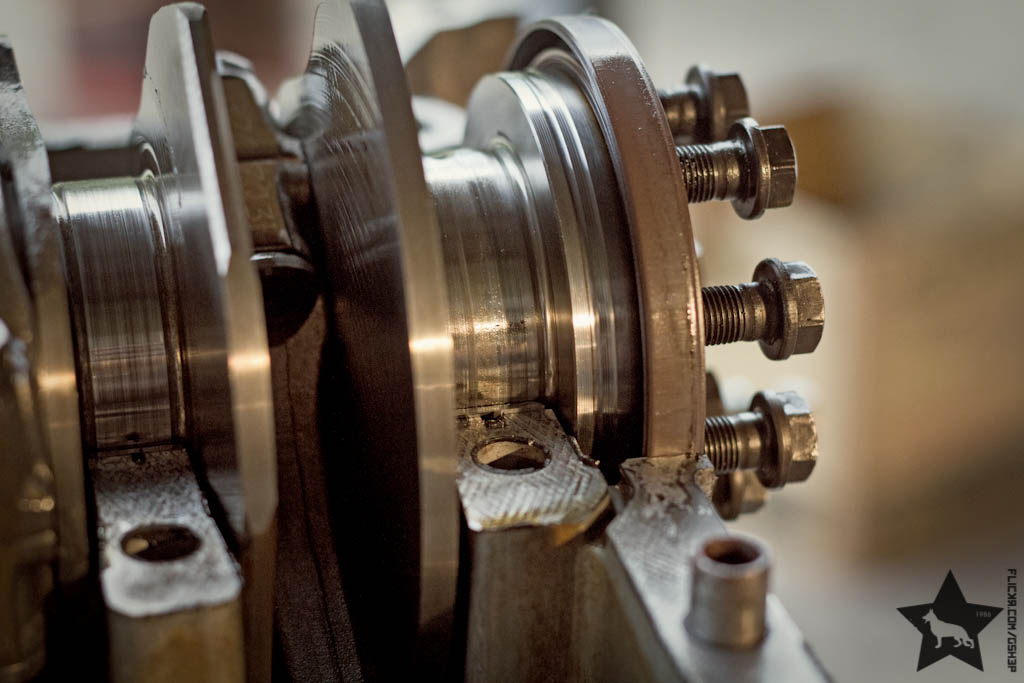
Broken piston was pretty broken.


Rods looked good, but the bearings were dead too... at least they didn't spin.


My guess now is that after the injector broke, the piston melted till the rings couldn't take the heat anymore and broke.
Seller said he suddenly heard a loud bang coming from the engine and it then started to run bad...
So what do you do then? Right! You drive your car home.
I guess that's when the spark plug got plugged up with oil coal and all the unburned petrol got pushed into the inside of the engine thinning down the oil till until all the main and rod bearings got fucked up.
I'm quite surprised the cylinder heads and camshafts survived this.
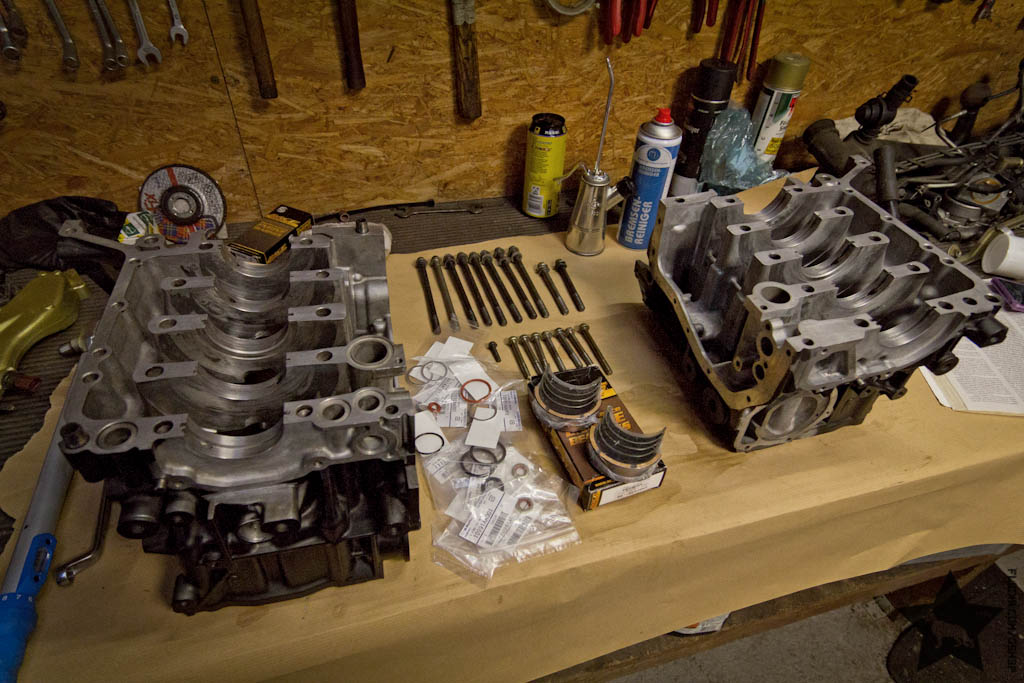
With everything taken apart I dropped the block, crankshaftand rods off at my most trusted machine shop so they could see if everything still could be fixed.

Machine shop confirmed that everything's fixable. 1. oversize for the pistons and 1. undersize for the crank.
Since then I ran into quite some trouble sourcing the right pistons for this engine. Turned out they are NLA at Subaru Japan, so I had to spend some more time trying to find pistons from a different engine that would fit into mine.
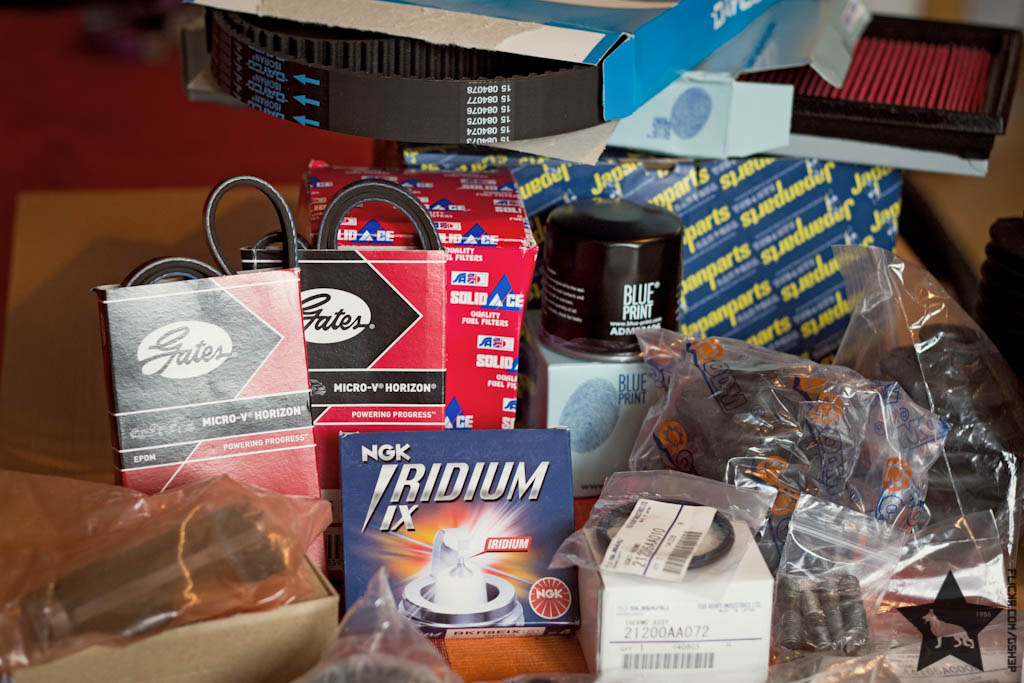
After two months I finally received a package from Japan last week with the pistons, so there soon should be an update with some more progress.
Can't wait to have it back running and driving, so I can get to the real fun part: Wheels and suspension.
So this year I came across an ad for a 98 Legacy GT-B Limited with a broken engine.
White, direct import from Japan to Germany, german registration and bone stock and it even was located almost around the corner (2h drive).
Had a look at it, engine did run but wiggled like J-Lo's ass, body was in a really mint condition, no sign of rust, dents etc.
The seller just didn't want it anymore, he already had the second engine in it as a valve ripped off on the first engine, so the price was damn cheap.
Next day I picked it up.
Just a few days later I got right to work.
The reason why the engine shook pretty hard was that one of the cylinders didn't want to play anymore.
Aside of the shaking, the EJ20R did sound all normal, but blew blue smoke out of the back. We figured that that one of the piston rings might be broken, so first things first, I checked the cylinders with the endoscope.
Wouldn't have needed to get the endoscope out though.
After a proper clean the engine probably would've run normal again...
...but that wouldn't have fixed the problem.
So I pulled the engine out.
Engine stand is supposed to hold twice the weight... yeah of course.
Piece for piece coming off.
Hone was still looking pretty good.
Not on cylinder 2 though...
Less oil coal on the piston on cylinder 2... suspicious.
Whoops. Melted piston.
Looks like the injector malfunctioned and caused the cylinder to overheat and from that point everything just went shit.
More parts coming off...
Heads looking pretty mint as well.
Cylinder one and three looked good as well.
My brother and I then measured the cylinders with the three point micrometer and afterwards with the two point micrometer to see if the cylinders are still within the clearances.
They weren't, which pretty much killed the idea to throw in one new piston and new piston rings for all cylinders.
Took apart the block then and found more broken things.
Broken piston was pretty broken.
Rods looked good, but the bearings were dead too... at least they didn't spin.
My guess now is that after the injector broke, the piston melted till the rings couldn't take the heat anymore and broke.
Seller said he suddenly heard a loud bang coming from the engine and it then started to run bad...
So what do you do then? Right! You drive your car home.
I guess that's when the spark plug got plugged up with oil coal and all the unburned petrol got pushed into the inside of the engine thinning down the oil till until all the main and rod bearings got fucked up.
I'm quite surprised the cylinder heads and camshafts survived this.
With everything taken apart I dropped the block, crankshaftand rods off at my most trusted machine shop so they could see if everything still could be fixed.
Machine shop confirmed that everything's fixable. 1. oversize for the pistons and 1. undersize for the crank.
Since then I ran into quite some trouble sourcing the right pistons for this engine. Turned out they are NLA at Subaru Japan, so I had to spend some more time trying to find pistons from a different engine that would fit into mine.
After two months I finally received a package from Japan last week with the pistons, so there soon should be an update with some more progress.
Can't wait to have it back running and driving, so I can get to the real fun part: Wheels and suspension.


Comment