Announcement

Collapse
No announcement yet.

Z32 project, "six month build"

Collapse
X
 
  • Filter
  • Time
  • Show
Clear All
new posts

  • Z32 project, "six month build"

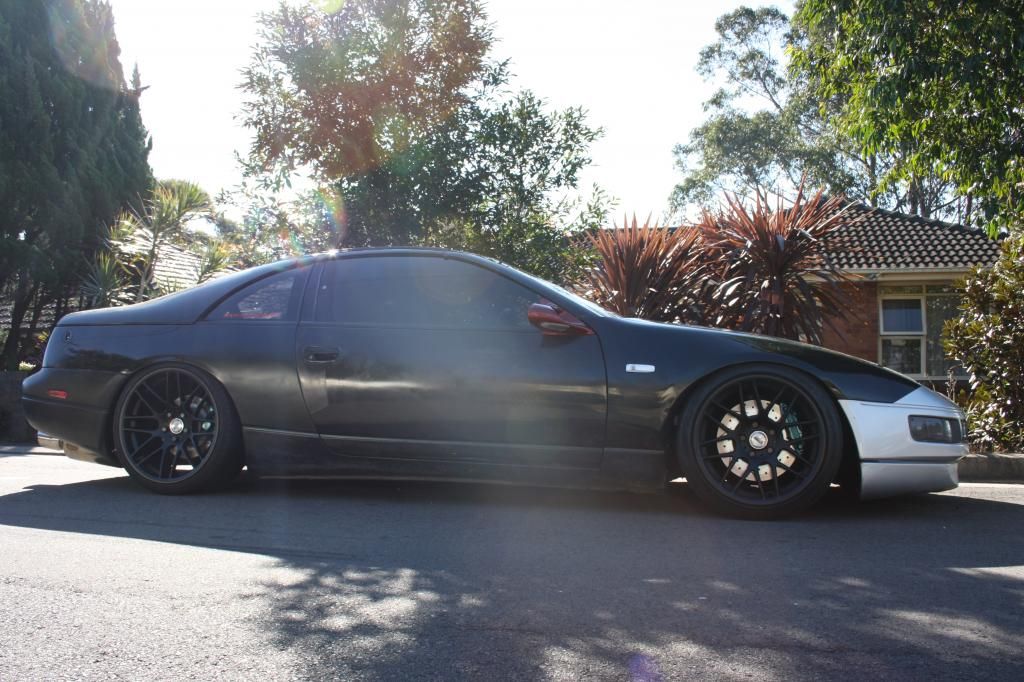
    hi. i'm Anti. i'm a 23 year old living in Sydney, Australia. for the last 36 months or so I've been working on my project car, a j-spec 1989 twin turbo 2+2 manual 300ZX originally in black. it's my second z32 after a 2+0 red NA, and the first time I've really worked on a car. since this build has been going on for a while i'll run through some condensed bits from the last few years before getting up to the present.

    i received this car in pretty awful condition, the only selling point being a motor that'd just gone in with all new seals, gaskets, 100k service, etc. the rest of it was a shagged out heap of scrapyard shit. unregistered, leaking, blistering partially primed paint, red vinyl interior, china spec wheels, neons, the lot.

    the goals for the car at first were KISS - bolt ons, pretty it up, paint and enjoy.

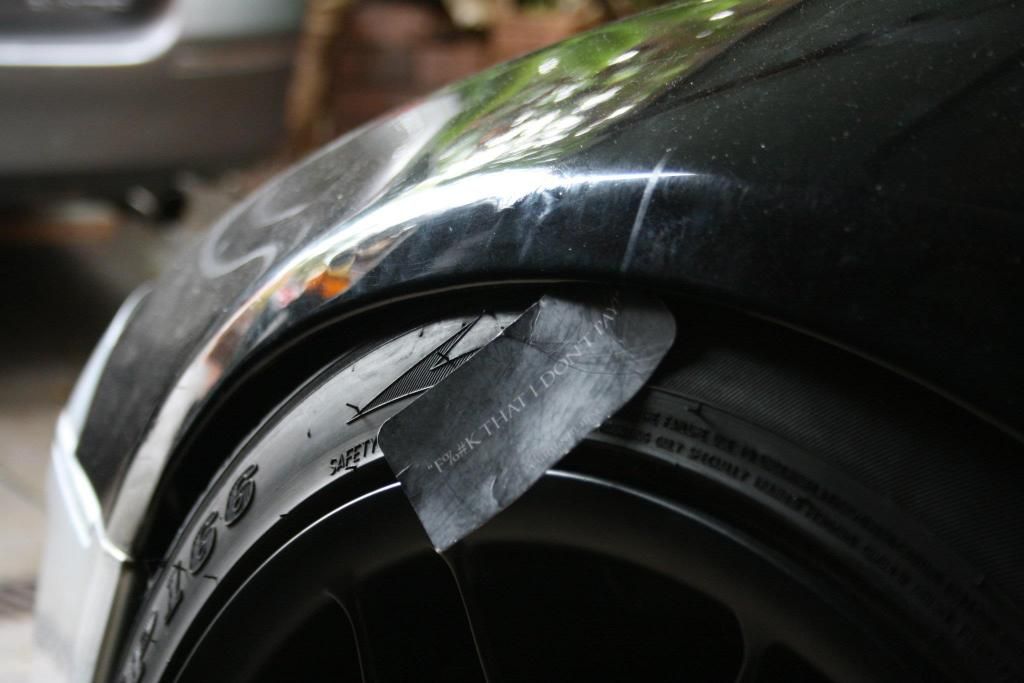
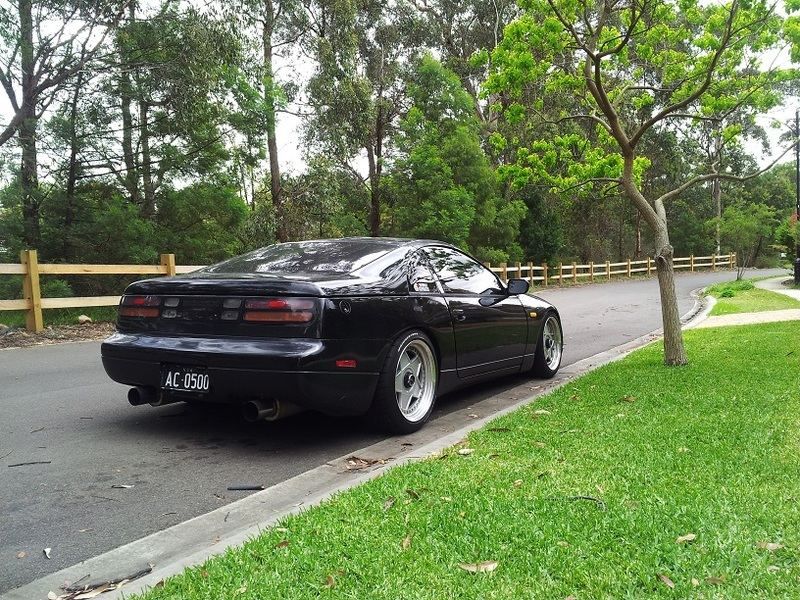
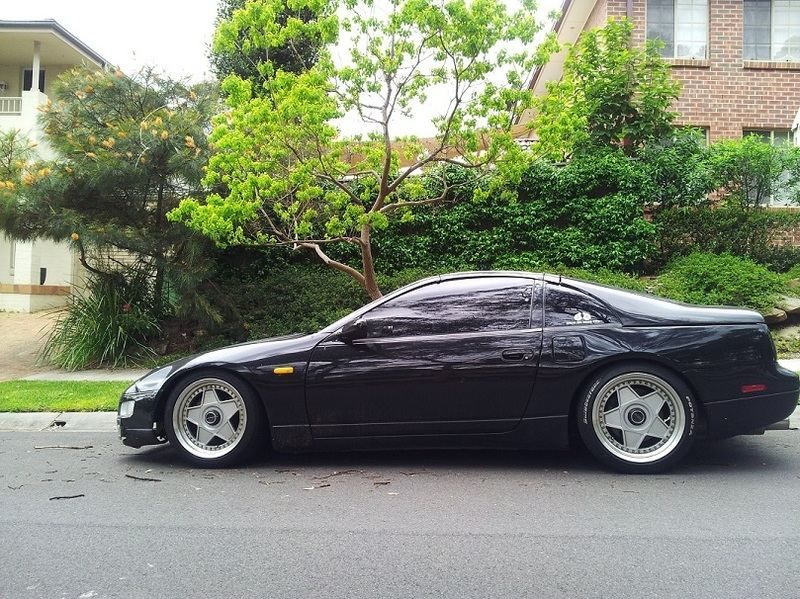
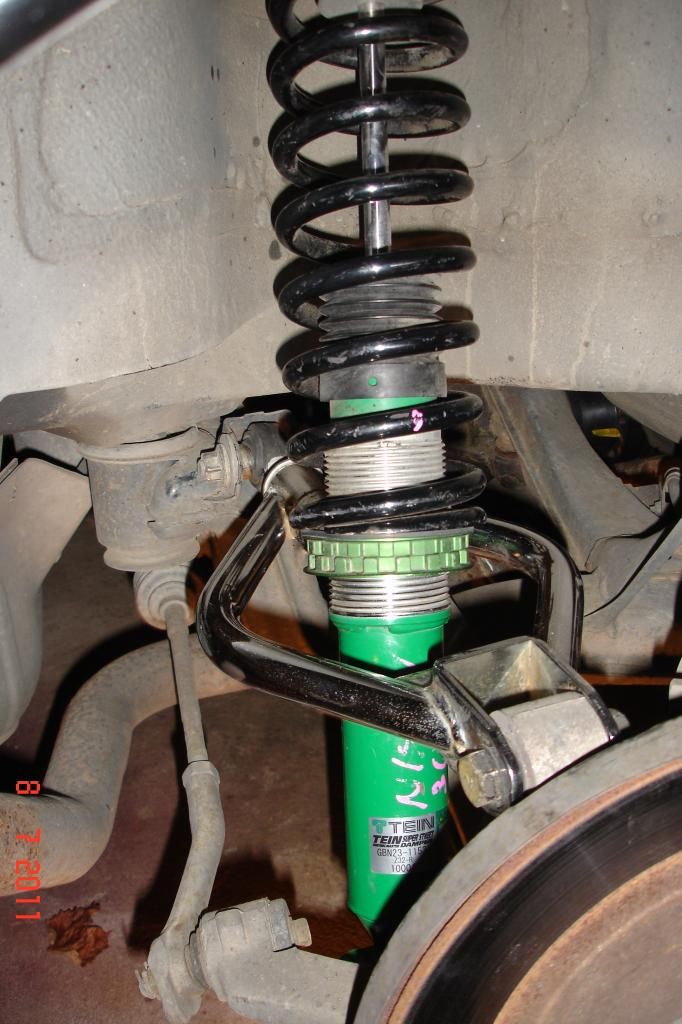
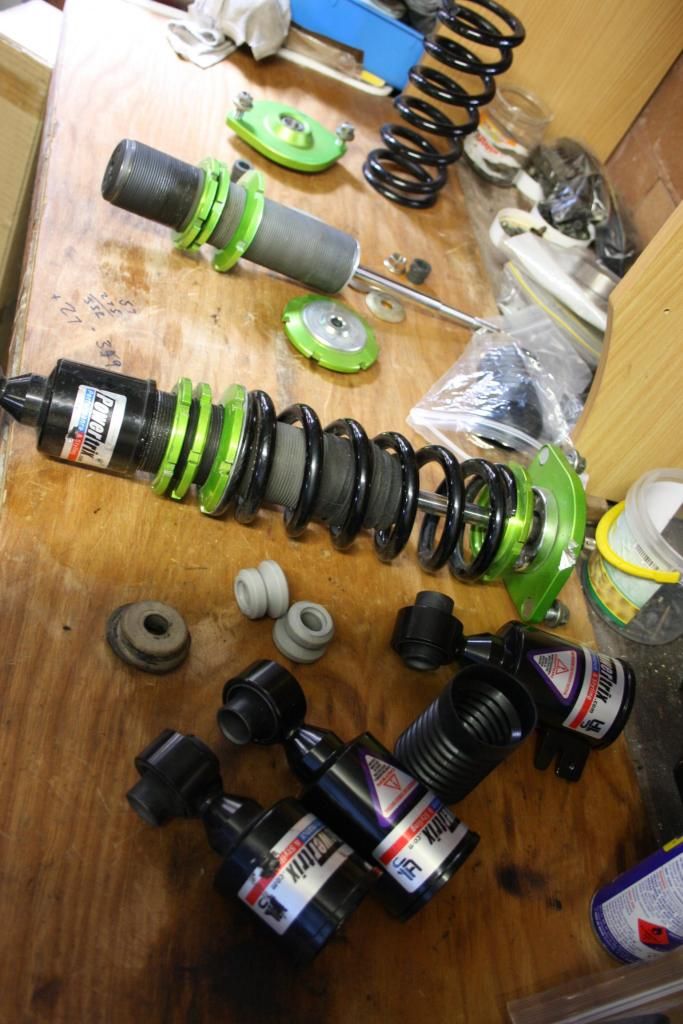
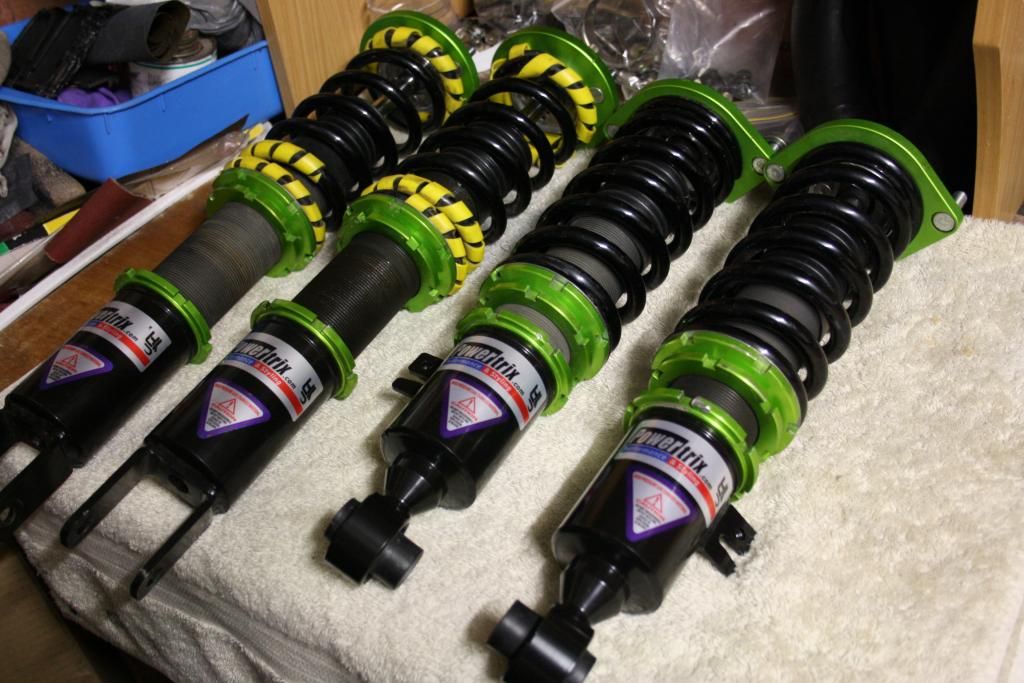
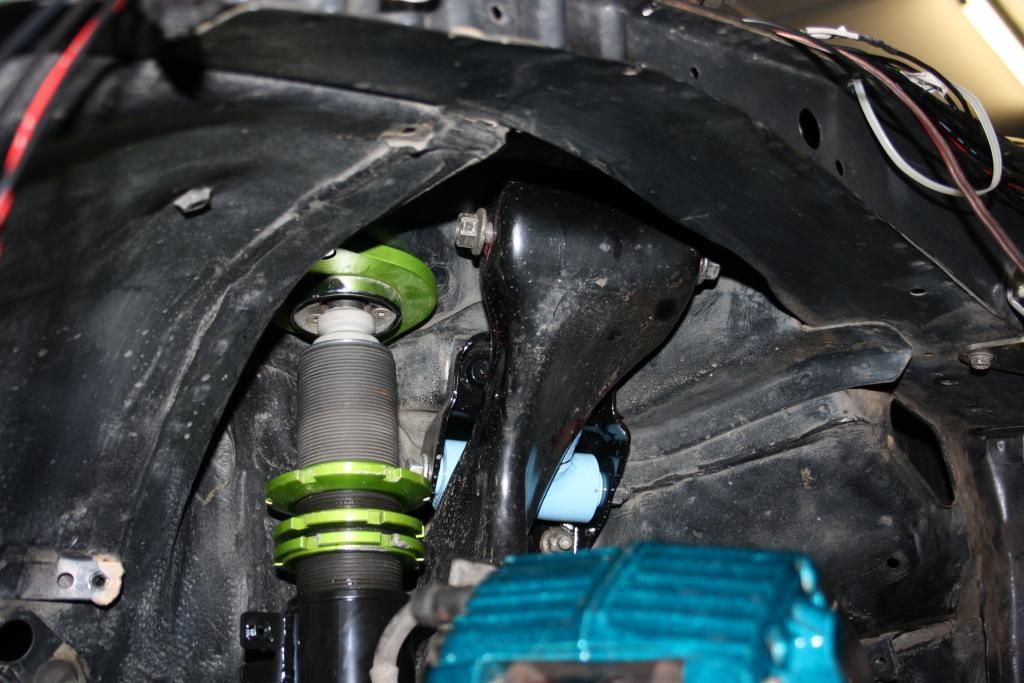
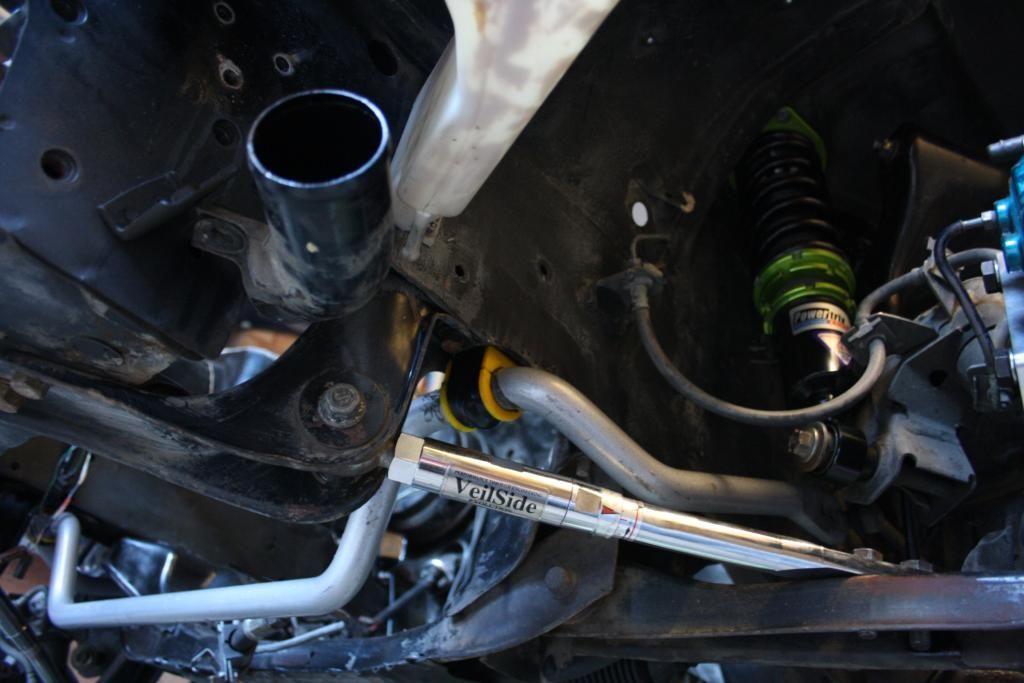
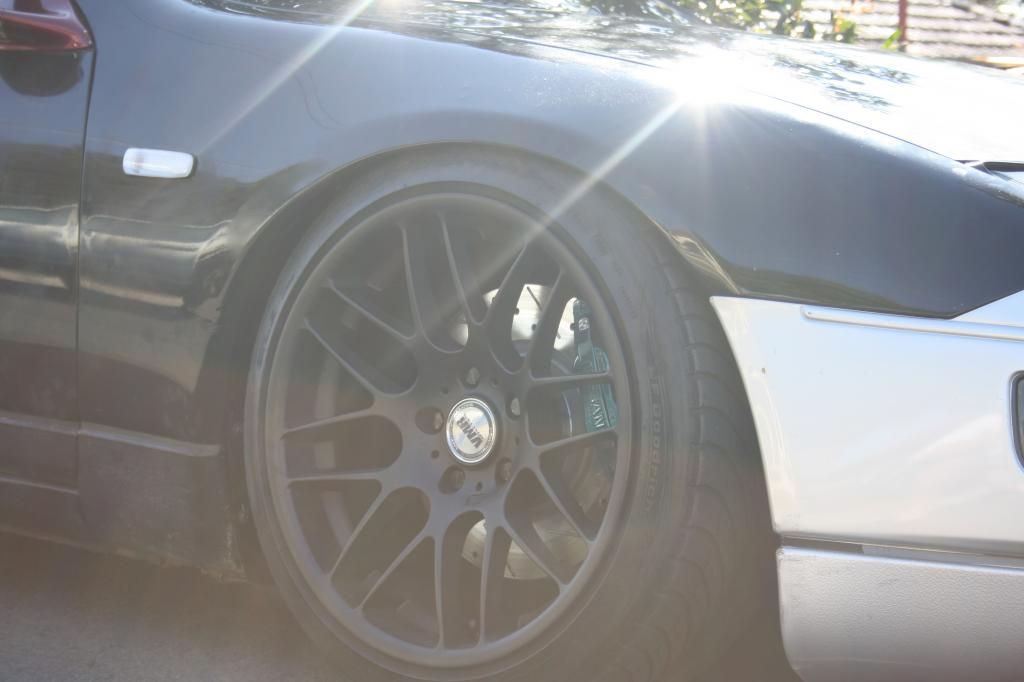
    a quick run down of the car while the plan was in motion currently is as follows. adjustable suspension, dumped and pretty flush, fully up to scratch engine with brand new high flowed OEM turbos, OEM recaros and gauges/sound system, wire tucked engine bay, bigger brakes, clutch and steel driveshaft, etc etc. then about two years in... everything changed! more on that later. in the time i've owned the car I've done approximately 3000 kilometers in it as it's been total project car status.

    it's still not finished, and never reached the point of paint as it was always the intention to do that last. i find it hard to put into text what has gone into this vehicle on my behalf - more than just money for parts and time for fitting them. all work done was in my parents' garage, with skills I developed while realising what i was doing at the time. i have invested everything into this car; not only all my money and hundreds maybe thousands (yes) of hours of my time, but my future and my passion. excitedly, the best has still yet to come. the thread starts when I got the car, not knowing which way to swing a ratchet.

    to catch up i'll summarise different aspects into a post each. i guess I'll start with the body
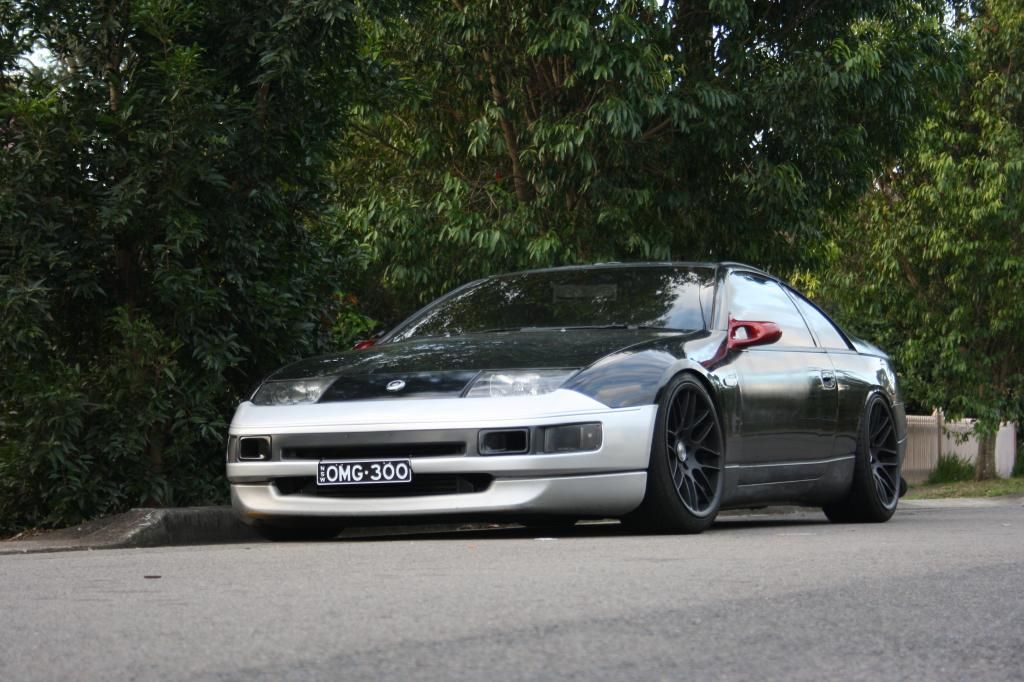
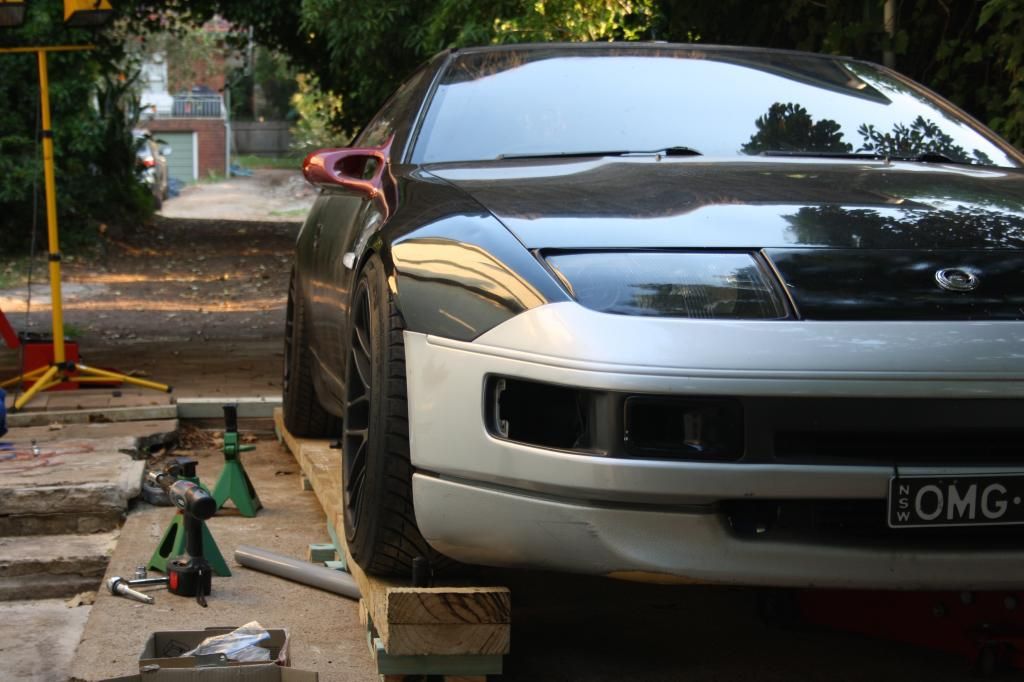
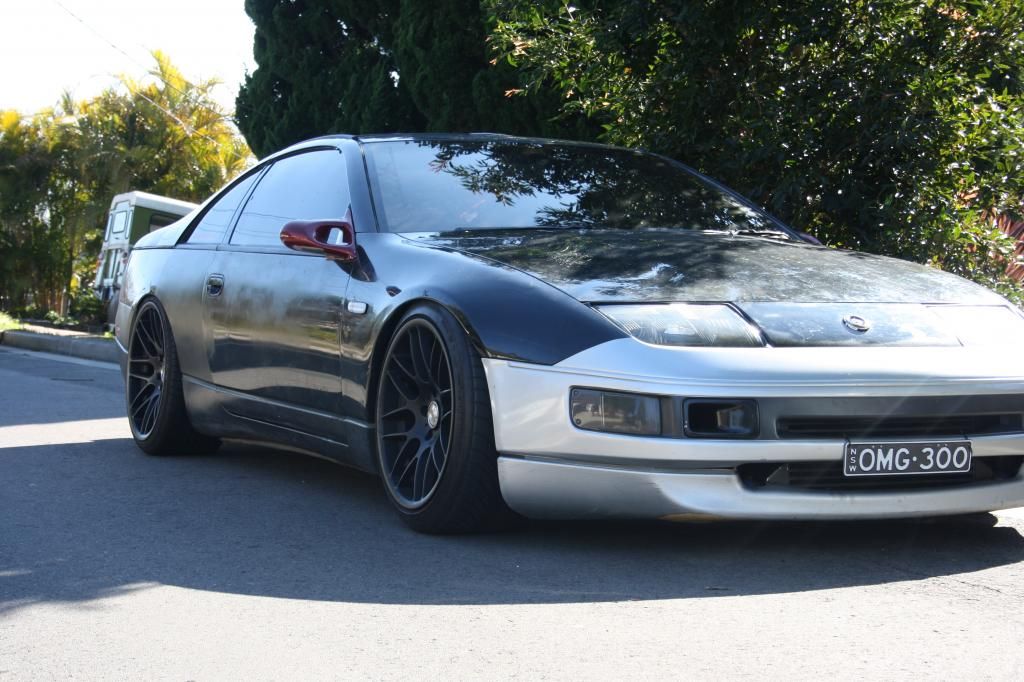
    - ADM NA front bar
    - ADM front dummy lights (modified, now functional)
    - Fog light ducts
    - Series 1 badgeless nose panel
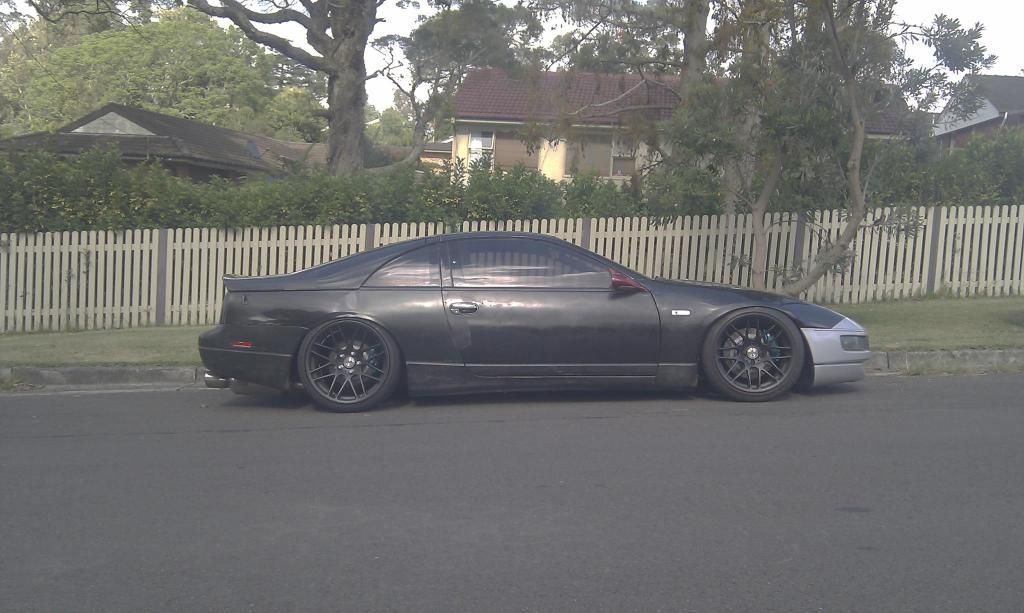
    - Escort Racing FRP vented bonnet
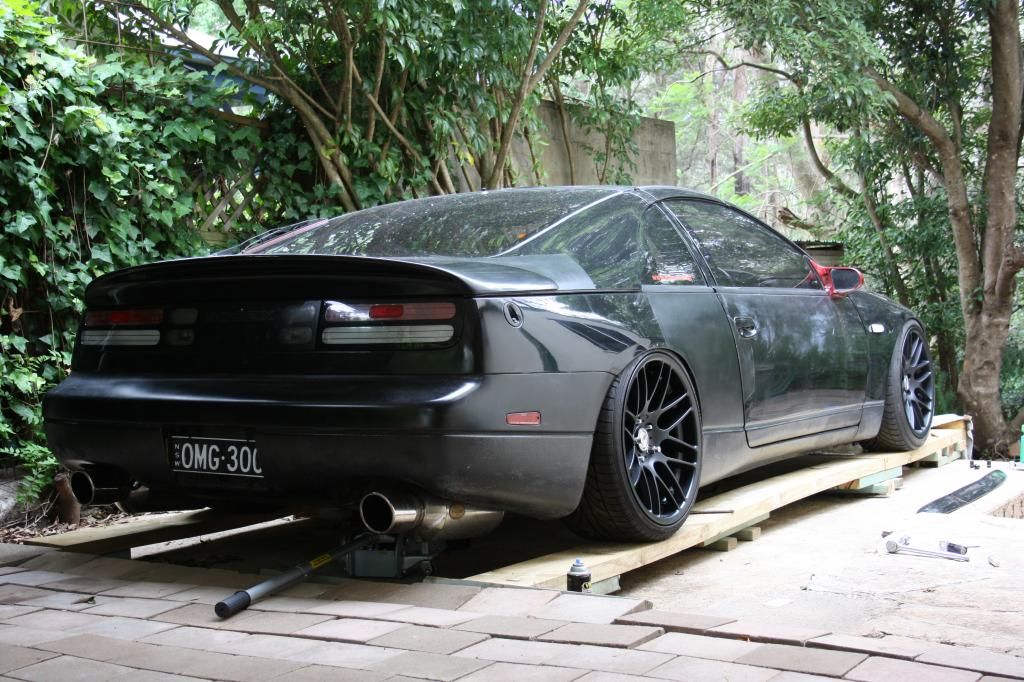
    - Ganador wing mirrors
    - Driven Authority CSL-R lip wing
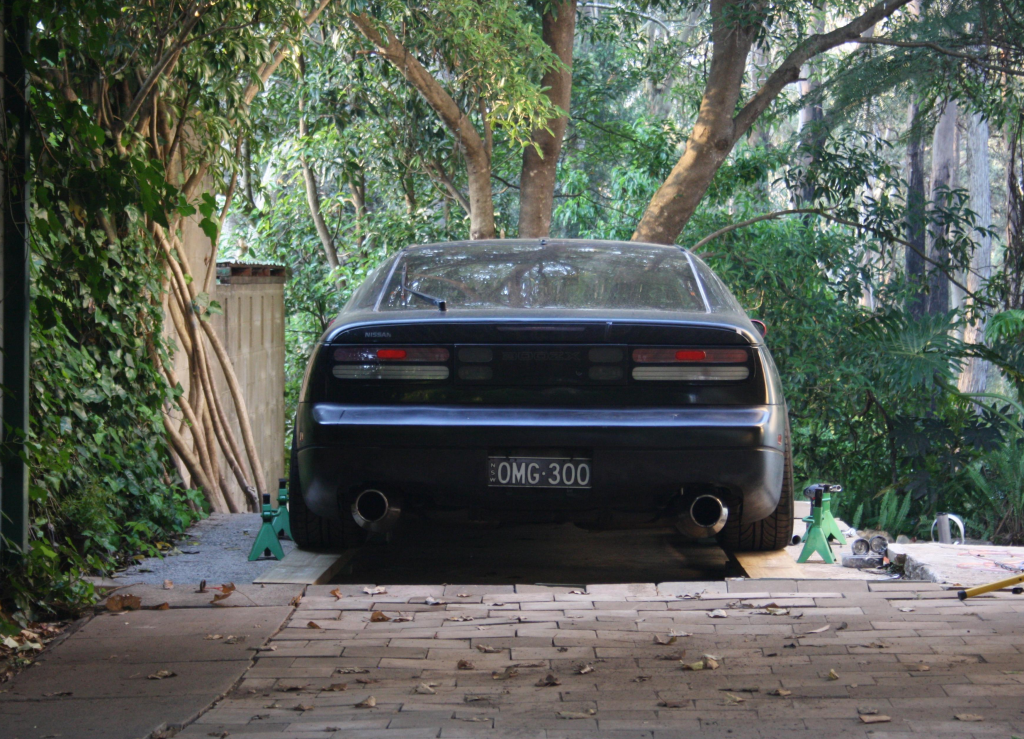
    - 2K spec tail lights
    - Altai center panel (modified, lights up red)
    - 35% tint


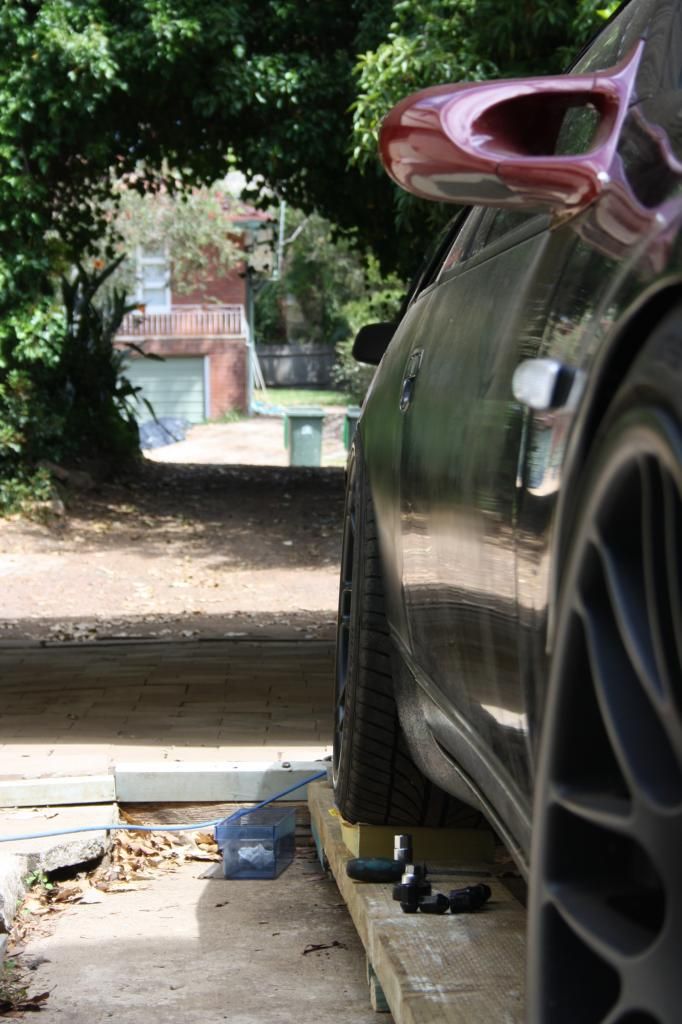
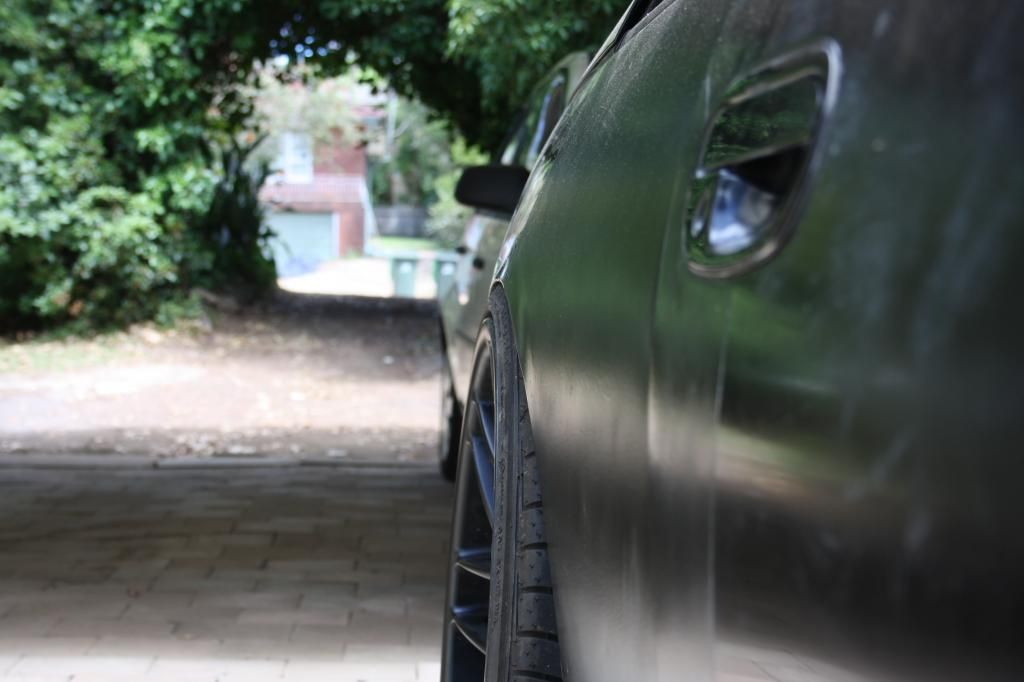
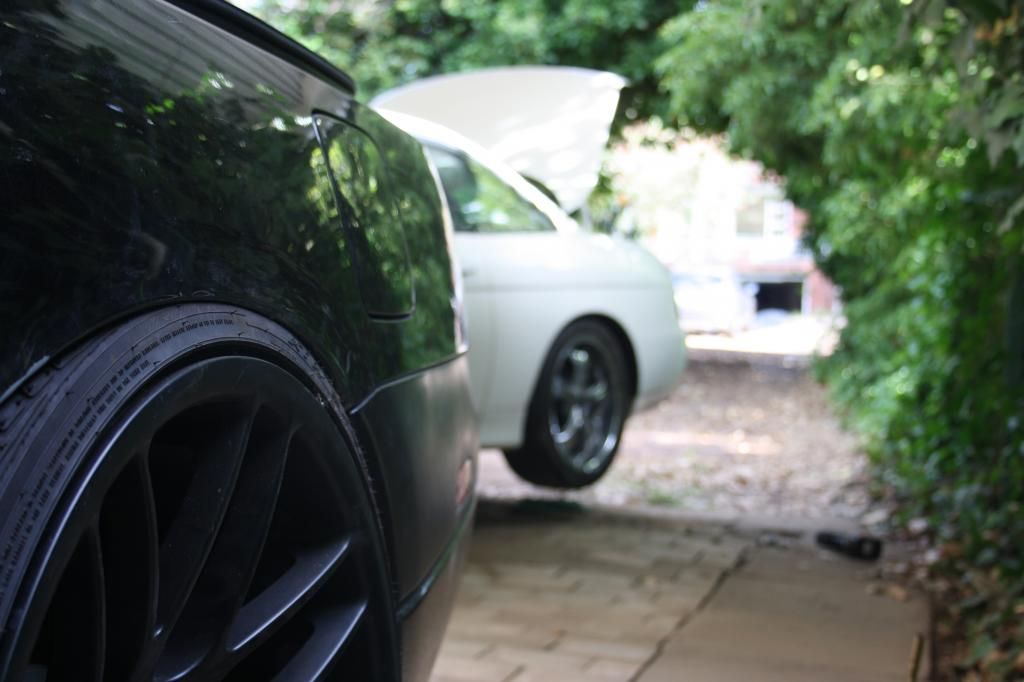
    recentish photo before going back into the garage for the long term


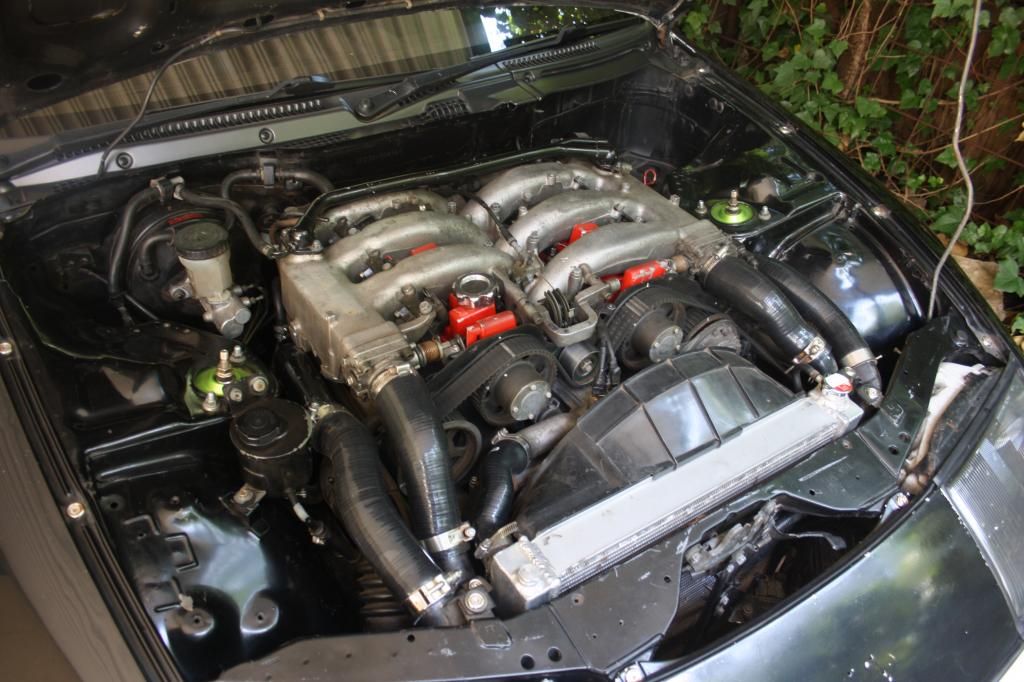
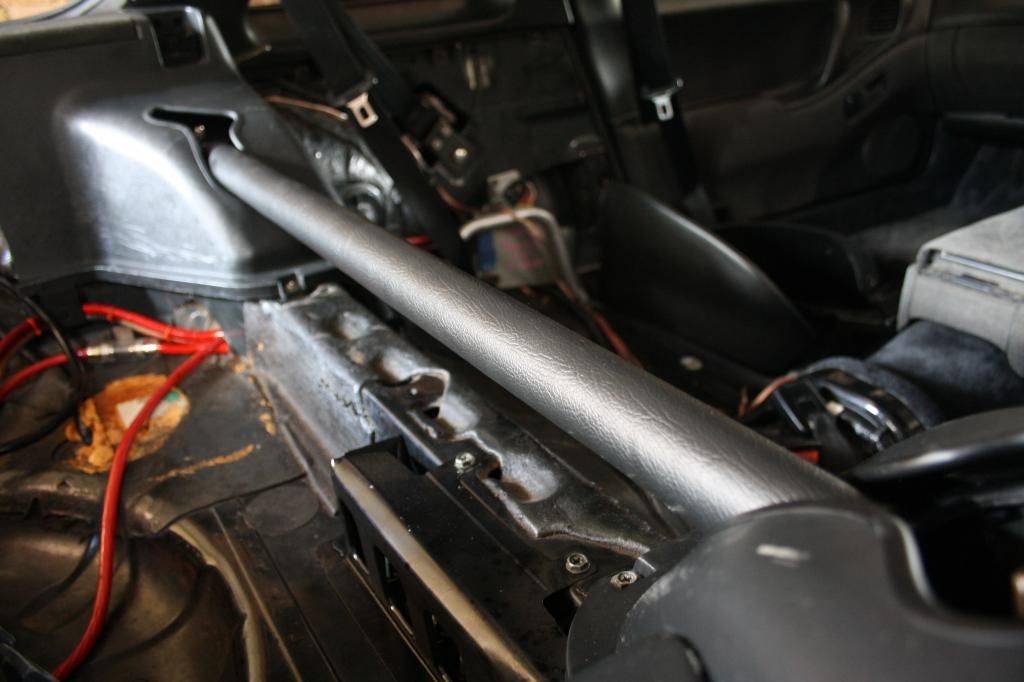
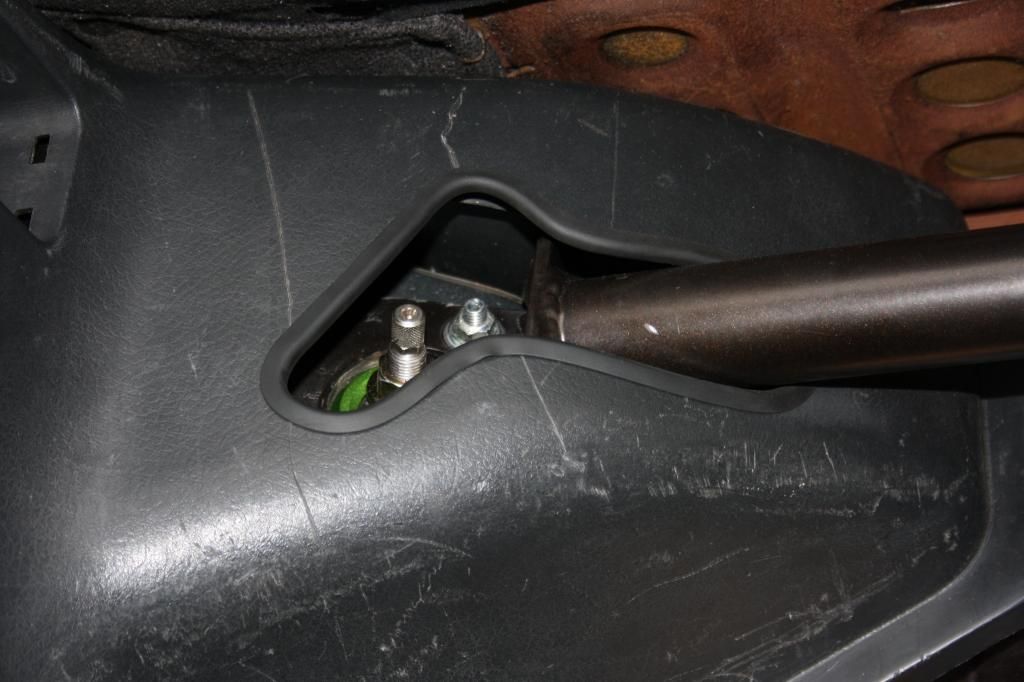
    below is as far as I got with the bay while I had the original engine. wiring tucked, battery in the boot, fuel filter rear mounted, HICAS deleted, etc etc. for a while, the plan was to pretty this up, get a tune, paint the shell and enjoy motoring.


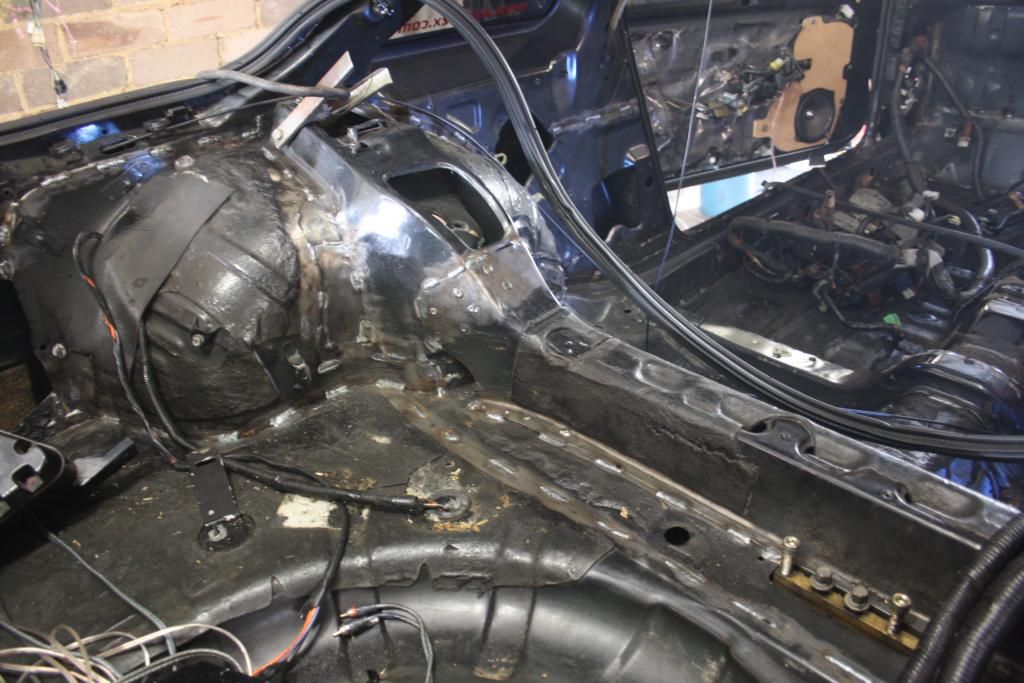
    Then the motor then unexpectedly blew on the dyno and that massively changed the direction of the build. back into the garage, the following has occurred and/or is currently occurring

    - total rewire
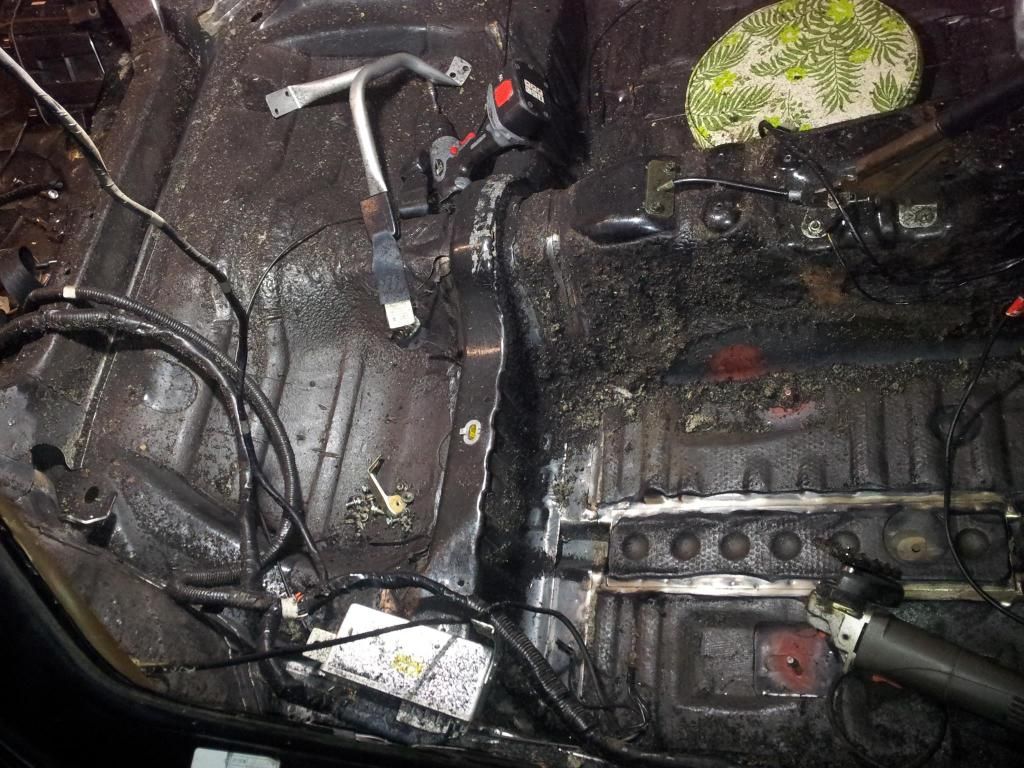
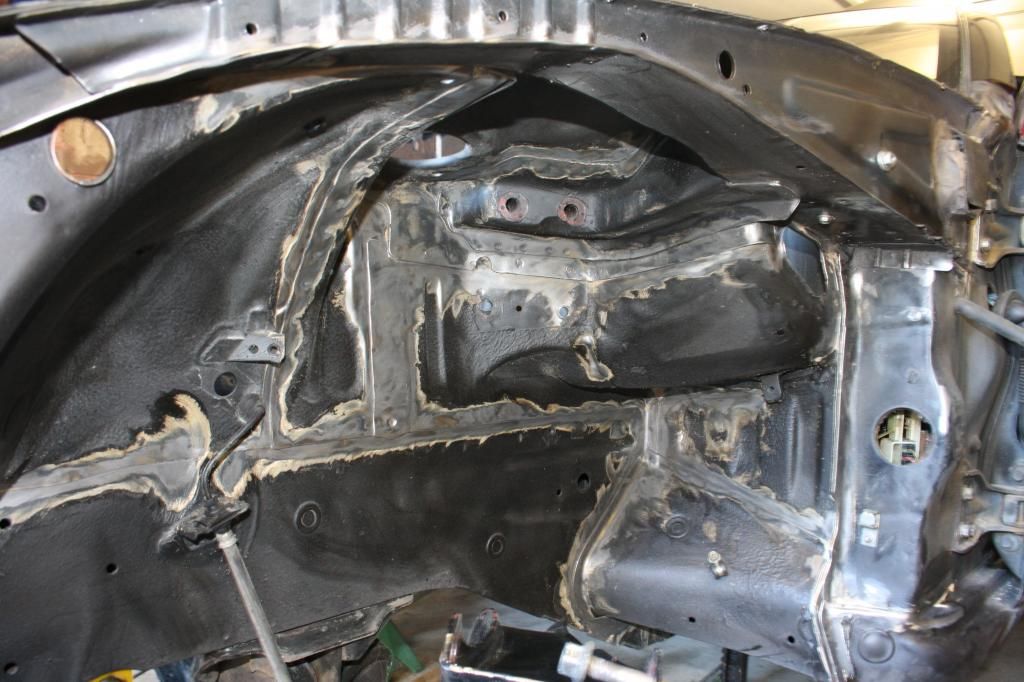
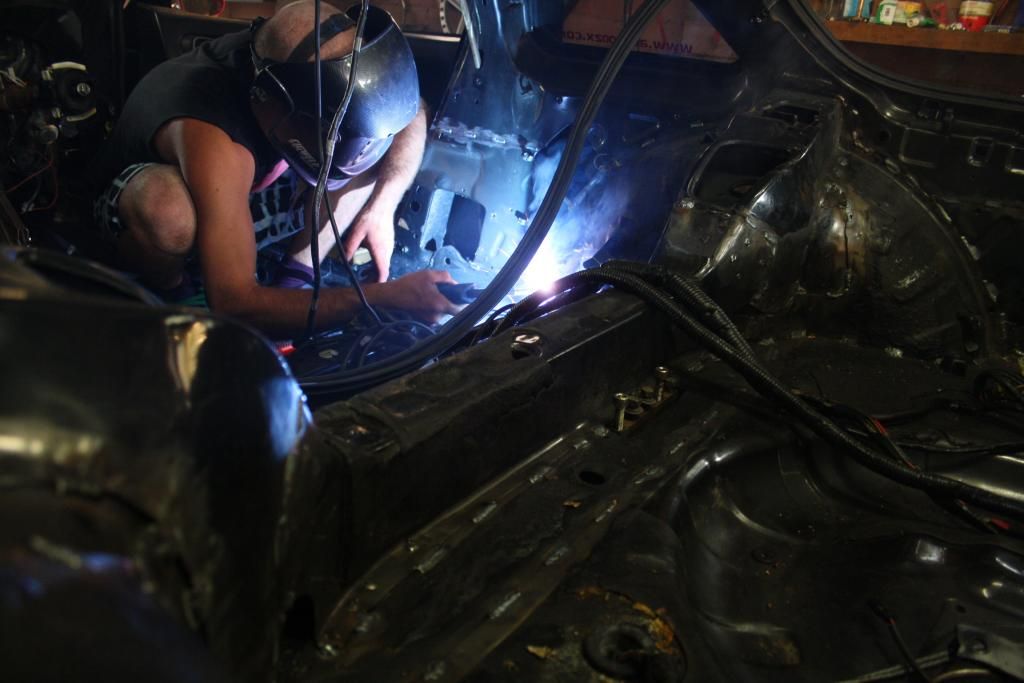
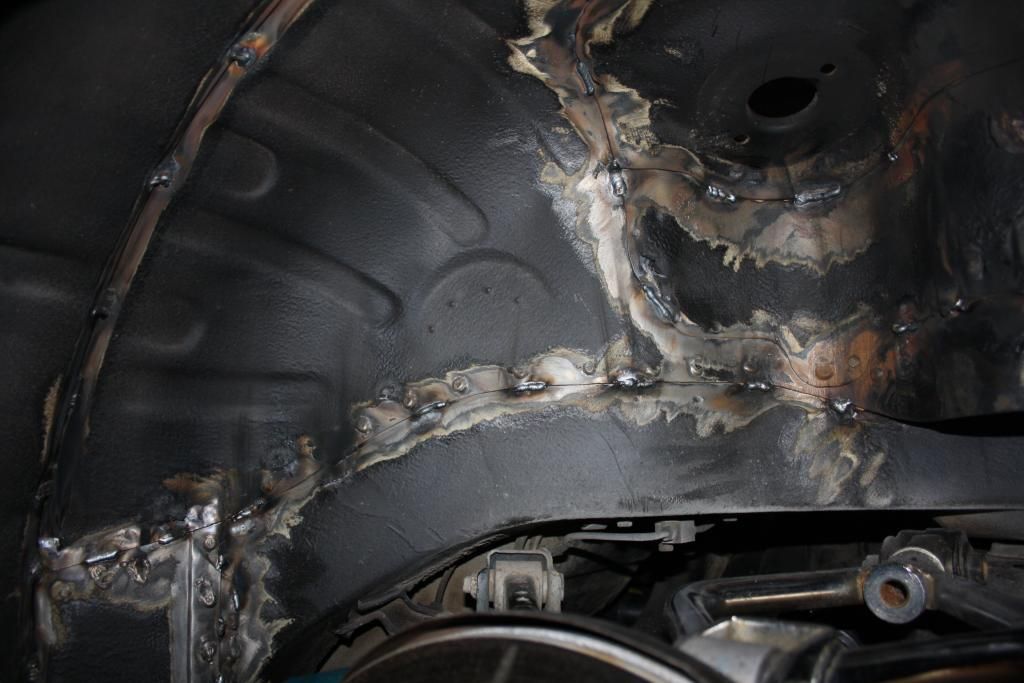
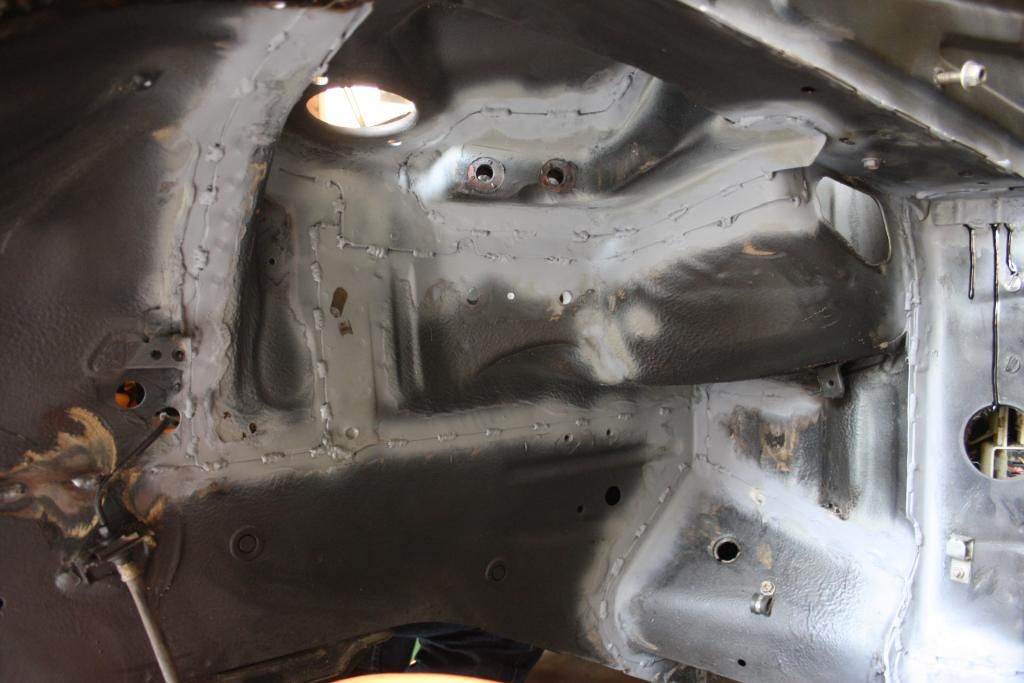
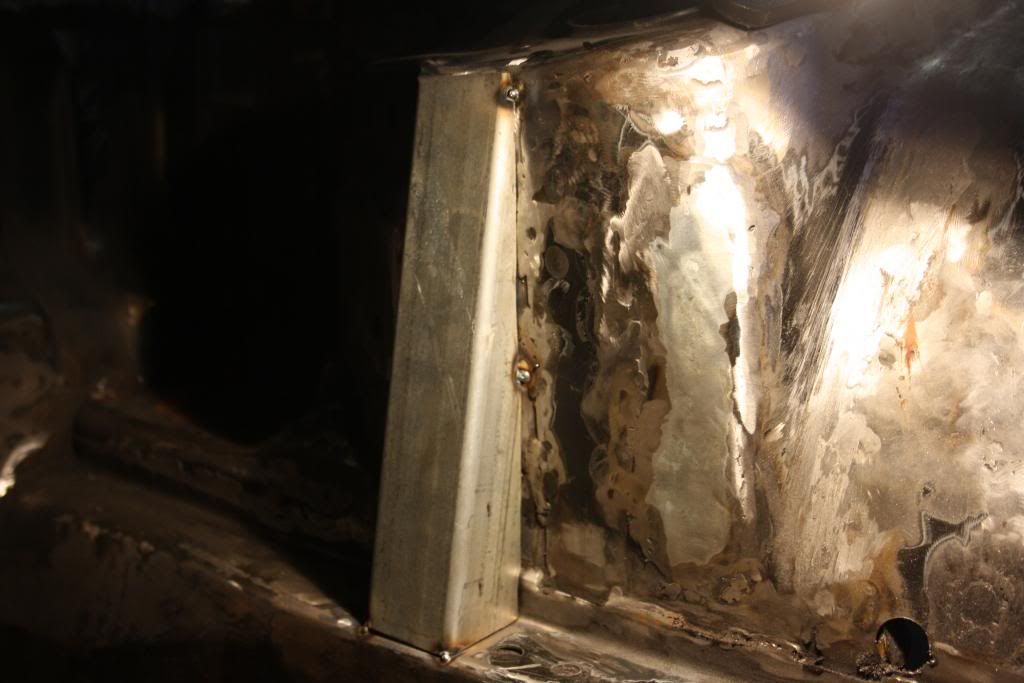
    - stitch welded chassis
    - complete bay shave
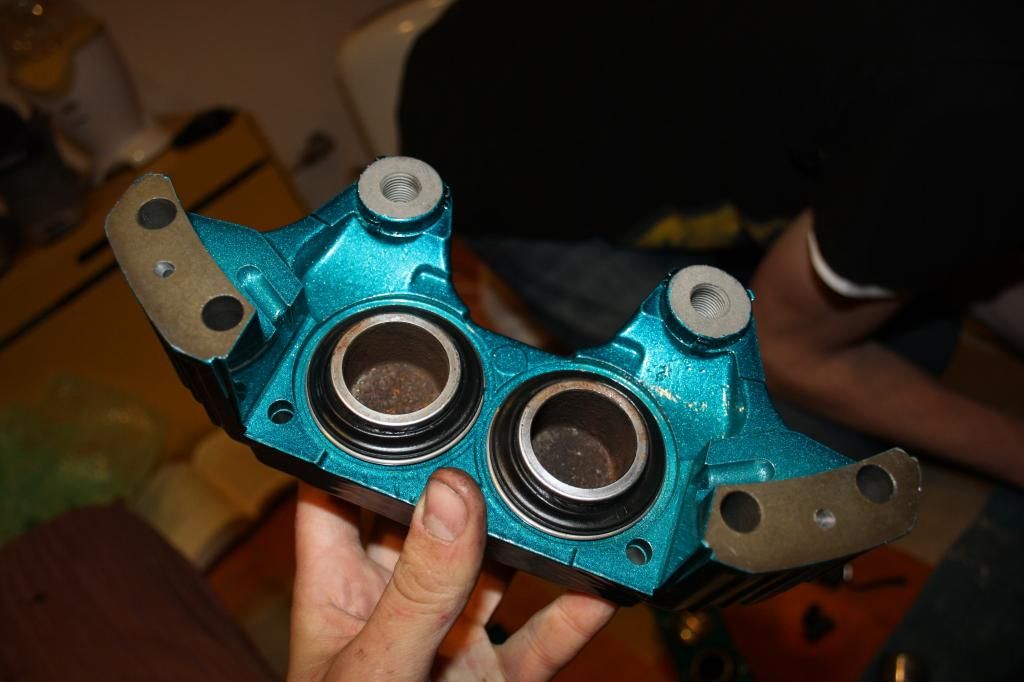
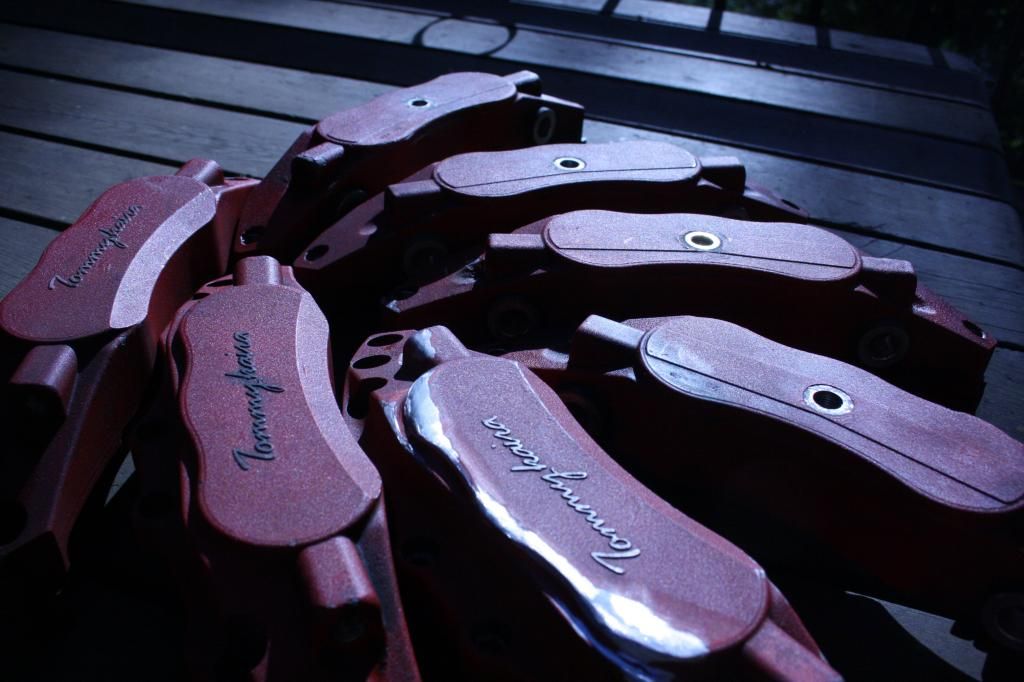
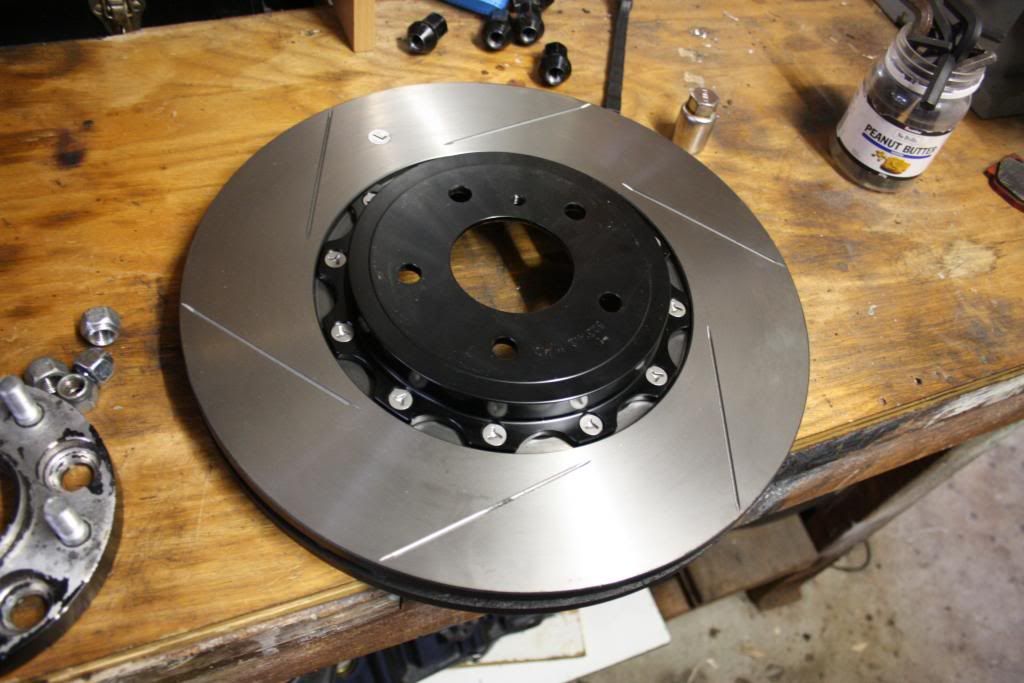
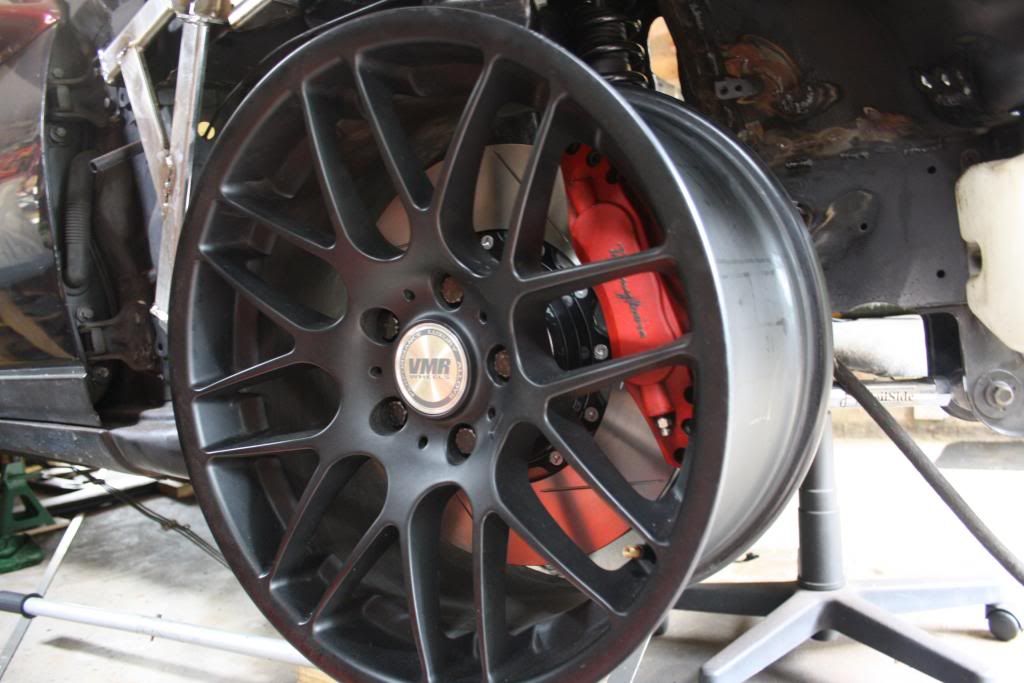
    - 6 piston / 14" rotors on all corners
    - old school work wheel rebarreling project
    - fully built top to bottom vg30dett
    - compound turbo set up

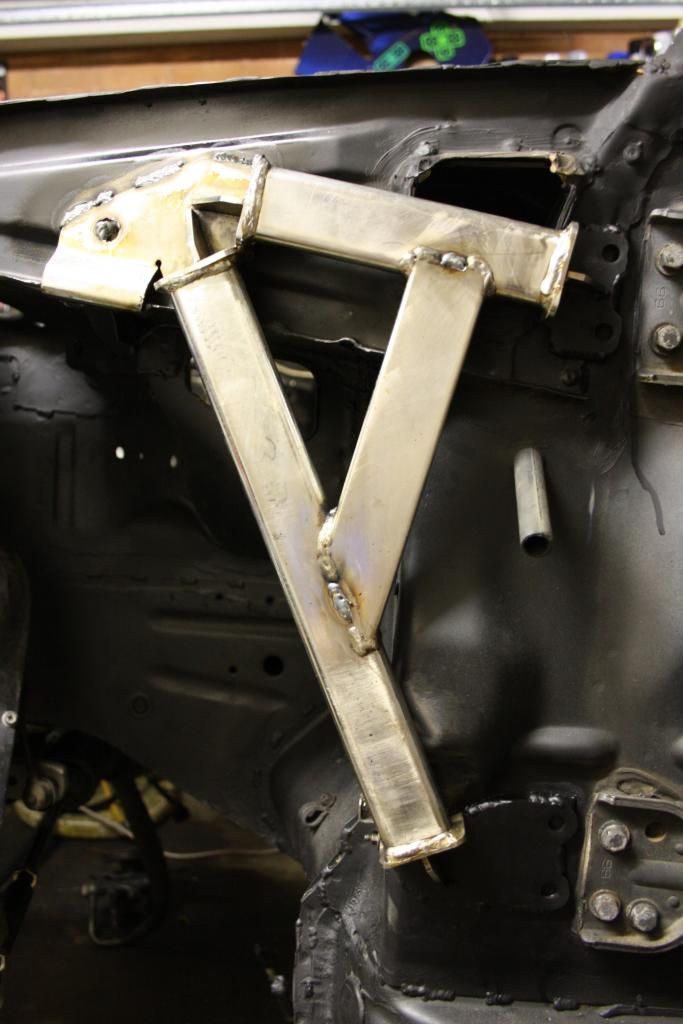
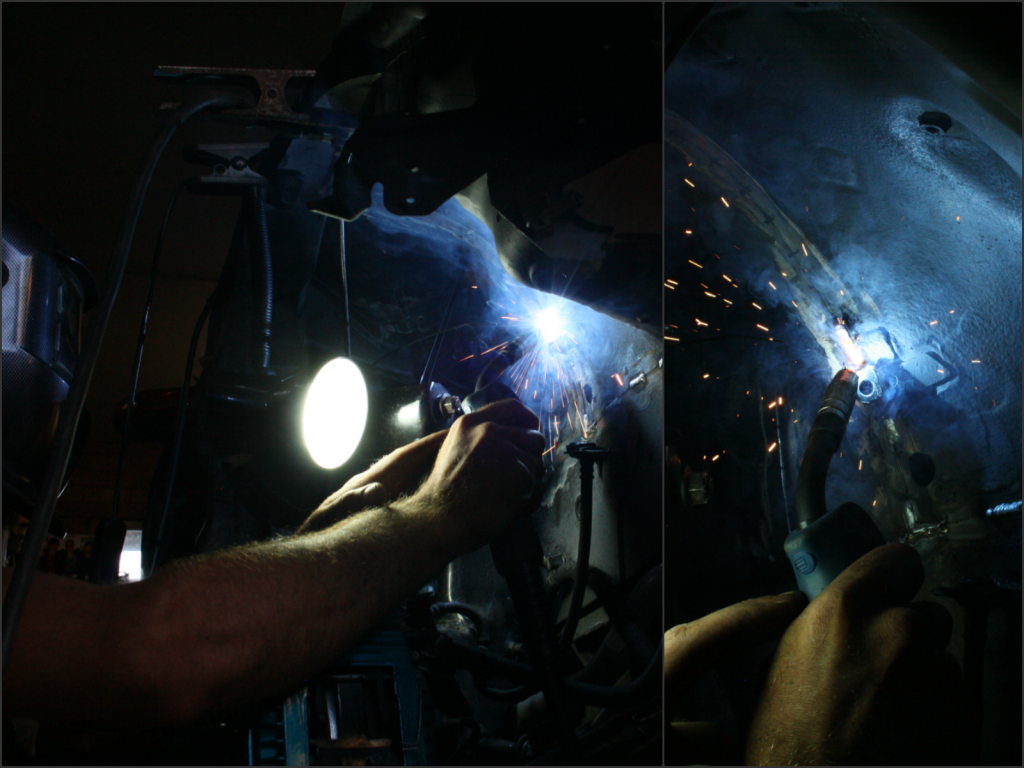
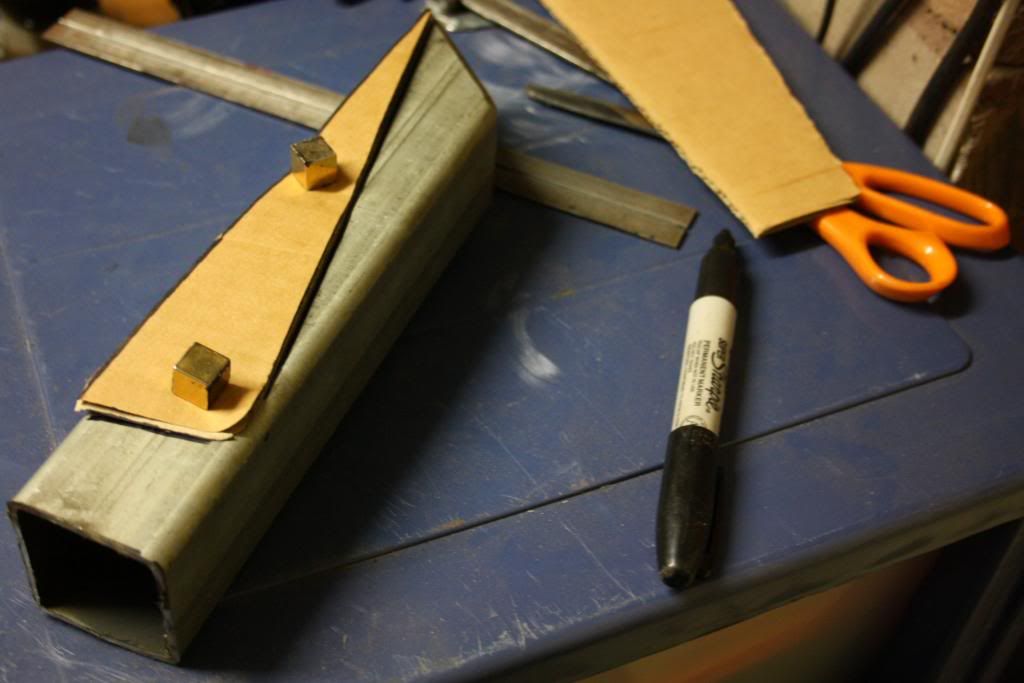
    - welding and fab work (i'm learning so baby steps!)

    with plenty more coming... kind of got away from me tbh

    more on that later. be back soon to fill you guys in more.

    -A
    Last edited by anti.engineered; 07-21-2015, 09:09 PM.

  • #2
    lol yeah 6 months

    good luck getting running solid, has all the potential

    Comment


    • #3
      you know how it is. doesn't bother me because it's not like the basic plan I had wasn't completed in six months, the plan simply expanded

      bit about the current wheel set up. they are VMR VB3's that I fell in love with after seeing them in a speedhunters feature. i enquired about having a set sent over to me be in Sydney to the tune of $510. conveniently, my parents were planning a trip to the west coast a few months later. so I organised to shoot over to Anaheim and ended up picking up the rims in person. i packed each of the four wheels into suit cases, one each surrounded by clothing and got them home for free. winning!

      to run them (they're 5x120) I had some bolt on spacers made up by Adaptec, whom I just learned is a forum sponsor. The first set were 15mm and 18mm, but I later moved the 18mm pair to the front and fitted a 28mm pair to the rear.


      bringing the final numbers to

      235/40/18 x 9.5 +4
      265/30/19 x 10 +10


      i rolled the guards, modified the front and rear bumper tabs and slightly pulled the rears. I need to pull the rears more as with the new spacers I'm running waaaaaay too much rear camber still.


      This was during the some of the unfinished fender work, and still rubbing. i added all the camber later to get the car drive able. i have put days upon days into making tiny suspension tweaks, fender pulls, jacking the car, dropping it again... it's just endless


      that day we put a set of PBM coilovers into my buddys' late model jzz30 - factory manual vvt-i one of 150. at the moment I need to do some widening to get the camber down, traction is required here.


      the front fit was much less problematic than the rear but I'm still not happy with it. staggering means it's a PITA to get even close tyre gap without raking the car which I'm not keen on. I sold the 235/40 fronts and have picked up a pair of 225/35s which haven't been fitted yet in order to help remedy this. we'll see. i wouldn't go staggered again.


      here's next on the list wheel wise. scrounged together a full set of Modena faces with varying size/condition lip and barrels and binned the latter as half as they were bent to the shit house from a hard life of drifting. the faces will be bolted to some custom double stepped lips and barrels, bringing them to 18". closer to the time i'll be measuring it up properly but something in the realm of 11" front and 12" rear sounds right to me.

      this will be a while off though - $2k + to carry this out would be better spent on paint first

      -A
      Last edited by anti.engineered; 09-22-2014, 01:32 AM.

      Comment


      • #4
        damn.. i love this nissan model.. good work so far..

        Comment


        • #5
          Mmmm, I love those Modena's. Not sure how they will work with the Z32 shape, but it's worth a shot.


          I/G: DeltaAlpha9

          Comment


          • #6
            I love z32's. This is going to be good.
            on instagram straight flexin'

            Comment


            • #7
              I love Z32s so very much and yours is shaping up to be a wicked build. I demand more.

              Comment


              • #8
                thanks guys, the kind words are not falling on deaf ears.

                regarding the modenas, back in the noughties they used to be so common on the Z32 chassis that many people (myself included) thought they were a dealer option. as far as I know no one has actually done them properly and stepped them up to 18s (minimum for such a big coupe IMO) and widened them up. so there're plenty of photo examples but they're all pretty average.

                my personal favourite is this one also from sydney, but it might just because the car had a massively bad ass set up under the hood haha. still 17s.


                where do we stand on sidewall writing? kinda works for me...

                Comment


                • #9
                  okay so here's the suspension set up for the car. trial, error, frugality and ignorance has seen me gone through multiple combinations of nearly all parts. while riding low takes priority, second to that I 100% want the car to drive and handle well. I call it making the best of a bad situation.

                  coilover wise, I started out with a set of tein super streets (didn't we all?), which I purchased before I even had the car. they went as soon as I saw the ride height, before I even drove on them lol. sorry about the bad pic it's all I have of back then.


                  I swapped them out for a set of tein HA's, which got me around for a while but the ride was crap and lacking independent height/preload adjustment is for tourists.


                  to get the HA's as low as that photo I had to remove the rear helper springs which left me with miles of spring droop and occasional hellaloud clunking after going over big bumps. i just couldn't live with it, and swapped them out for a set of powertrix road/tracks that my buddy was selling cheap at the time.


                  i pulled them apart, cleaned them up, replaced the bump stops and boots and fitted series 2 cups. I removed the upper spring perch as all it did was act as a spacer for the spring, forcing me to droop the spring to get the height I wanted. this made a big difference!


                  camber adjustment wise, I started out with a generic china set of round bulky FUCA's. the problem with these on the Z32 chassis is that once you dump the shit out the car, the FUCA mounting brakcet gets super super close to the FUCA itself. see that chunk out of the coilover upper mount underside in the second to last photo? that's where my buddy's camber arm snapped in situ after making this mistake

                  to avoid this issue but still have adjustment, I first went to OEM arms with adjustable eccentric bushes.


                  then I got sick of them squeaking so I changed again. let me introduce you to the second, lesser known issue of Z32 FUCA's; during upward travel, the arm actually attempts to twist. on a car that has retained bushings in the FUCA this isn't as much of a problem, but as most after market units go to bearings rather than bushes this usually results in the arms constantly undoing themselves.

                  as this is a little known issue very very very few after market FUCA's actually accommodate for this, though interestingly there are two or three more currently in the works at the moment. these Unique Auto Sports FUCA's have a center bearing, allowing them to pivot. at the time of picking these up, I was a broke uni student so I actually worked for the Sydney based business for three days in exchange for a set.

                  also visible in the background are my SPL bump steer reducing front tie rod ends. no good pics of these in place sorry, but a good piece of gear.


                  unfortunately while these arms do accommodate for the issue of twisting, they will most definitely foul on the mounting bracket if fitted to a slammed ride. so this happened


                  all back in the car, they were fitted up alongside a springless shock to see what would foul first - the bump stop or FUCA.


                  took a bit of trial and error, but all in the clear now. plenty of jacking/dropping of the rotor to be sure the set up is safe.

                  i'm a massive old school jap parts fan, in particular VeilSide and Tommy Kaira. when these front caster rods came up on yahoo japan i had to have them - and what better reason to replace the china units i had prior. it's a good feeling having parts so hard to find that google doesn't even know about them!

                  i'm also running whiteline sway bars front and back, picked up for a song on Gumtree (aussie version of craigslist).


                  for now the suspension is staying as it is, but there's still a future to do list. roll center correction has been planned out for the front and rear, lower and upper control arms included. the car needs a rebush and i have a big list of subframe modifications in mind when the time comes too.

                  anyway, apart from some generic china RUCA's that I haven't gotten around to replacing yet, that's where the car's at now suspension wise.

                  -A
                  Last edited by anti.engineered; 09-17-2014, 04:49 AM.

                  Comment


                  • #10
                    next up a bit about the brakes. like most things on my car, they were completely redone twice because my budget/goals for the project changed, haha.

                    initially I started out by rebuilding the standard TT calipers (common upgrade for s-chassis) and spacing the fronts out with a 324mm rotor kit.


                    these were okay but as everybody does I always wanted to fit a true BBK. as this is generally a tad costly I promised myself I wouldn't do it until the car was painted... lol

                    when I came across a pair of old school Tommy Kaira (manufactured by Endless) 6 piston calipers for sale on a malaysian second hand second hand after market parts site, I couldn't say no. i am but a man and every body knows old school is the new cool


                    they originally came on Tommy K modified/resold Subaru Legacys in the late '90s.

                    to complete the car I picked up an AP Racing 4 piston rear kit... which I ended up being forced to sell. another Tommy K caliper pair came up on eBay, based in the south pacific of all god damn places.


                    weirdly, one from each caliper pair had a sizeable, round scrape on the front. i figure that there must have been spacers fitted on the original Libertys, and in both cases at some point they had been left off. while it does bother me some careful flap wheeling saw them both clean up well. it'll be hard to spot them with some fresh powder coat.

                    now since custom adapters to fit the calipers are required anyway... may as well go hard or go home right


                    355mm Z34 front rotors by DBA


                    that's a mock up; I haven't made the adapters yet. they're on the list...

                    rear rotors will be Z34 units as well, 350mm. Z1 do a two piece set that look the goods.

                    when the adapters done, these of course will be prettied up and resealed (Endless still provide seal kits which is cool). endless brake lines are also fitted up to the front (the Subaru ones went straight in which is nice) with Brake-Quip units in the back... no I haven't heard of them either, but they fit.

                    lastly, there's a custom brake master cylinder stopper and once everything is fitted up I'll duct up the fronts too. going to need a hell of a lot of bias adjustment too. a quick calc shows only a 55% front bias with this set up, haha.

                    -A
                    Last edited by anti.engineered; 10-10-2014, 11:01 PM.

                    Comment


                    • #11
                      glad to see this here as I don't visit jdmst much anymore. I like the rare 90s parts you seem to find, keep up the good work.

                      Comment


                      • #12
                        Coming along nicely.

                        Comment


                        • #13
                          thanks guys. finding rare used parts gives me a kick like nothing else and dictates plenty of the build direction lol.

                          Comment


                          • #14
                            okay a bit more info. not wanting to leave anything untouched the chassis itself has had a fair bit of work done to it. this started with simple bolt ons but got more involved once I returned the shell to the garage and really got thinking.

                            first off was a one piece rear tower bar from Powertrix. I trimmed it black because it was a bit of an eye sore otherwise.


                            Since the boot trim needed to be cut for the brace anyway I opened up a slot above the two rear strut tower bolts for better access. The whole boot has to be stripped to remove the shocks from the car otherwise which is a massive PITA. Also meant the end of the brace could be slotted through the trim prior to install, rather than the traditional vertical cut up from the trim piece's base.

                            pics is from a practice piece of trim, getting the shape right.


                            Up front I fitted up a pair of Nagisa Auto fender braces which I nabbed off of Yahoo Japan cheap with a little rust. For shits and giggles they got welded on, haha


                            finishing up the bracing up front is a four point tie rod brace, connecting two LCA inner mounting points up to the caster rods. Car hasn't been on the road since I grabbed this but it's reputedly pretty good.


                            it was around this time that I got really into the idea of foam filling the chassis. did a lot of research and nearly ordered the goods from a local place to make it happen before changing my mind at the last decision. because that stuff is heavy. if you want it to actually work; not just the stuff you see in housing installation and whatnot. if you want to foam your chassis to stiffen it up (and not just sound deaden), you're going to be adding a heap of weight. at the time, the shell was more or less stripped on stands so I decided to put in the extra work and seam weld it. all the strength of foaming, with none of the weight, and only 1/2 of the rust concerns. lol

                            I went around the car and stripped off the seam sealer and sound deadener (where required) with a wire wheel. holy fuck was that an awful job


                            since I didn't want to remove all the sound deadener I didn't go with the dry ice thing, but by the end of it I kind of wish I did... wire wheeling that stuff means it heats up, gets sticky and just coats evvvvverything. effective but super duper amount of work.

                            this was of course carried out to everything - the underbody, interior, wheel wells, bay, the lot. strut tower to strut tower (and a bit beyond).

                            I'll say this... wire wheels are equally effective as they are deadly


                            at the time I wasn't much with a welder, so a buddy of mine made his way over for a few weekends, showed me the ropes and we got it done.

                            gas mig, 0.6mm wire, inch on inch off.


                            all said and done this is an inexpensive but time consuming way to greatly improve the chassis.


                            after really "digging in" to the chassis there were some pretty embarassing Nissan welds too...


                            the frame rails etc were then internally coated to prevent horrible horrible cancer... still keeps me up at night that I could have missed a spot though

                            lastly, and a little more recently while into my bay shave, I added in some box section supports to the front strut towers. this was not only done for added strength, but because the much smaller OEM braces that were spot welded in there would have taken more work to pretty up than they would to replace entirely, haha.


                            That's it for the chassis so far. Later down the track I want to install a 4-point lower bar that Ultra Racing does, and put in some strengthening to the rear sub frame too. Nismo did a brace set for the R33 rear subframe that almost-but-doesn't-quite-fit the Z32 that I'd like to emulate, as well as install GK Tech's weld in brace kit.

                            -A

                            Comment


                            • #15
                              Modenas? Hipster brakes? 
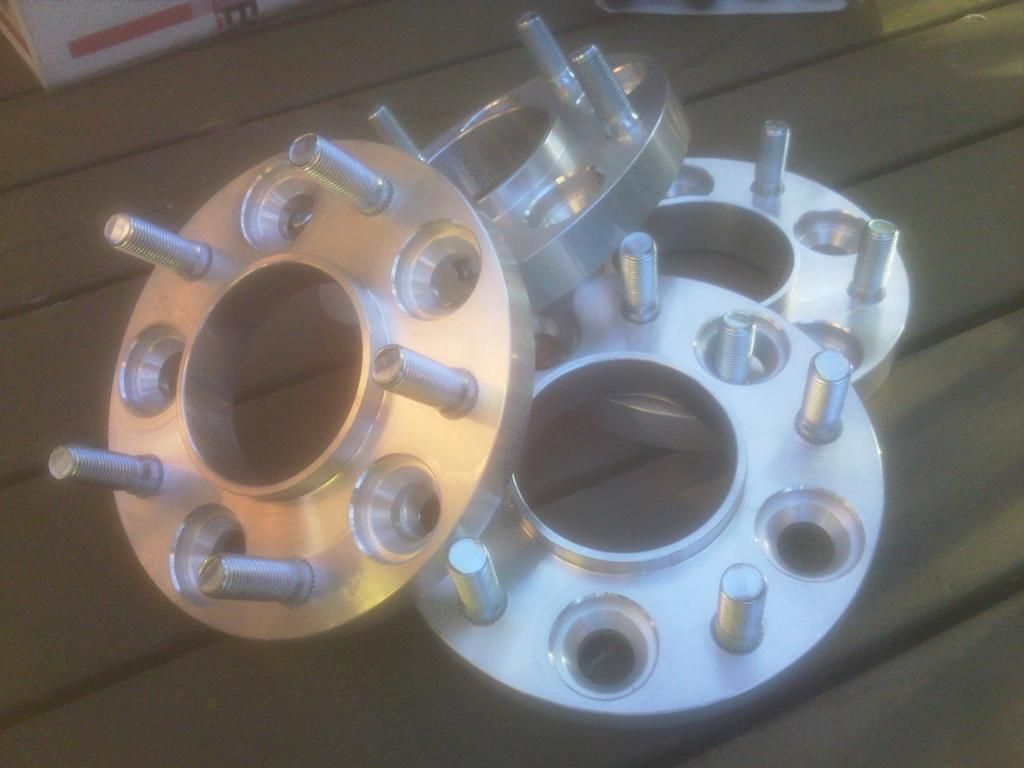
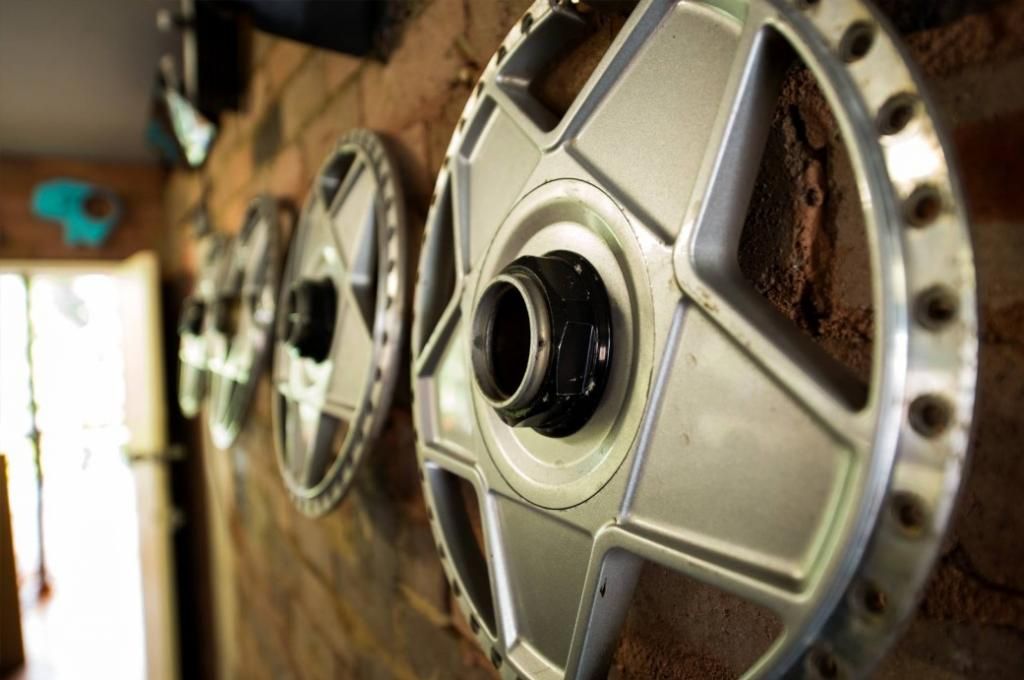
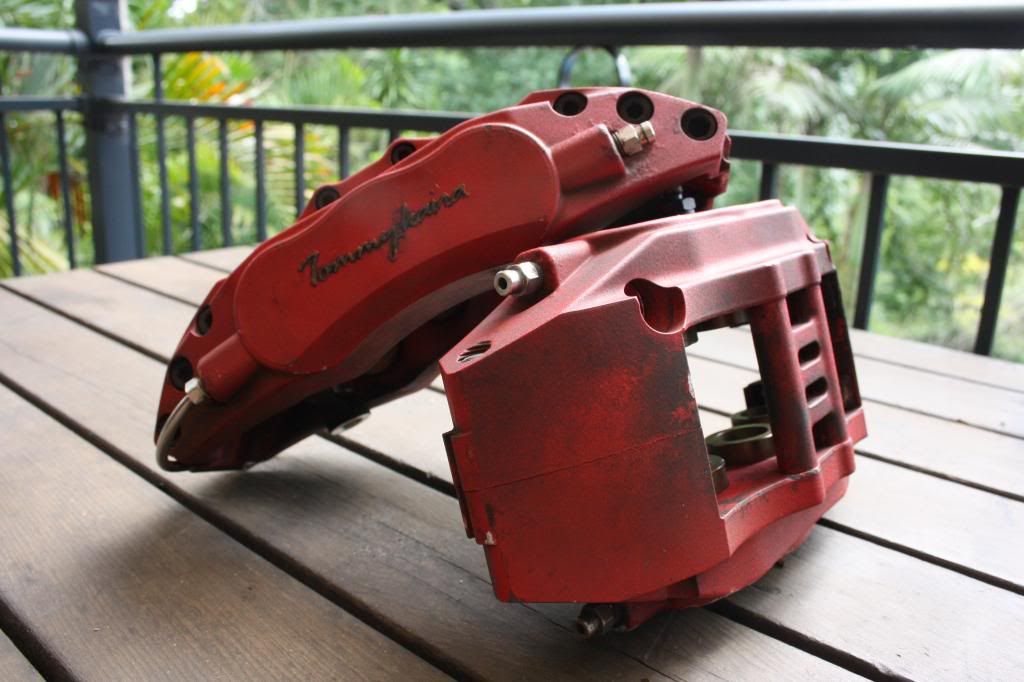
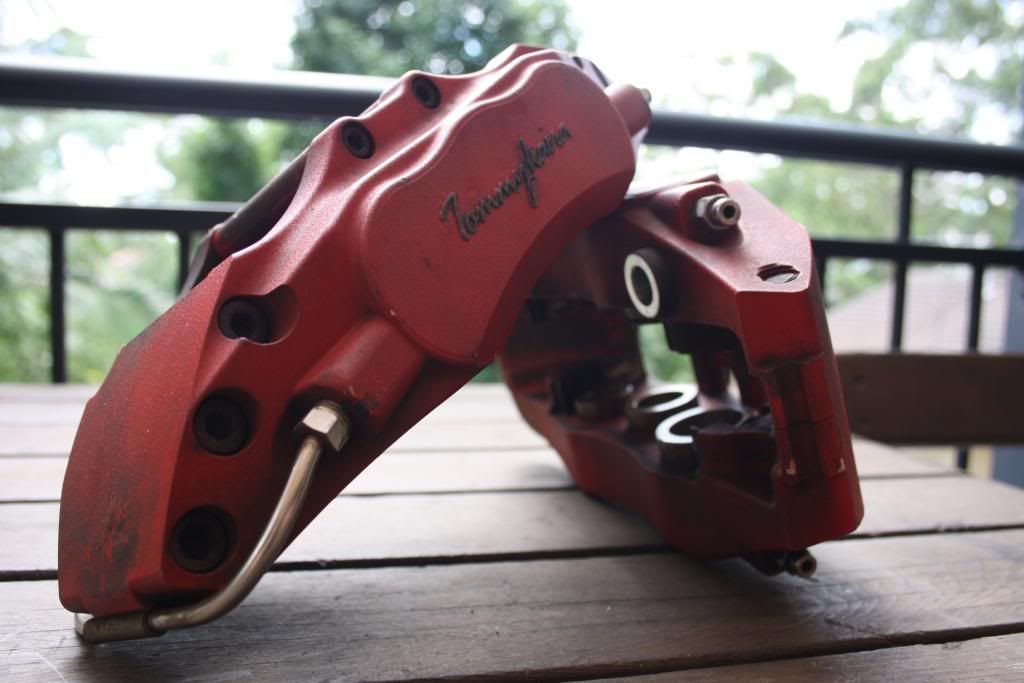
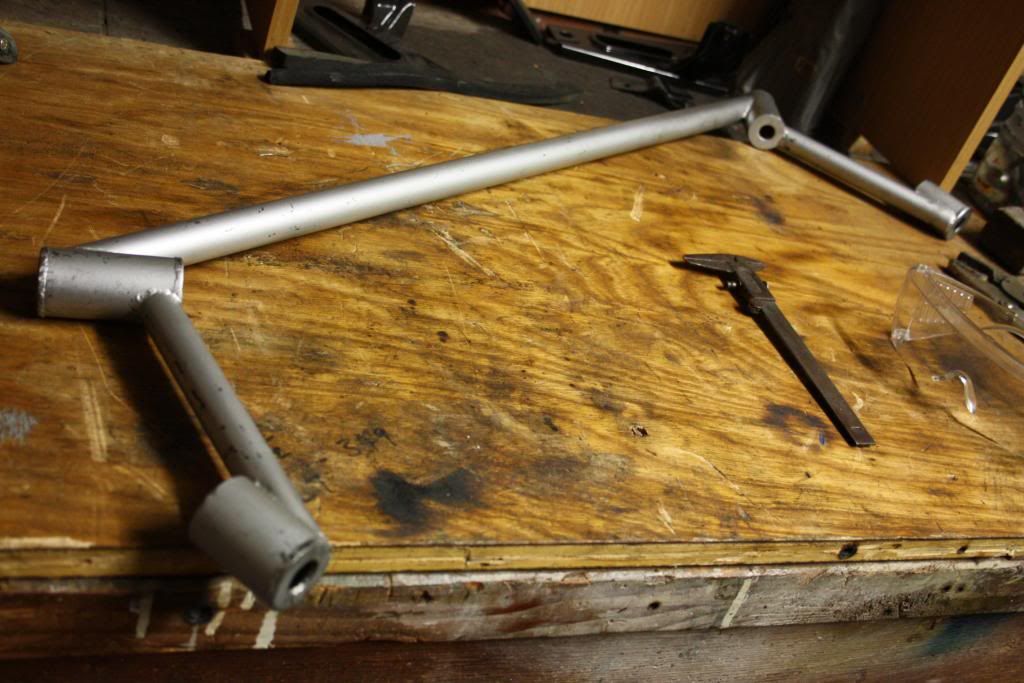
Love the rad parts collection, you are moving right along, good progress in here!

                              Comment

                              Working...
                              X