 Tweet
Tweet
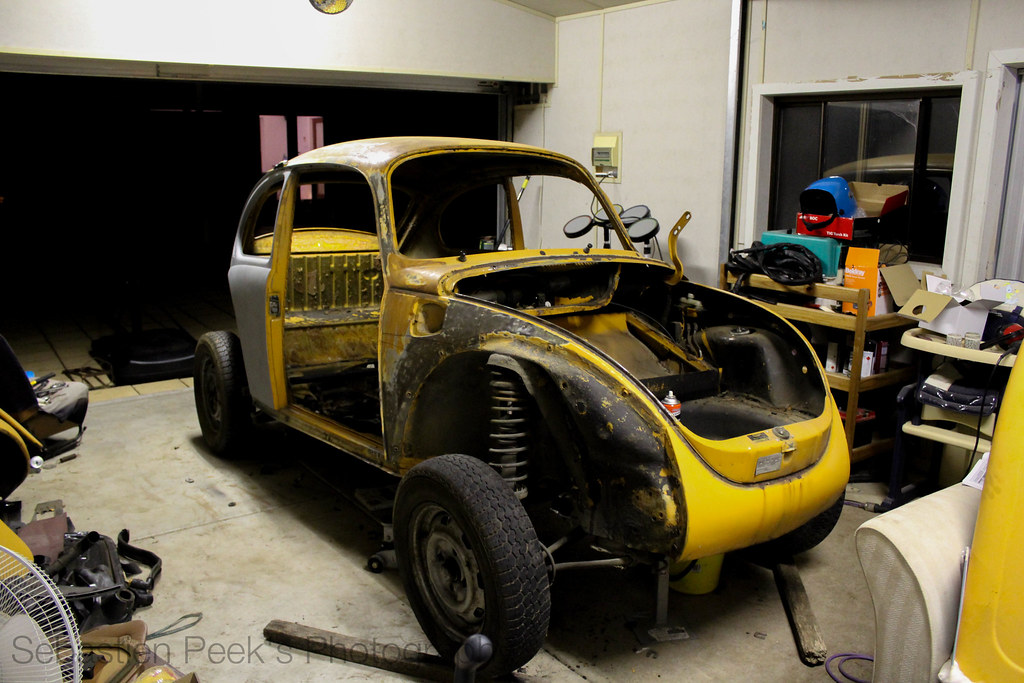
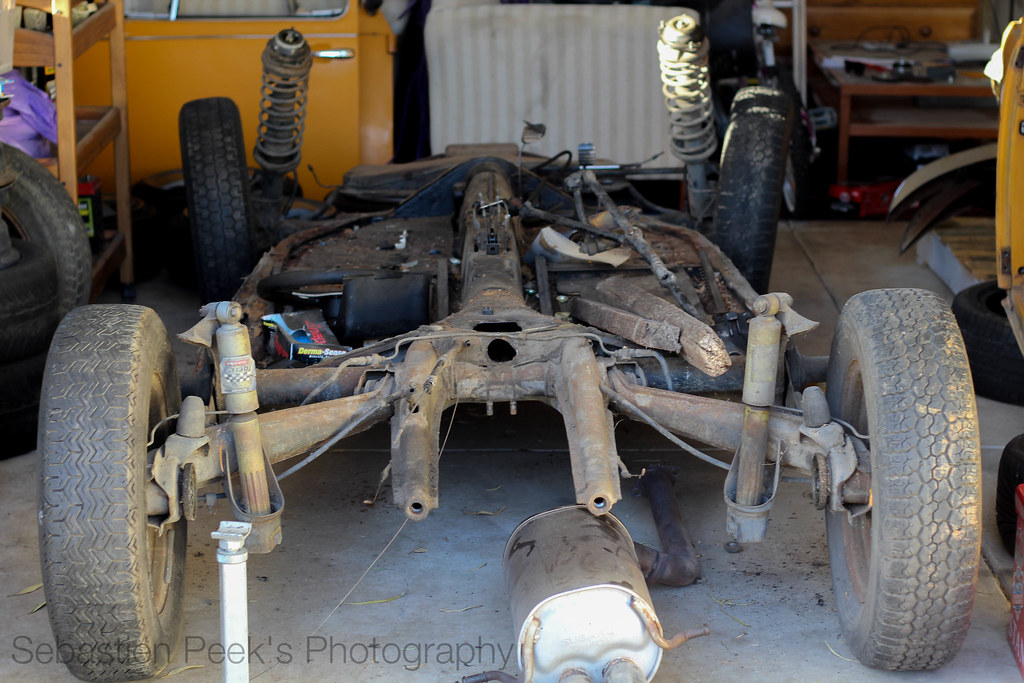
Been a bit quiet again on here, but have been working on Gretl each night and today when I can anyway.
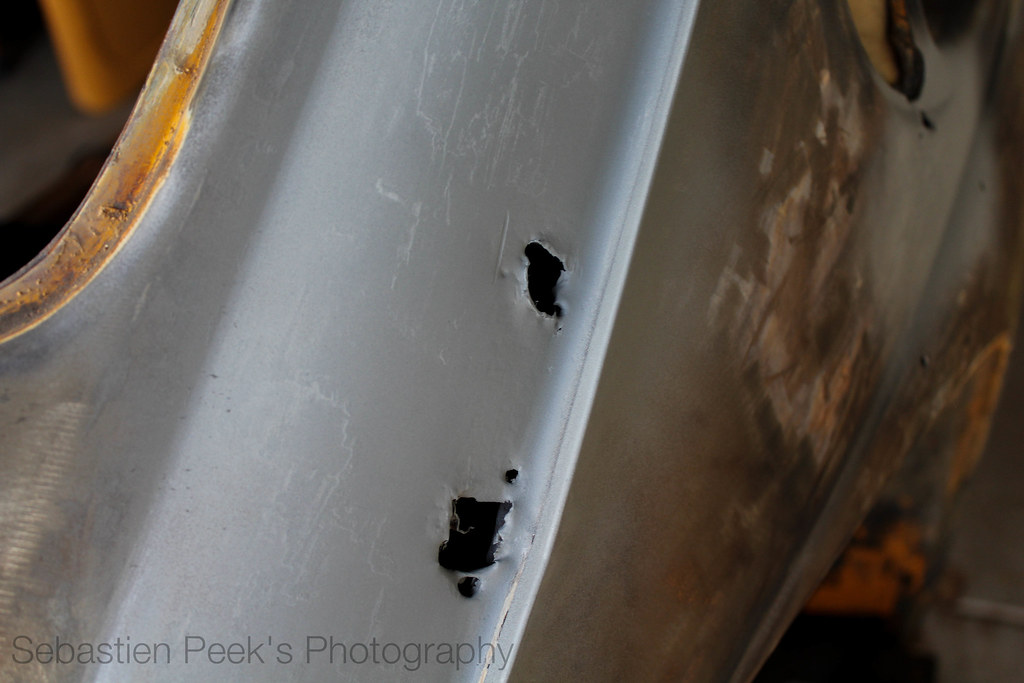
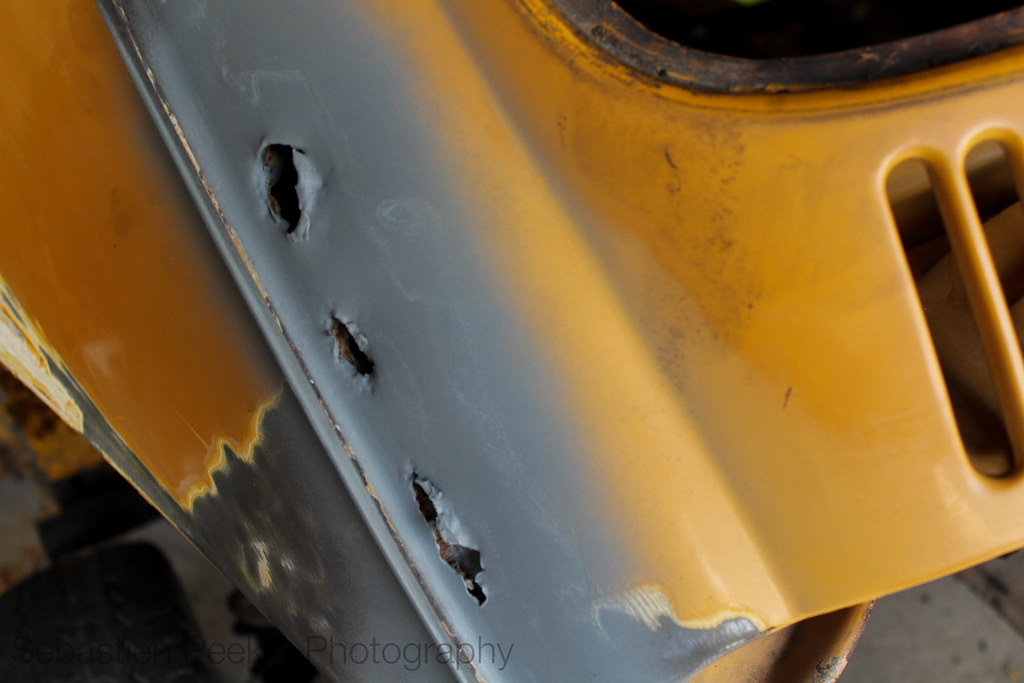
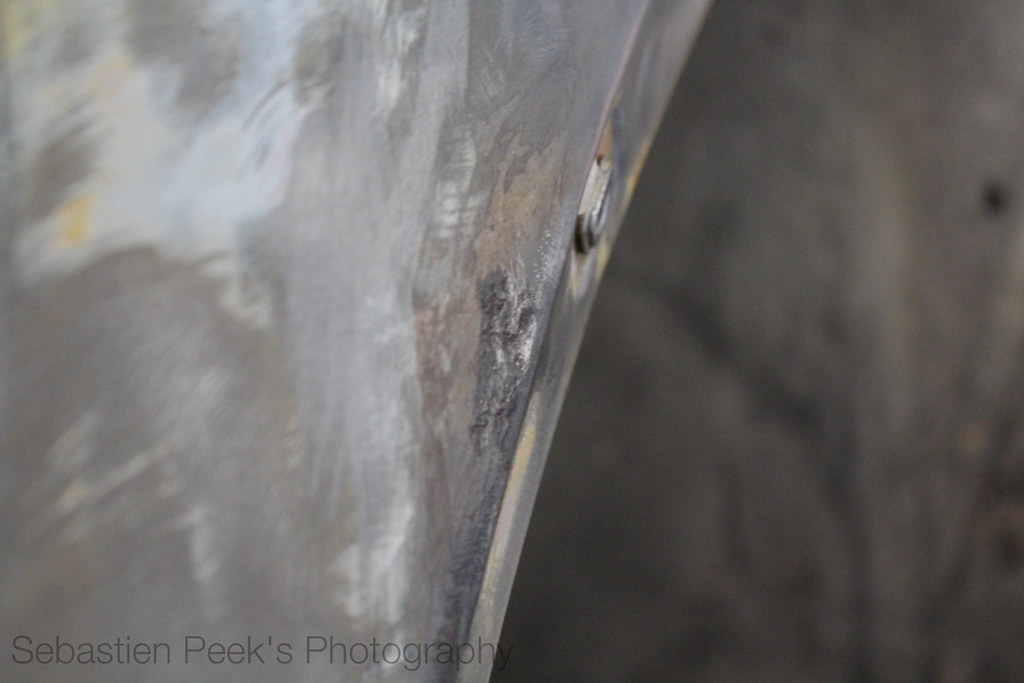
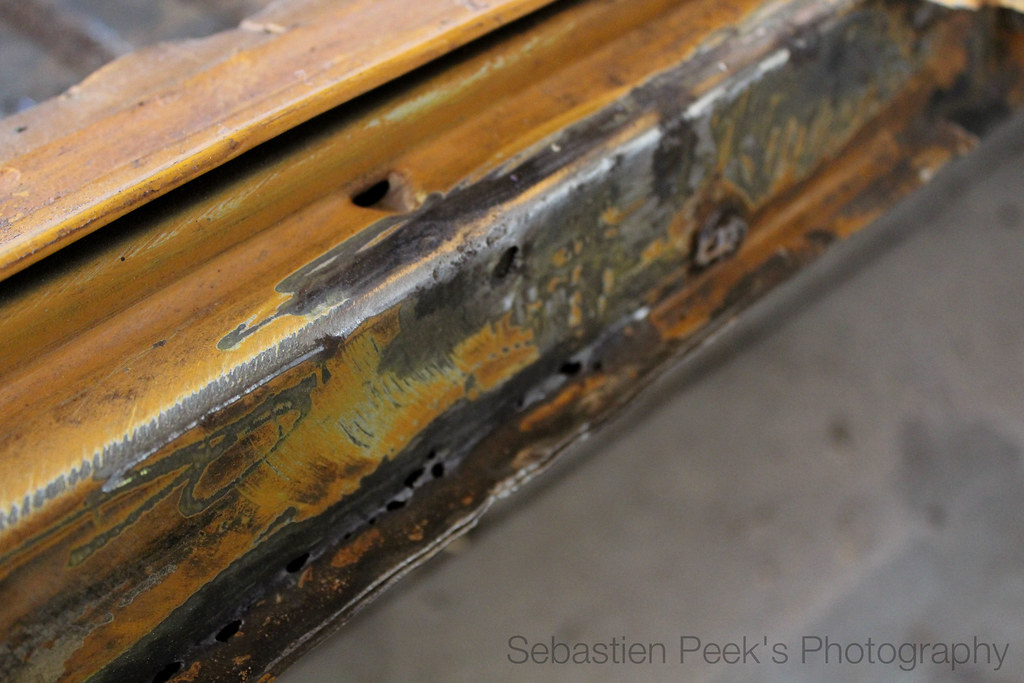
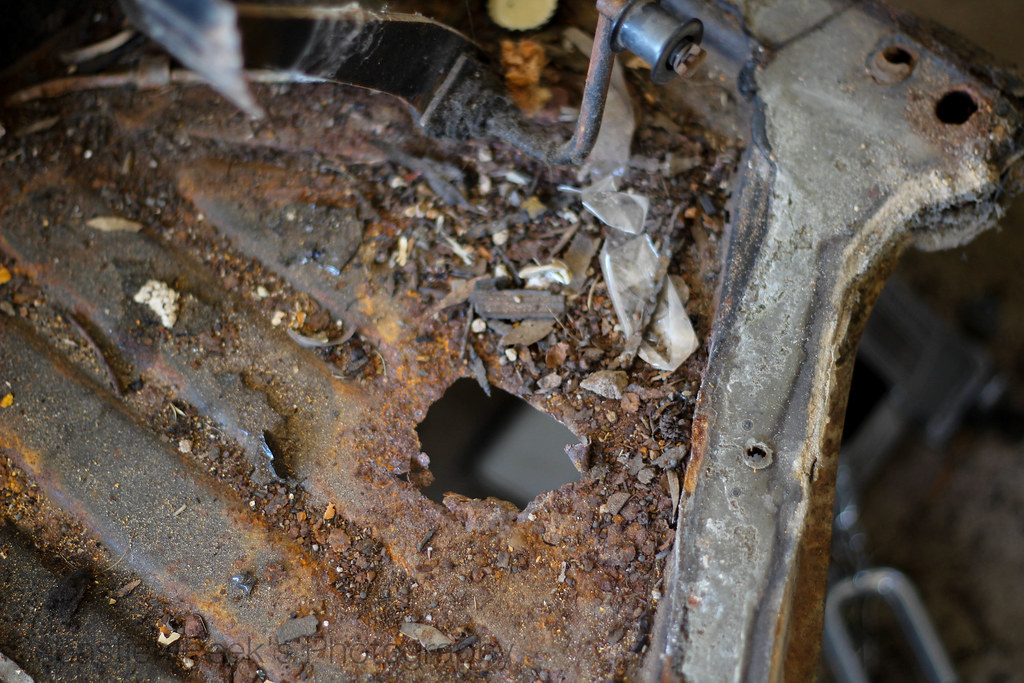
I got a wire wheel to get everything back to bare metal where there were rust holes. I cleaned up all the surrounding areas too to make sure there was no other rust around etc. Then got everything in weldable galv.
IMG_0166 by sebastienpeek, on Flickr
IMG_0176 by sebastienpeek, on Flickr
IMG_0198 by sebastienpeek, on Flickr
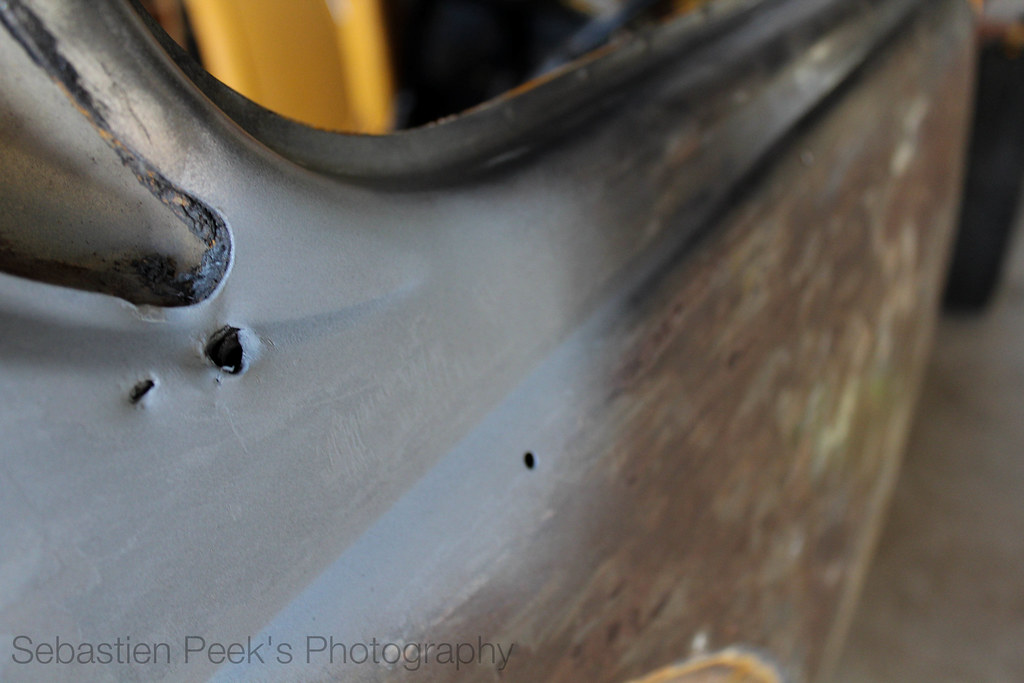
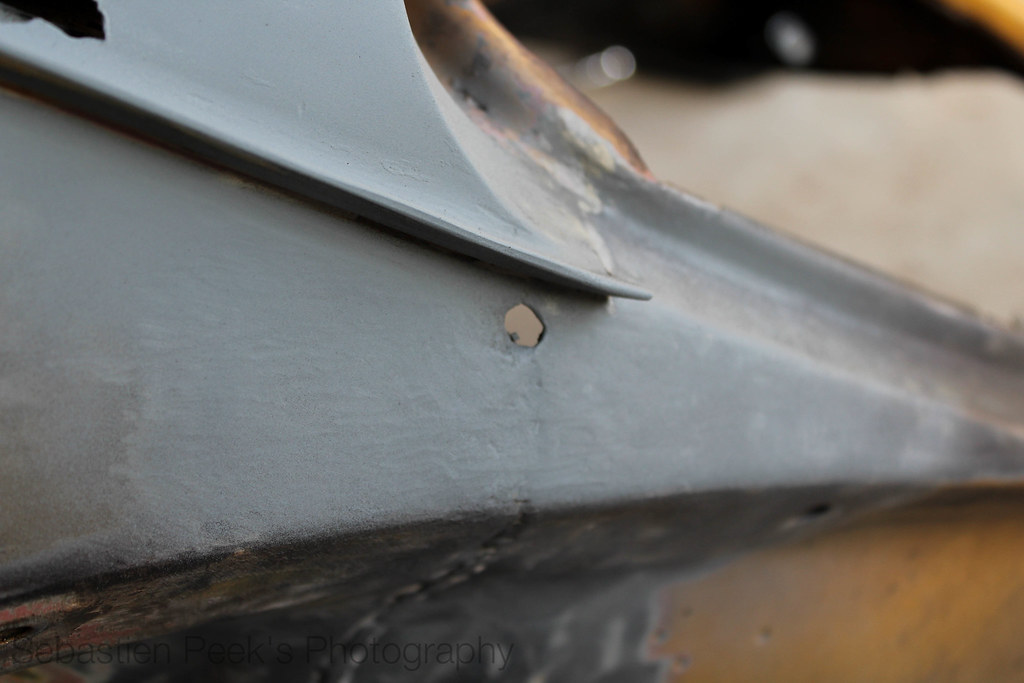
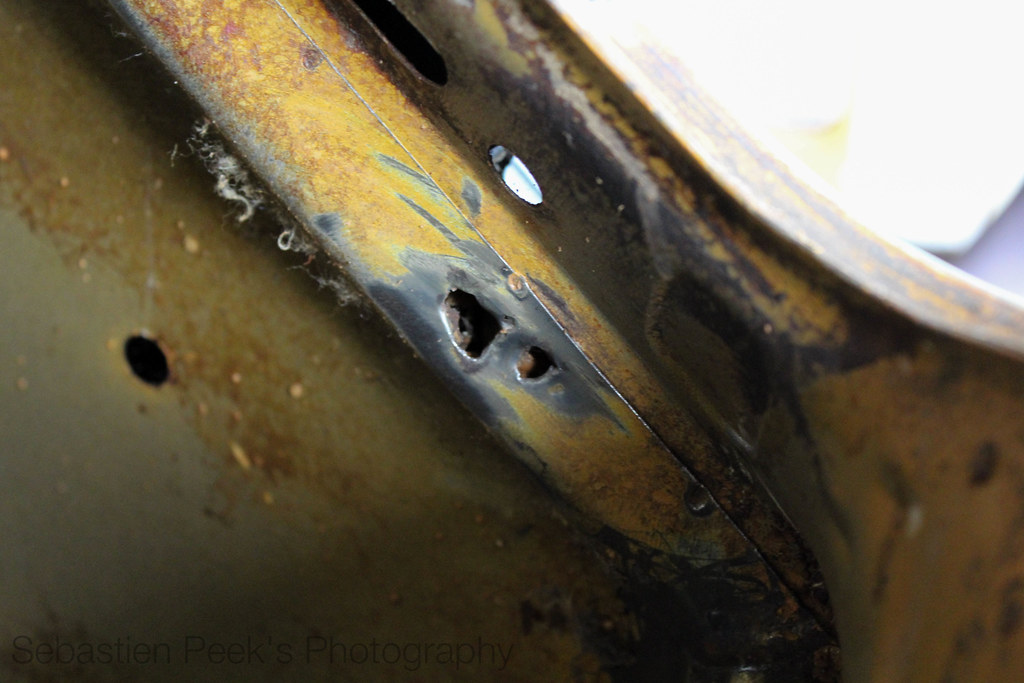
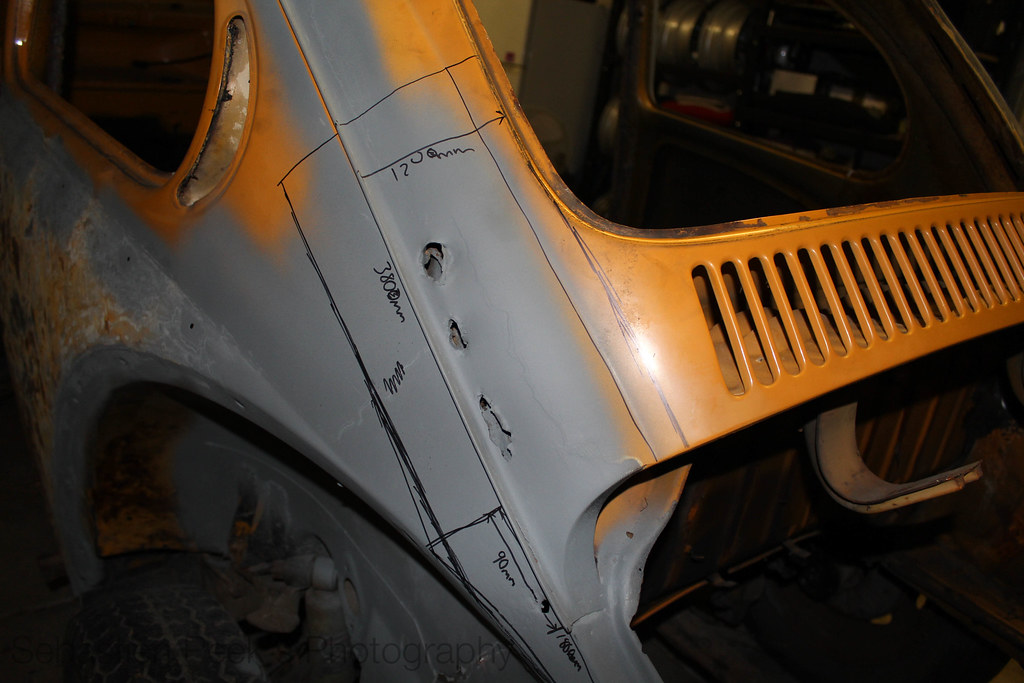
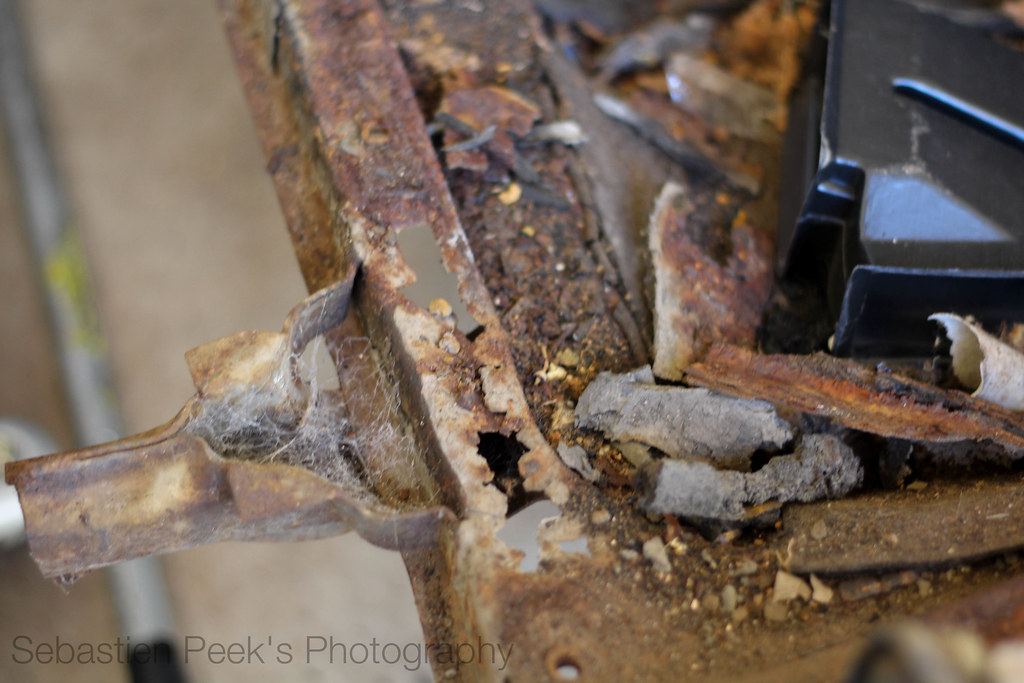
I found this on the right hand side as well, two small holes.
IMG_0168 by sebastienpeek, on Flickr
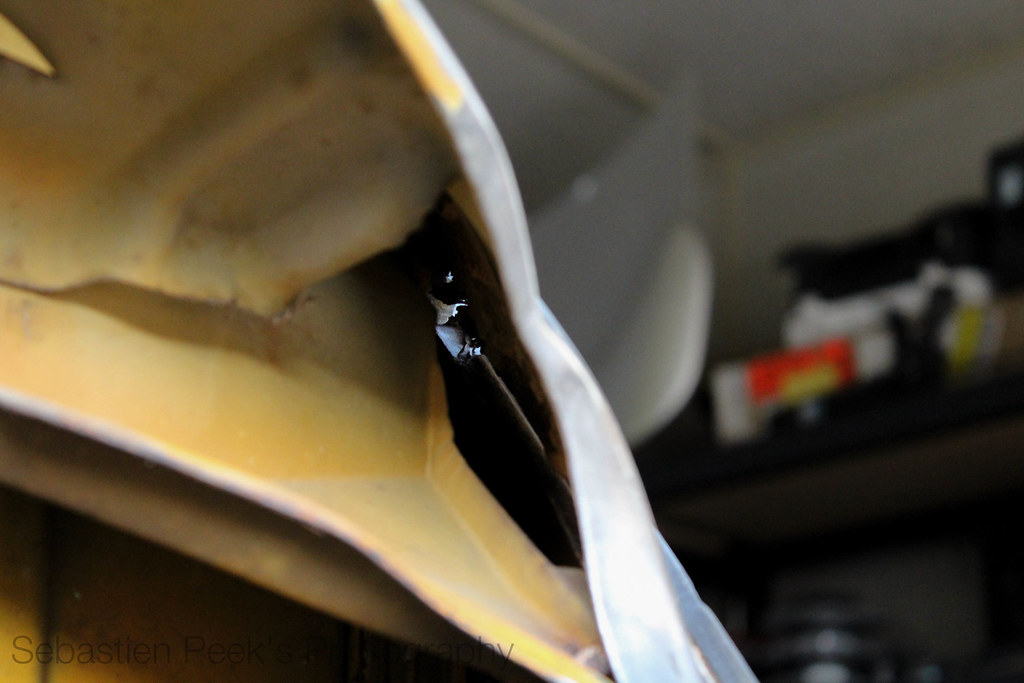
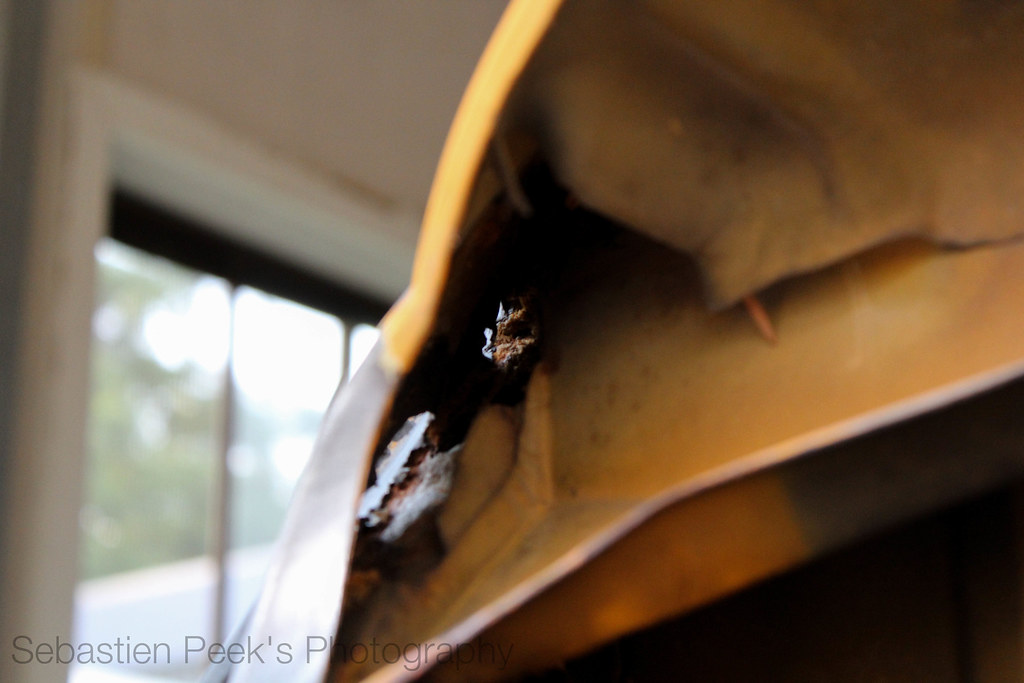
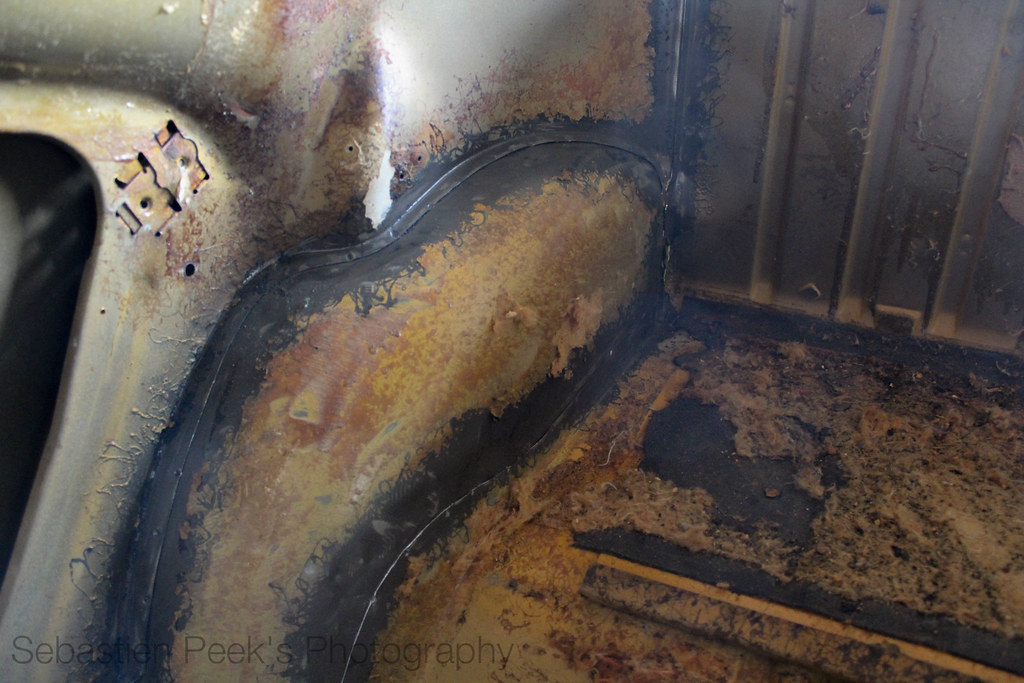
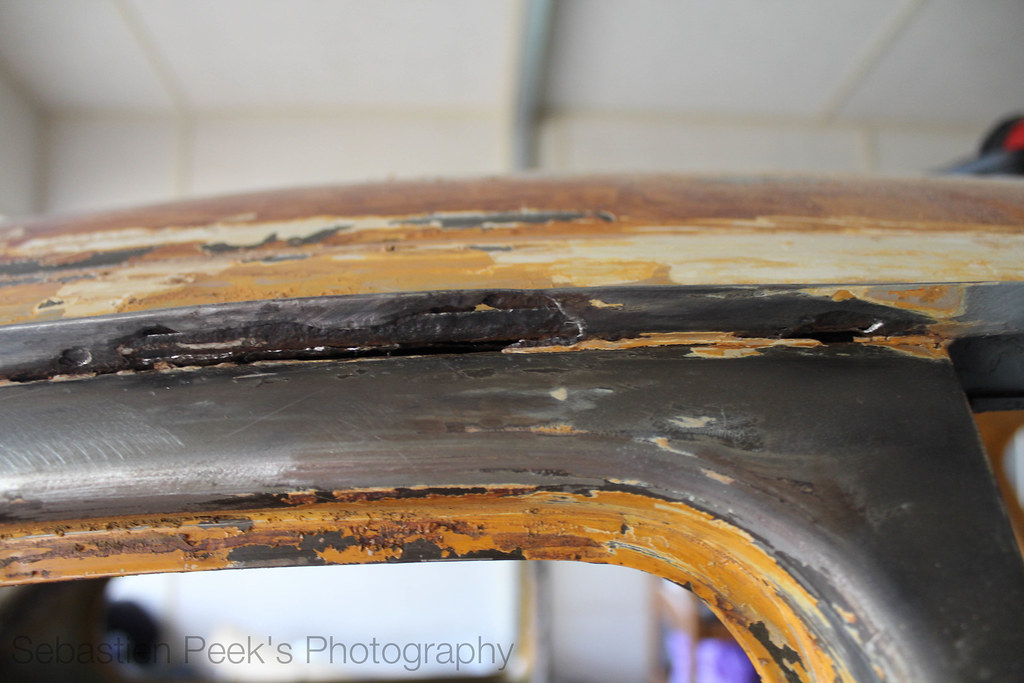
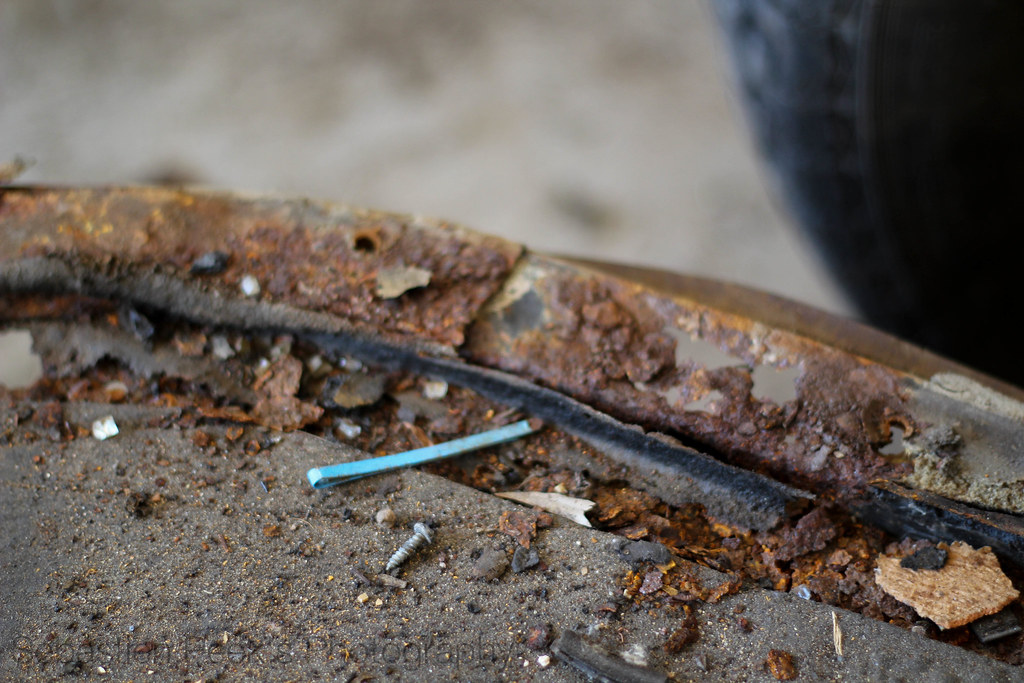
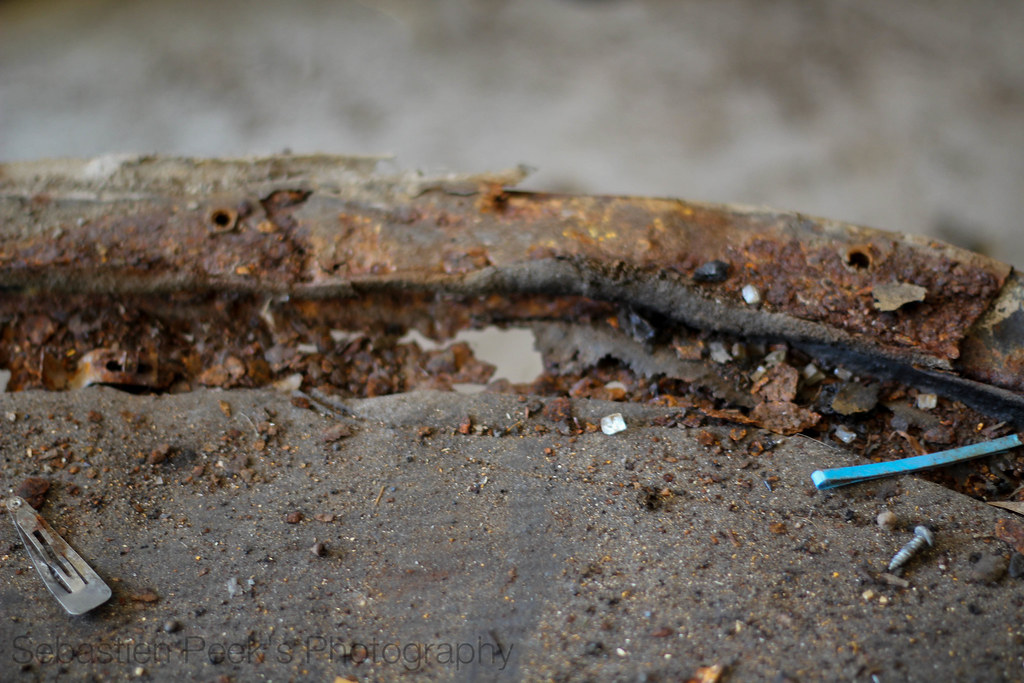
The left C pillar is a bit worse for wear too.
IMG_0169 by sebastienpeek, on Flickr
IMG_0175 by sebastienpeek, on Flickr
IMG_0171 by sebastienpeek, on Flickr
I got the majority of the death foam out, but will be able to get the rest out once I get replacement panels for the C pillars and the current ones cut out.
IMG_0177 by sebastienpeek, on Flickr
IMG_0178 by sebastienpeek, on Flickr
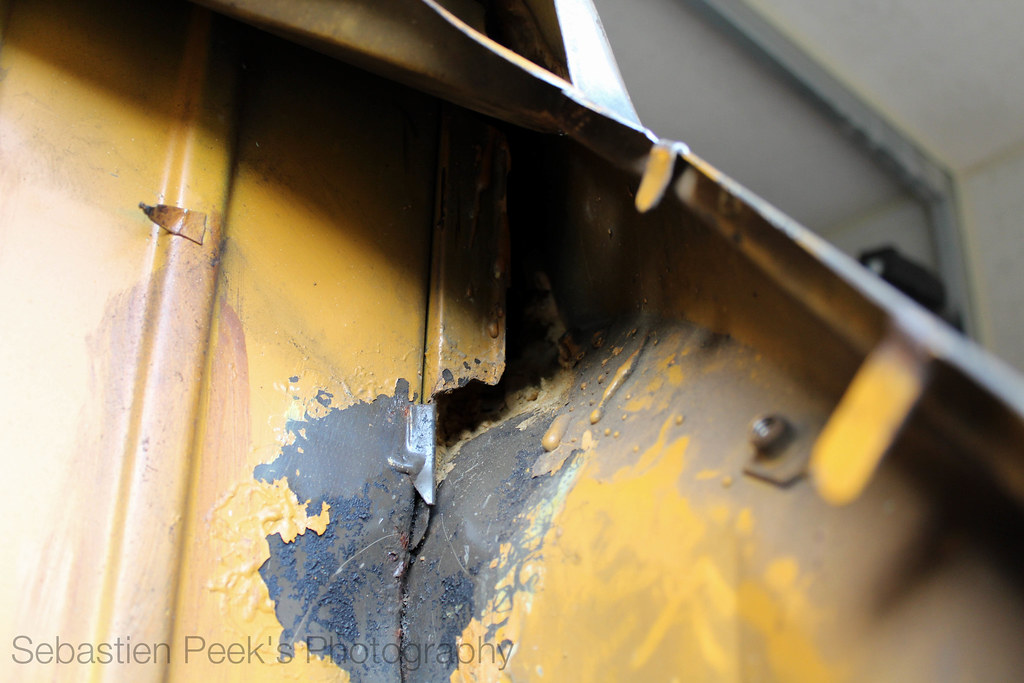
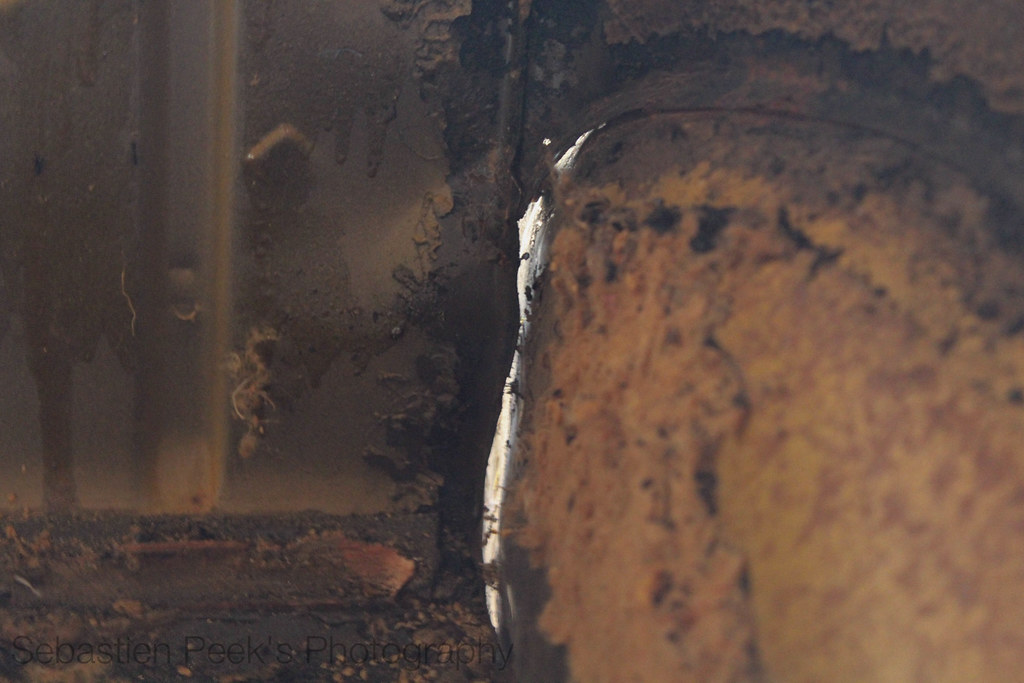
So, it looks like this rear section has had a previous fix. I found an immense amount of bog around this weld. But it is all back to bare metal and ready to have the weld ground down properly instead of just bogged over.
IMG_0180 by sebastienpeek, on Flickr
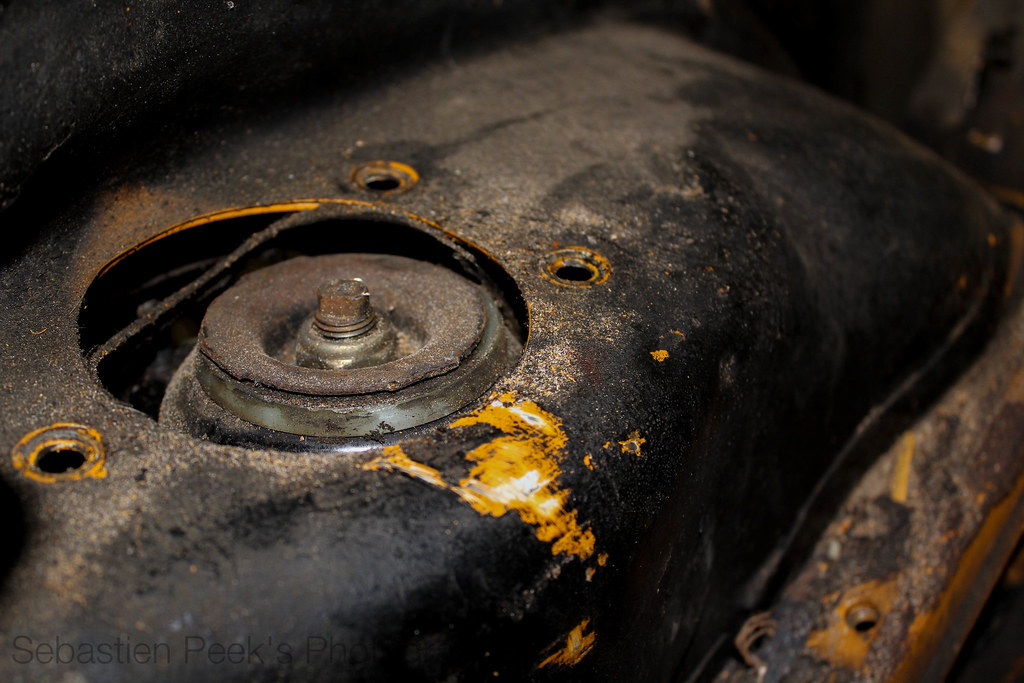
Speaking of bog, I found a lot in the front drivers side quarter as well. First up I finally removed the fuel tank and took a look in the air box. A fair bit of rust but easy enough to fix.
IMG_0183 by sebastienpeek, on Flickr
IMG_0184 by sebastienpeek, on Flickr
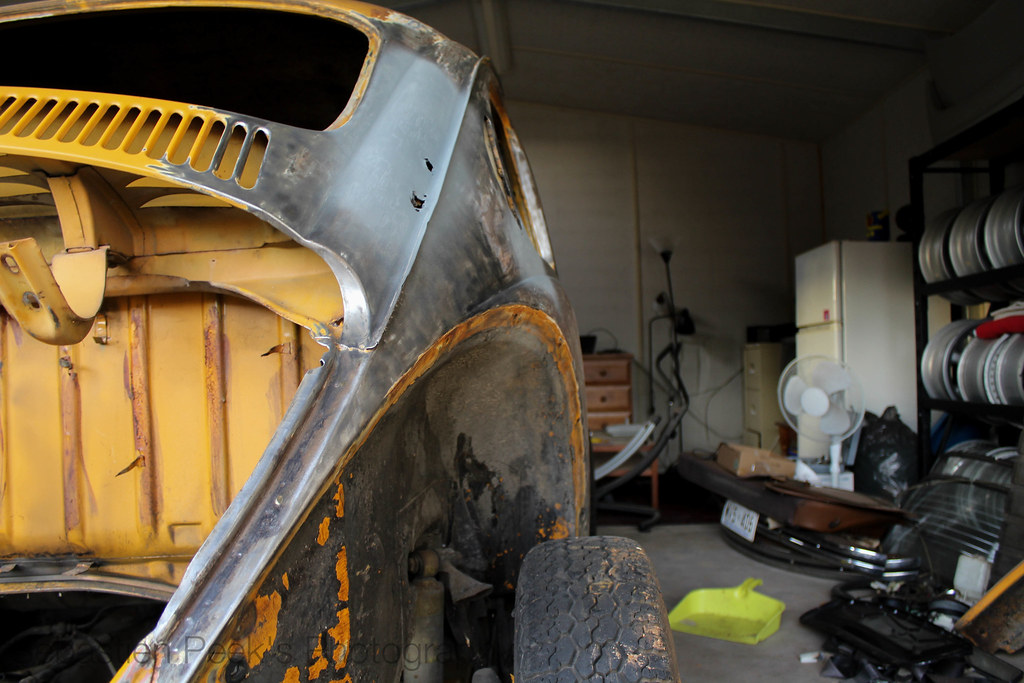
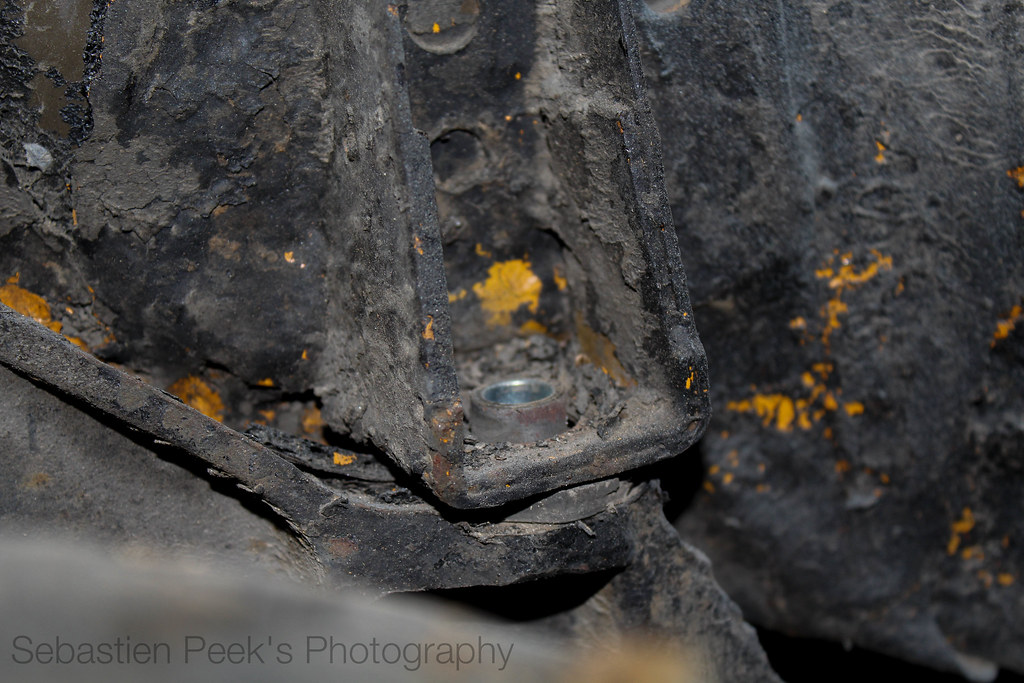
Anyway, back to the front drivers side quarter. All the bare metal area was bogged.

IMG_0185 by sebastienpeek, on Flickr
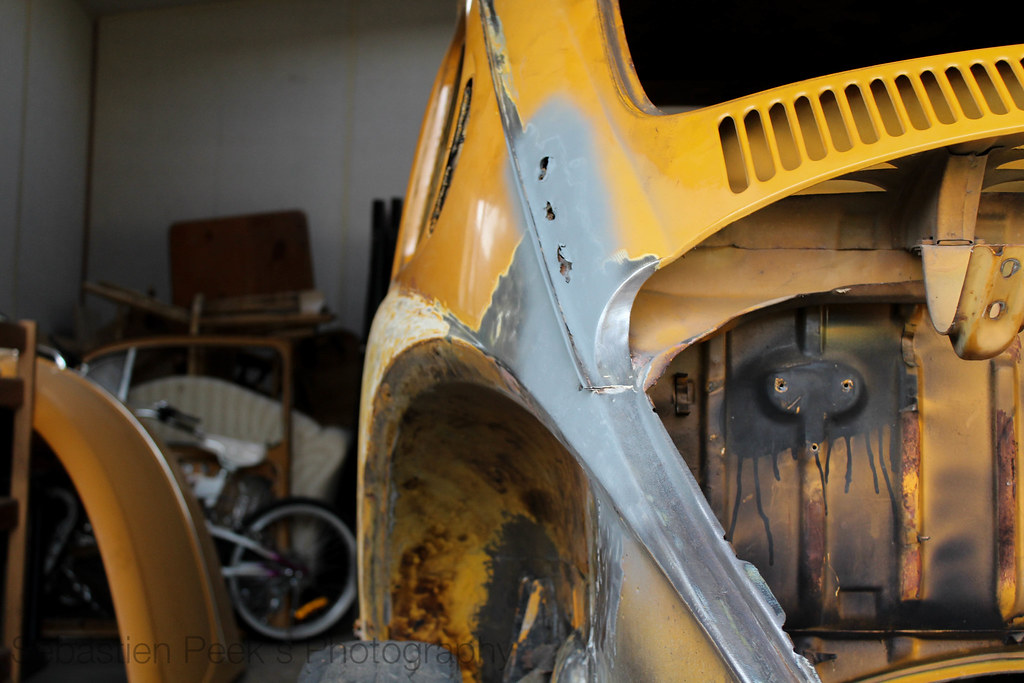
The panel was pretty wavy, but I hammered it out a bit and got it a bit better. I also found this little bit of pitting in the same area too.
IMG_0189 by sebastienpeek, on Flickr
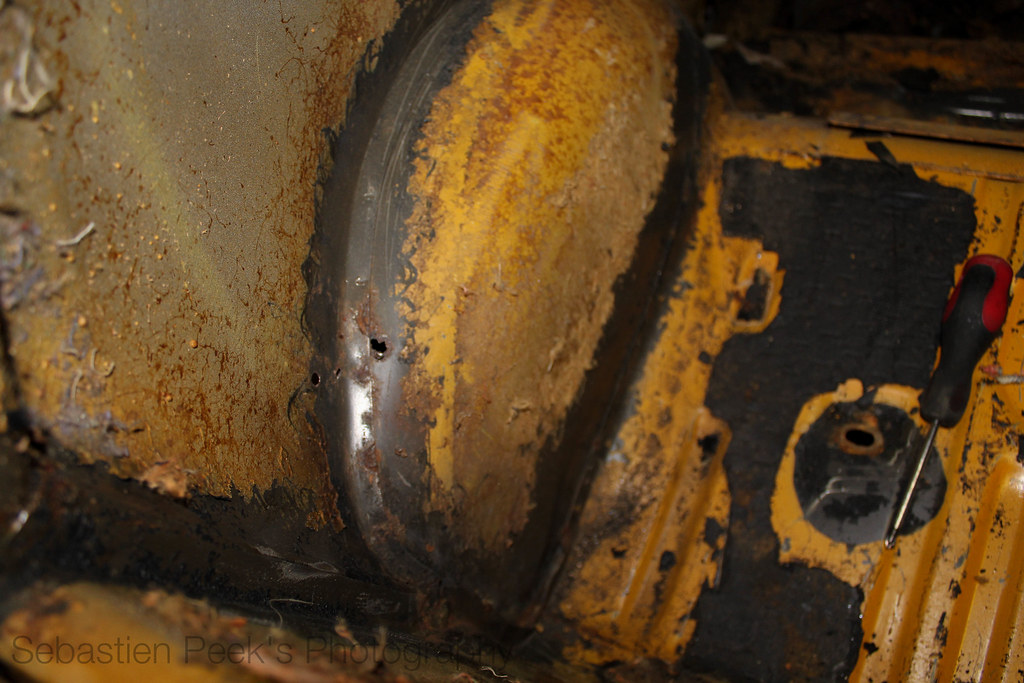
Anyway, back to the rear. The rust in the rear right hand side pillar, thanks to the death foam, also spread inside the vehicle too. Cleaned it up a bit, no surrounding rust thankfully.
IMG_0174 by sebastienpeek, on Flickr
I went inside and cleaned up the luggage area. Got rid of all the seam sealer.
IMG_0182 by sebastienpeek, on Flickr
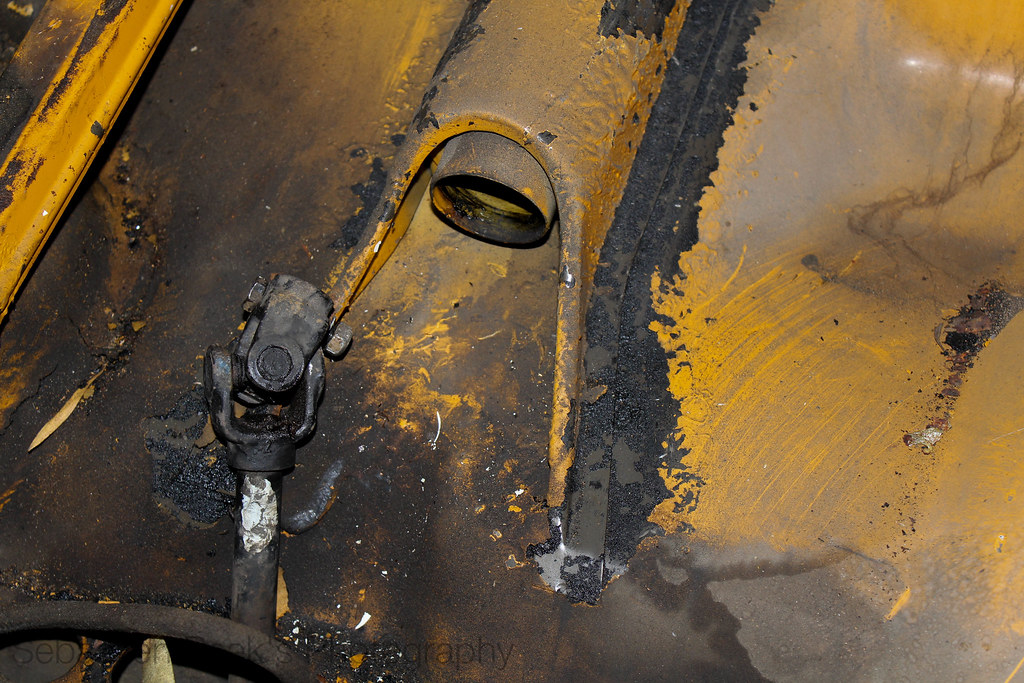
On the other side though, I found after I cleaned up the seam sealer that some of the panels had actually come away from where they were spot welded. Easy enough to fix up.
IMG_0172 by sebastienpeek, on Flickr
Oh, I also found these holes in the heater channel on the drivers side too. Just going to replace the majority of the heater channel as it'll mean the whole thing is new metal.
IMG_0193 by sebastienpeek, on Flickr
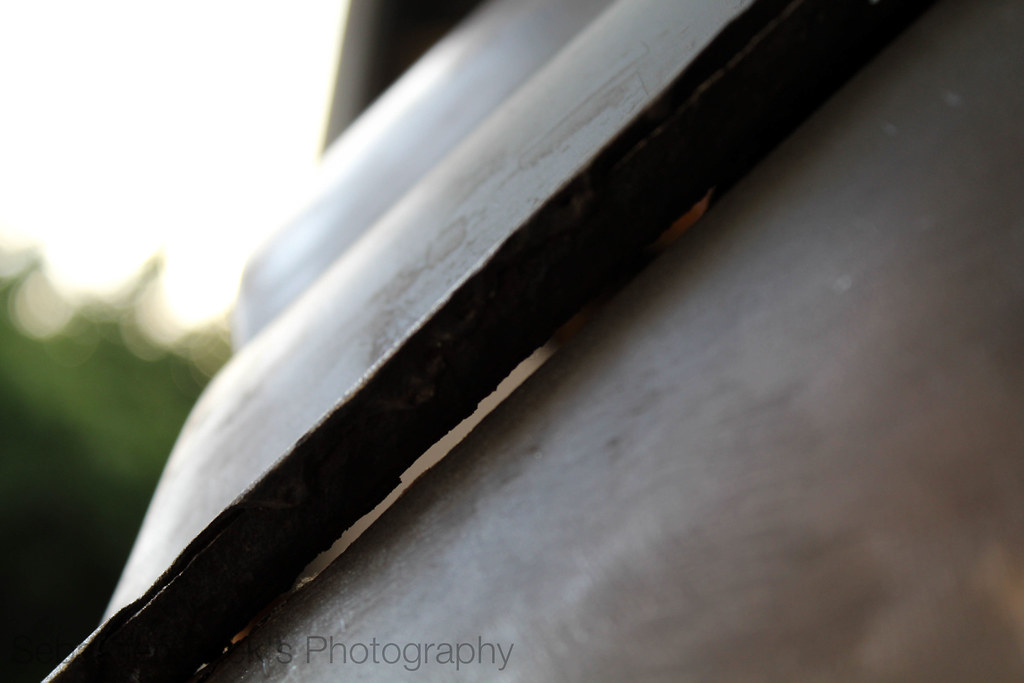
This also needs to be replaced. Gutters are great, except in some bits, and those bits are pretty damn bad.
IMG_0194 by sebastienpeek, on Flickr
I'll leave you with a shot of each side. As you can see, the galv is used around the rust areas, the rest is still in bare metal unfortunately.
IMG_0199 by sebastienpeek, on Flickr
IMG_0200 by sebastienpeek, on Flickr
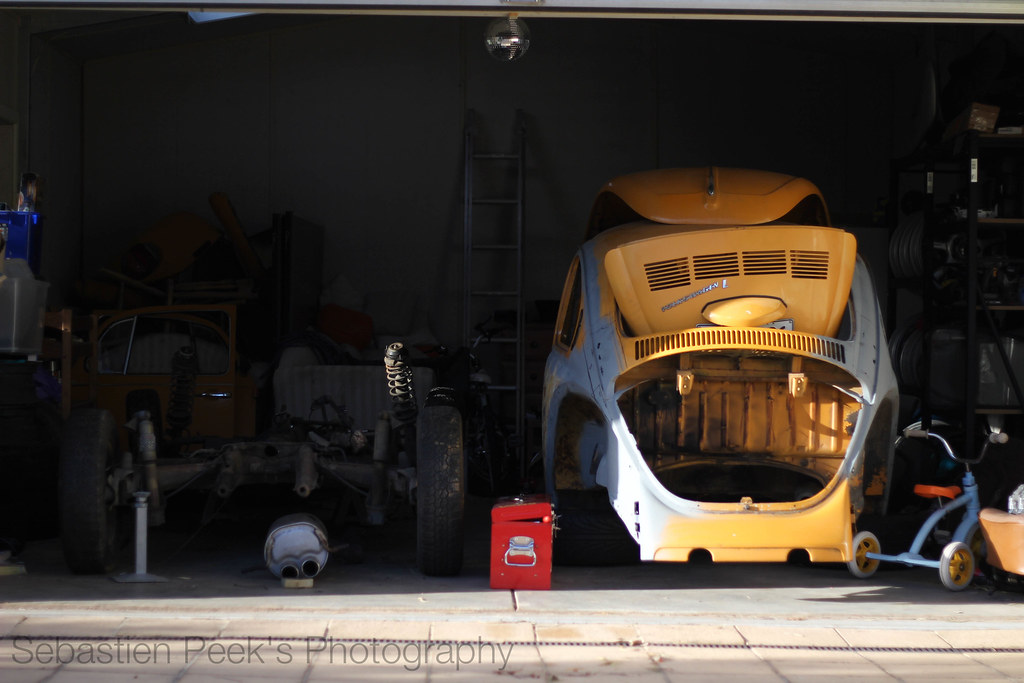
So now I just need to get replacement panels and a TIG welder. Then I can start on the rust repair. Until then, I shall leave Gretl in the garage.
I got a wire wheel to get everything back to bare metal where there were rust holes. I cleaned up all the surrounding areas too to make sure there was no other rust around etc. Then got everything in weldable galv.
IMG_0166 by sebastienpeek, on Flickr
IMG_0176 by sebastienpeek, on Flickr
IMG_0198 by sebastienpeek, on Flickr
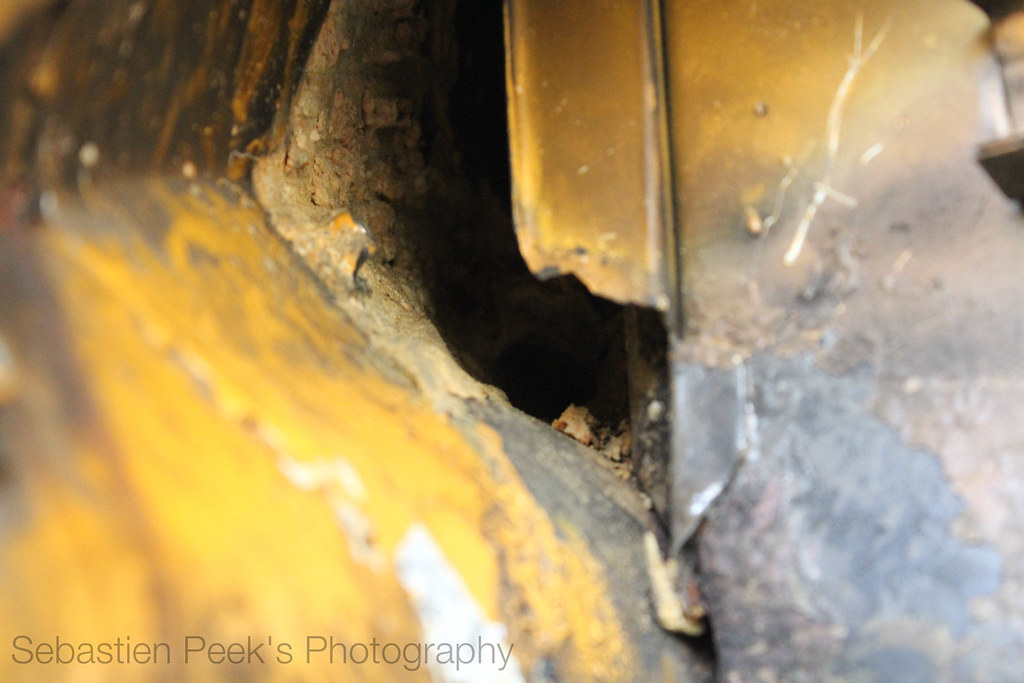
I found this on the right hand side as well, two small holes.
IMG_0168 by sebastienpeek, on Flickr
The left C pillar is a bit worse for wear too.
IMG_0169 by sebastienpeek, on Flickr
IMG_0175 by sebastienpeek, on Flickr
IMG_0171 by sebastienpeek, on Flickr
I got the majority of the death foam out, but will be able to get the rest out once I get replacement panels for the C pillars and the current ones cut out.
IMG_0177 by sebastienpeek, on Flickr
IMG_0178 by sebastienpeek, on Flickr
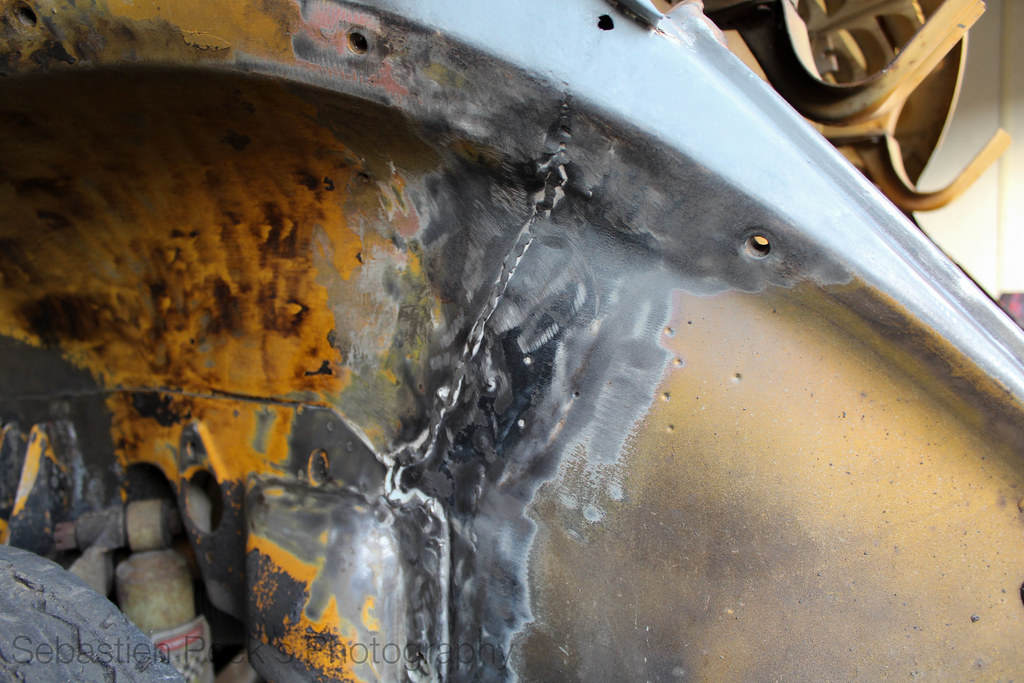
So, it looks like this rear section has had a previous fix. I found an immense amount of bog around this weld. But it is all back to bare metal and ready to have the weld ground down properly instead of just bogged over.
IMG_0180 by sebastienpeek, on Flickr
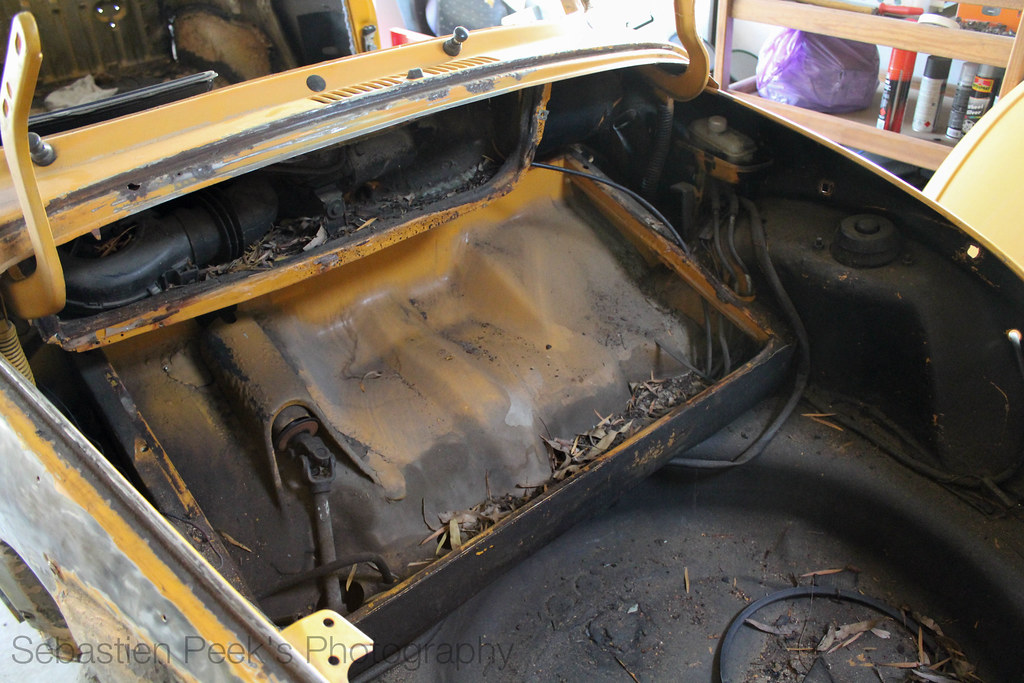
Speaking of bog, I found a lot in the front drivers side quarter as well. First up I finally removed the fuel tank and took a look in the air box. A fair bit of rust but easy enough to fix.
IMG_0183 by sebastienpeek, on Flickr
IMG_0184 by sebastienpeek, on Flickr
Anyway, back to the front drivers side quarter. All the bare metal area was bogged.
IMG_0185 by sebastienpeek, on Flickr
The panel was pretty wavy, but I hammered it out a bit and got it a bit better. I also found this little bit of pitting in the same area too.
IMG_0189 by sebastienpeek, on Flickr
Anyway, back to the rear. The rust in the rear right hand side pillar, thanks to the death foam, also spread inside the vehicle too. Cleaned it up a bit, no surrounding rust thankfully.
IMG_0174 by sebastienpeek, on Flickr
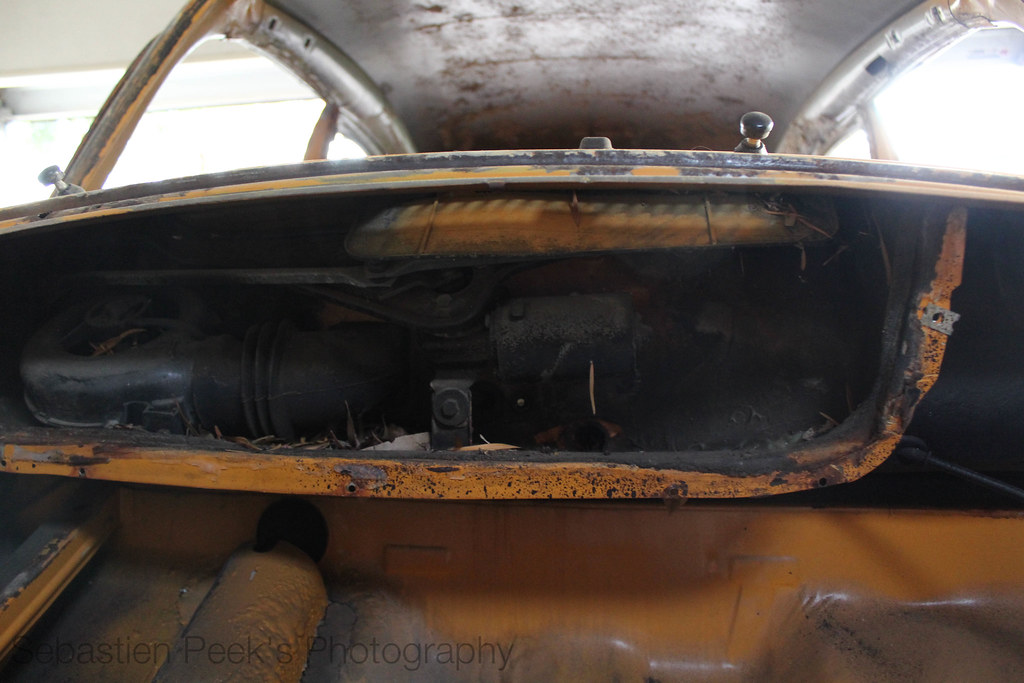
I went inside and cleaned up the luggage area. Got rid of all the seam sealer.
IMG_0182 by sebastienpeek, on Flickr
On the other side though, I found after I cleaned up the seam sealer that some of the panels had actually come away from where they were spot welded. Easy enough to fix up.
IMG_0172 by sebastienpeek, on Flickr
Oh, I also found these holes in the heater channel on the drivers side too. Just going to replace the majority of the heater channel as it'll mean the whole thing is new metal.
IMG_0193 by sebastienpeek, on Flickr
This also needs to be replaced. Gutters are great, except in some bits, and those bits are pretty damn bad.
IMG_0194 by sebastienpeek, on Flickr
I'll leave you with a shot of each side. As you can see, the galv is used around the rust areas, the rest is still in bare metal unfortunately.
IMG_0199 by sebastienpeek, on Flickr
IMG_0200 by sebastienpeek, on Flickr
So now I just need to get replacement panels and a TIG welder. Then I can start on the rust repair. Until then, I shall leave Gretl in the garage.


Comment