 Tweet
Tweet
Originally posted by milano_red
View Post
-
Thanks! We've learned a lot as we progressed but I've got to give Greg a lot of credit as he can pretty much tackle anything. We're more motivated than ever to see it on the road and the kit in production!IG: @brickhouse_products
brickhouseproducts.com -
This is why everyone ls swaps, so much hassle to fit but stoked your getting it done super well!!Comment
-
I just love quad cam v8's... And this is more unique than a LS swap, or even an UZ swap. Definitely subscribed!Originally posted by aLaFleurComment
-
Luv the fab work. Keep us updated.
"Never argue with an idiot; they'll drag you down to their level and beat you with experience"Comment
-
Thanks! Yeah, I was contemplating doing the LS swap back in like 2005 maybe it was when there was only like two LS cars on the road, Blu808 was still Shock Drifting and they were LS swapping stuff, and minimal swap parts available. It was a huge headache back then. But now it looks like it was made for the car. The VK just needs someone to pave the way, build an install kit, and make it a doable swap for the average joe. That's our goal anway.Originally posted by 7075x4130 View Post
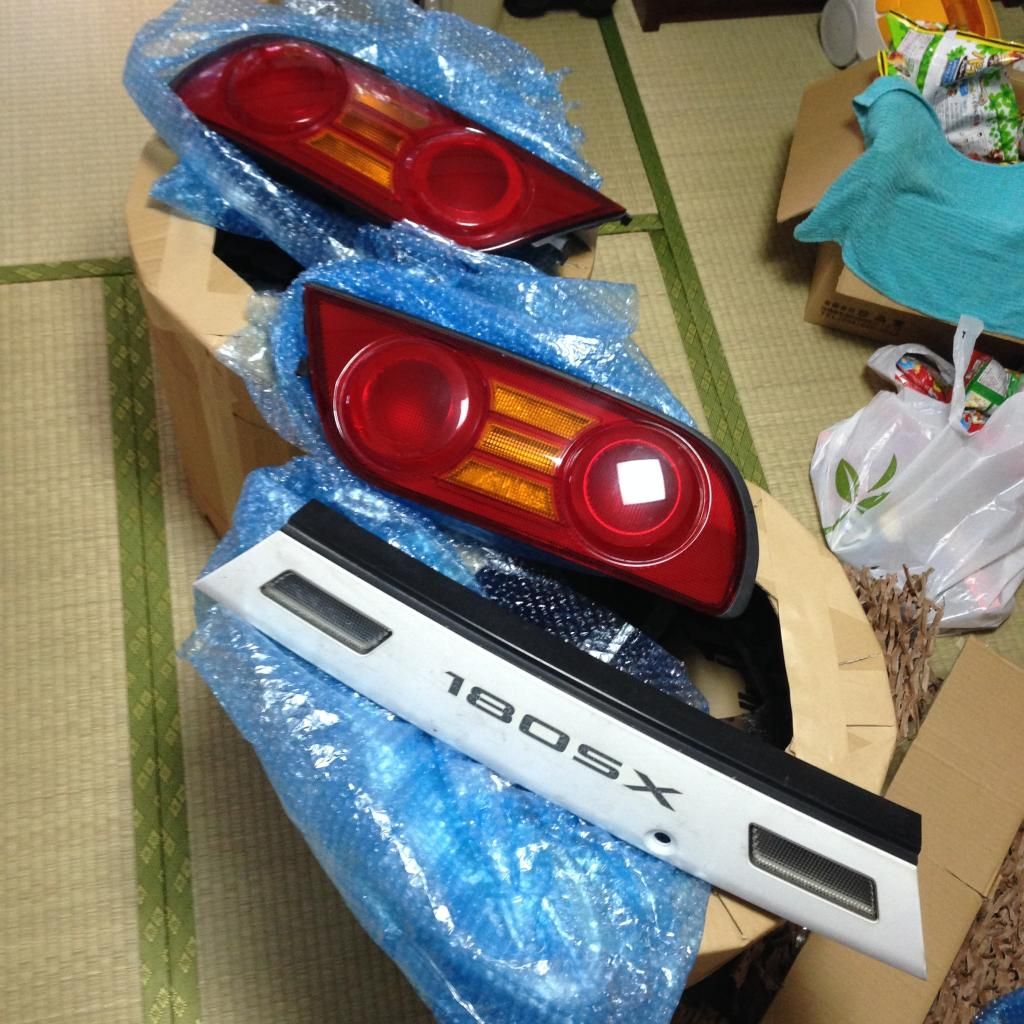
Originally posted by Yezzz View PostThanks guys! Update in the works for sure. Exterior bits showed up today! Bit of a sneak peak on instagram - @brickhouse_steve (me) or my brother @brickhouse_greg.Originally posted by TeckniX View PostIG: @brickhouse_products
brickhouseproducts.comComment
-
this is fucking amazing!!Comment
-
Thanks man! You guys have some VK stuff going on there in Australia.Originally posted by Lukey View Post
Body is getting some style upgradezzzzz.
 IG: @brickhouse_products
brickhouseproducts.comComment
-
Big update time!!
Well it has been sometime since I got anything up....*muttered under breath*...4 months...*cough, cough*.
There has been a large gust of wind in the VK56 swap sails. Steven and I have set a couple dates we would like to see things done: end of July should see swap completion and ready for tune; Mid-late August should see the remaining small bits on the car. Steven is going to make a trip back for a month in July/August to see family and then work with me on getting this beast to a tunable state. That way, Steve (Iceman), can come down, celebrate birthdays, and tune this thing and get it moving under it own POWA!!!!
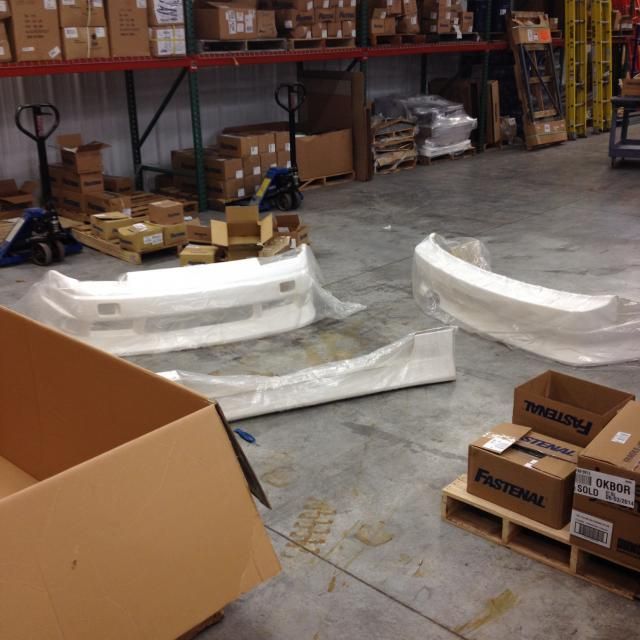
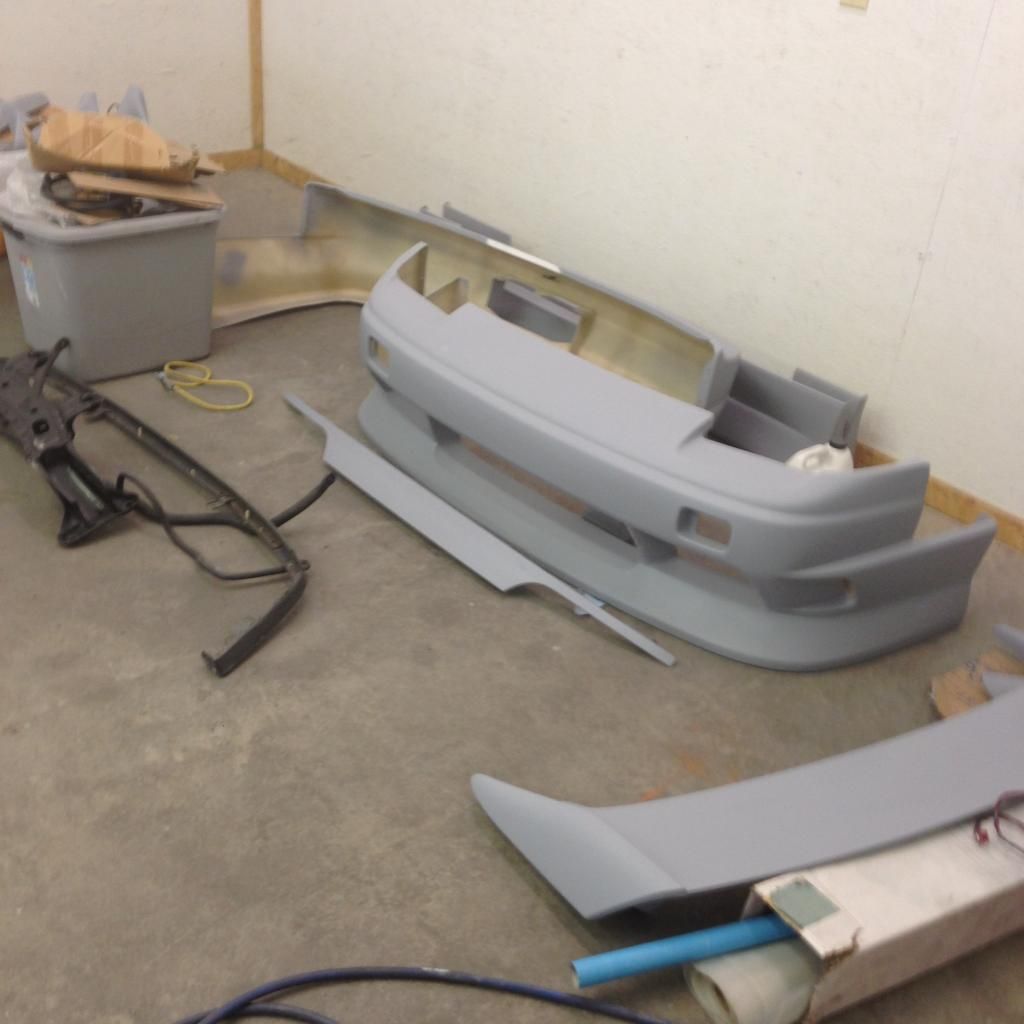
We picked out a body kit to run on ol' Minty. I am pretty excited about the kit. It is a JP USA or JP Vizage Type 2 180sx kit. It fits my style for sure and it was the one Steven and both agreed on. The bad part about the kit is it just added to my ever growing "to do list". hahaha...fml. The whole goal of all this show and go parts list, is to make the Offset Kings event in Fort Worth that is in conjunction with Formula D. (If this gets cancelled, someone please let me know!!)
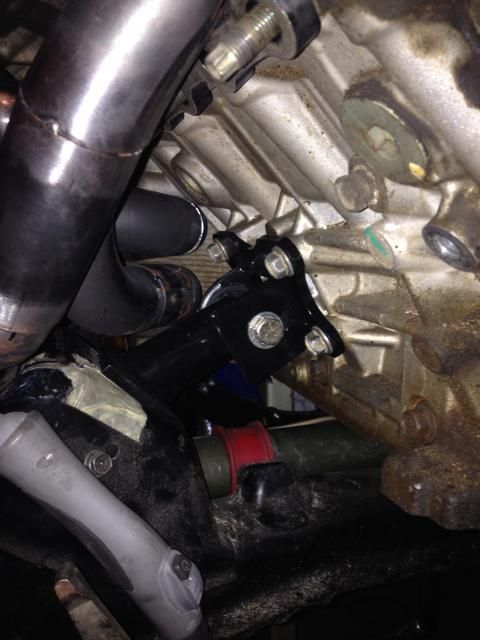
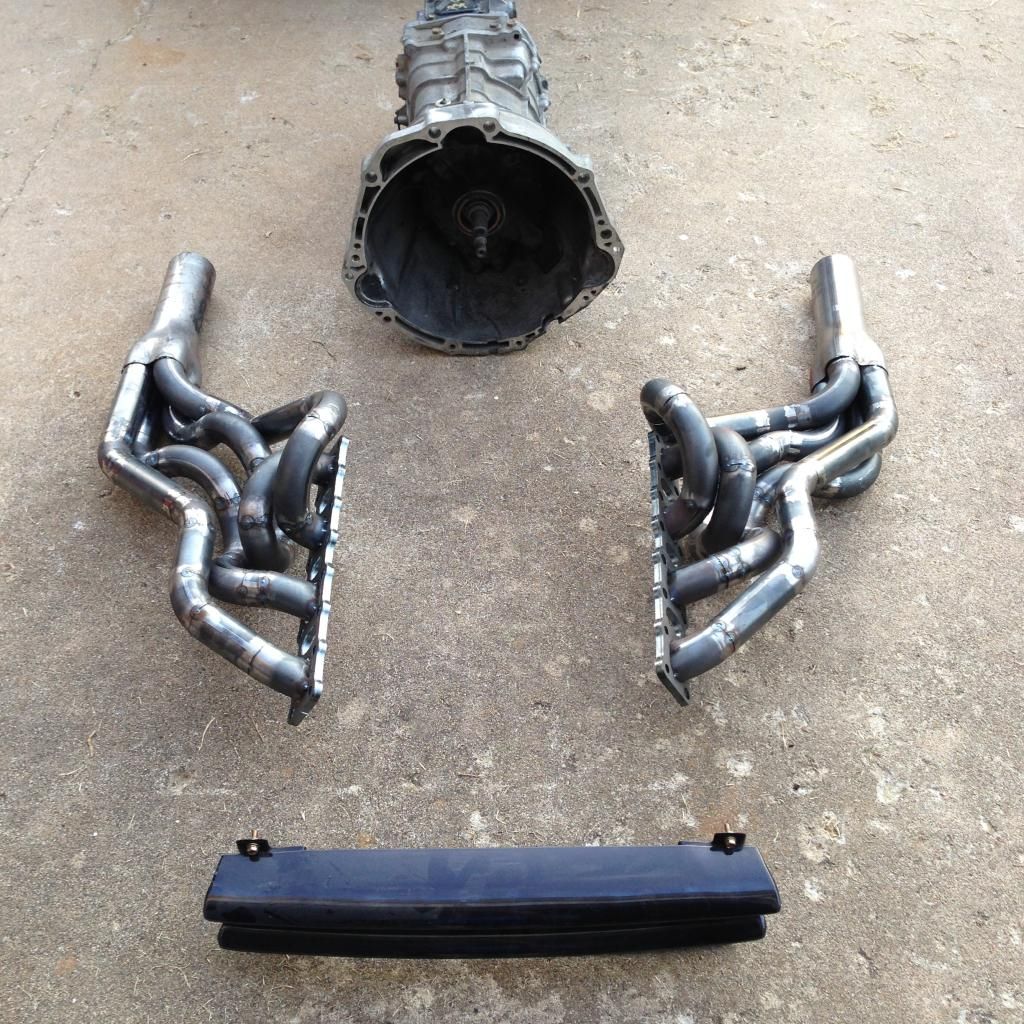
Oh, and I redid the motor mounts for the 3-4th time. I am much happier with them now, they allow better clearance for the headers.
Did you say headers?!? Oh, and I redid those as well. I have been really stuck on these things as they weren't equal length...until now. Now that they are equal length the e-nerd in me can sleep easier at night. Sometime in the near-ish future I would like to make a set of headers as similar to stock headers as I can to see what the potential power gains are and where they lie side by side on the dyno graph.
Some of the every extending list of things to do is:
Move engine bay wiring to under dash
Prep and paint the kit after fitting it
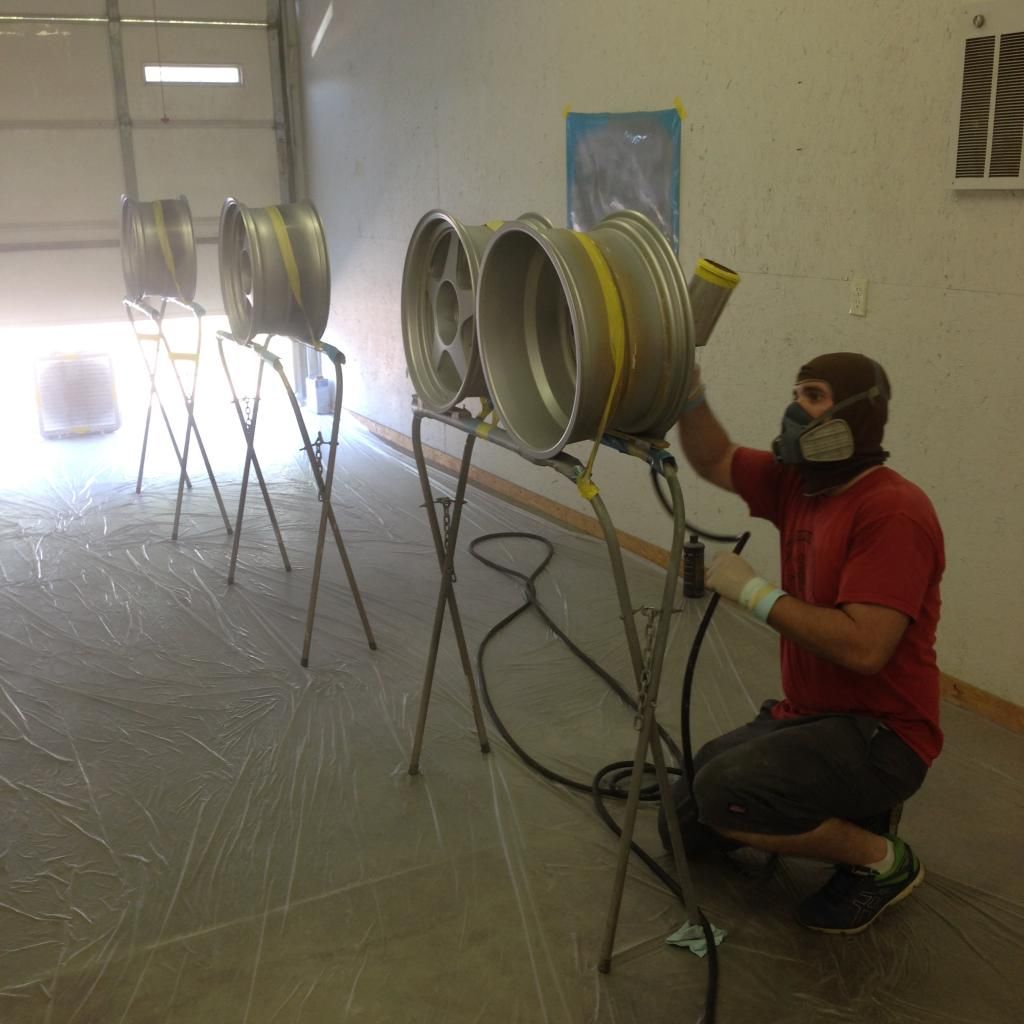
Prep and paint the new rims - info to follow
Make a "y" pipe
Finish my 1, 2,...3rd set new and improved should be equal length headers
Extend front LCAs
Fix passenger front fender(or buy a decent one for cheap)
Fill rear windshield squirter hole that I forgot to do the first time I painted the body...fml
Add back new bling gauges - more info later
Install fresher seats - more to come on this too
Swap steering wheels - yep, later update
Clean up door card fabric
Add Dvd Deck, and sub enclosure (if time, stupid high school me wants this)
Make rear jacking point for rear bumper support
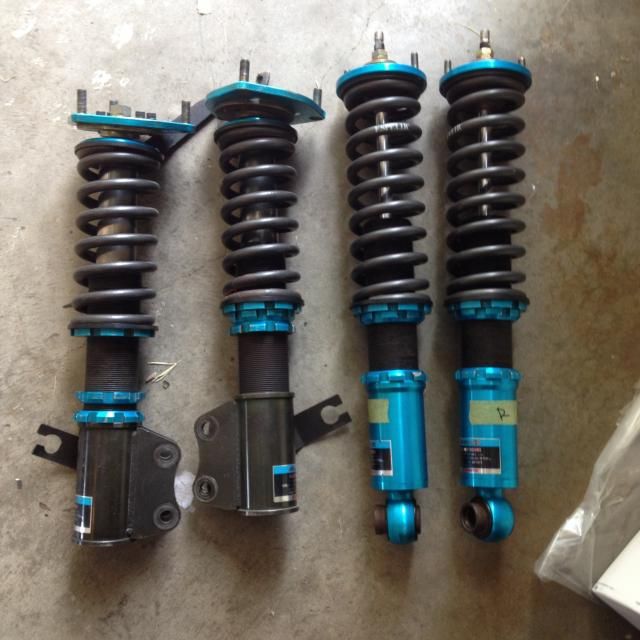
Install new GP Sports G Master coilovers
Finish welding stuff that needs it
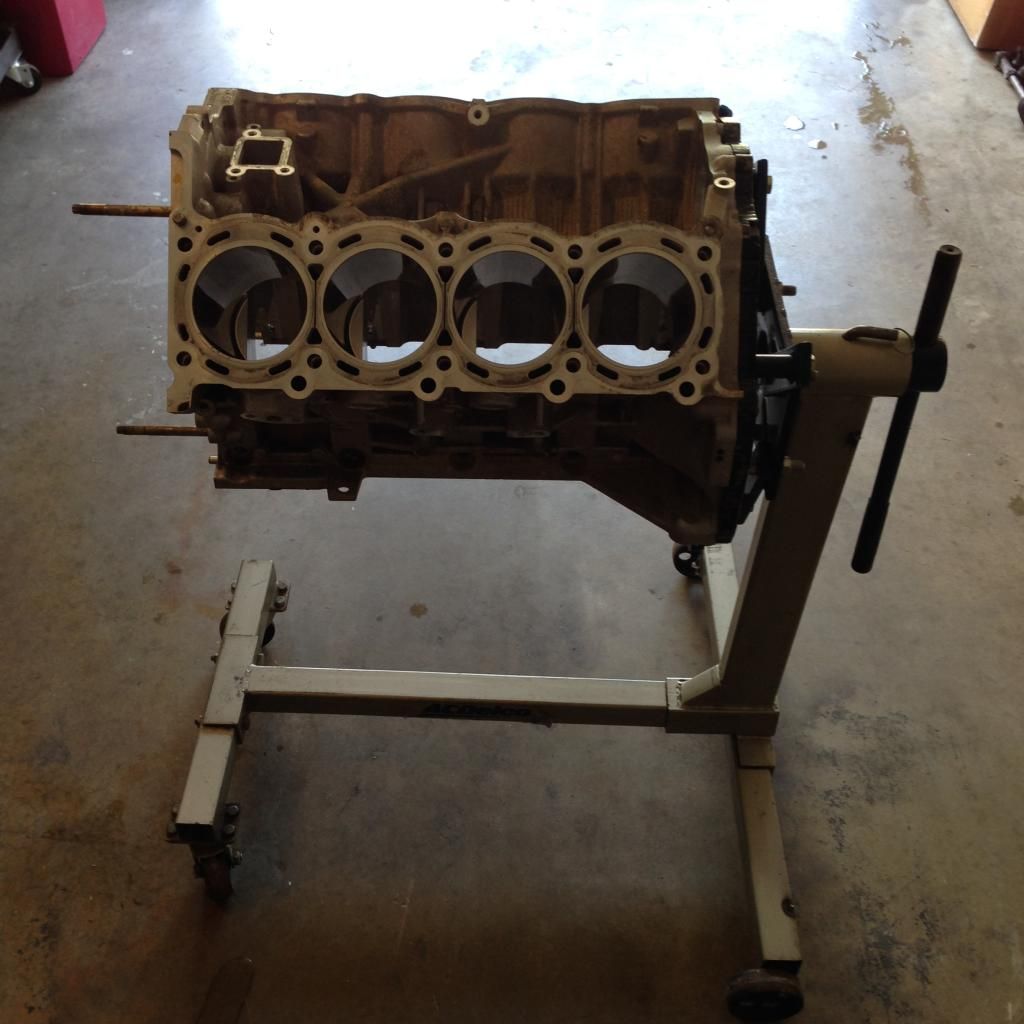
Clean and Rebuild motor
Rebuild R200 Kaaz unit and set lash in pumpkin
I am sure there is more but that was only 10 minutes of thinking about it...hanging head...
Anyway lets do some pictures:
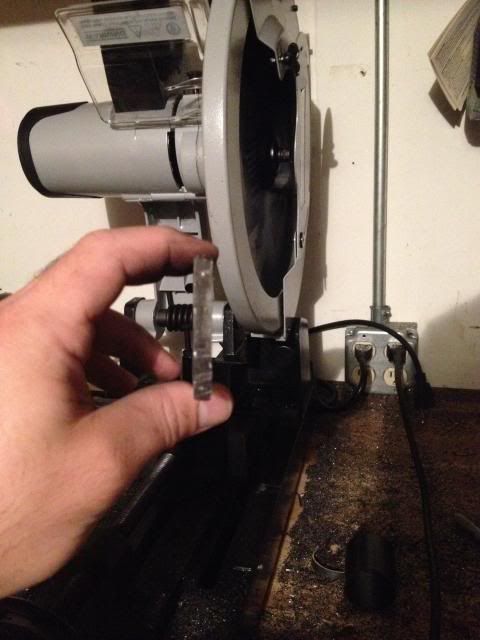
I finally started using the Evolution Raptor Saw, and it is badass. I have used it to cut my header piping and it makes for a very clean and true cut:
Here is the redone motor mounts. Thankfully I made a jig. It made the remake effortless:
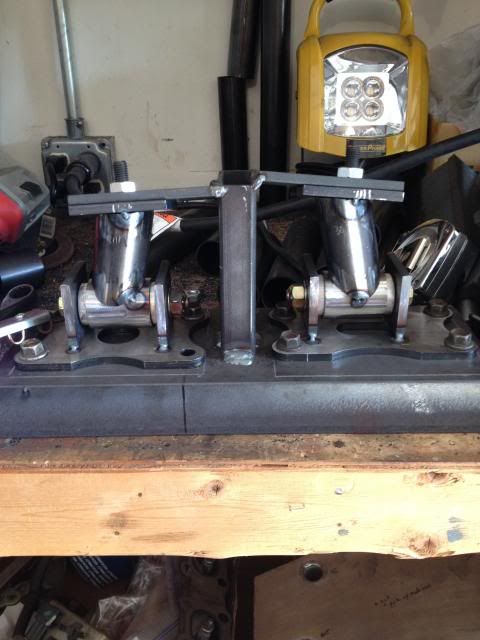
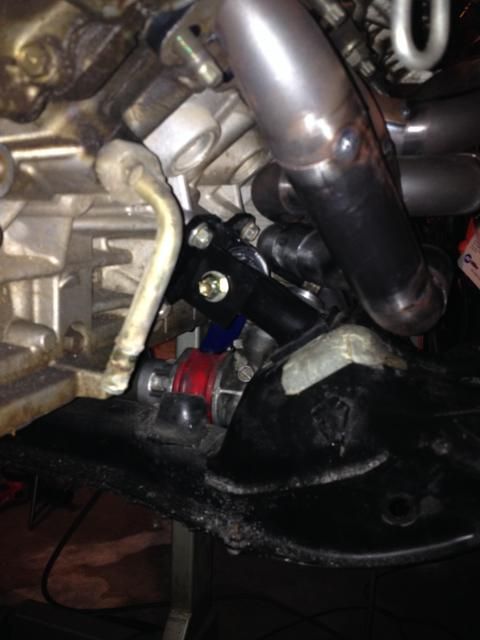
Painted and installed:
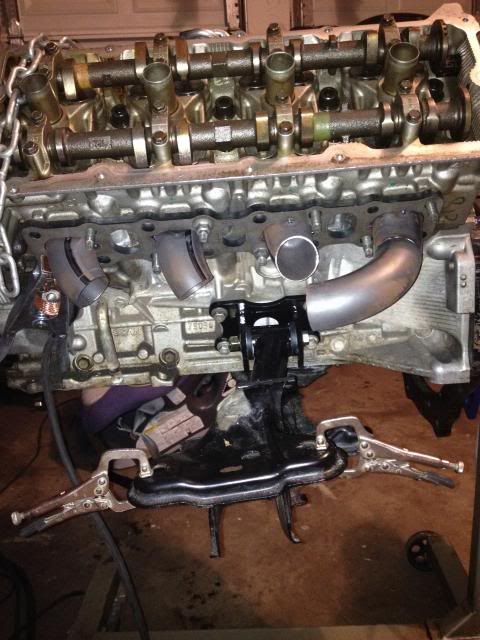
The headers are coming, the headers are coming:
For you duct tape fans out there:
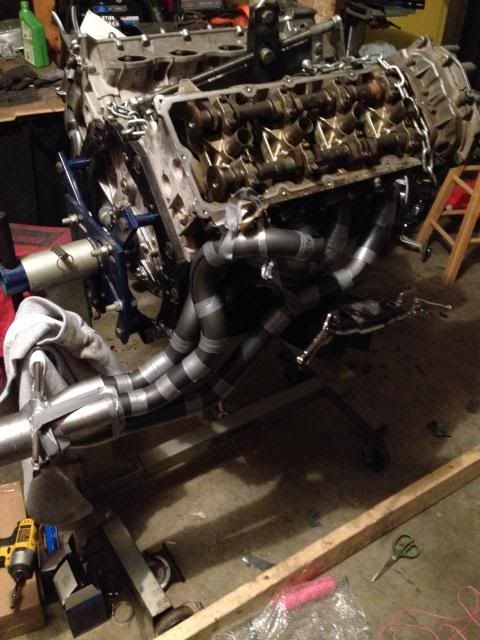
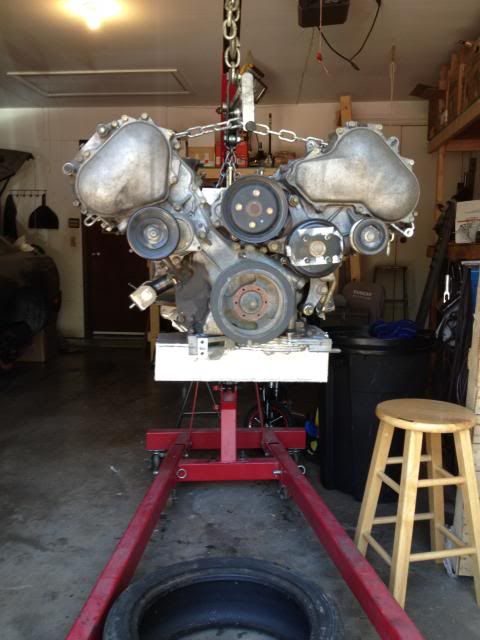
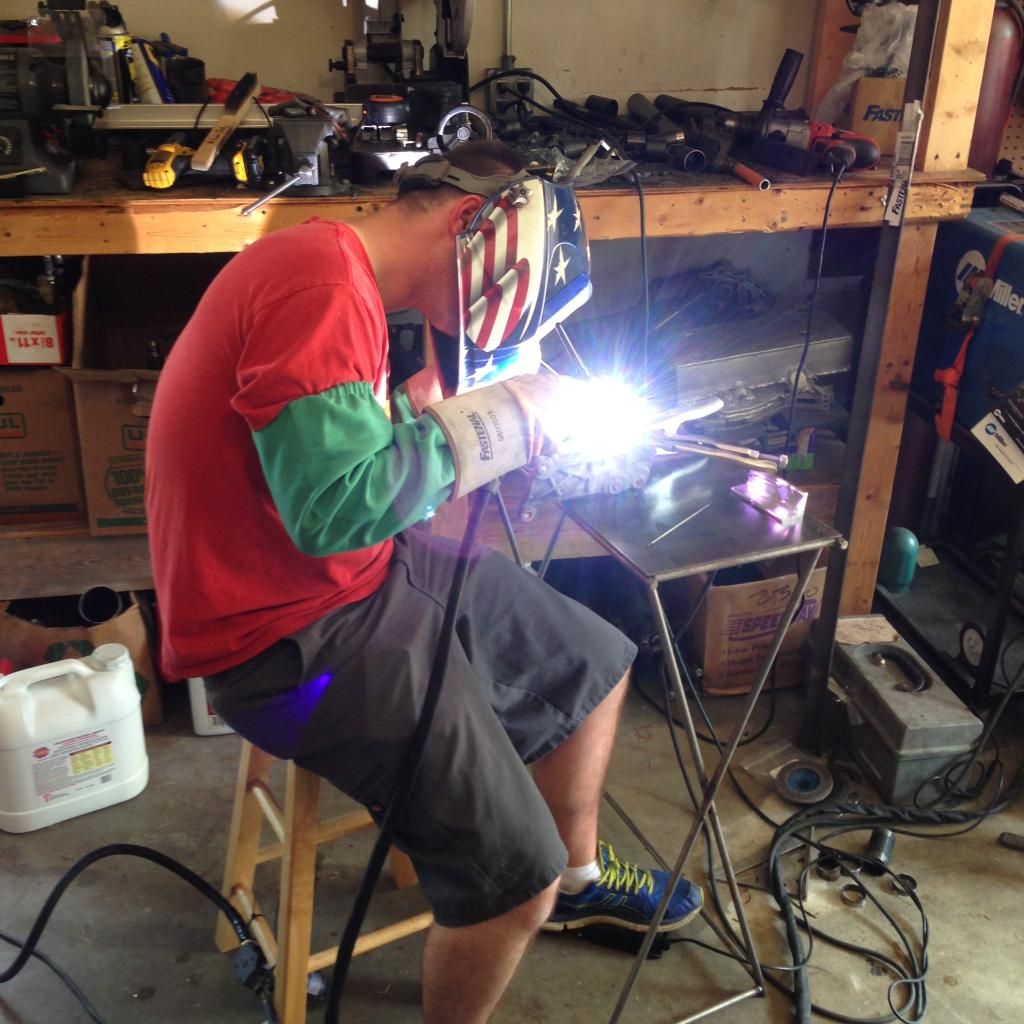
Tacking it together, and the current state:
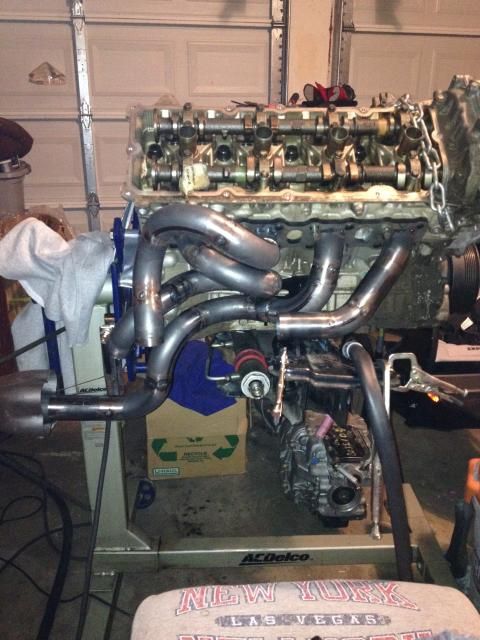
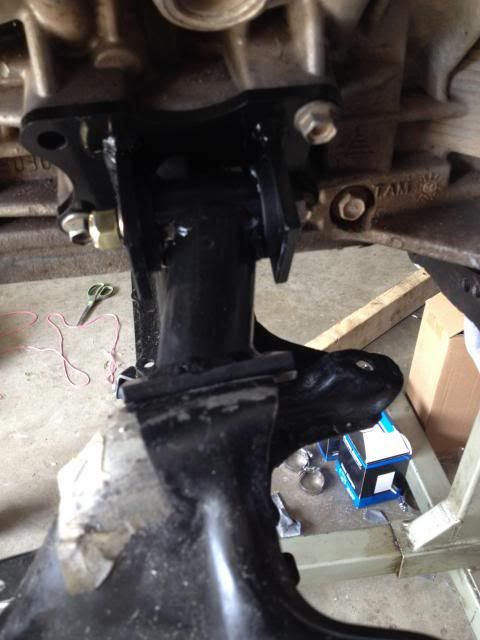
Motor mounts now allow more room for headers:
I did a quick check with the oil pan to make sure nothing had warped during welding, and thankfully it was all just fine:
Then I got distracted!!!:
Oh and whats that more shit to distract me further!!!!:
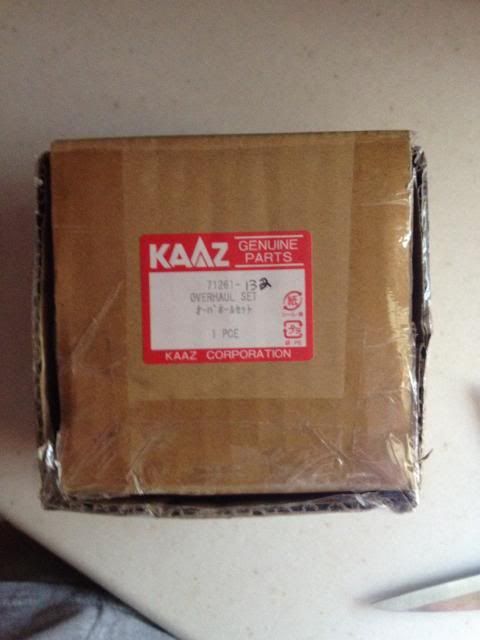
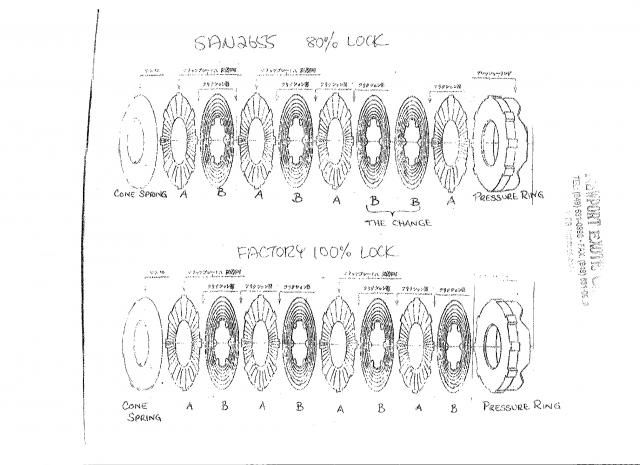
For anyone needing to rebuild their KAAZ R200 here is a diagram for how to place the clutch plates for 80% and 100% engagement:
Follow me on instagram @brickhouse_greg for in the moment postings. I will be trying to document the next couple month as best as possible.
LOTS TO COME!!IG: @brickhouse_products
brickhouseproducts.comComment
-
-
awesome build!!!
ill take that ka-t setup if you wanna get rid of it for free or something, you know.
cool seeing more 240s hereComment
-
Thanks guys!Originally posted by Devocat View Post
And actually, the KA-T setup is for sale. Parting it all out to push this project forward and get the shop setup.IG: @brickhouse_products
brickhouseproducts.comComment
-
Normally Greg writes these posts but this time I, Steve, am at the helm because for the first time since starting this project I was able to work on it in person. My wife, Shio, and I came back to the States for four weeks starting in mid-July and, while seeing family was a big part of the trip, a secondary goal was re-working our VK56 S13 demo car (aka the Minty Smash and Minty Fresh categories on the blog).
Back in June or so, Greg and I set the deadline for the car's debut to be the Offset Kings Car Show at Formula Drift Texas September 13th weekend...and it's now nearing mid-August. We've got some work to do!
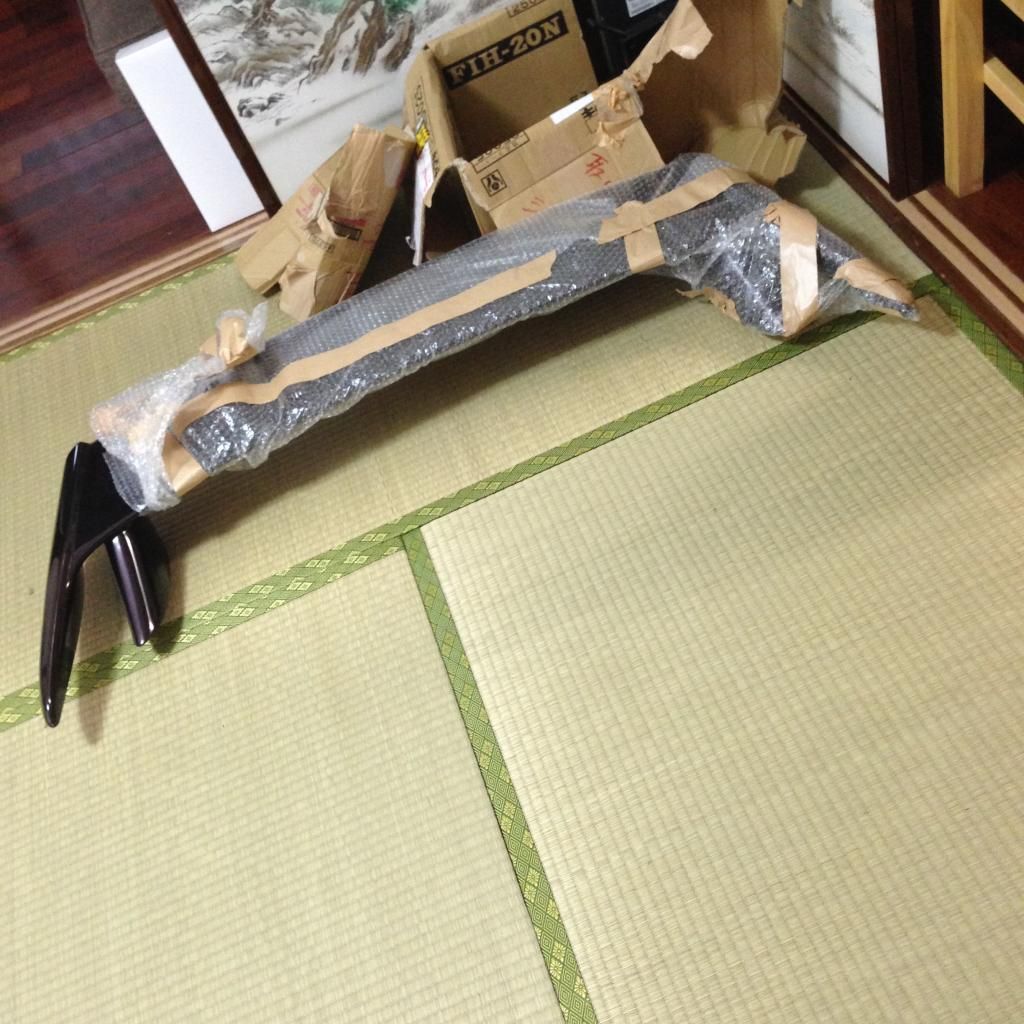
With the deadline set and the fabrication nearing completion on the swap, our discussions turned to what we wanted the car to look like. The VK56 swap was cool alone but we wanted to present it in a complete package - engine, interior, exterior, and suspension. We both agreed on "JDM-ish with a clean VK56 swap." That's somewhat vague but we both were on the same page when we started planning out each aspect. Since I live in Japan and YAJ like a madman, I had the JDM part covered. And as Shio and I neared our departure date, things really started to move into high gear and our tatami room looked like this as I packed and shipped some last minute items.
When we finally made it to Greg's house, he and I laid out three to-do lists - engine/engine room, exterior, and interior - and started tackling each item as it made the most sense.
First up was finishing the equal length headers Greg's been working on. As I watched him adjust the runners and test fit it all in the bay, it really made me appreciate how many times he had pulled and put in the engine by himself. There's seriously a ton of man hours in these headers and every other aspect of fitting the engine in the bay. I can't give him enough credit for what it's taken to get this far.
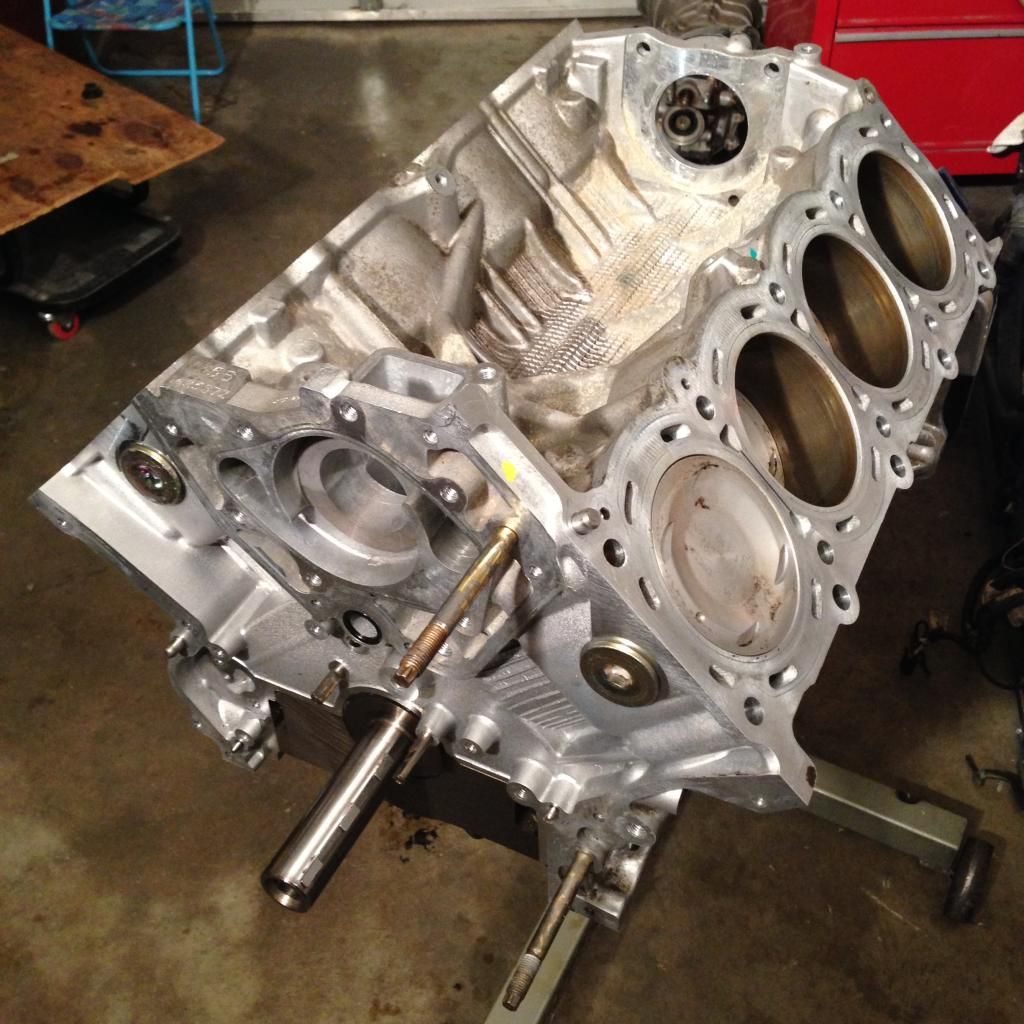
And with those sorted out, the engine could be disassembled. If you'll recall from one of the first posts, our engine had a bent rod so a rebuild was on the to-do list. This was also each of ours first time time rebuilding an engine. So if it runs awesome or fails on the first crank, it will have been a HUGE success in terms of learning experience.
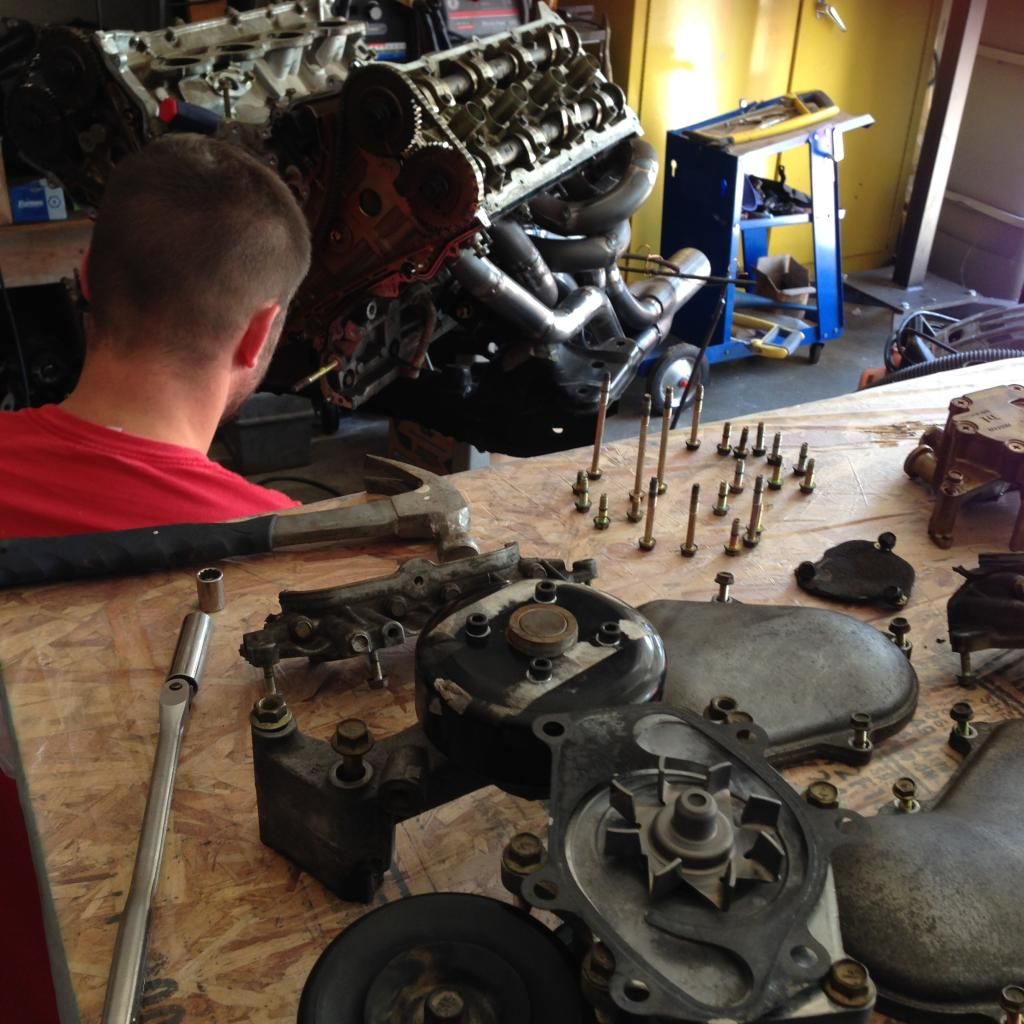
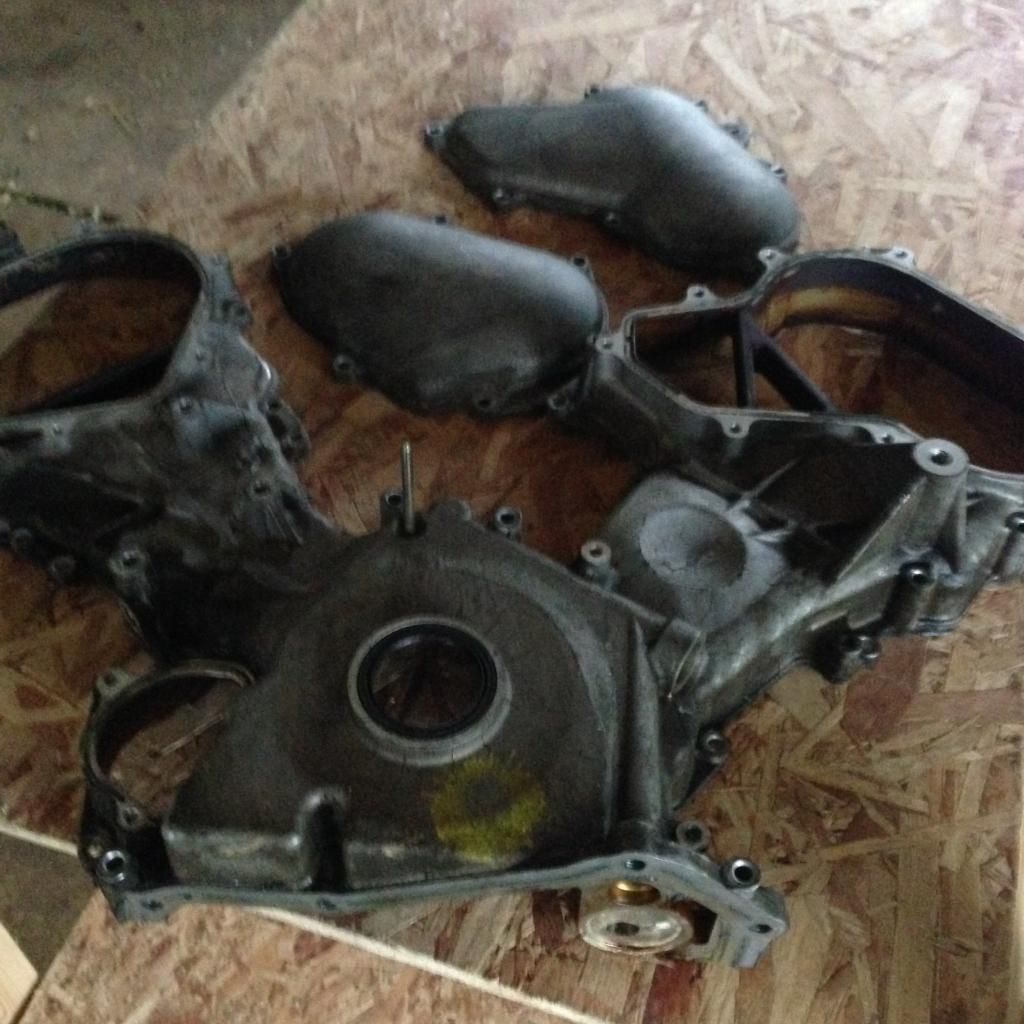
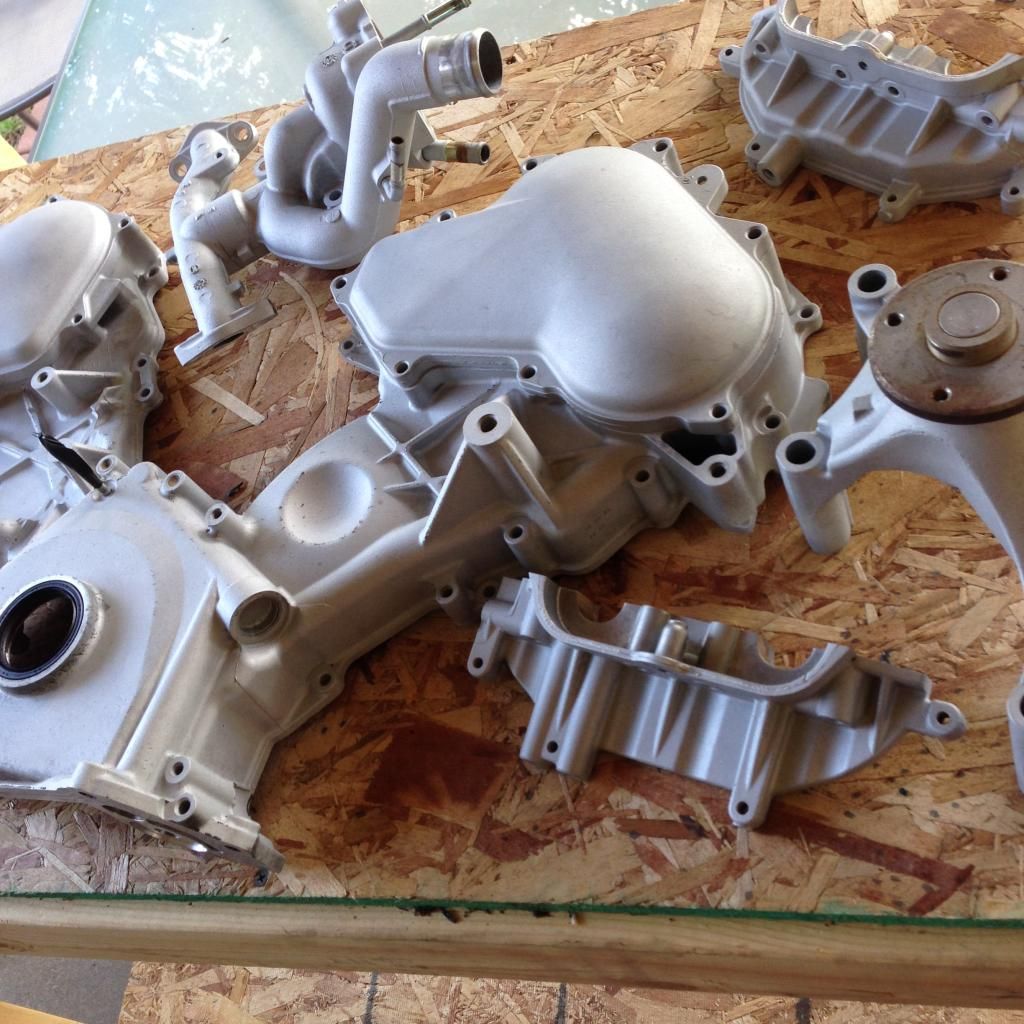
I spent a good deal of time sandblasting the timing covers. This is a show car after all (at least for it's debut) - gotta get that engine looking it's best! Here is the before and after:
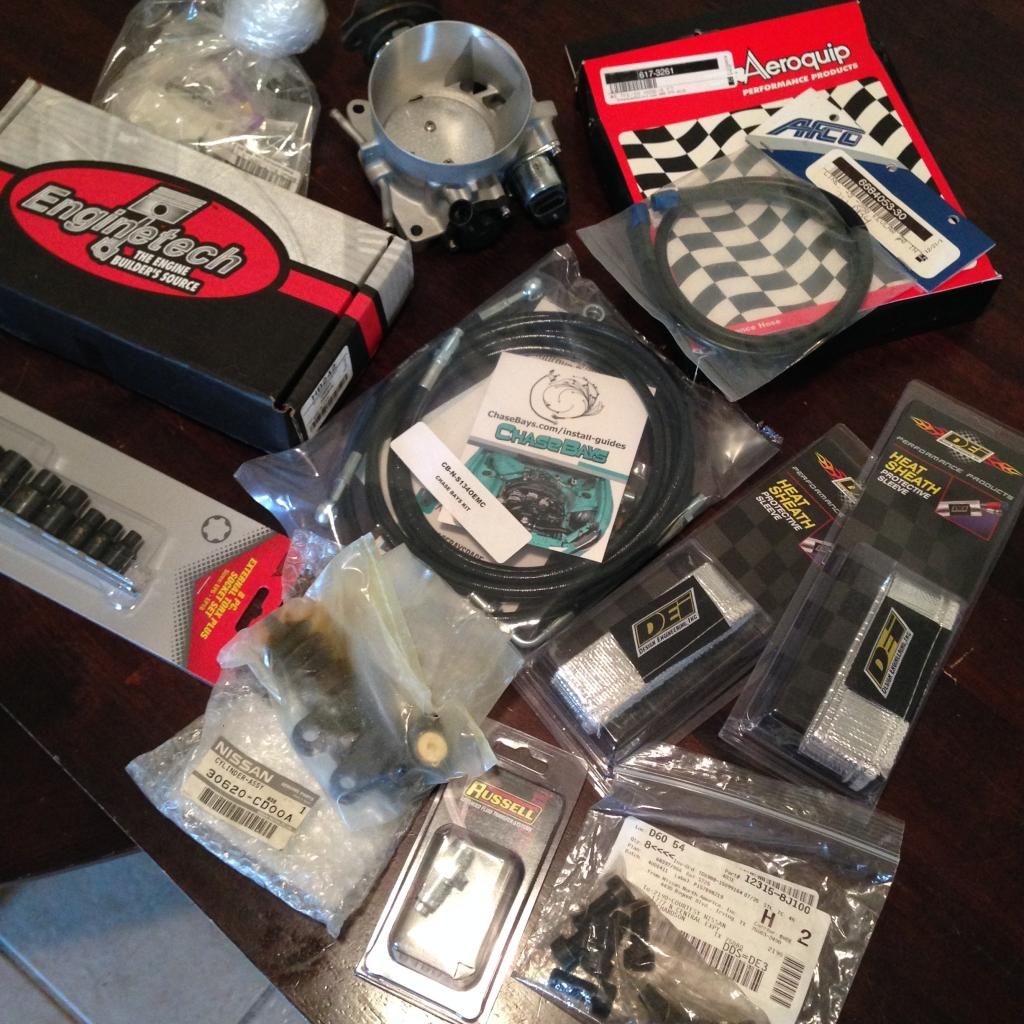
With the to-do lists came an equally impressive to-buy list. Funny how that works. And as the money went out, the parts, fittings, piping, and tools started rolling in.
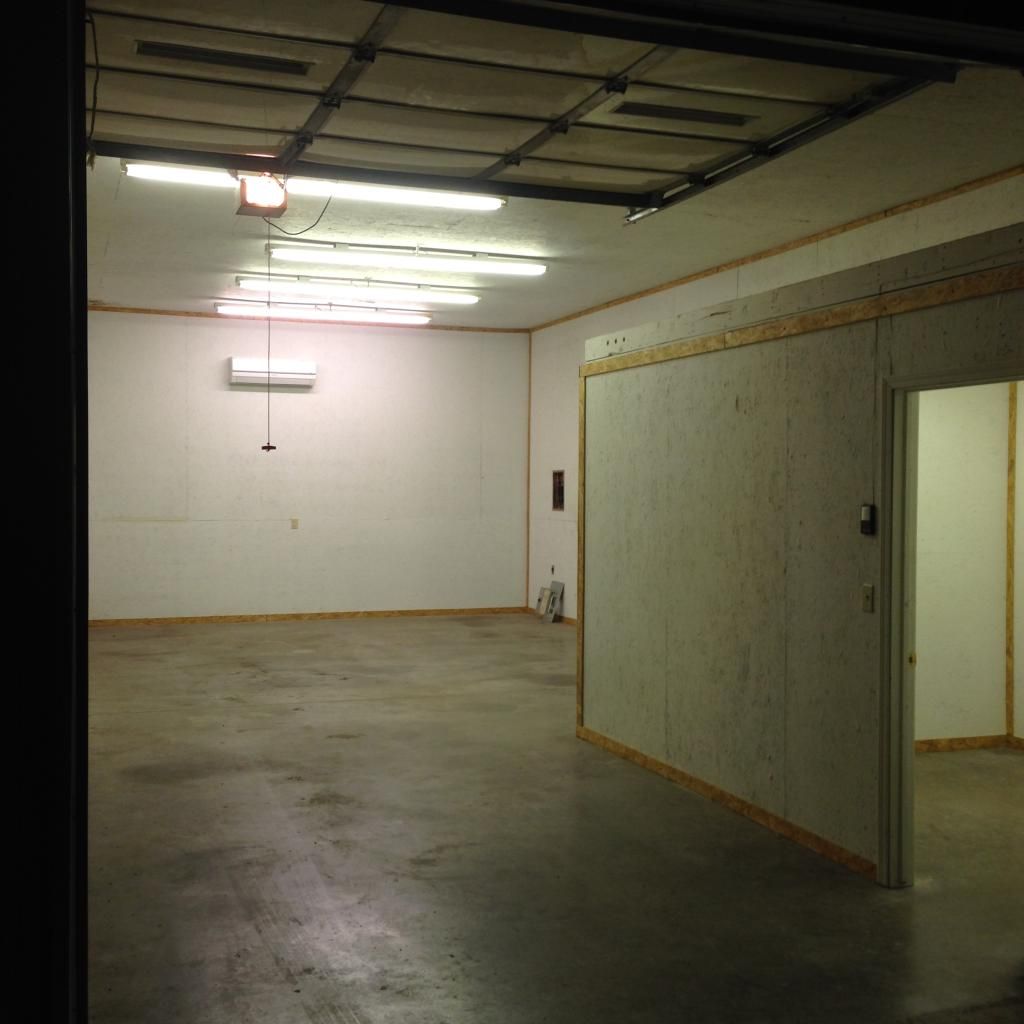
About that time, we signed the lease on our first shop - super excited about this! We definitely needed the space as it doubles (and then some) the current two car garage all this has been happening in prior. Space for other projects has always been an issue. So wait...let's add a shop buildout to the to-list. Haha. Either way, Brickhouse now has a home of it's own!!
Greg got after welding up some final bits on the oil pan and other odds and ends.
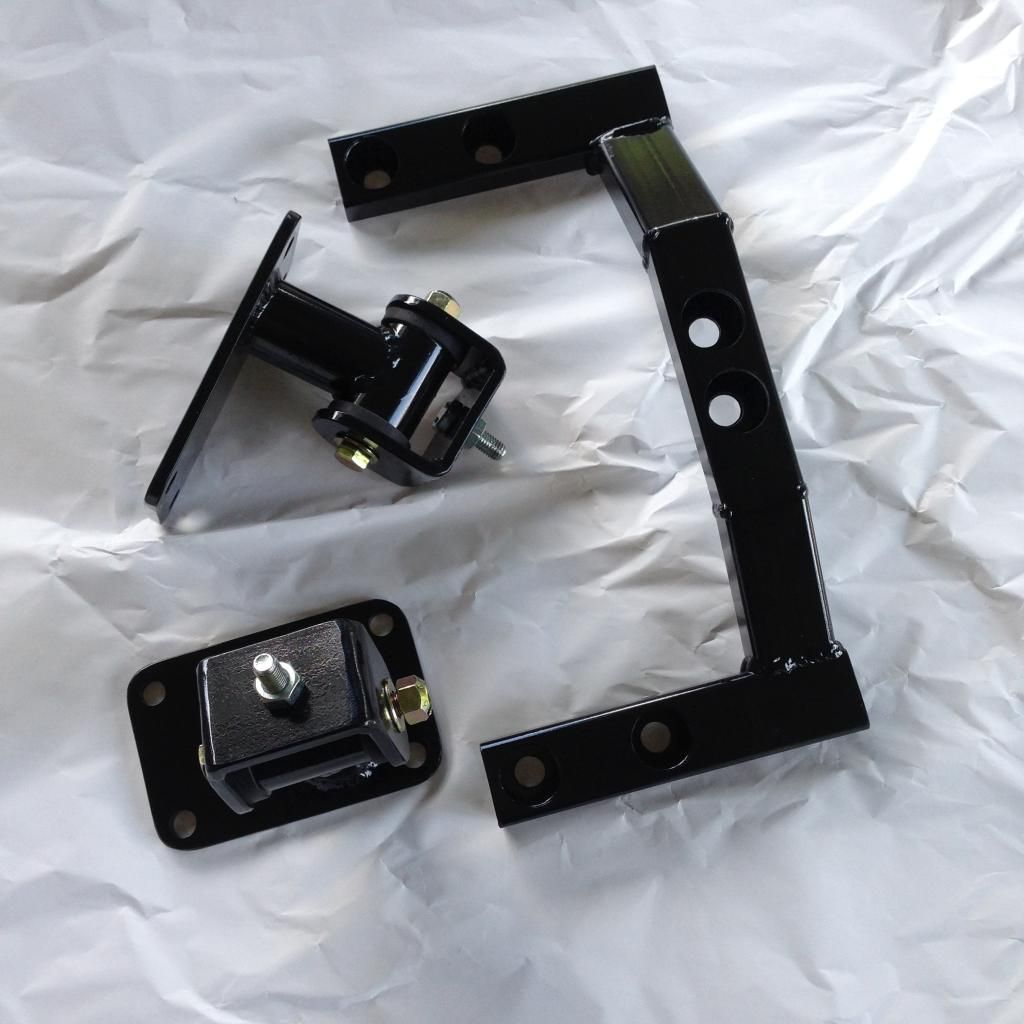
He also knocked out a mount kit for a cool dude who's been a supporter from day one and really wants a VK'd S13! These aren't production pieces - just something to allow the customer to locate his engine in the bay and figure the next aspects of his VK56 build.
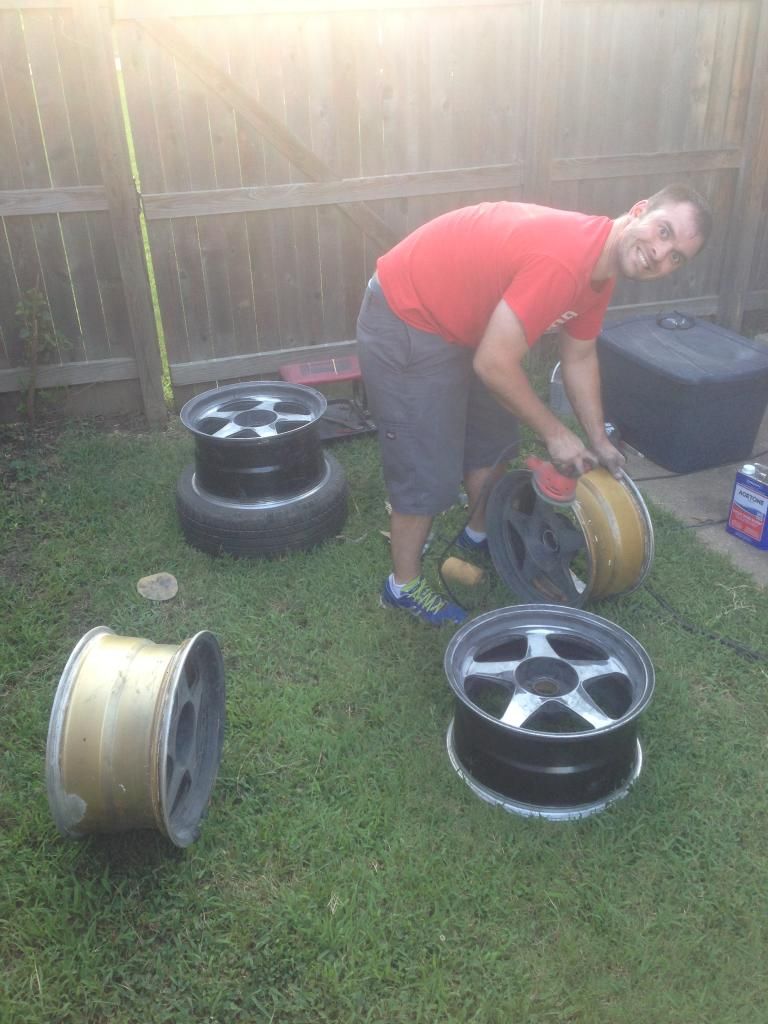
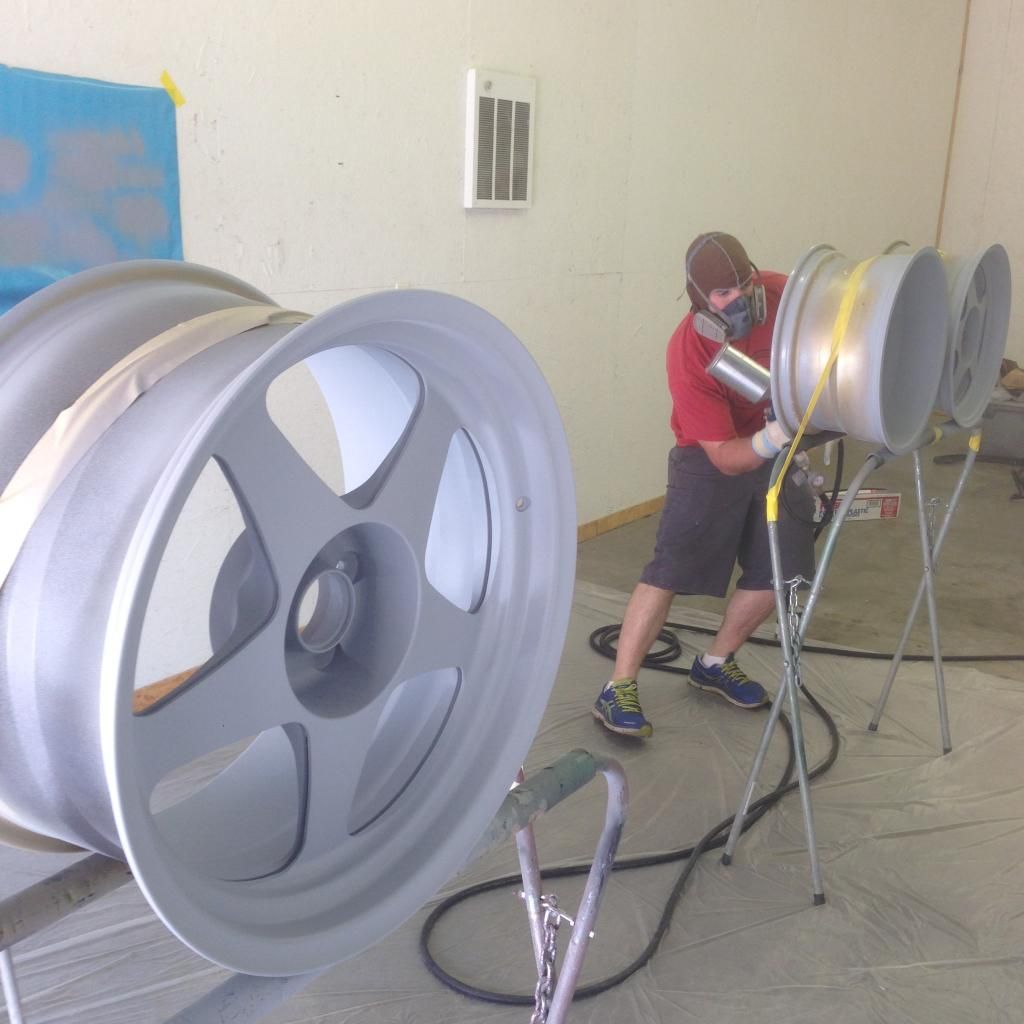
I got after getting the exterior pieces ready for paint. First up was our lovely set of 17/18 Regamasters. If you'll recall the set I sold a while back, these are the other half to that. See there is some method to my madness. Haha.
They got sanded down. Trust me, he's a professional...for real. Greg can get a straighter surface with a DA than most dudes could hope to blocking it.
And primered. The shop has thus far turned into a temporary paint booth which has allowed us to split up the bodywork from the engine work. That alone has been a huge help.
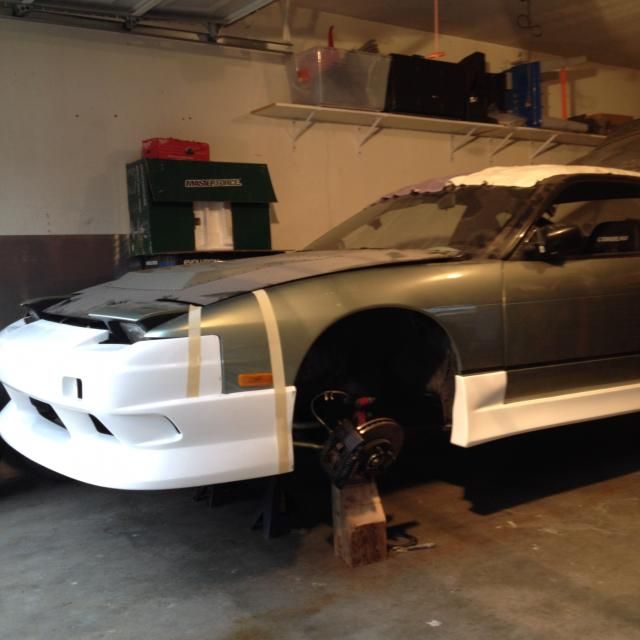
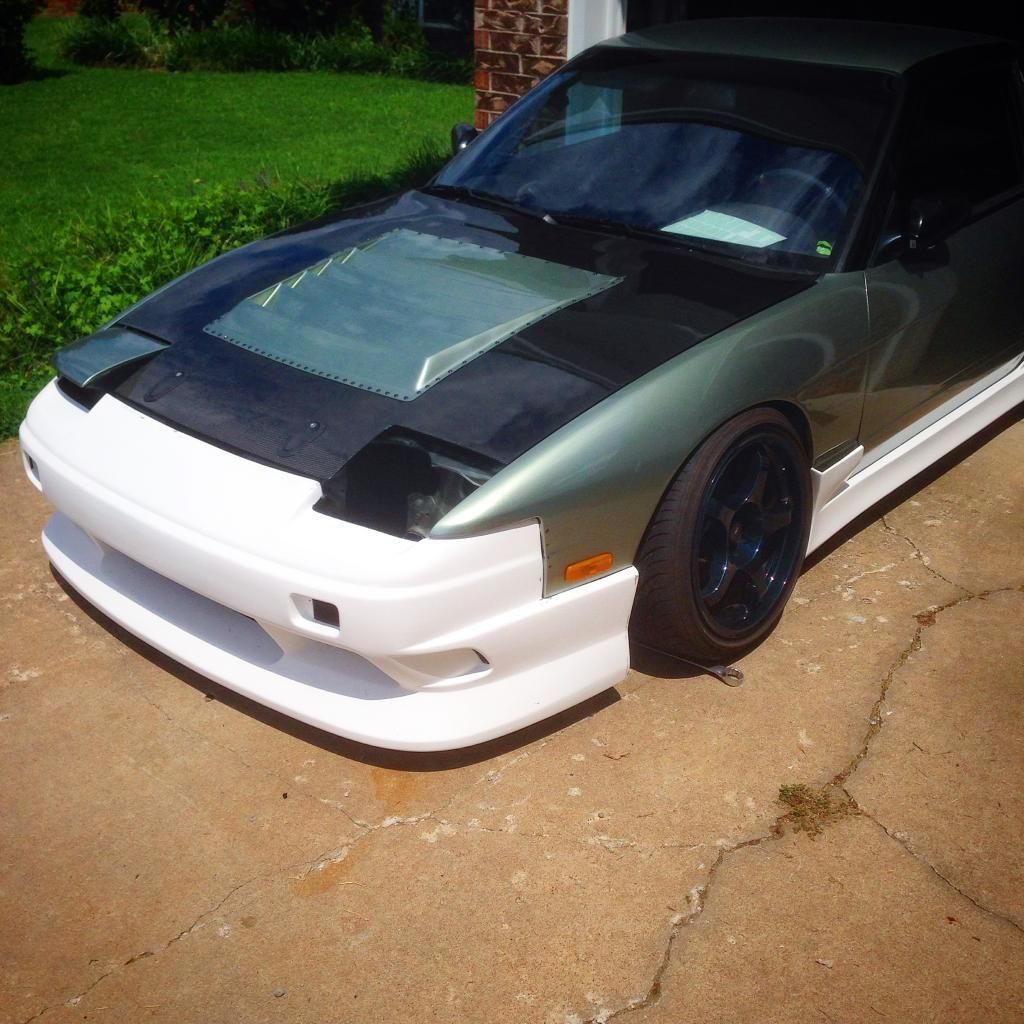
We really wanted that aggressive front camber look. Like D1SL car setup - aggressive camber front and straight up and down in the rear. Greg did up some 30mm extended FLCAs. These should work great with the cut knuckles and relocated rack we did a while back.
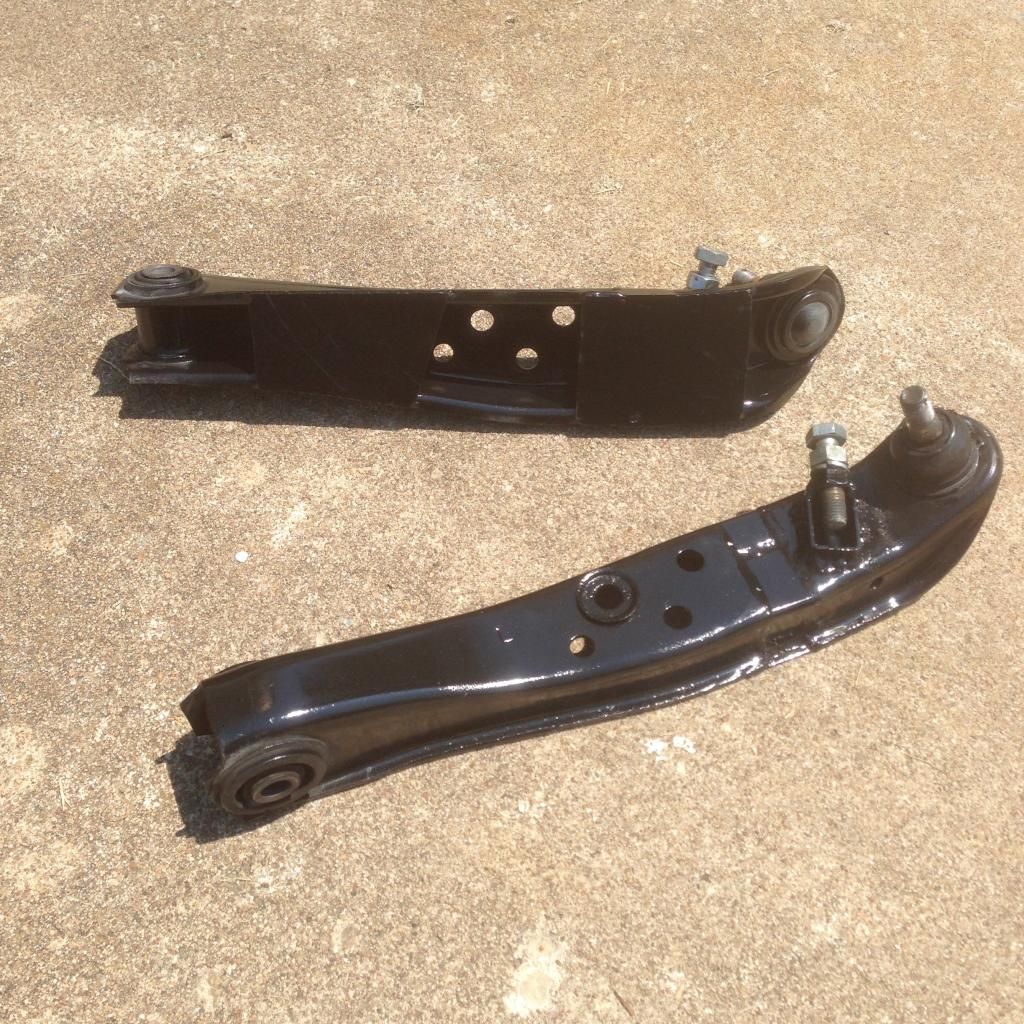
Mission accomplished. This kind of gives you an idea of the front camber. So awesome.
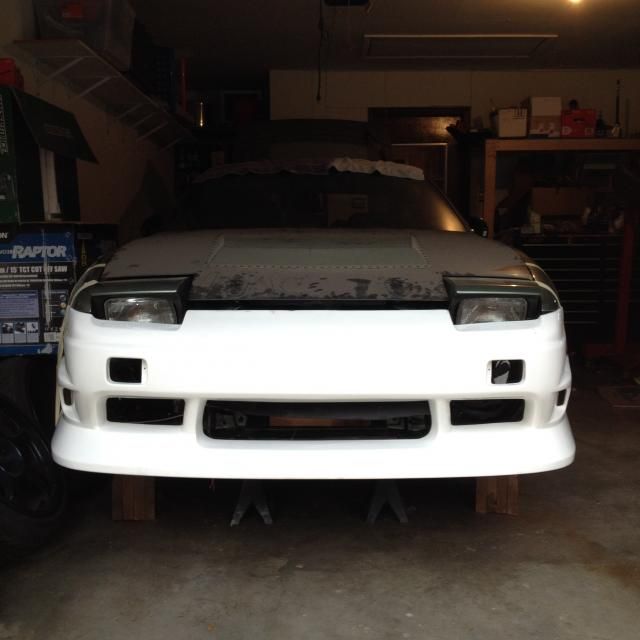
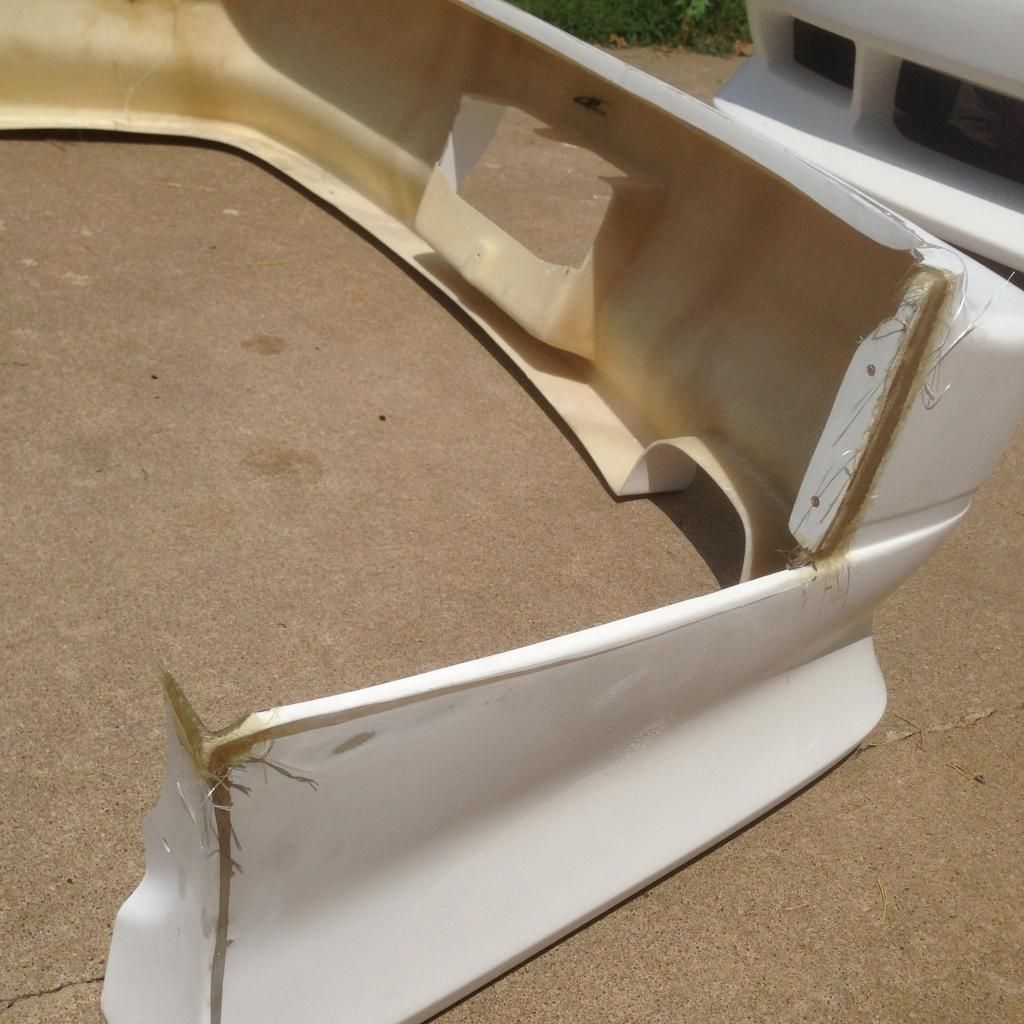
Keeping with the exterior work, we needed to test fit the body kit.
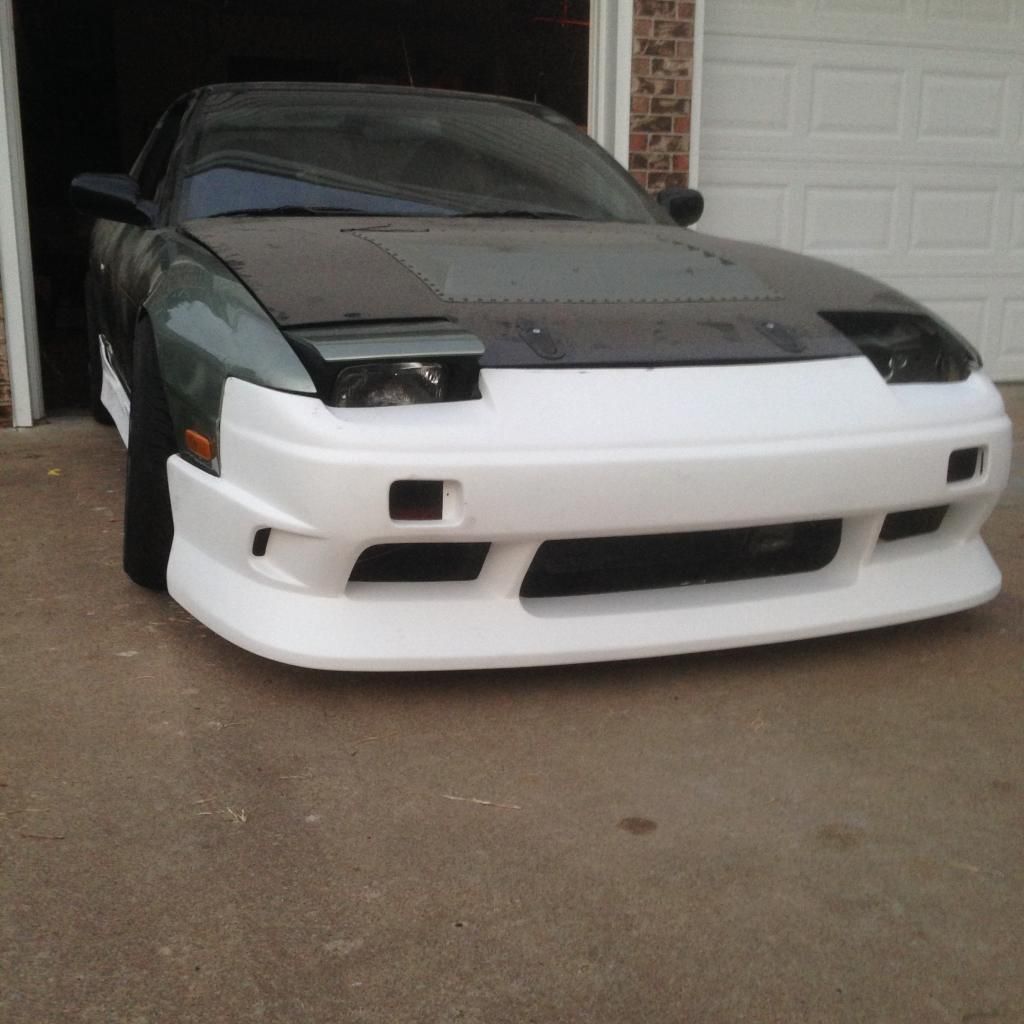
It was pretty darn close and just took a touch of finessing the rear bumper. I love fiberglass. Actually it's itchy and pretty terrible but I enjoy the challenge of getting it all laid up before your hands turn into a sticky ball of goober.
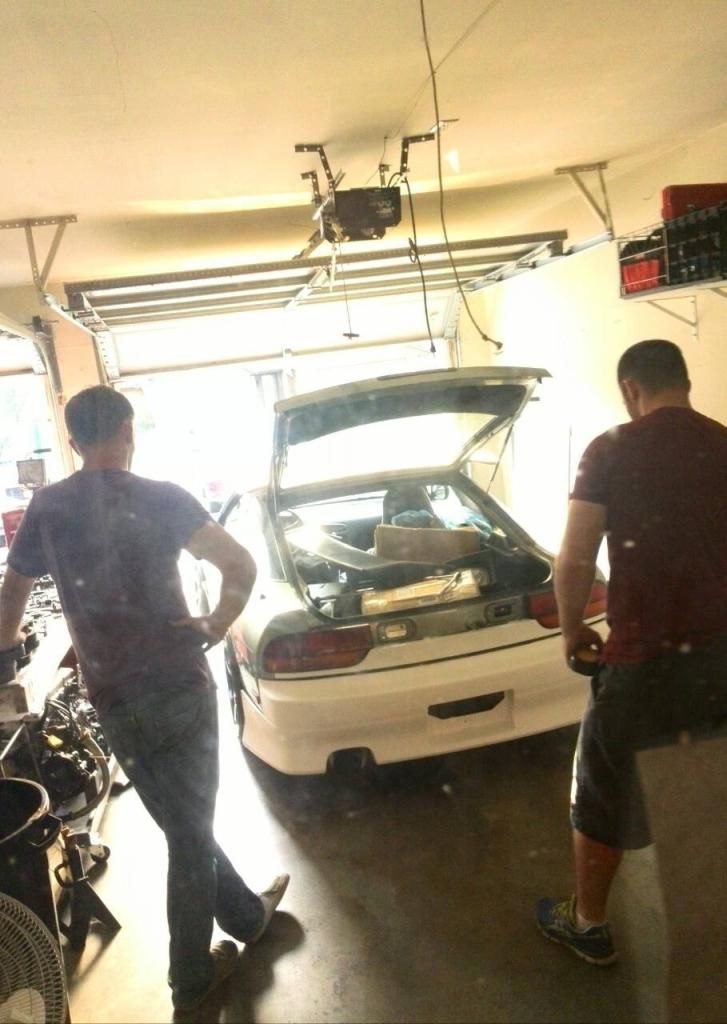
With it on the ground and out of the garage, it got it's first bath in a reallllly long time.
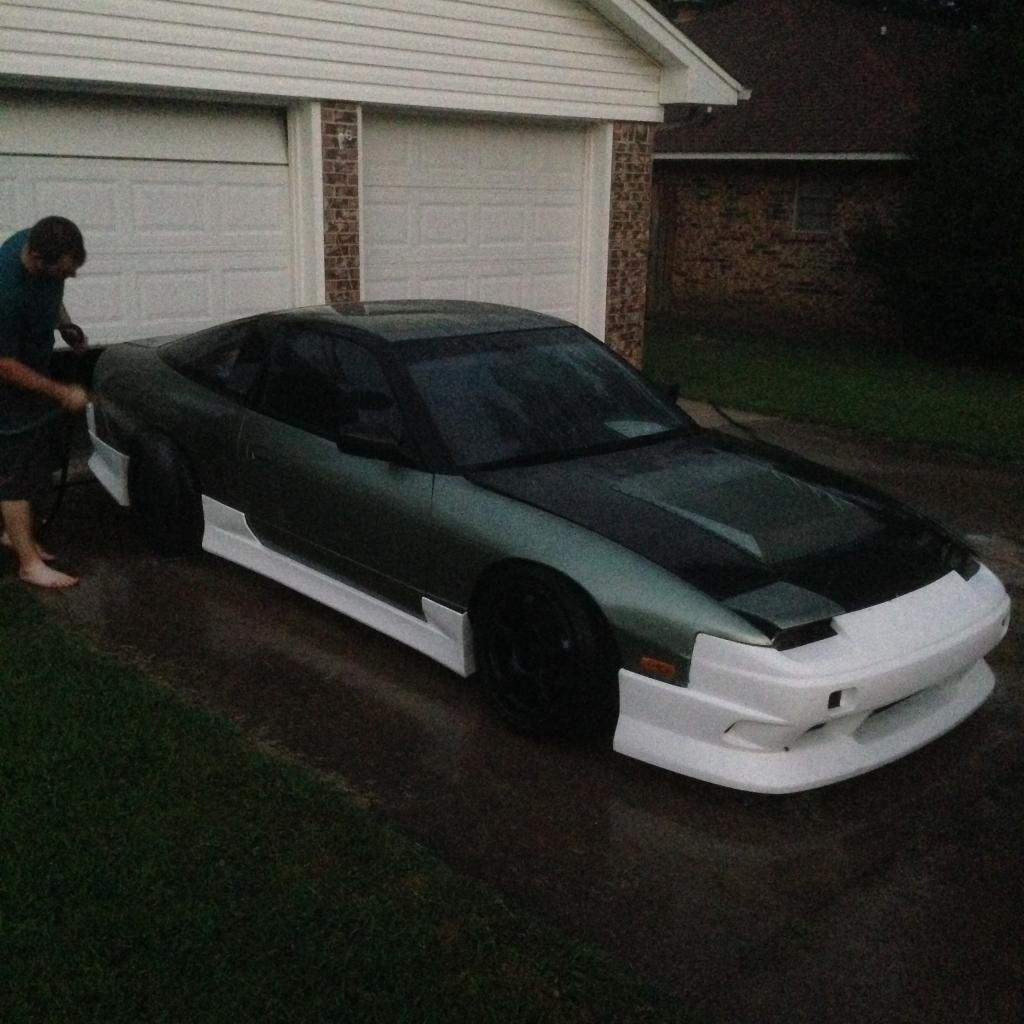
This gets me excited!!
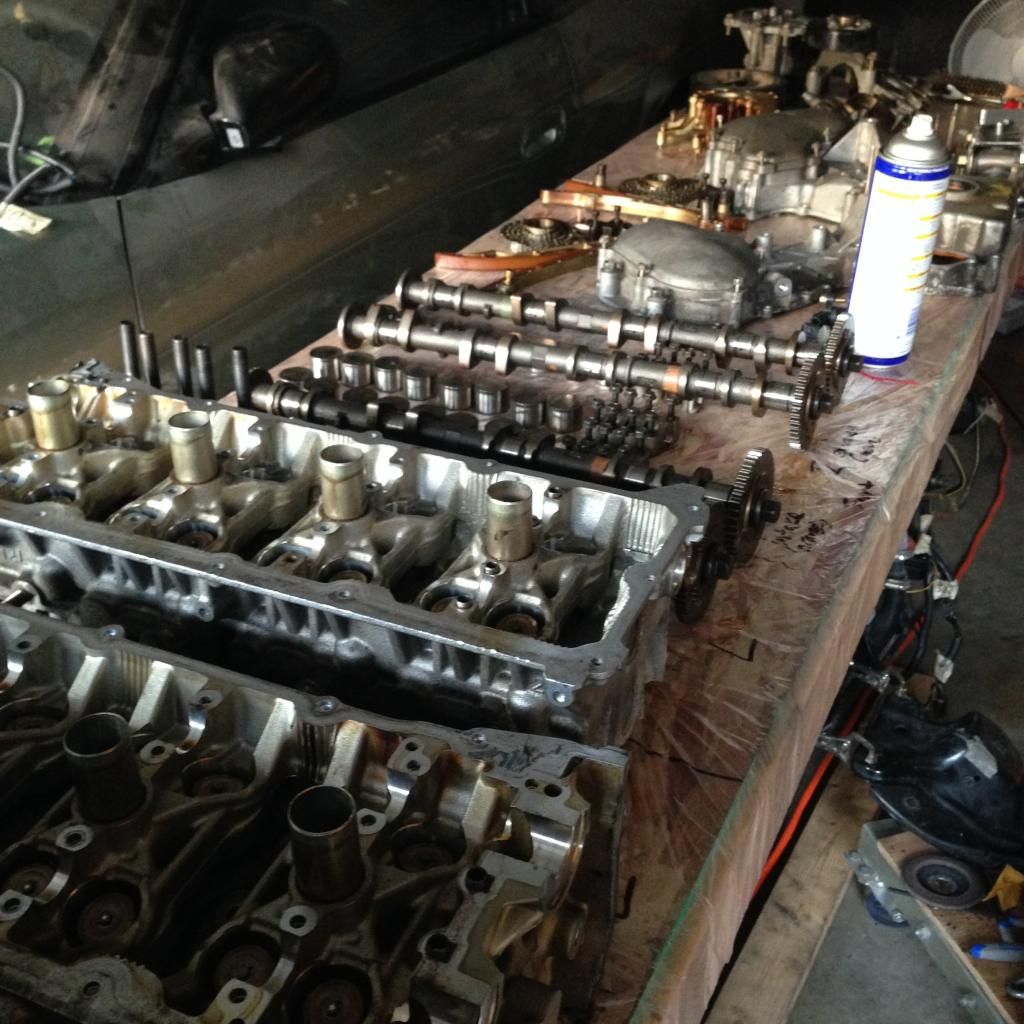
Getting back to the engine work, with the block stripped and cleaned, it was time to reassemble. But first there was even more cleaning of each piece. For every 5 minutes of work, 15 minutes was spent cleaning.
These are all the rod and main bearings. These are a hot commodity apparently as we snatched the last Grade 5 main bearing in the country. We've ordered all the Nissan OEM stuff from Courtesy Nissan in Texas. They've been great answering questions on the phone and calling with updates. And a bonus for us, the standard shipping time to our location is one day. Over night parts without paying for it.

No mid-assembly pictures as we were too occupied following the FSM's specs and, oh yes, cleaning. So here's the assembled bottom end.
Late evenings were had.

This one resulted in a pile of primed aero.
Plenty of thinking moments along the way as we figure out what's going to work.
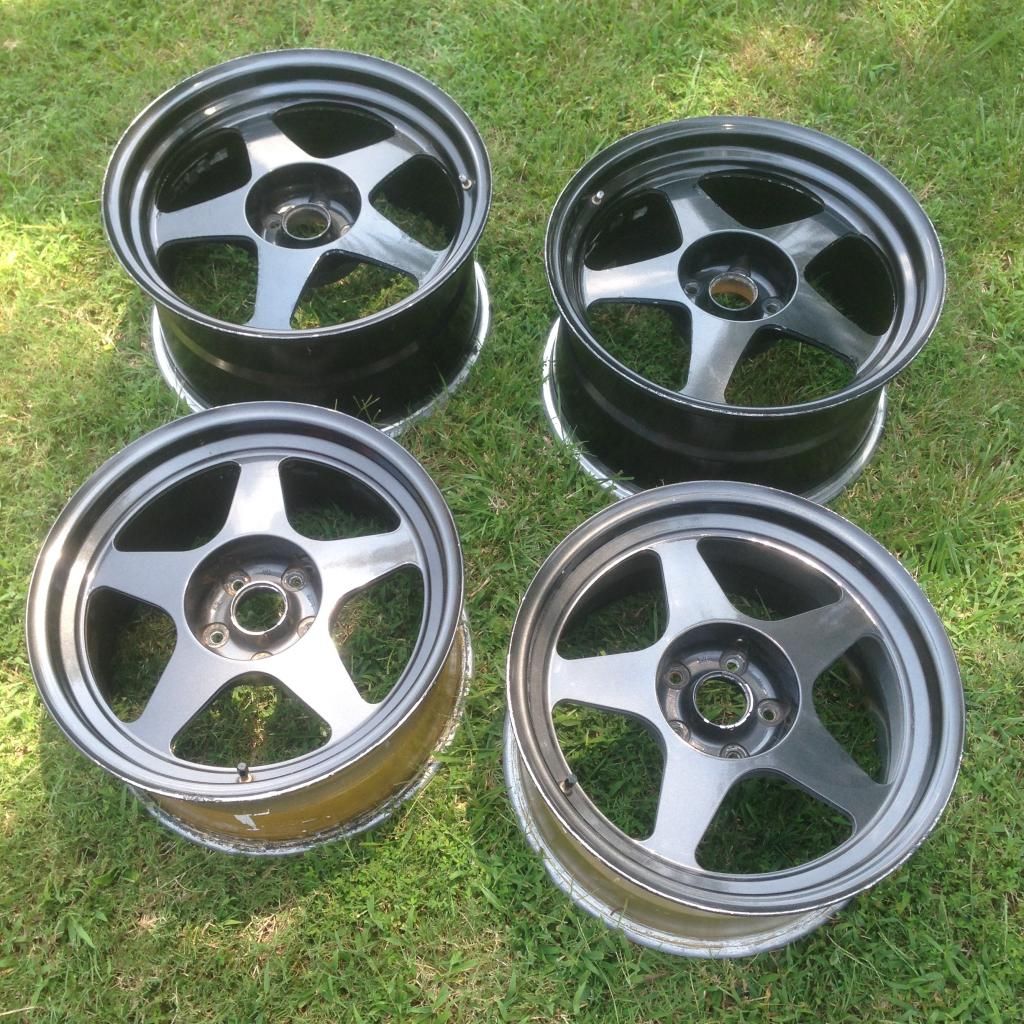
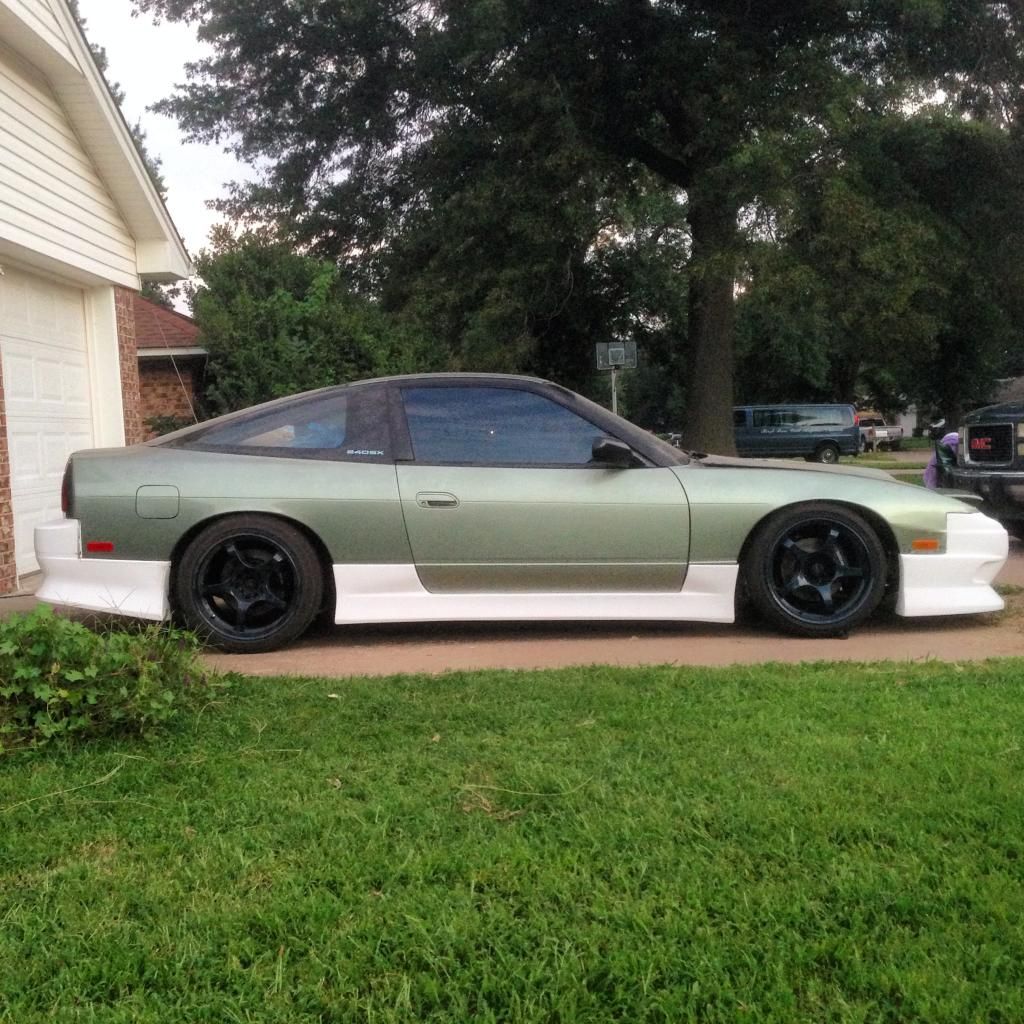
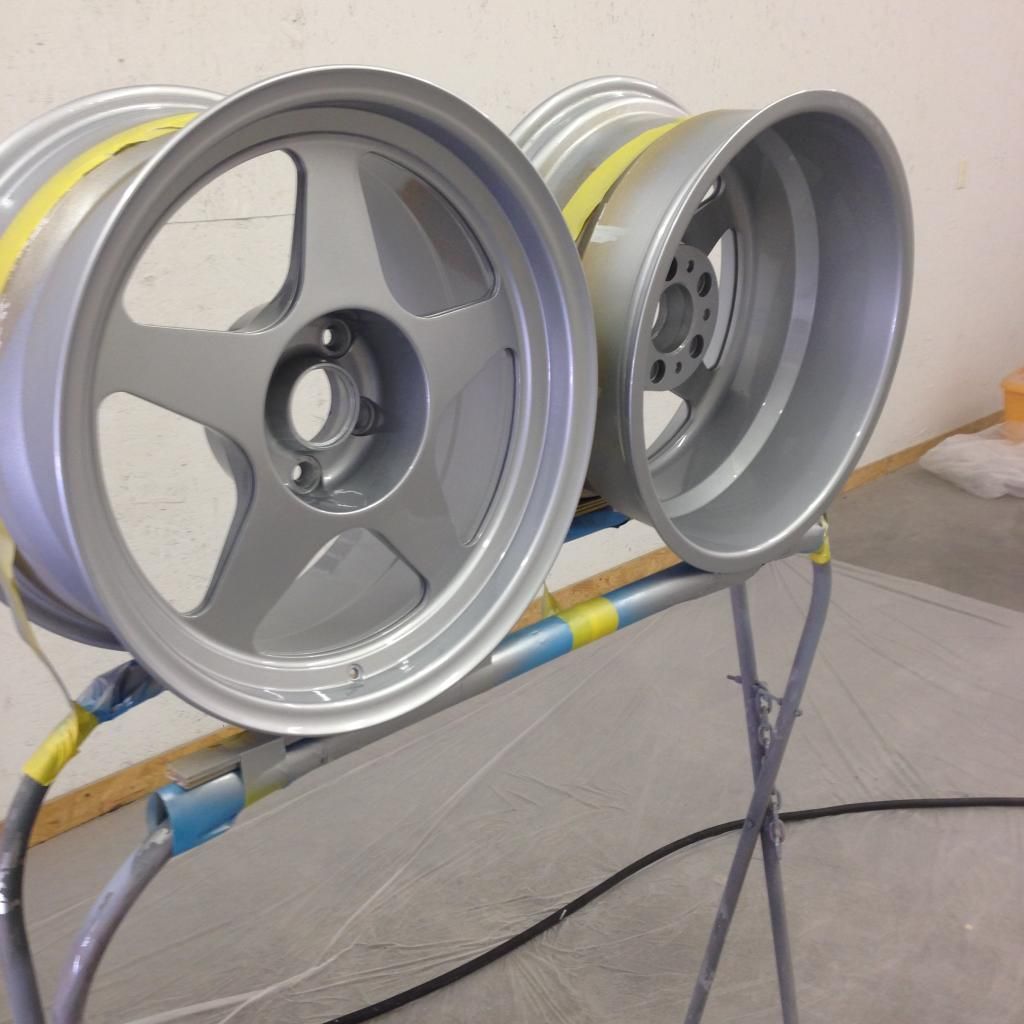
We picked out a silver and spent a Sunday afternoon painting the Regas!
Sneak peek - can't wait to get tires on these things!!!
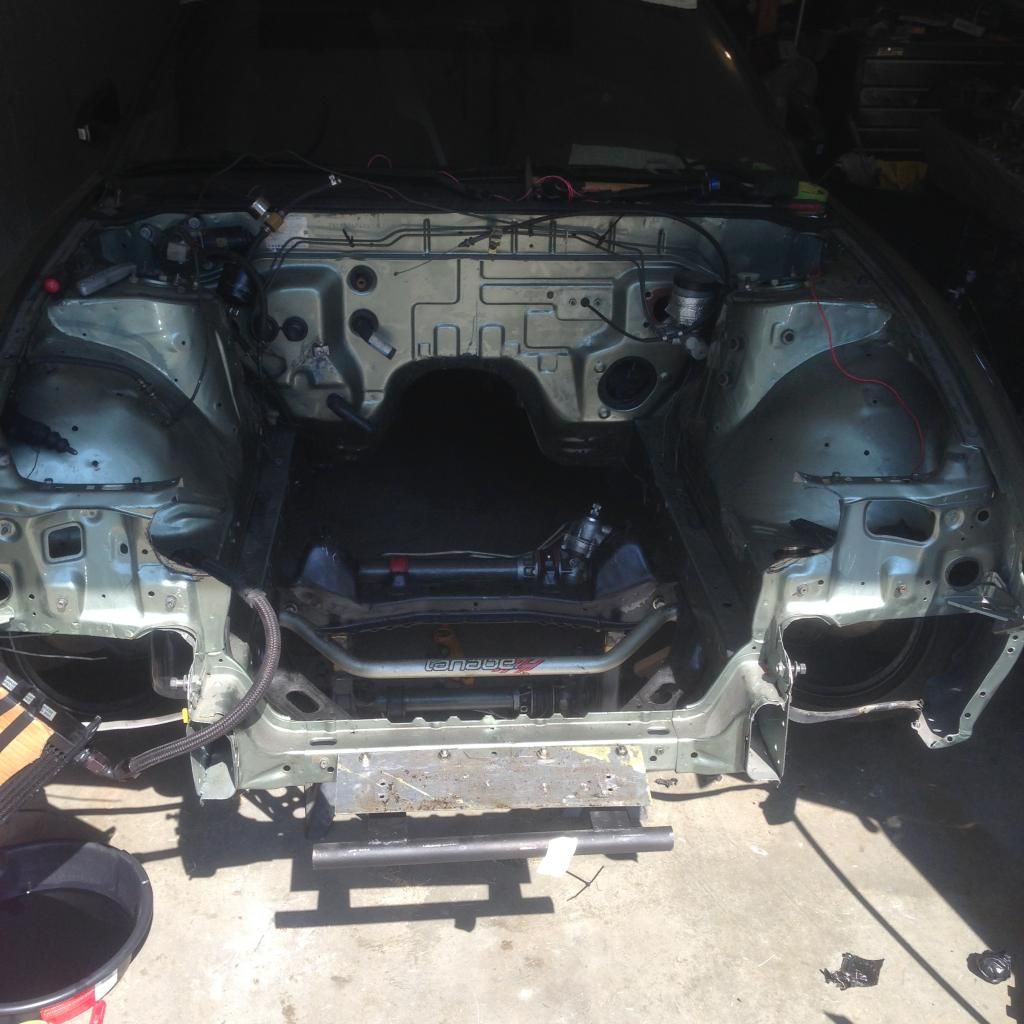
All the wiring and relay boxes have been removed from the bay...now we just need a VK56 in there!!!
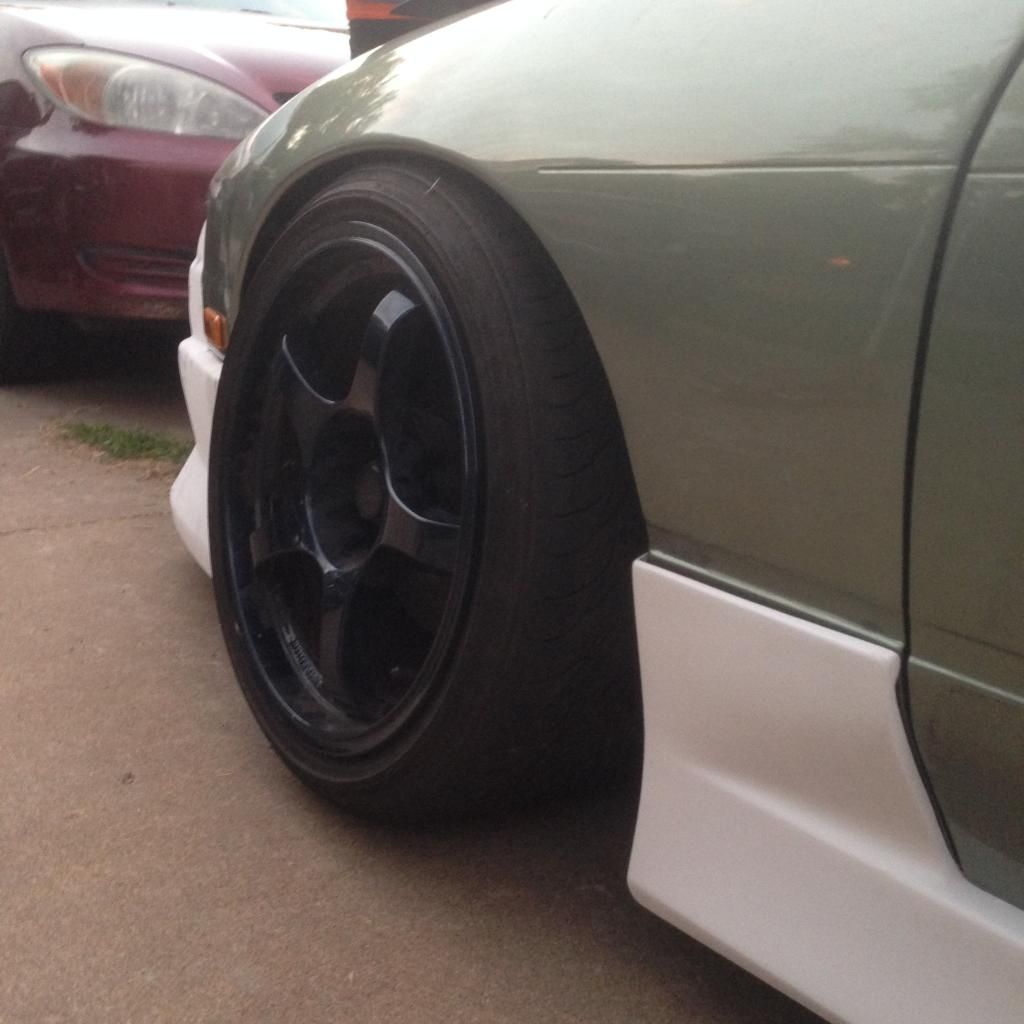
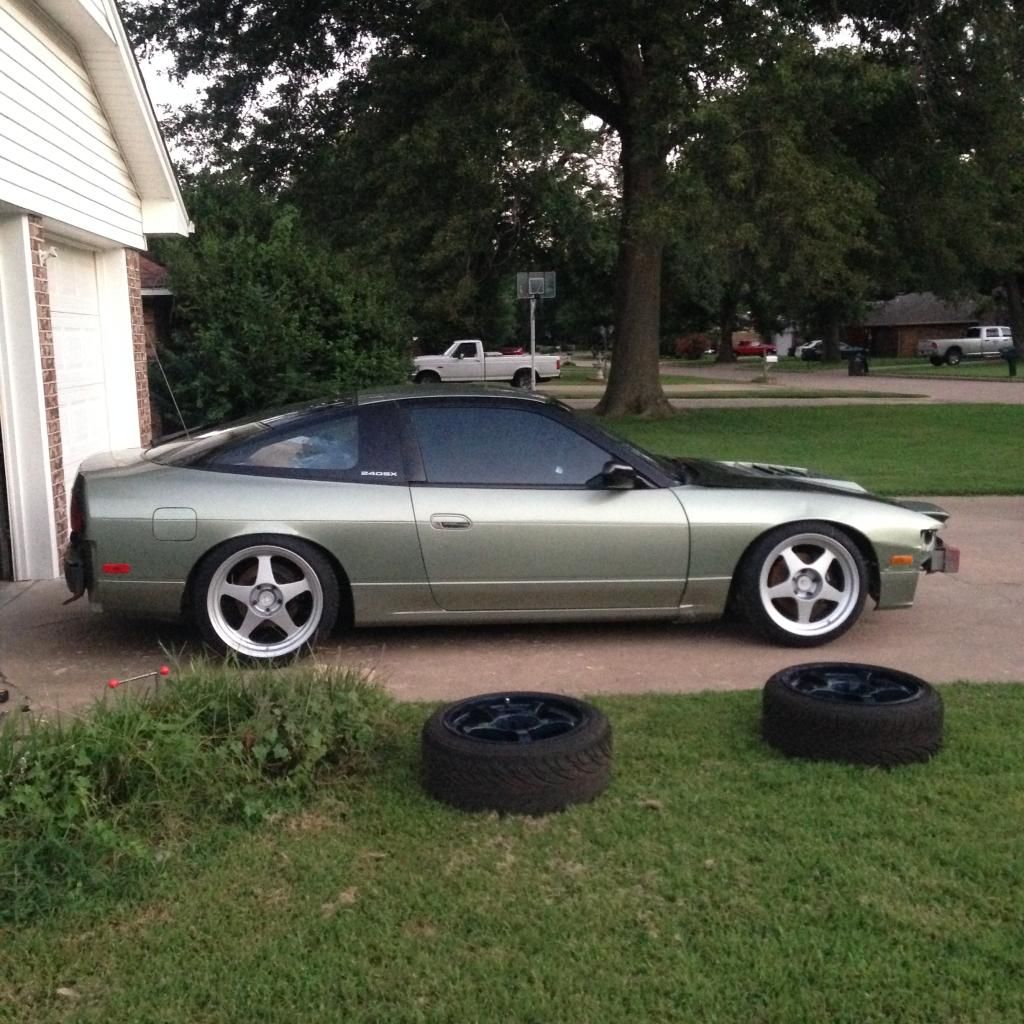
We got the tires mounted and wheels test fitted. We were both stoked on the new look.
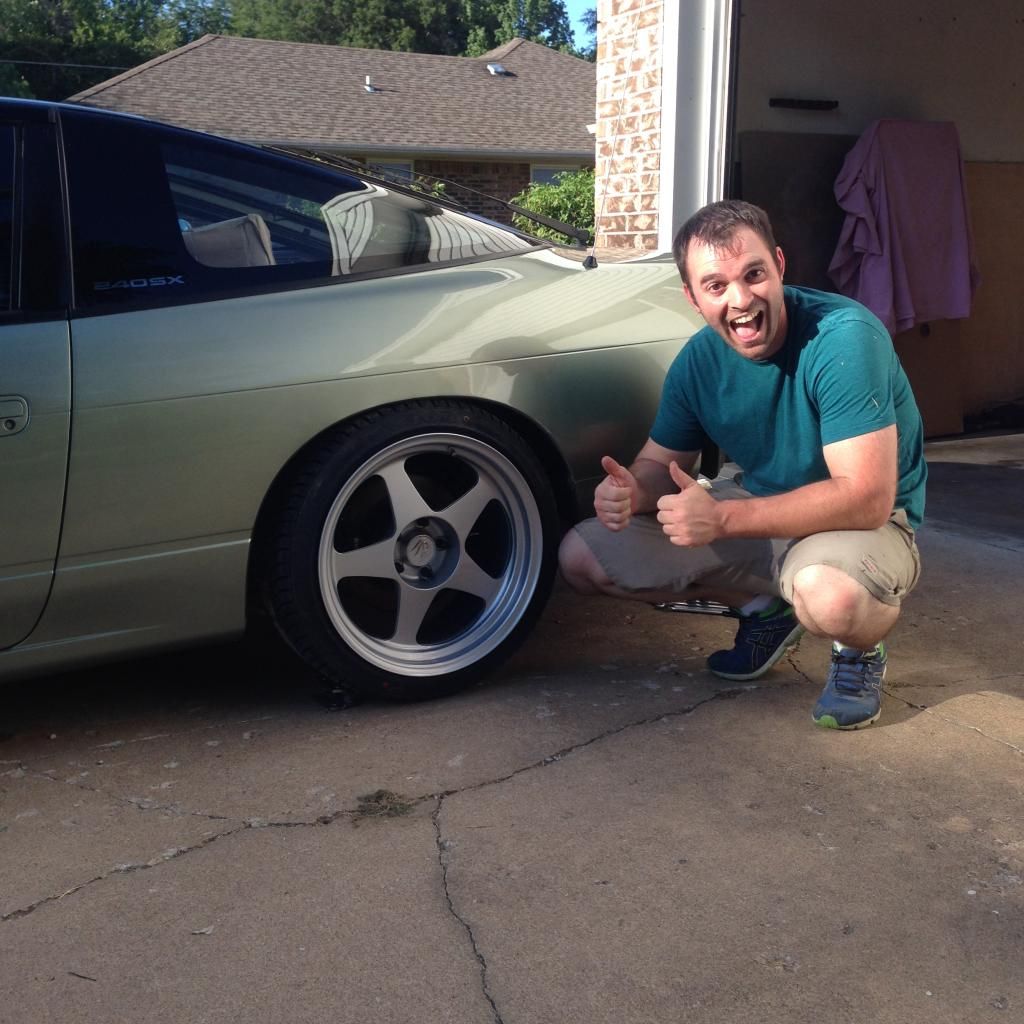
But of course we needed more low so room was made.
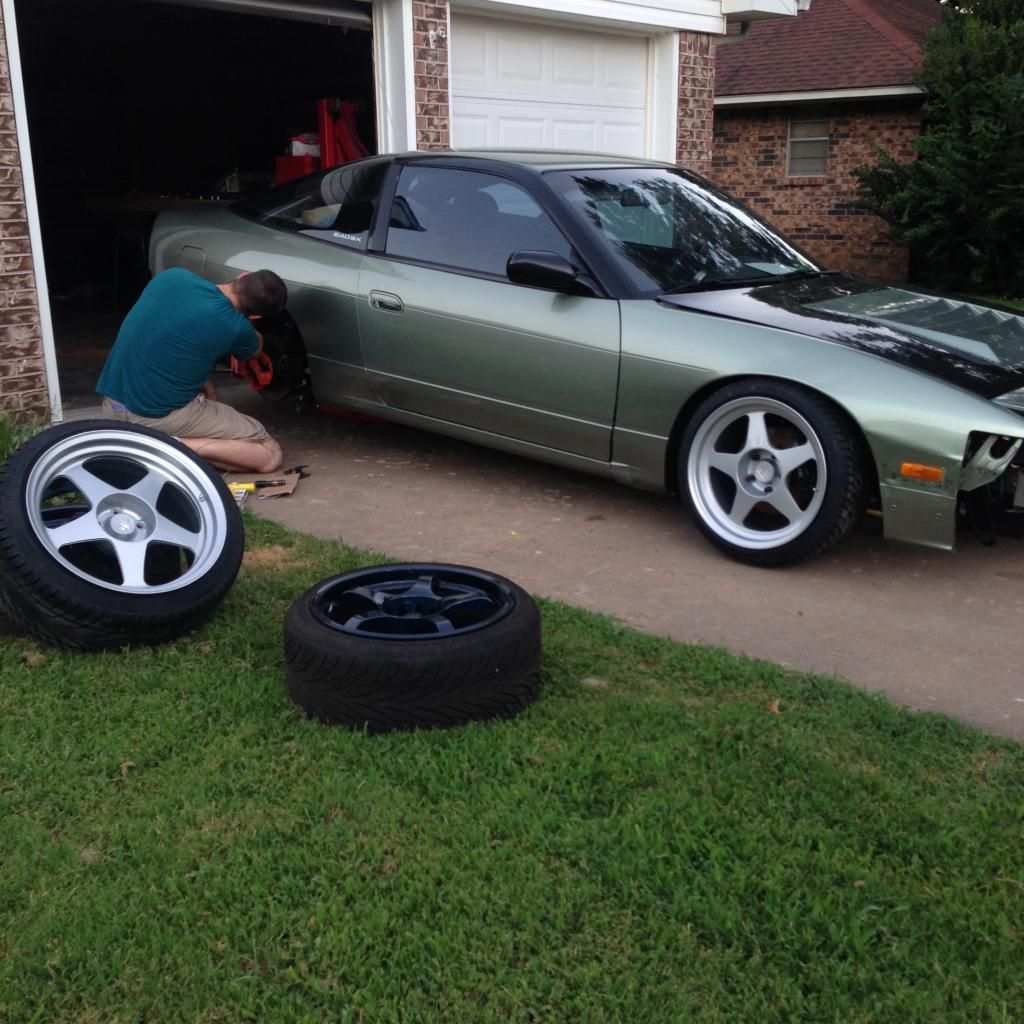
...and got it sitting like this. Still need to go a bit lower.
But that's were my time with the car ended and so I too will wrap up this post. Stoked to see this thing coming together just as awesome as we planned! Can't wait for the full aero and start up vids! Hard to believe we might hear this thing fire in less than a month!! For more up to date updates, we post a lot of it to instagram since it's quicker than a full post - @brickhouse_steve and @brickhouse_greg. And if you're at the FD Texas event, stop by and say hi!IG: @brickhouse_products
brickhouseproducts.comComment
-
Wow can't believe that I missed this thread. Great job you two -
- Instagram@jdjurhuus
 Stretchsaurus and Pokemon.
Comment
-
awesome! can't wait to hear the motor fire up.Comment
-


Comment