Announcement

Collapse
No announcement yet.

Brickhouse VK56 240SX Build

Collapse
X
 
  • Filter
  • Time
  • Show
Clear All
new posts

  • #76
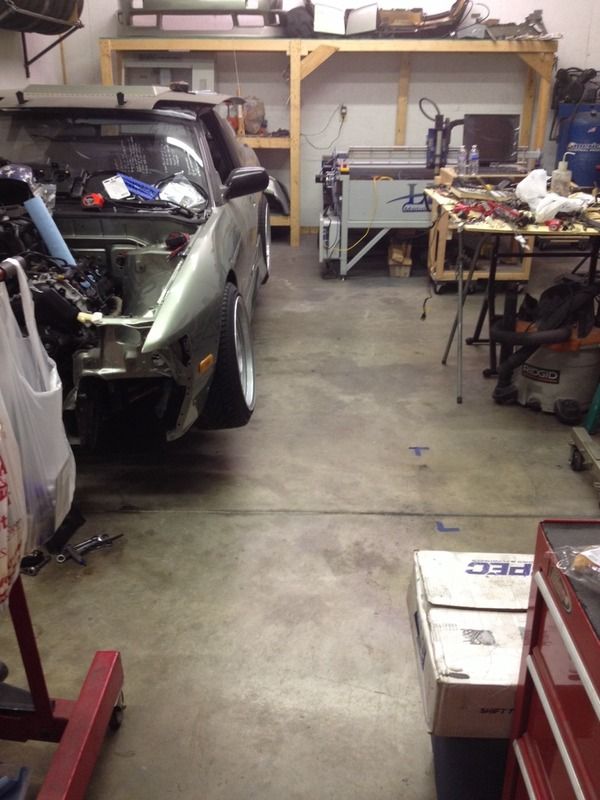
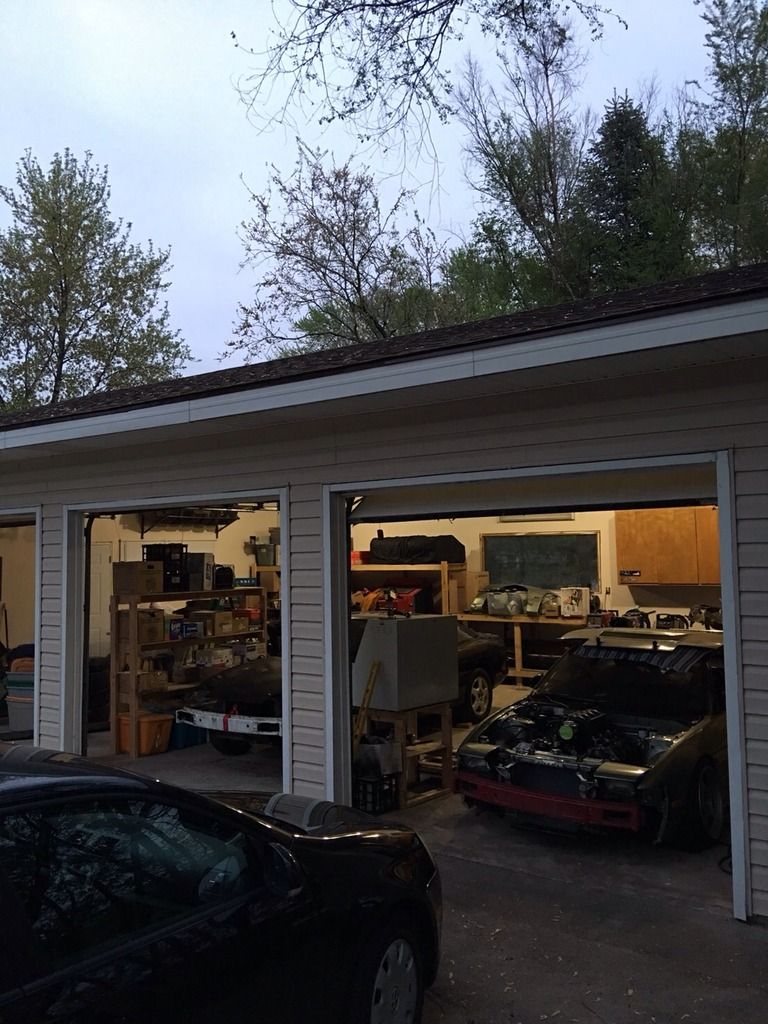
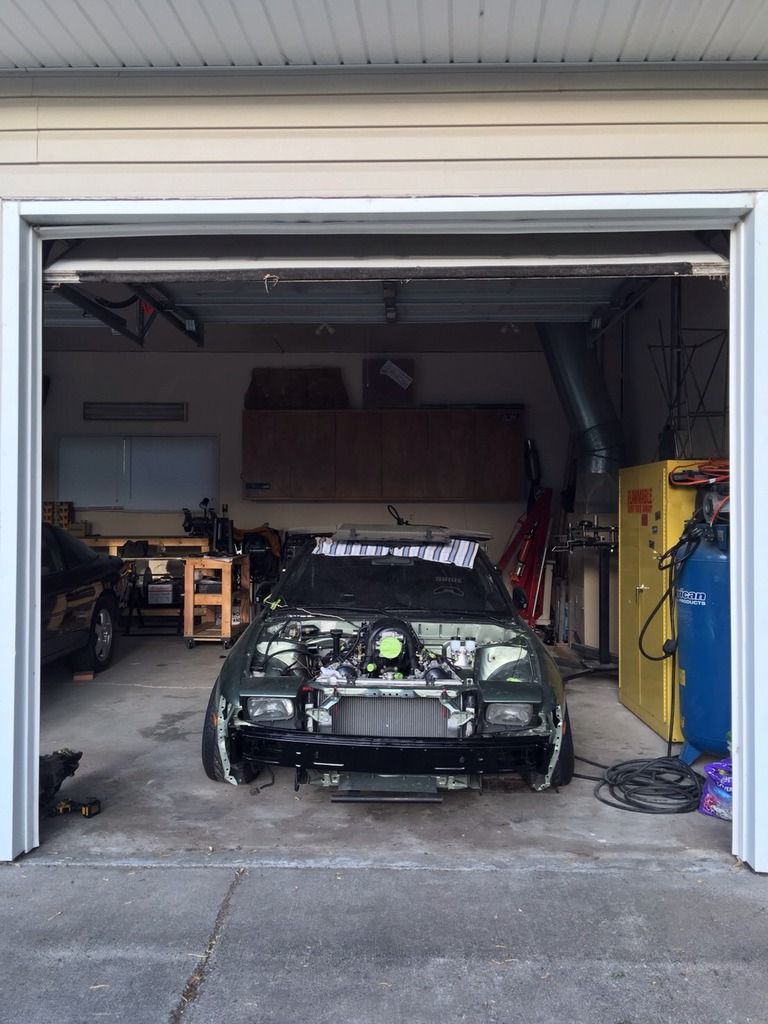
    We left off with the engine in the bay for the last time and now it's just ticking off items to get it ready for start up. These are the small jobs that suck up time but don't look that impressive in pictures. Either way, progress is progress!


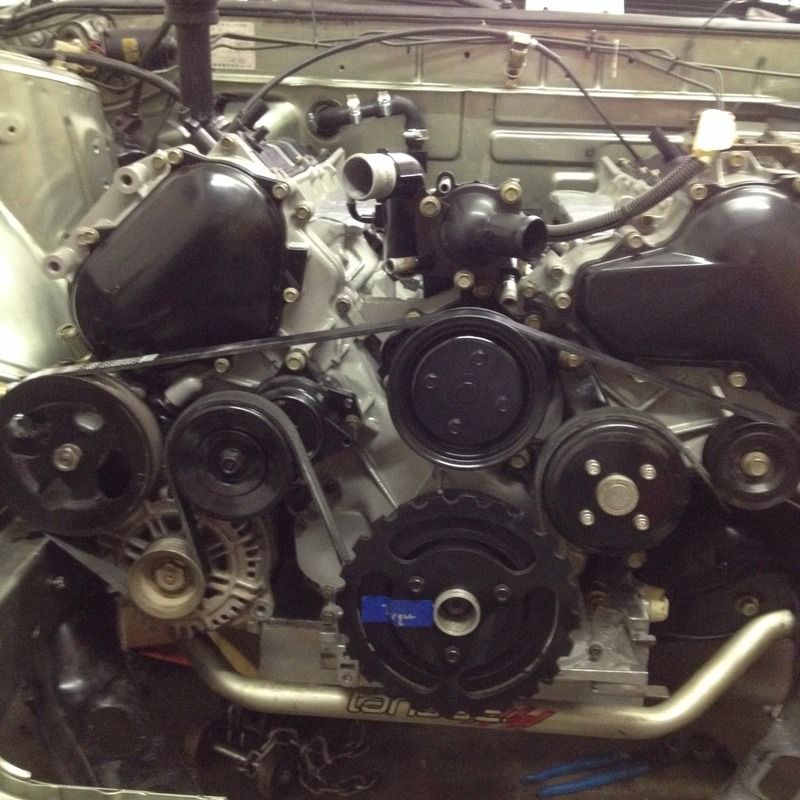
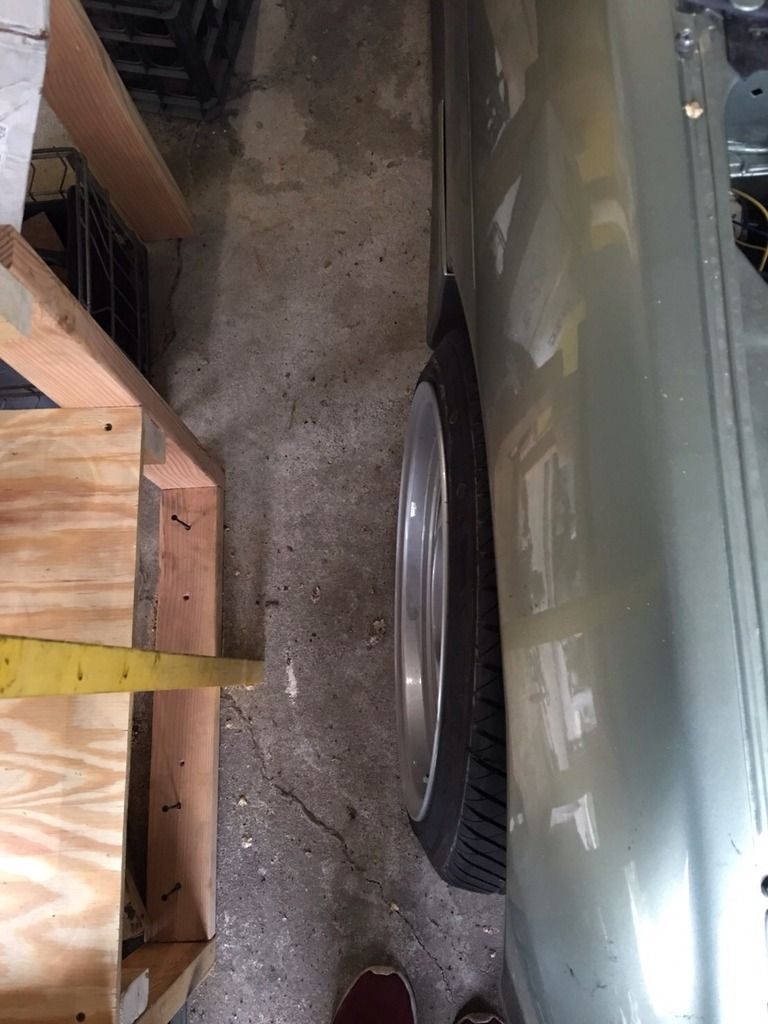
    First up was the serpentine belt. We relocated the power steering pump so a different belt was needed. Here it is all together. Relocating the PS pump made it so clearancing the battery tray area isn't required, but not a required mod for the swap.


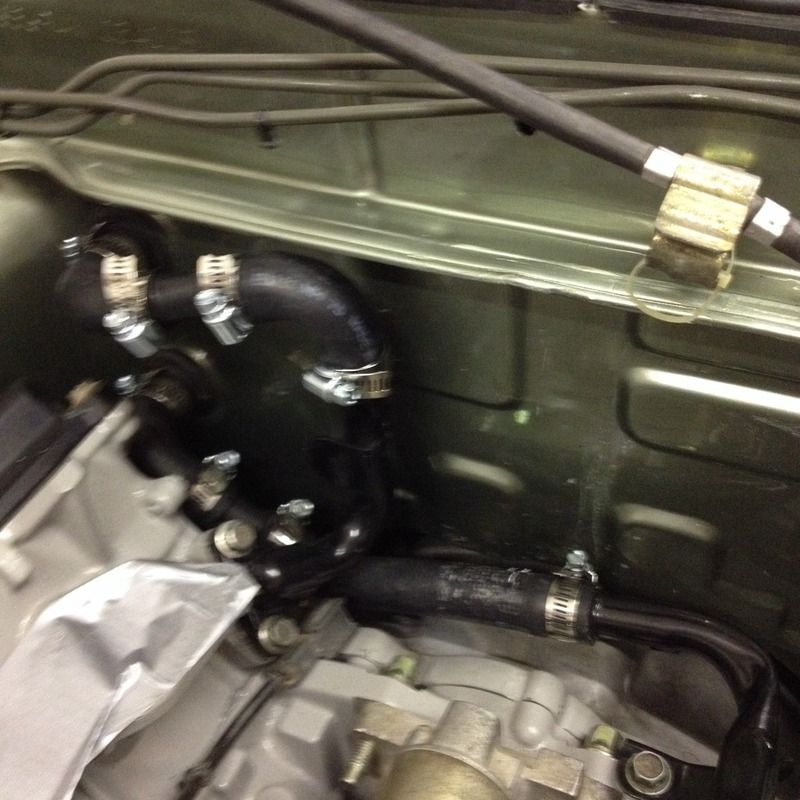
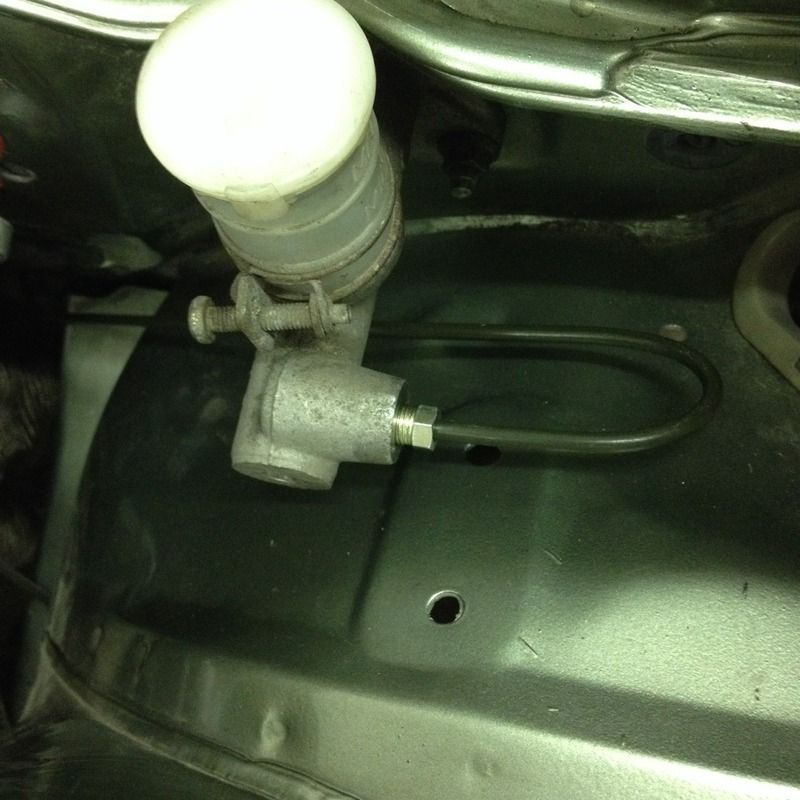
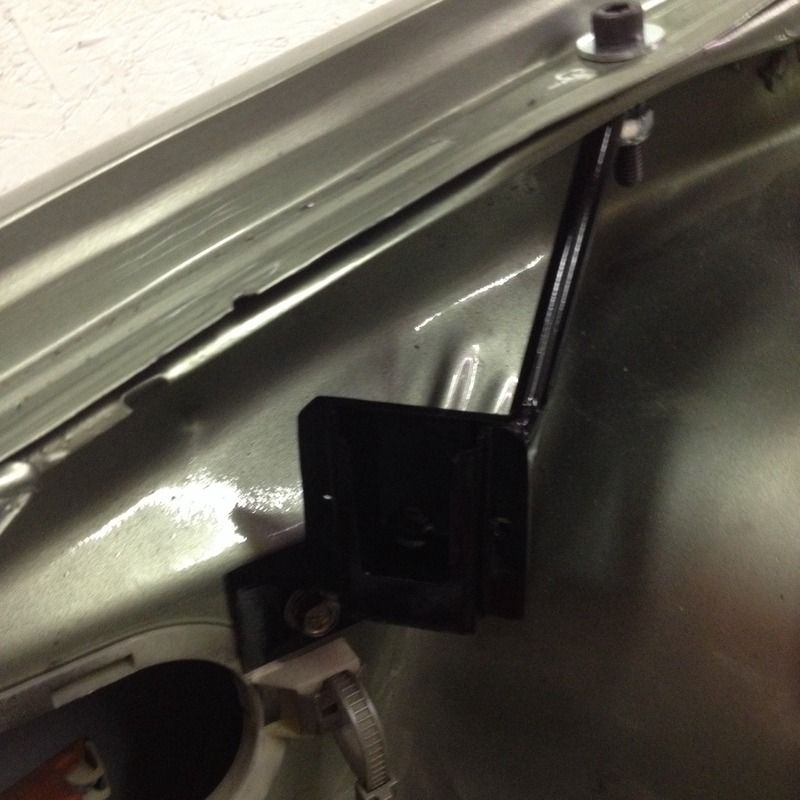
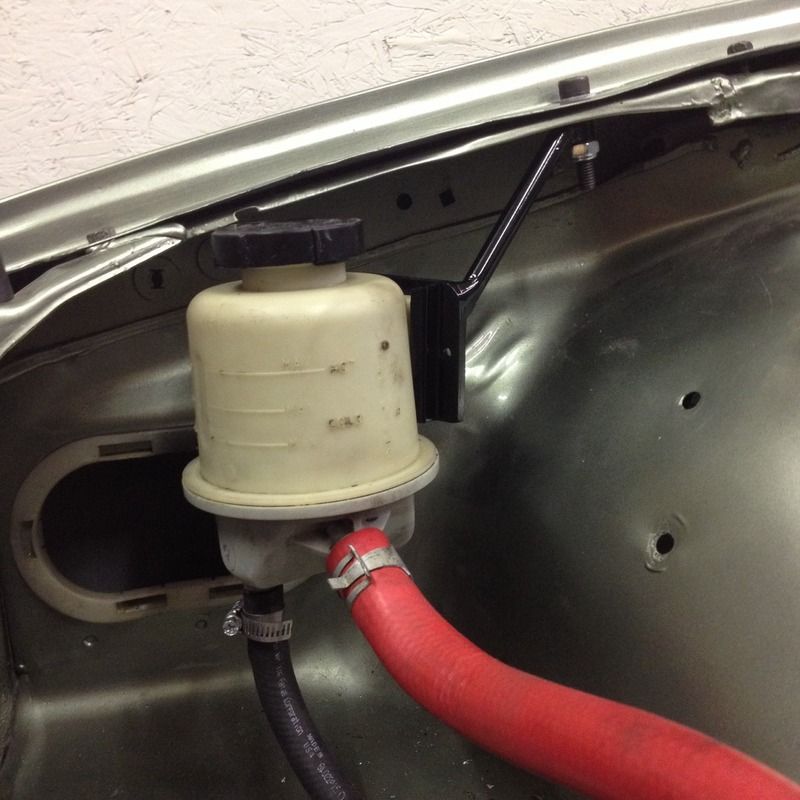
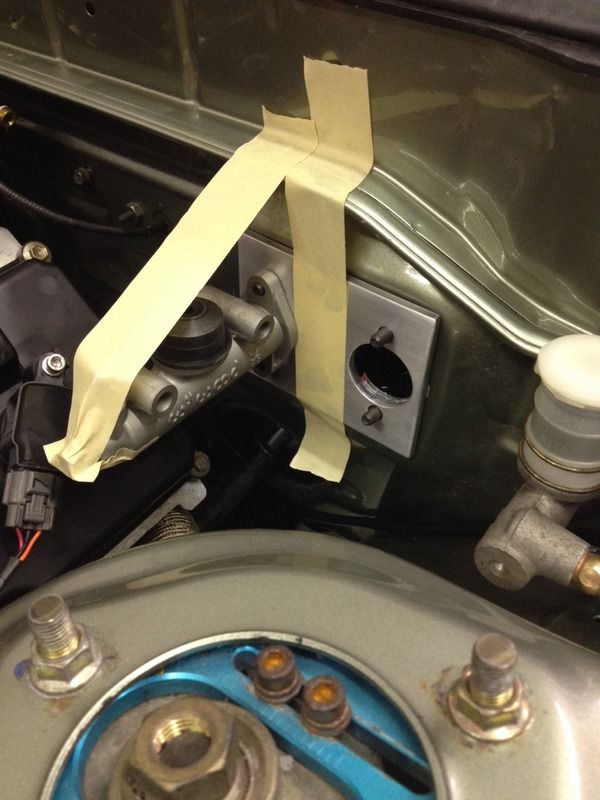
    Next was the heater core lines. Obviously there aren't any VK56 to S13 heater core hoses at the local parts store so here's the solution for now.


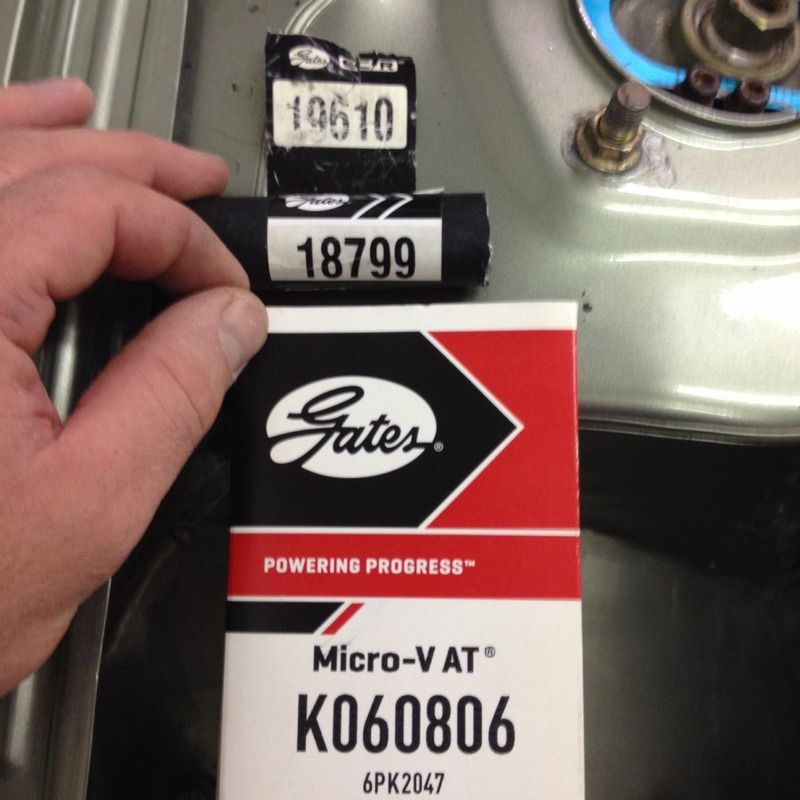
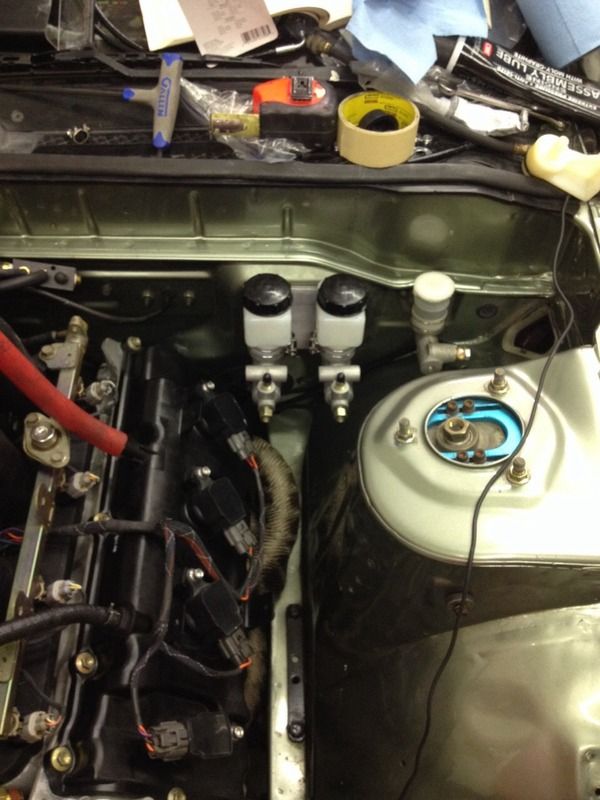
    And a pic of the part numbers for reference later. Those and two 5/8" to 3/4" hose splices and eight 1.24" hose clamps.


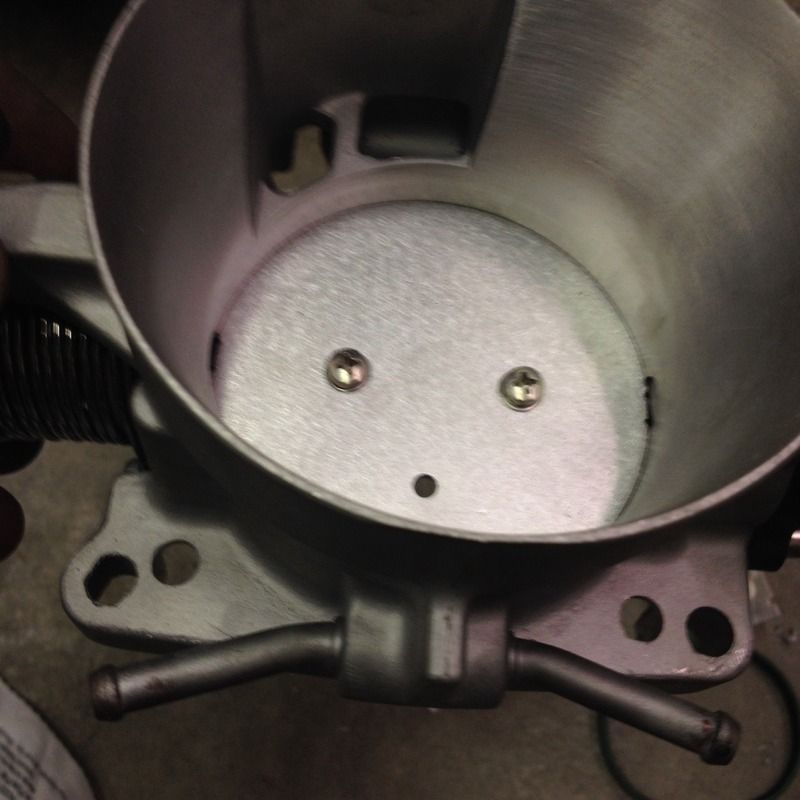
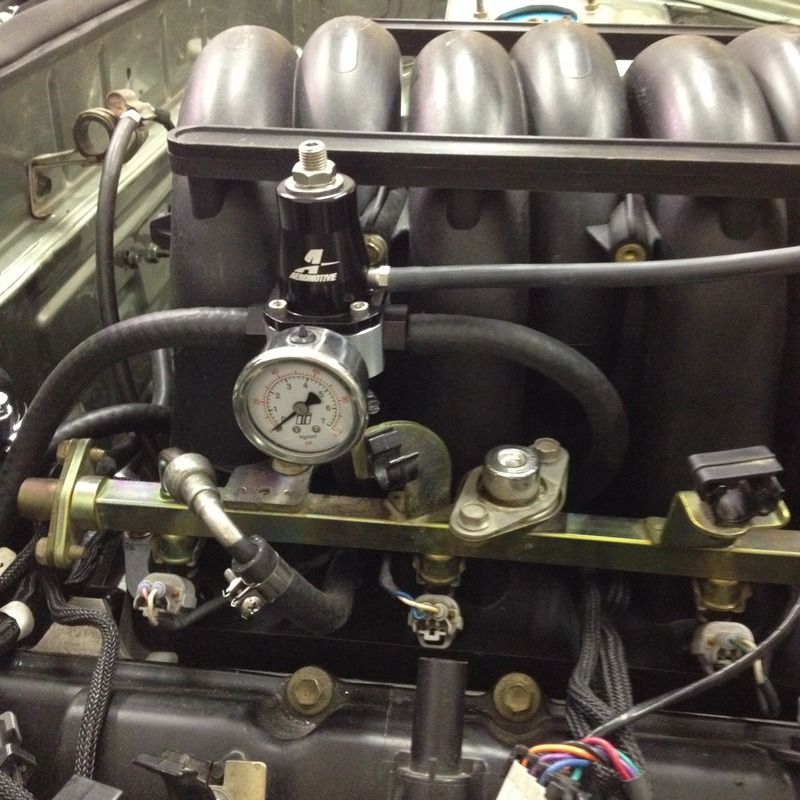
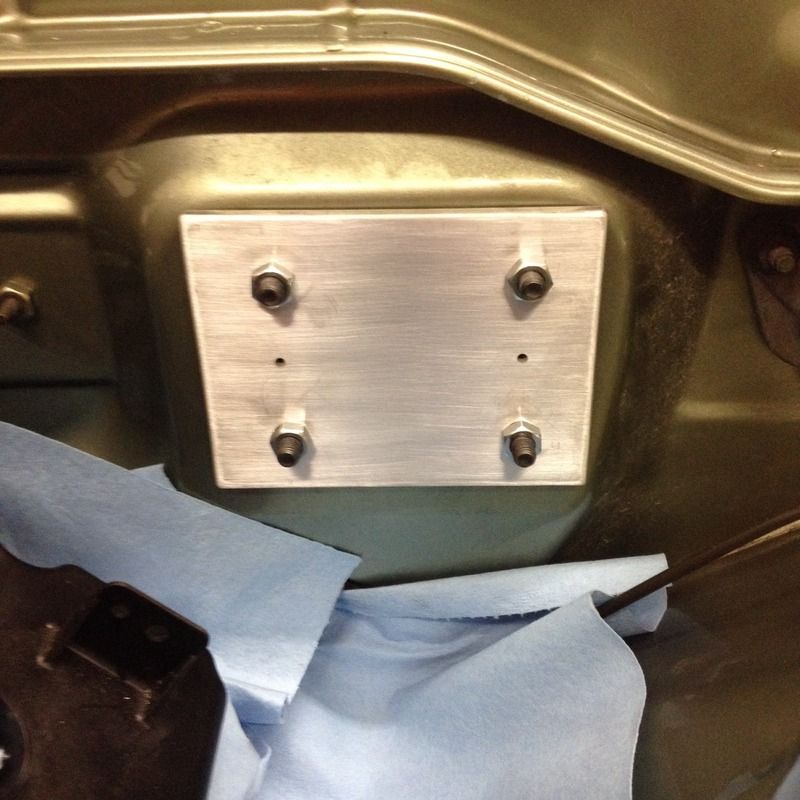
    We needed a throttle body solution as well. The stock Titan TB is DBW which does us no good so we opted for a LS2 TB. This one came from a seller on eBay freshly ported (80-90mm) and cheaper than OEM units including the sensors. There was a lot of positive feedback on them so it seemed like a win-win. The stock VK56 TB is only 70mm and a common gripe in the Titan community. We'll be developing an intake manifold down the road so this serves that purpose as well since we for sure won't be making it with a restrictive 70mm opening. It'll be cool to do back to back dyno pulls swapping only the intake manifold and see the differences.


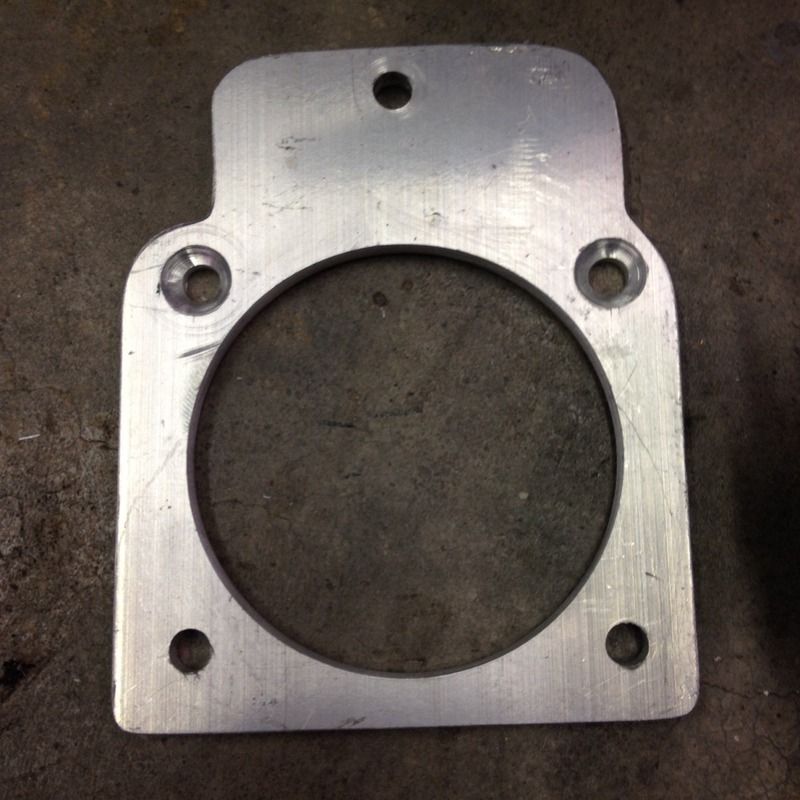
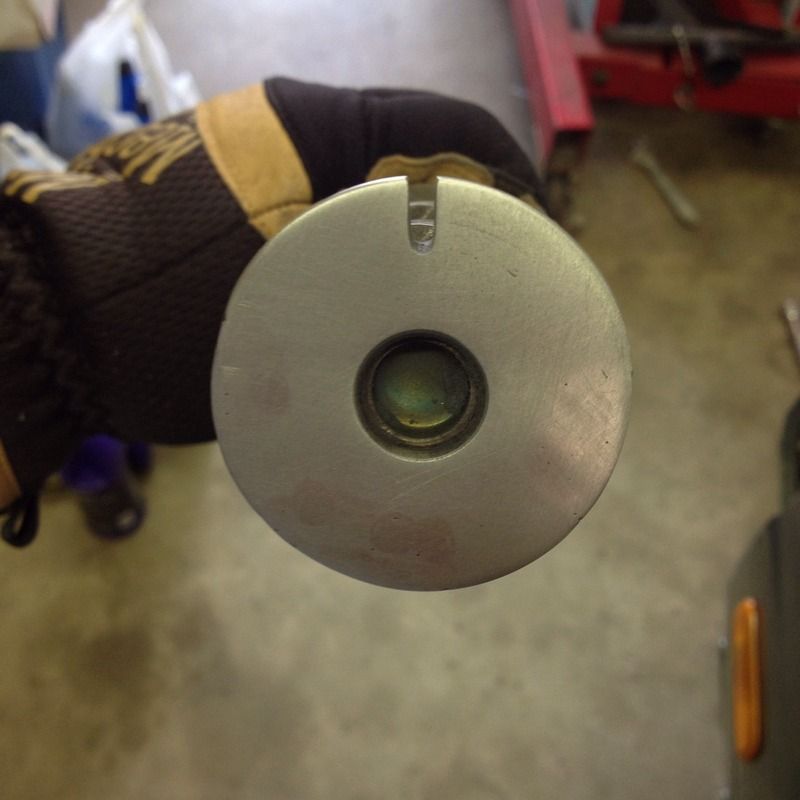
    To make it work, Greg made up a little adapter plate.


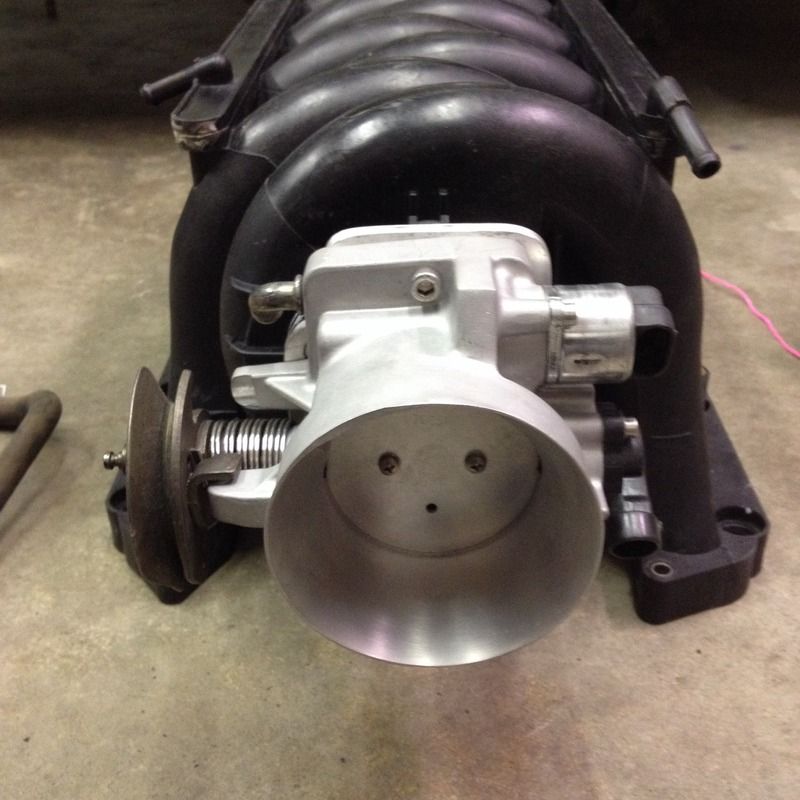
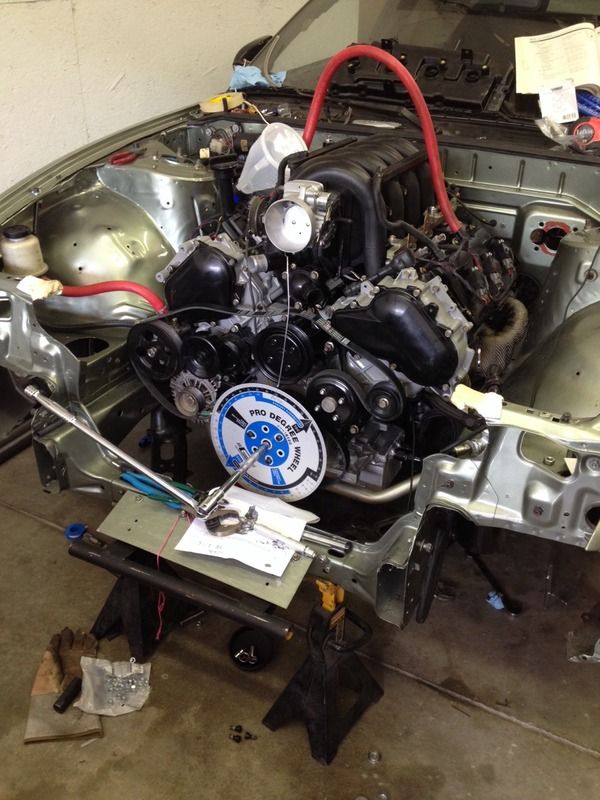
    And bolted up it looks pretty darn good! This is an aspect of the build we haven't touched until now so it's kind of cool to see it come together.


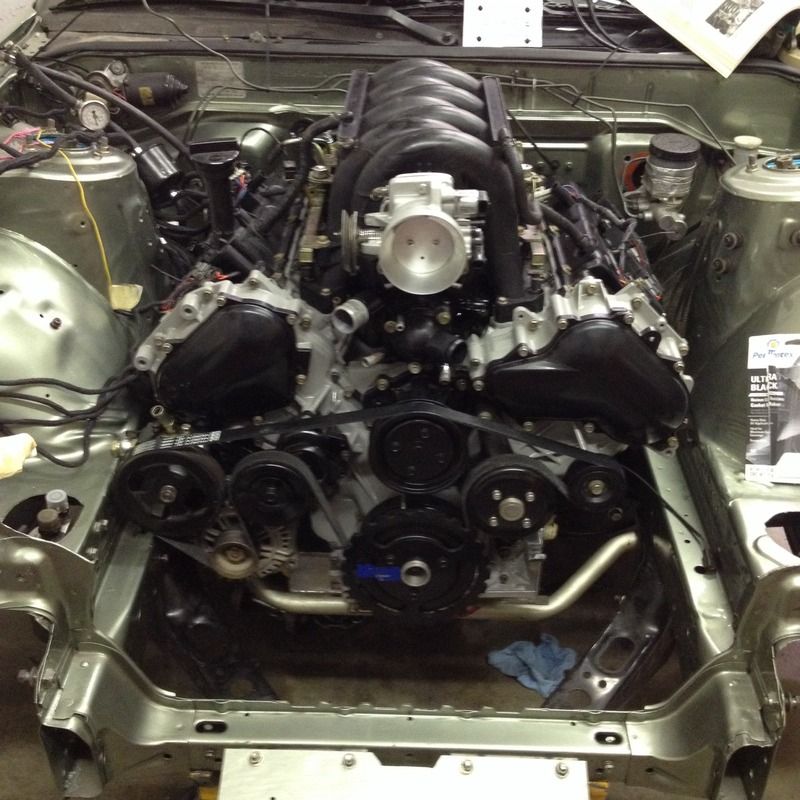
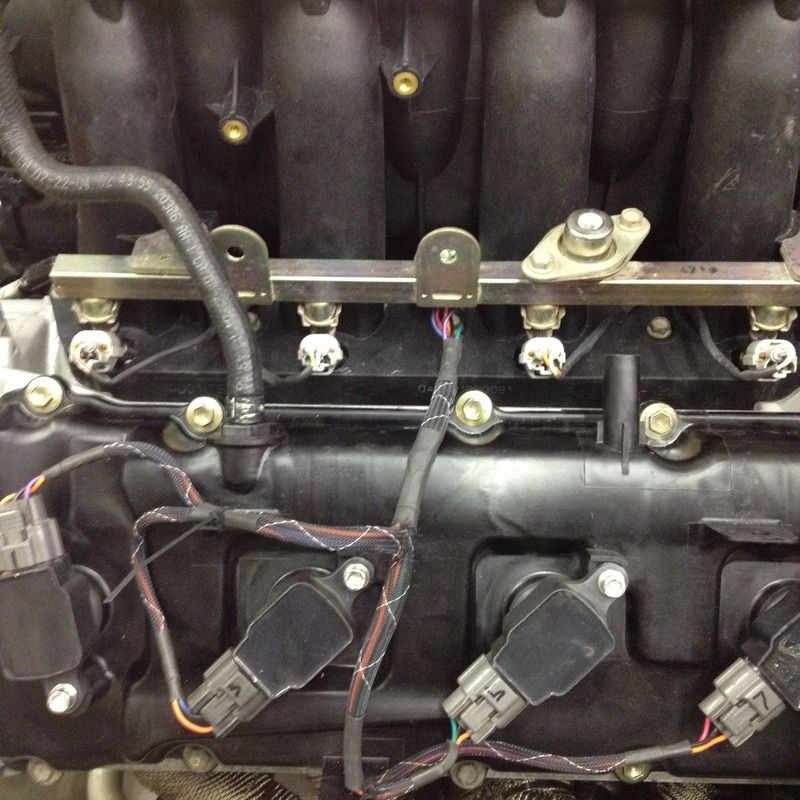
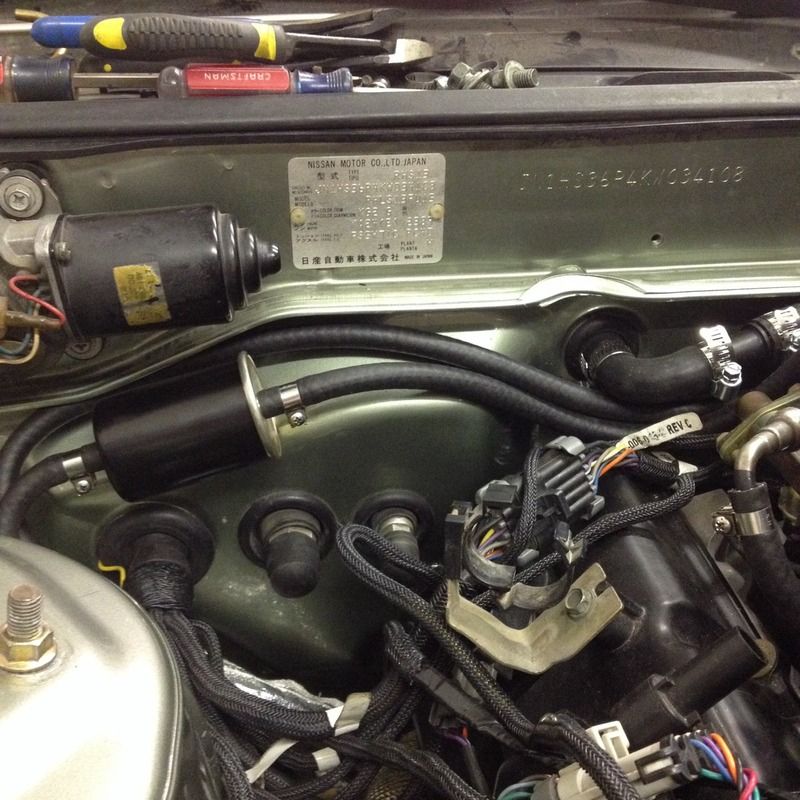
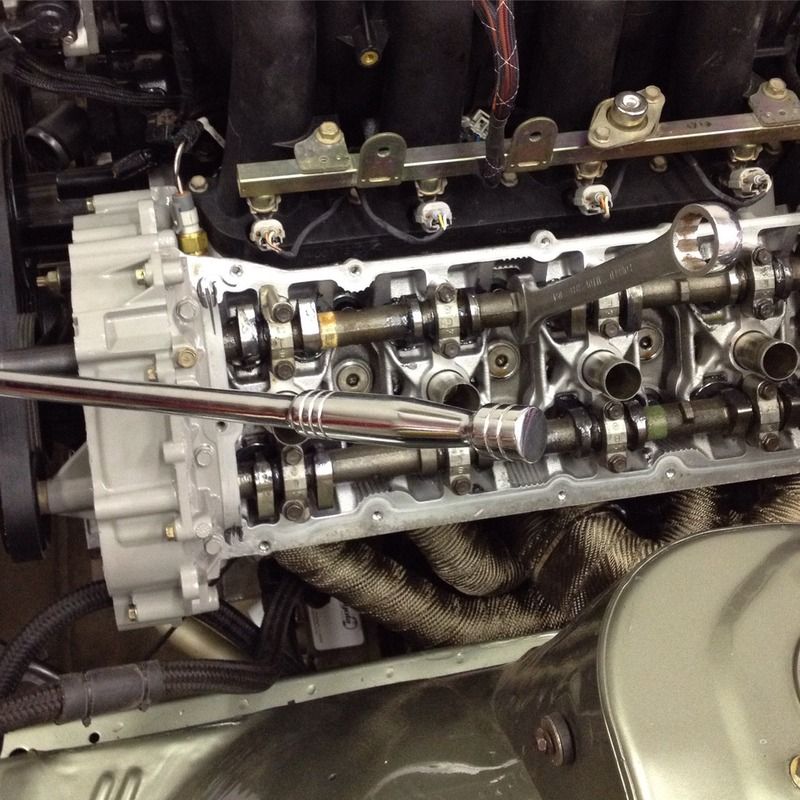
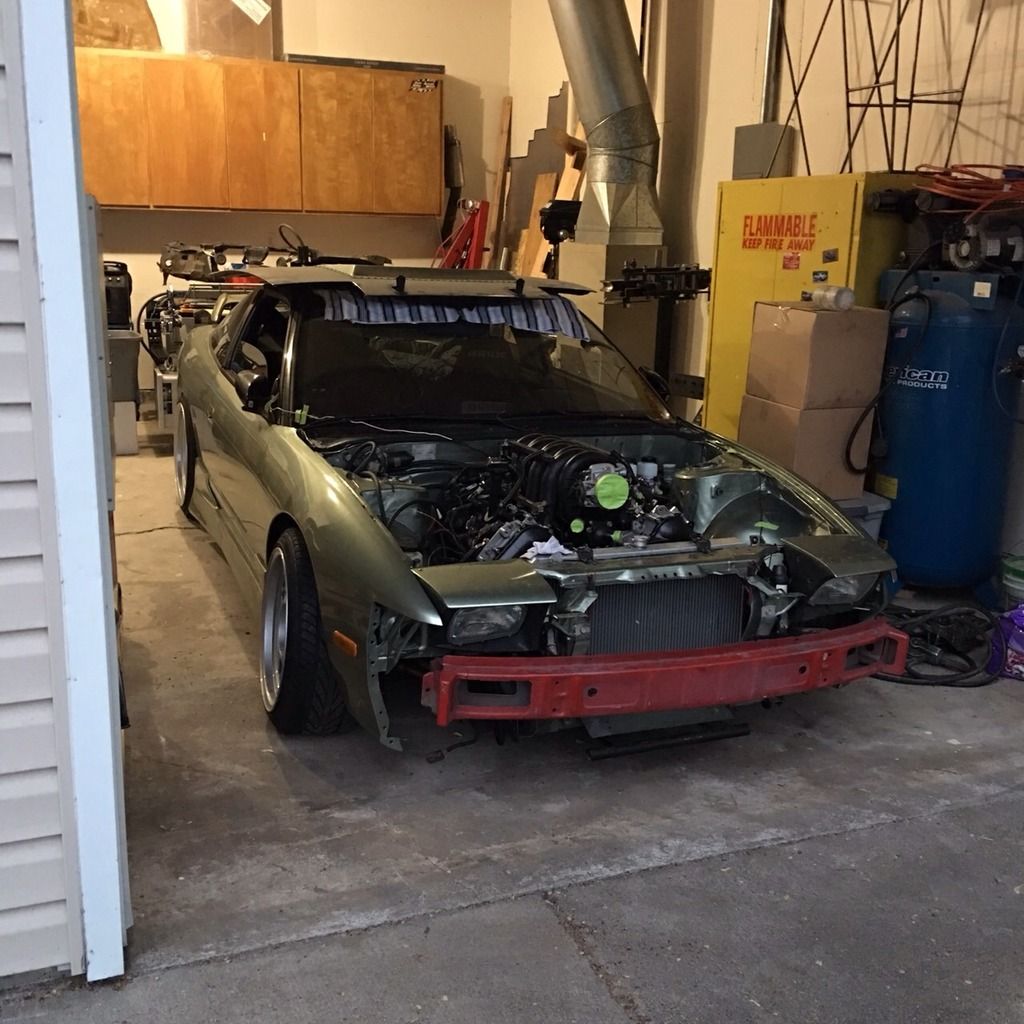
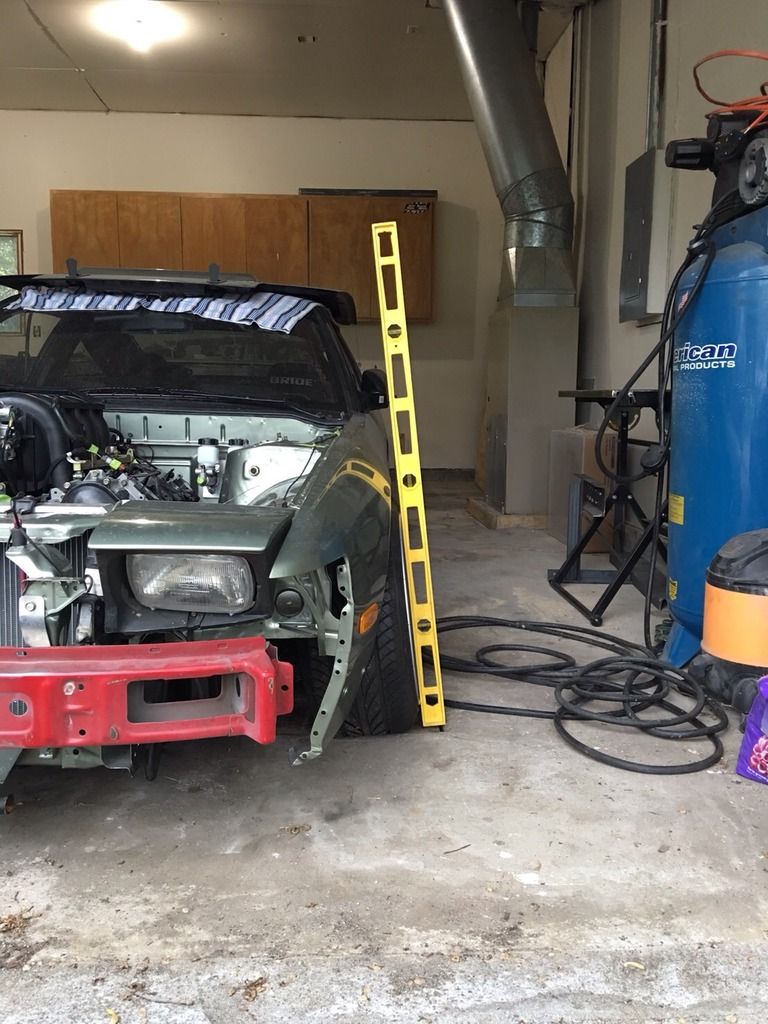
    Intake on the car and the starter bolted on underneath, the engine is looking like an engine!


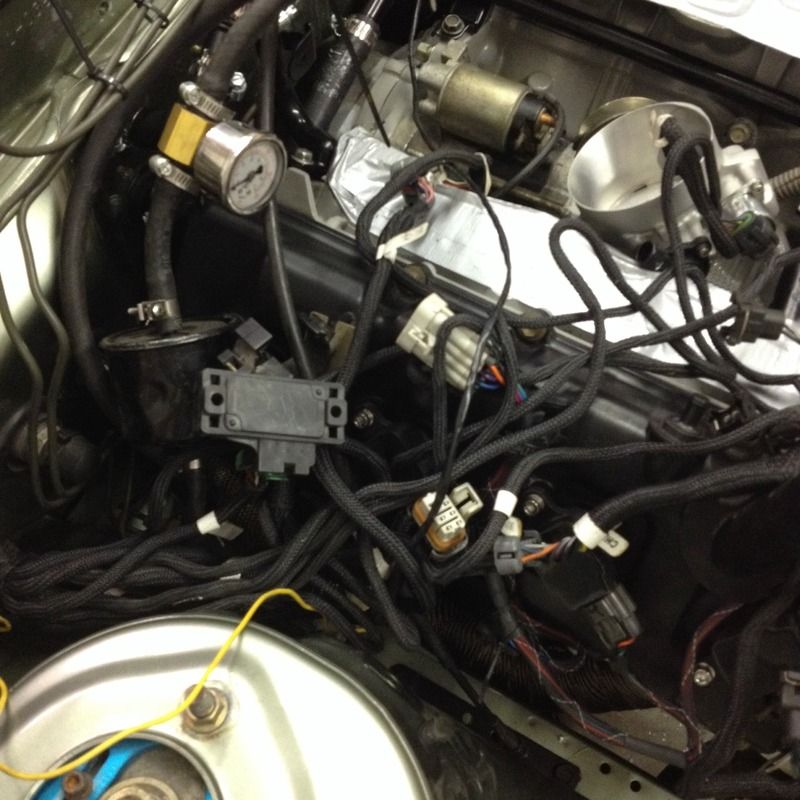
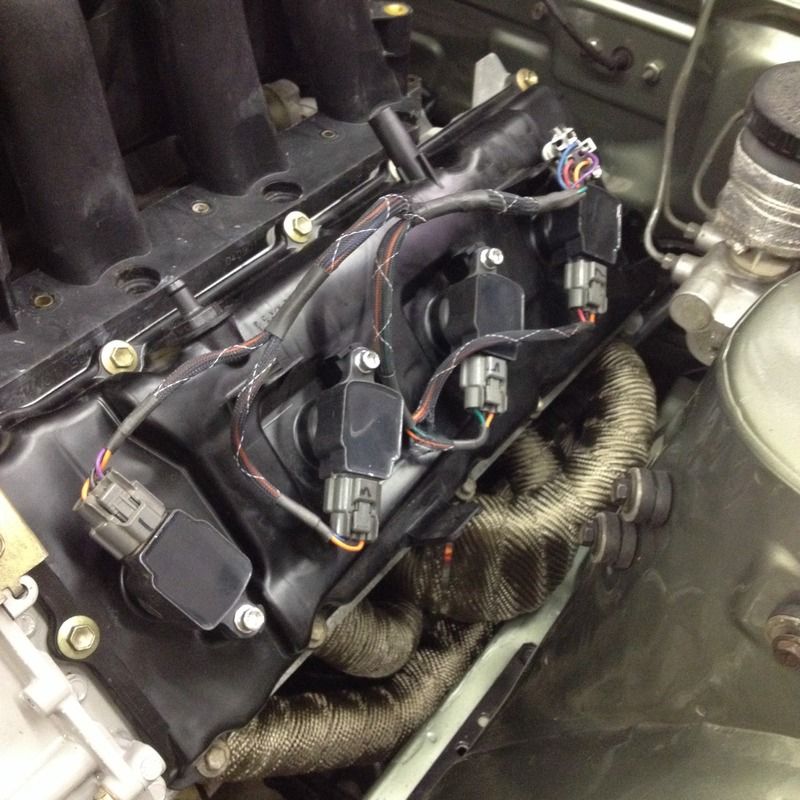
    This means we can move on to the other most fun aspect of building a car - wiring! Actually, if you'll recall, we kind of cheated here and bought Forsberg's old BigStuff3 ECU and wiring full setup from his old Z. This helped direct the TB purchase and simplified the wiring situation since it's nearly plug and play.


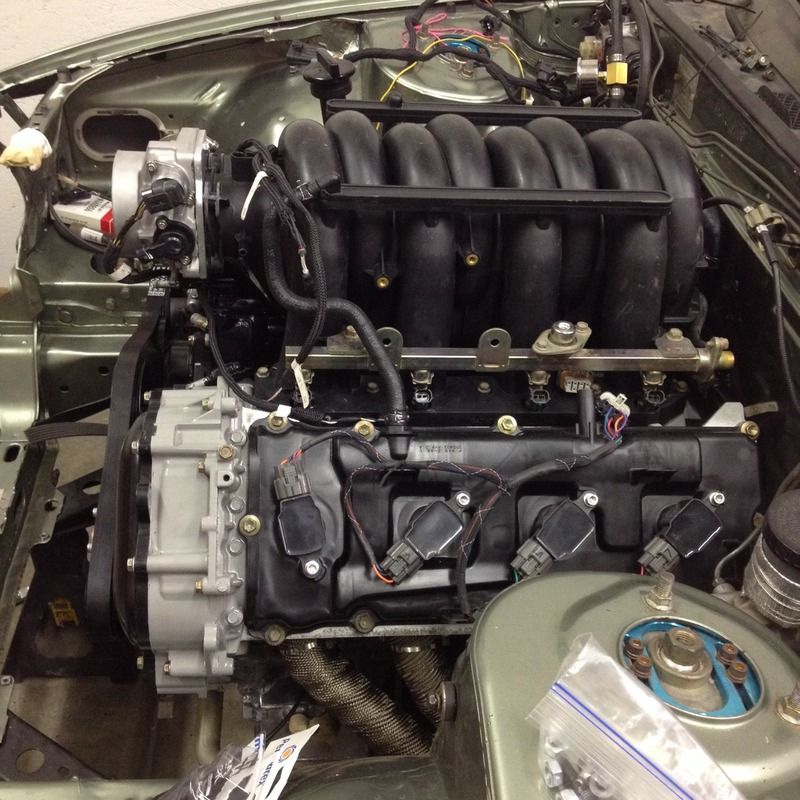
    Woot woot! It's coming together and looking like a complete engine package.


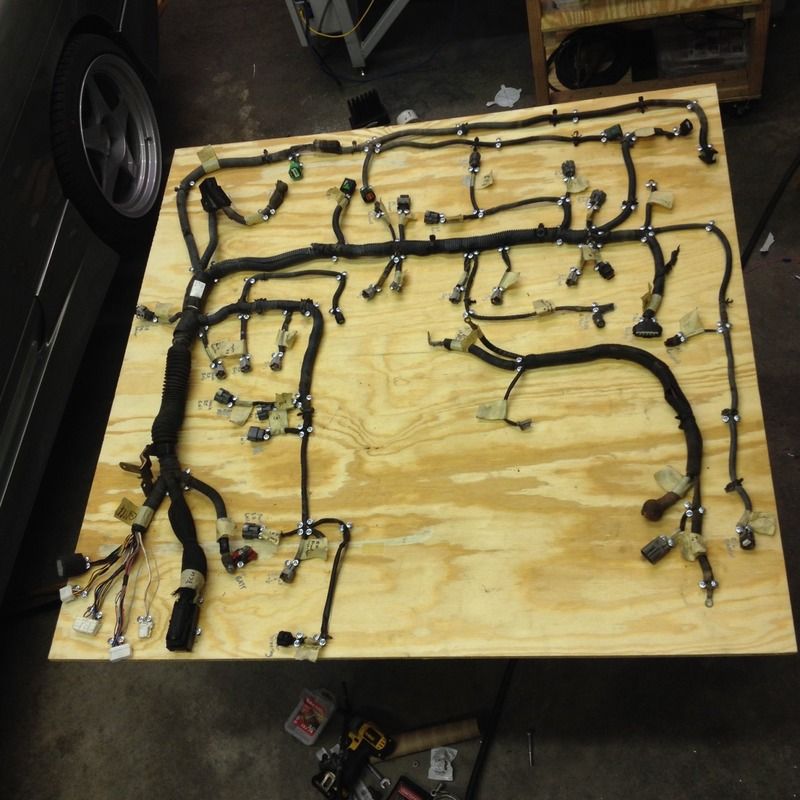
    This being the first of a few cars we've got planned, Greg laid out the stock VK harness to make a template. We'll be exploring different ECU options the next time around (probably AEM or MS3Pro since they're so popular and "supported") and likely making our own engine harness.


    Can we turn the key yet???
    IG: @brickhouse_products
    brickhouseproducts.com

    Comment


    • #77
      I love how you're putting a Nissan v8 in this instead of an LS. In for more!!
      [CENTER][url=http://www.stanceworks.com/forums/showthread.php?t=66924][color=red]e28 build thread[/color] [/url]
      [img]http://i.imgur.com/hNTlNvf.jpg?2[/img]
      Instagram: [url=https://instagram.com/divingboardlord/][color=red]@divingboardlord[/color][/url][/CENTER]

      Comment


      • #78
        Originally posted by Robitussin View Post
        I love how you're putting a Nissan v8 in this instead of an LS. In for more!!
        That has always appealed to us as well. And with how cookie cutter these cars have become it's fun to be doing something different.
        IG: @brickhouse_products
        brickhouseproducts.com

        Comment


        • #79
          Just read the whole thread, sub'd and in for RAWR. great build both of you
          conversion syndicate*

          4g63 swapped Hilux: http://www.stanceworks.com/forums/sh...ad.php?t=75423

          ig: makercruuz

          Comment


          • #80
            This build is so well executed, it hurts.

            - Renato
            TWMPerformance.com | TWMShiftKnobs.com | GodSaveTheManuals.com
            sigpic

            Comment


            • #81
              This is an awesome build. I can fully appreciate the absolute DIY hands on approach to everything. I had no idea sketchup could export to DXF, I use Sketchup for a lot of goofing around and modeling things I want to build...now it has another use! Thanks for that tip.

              I might even try to build headers now...you've inspired me. :P

              I bough the same welder but can't seem to get aluminum to work for me! Are you balling the tip or just using the well pointed tip for aluminum?

              Keep it up!

              Comment


              • #82
                Where did the last month go?!?! I was trying to stay on top of updating.


                The shop got tiddied up a bit - love that wheel poke.


                The clutch line got did...and re-did. It's now an AN hose setup with banjo fittings for the master and slave cylinder.


                The FPR found a home, albeit not a permanent one. It will get relocated when it's intake manifold time.


                And the fuel filter now resides on the firewall and completes the fuel system plumbing.


                A little bracket was whipped up...


                ...which holds the power steering reservoir. This uses the stock Titan PS reservoir but a s-chassis one could be used as well.


                On to the brakes, the modified brake pedal setup got a little paint. If you'll recall, we toyed around with ways to keep the stock booster setup. It wasn't in the cards so we're going boosterless. There's now a few kits on the market to make it an easy conversion. We wanted to try something a bit different which seems fitting for the build.


                Delete/mouting plate being made.


                The grand scheme coming together.


                And the new dual master cylinder setup in and waiting to be plumbed. There is a balance bar incorporated into the modified brake pedal.


                The most recent project involved the above tools.


                Out came the intake cam - the one with the cam angle sensor marks.


                The stock VK pattern is a 1-2-3-4 notch type pattern. The BigStuff3 needs a single notch so the unnecessary ones were filled and smoothed.


                And then things put back together which more or less brings us up to date.

                Greg is currently going through the checklist of connections and sensors to make sure the ECU is communicating with the engine. From there, we can maybe crank this thing???
                IG: @brickhouse_products
                brickhouseproducts.com

                Comment


                • #83
                  Originally posted by cruuz View Post
                  Just read the whole thread, sub'd and in for RAWR. great build both of you
                  Originally posted by TWM Performance View Post
                  This build is so well executed, it hurts.

                  - Renato
                  Thanks guys!!

                  Originally posted by Poopy View Post
                  This is an awesome build. I can fully appreciate the absolute DIY hands on approach to everything. I had no idea sketchup could export to DXF, I use Sketchup for a lot of goofing around and modeling things I want to build...now it has another use! Thanks for that tip.

                  I might even try to build headers now...you've inspired me. :P

                  I bough the same welder but can't seem to get aluminum to work for me! Are you balling the tip or just using the well pointed tip for aluminum?

                  Keep it up!
                  Thanks! And, I asked Greg about the aluminum and he said he sharpens the tungsten like normal and then nips the tip in the grinder a bit to make it flat.
                  IG: @brickhouse_products
                  brickhouseproducts.com

                  Comment


                  • #84
                    ermagerrrrd! love theses VK engines! really like what you're doing with it in an s-chassis. I'm not a ***** of LS swaps, but its fresh seeing another V8 being used. They seem to be a high quality motor

                    In case you're interested, over here in Australia they run a version of the VK56de in the V8 Supercars. Pretty sweet power and torque considering the rules they have to build the engines to

                    Based on the 5.6 litre quad camshaft VK56D naturally-aspirated V8.
                    Dry sump lubrication system, a de-stroked crank and cylinder liners to drop displacement to 5.0 litres, the deletion of the factory variable
                    valve timing system and Mahle pistons with a 10:1 compression ratio
                    Displacement (cc): 5000
                    Bore x stroke (mm): 102.69 x 75.31
                    Compression ratio: 10.1
                    Max power (HP@rpm): 668@7400
                    Max Torque (Nm@rpm): 658Nm@6100
                    Max RPM: 7500
                    No. of cylinders per configuration: V8
                    Valves per cylinder: 4
                    Data logging system: MoteC m190 ECU - See more at: http://www.nissanmotorsport.com.au/?....eSJ4Wj5i.dpuf


                    1963 850 - 1408cc, 45DCOE, 'S' 7.5" brakes, 6-point cage, blasted, Velo GPT-2's, rear beam

                    Comment


                    • #85
                      This build is just too epic
                      81 CORONA BUILD
                      http://www.stanceworks.com/forums/sh...d.php?t=72304&

                      Comment


                      • #86
                        I literally just made this account to follow your build anf hope you finish it and maybe sell a few kits. I will definitely buy one when it's finished! I just went through the whole thread, word by word and picture by picture! Keep up the great work!

                        You have a customer here!

                        Comment


                        • #87
                          This thread is a little old, but you know what they say. The blacker the berry, the sweeter the juice. Definitely can't wait to see the outcome dude. I've wanted to put a VK56 into an S13 since I first drove a Titan. Pulled a heavy ass trailer like I was pulling a cloud. I'll definitely be buying the swap kit if you guys decide to make one since I can't weld to save my life!

                          Comment


                          • #88
                            Originally posted by Renchi_akuma View Post
                            This build is just too epic
                            Thanks!!

                            Originally posted by Sr20 View Post
                            I literally just made this account to follow your build anf hope you finish it and maybe sell a few kits. I will definitely buy one when it's finished! I just went through the whole thread, word by word and picture by picture! Keep up the great work!

                            You have a customer here!
                            That is really awesome and much appreciated!!

                            Originally posted by PoopCoupe13 View Post
                            This thread is a little old, but you know what they say. The blacker the berry, the sweeter the juice. Definitely can't wait to see the outcome dude. I've wanted to put a VK56 into an S13 since I first drove a Titan. Pulled a heavy ass trailer like I was pulling a cloud. I'll definitely be buying the swap kit if you guys decide to make one since I can't weld to save my life!
                            We're eager to get it wrapped up as well! Was really stoked to see you and SR20 above you have only one post and it's in this thread!! That's really cool.

                            Sorry for the slow responses - I sometimes don't get notifications from this forum. But I'm really happy to say that hopefully in the next week or so things will start moving on the build again and we'll have a proper update to the thread! Thanks for the continued support!
                            IG: @brickhouse_products
                            brickhouseproducts.com

                            Comment


                            • #89
                              How long it's been, how long it's been!!! Wow, certainly overdue for an update and it's finally a good one. But first you ask, why did the build take a bit of a pause? Well, like most things, life has a way of changing directions and life/family priorities come before the fun stuff. Basically around the time of the last update, Greg and family relocated from Oklahoma back to Nebraska. For our long time blog readers, you'll recall that yes we're from Nebraska so while Oklahoma was good, a good job opportunity and the chance to be near friends and family made moving back home a win-win.

                              The lose in the equation was Greg was stuck with apartment life while things normalized. He and I had been on the hunt for a suitable and comparable shop to our place in Oklahoma and nothing was coming available. Shop space around the Omaha area was either 20,000 square feet or 800 square feet and $1,000 or just in a not ideal location. No doubt we were spoiled by our place in Oklahoma.

                              Finally, the future of Brickhouse caught a break when a house came on the market that fit what Greg and family were looking for and came equipped with detached 3 car shop space.


                              Square footage wise, it comes out to be the same as our Oklahoma shop just without the office hogging a corner of work space and six car parking outside instead of two. Heated, insulated, and pretty much perfect for our needs.

                              First up while it was bare and empty was finishing it off with some paint...just to make the walls a nice shade of one color. I've always found it puzzling how many garages end up staying unfinished.


                              Greg trying his hand at graffiti before it's covered up. Greg's a talented artist believe it or not. This might not do him justice.


                              So with the household goods moved and the shop's walls painted, it was time to move the shop! So off to Oklahoma!


                              "Reunited and it feels so good."


                              The biggest challenge no doubt was the plasma table. Greg's cleverness paid off.


                              After rigging up a bit of a track system, it was all loaded up and the shop was bare.


                              Good bye shop, you were good to us (sat full of our stuff for 10 months and no one messed with anything! phew!)


                              That sure filled up the place...and now the least pleasant job of any move, getting things organized.

                              The remotely spatially aware will realize the new place doesn't have as high of ceiling as the old so Greg had to get a bit clever in hanging some items. First transferring over the wheel rack...


                              And then a home for the bumpers...


                              Things are starting to come together. This is the first bay and somewhat the catch all at the moment.


                              Looking good!


                              Here's all anyone is really interested in:


                              So good to see some more pictures of this thing! And believe it or not, I've never seen it with it's front bumper on. That front red rebar is an eyesore though. Something must be done about that.


                              Inspecting the wheel fitment while organizing this end of the shop. Just a touch of camber.


                              A bit more situated AND THANK THE HEAVENS NO MORE RED REBAR!!!

                              The VK56 looks so gnarly in there.


                              Manifold doesn't clear the hood? Don't care. We'll address that after it's running.


                              And behind door number 2 is the Crap Hatch. Greg started the tube front many moons ago in Oklahoma and it needs buttoned up. This thing will be the home of the built KA that was originally in Steve's S14 (Hulk Smash) and then in Minty and now the engine dolly it rolls around on. This thing is going to be built for thrashing.

                              Speaking of my/Steve's 14, there it sits in the foreground wrapped in plastic. I'm super pumped and a bit nervous for the day this thing gets unwrapped as it's going on about 6 years now of sitting in a barn. But we'll be needing a S14 to test the VK swap kit fitment on so...


                              So there we have it. Life happens sometimes and with a bit of patience and good planning you can come out on top! Super stoked Brickhouse has a new home! Can't wait to put the CNC plasma to work getting these VK swap mounts built! Thanks for everyone's patience and nudges asking for updates while things were dormant!

                              And a parting shot that gets me all warm and tingly inside!
                              IG: @brickhouse_products
                              brickhouseproducts.com

                              Comment


                              • #90
                                More Updates!

                                Engine looks great... makes that car look mean. More updates!

                                Comment

                                Working...
                                X