 Tweet
Tweet
Today�s blog post is a bit on the short side as we cover a few quick jobs taking place throughout the day today.
First, we will return to the saga du jour, Kris Boss�s E46 M3. With the exhaust work all finished and the brake calipers in place, we turned our attention to the engine bay. You may remember from last week�s posts that we�ve swapped the new Rotrex blower in place, along with repositioning the SMG reservoir and HID ballast. Now we�re turning our attention to two specific hoses, the first of which will be covered today. When we removed Kris�s old intake on the old blower, he had two positions in that intake for the idle air hose, along with the PCV system. Now that the blower is essentially connected to a tiny rubber elbow and filter, we needed to put the hoses in different spots. We�ll tackle the PCV routing later on, but for today, we put his idle air hose in its proper place. First, we had to remove the intake manifold.
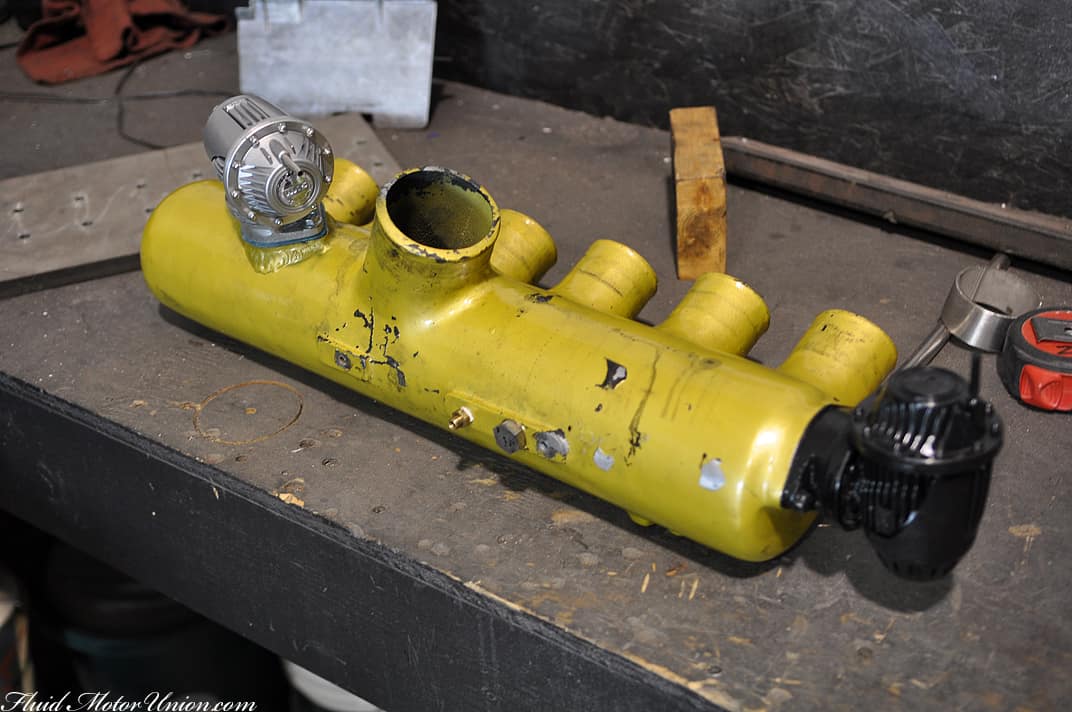
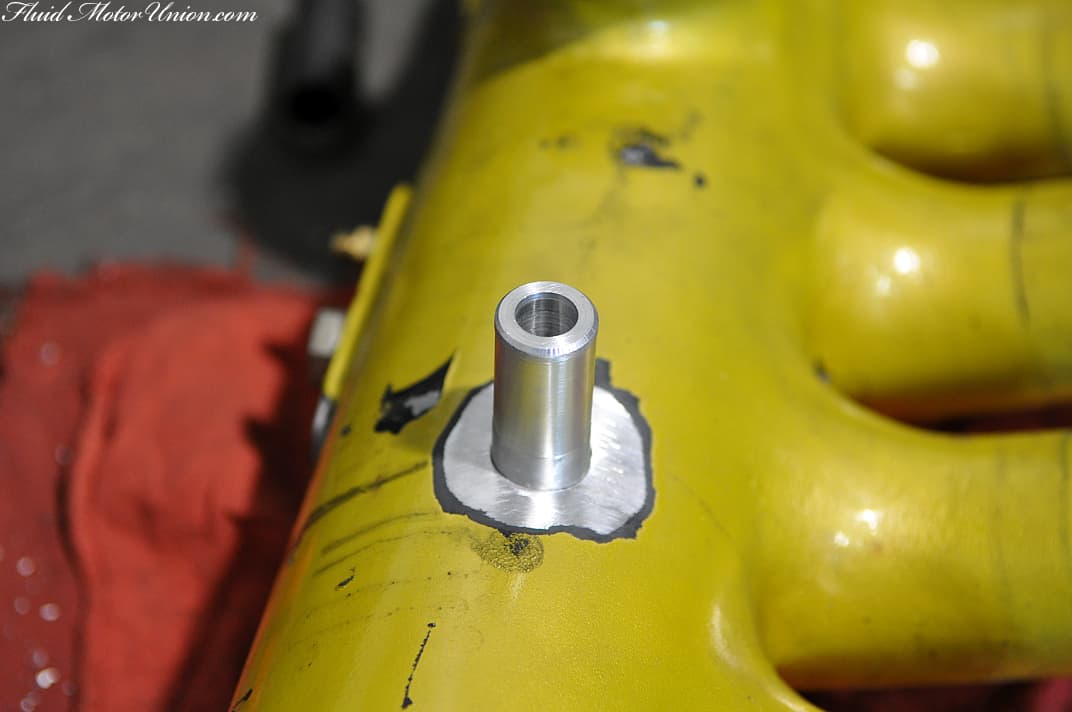
We are placing a 3/4″ nipple flange between cylinders one and two, which is the best place to put it for the sake of drivability. The first necessary step was to remove a bit of the paint around the nipple flange�s new location, upon which we drilled a hole and placed the flange.
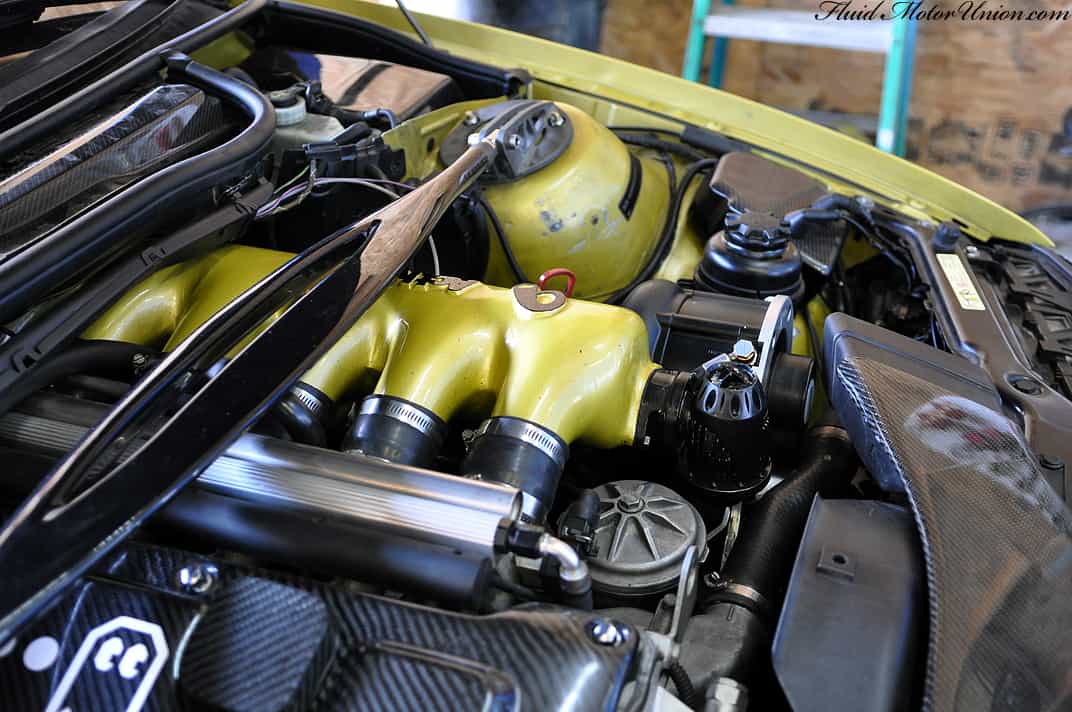
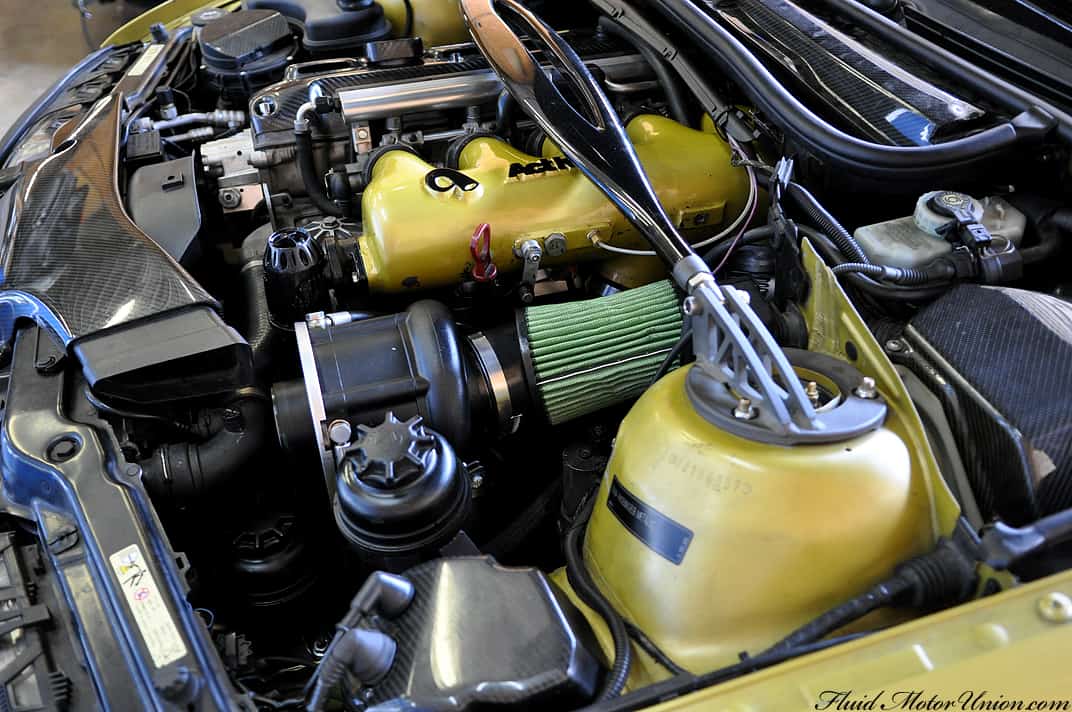
�And then some magic happened while your intrepid photog was off snapping something else, because before we all knew it, bam, right back in the engine bay with the hose hooked up properly and everything. What will happen to the PCV hose, might you ask? Well, in the interest of secrecy (and keeping some extra blog material handy), we�ll let you in on that process very soon.
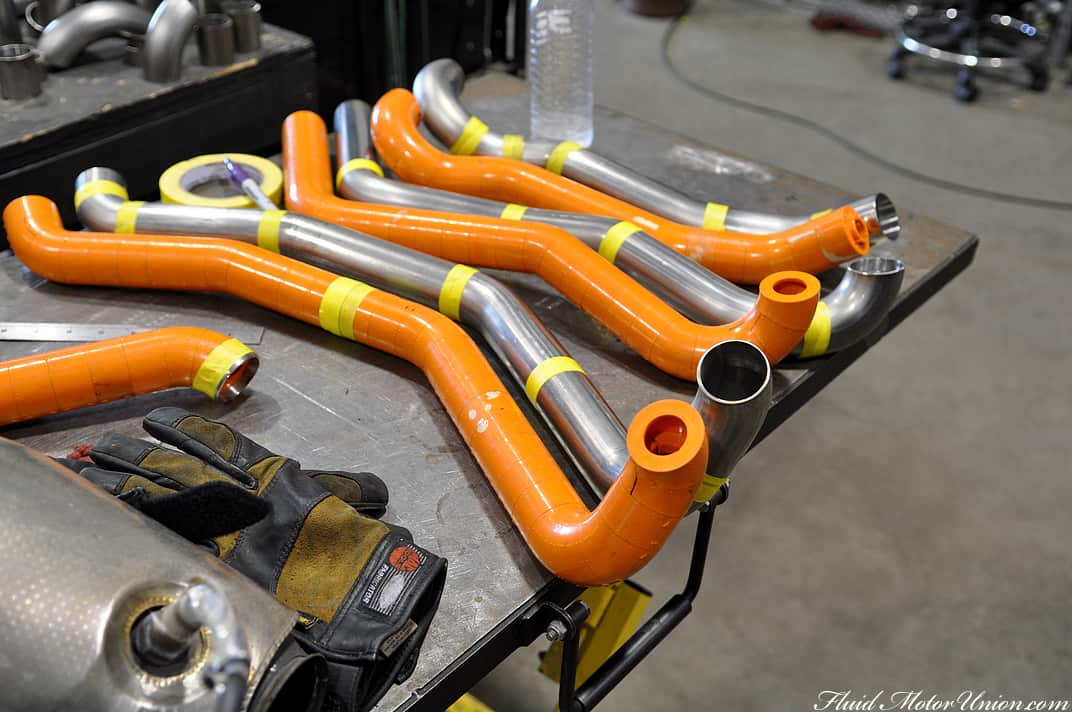
In a quick tidbit, we have three of the four driver-side WRX LSx header runners taped together. Taping is the process that happens before tacking � since we have the header LEGOs handy, we�re able to recreate their shape without having to go piece by piece in the engine bay, saving a considerable amount of time and sweat. That being said, it�s all about measuring twice and cutting once, so they�ll be quickly test-fitted before the tacks and final welds are in place. Where�s the fourth runner, you ask? Well, we ran out of 1.75″ stainless just as we finished the third runner, so more�s already on the way.

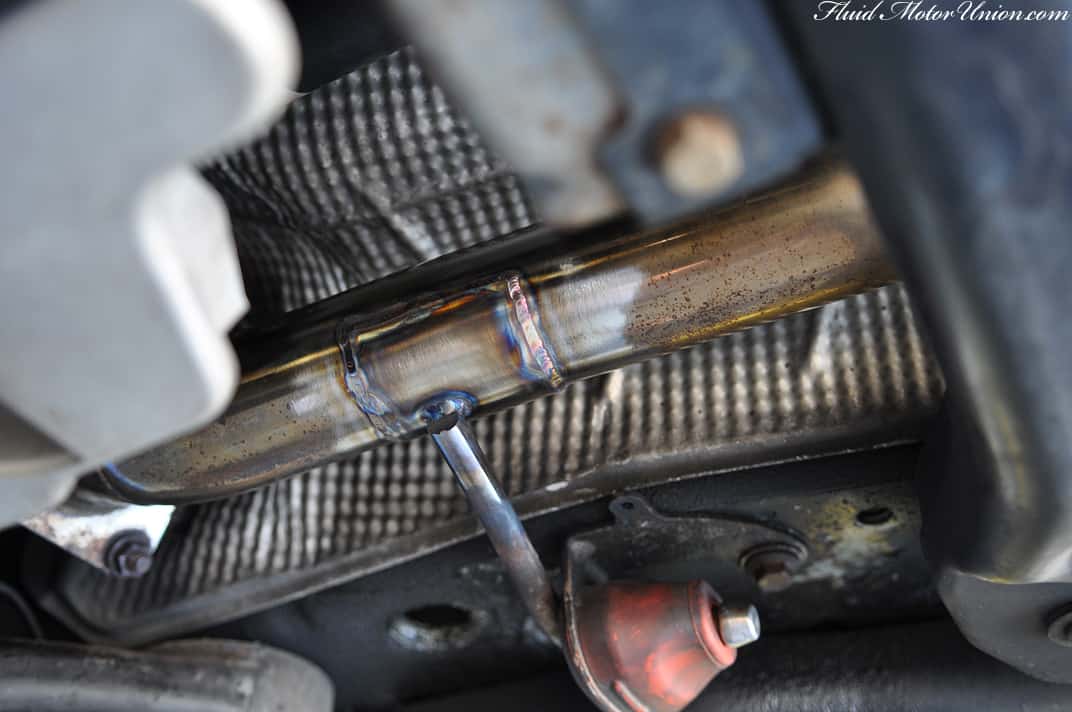
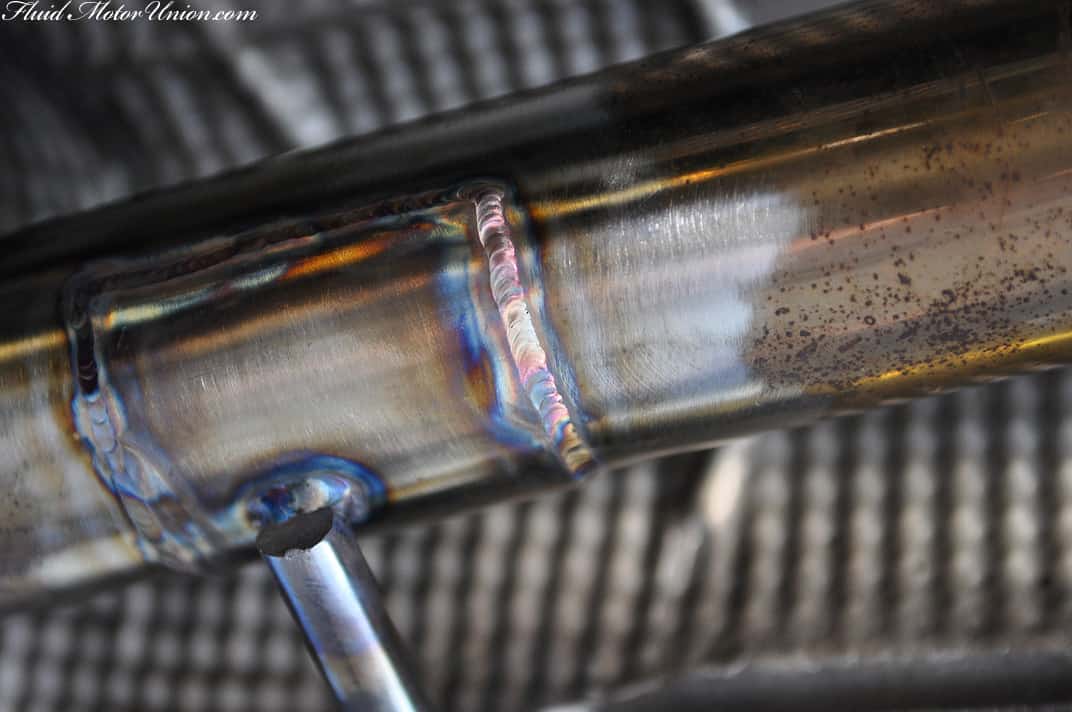
Over in the body shop, we did a bit of quick TIG welding today to help out a Porsche Cayenne. The exhaust hanger had sheared from the exhaust, so we put together a fix and TIG�ed it all up, lickety split. See? These really are tidbits.
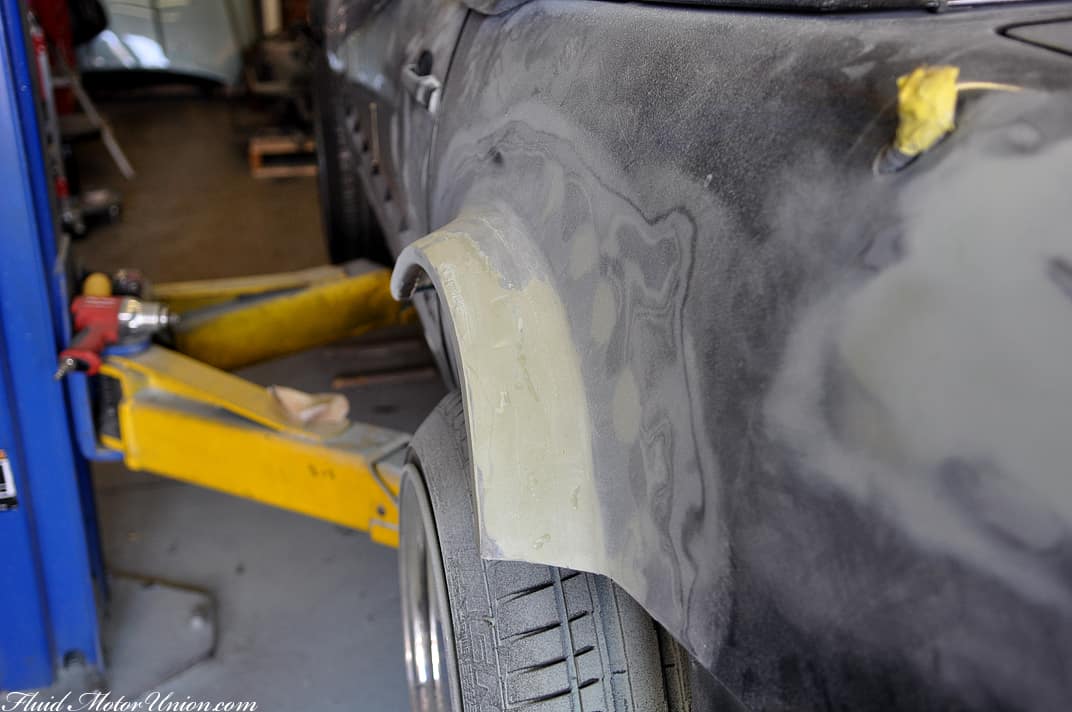
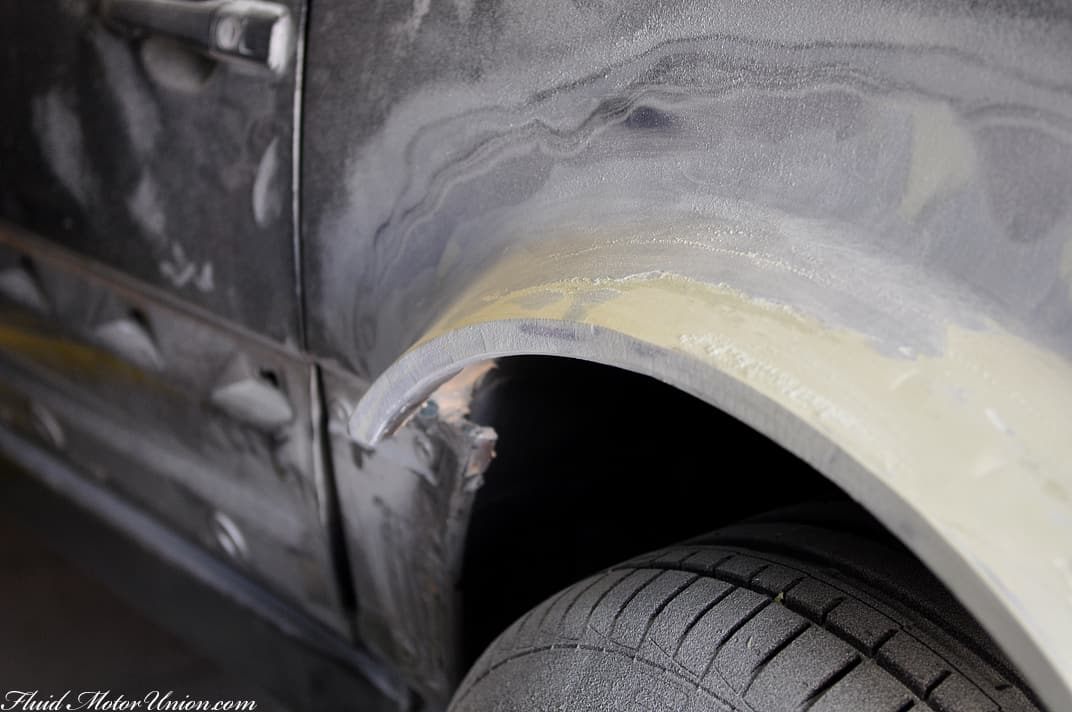
And finally, here�s a tidbit that�s really a small part of a much bigger story. The Project SL�s fenders are still being created as we have the time. Today, we were able to finish seam-sealing the exposed metal we used to create the fender shape, and now we�re sanding it to the shape we want before continuing. It�s not a quick process, but we figured we�d clue you in on the progress to let you know that, yes, we�re still movin� along on it.
Have a great week! The USA has its national independence day in the middle of the week, so we�ve all got one day off in the middle of the week to look forward to. Hooray!
First, we will return to the saga du jour, Kris Boss�s E46 M3. With the exhaust work all finished and the brake calipers in place, we turned our attention to the engine bay. You may remember from last week�s posts that we�ve swapped the new Rotrex blower in place, along with repositioning the SMG reservoir and HID ballast. Now we�re turning our attention to two specific hoses, the first of which will be covered today. When we removed Kris�s old intake on the old blower, he had two positions in that intake for the idle air hose, along with the PCV system. Now that the blower is essentially connected to a tiny rubber elbow and filter, we needed to put the hoses in different spots. We�ll tackle the PCV routing later on, but for today, we put his idle air hose in its proper place. First, we had to remove the intake manifold.
We are placing a 3/4″ nipple flange between cylinders one and two, which is the best place to put it for the sake of drivability. The first necessary step was to remove a bit of the paint around the nipple flange�s new location, upon which we drilled a hole and placed the flange.
�And then some magic happened while your intrepid photog was off snapping something else, because before we all knew it, bam, right back in the engine bay with the hose hooked up properly and everything. What will happen to the PCV hose, might you ask? Well, in the interest of secrecy (and keeping some extra blog material handy), we�ll let you in on that process very soon.
In a quick tidbit, we have three of the four driver-side WRX LSx header runners taped together. Taping is the process that happens before tacking � since we have the header LEGOs handy, we�re able to recreate their shape without having to go piece by piece in the engine bay, saving a considerable amount of time and sweat. That being said, it�s all about measuring twice and cutting once, so they�ll be quickly test-fitted before the tacks and final welds are in place. Where�s the fourth runner, you ask? Well, we ran out of 1.75″ stainless just as we finished the third runner, so more�s already on the way.
Over in the body shop, we did a bit of quick TIG welding today to help out a Porsche Cayenne. The exhaust hanger had sheared from the exhaust, so we put together a fix and TIG�ed it all up, lickety split. See? These really are tidbits.
And finally, here�s a tidbit that�s really a small part of a much bigger story. The Project SL�s fenders are still being created as we have the time. Today, we were able to finish seam-sealing the exposed metal we used to create the fender shape, and now we�re sanding it to the shape we want before continuing. It�s not a quick process, but we figured we�d clue you in on the progress to let you know that, yes, we�re still movin� along on it.
Have a great week! The USA has its national independence day in the middle of the week, so we�ve all got one day off in the middle of the week to look forward to. Hooray!


Comment