Announcement

Collapse
No announcement yet.

E36 Build || StanceWorks coils || ACS Type I Racing

Collapse
X
 
  • Filter
  • Time
  • Show
Clear All
new posts

  • #16
    Originally posted by Zic View Post

    Got a loads of pictures to upload, but flicker wont allow me, keeps saying i need to upgrade the account, or else i wont be able to see the last 200 pictures, does anyone know if i can keep uploading, and my old pictures that i have already uploaded and linked in my thread will still be showing?
    Looks like your bandwith is exceeded son...sign up on photobucket
    slamburglars.com

    Comment


    • #17
      cant wait t see it done!
      www.bimmers.no

      If something's hard to do, it's not worth doing. -Homer Simpson

      Comment


      • #18
        Hard Son!

        Originally posted by Geoff.T
        E36 owners. Take note on how its done from the Mexican or see main page.
        MexicanFabEFFSIXTWO
        Instagram:MexicanFab
        YouTube Vlog. Go watch!

        Comment


        • #19
          amazing!!! what else can I say about those wheels :-P

          but all the other work is also well done ;-) keep us updated!!!

          following status *ON* :-D

          Comment


          • #20
            awesomesauce

            Comment


            • #21
              thanks

              Singed up on photobucket, so more pictures hurrrrrray.


              The driver side had a rip.


              bought some thread, no idea what kind it is. the girl at the shop that it should last for a bit, strongest thread they had.


              threading.


              I doubled the thread, and first threaded all the way up, then down again.


              Not perfect, but way better than before.


              the windows would not slide properly, and you e36 owners know this infamous plastic clips.


              four in a package.(enough for two windows)


              old vs new.


              the left side fender, picture is taken from inside of the fender well. tired to show the clearance.


              its not gonna be that close, was just testing the wheel travel, it did not rub at that point.


              still not rubbing.


              this is close to were its gonna sit.


              started sealing up the other wheels.


              sealant.


              checking the bottom of the car, i found this hole. think its from scraping the undercoating off, and then water forming there.


              started with the wire wheel, and just saw more and more rot. i could see that the metal was not worth much.


              then i pulled the seat out, and pull out the carpet. ouch. so much for thinking that the car was rust free. tho better that i found out now then later.


              woops.


              my hand slipped.


              stated prepping for welding.


              made a ""mold"" of paper. and cut it out of steel.


              started hammering it, getting it to shape.


              stated tacking it into place.


              fully welded up, and sprayed it with rust protector / converter. (i almost sat fire to the gas tank, whilst welding. lucky for me that i got the fire out.)


              under side.


              sealed the edges.


              sealed.


              then sealed everything, also did it on the bottom side.


              got loads of parts in.


              m bumper.
              right and left fender.
              nose panel.
              the ting that holds the lights.
              the bar between the front frame.
              window seals.
              80degree thermostat. (fan delete mod)
              82degree fan switch (fan delete mod)
              and misc other parts. all OEM bmw from the dealer.


              mocked the parts up.


              test fitting.


              test fitting.


              pulled the bumper off, to get the hood / nose / fenders to fit 100%.


              mm starting to come together.


              okey, this seems a bit risky. 
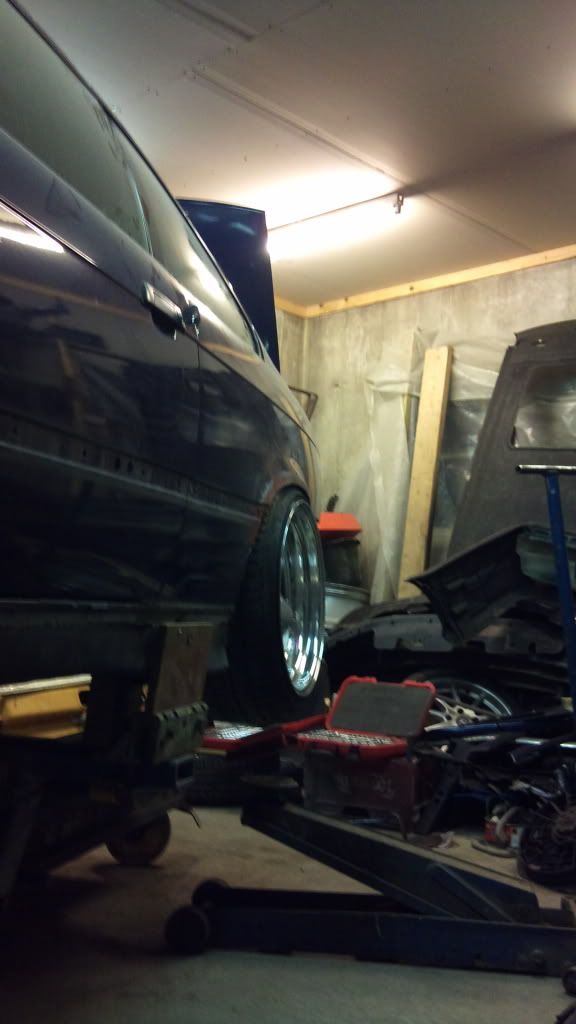
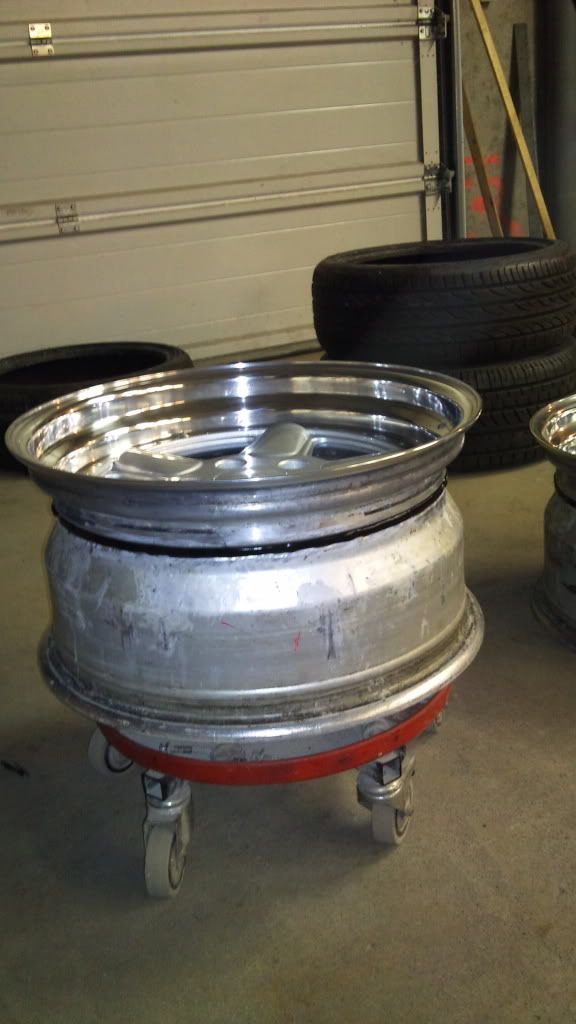
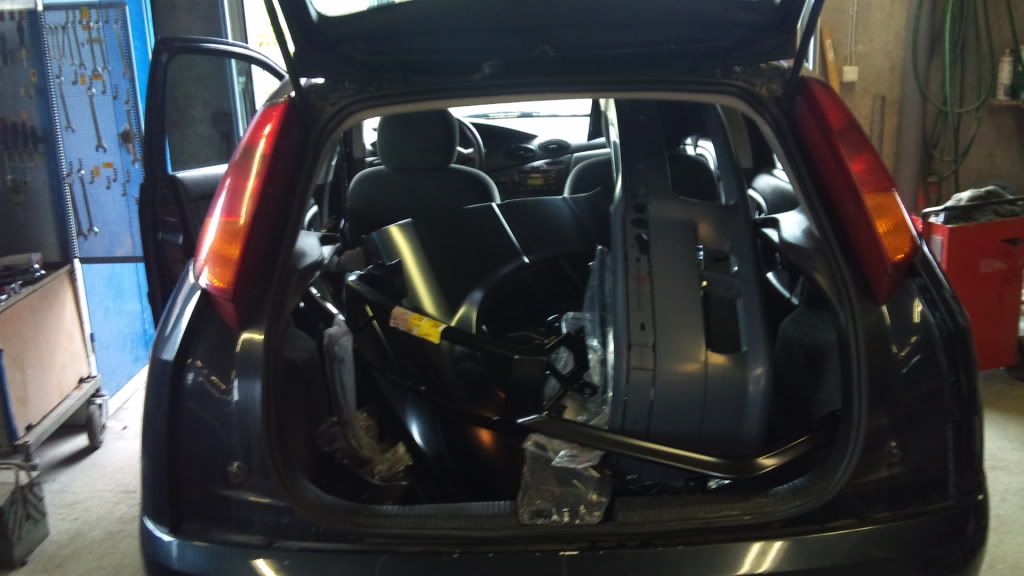
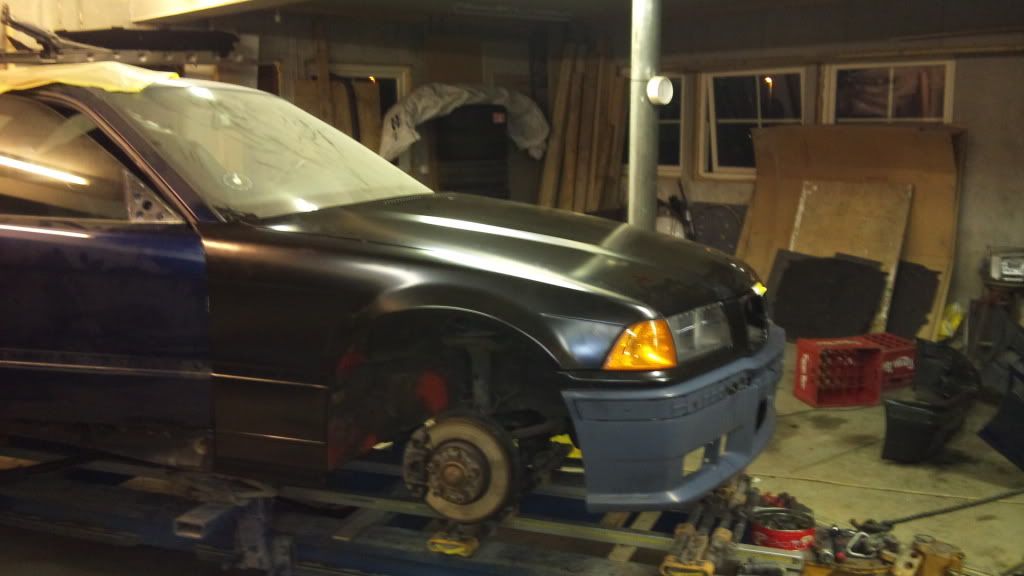
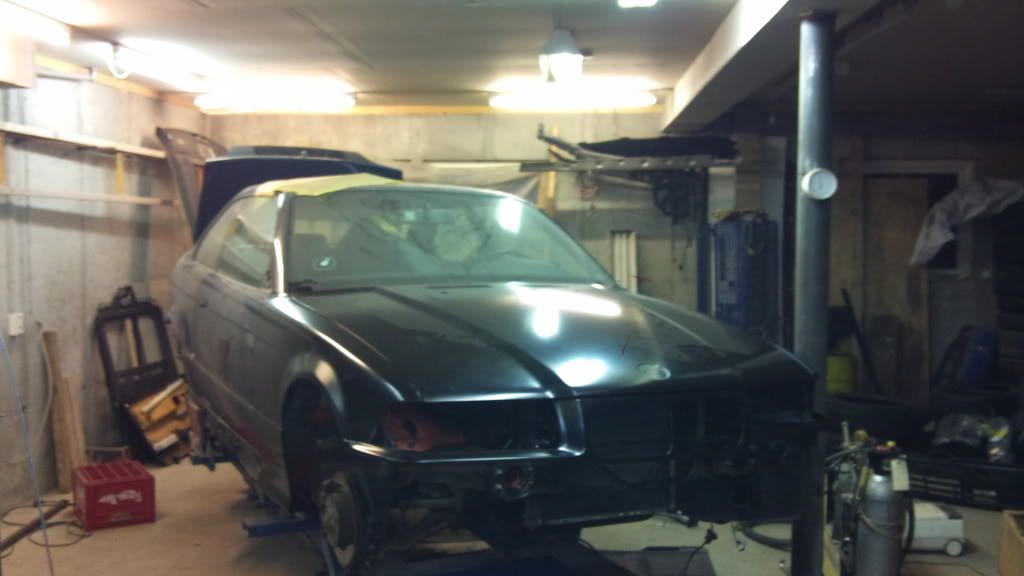
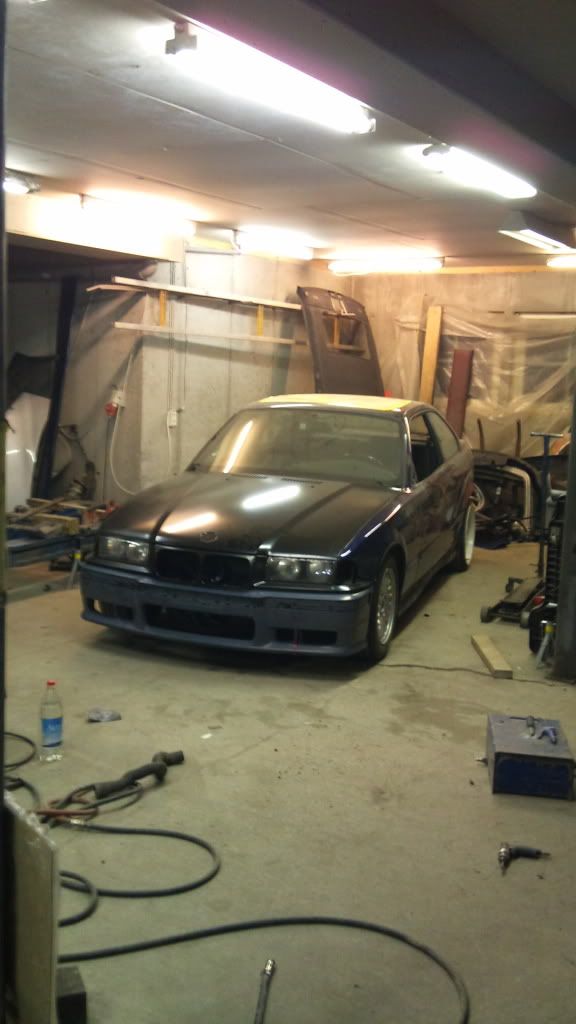
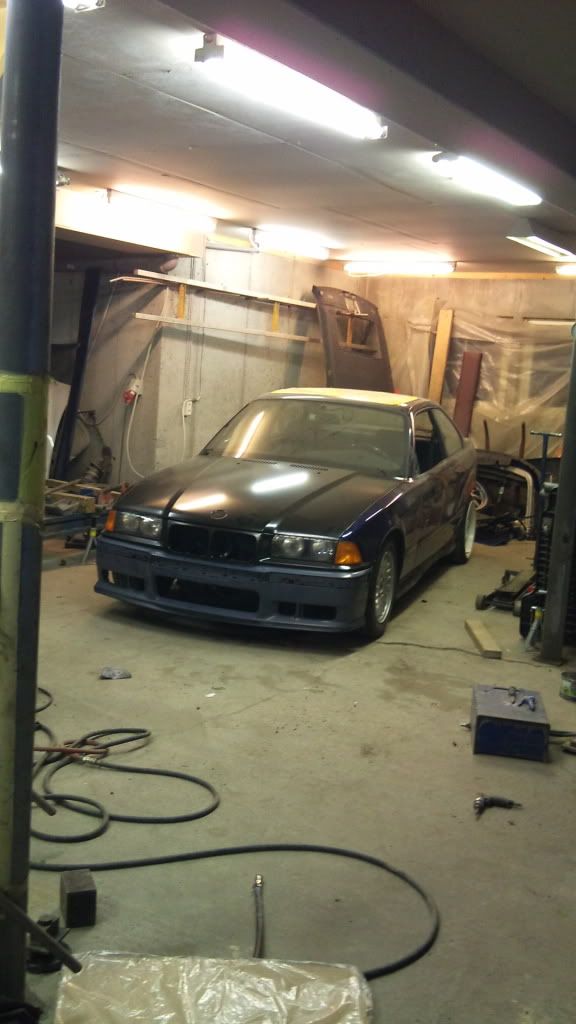
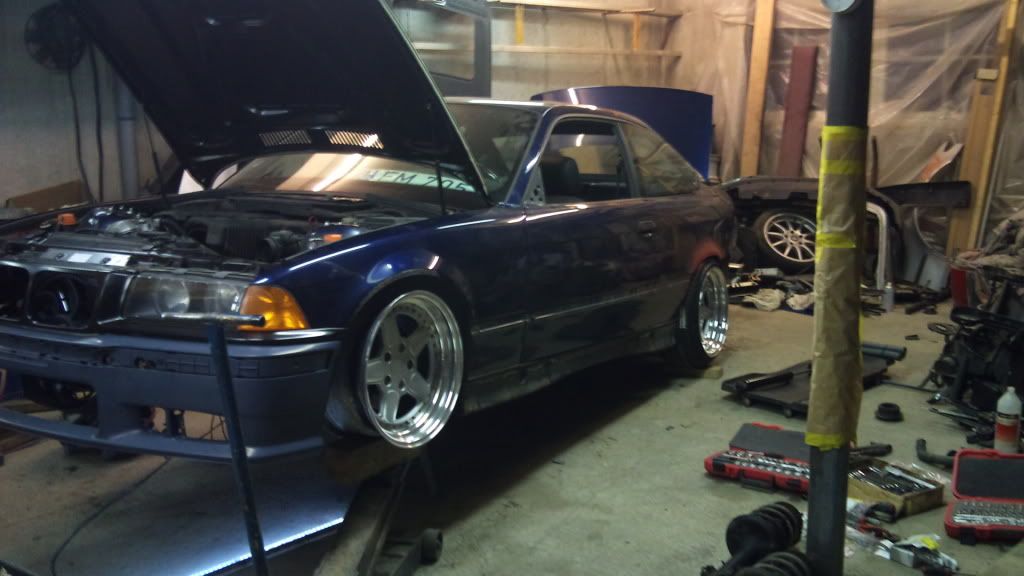
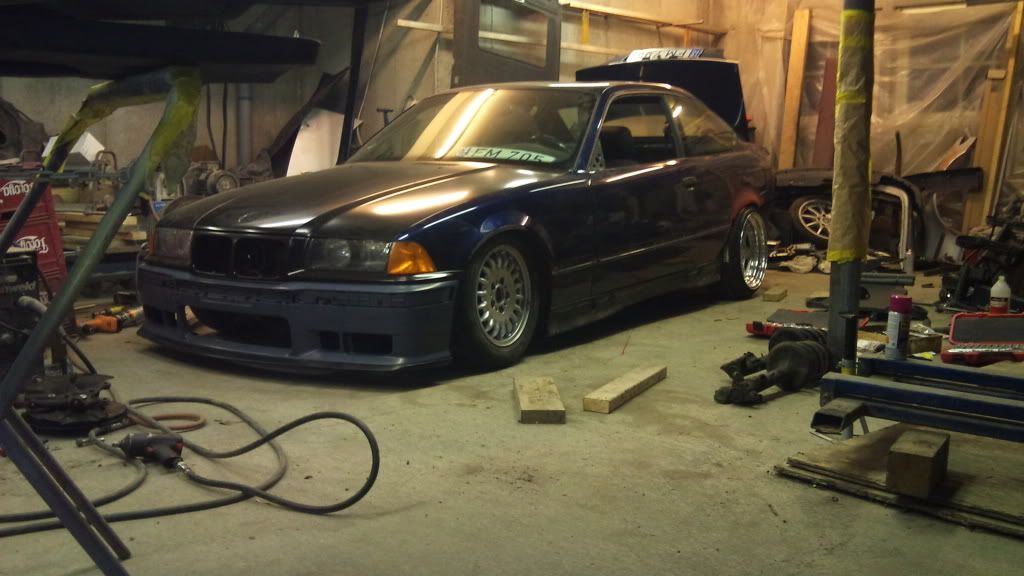
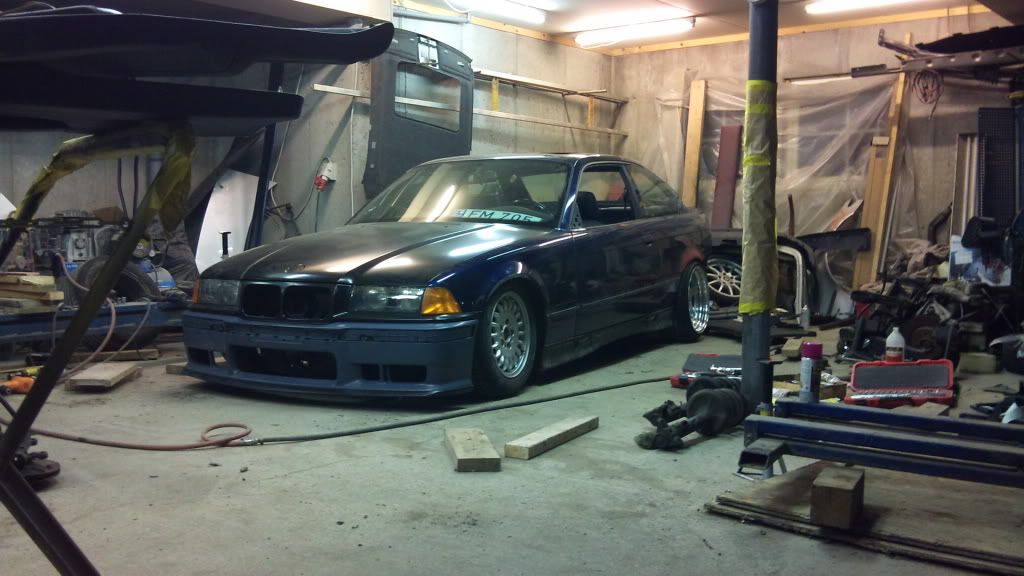
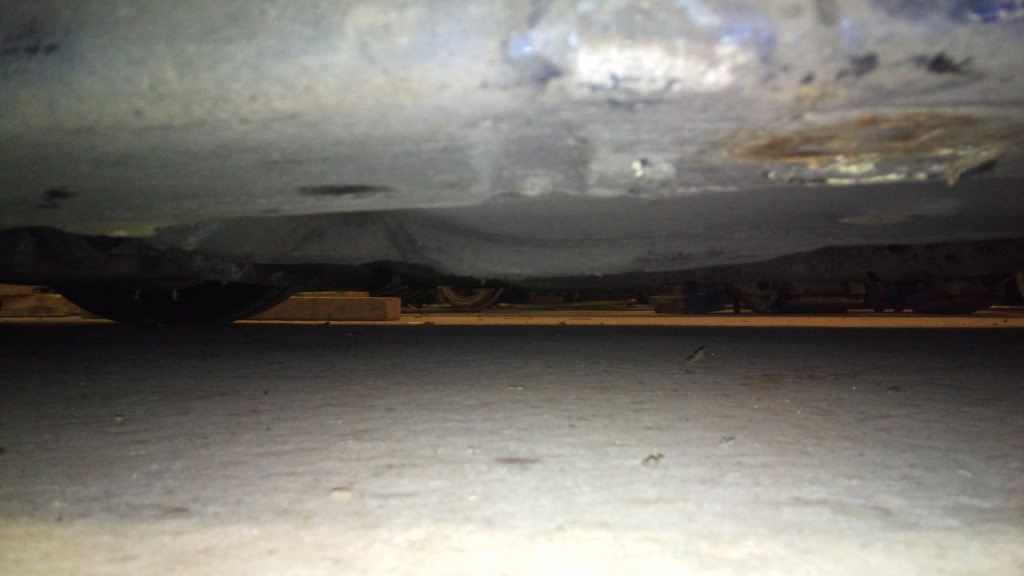
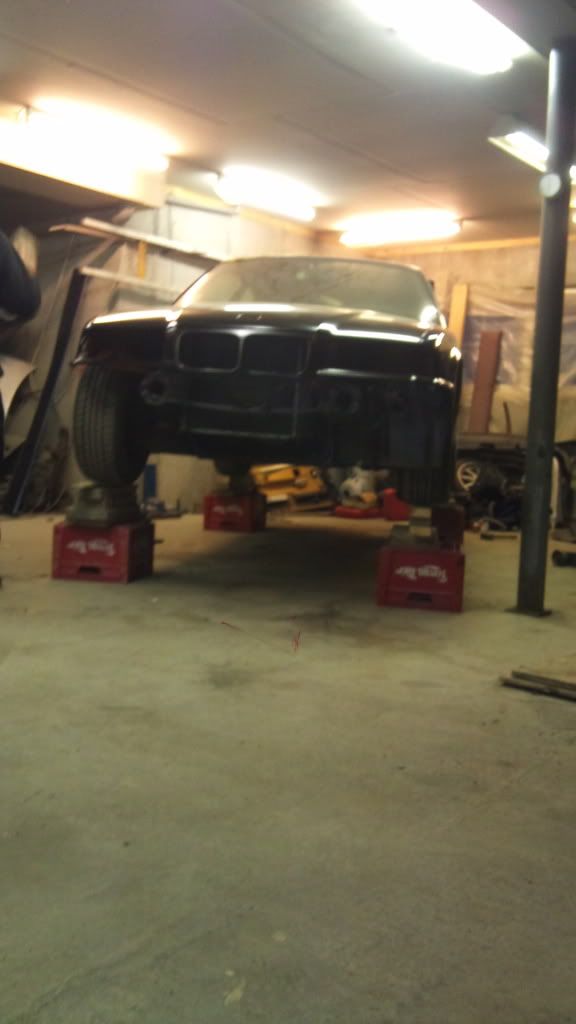
its on four beer cases and wood planks. Did not have time to take more pictures, but the huge bench were the car was bolted to, was removed then manouved the lifter under the car, removed the boxes then lowered the ground.


              success.


              back in its hole.
              -Instagram@jdjurhuus
              Stretchsaurus and Pokemon.

              Comment


              • #22
                Awesome progress man, keep it up. I always have those plastic window clips in stock.... just in case.
                Originally posted by MommysLittleMonster
                Internet high five for you.

                Comment


                • #23
                  Originally posted by Zic View Post
                  fully welded up, and sprayed it with rust protector / converter. (i almost sat fire to the gas tank, whilst welding. lucky for me that i got the fire out.)
                  Scary stuff. Happened to my dad over a decade ago. The whole garage burned down. Nearly 40.000 DM damage.

                  Love the progress, I have a feeling this thing is going to be pretty epic once it's done. Although I must admit to not really looking forward to the color, I'm not really a fan of Mauritiusblau. But I'll reserve judgement until the car's done. I can imagine that with the polished wheels, the color will look great.

                  '87 Porsche 944 S | Ex-E36 Touring (2009 - 2016) | Daily: '02 Chrysler Sebring

                  www.bastienbochmann.de | Tief & Breit

                  Comment


                  • #24
                    Top work mate!
                    Instagram: bhups83

                    Comment


                    • #25
                      Sorry to hear that Dr.Ak.
                      I dont really know about the color to be honest, but it will work out nicely i hope.
                      Thanks bhups

                      Not many pictures taken yesterday. Tho the car had a strange noice thuuuuuuuuuub thuuuuuuuuuuuuub thuuuuuuuuuuuuuuuuub, 
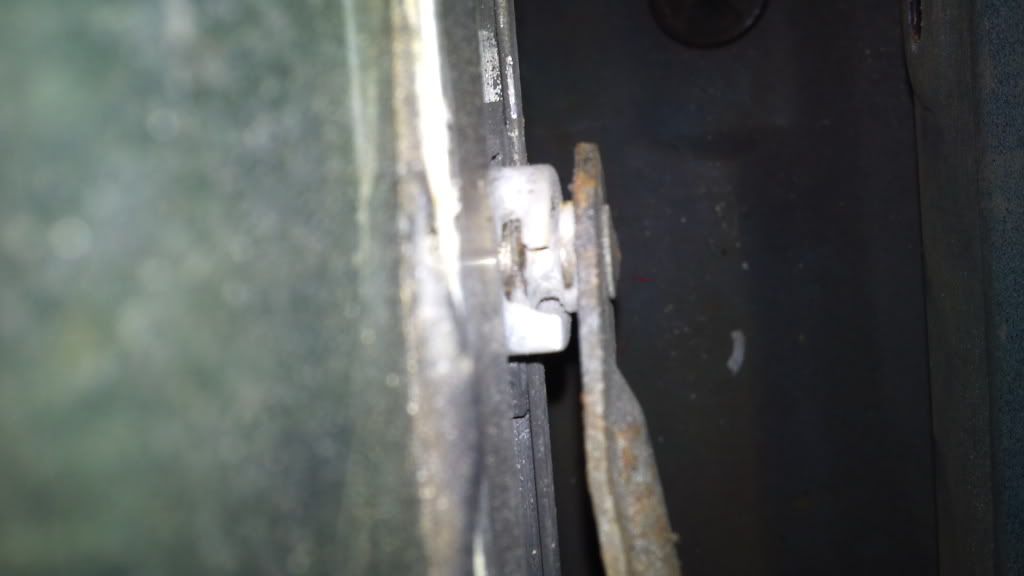
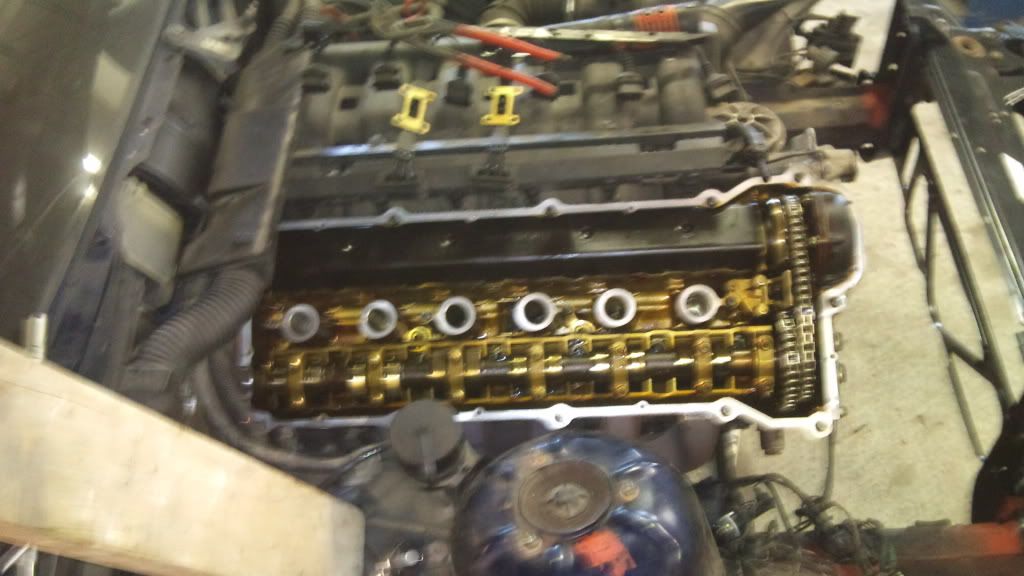
not a metallic clicking sound.
                      so i took the coils of, and one spark plug was loose. tightened it up and the sound was gone.


                      spark plugs out, you can see how dirty they are. Full of oil leaking valve cover gasket. Maybe you can spot a little other ting.


                      yup, there it is. the plug that was lose, you can see how the "claw" that comes down. is missing. so i got really happy about that.


                      changed the valve cover gasket.

                      between this and the other picture, i did a few tings.
                      -thermostat 80c (clutch fan delete mod)
                      -aux fan switch. 82c i think it was. (clutch fan delete mod)
                      -new spark plugs.
                      -cleaned the spark plug holes of dirt / oil.
                      -bleed the cooling system of air.
                      -installed the carpet and seat back in.
                      -installed the rear and front lights.


                      front assembled.


                      front assembled.
                      -Instagram@jdjurhuus
                      Stretchsaurus and Pokemon.

                      Comment


                      • #26
                        we want more pictures man more more more hahahaha i love builds like this

                        Comment


                        • #27
                          ^^ like new

                          at dr ak waith what?
                          Floccinaucinihilipilification

                          Comment


                          • #28
                            Seriously good work man indeed, good to see its all being done proper. That car bench is proper sweet!

                            Looking forward to seeing the final outcome.
                            -SW|UK-
                            Education - Knowledge - Power
                            insta: @stinkinrich

                            Comment


                            • #29
                              i love picture threads as well, thats why im dropping all these pictures in here
                              thanks for the kind words.

                              "dont know the name for it, but it looks like shit"


                              some one "wrapped it in leather" using double sided tape 
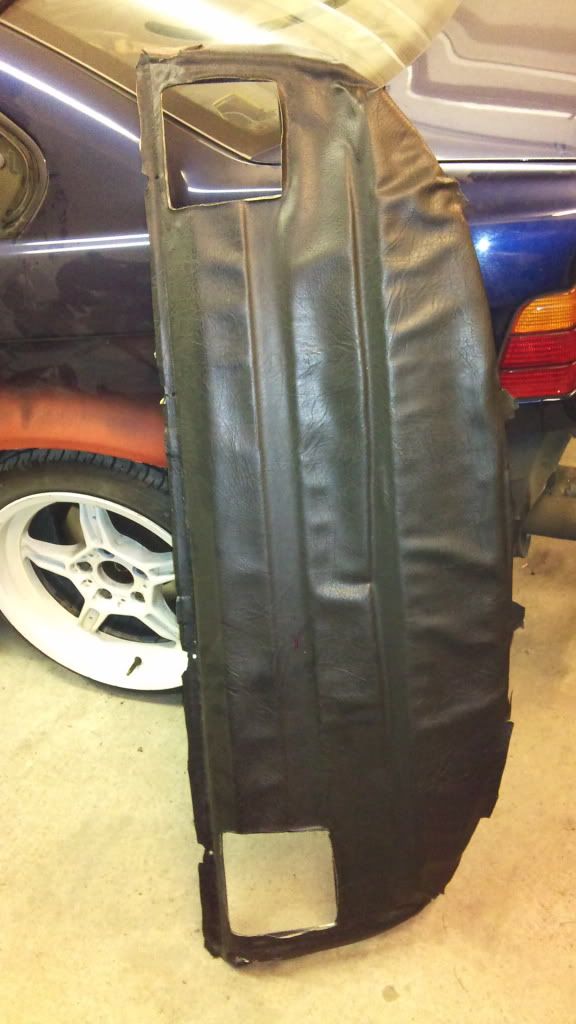
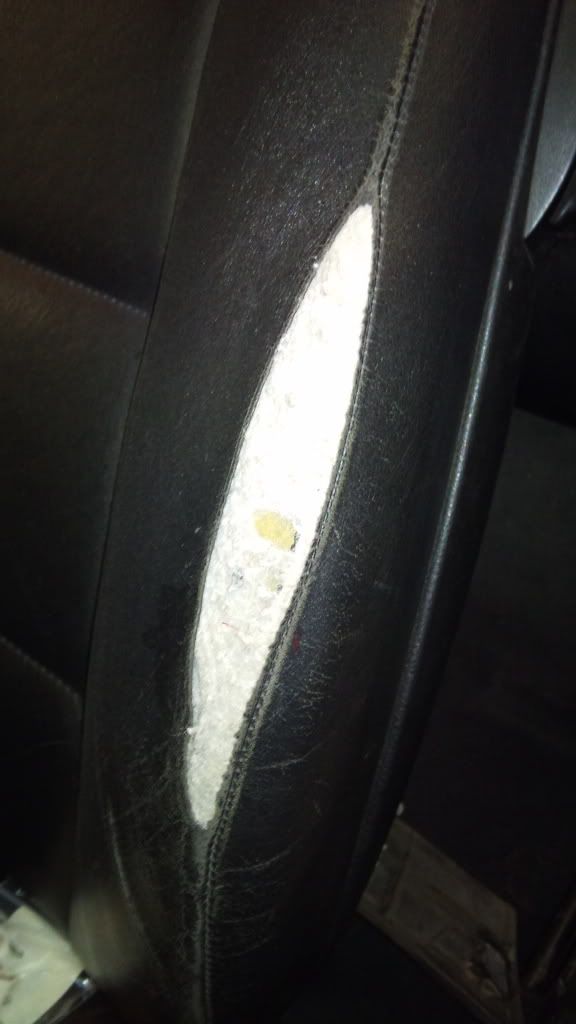
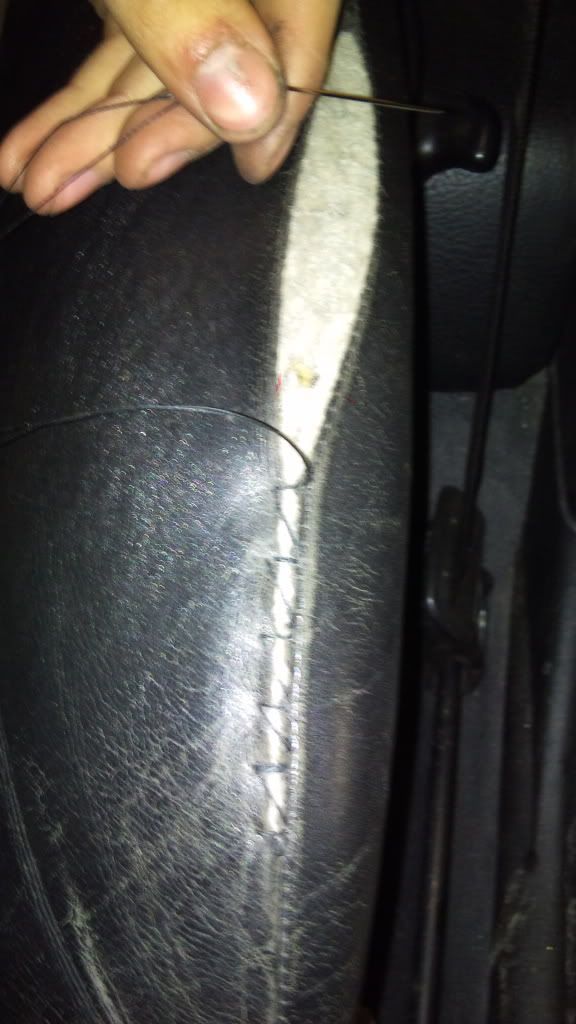
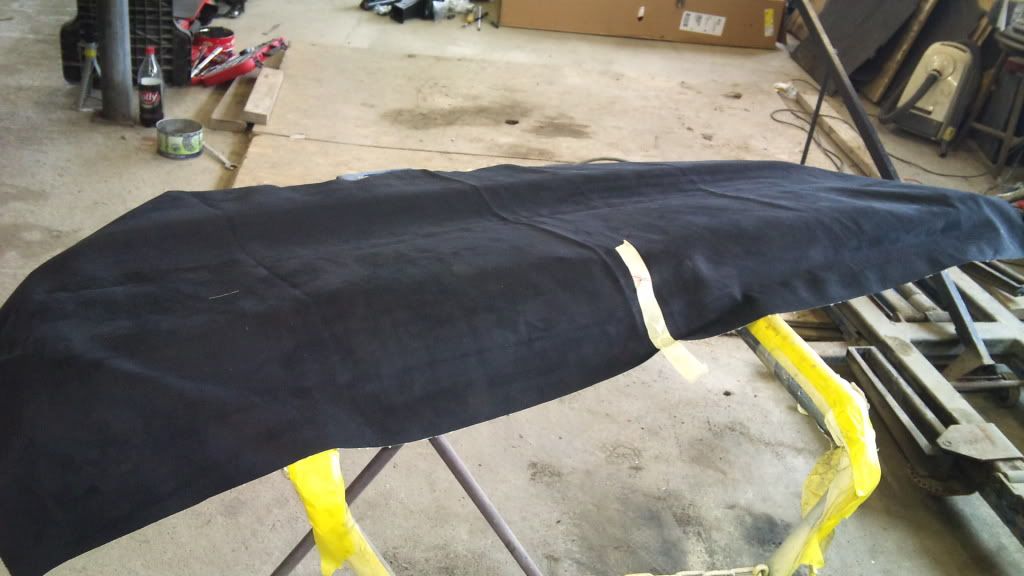
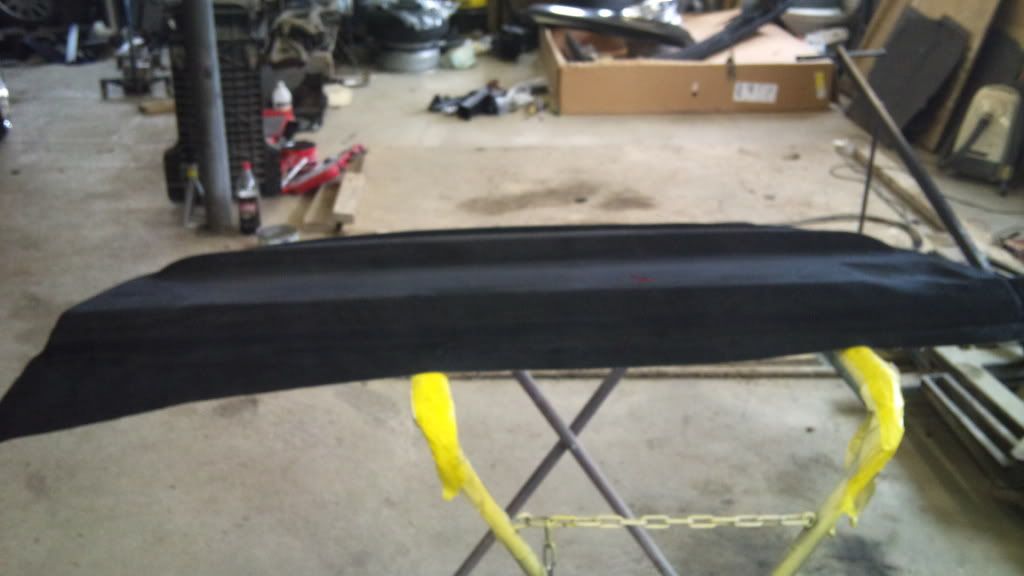
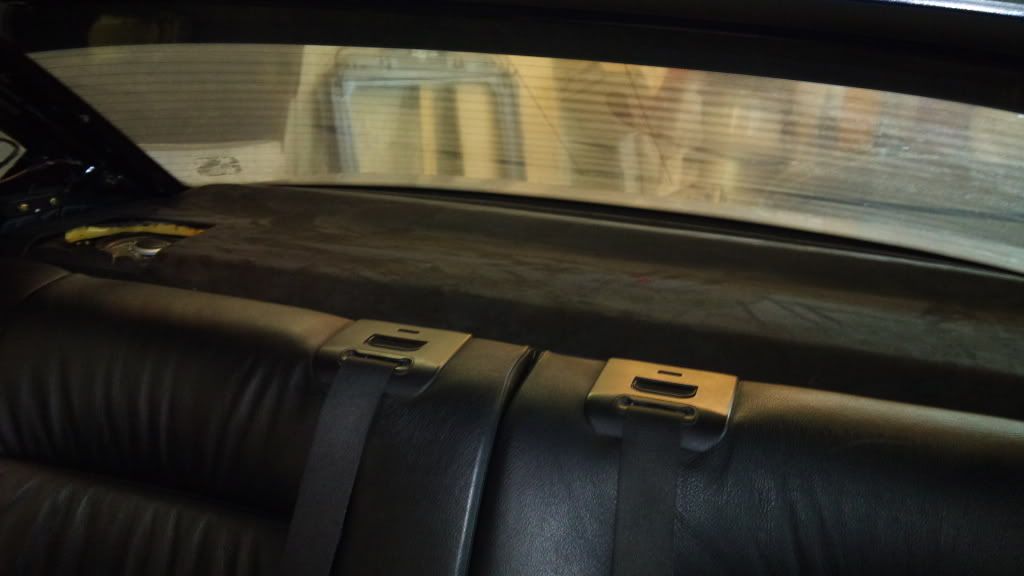
, no problem. pulled the leather off, and bought textile spray.
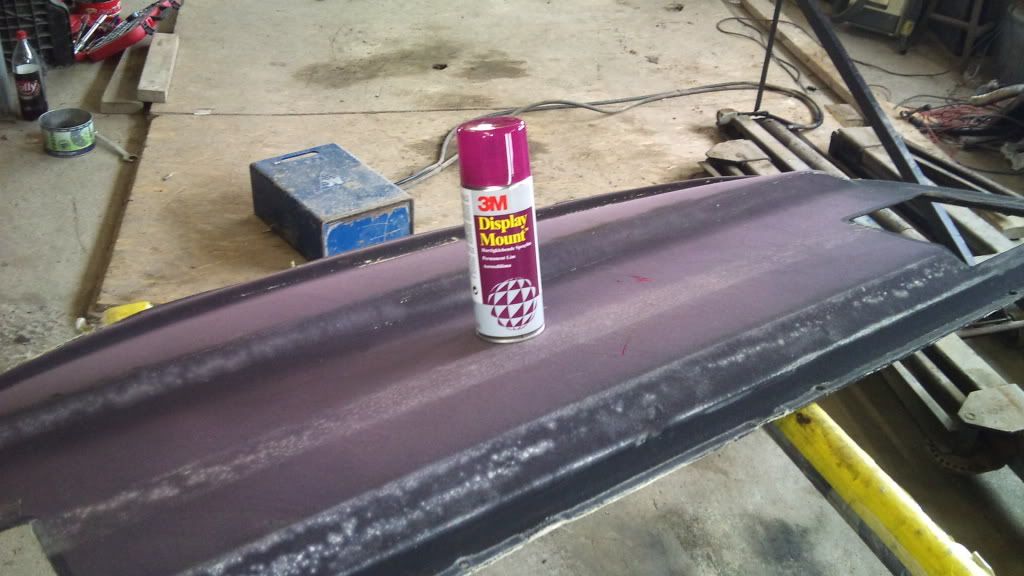

                              had some suede that was intended for the gear boot, but will do much better here, laid down.


                              then i folded the middle half over, sprayed the glue. and kept pushing it down with my hands getting everything nicely down. top done.


                              flipped it over, and did the rear.


                              how it came out looking.


                              And in the car, i must say, for doing this the first time. im really pleased with the out come.


                              then i went ahead swapping the in a new gear stick bushing.


                              new vs old, you cant see shit in the picture. .


                              new one installed. feels way better.


                              then i installed the rear shock combo. its made up of.
                              -SW:ZCC
                              -e46 shock mount
                              -z3 reinforcement plate
                              -new gasket


                              how it looks like


                              and in the car


                              tried test fitting the wheel with only one spring pad and the 5" spring. no adjuster or perch.


                              its too close


                              cant even get paper between the wheels and fender, tho will get fixed when i get camber arms. Tho they are not a on top of the list right now.


                              with the adjuster and perch back in, test drove it. does not rub.


                              then i went tackling the front end. notice the shock is not even compressed.


                              coil overs on, test fitted the 8.5 AC Schnitzers.


                              then on the right side, oh man oh man, first i over tightened a bolt snapping it of in the hub.


                              tried drilling it, tho could not get a proper hole. i swear that it felt like all the drill bits were made of butter. tho came up with a brilliant idea to weld a screw on. tho i failed and actually welded the broken part to the hub. I was fucking pissed.


                              pulled all the parts off. and of course the hub / spindle would not come of the ball joint on the lower control arm. 
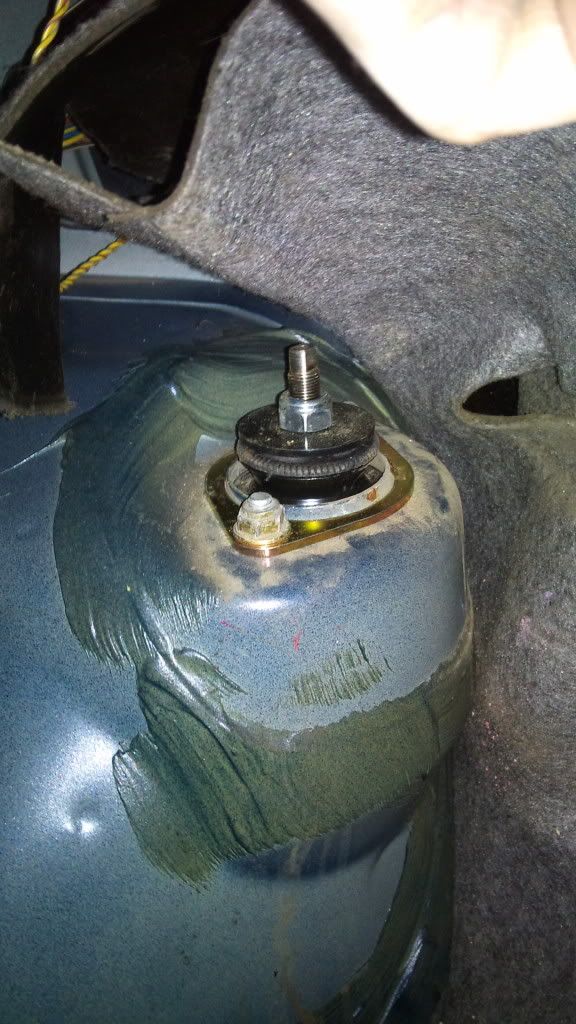
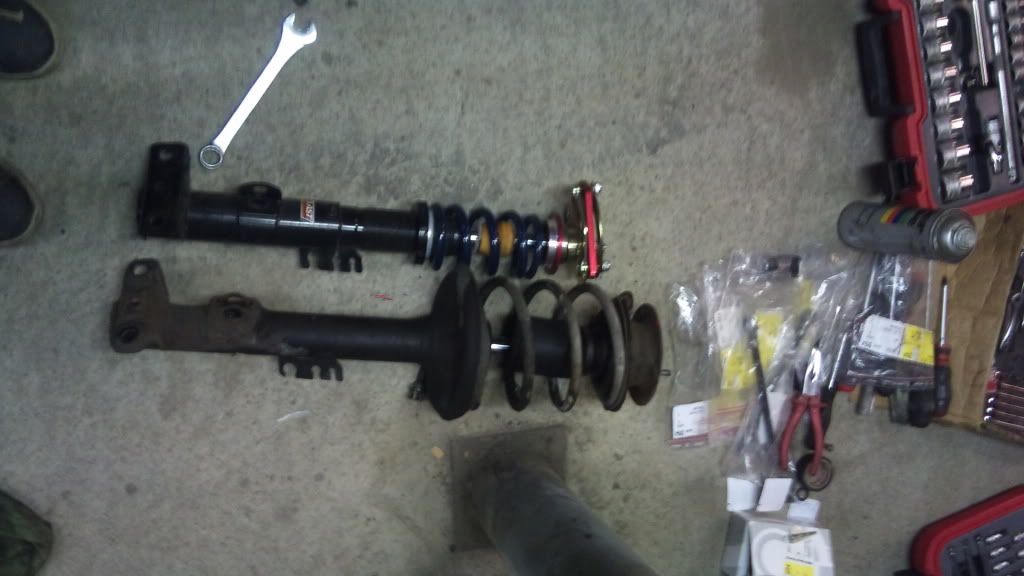
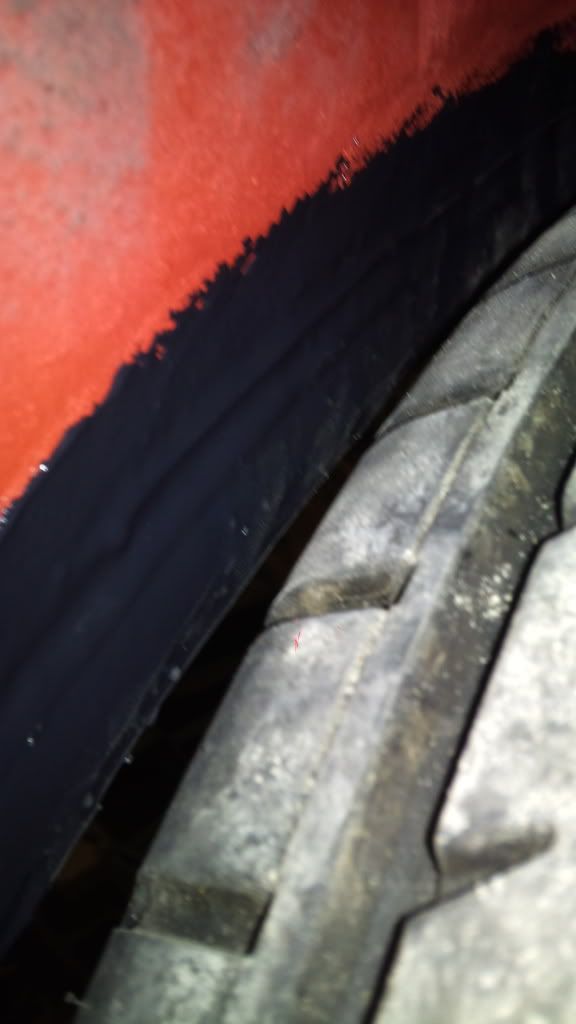
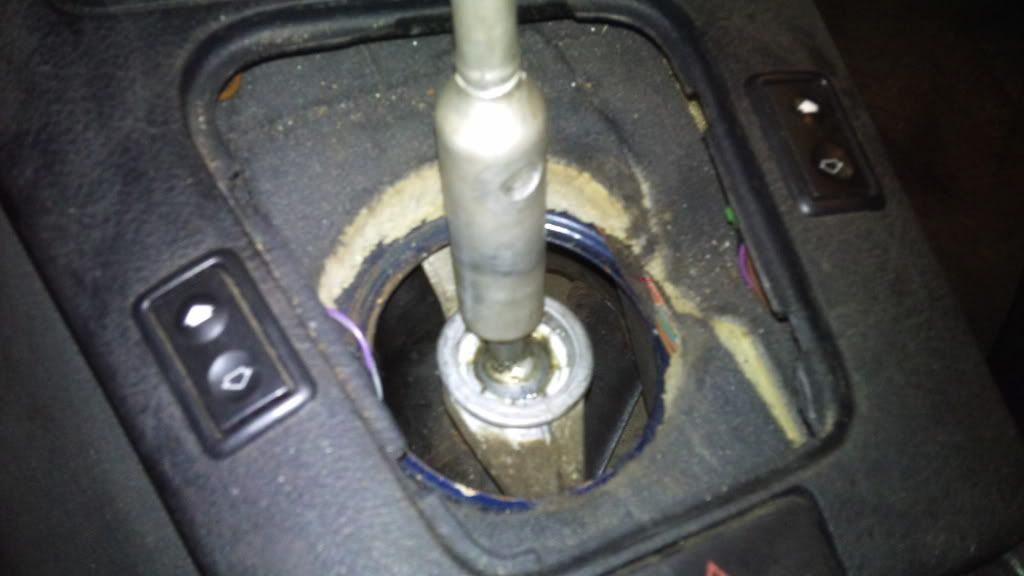
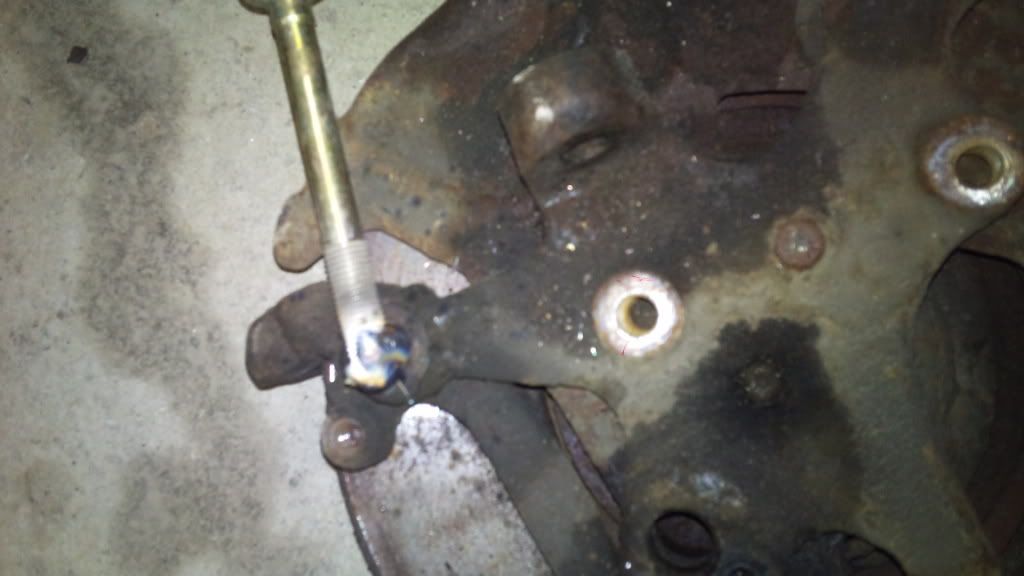
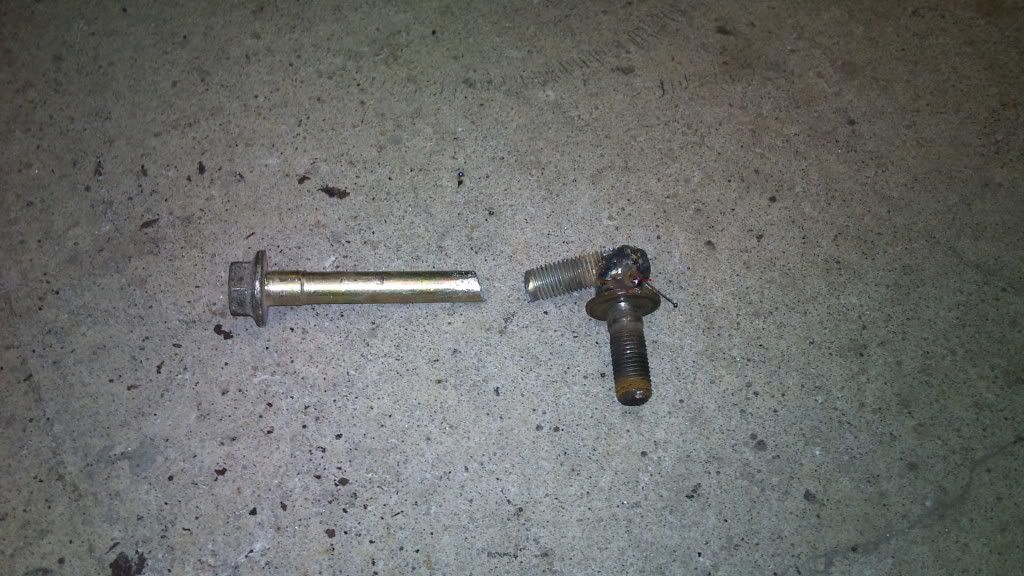
ended up damaging the rubber boot and i will have to replace it.


                              so im pulling the hub of my old car. thank god i saved the hub. and what do you know, the 16mm bolt holding the break caliper bracket is stuck.


                              ended up breaking a 16mm top for it. tho welded a bolt to the bolt.


                              smashed on it a few time, and it came loose.


                              tho i could not spin the bolt all the way around, to long. had to cut the end of. but success i got the shit off.


                              after math.


                              got the coils on the front.


                              this is a 195/40 on a 17x8 et20. what ill be running is 195/40 on a 8.5 et13.


                              clearance shot at the moment. the car is not adjusted to were i want it to be, meaning it will be lower than this.
                              -Instagram@jdjurhuus
                              Stretchsaurus and Pokemon.

                              Comment


                              • #30
                                I like this.


                                The Kia has been parted.

                                Comment

                                Working...
                                X