-
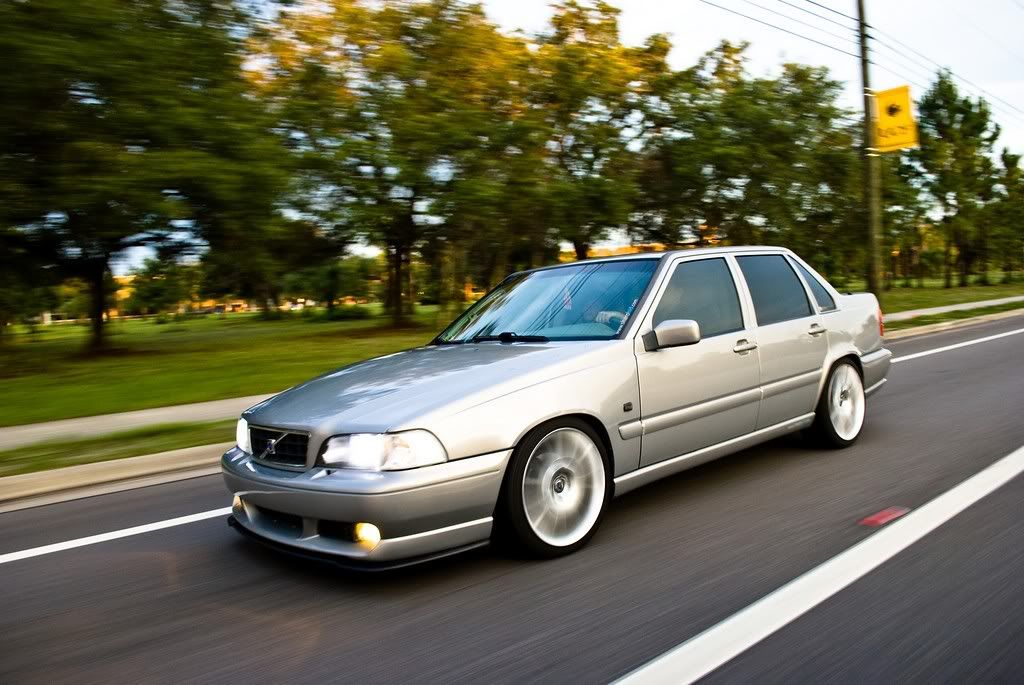
Anyone fancy doing mine pretty please? I don't have Photoshop on my laptop anymore

Leave a comment:
-
Tutorial time:
1. Right click the image and hit Copy
2. Open Photoshop ... version of your choice
3. Click File > New and OK
4. Ctrl + V (or Edit > Paste) to paste the image
5. Click File > New and OK again
6. Paste the image into this one too.
7. What you should have at this point, should look something like this:

8. On one of the two images (doesn't matter, they're the same ... or should be at this point), click Image > Image size
9. Uncheck the 'Constrain Proportions' box at the bottom, and then in the width field at the top put in a value a little over half of what the original is
(in this example we start with 800 so I'll go with 460), and click OK
10. You should have something like this: one scrunched up, one normal

11. Click on the normal sized image and then at the top left select the Elliptical Marquee Tool

12. Select the area around one of the wheels ... make it bigger than the wheel; see example

13. Press Ctrl + C to copy the selection
14. Click onto the scrunched up image and paste.
15. Maneuver it into place where you want it (In this image, you want the front of the front wheel arch to be where it is in the squished image and the back of the back wheel arch to be where it is in the squished ... hope that makes sense)

16. Select the eraser tool

17. Right click on the image, and then scroll down to select a soft brush (go with a bigger one unless you wanna spend a year erasing)

18. Erase around the wheel to blend the bodywork and delete excess parts

19. Repeat steps 12-19 for the other wheel
20. Click File > Save for Web
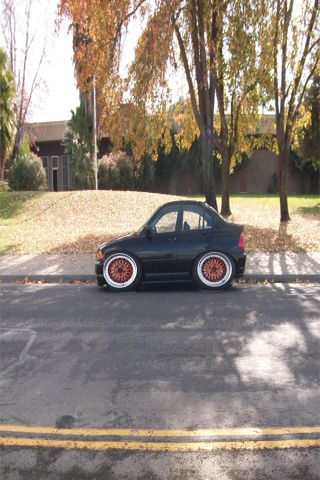
21. Finished product should be something like this:

Note: For angled pics you might have to rotate the pasted, normal sized wheel (hit Ctrl + T and then right click and hit rotate and spin it; enter to confirm) -- use moldings and such as orientation for how much you should spin it.Last edited by slocar; 12-27-2009, 07:02 PM.Leave a comment:


Leave a comment: