Originally posted by hinrichs
View Post
-
Totally skipped over the first part but then went back, was just thinking....not another build hahaLeave a comment:
-
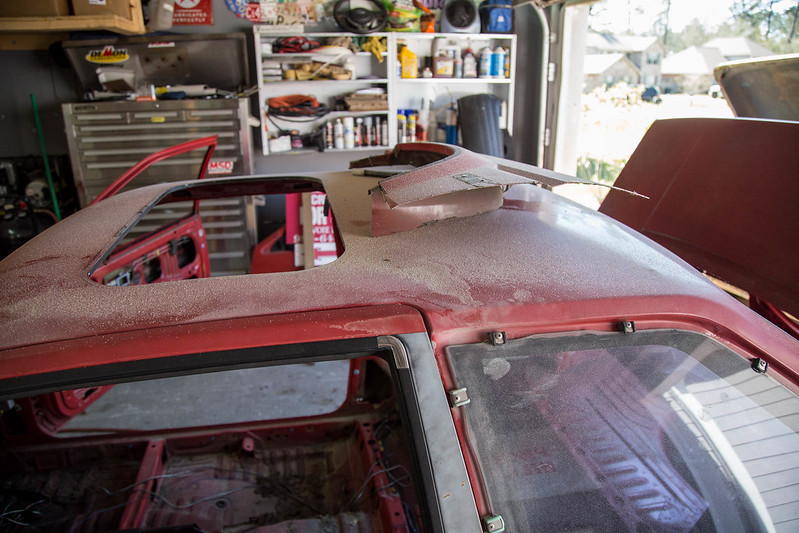
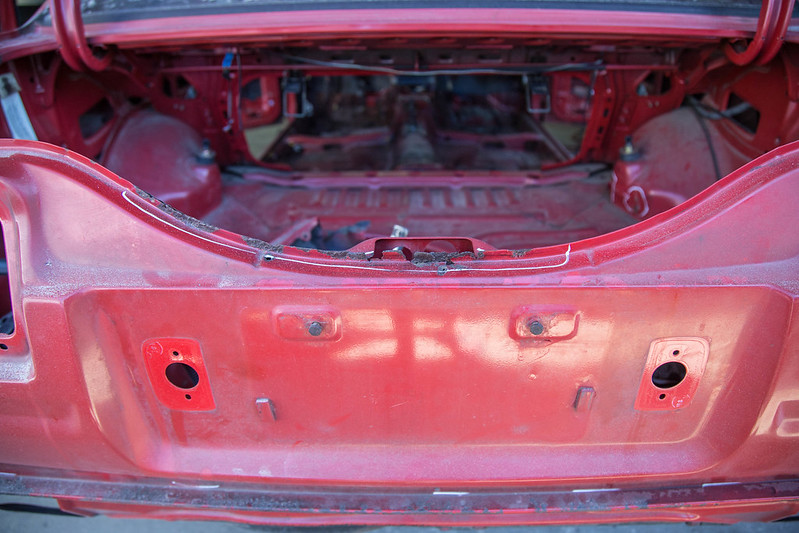
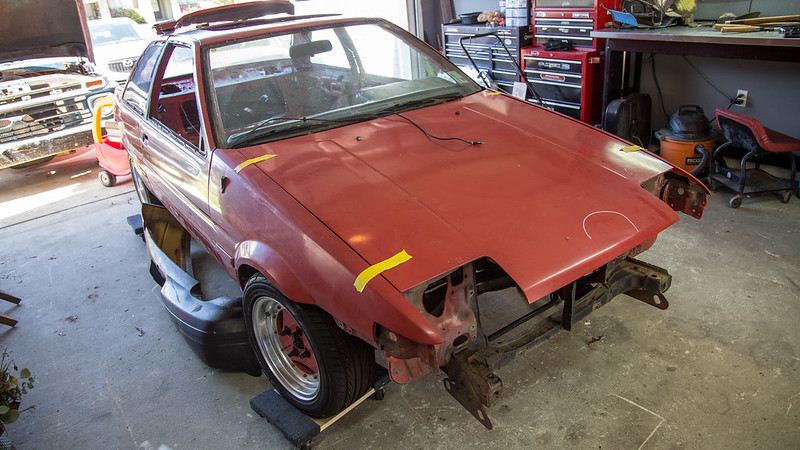
With the car in the garage, up on rollers, and damage identified, it was time to start on the work.
A while back i had picked up a hand held sand blaster and i finally had a chance to really use it. Rust is a fickle thing. If you leave ANY trace of it, sealed under paint or not, it will spread. So when repairing it, you must with 100% confidence remove any and all traces of it. Simply grinding on it with a grinder is simply not good enough. There is still small amounts let in the metal. There are two ways to completely remove it. Acid dipping, which works absolutely FANTASTIC, but is also absolutely ridiculous expensive. Or sandblasting. Clearly i chose the latter. We have a small cabinet at the shop for smaller pieces that recycles the sand, and we also have large unit that you use in the atmosphere like my small hand held one here. Ill be using the two of those on my truck repairs in the future.
I chose to use my small handheld one inside my garage. It has a tip on it that if you hold it flush against the surface your shooting it collects a large amount of it in a bag, similar to how the cabinet recycles it. It keeps the mess down a good bit, however you can't quite put the tup flush on every working area, so you still end up making quite a mess haha
 untitled (13 of 23) by lawrx, on Flickr
 untitled (14 of 23) by lawrx, on Flickr
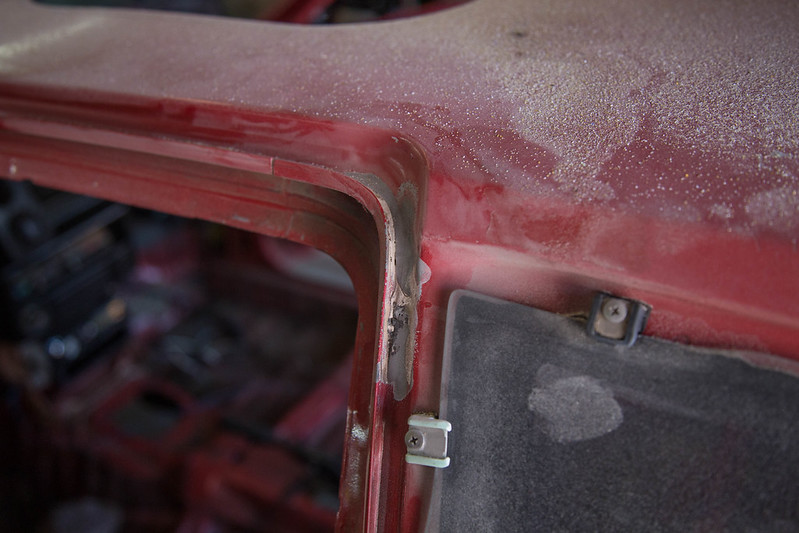
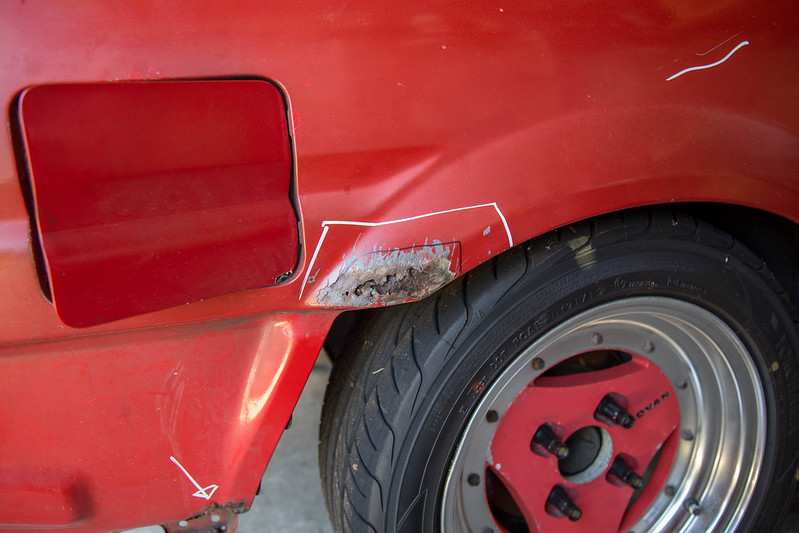
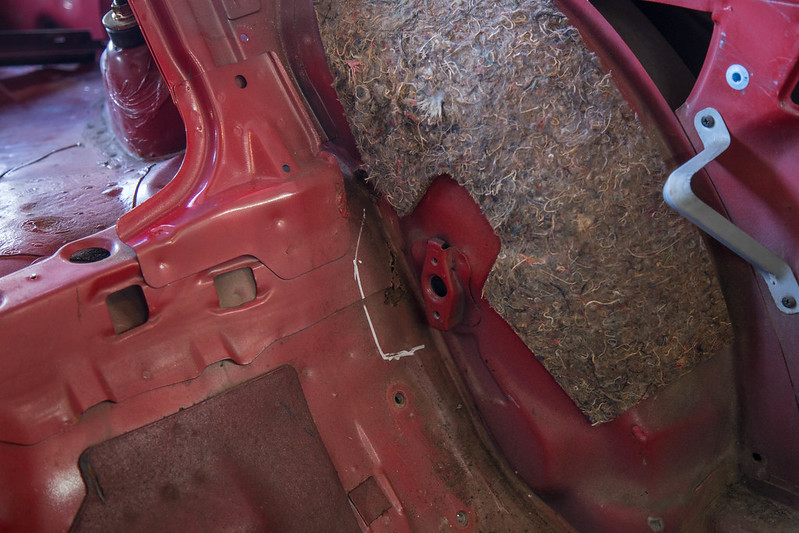
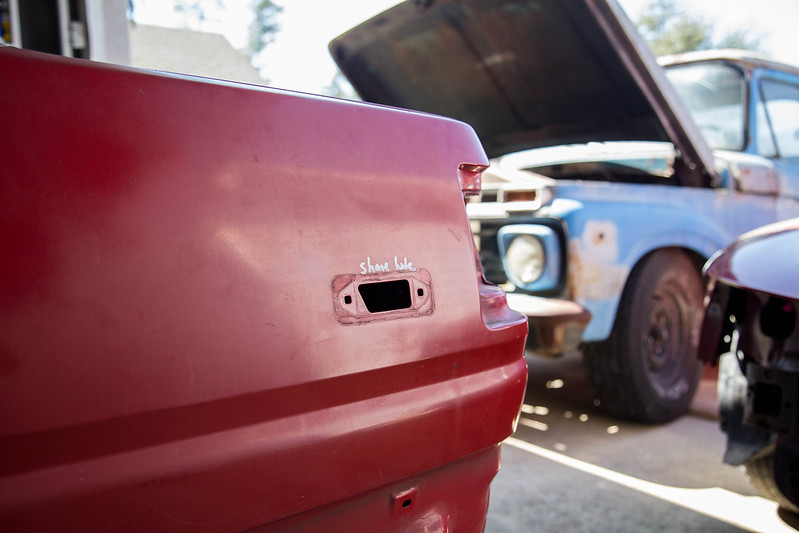
Some areas are quite easy fixes. such as flat areas that have major surface rust but dont penetrate the entire depth of the metal and dont require patches.
 untitled (15 of 23) by lawrx, on Flickr
 untitled (18 of 23) by lawrx, on Flickr
 untitled (19 of 23) by lawrx, on Flickr
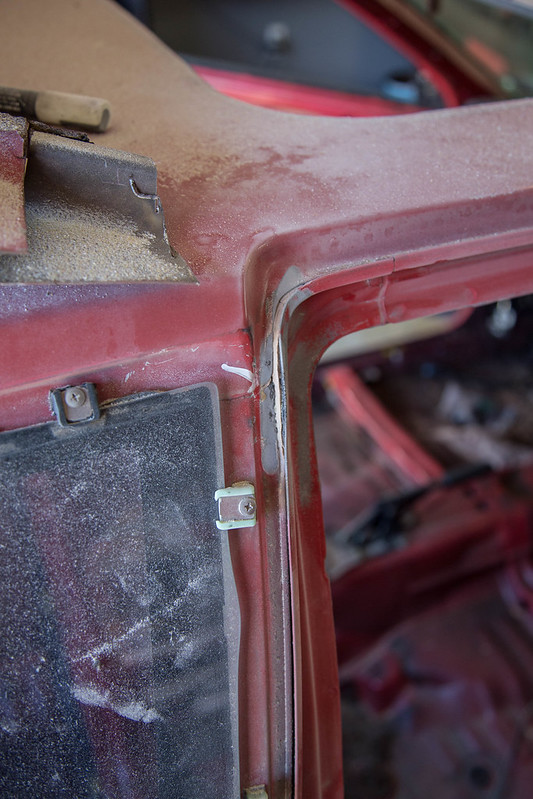
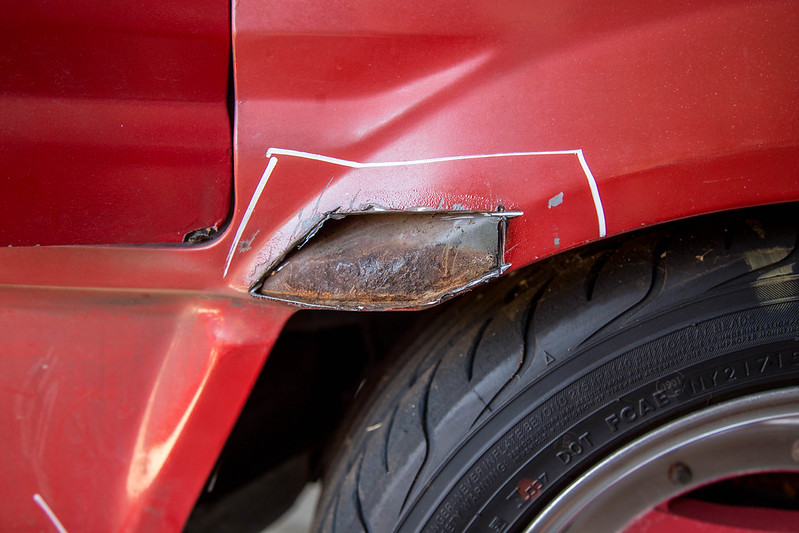
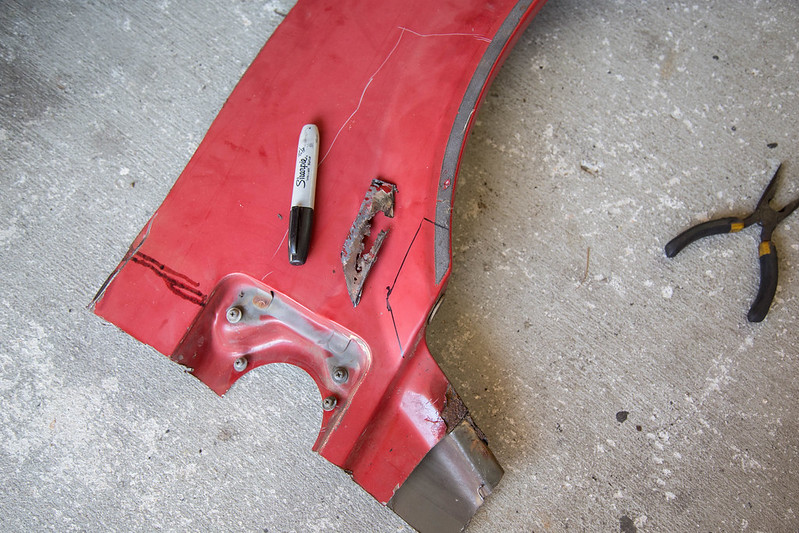
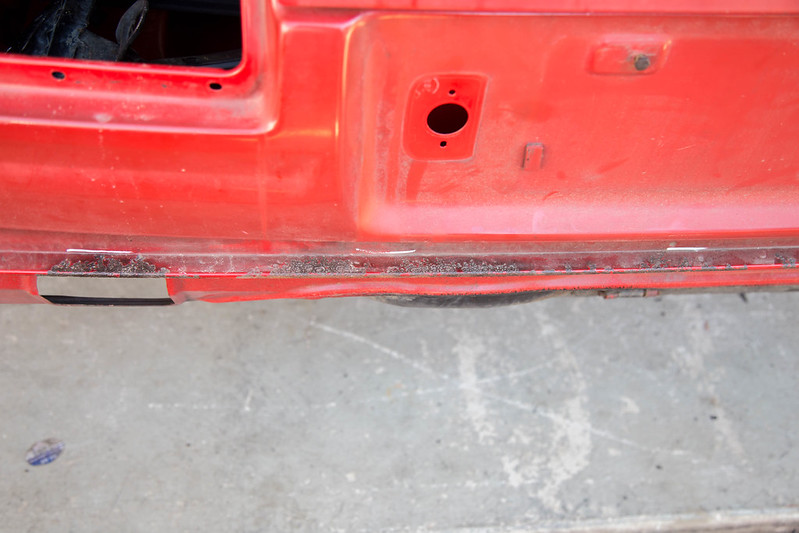
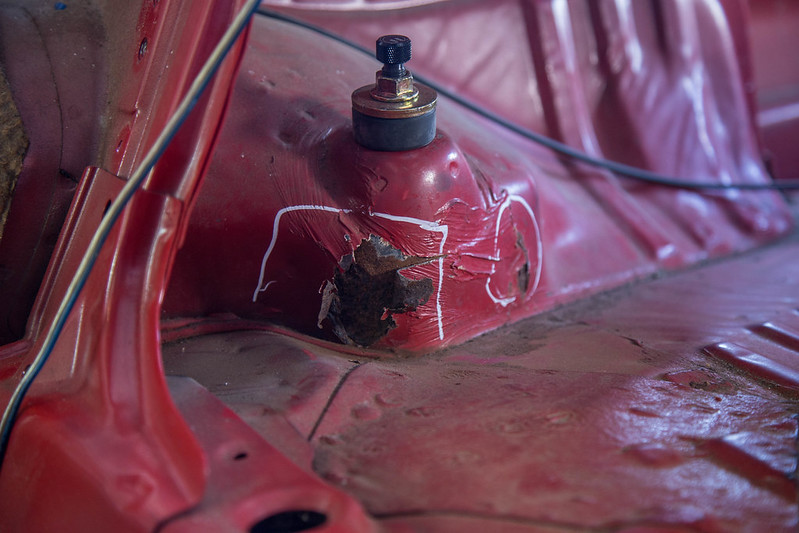
And then some areas are obvious a patch panel will be needed, some complicated some not. Luckily the owner has a rotting chassis that I'm using as a parts car so i can cut a section how, have the same thickness, curved, and shape metal i need for the more complex areas.
 untitled (16 of 23) by lawrx, on Flickr
 untitled (17 of 23) by lawrx, on Flickr
 untitled (21 of 23) by lawrx, on Flickr
 untitled (22 of 23) by lawrx, on Flickr
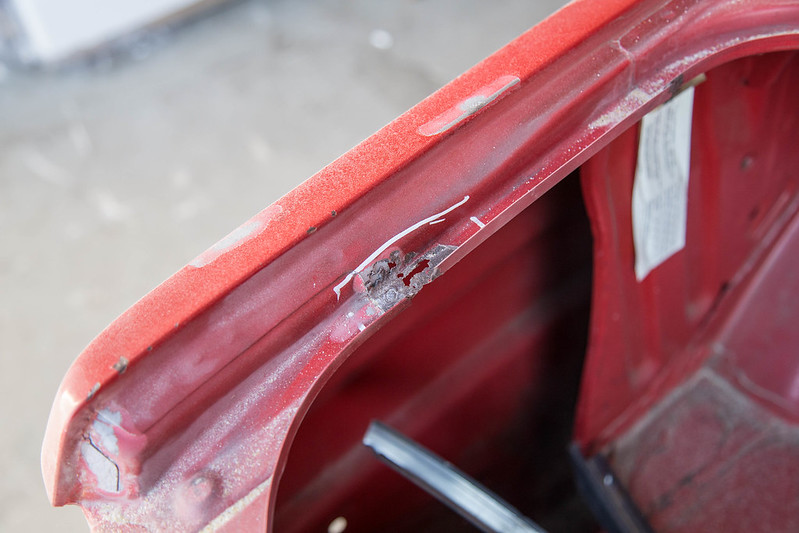
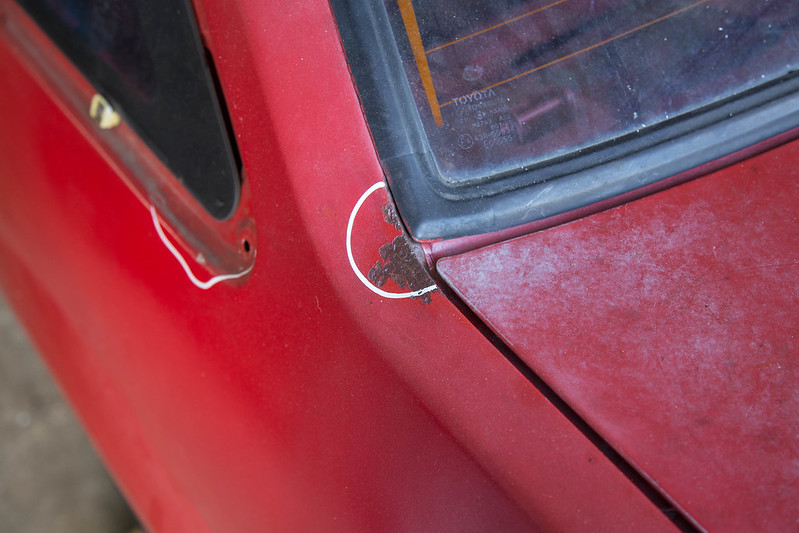
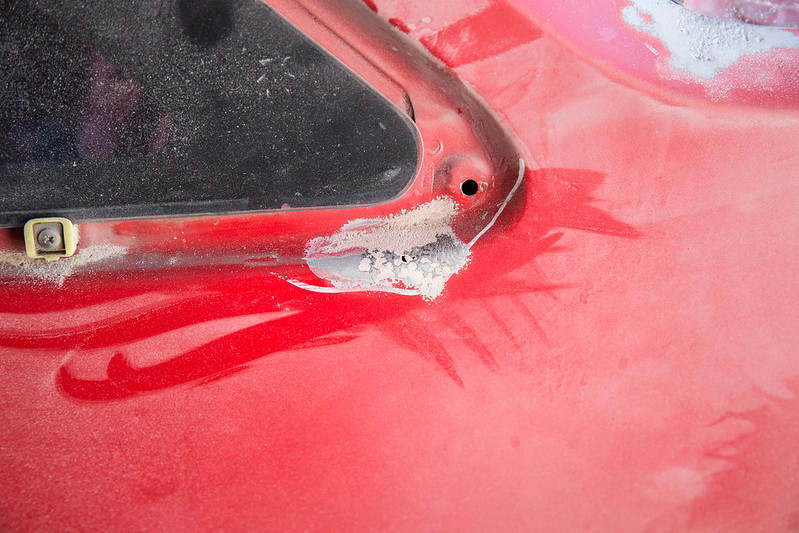
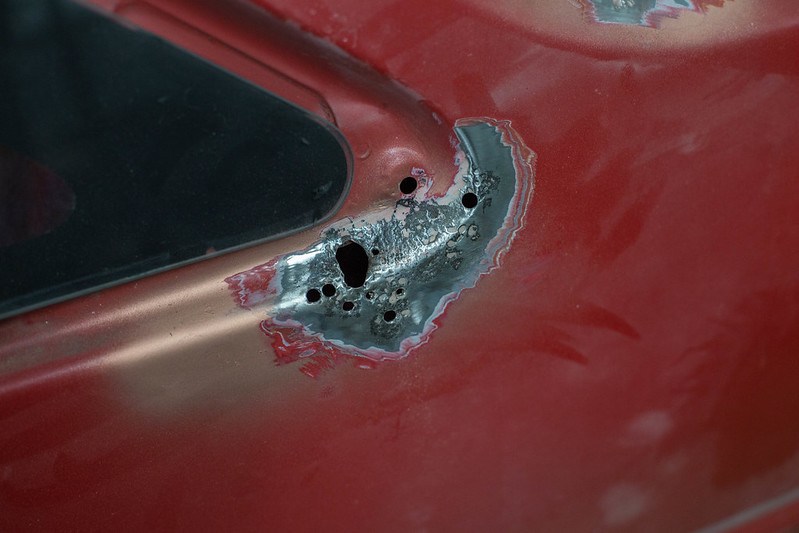
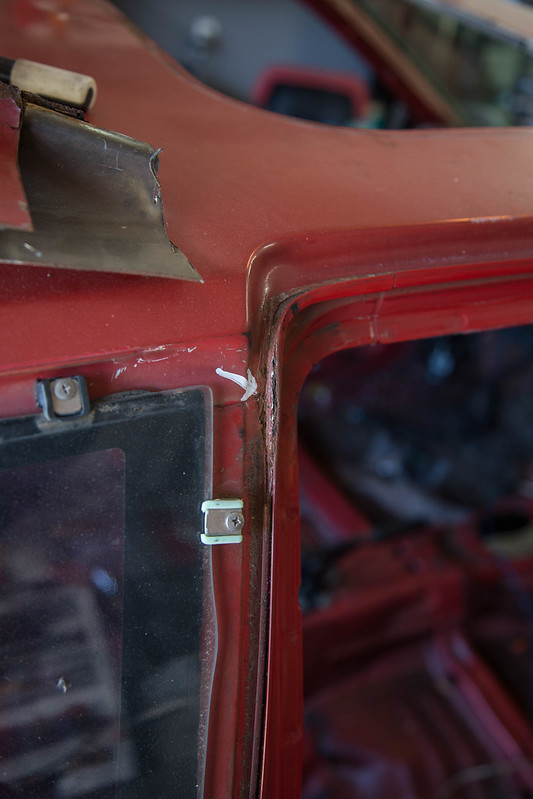
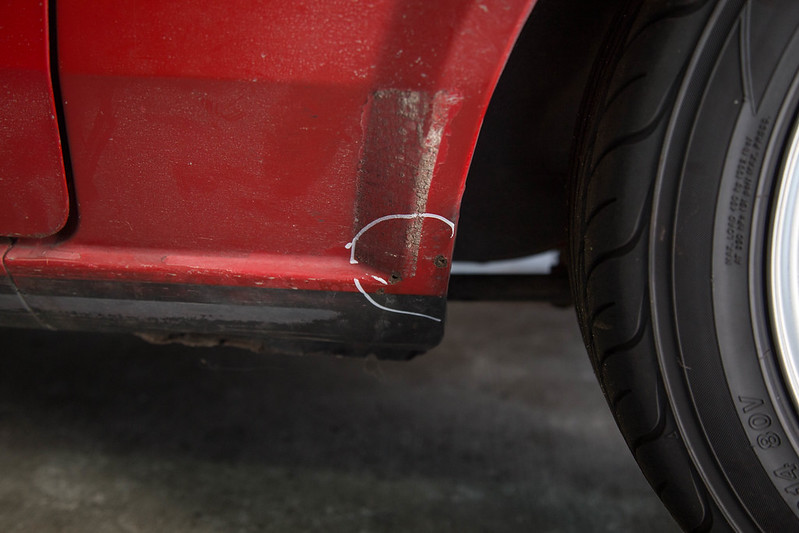
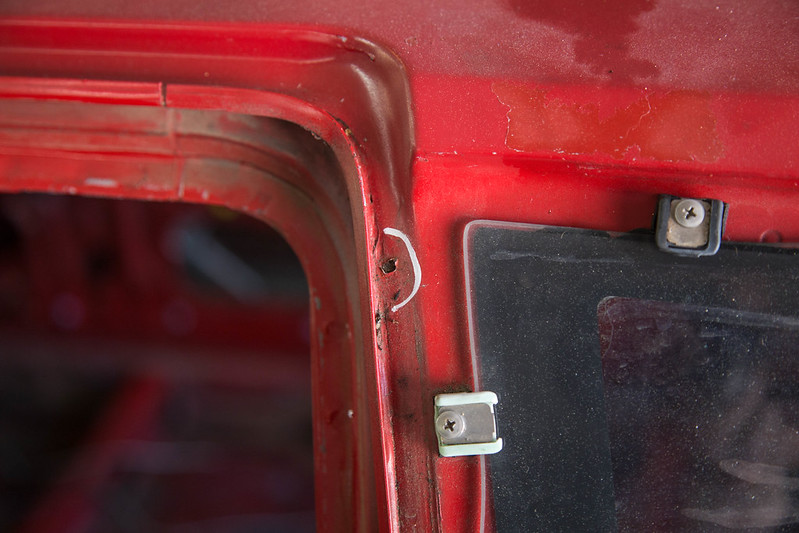
AND THEN there are areas that are decieving. From the outside they dont look so bad. And then as you get into it, it begins to rear its ugly head. Case in point, the area on the driver qtr on the bottom edge under the qtr glass. It looked very similar to what the part by the back glass. However once i started sandblasting it, it became clear it was much worse, and even someone had attempted a repair in the past by simply putting body filler over the rust holes. Sorry previous repairman, that dont work lol You can see in the corresponding photos as i revisited the same spot i found it worse and worse. When i finally had all the body filler removed, i used my unibit on my drill and made the holes larger by drilling until the thinned out metal via the rust was gone. So that when i weld in the new patch panel i dont burn through in multiple places due to metal thickness inconsistency.
 untitled (5 of 23) by lawrx, on Flickr
 untitled (20 of 23) by lawrx, on Flickr
 untitled (4 of 8) by lawrx, on Flickr
Leave a comment:
-
Saving an AE86. Rust repair and paint.
So yes, another build thread. This one isn't mine tho, promise. Its a friends/customers car.
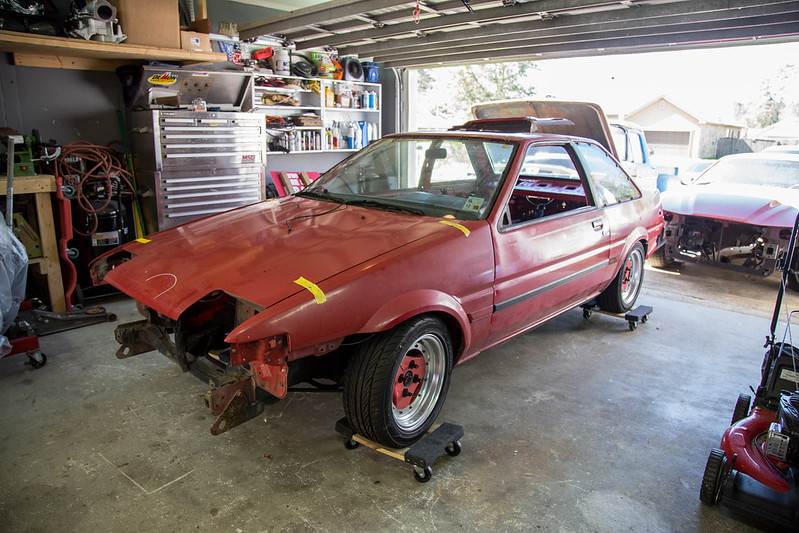
Ive had the car for few months now. Its a toyota Ae86 (clearly) lol. I dont know the year. Story on the car is the owner plans on keeping this car for a very long time and wanted to get it repaired before it got too bad. This past summer the motor let go and it provided the opportune time for him to bring the car by for the repairs and paint work.
Basically what I'm doing is rust repair and then a full paint. Engine bay, jams the whole shebang. Interior won't get painted as he is going the same red and he is putting full interior back in anyway.
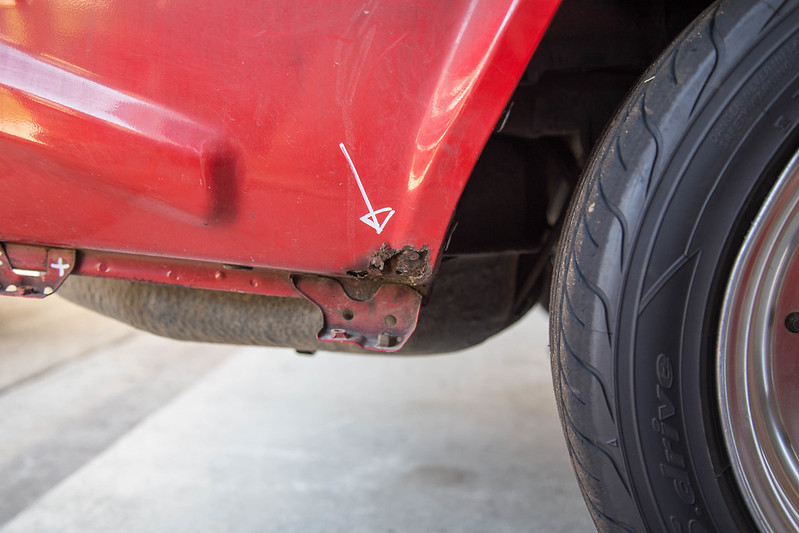
To start off with, the rust really isn't terrible by any means. Not NEARLY as bad as my 66 truck by far.
 untitled (1 of 23) by lawrx, on Flickr
 untitled (2 of 23) by lawrx, on Flickr
 untitled (3 of 23) by lawrx, on Flickr
 untitled (4 of 23) by lawrx, on Flickr
untitled (5 of 23) by lawrx, on Flickr
 untitled (6 of 23) by lawrx, on Flickr
 untitled (7 of 23) by lawrx, on Flickr
 untitled (8 of 23) by lawrx, on Flickr
 untitled (9 of 23) by lawrx, on Flickr
 untitled (10 of 23) by lawrx, on Flickr
 untitled (11 of 23) by lawrx, on Flickr
 untitled (12 of 23) by lawrx, on Flickr
Leave a comment: