Originally posted by 190Evan
View Post
-
When i had a honda, i was just following the #MADJDMZZZ crowd and called the distributor a dizzy haha. -
Small update!
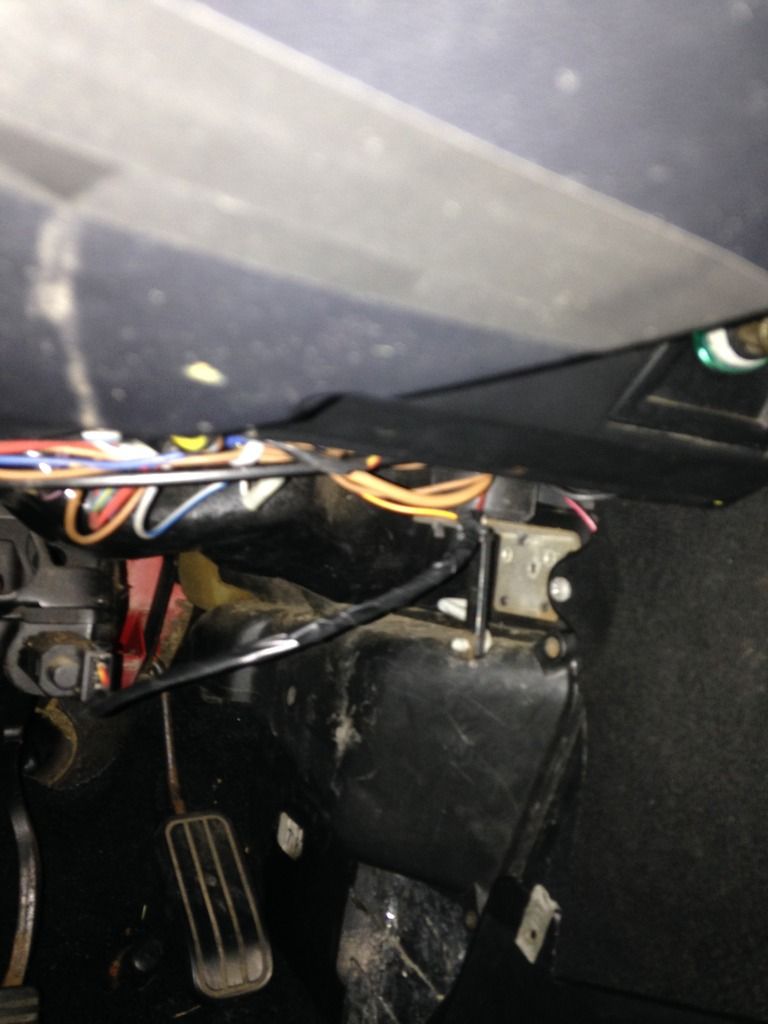
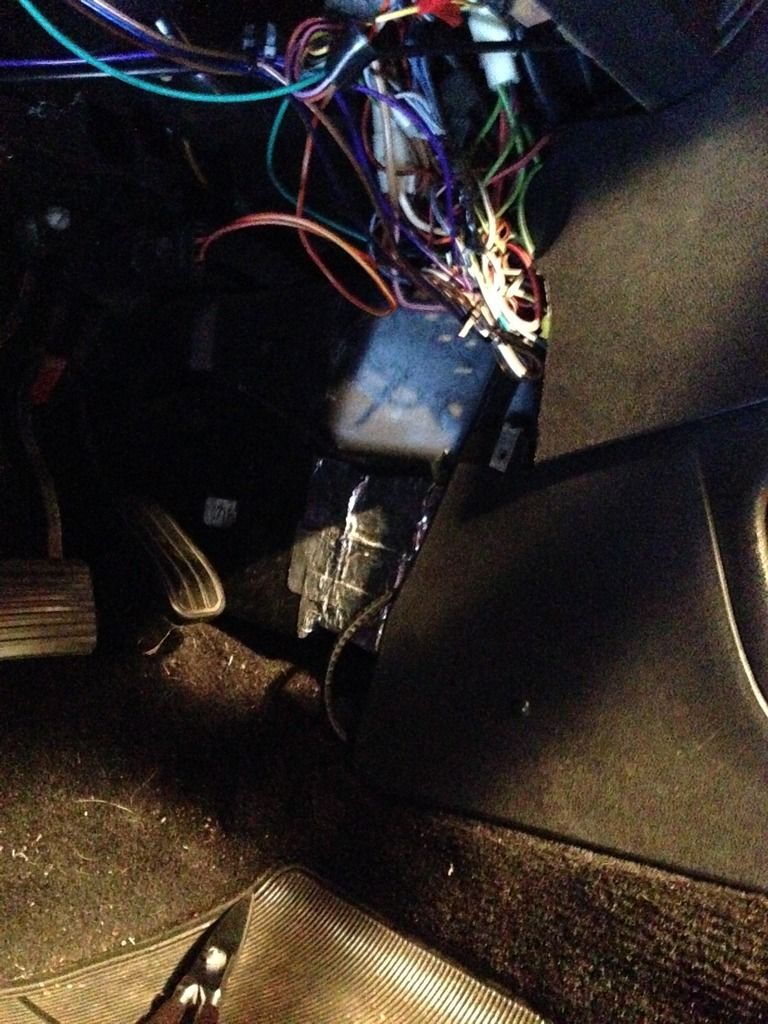
Actually went in and cleaned the wires:
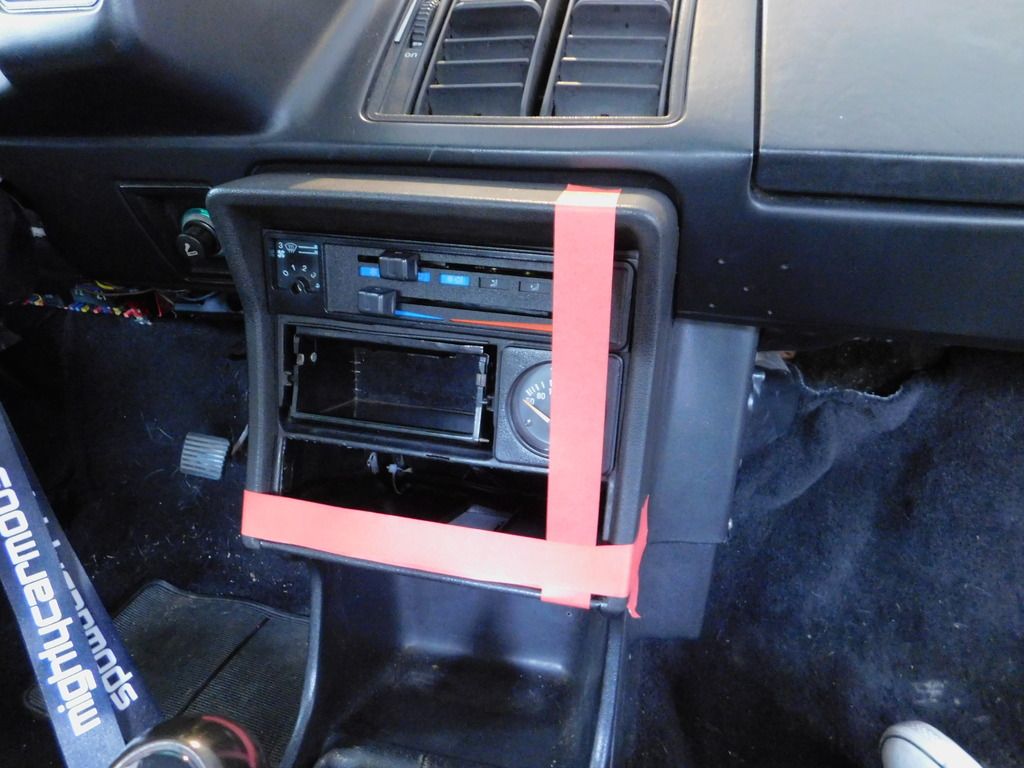
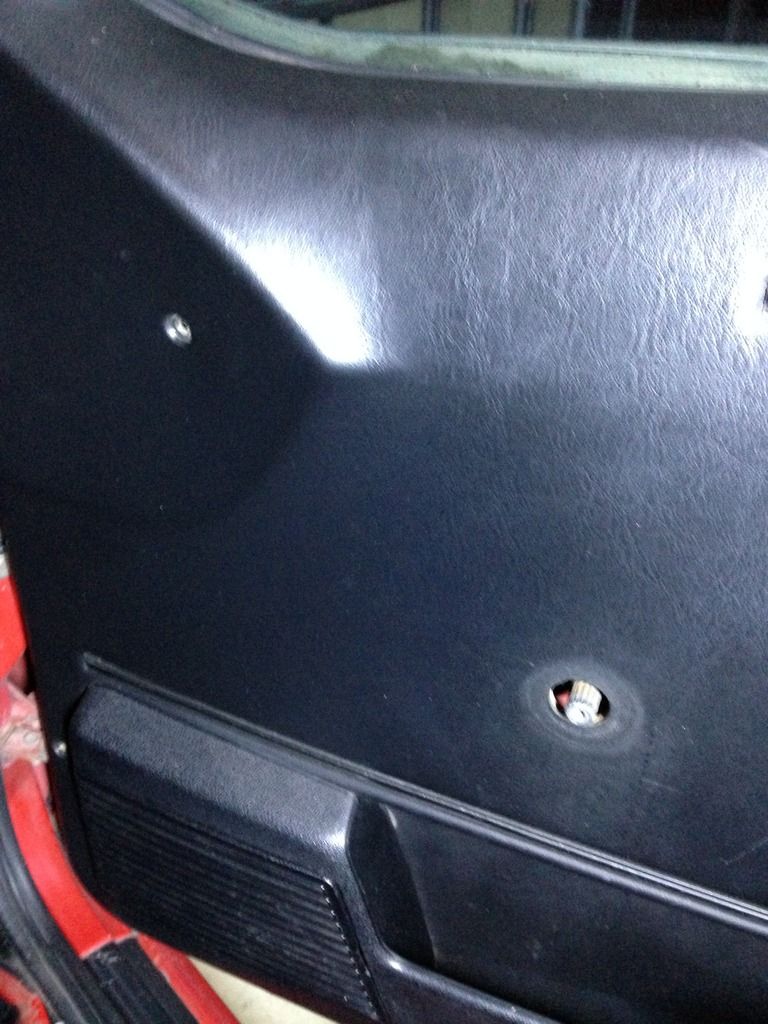
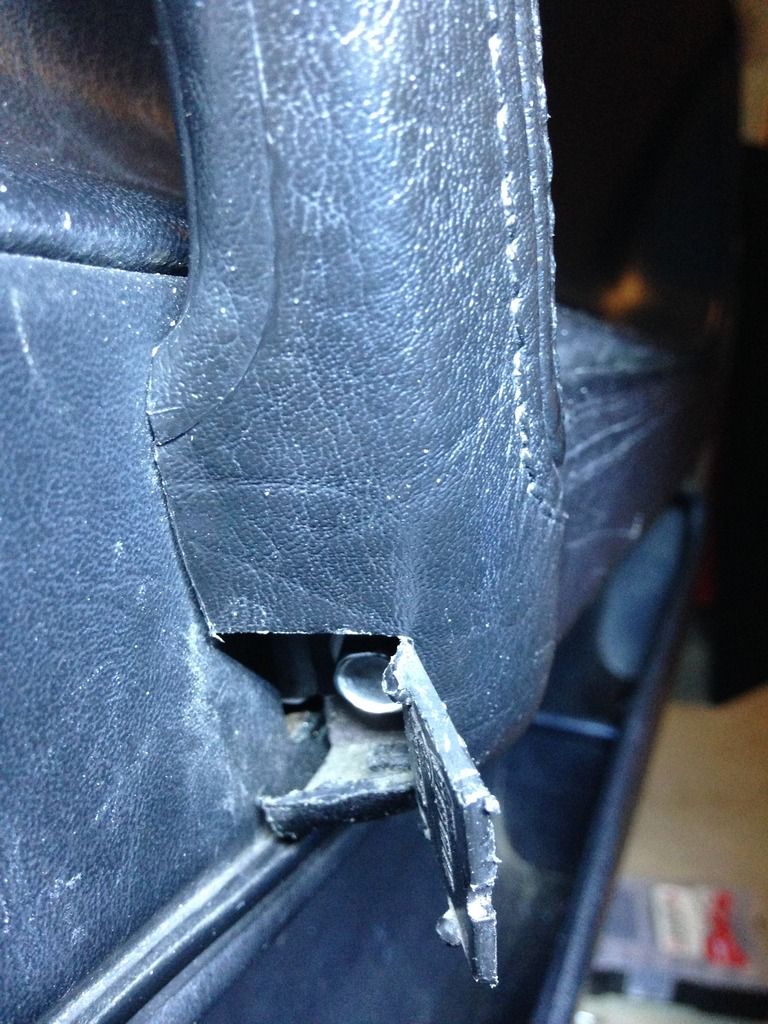
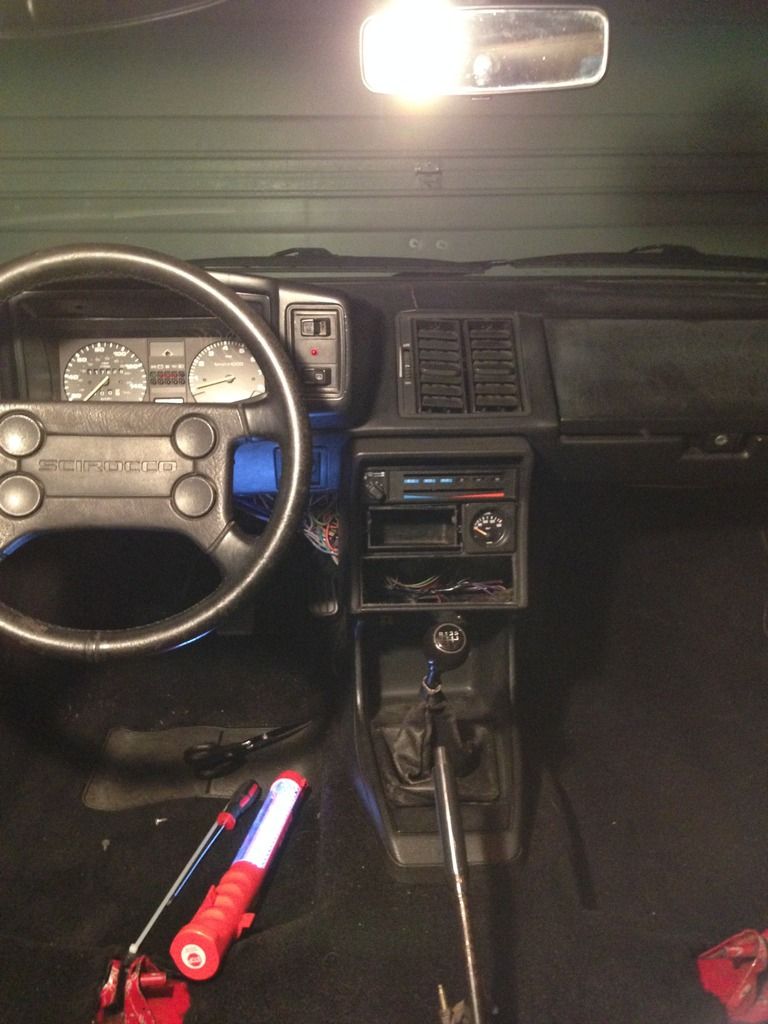
Fixed the cracked center console:
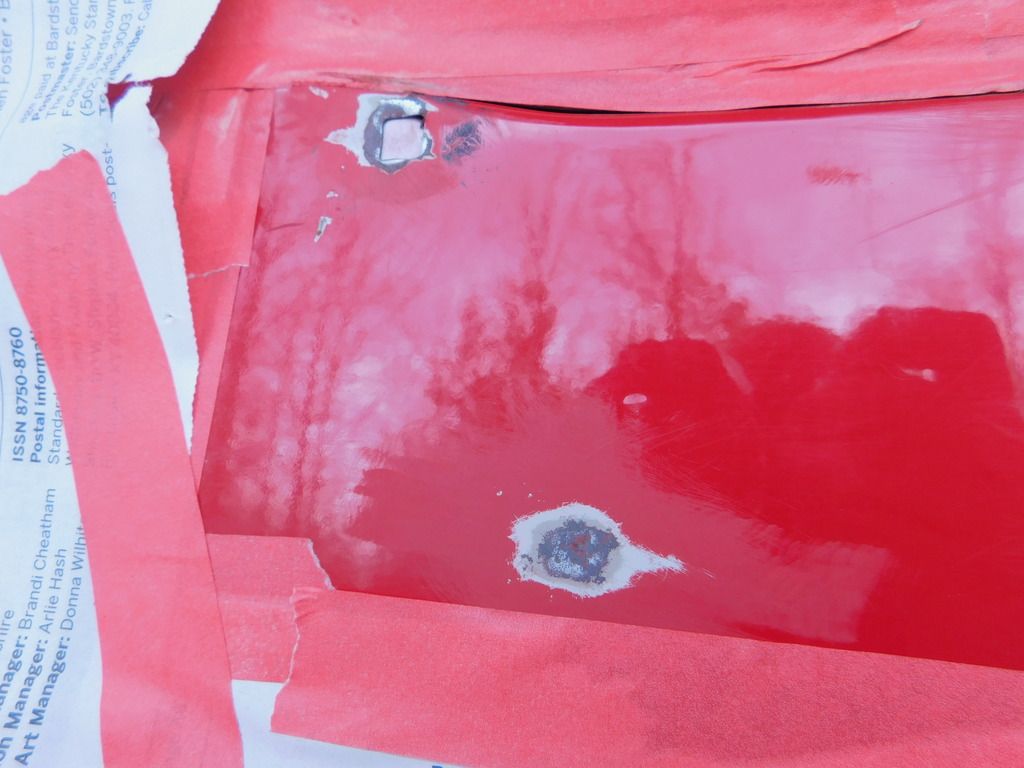
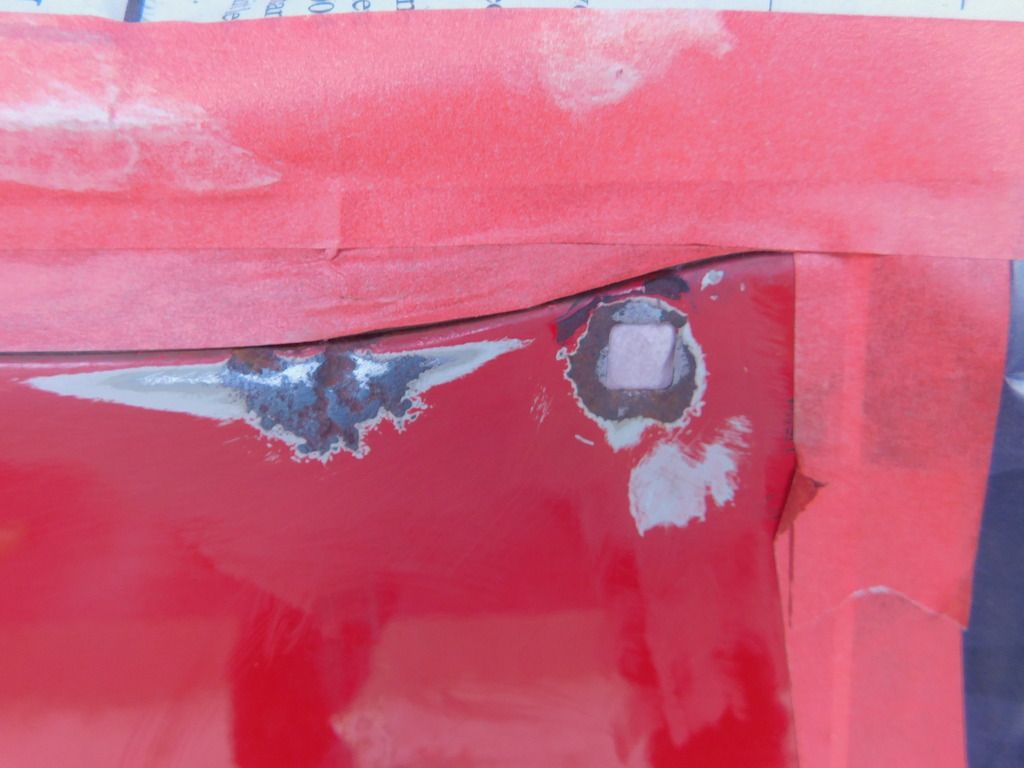
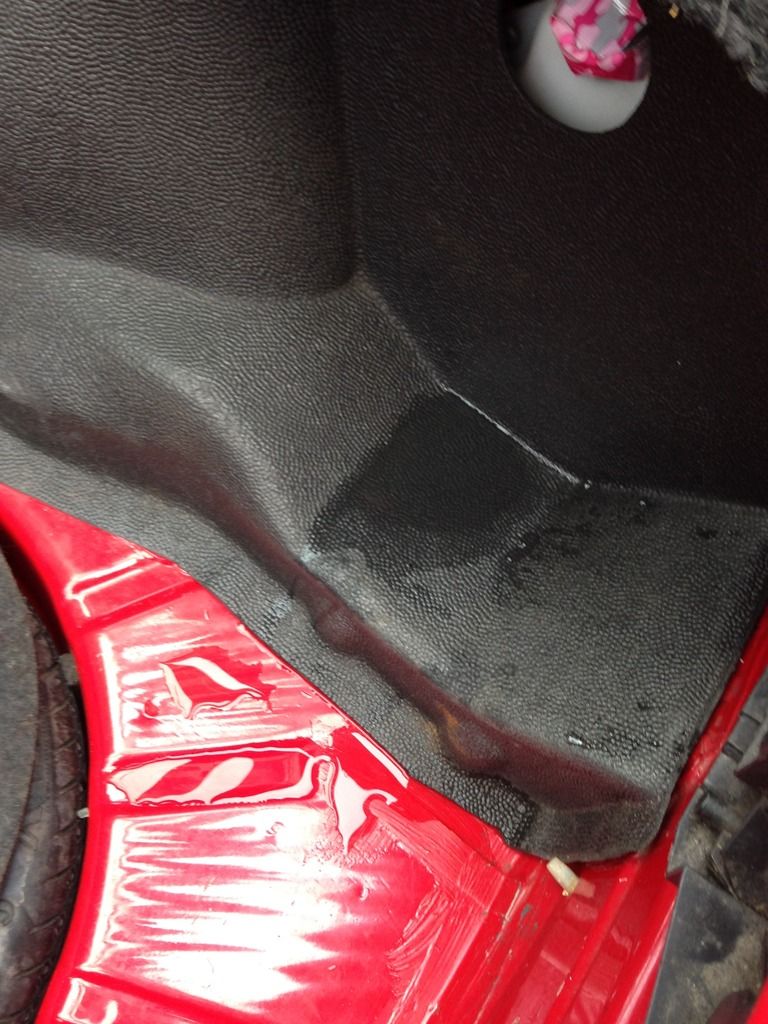
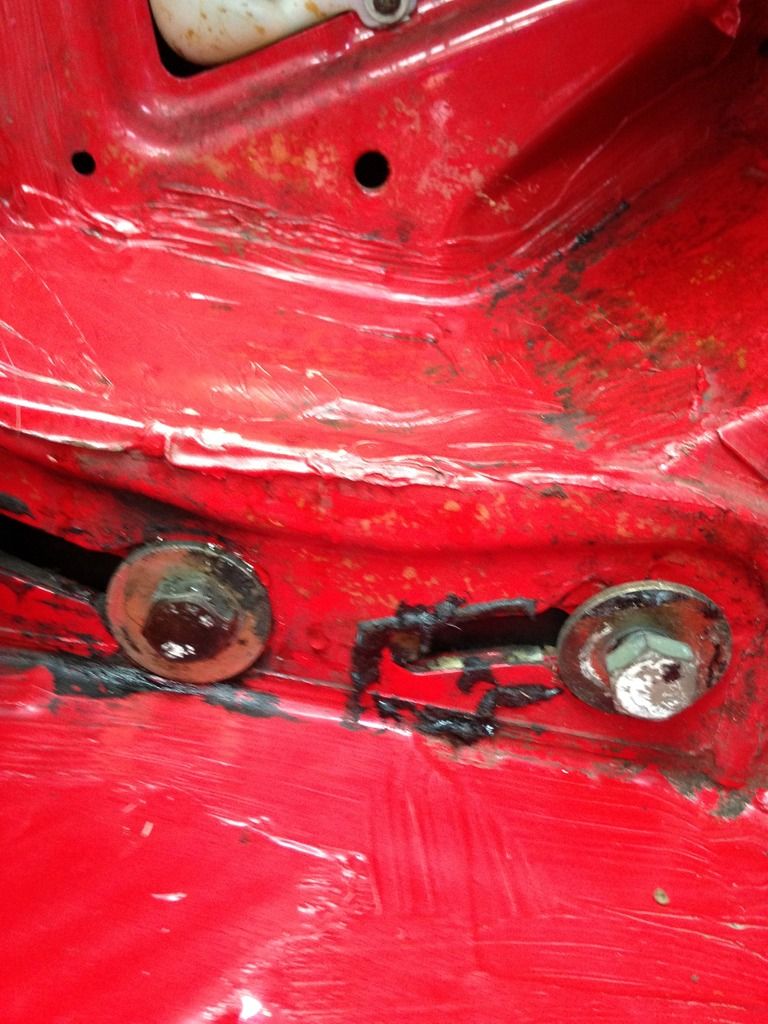
Cleaned some rust spots:
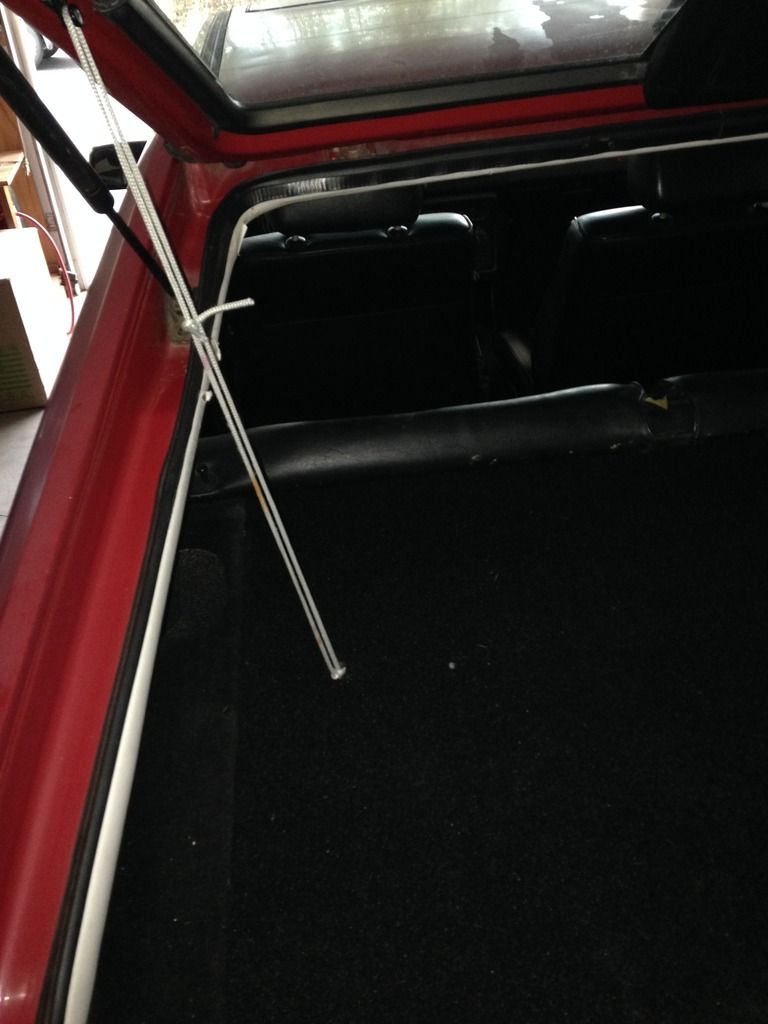
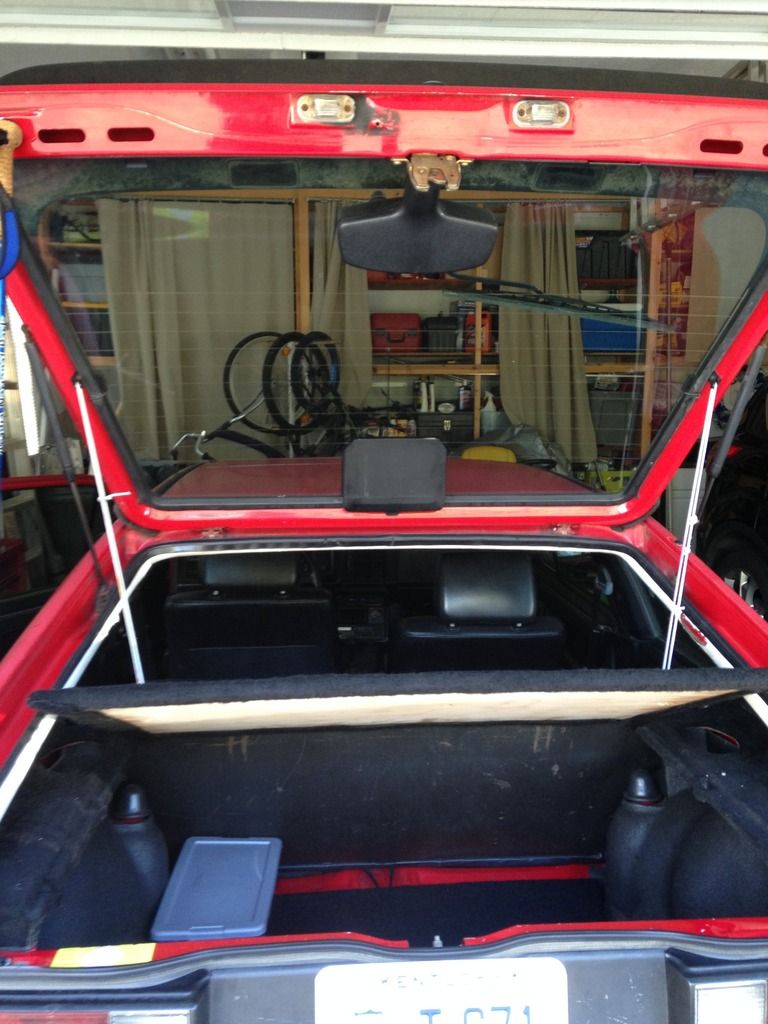
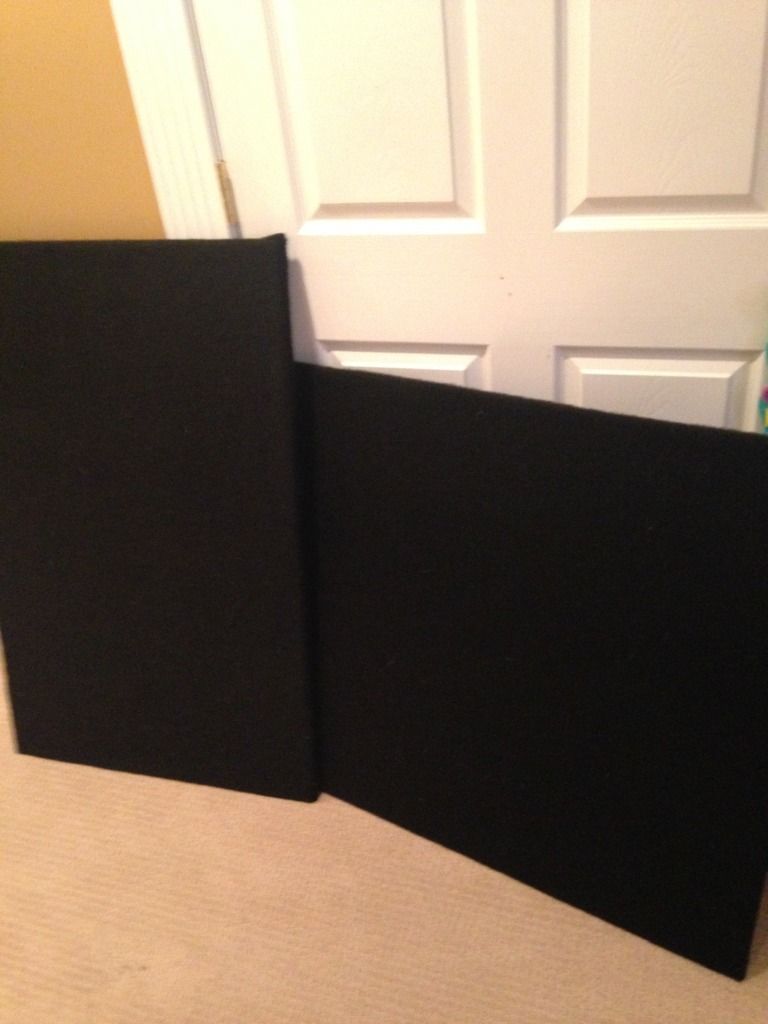
Did some ghetto parcel shelf work

Primed (excuse horrible paint job. Only temporary)
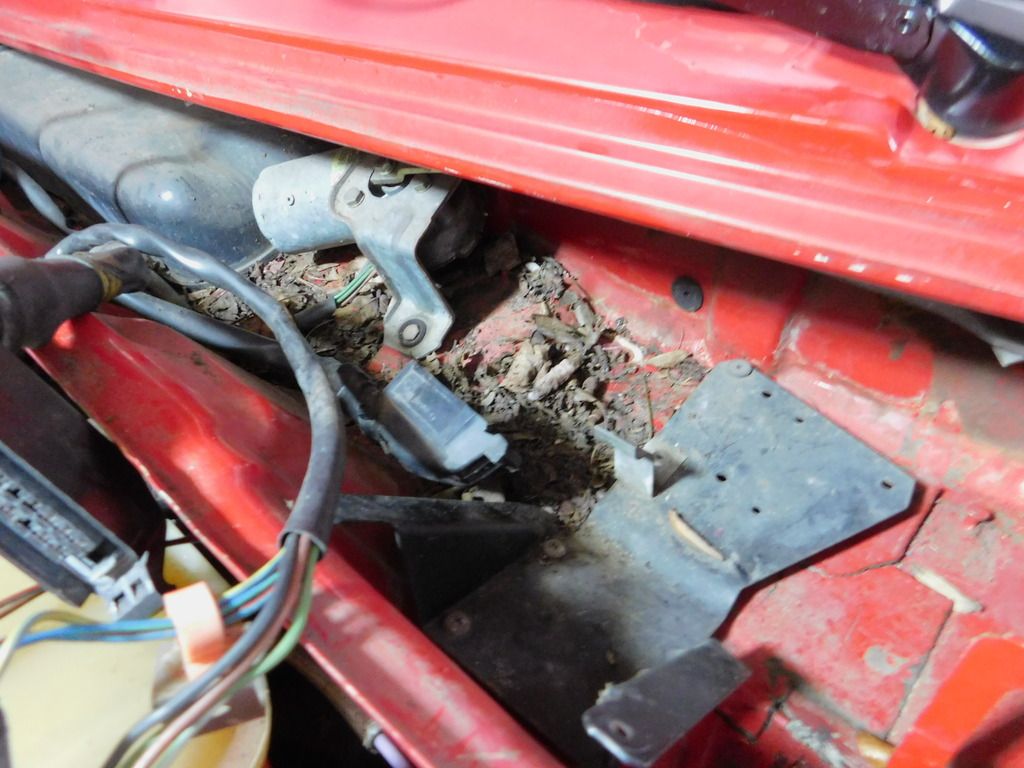
Cleaned under the scuttle tray & put in new knockbox (forgot to take after pics lol)
Thinking about something like this...
Hmmmm...
Well...
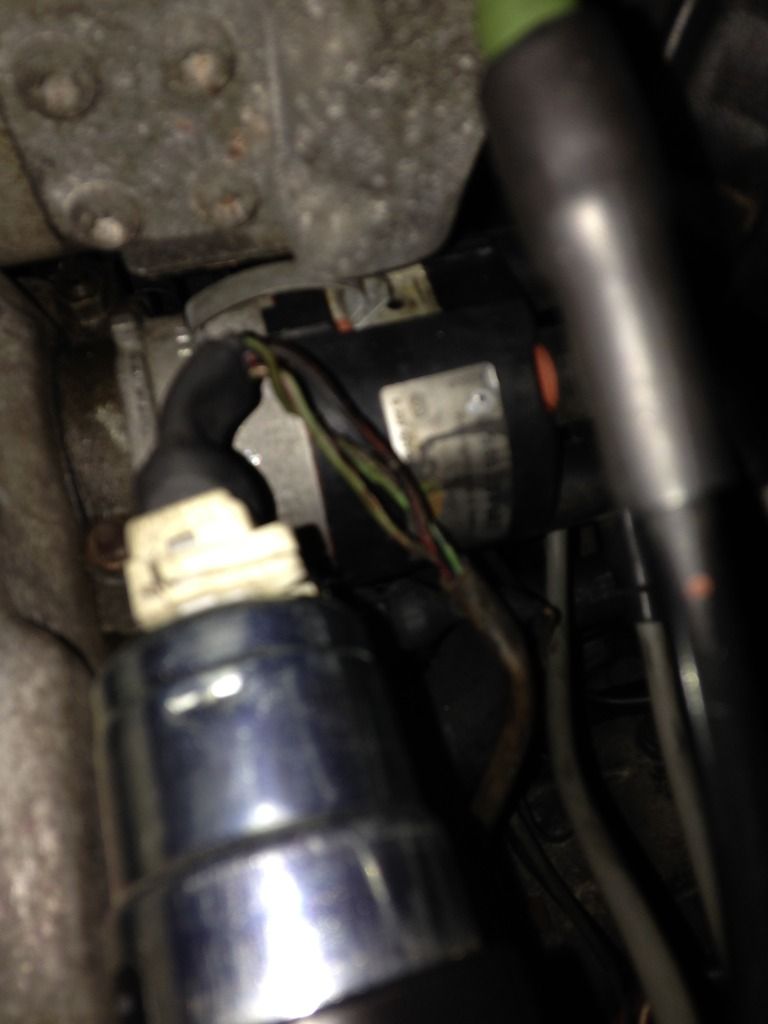
And the car wont start
Thinking it's the dizzy, but the fried wiring is first priority to fix.
That's all for now Last edited by CDeez5; 01-22-2017, 07:40 PM.
Leave a comment:
-
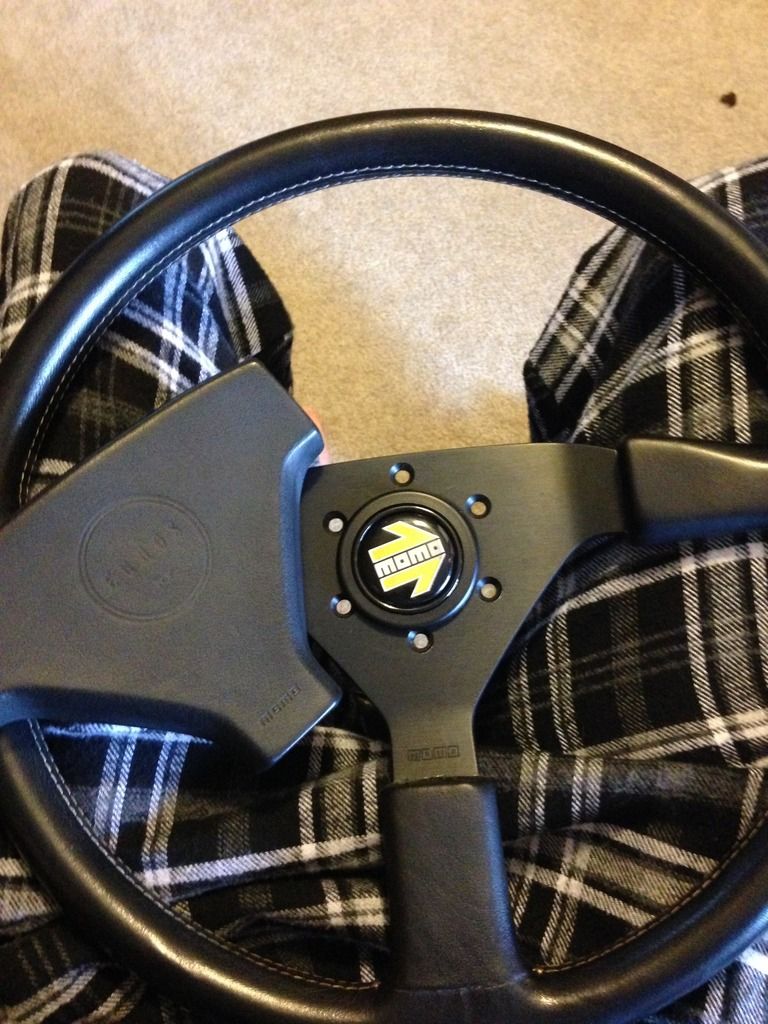
Alright so the MOMO came in
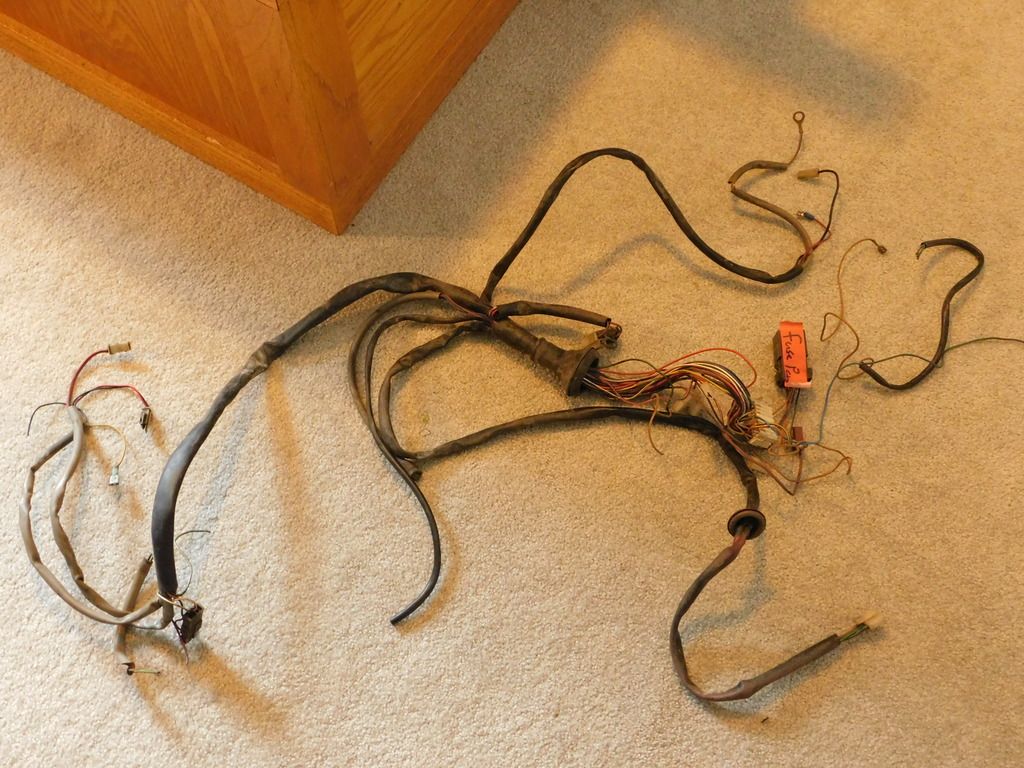
And so did the wiring harness (this is only part of it) :
:
But my main concern is that i found one of my favorite set of wheels:
So my main question is the adapters I'll need. I can't shell out $300 atm for adapters. So I need to know what's the best adapters I can get for the price, and since they came off a E28 apparently, will i need any special hardware?
Merry Christmas ya'll!
Leave a comment:
-
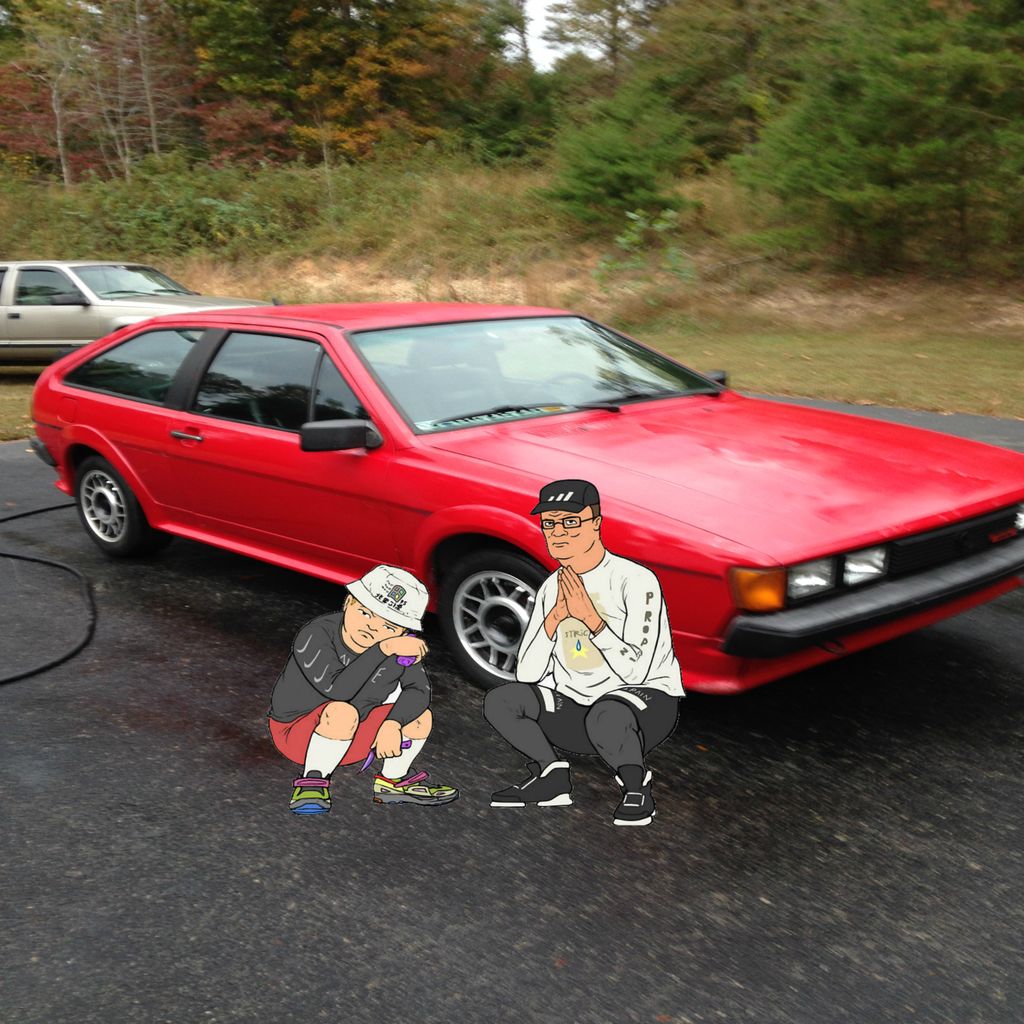
Not an actual update; but I'm trying to decide between some future wheels. Can't afford them now, but here are some very, very, bad photoshops
#1: AMG Wheels:

#2: Centra Type 7's:

#3: Enkie Aeronautics:

Problem is that the Enkie's and the Centra wheels are hard to find, and exspensive for the most part. The AMG wheels are uncommon and also exspensive. Centra's and Enkie are 4x100 so they'll bolt up unlike the AMG wheels.
Decisions, decisions")
Leave a comment:
-
Oooh I am always happy to see other kentuckians on here! Maybe I'll see you around someday when this thing is done.Leave a comment:
-
Don't these things have 4x100 bolt pattern? There should be a ton of wheels available for this thing, anything from a VW to a BMW (E30 and below), Renault etc.Leave a comment:
-
Alright, so another update has arrived. did some things to it, nothing very exciting...yet
First, this horridly photo-shopped picture:
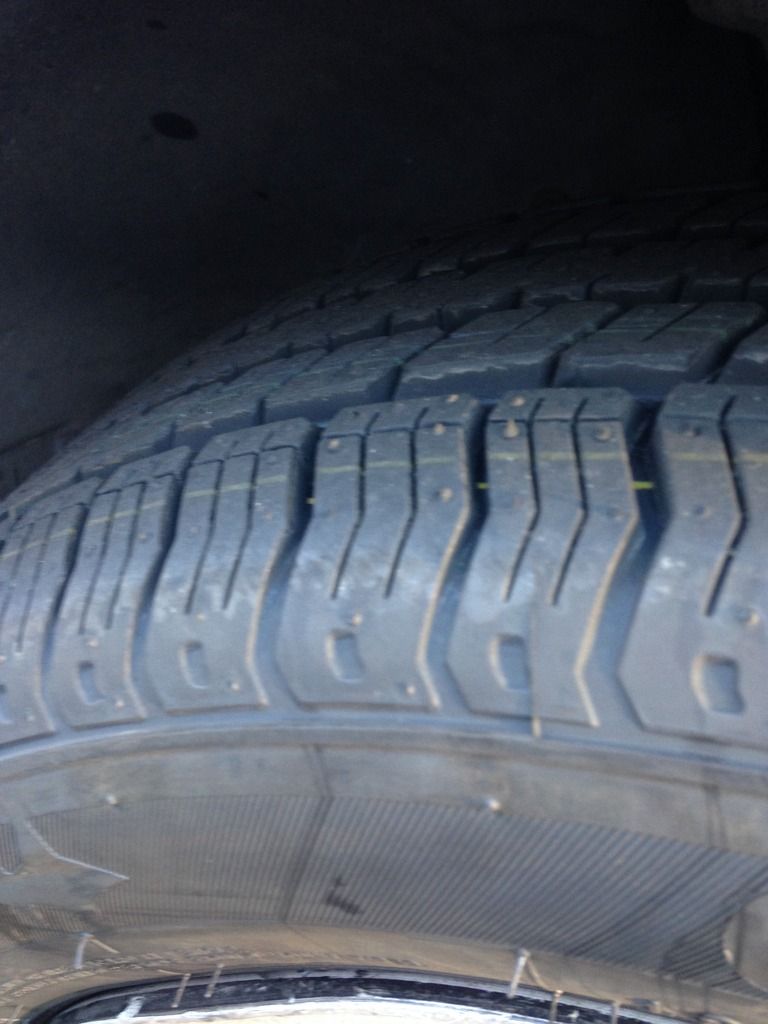
got some fresh rubber and a alignment (not the best pics ik):
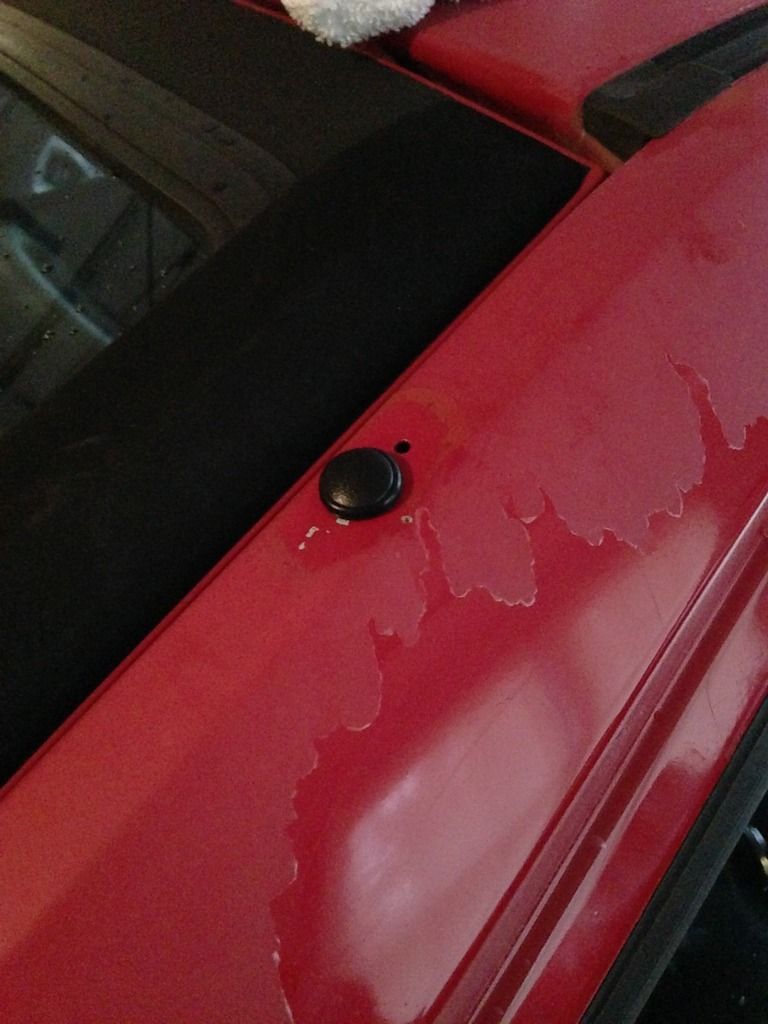
Decided to block off the missing washer nozzle:
So i bough some nylon block offs:
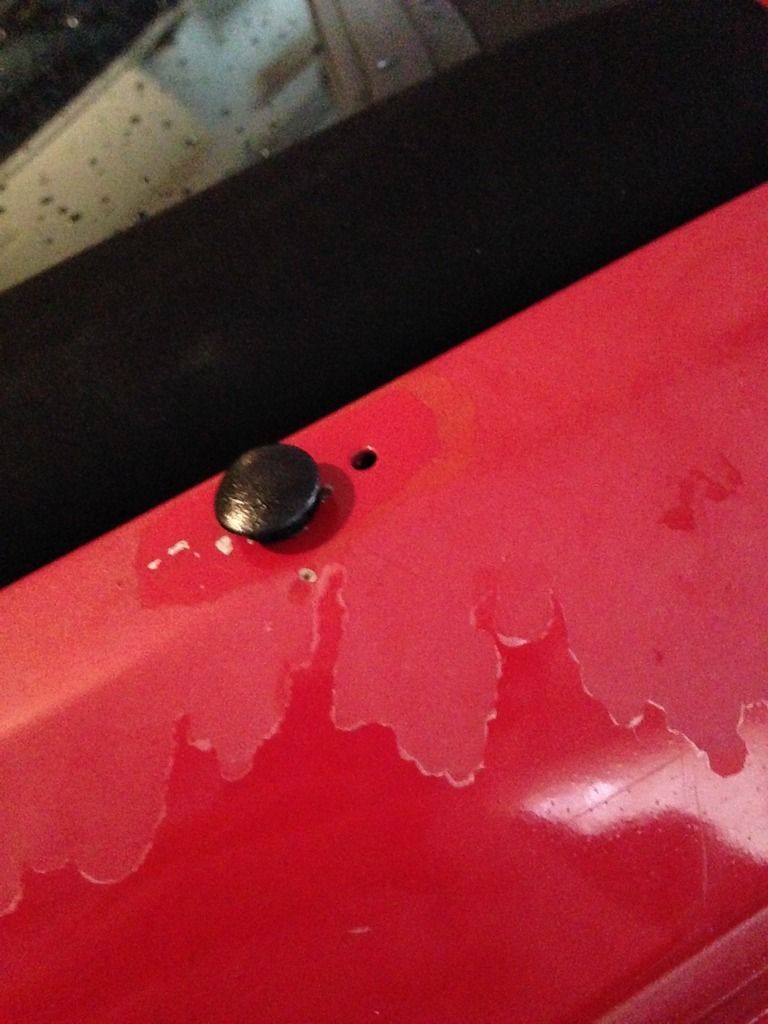
Didn't fit, so after some loctite, a lighter and robber gasket, this is the result:
Usually wake up to this
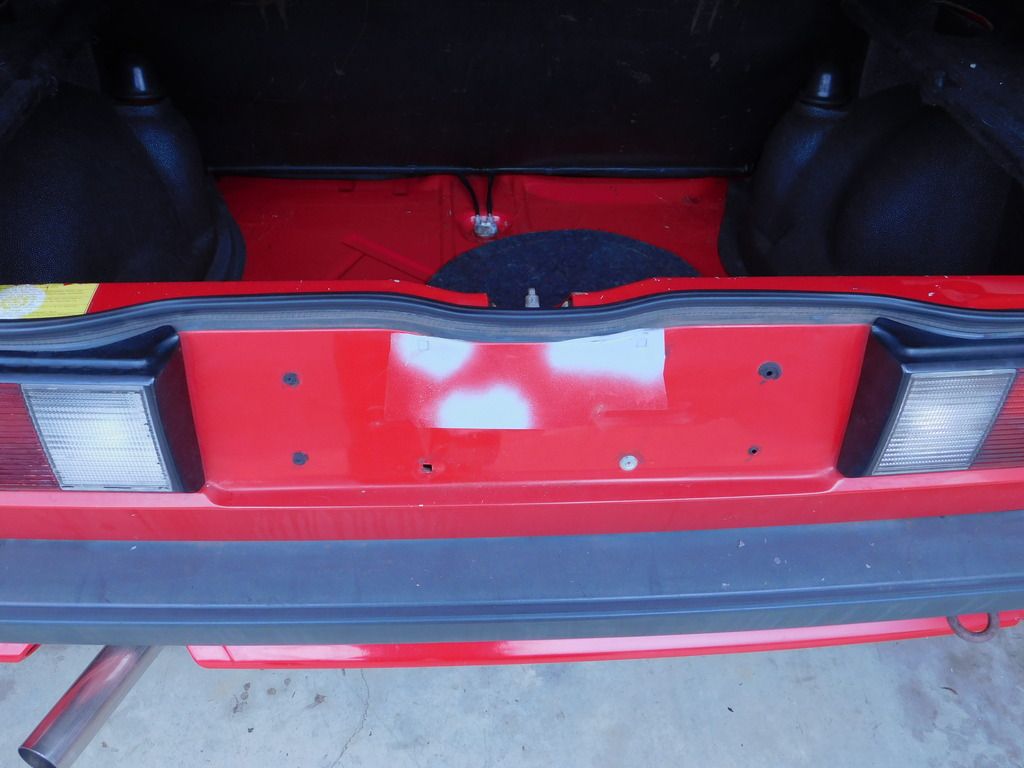
Random bolts (?)
Turns out, the taillights only had 1 bolt holding them on.So hopefully, they won't leak anymore.
Also decided on wheels, look for a cheap set atm:
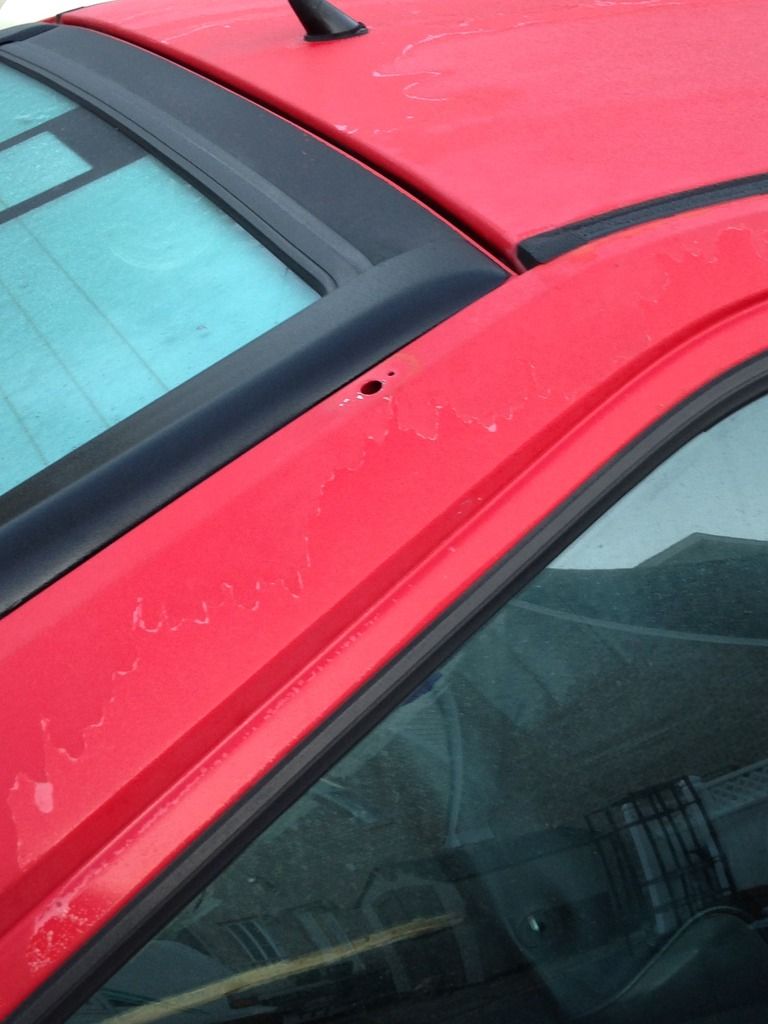
Decided to take a break from the other things and pulled it in to work on the paint, or whats left of it:
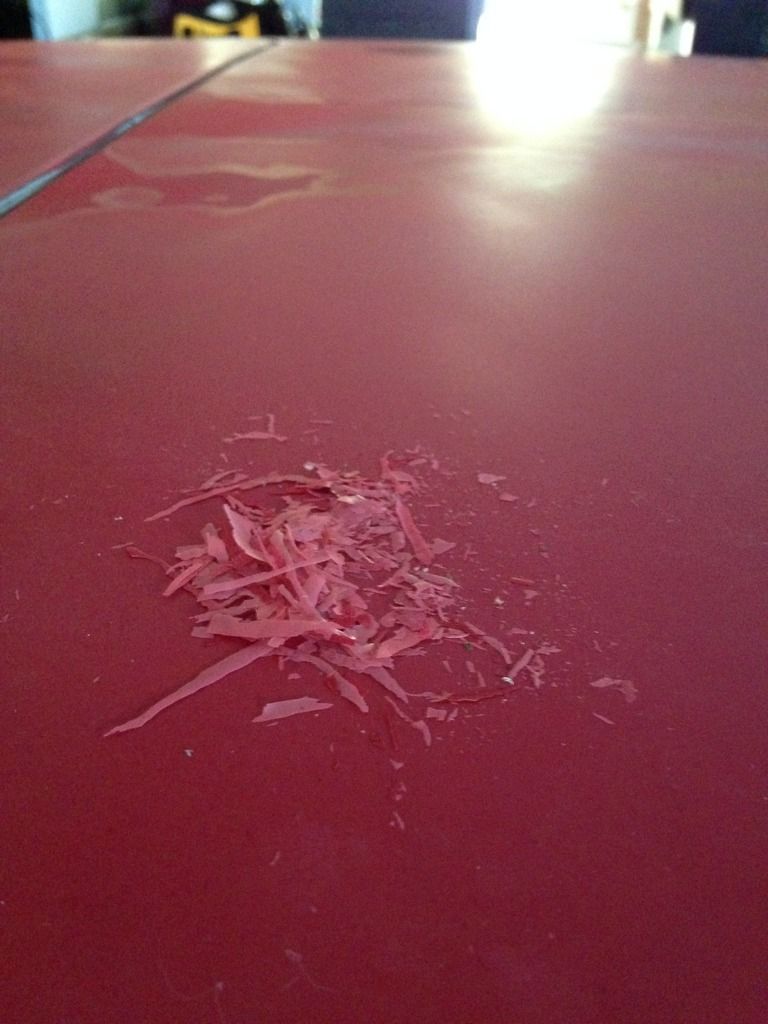
Started scraping off the flaking clearcoat:
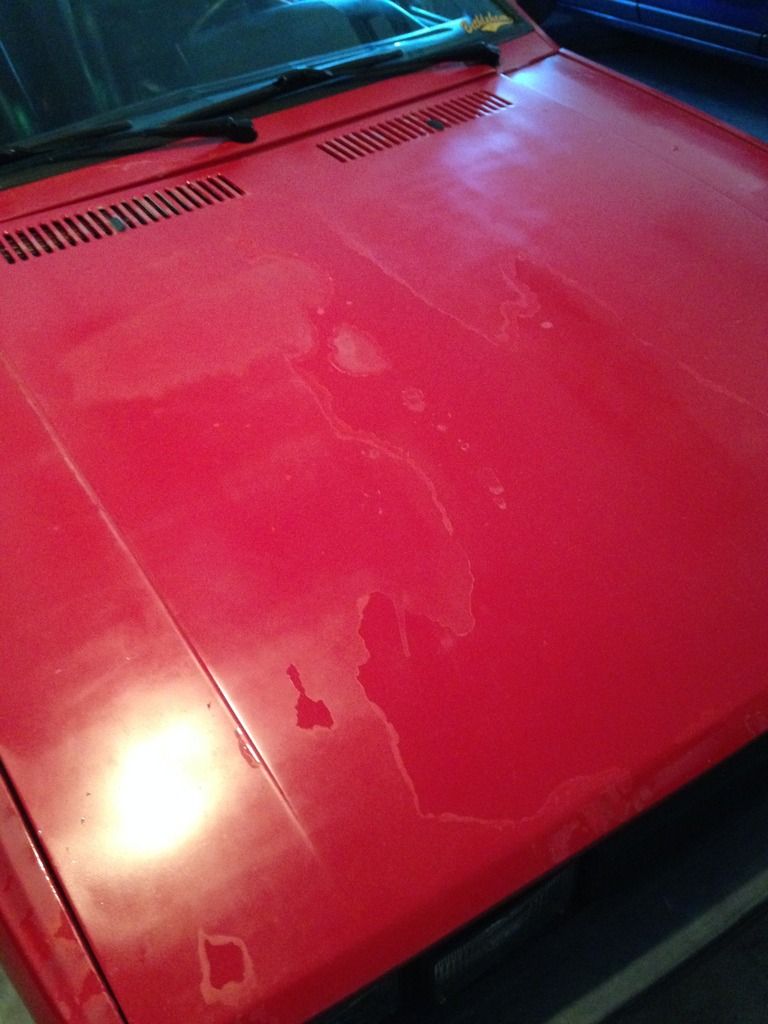
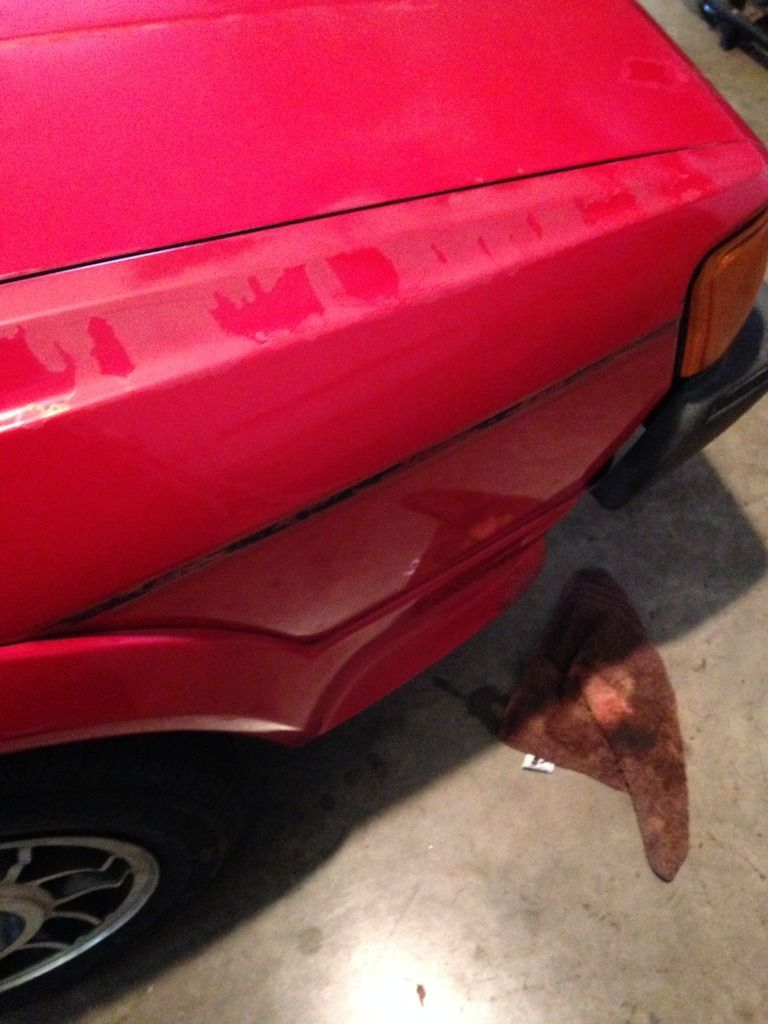
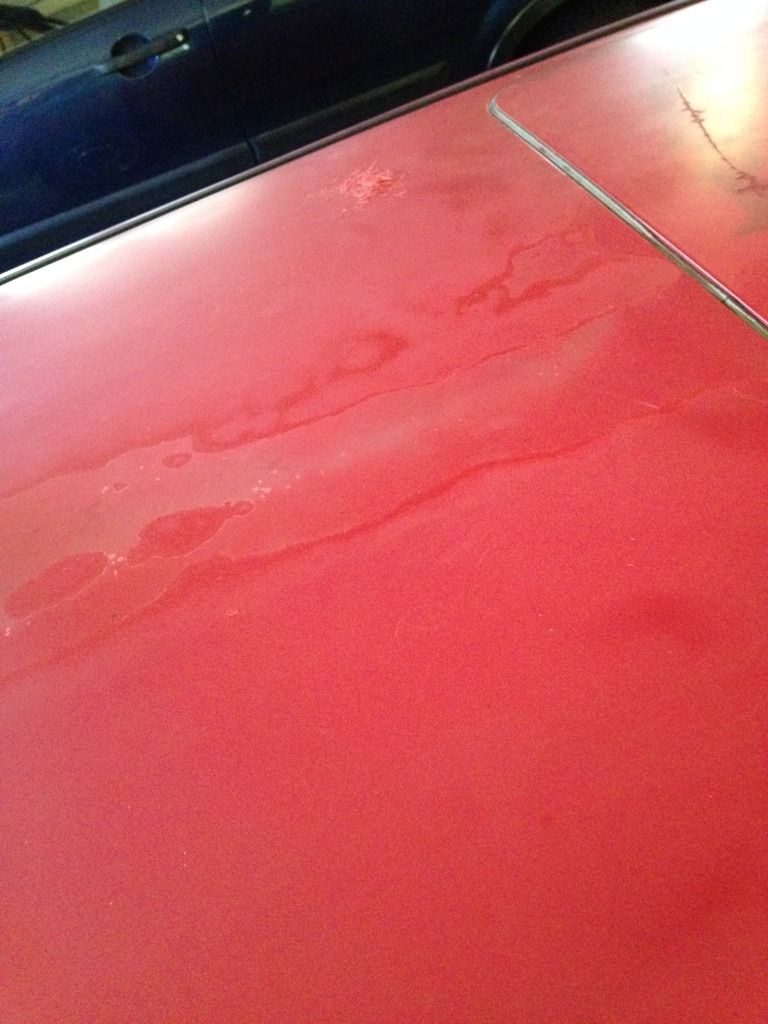
What's left of the top:
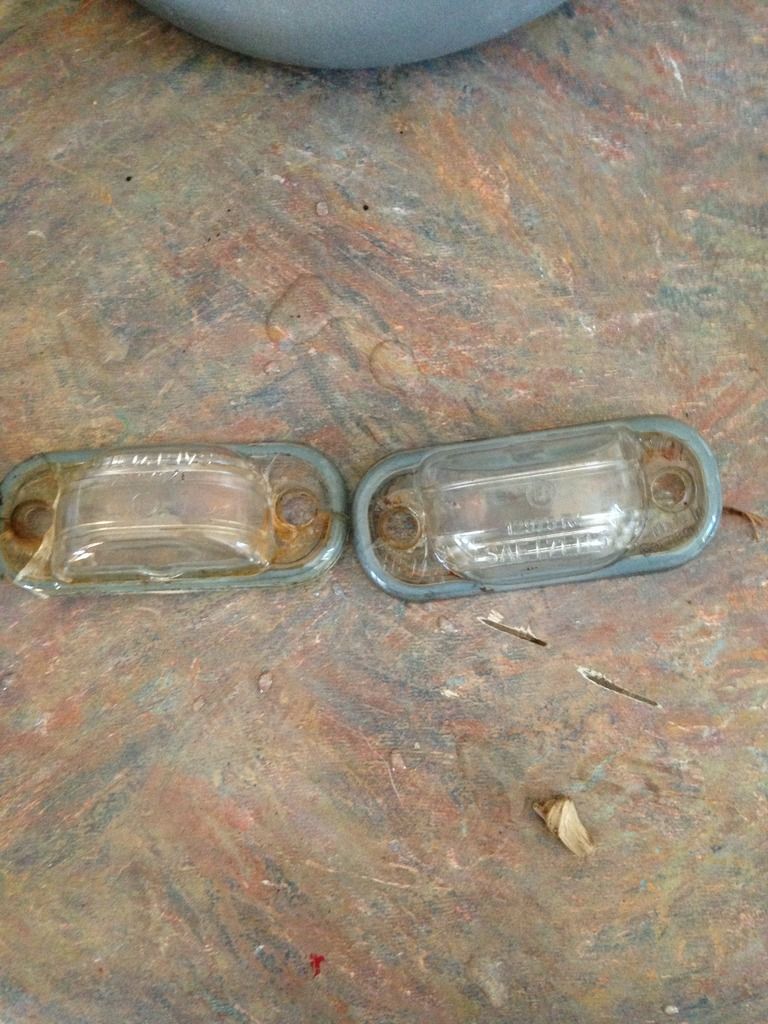
Then took off the plate lights:
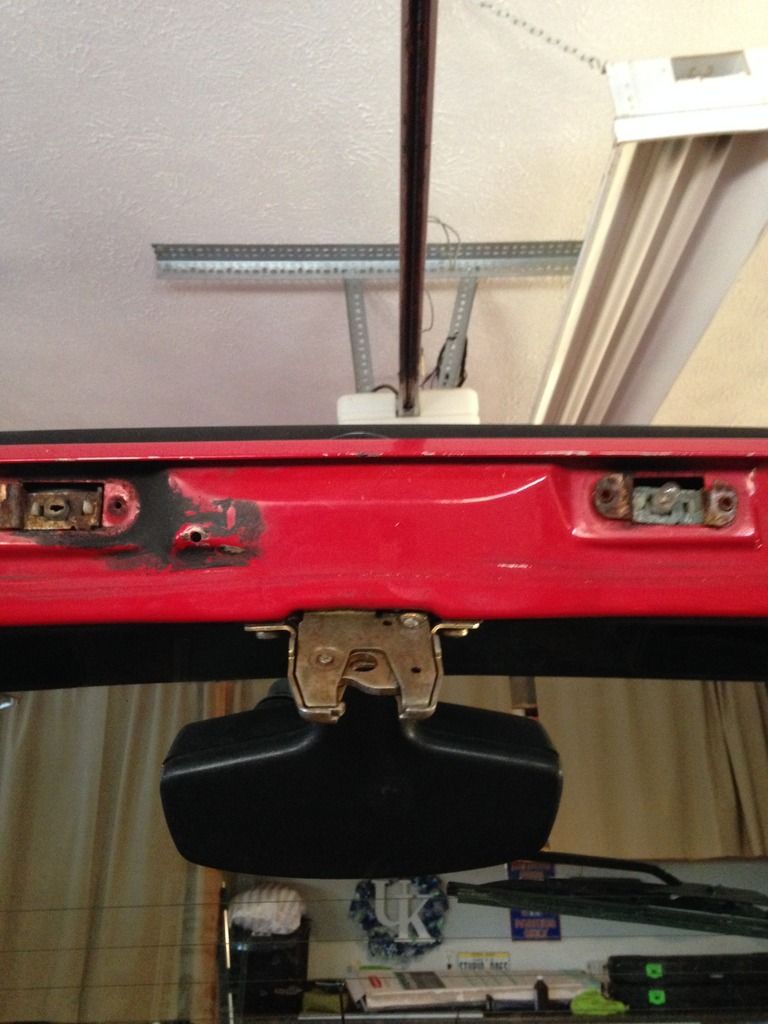
Cleaned them:
Spread some Loctite to keep the together:
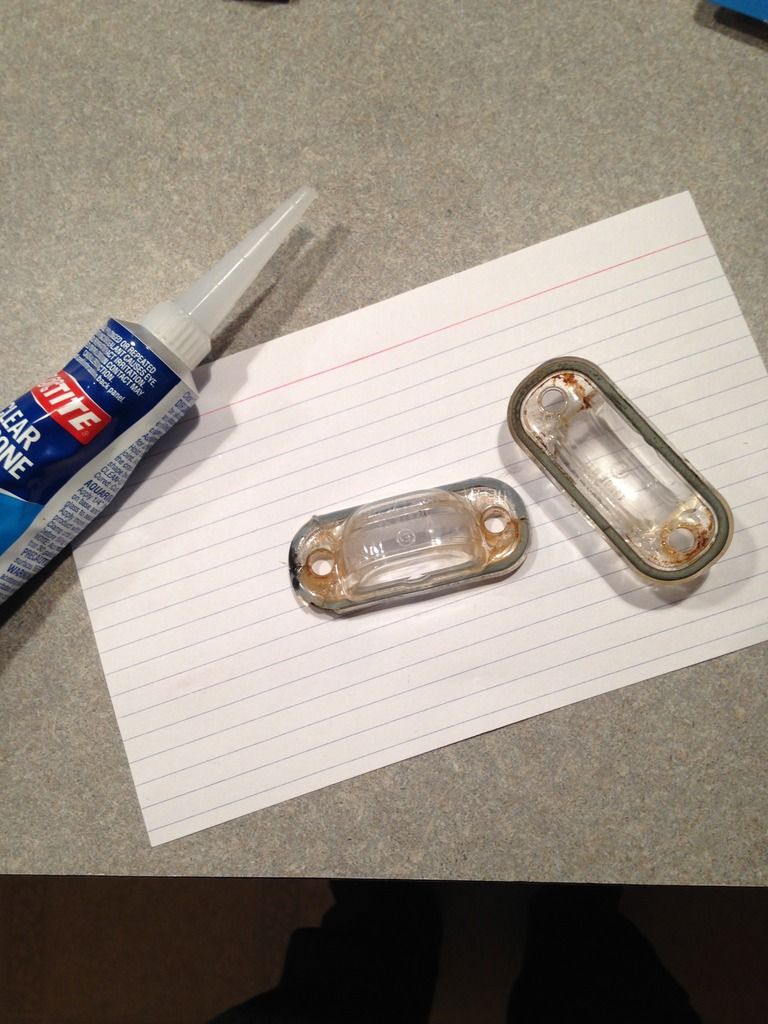
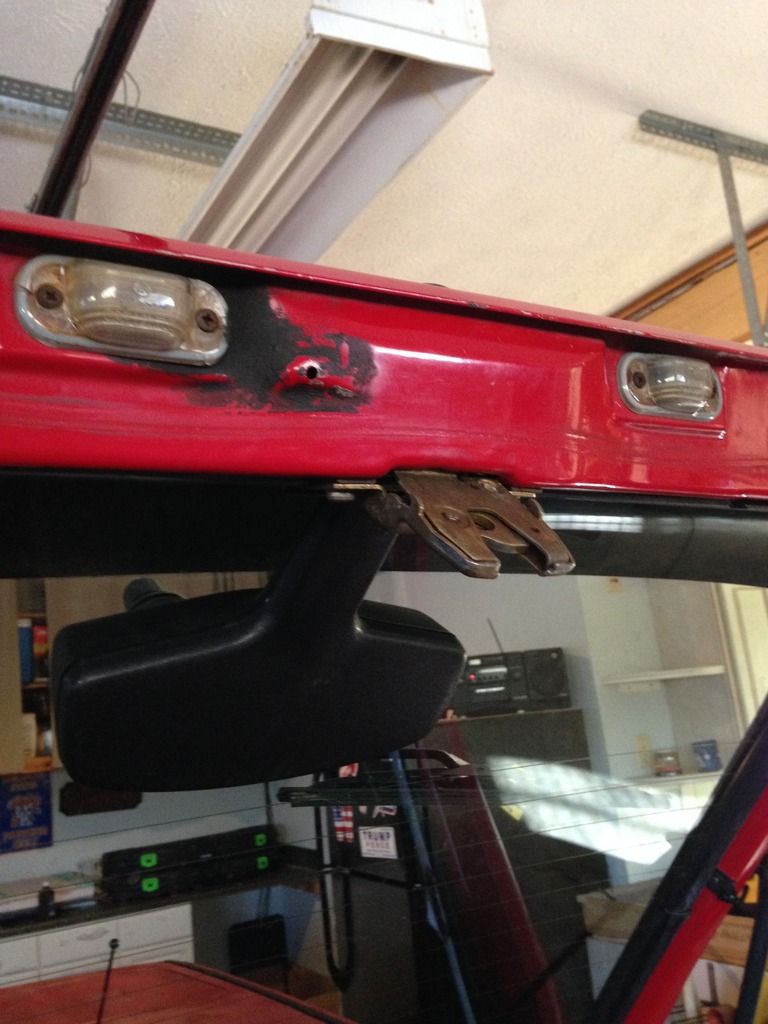
and got them back in, will eventually replace them:
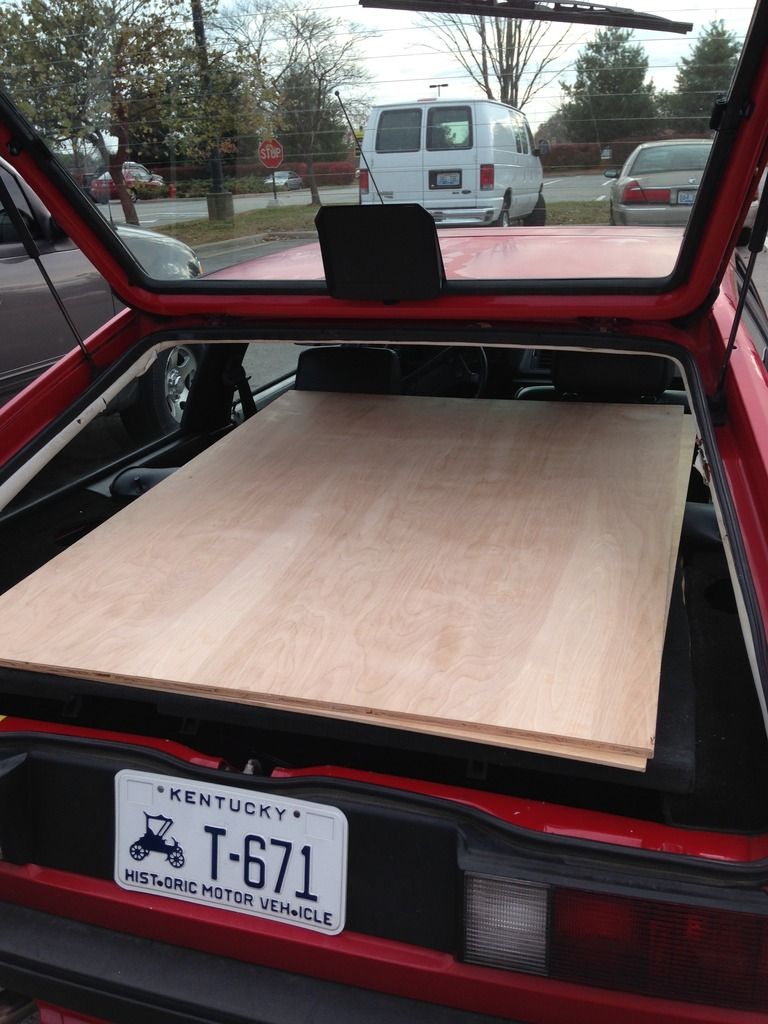
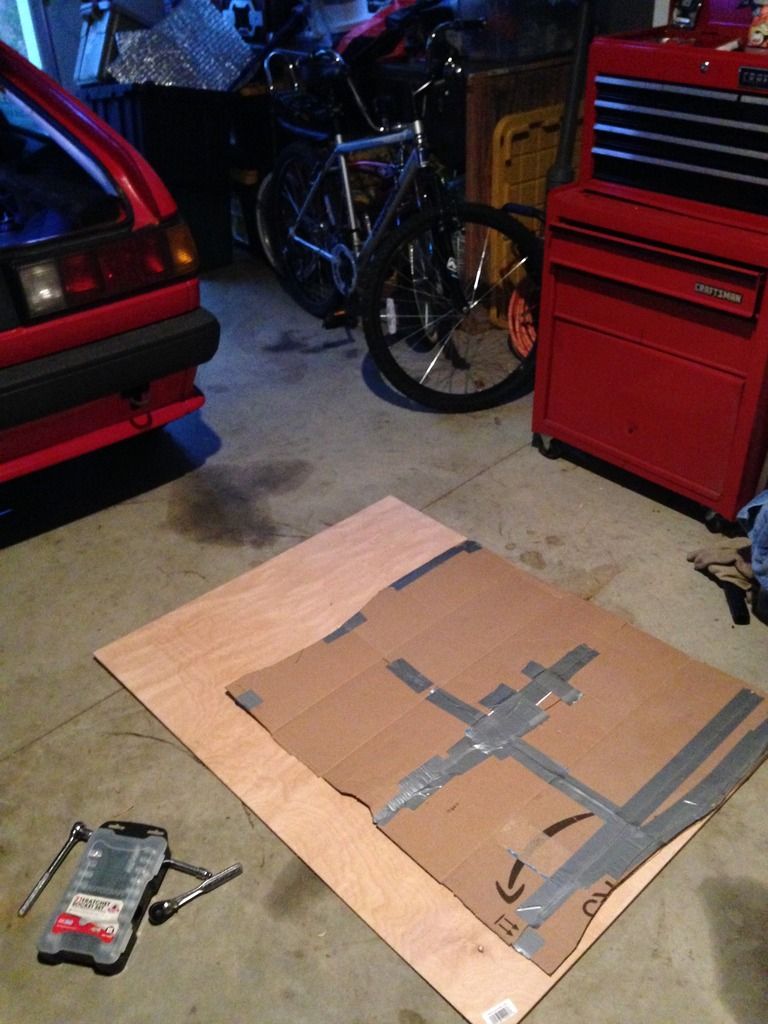
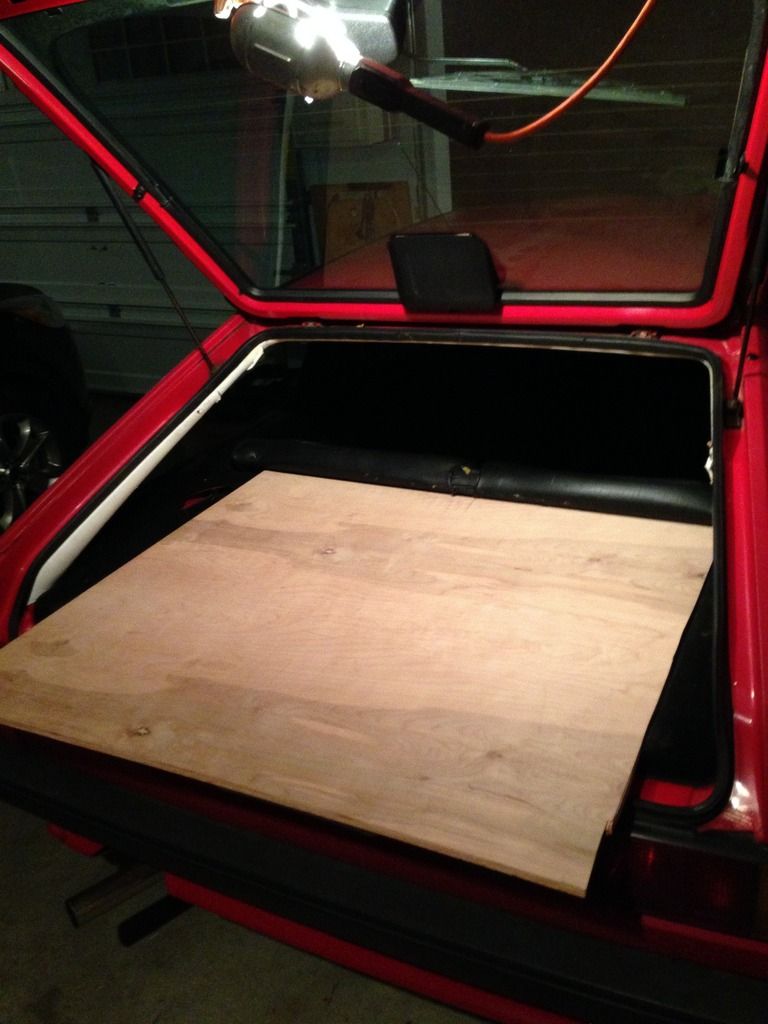
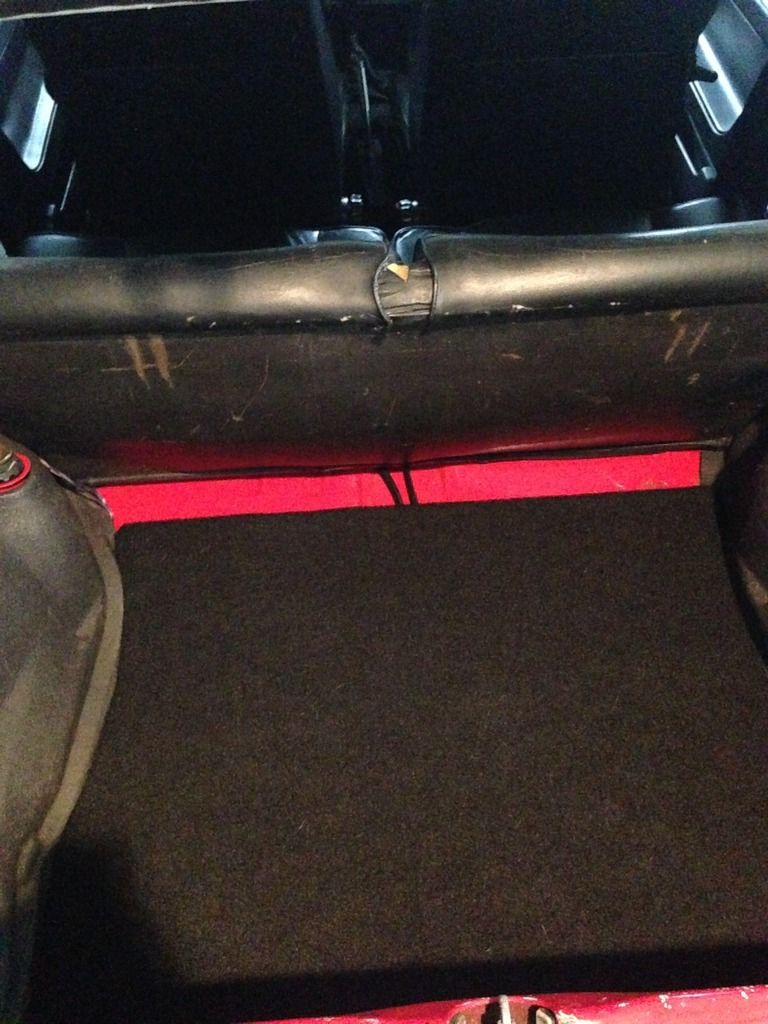
Once that was done, started on a subfloor and parcel shelf:
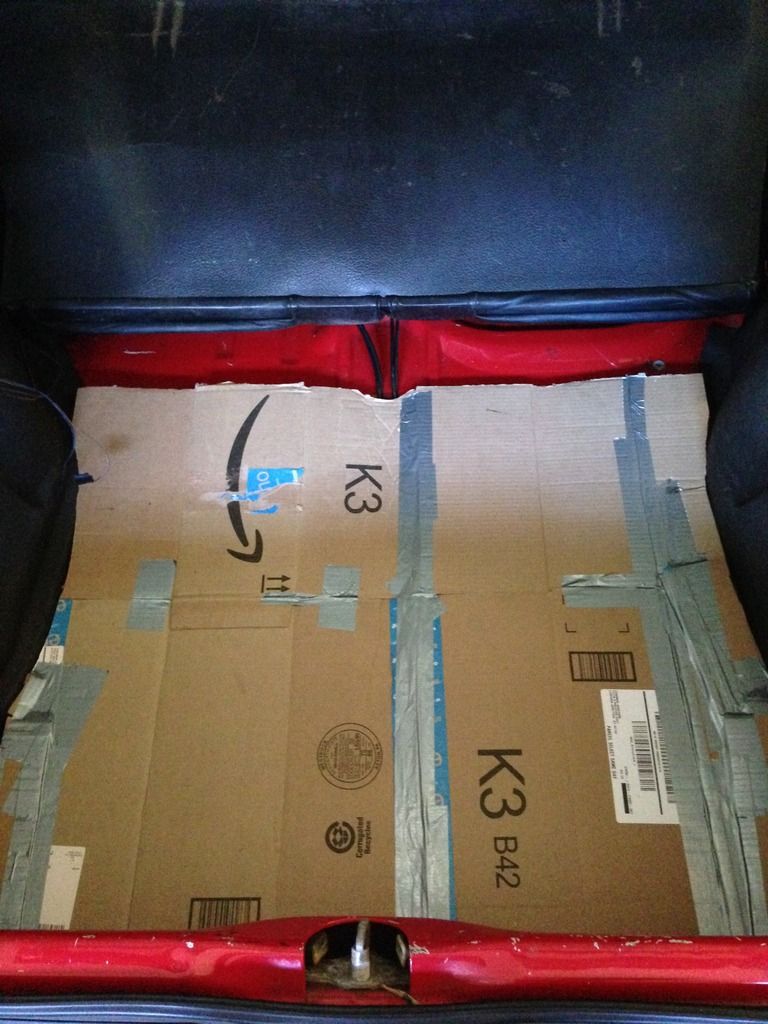
Barely squeezed the wood into the rocco:
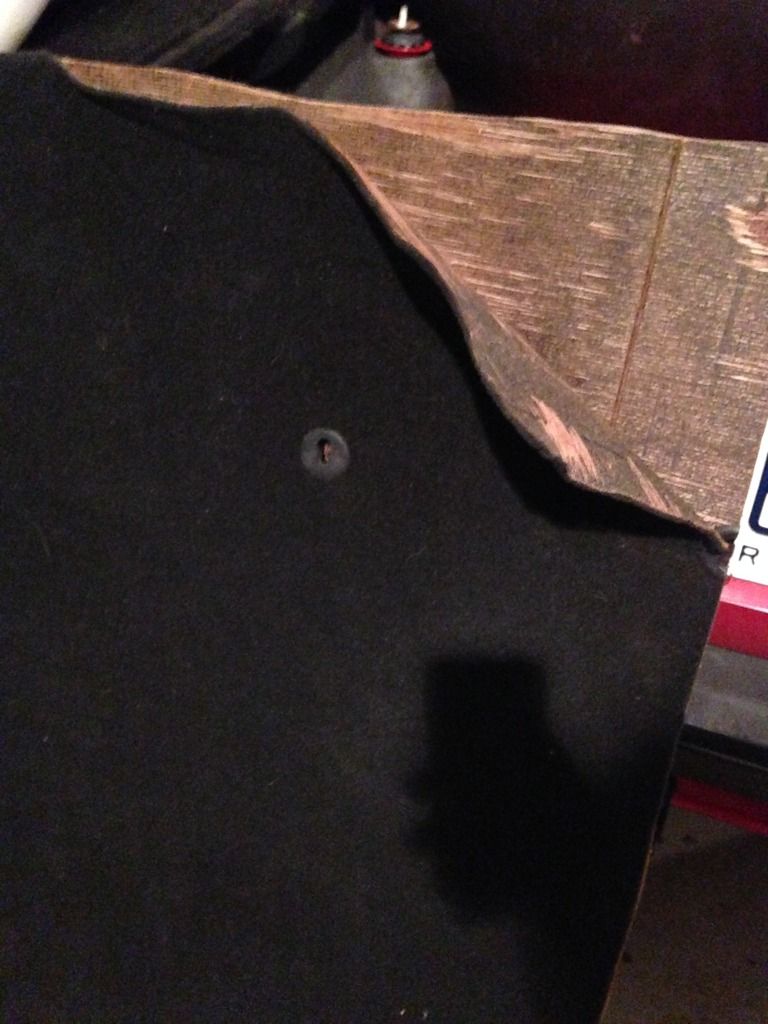
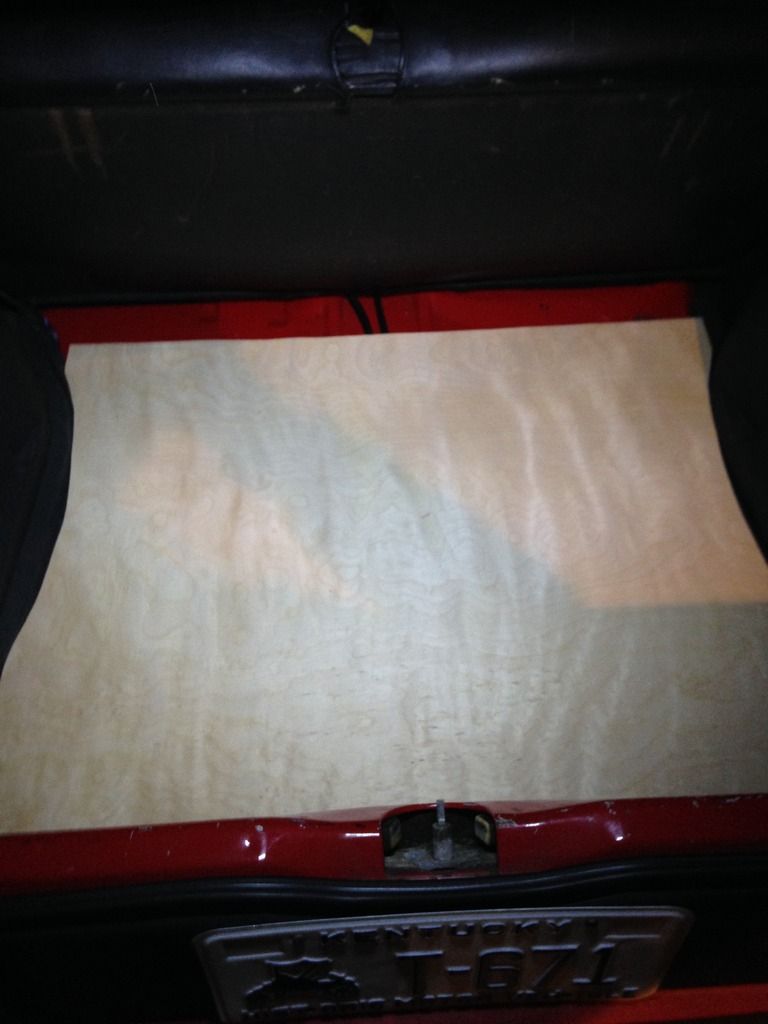
Got it back and traced the template:
Fun fact about this carpet: this was to be used in my dad's '79 transporter before he sold it. Now it will continue its life in a different Volkswagen!
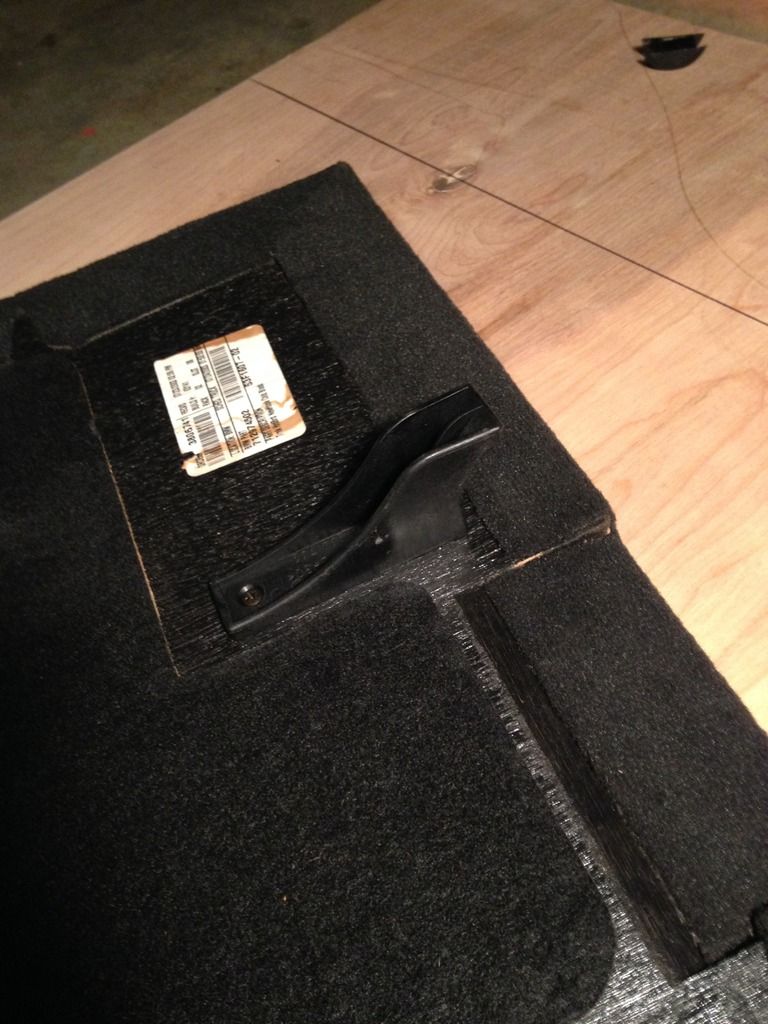
Got rid of the old parcel shelf:
With these...things:
With BMW parts :
:
href="http://s1380.photobucket.com/user/CDeez5/media/IMG_3666_zpsqcetrh2v.jpg.html" target="_blank">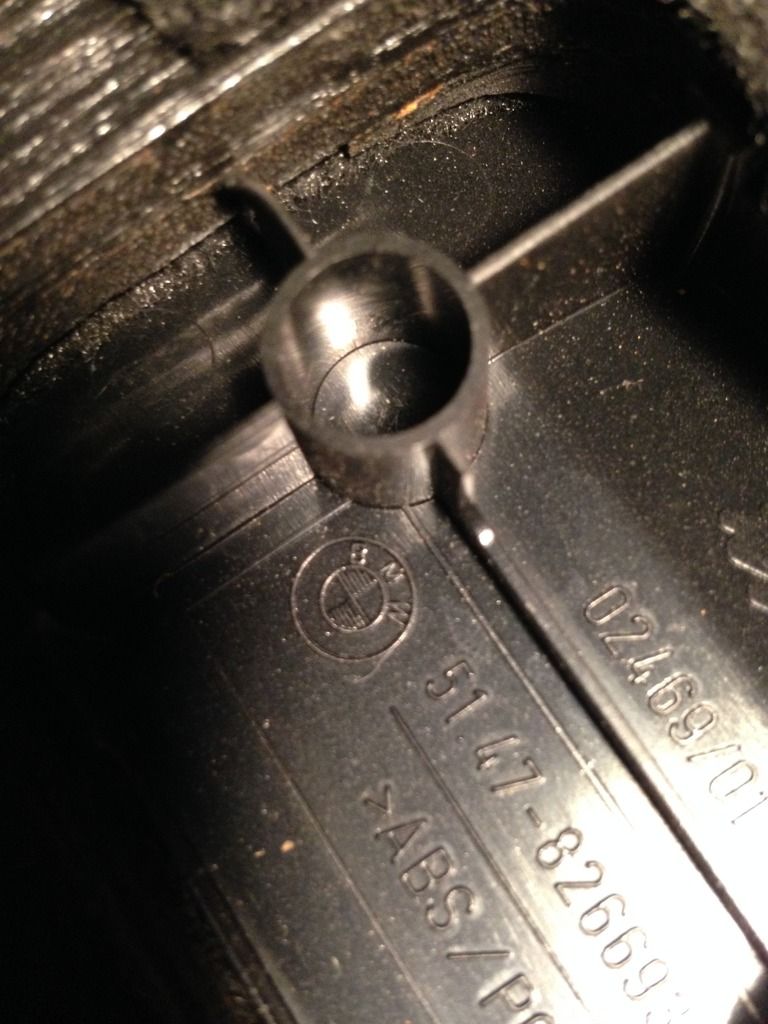
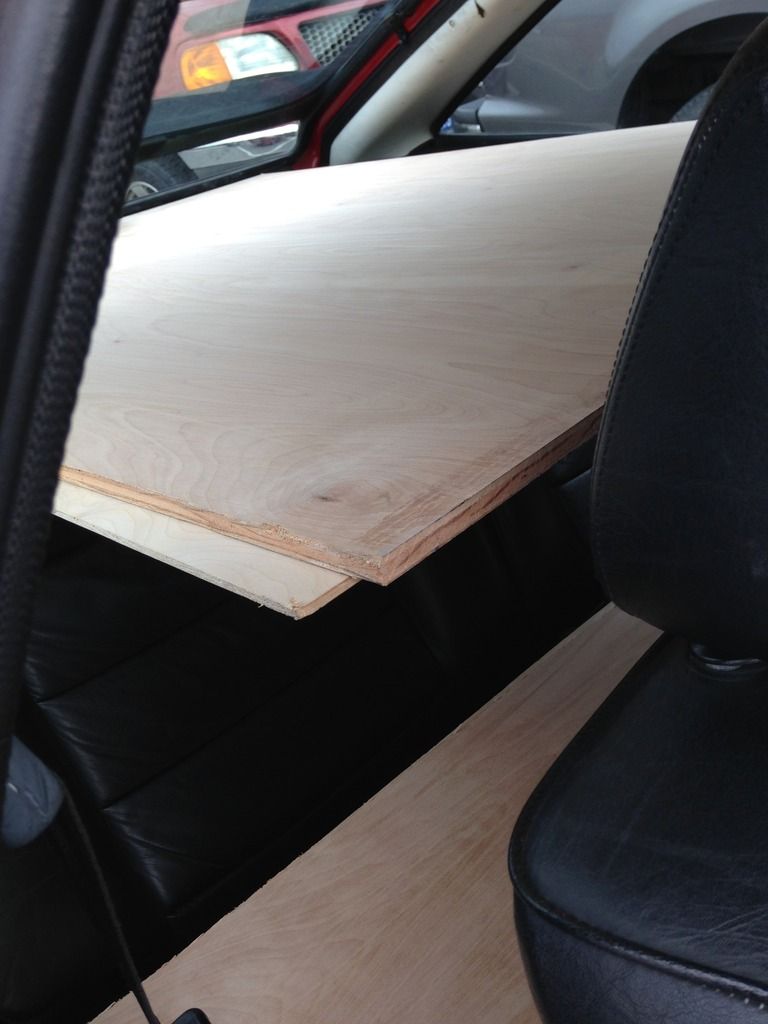
Anyways, got the parcel shelf cut:
href="http://s1380.photobucket.com/user/CDeez5/media/IMG_3670_zpsjmbincfl.jpg.html" target="_blank">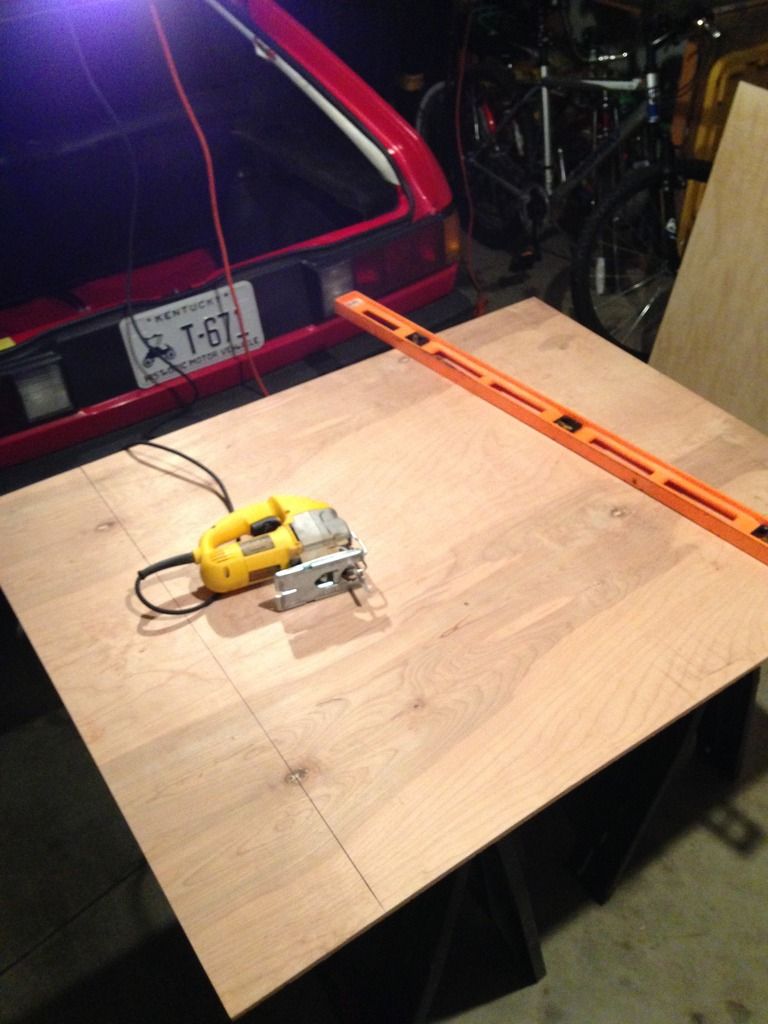
Subfloor in place:
Carpet cut and glued:
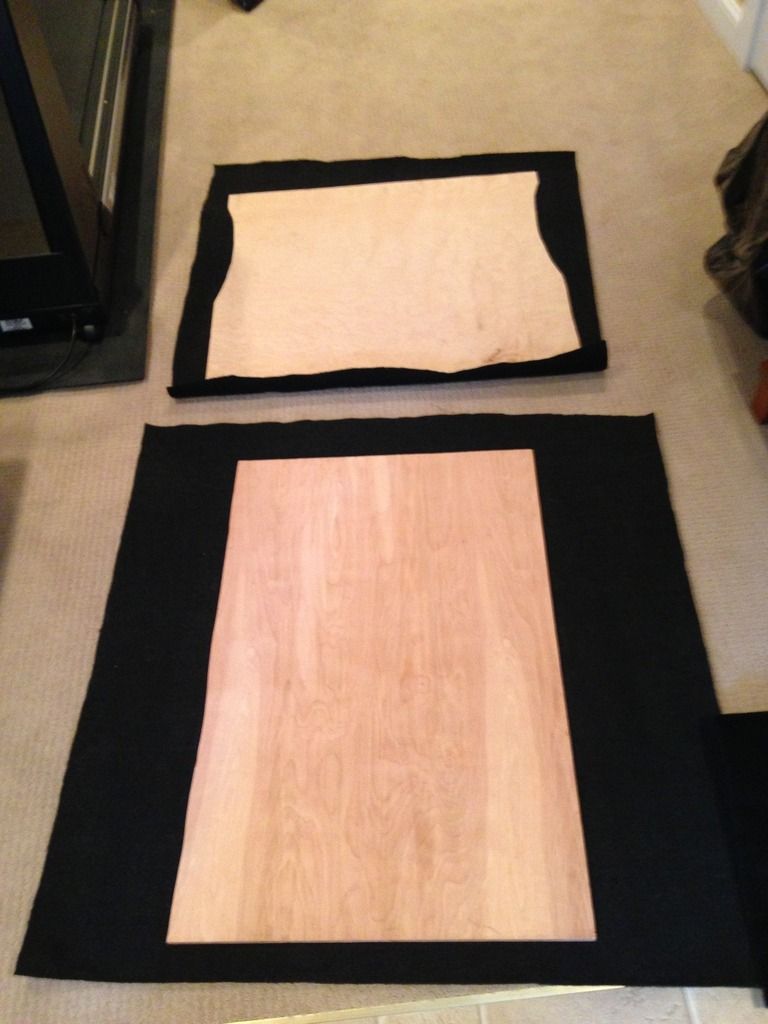
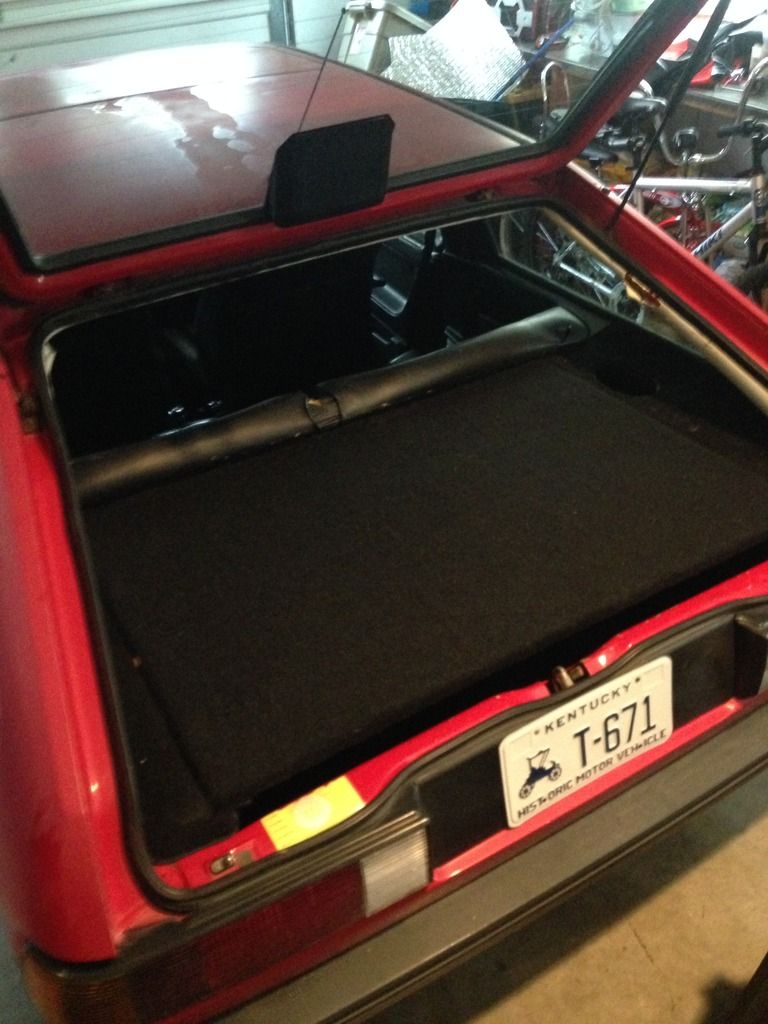
Final products:
Turned my attention to try and find this:
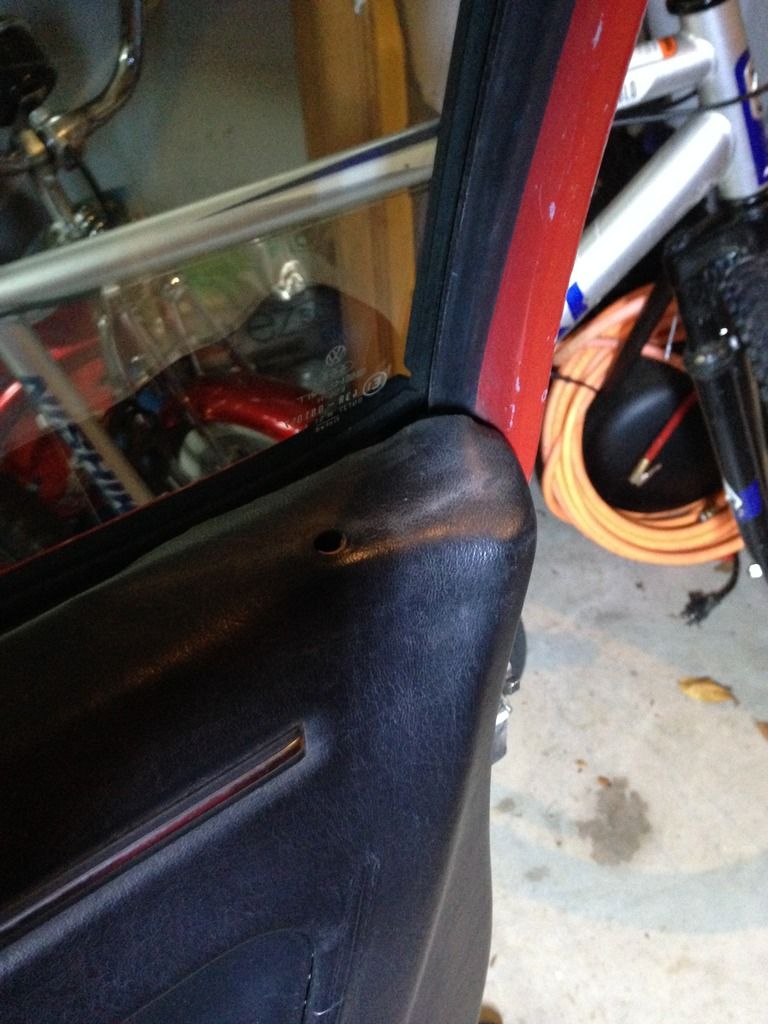
This thing gave me a hard time:
Forgot to snap pics, but realized the lock pull thing was missing completely, so i vacuumed out 30 years of leaves from the inside of the door.
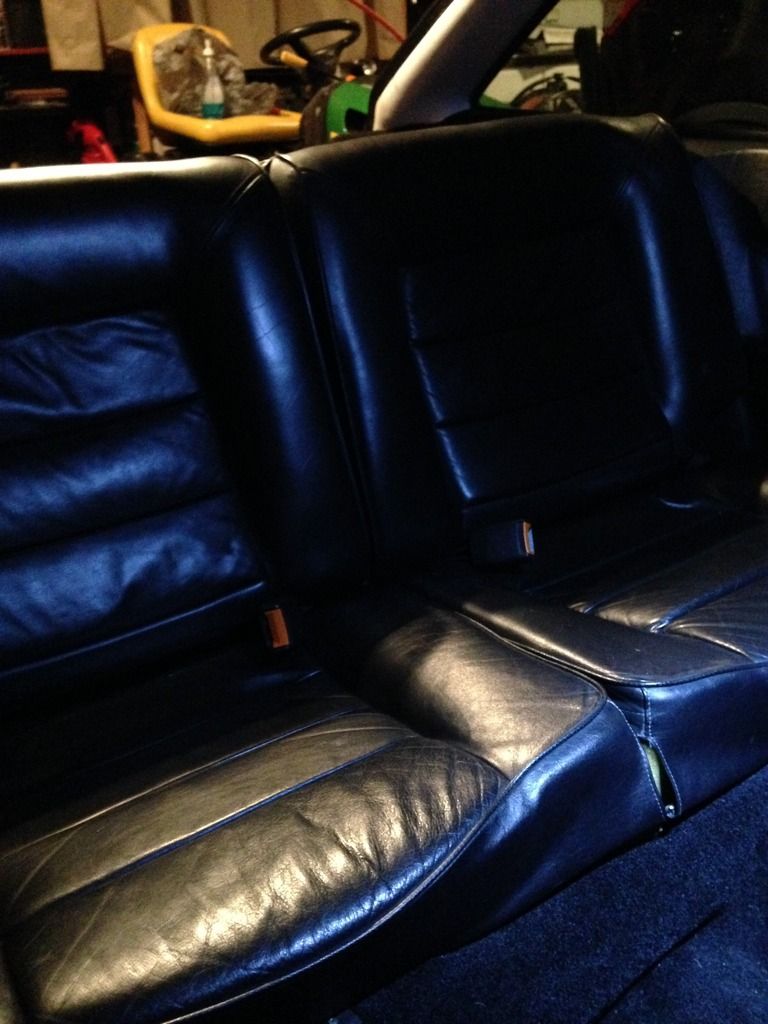
Found the correct screws and got the rear seat actually bolted in:
Attempting to organize the wires (speaking of, we just bought a wiring harness):
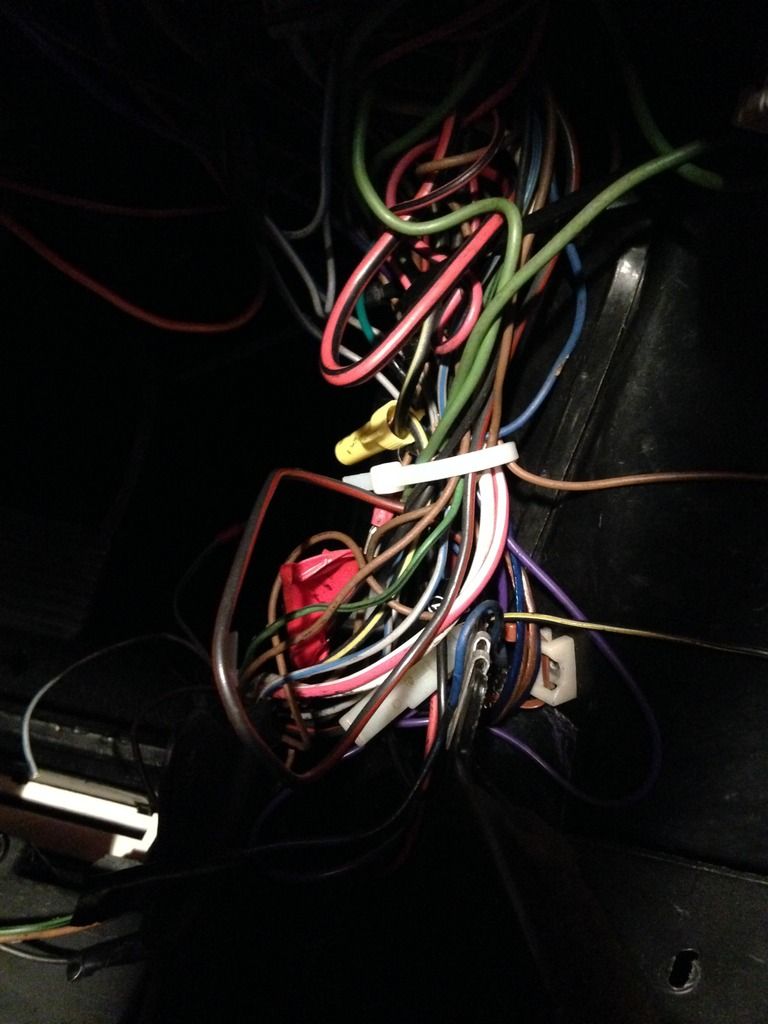
Cut out most of the nasty speaker wires:
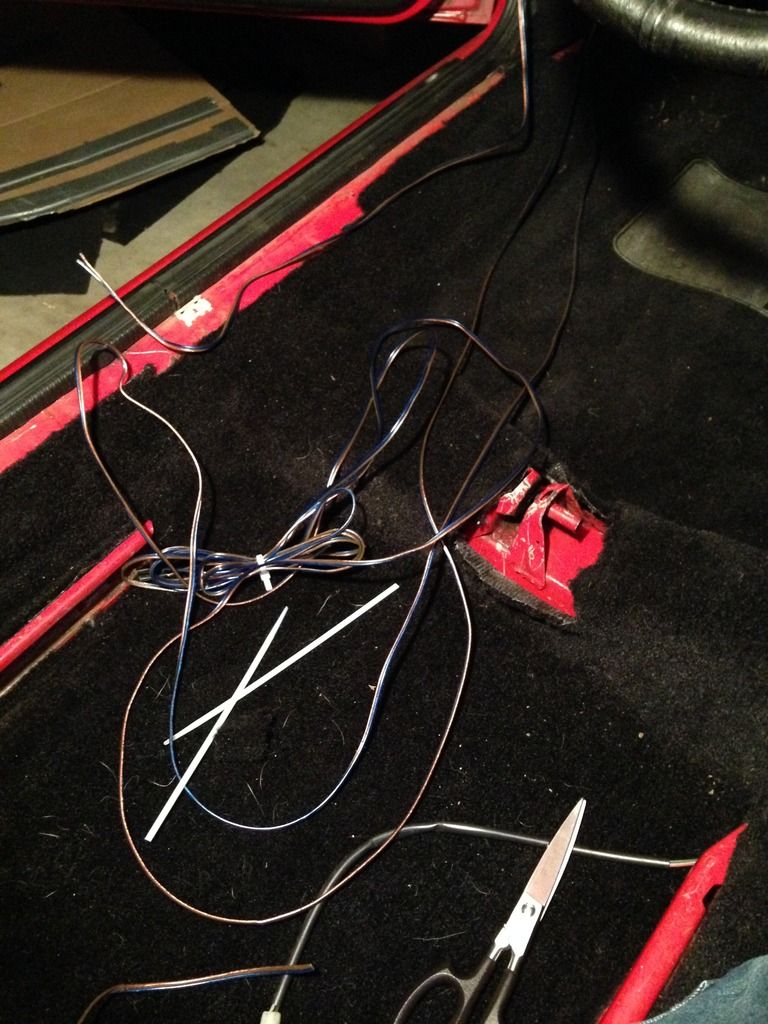
Doesn't look all that bad...
Until you look under:
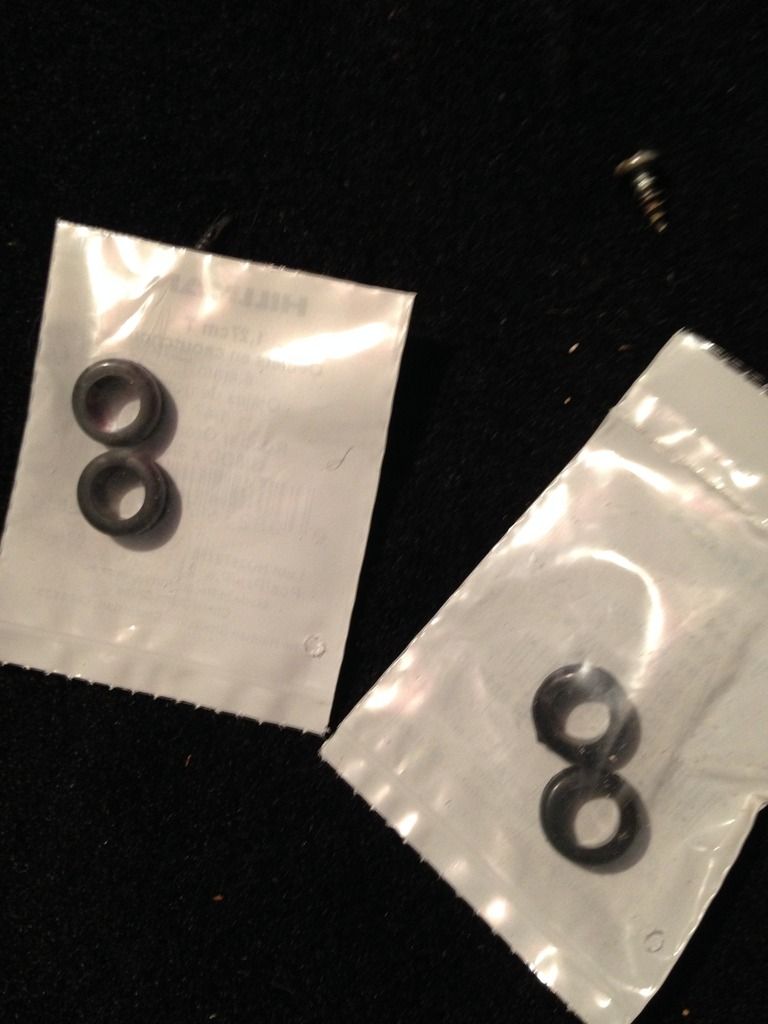
Bought these to put under the sunroof panel so it doesn't rattle:
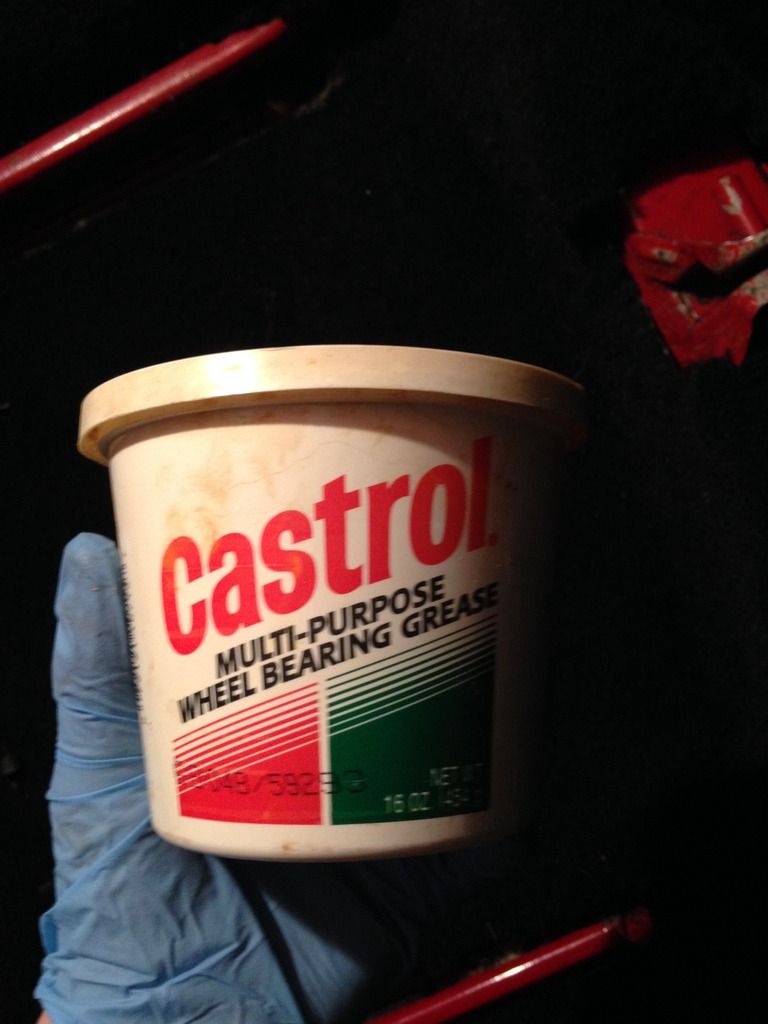
got some grease to lube up the seat rails so it'll actually slide:

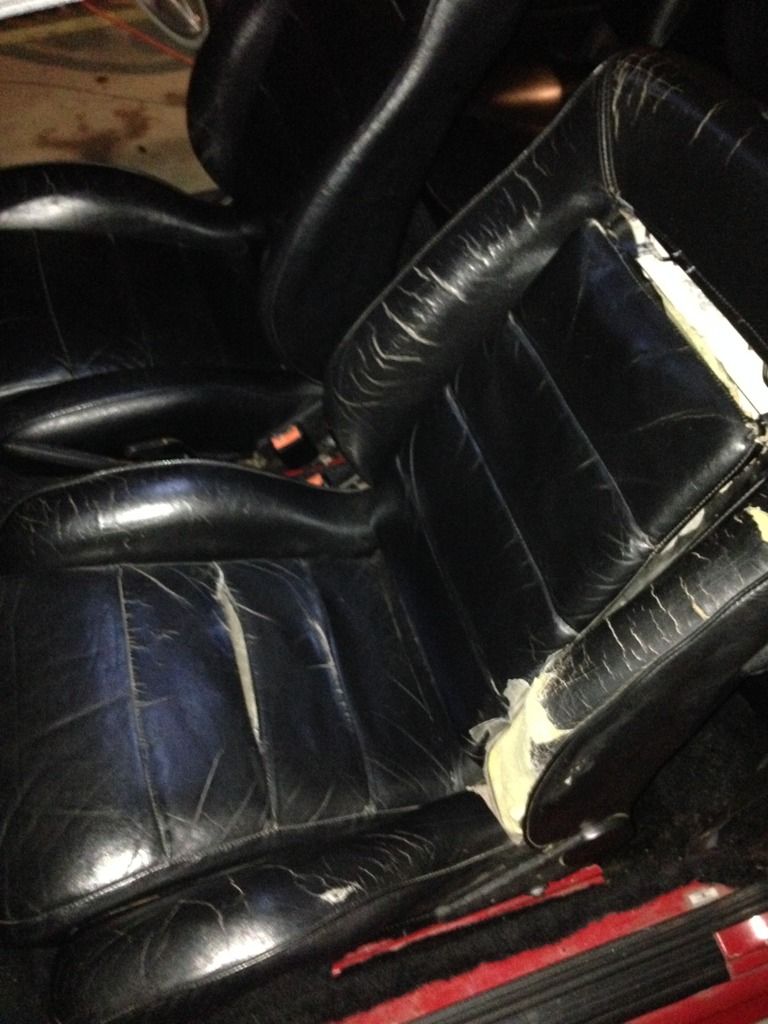
Got the seat back in 100% perfectly:
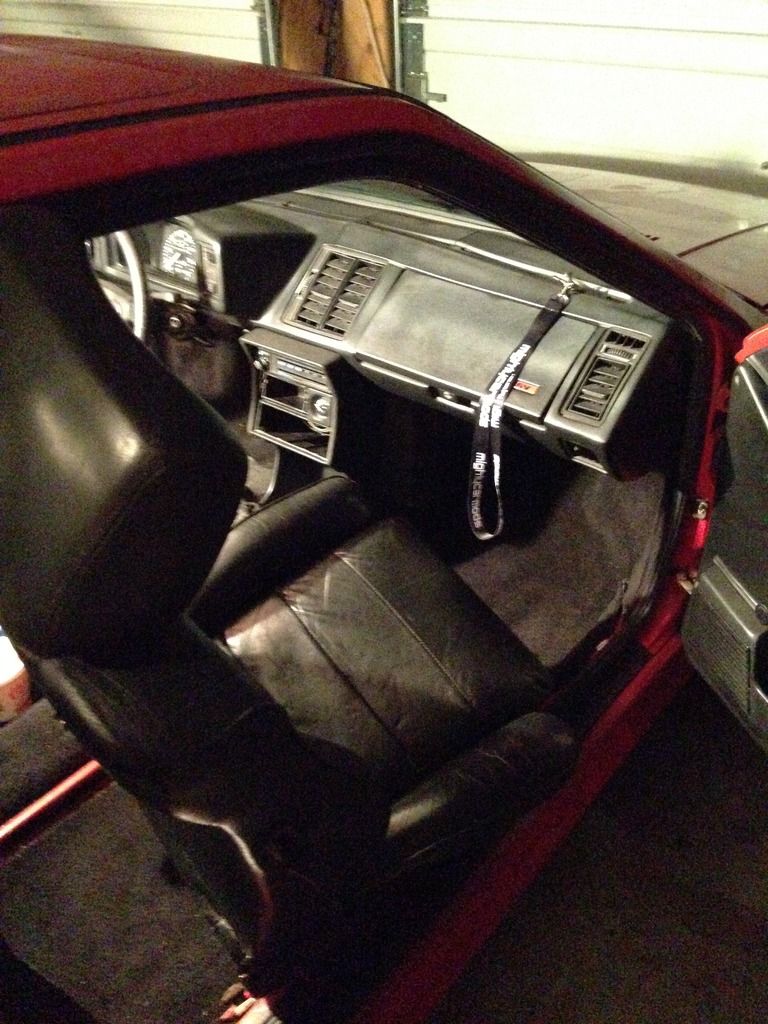
JK, second seat in:
And for those who actually read the whole thing, here is something to look forward to:
 Last edited by CDeez5; 11-25-2016, 01:08 PM.
Leave a comment:
-
Alright boys and girls or whatever you identify as, not much has happened lately with the car. Currently on the trail for a 16V harness to replace the one we have now.
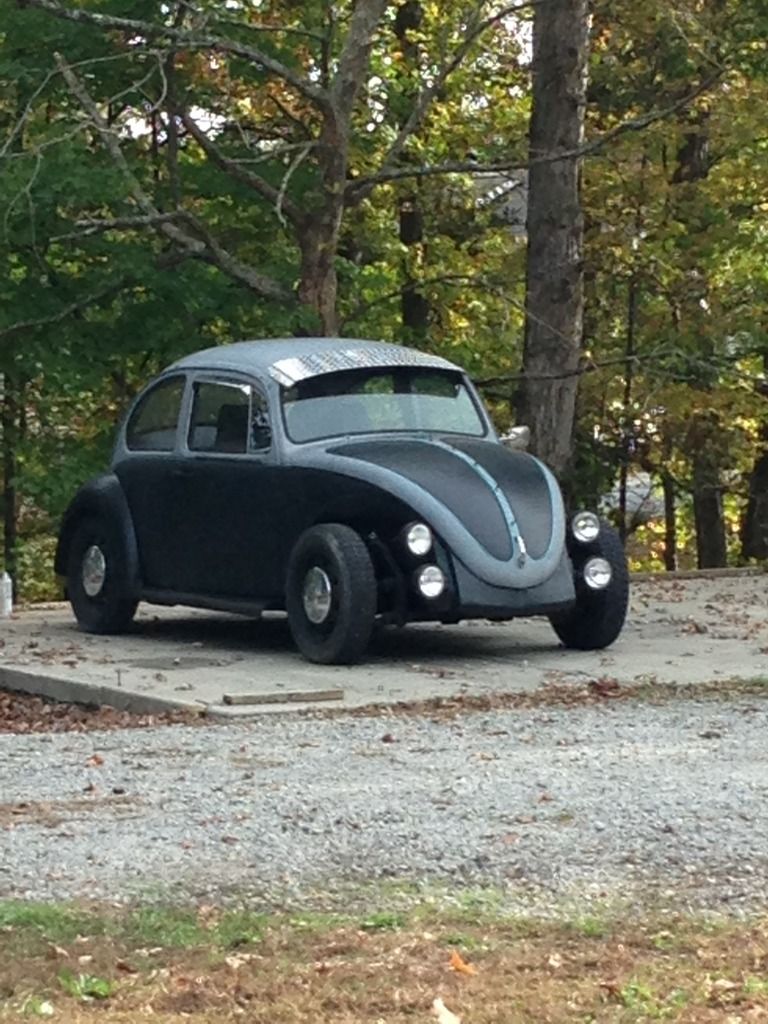
Off topic, but saw this Mad-Max thing:
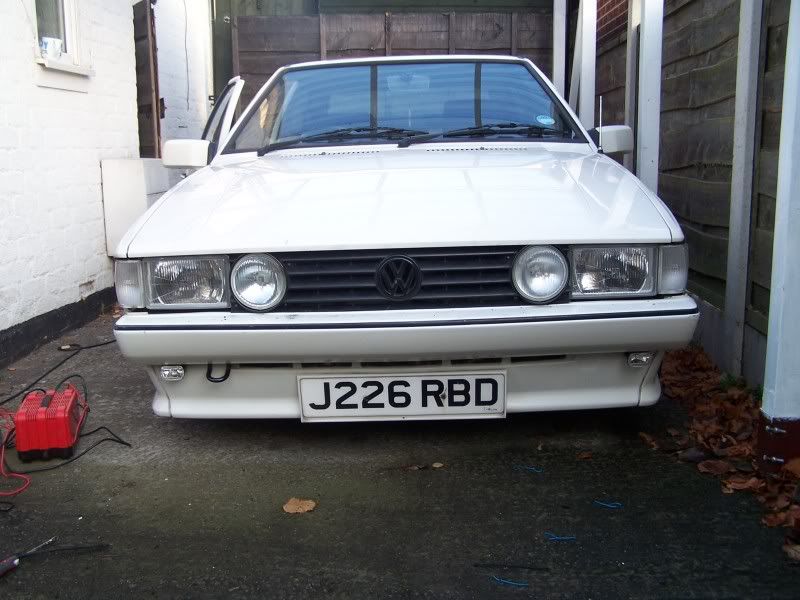
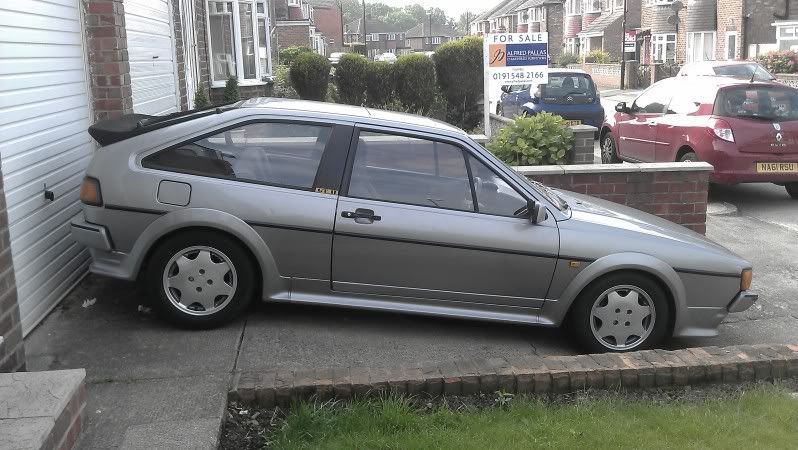
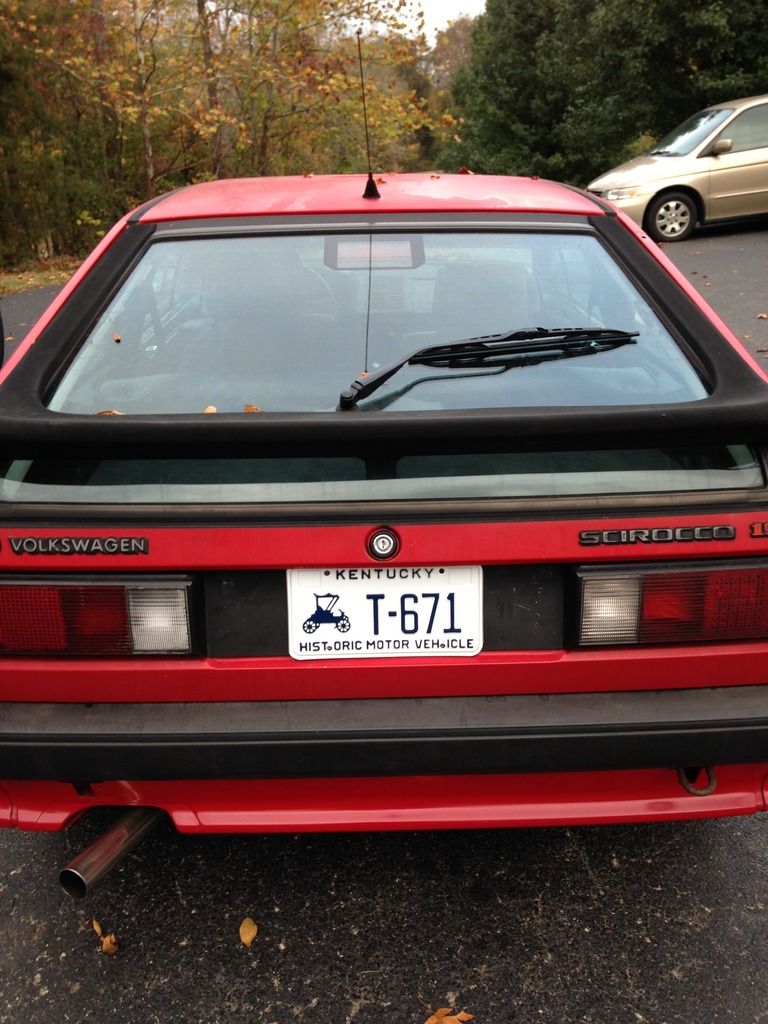
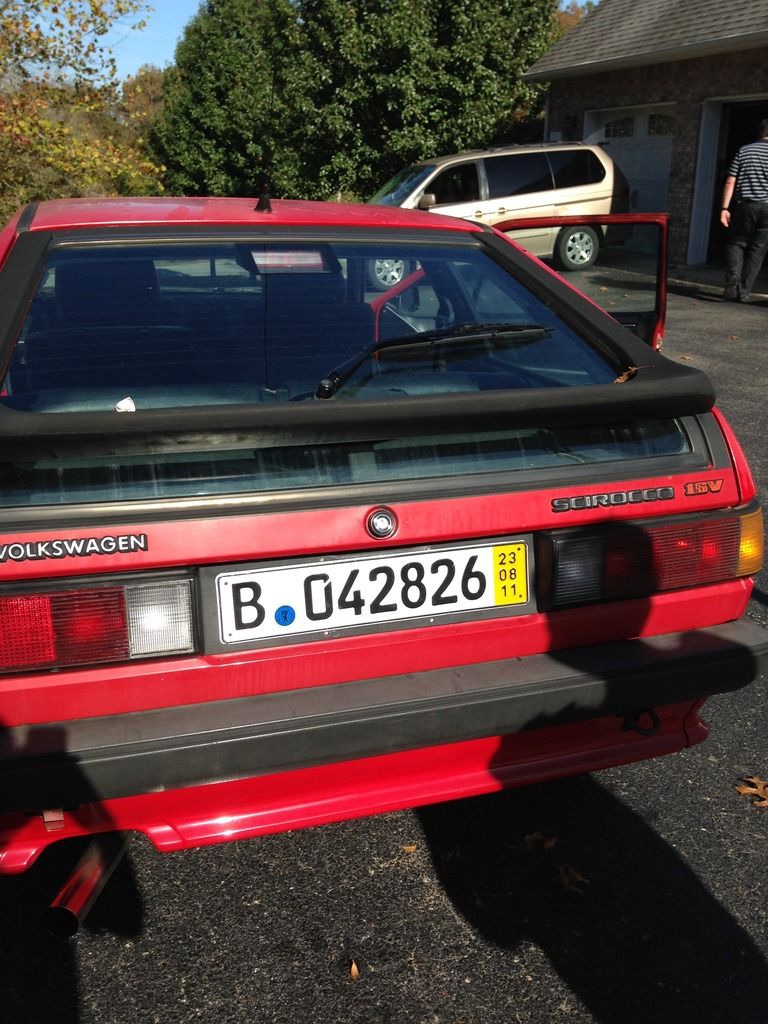
Got her registered:
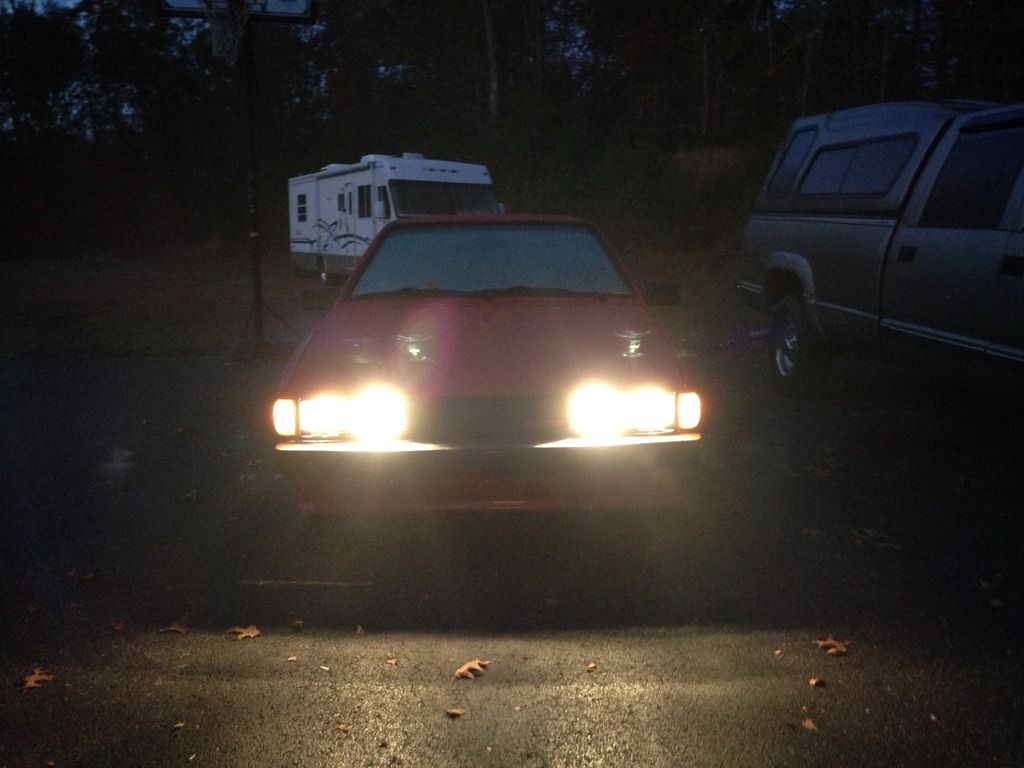
and drove the off into the sunset:

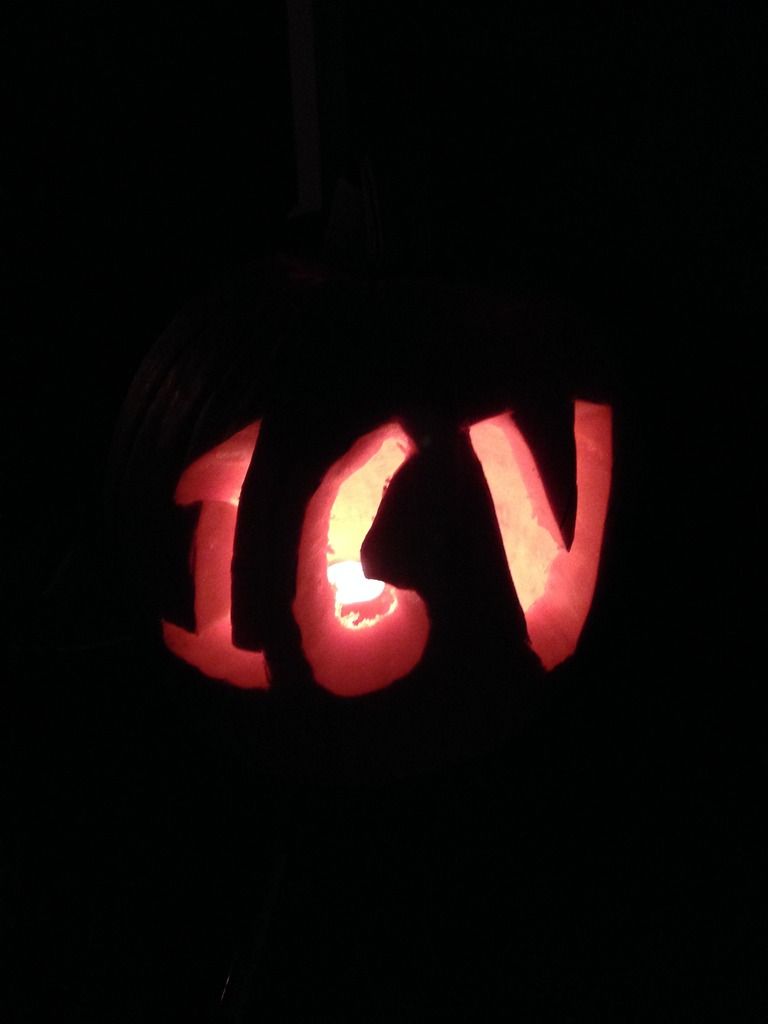
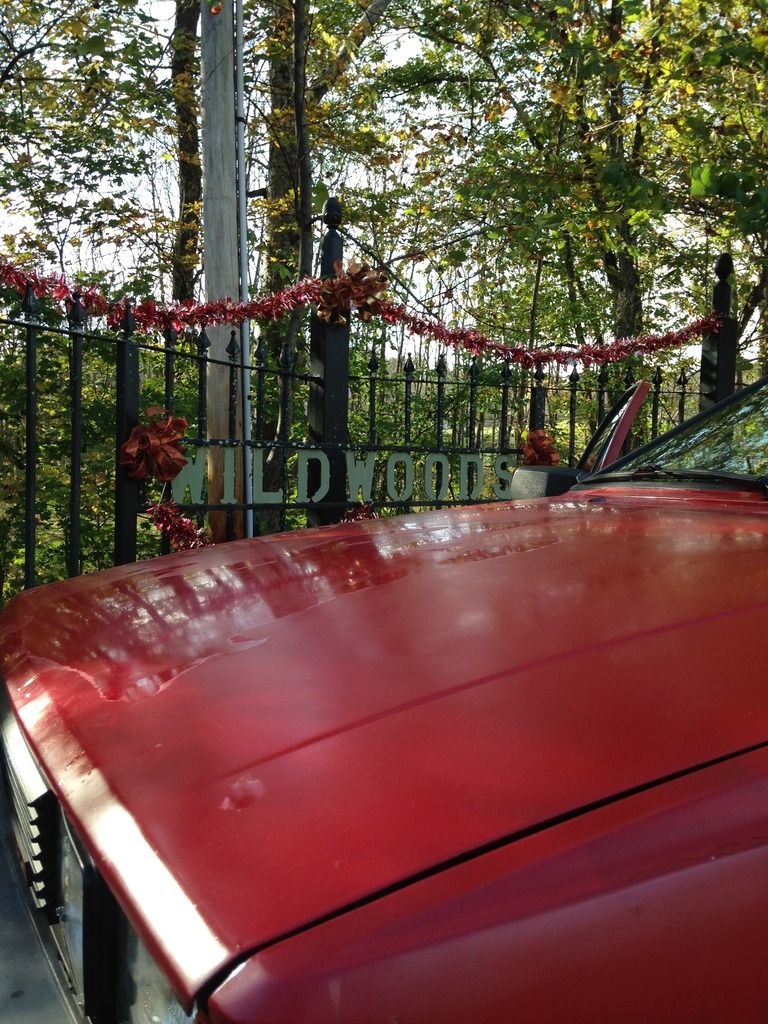
Got into the Halloween spirit:
Figured out that only the high beams work, so there's another problem
Other than that, not much. Hopefully next time there'll be something exciting
Leave a comment:
-
Cool, I love the fact you drove around with euro plates without getting hassled.Leave a comment:
-
I'll make sure to put those links to good use. Thanks man.Originally posted by harlerocco View Post
Also, another update.
Got home from school, tired as hell, and remembering we have to take our PSAT on Wednesday. Got out of my bad mood when we went to get the rocco Sheriff inspected and (hopefully) registered. Too bad we were 7 min late before the clerk's office closed
Freaked out for a sec, thinking we need plates, but remembered we did have any
Took it to the Sheriffs Office, which all it consisted of was a grumbling old lady, $5 and a clipboard.
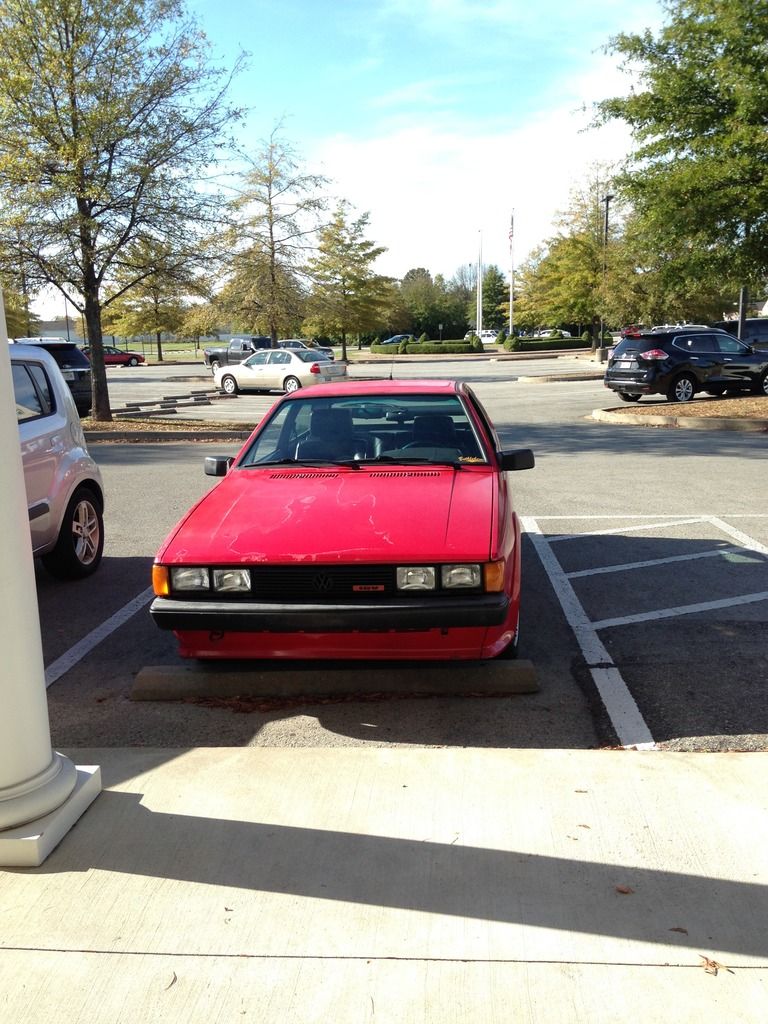
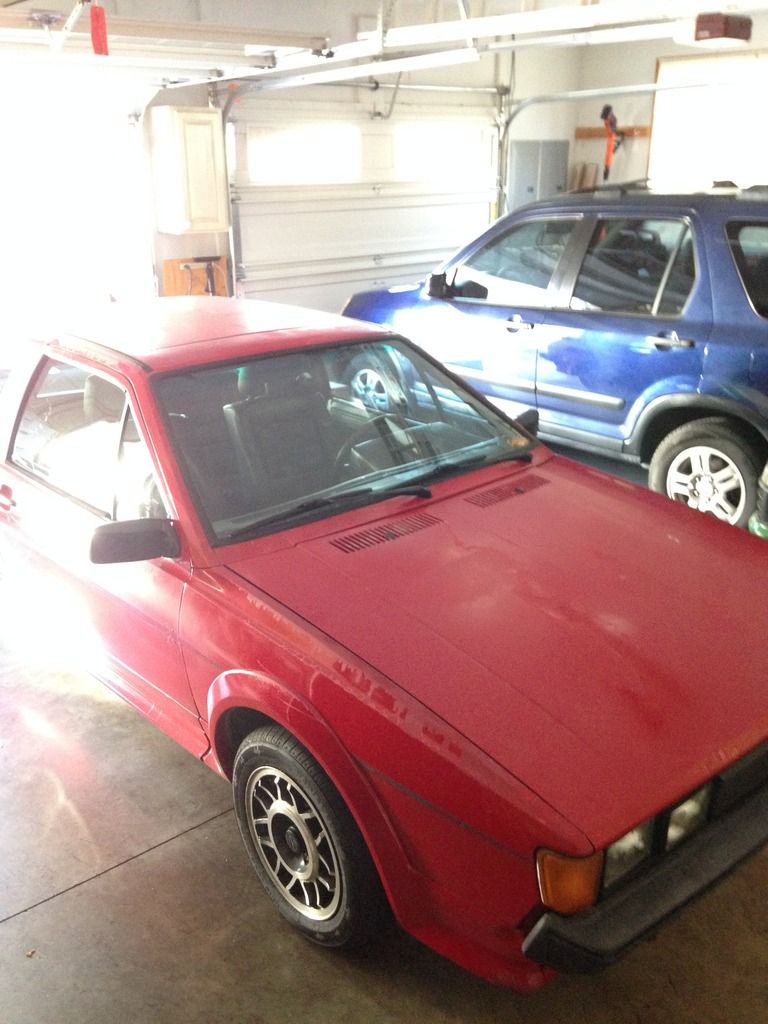
Got it home safely, meaning nothing blew up. (insert horribly shot Iphone pic)
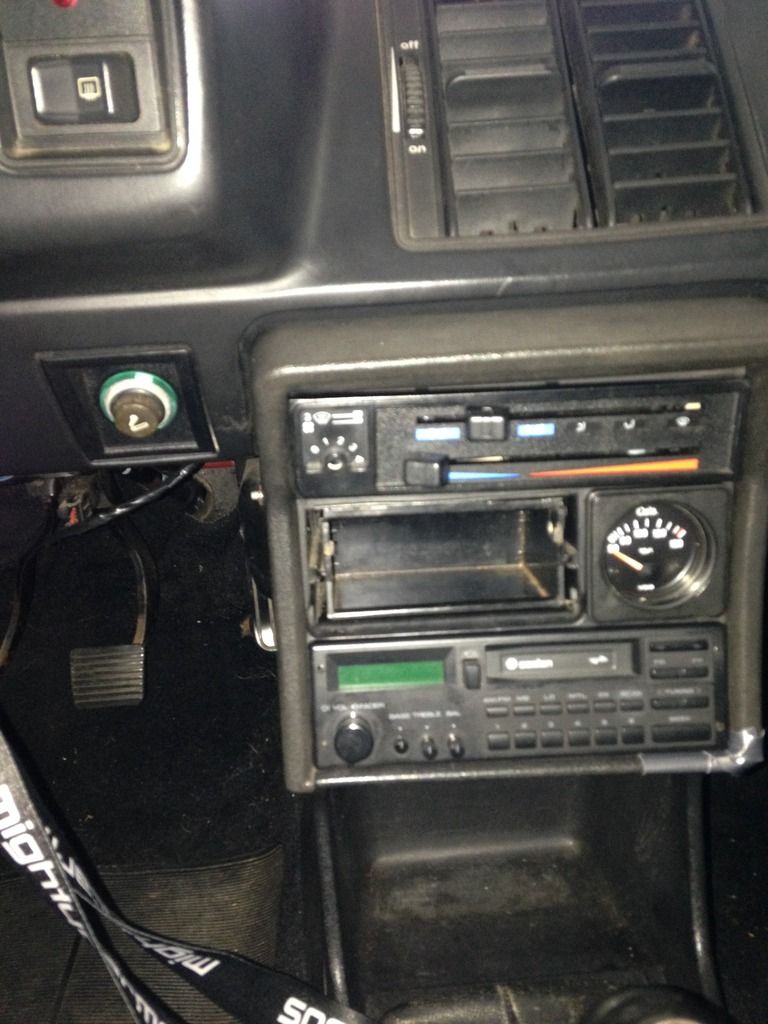
Also fooled around with the center console, and finally figured out what i wanted.
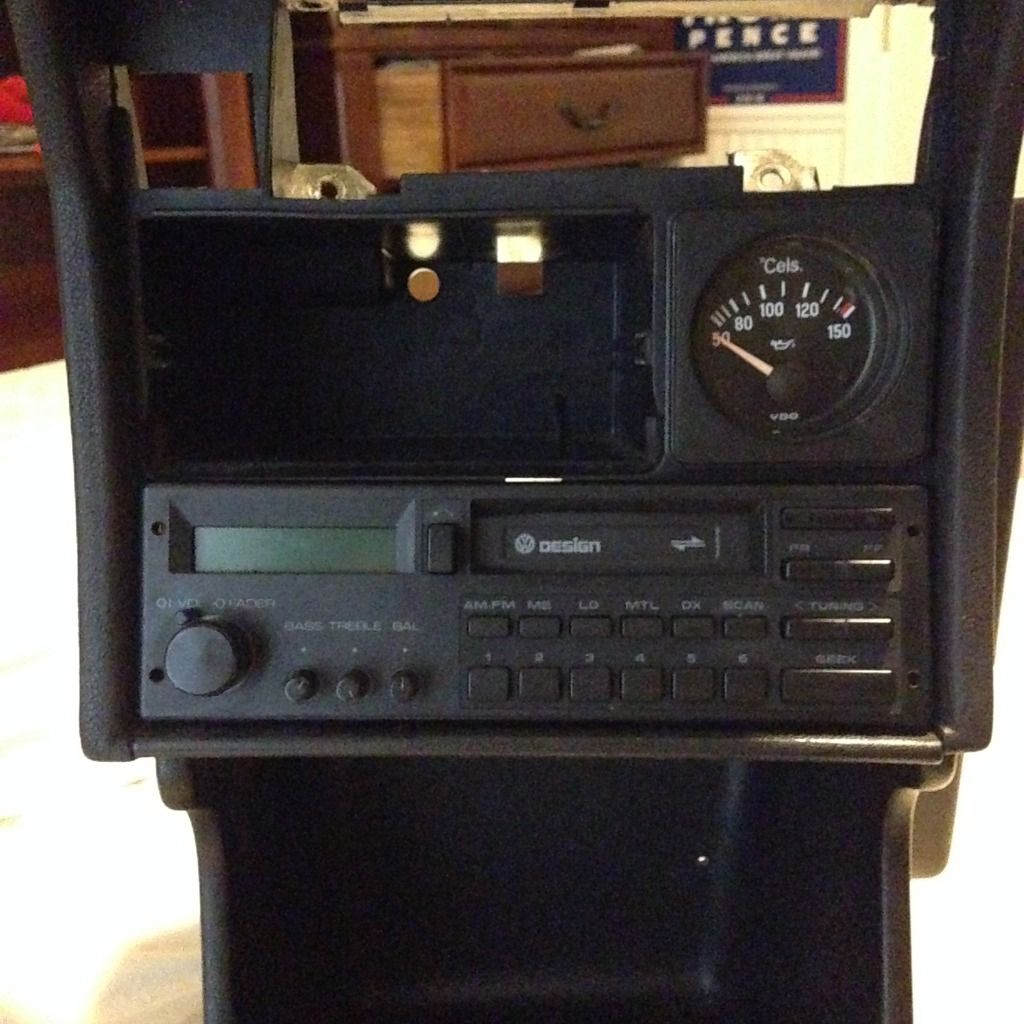
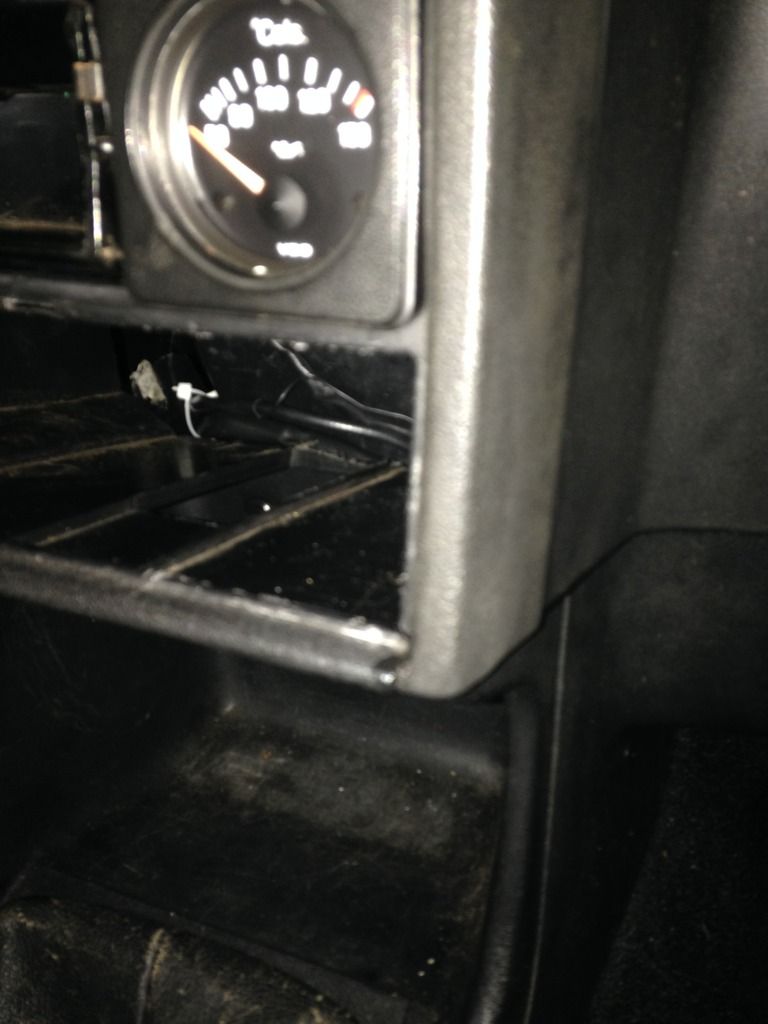
(Found 2 other VDO gauges to replace the ashtray)
More to come...eventually
Last edited by CDeez5; 12-28-2016, 11:13 PM.Leave a comment:


Leave a comment: