Got an update from the technician over at Subaru. They verified coilpack, spark plug, and injectors. They found an issue with the injector control module. They changed it and it ran over ok for a few minutes, however issue still persist.
The claim has been escalated up to get an Subaru engineer involved. They are thinking some form of Voltage issue. Due to the amperage the Di injectors run the tech is unable to check it.
So at this current point in time we are simply awaiting to see what the Engineer finds and go from there.
-
Im really not sure at this point. Main focus is just making it more fun to drive. No particular goal in mind. I have the centerlock TE37s i purchased last summer, which if i go widebody will be wheels i use. And no, it will not be rocket bunny, it will be the VAris kit, with some of the Kamikaze parts thrown in and some additional modifications to the kit as well.Originally posted by scweet14 View PostLeave a comment:
-
so is the long term plan to just keep it stock body and focus on track performance?
not saying I want you to go "widebody" with flares, cause I dont, but if you do, please for the love of god. DONT. DO. ROCKET. BUNNY.
Too many cool kits out there for the BRZ/FRS.Leave a comment:
-
Just an update. Cars is still at the dealer. They are still diagnosing.
In the mean time i did a widebody install on a local twin, had some money burning a hole in my pocket and ordered a few parts.
Exedy Chromoly lightweight flywheel, Exedy OE replacement clutch, and an IRP short shifter. Now all i need to do is drop my trans off at my local shop abd get the new carbon syncrhos put in.
So current list of parts to install when i get the car back now consist of.
-Prodrive BBK
-Cleib catback (suppose to be stateside early May)
-IRP Short Shifter
-Trans with Carbon Synchros
-Exedy Chrom. Flywheel
-Exedy OE clutch
-Defi STI Genome Oil pressure gauge
Should drop about 30lbs with those parts.Leave a comment:
-
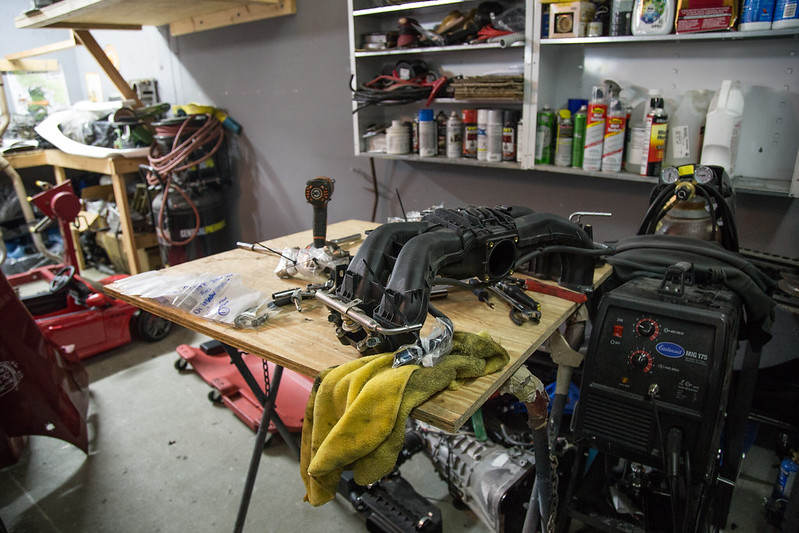
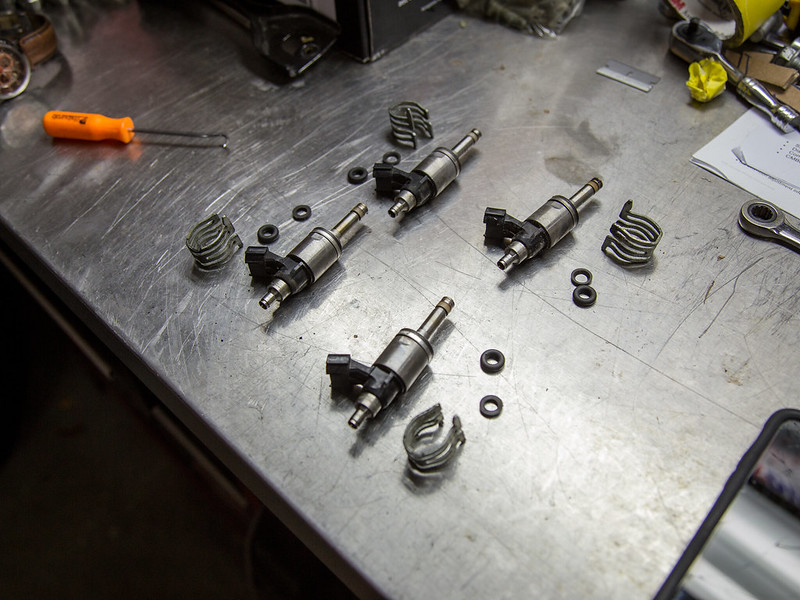
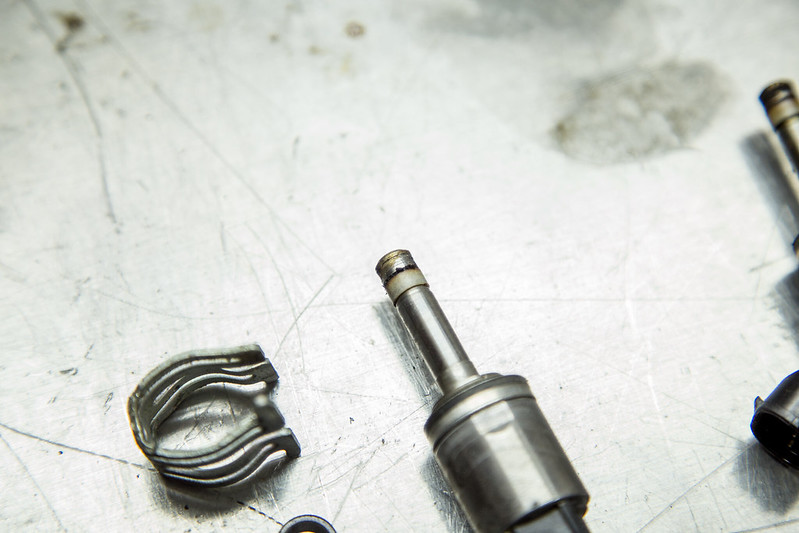
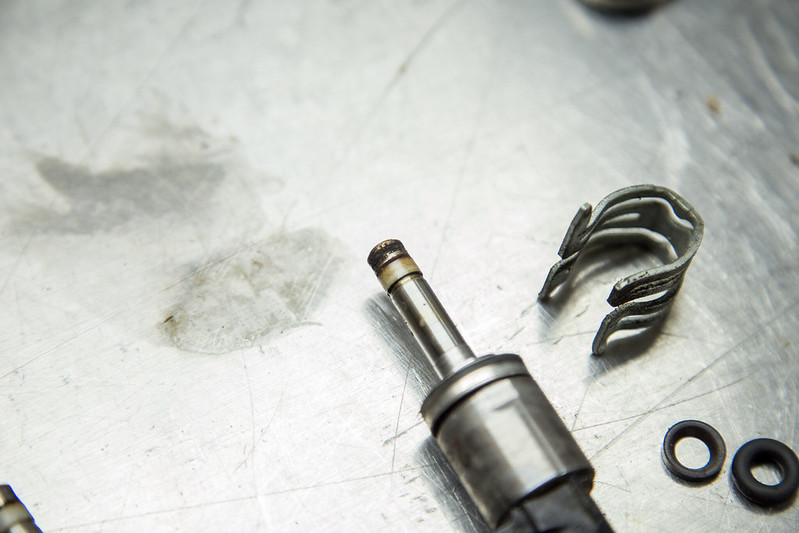
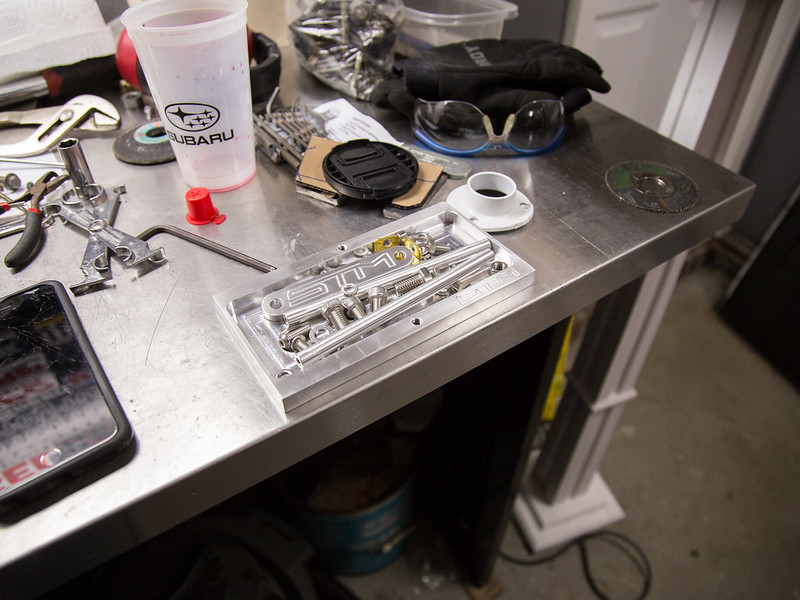
Alright so coilpack wasnt the issue. Spoke to a few locals and figured it to be the DI injectors. Earlier this week i disassembled it, pulled everything out. Cylinder 3 is what the code came back as......And it had the best looking seal, which kind of baffles me but ya know what if seals fix the issue fantatsic.
 IMG_9770 by lawrx, on Flickr
 IMG_9769 by lawrx, on Flickr
 IMG_9772 by lawrx, on Flickr
 IMG_9771 by lawrx, on Flickr
 IMG_9773 by lawrx, on Flickr
 IMG_9774 by lawrx, on Flickr
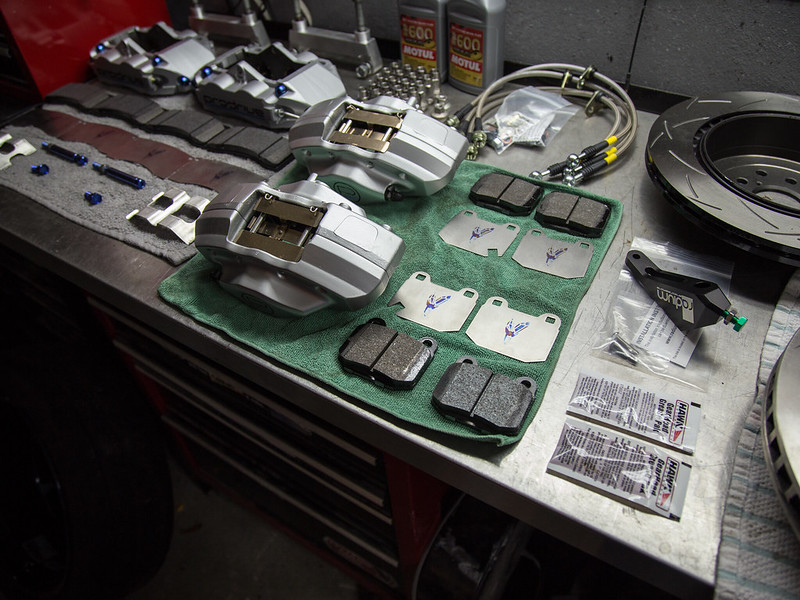
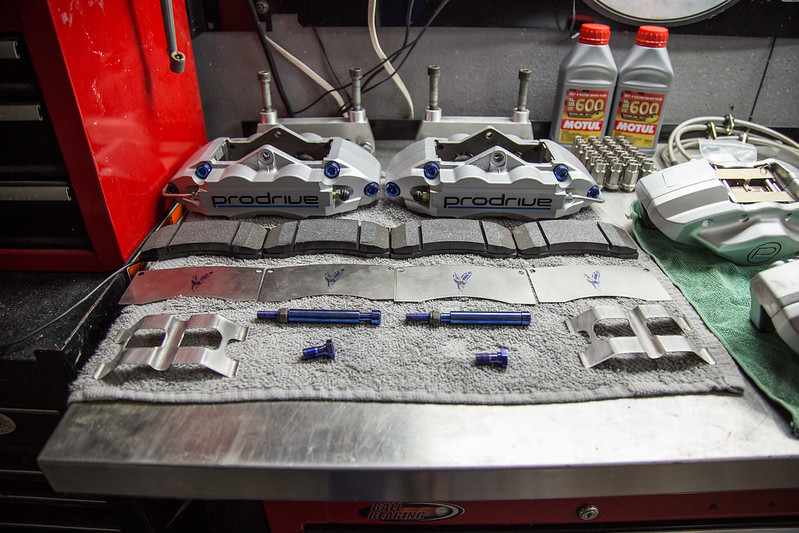
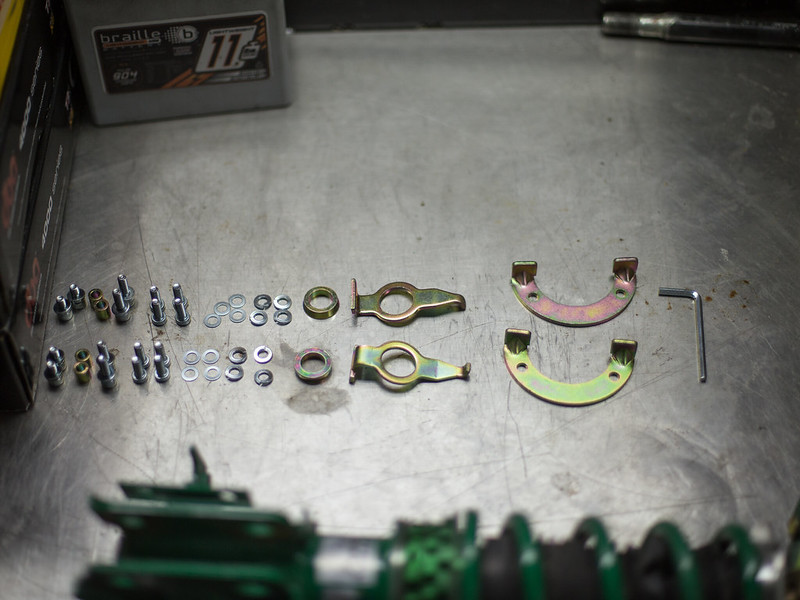
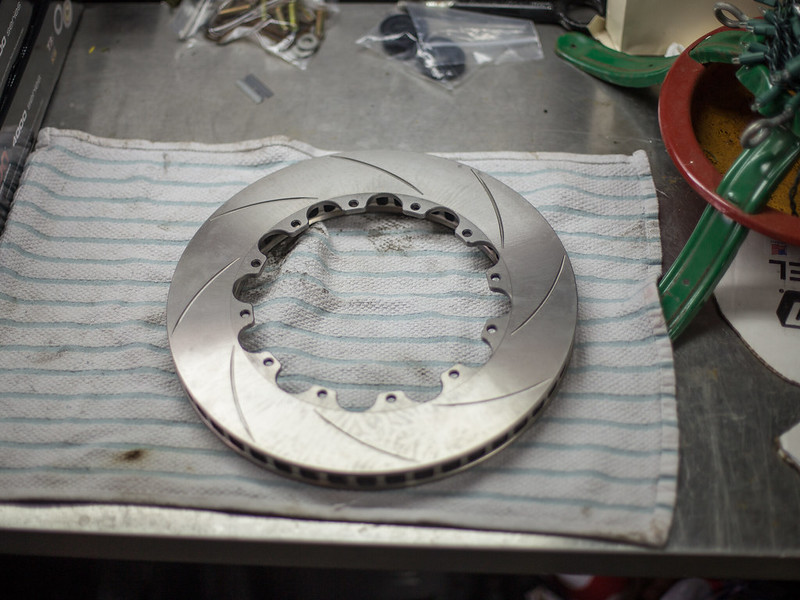
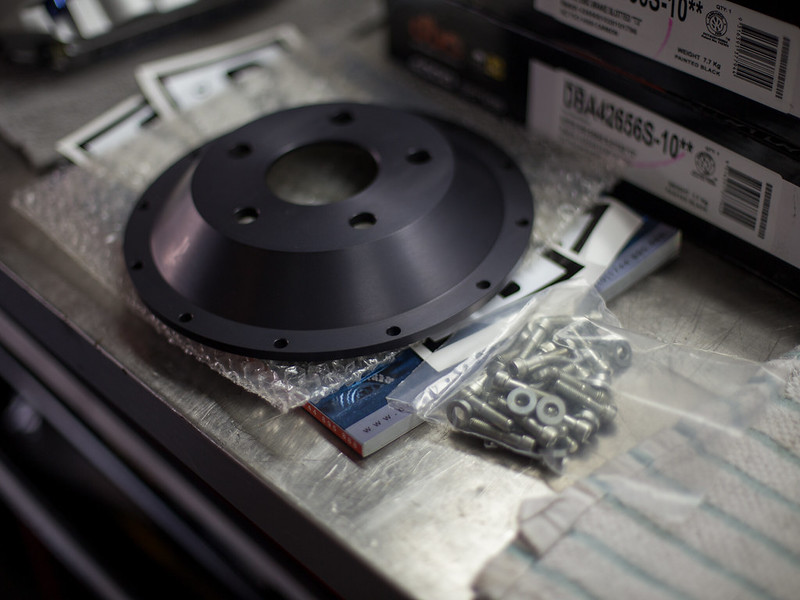
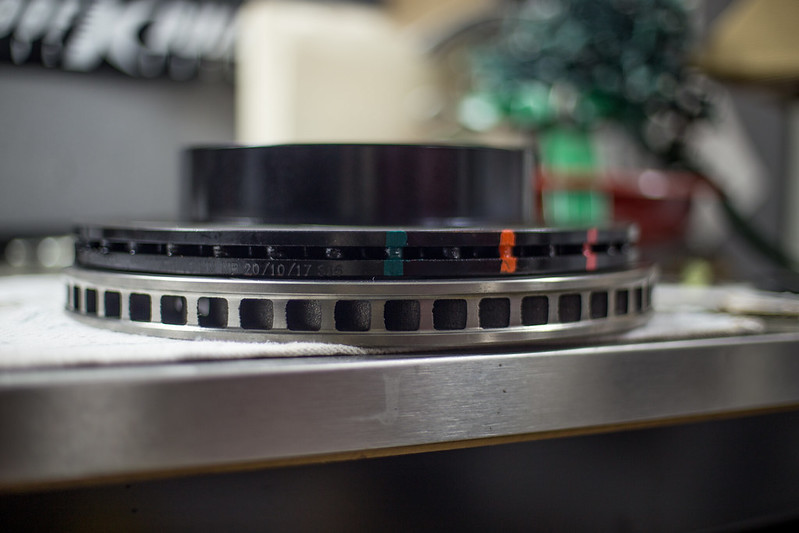
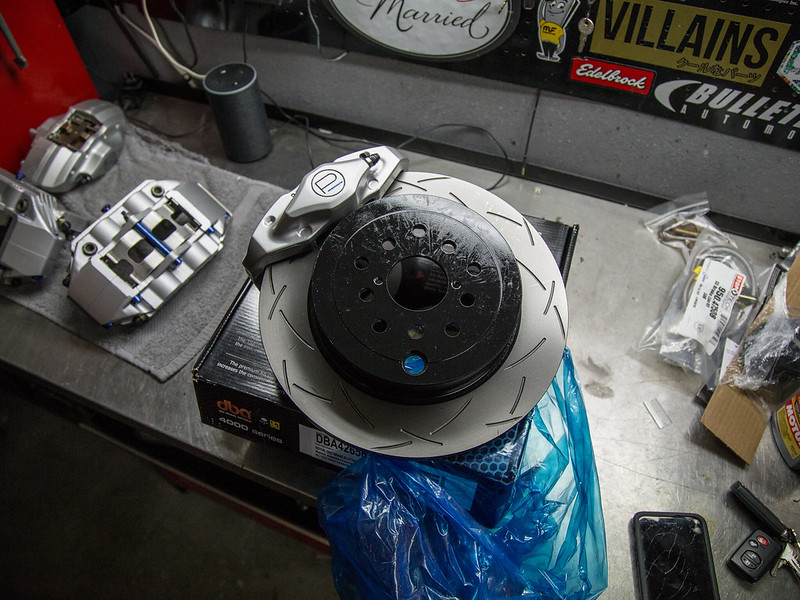
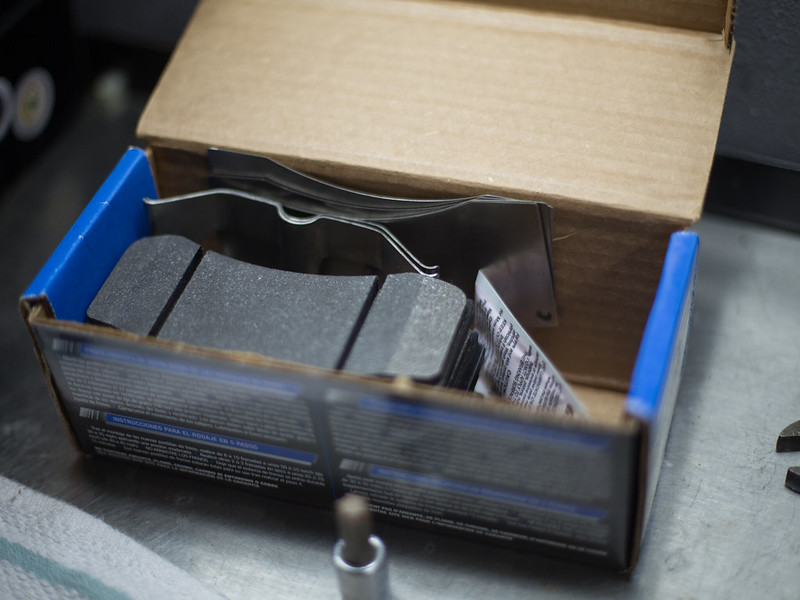
While waiting for the seals to arrive i set everything out for the brakes as iw ill be installing them very soon as well. Front rotors needed to be assembled as well. Wanted to make sure i had every component that i needed on hand and ready to go.
 IMG_9775 by lawrx, on Flickr
 IMG_9777 by lawrx, on Flickr
IMG_9777 by lawrx, on Flickr
 IMG_9778 by lawrx, on Flickr
 IMG_9779 by lawrx, on Flickr
 IMG_9781 by lawrx, on Flickr
 IMG_9783 by lawrx, on Flickr
Leave a comment:
-
FWIW in my personal experience, a blinking CEL has always been significantly worse than a solid light so be happy it's not blinking anymore
Leave a comment:
-
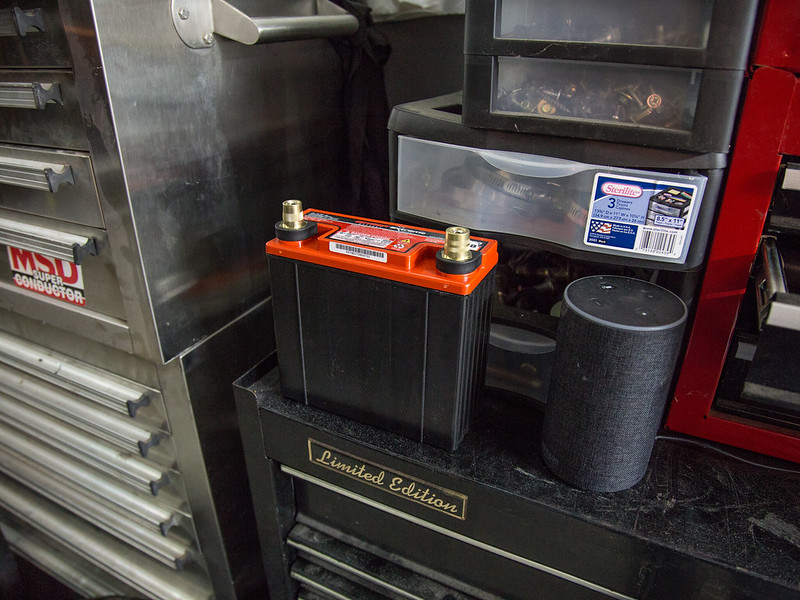
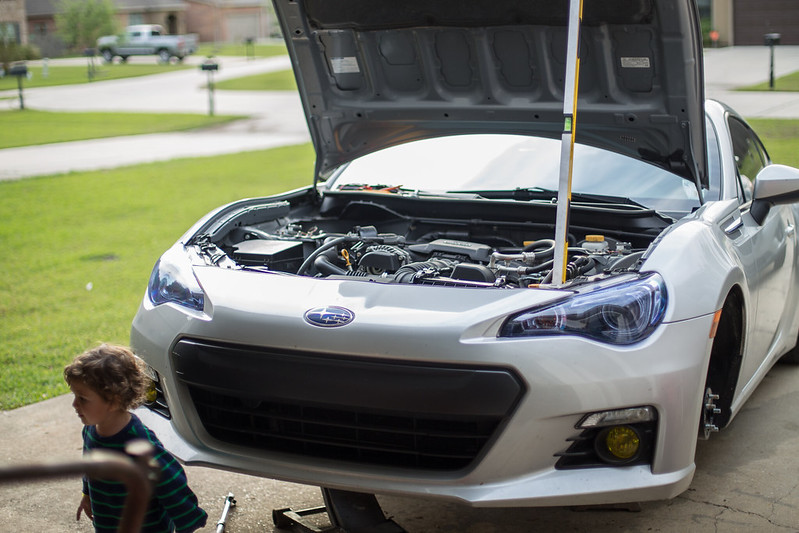
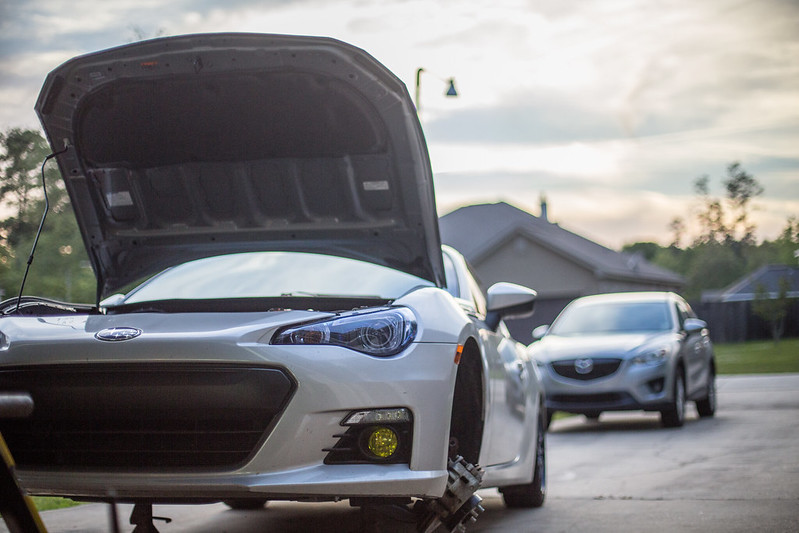
Well car is temporarily down. Thursday coming home when getting off the interstate car developed a severe misfire. Last 3 miles home had blinking CEL and then solid CEL. Ive determined it to be what I believe a bad coil pack. Cars never een tracked and I rarely beat on it enough to build up substantial heat in the engine bay. In the process of testing to figure out the issue I killed my Braille battery. Showing 12v but won't crank the car over. Wondering if that may have also contributed to the issue. Will find out soon enough when the new parts get here.
 IMG_9476 by lawrx, on Flickr
 IMG_9584 by lawrx, on Flickr
 IMG_9596 by lawrx, on Flickr
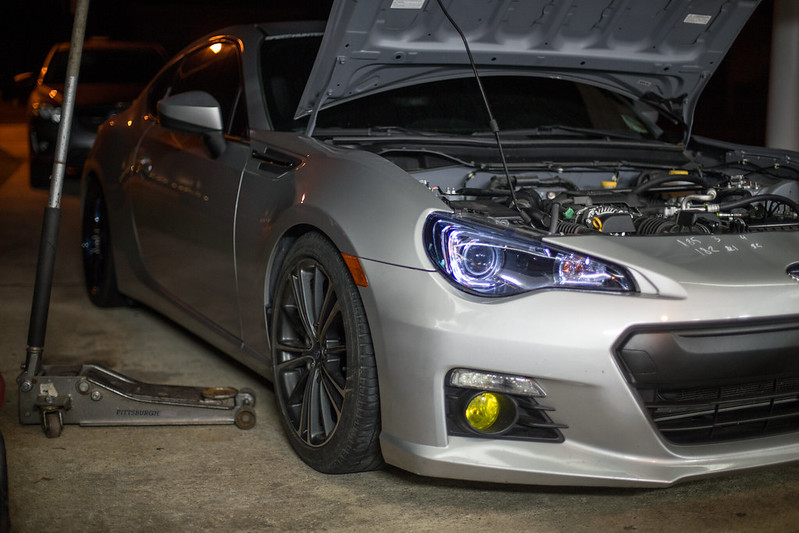
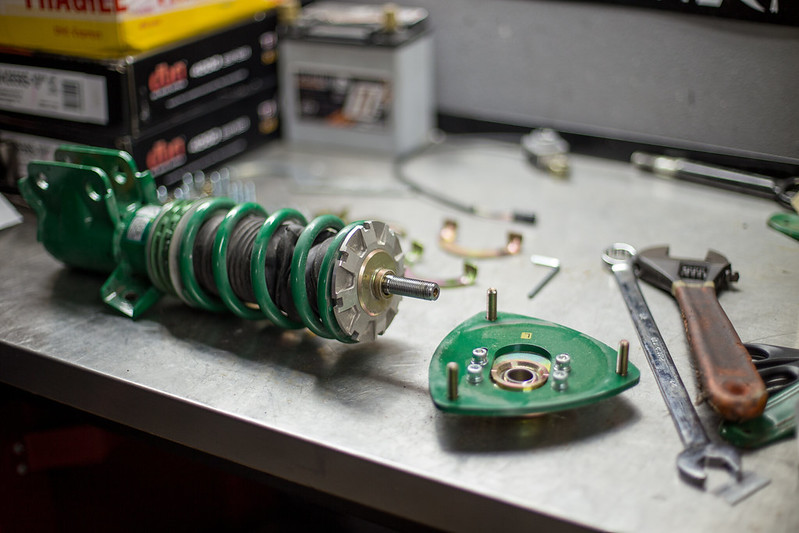
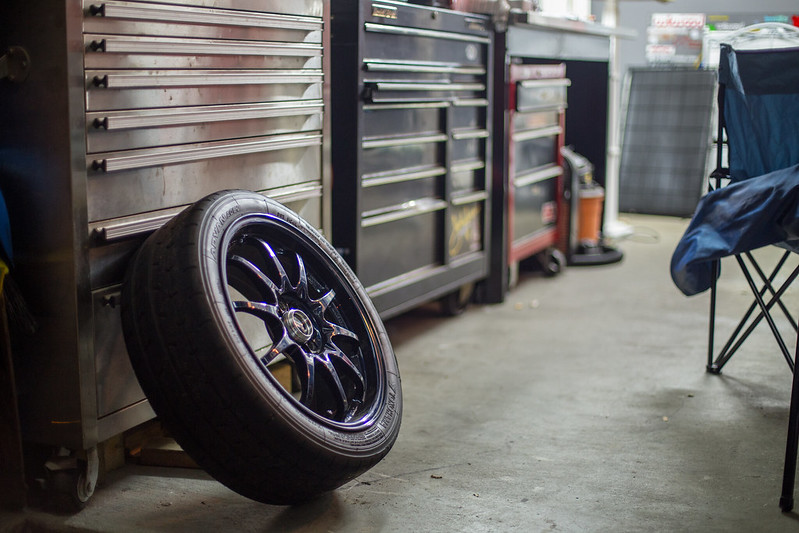
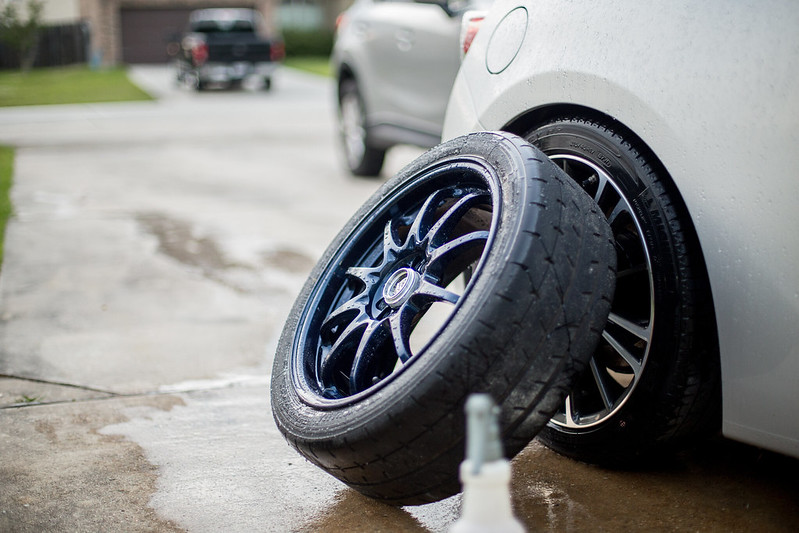
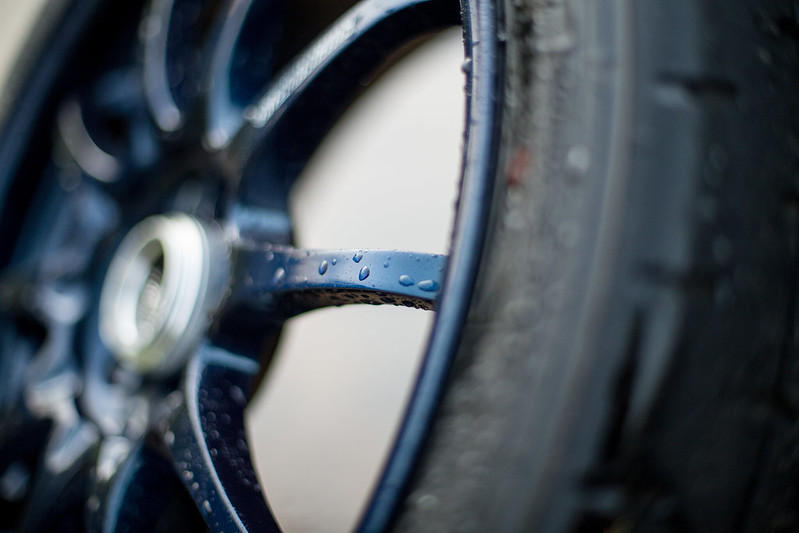
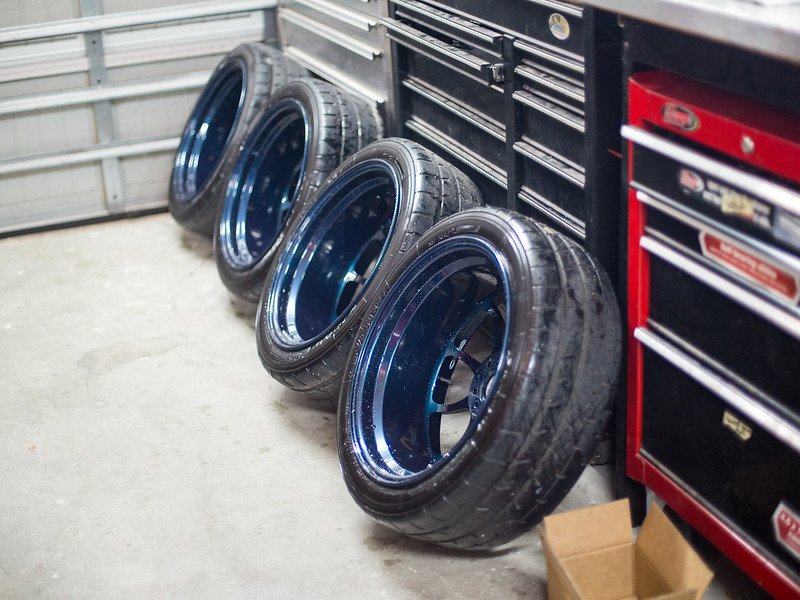
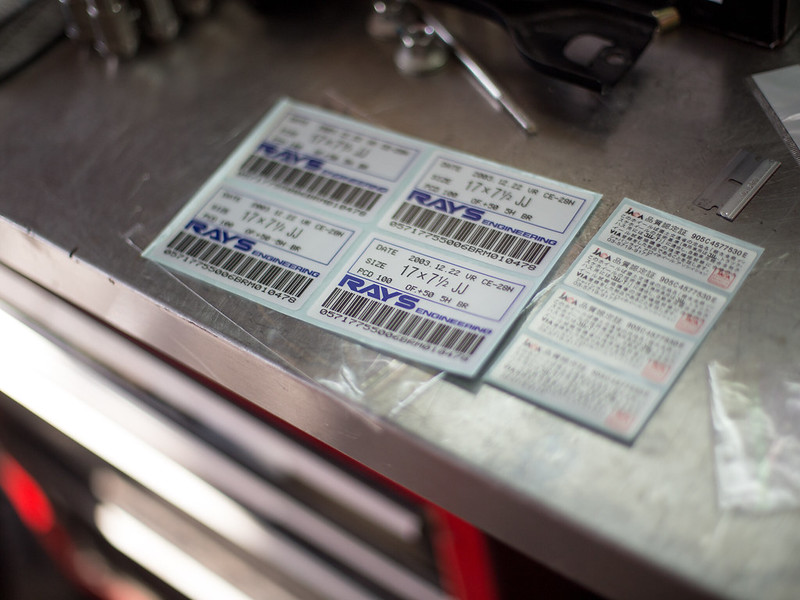
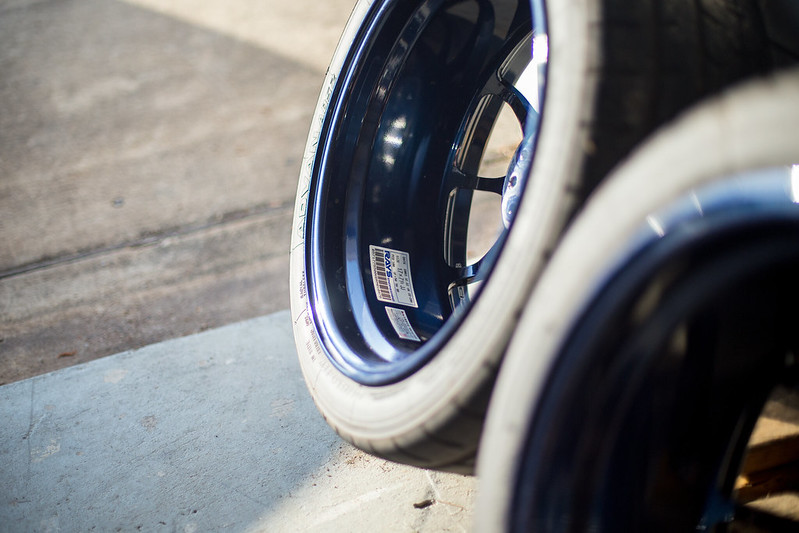
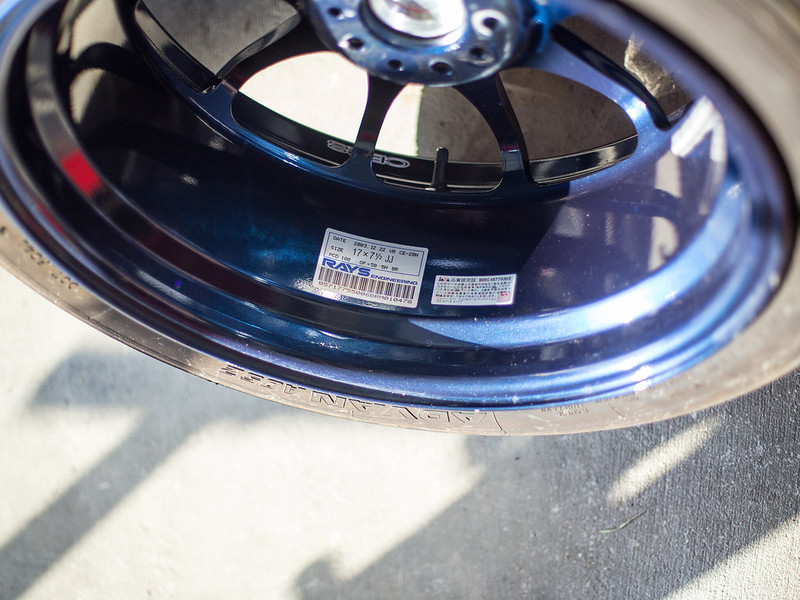
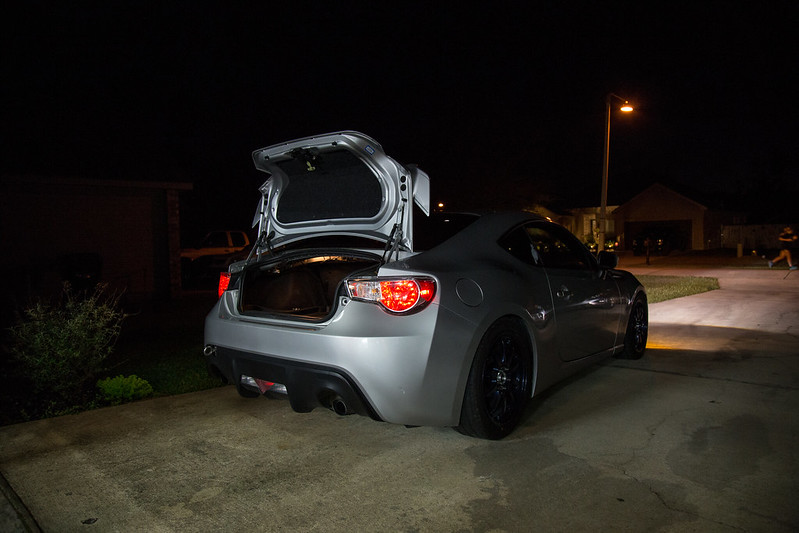
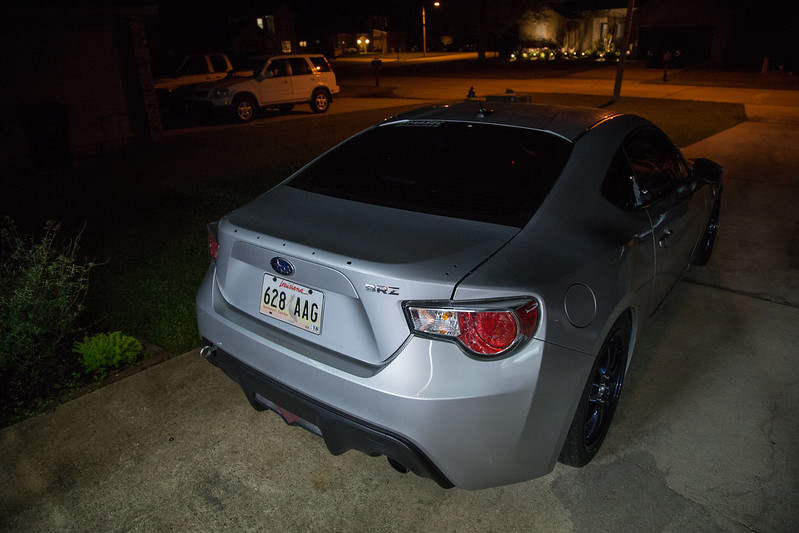
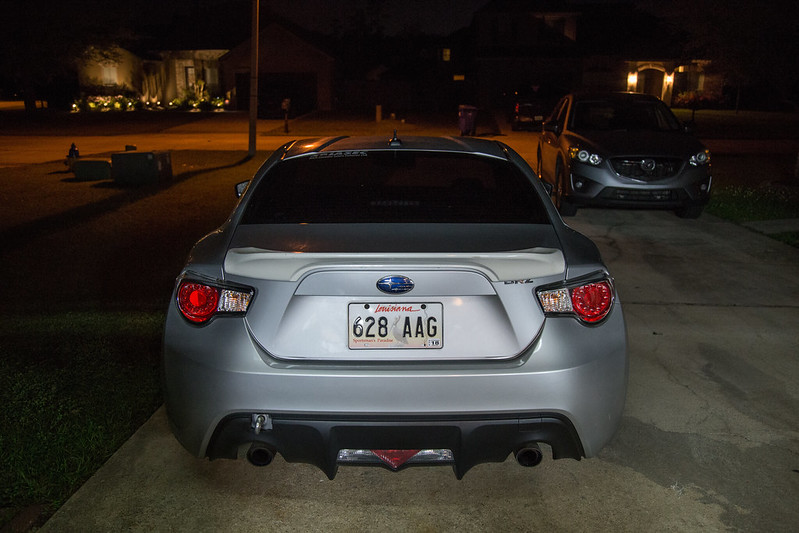
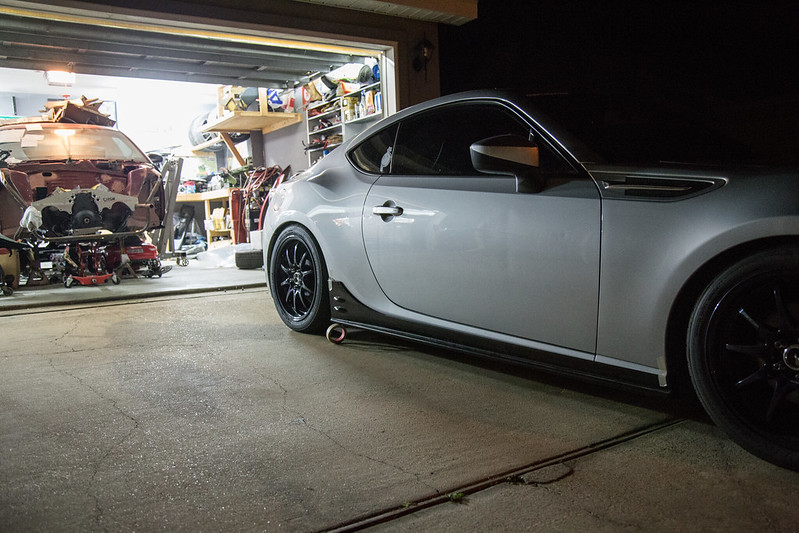
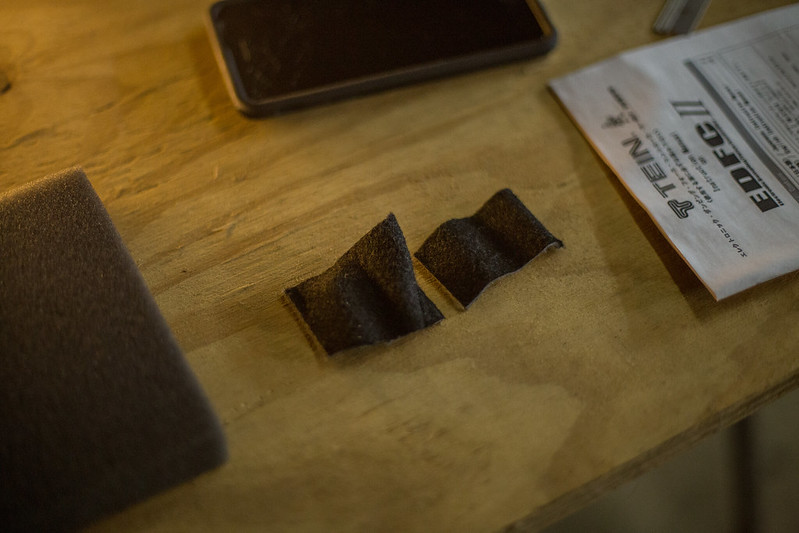
With the car down I decided to take advantage and get a few things done I needed to. Pulled the Volks off and washed them up, installed the new authentication stickers, and going to get them ceramic coated.
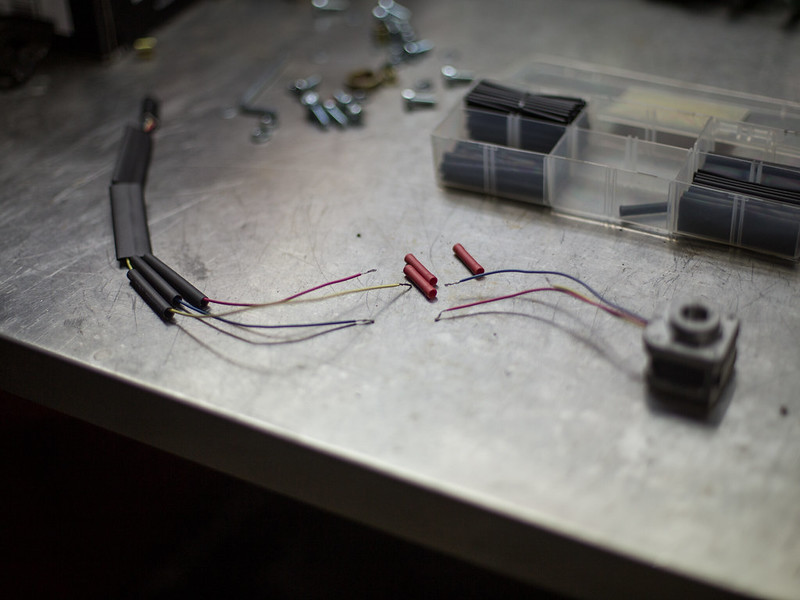
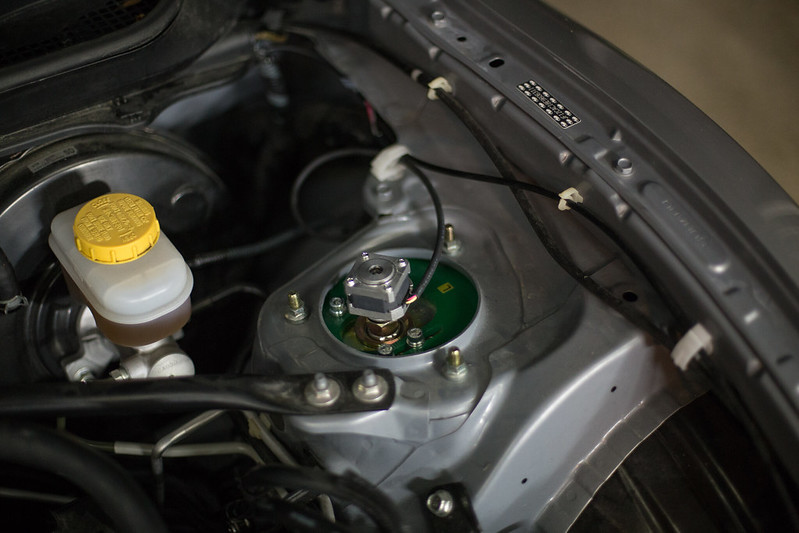
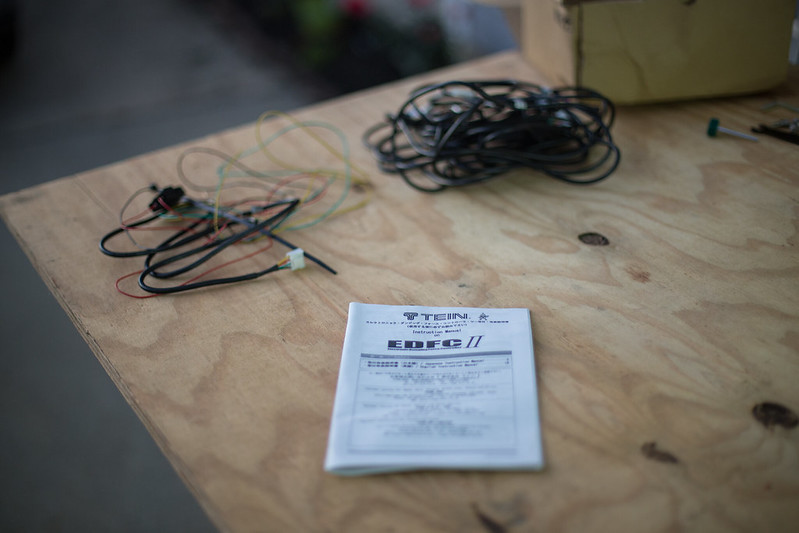
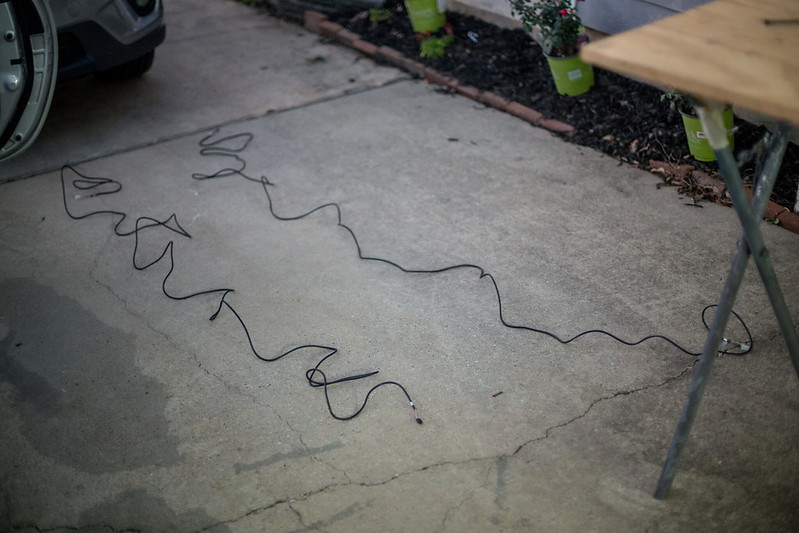
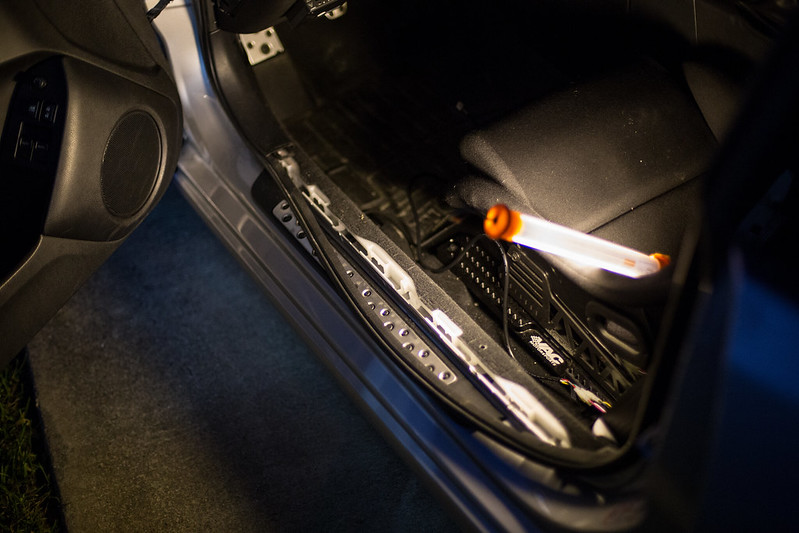
Also fixed the EDFC wiring that got damaged from not having the strut stoppers installed.
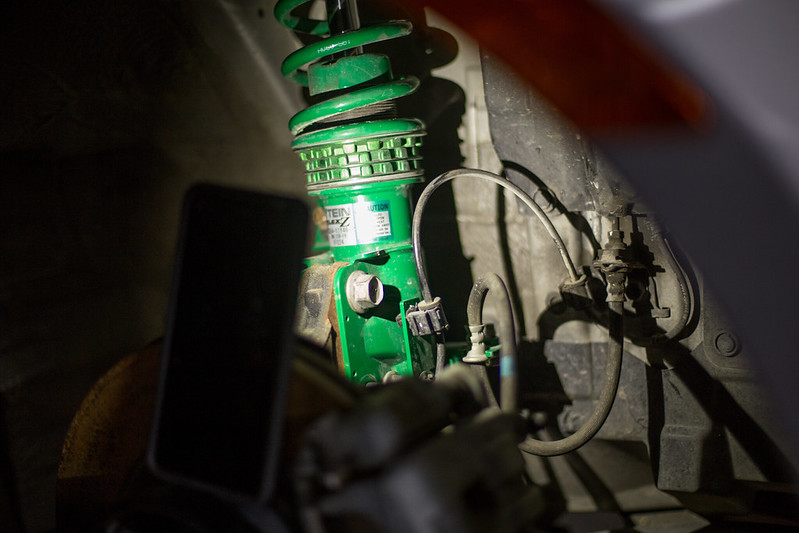
Also installed the stut stoppers so I could finally hook up the EDFC. Once cars back up and running she should be good to go.
 IMG_9578 by lawrx, on Flickr
 IMG_9579 by lawrx, on Flickr
 IMG_9580 by lawrx, on Flickr
 IMG_9585 by lawrx, on Flickr
 IMG_9586 by lawrx, on Flickr
 IMG_9587 by lawrx, on Flickr
 IMG_9589 by lawrx, on Flickr
 IMG_9590 by lawrx, on Flickr
 IMG_9591 by lawrx, on Flickr
 IMG_9593 by lawrx, on Flickr
 IMG_9595 by lawrx, on Flickr
 IMG_9599 by lawrx, on Flickr
 IMG_9600 by lawrx, on Flickr
 IMG_9602 by lawrx, on Flickr
 IMG_9603 by lawrx, on Flickr
 IMG_9615 by lawrx, on Flickr
 IMG_9619 by lawrx, on Flickr
 IMG_9616 by lawrx, on Flickr
Leave a comment:
-
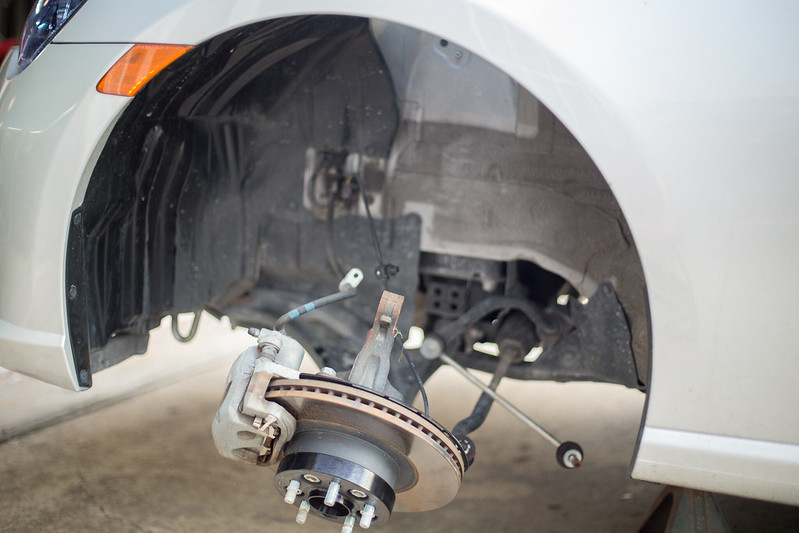
Brakes, brakes, and more brakes.
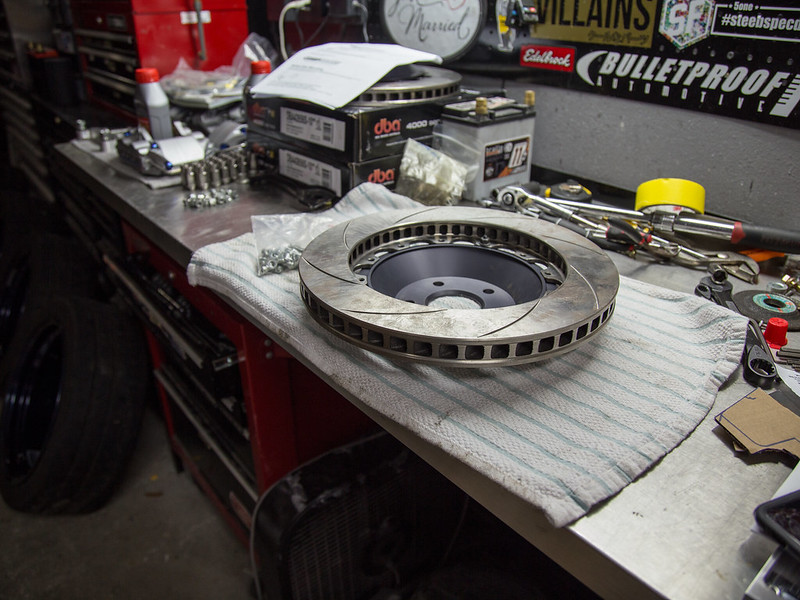
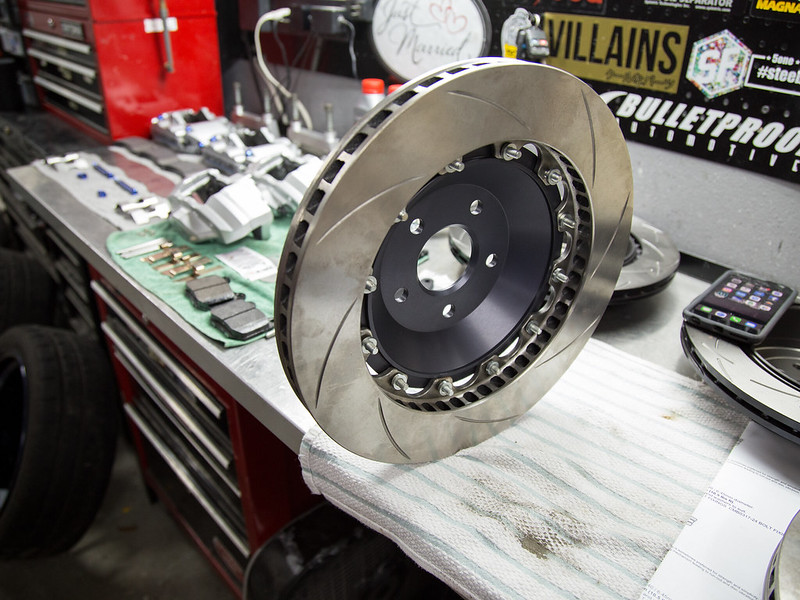
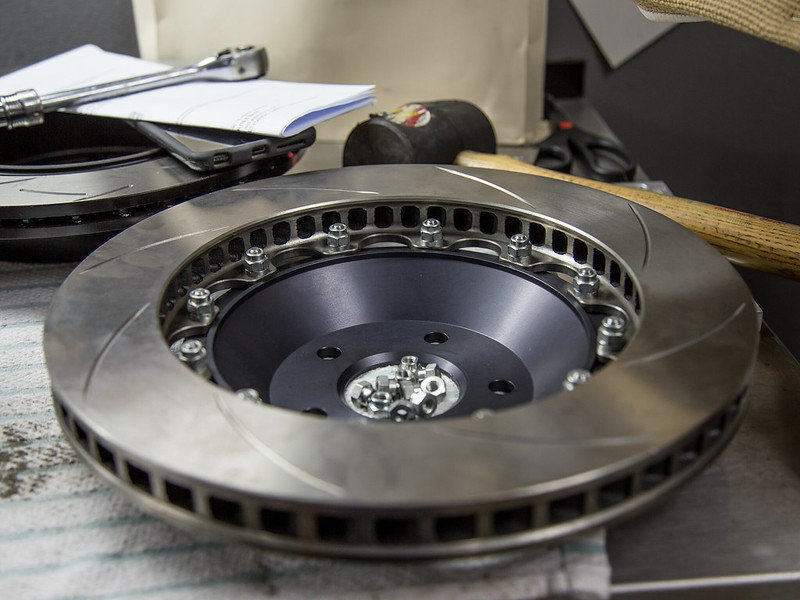
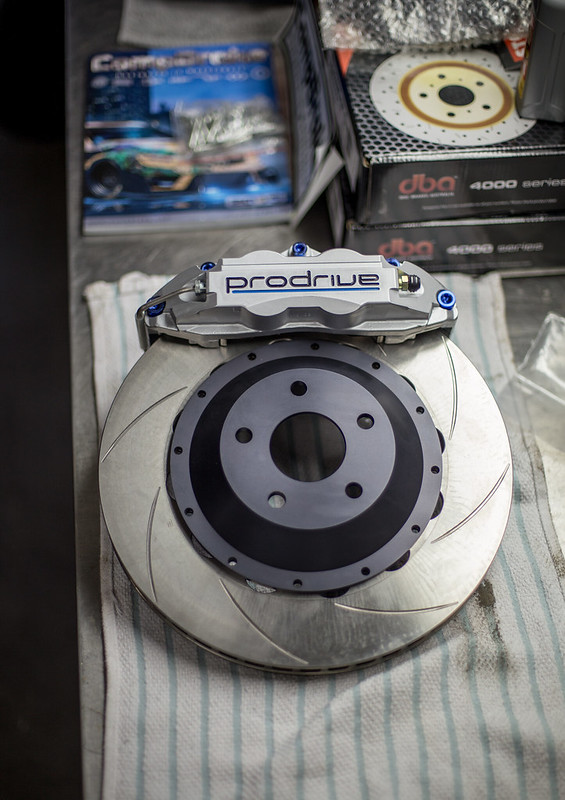
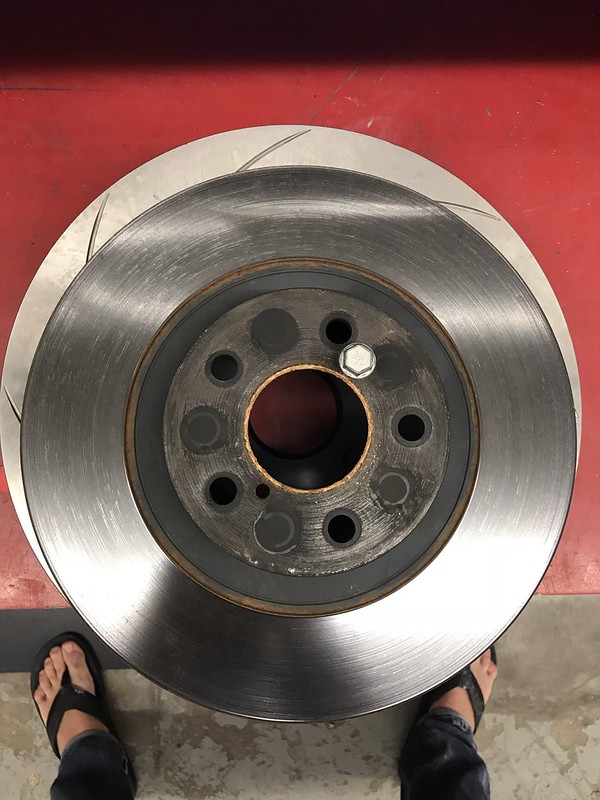
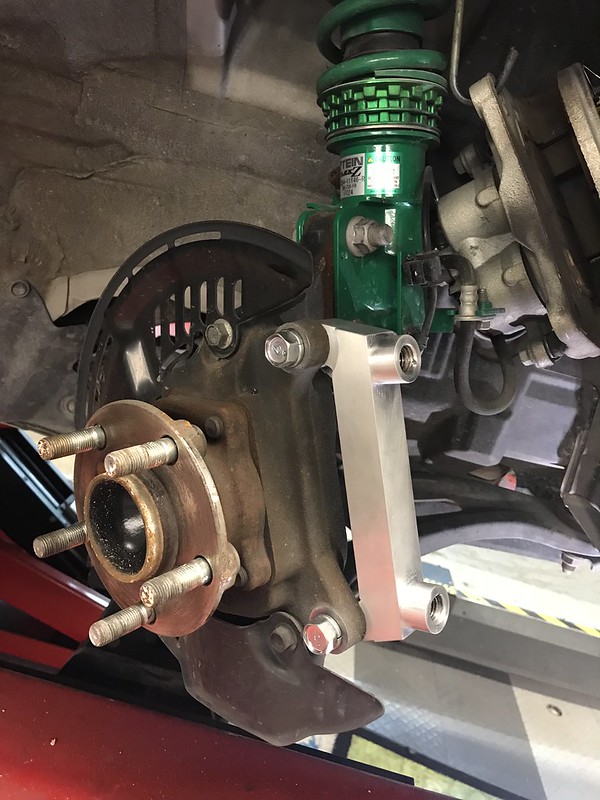
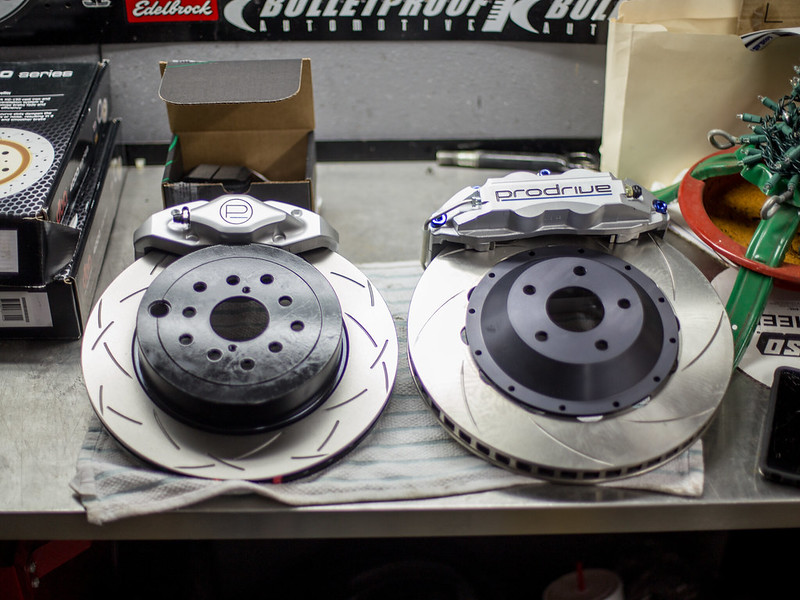
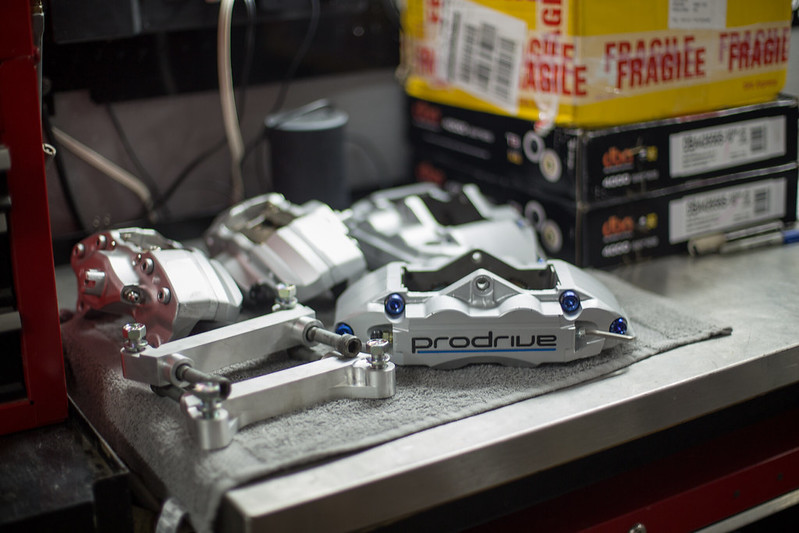
Front rotors arrived the other day. Fantastic quality, made by Compbrake. The original 1 piece rotors to fit this kit are no longer available, therefore a few companies have made a 2 piece setup to fill the market gap. Only issue with the kit was i was missing the nuts to bolt the disc to the center bell. Once they were in a mocked the kit up on the front as i still qasnt 100% positive they would bolt up. The Bombsquad performance bracket i had replicated out of T6 aluminum vs the original steel worked flawlessly, along with the rest of the components.
 IMG_9324 by lawrx, on Flickr
 IMG_9325 by lawrx, on Flickr
 IMG_9326 by lawrx, on Flickr
 IMG_9327 by lawrx, on Flickr
 IMG_9328 by lawrx, on Flickr
 IMG_9329 by lawrx, on Flickr
 IMG_3787 by lawrx, on Flickr
 IMG_3788 by lawrx, on Flickr
 IMG_3789 by lawrx, on Flickr
 IMG_9318 by lawrx, on Flickr
 IMG_9330 by lawrx, on Flickr
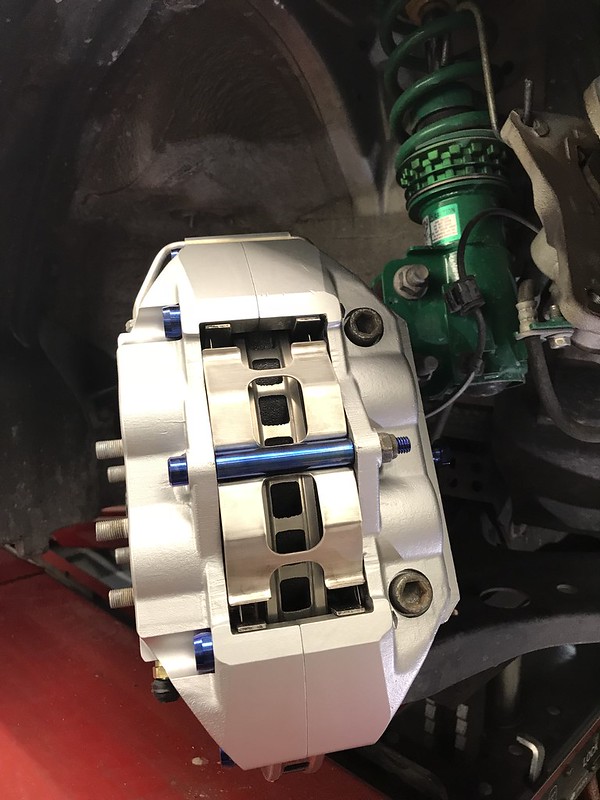
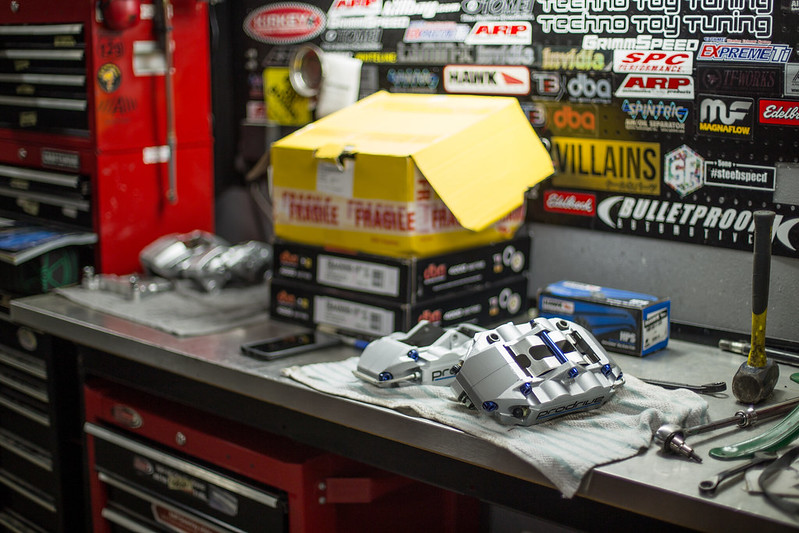
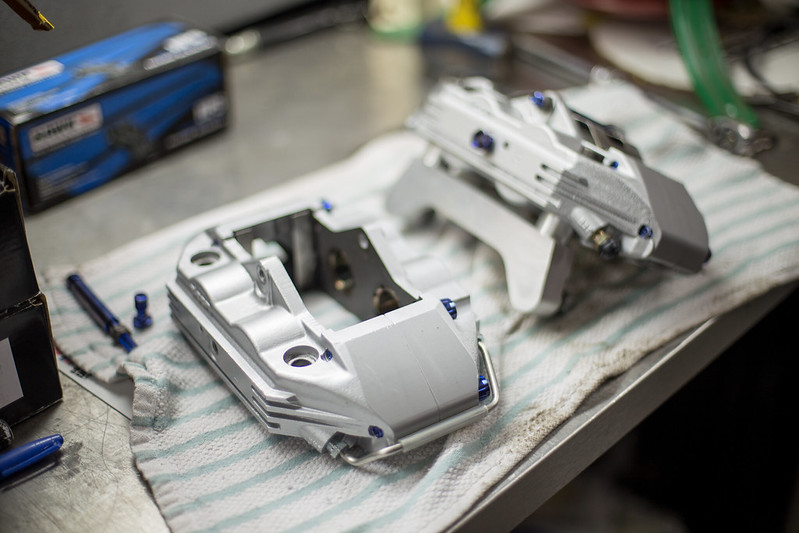
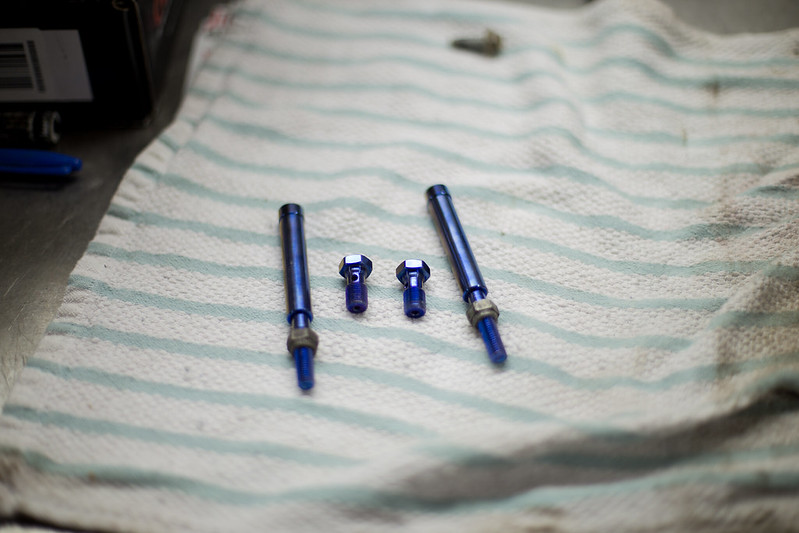
Also partially disassembled the front calipers, to get them ready for install. Removed the adaptor bracket, removed the pad bolt, the brake line bolt etc. That way they are in a readily state to be installed.
 IMG_9471 by lawrx, on Flickr
 IMG_9472 by lawrx, on Flickr
 IMG_9473 by lawrx, on Flickr
 IMG_9474 by lawrx, on Flickr
 IMG_9475 by lawrx, on Flickr
Leave a comment:
-
This is coming along nicely! The new spoiler and side skirts gives it a cool aggressive/sporty look!Leave a comment:
-
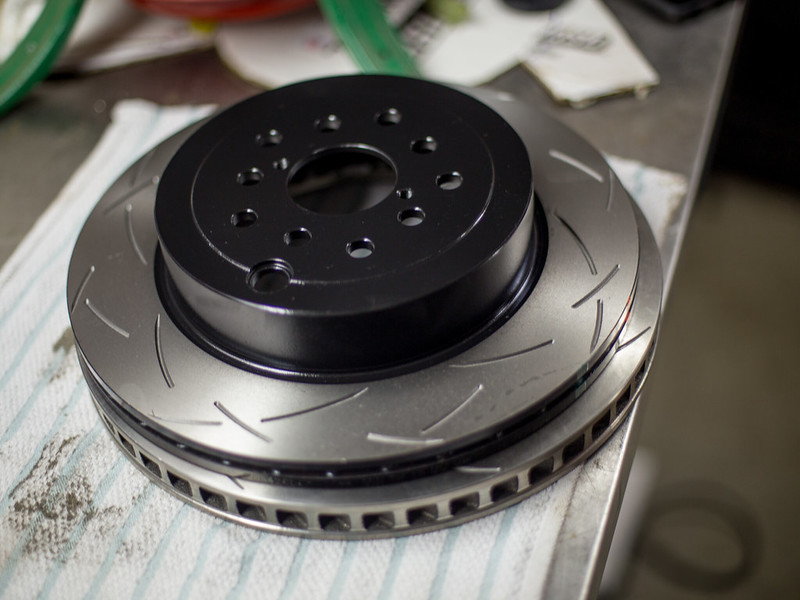
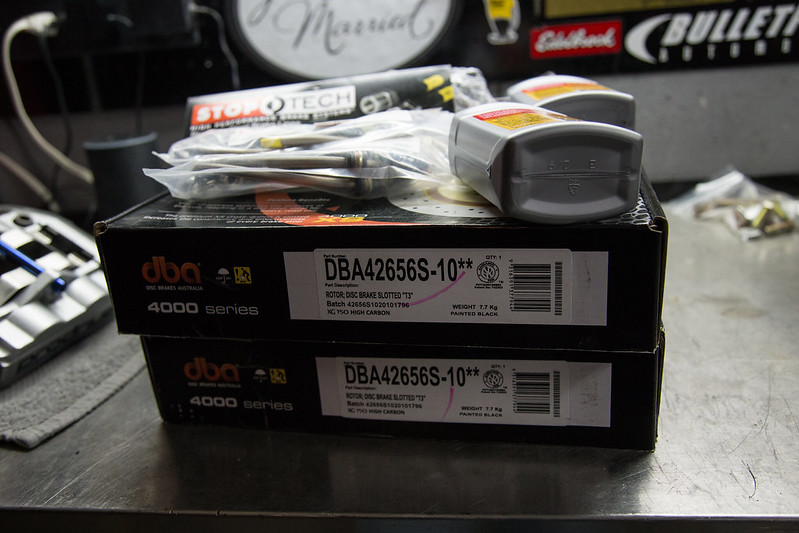
Picked up some parts over the last few days.
Started collecting the rest of the parts for the braking system. Rear DBA 4000 rotors, stop tech stainless lines, Motul brake fluid, and Hawk pads are in. Front pads and front rotors are on order.
 IMG_9310 by lawrx, on Flickr
IMG_9318 by lawrx, on Flickr
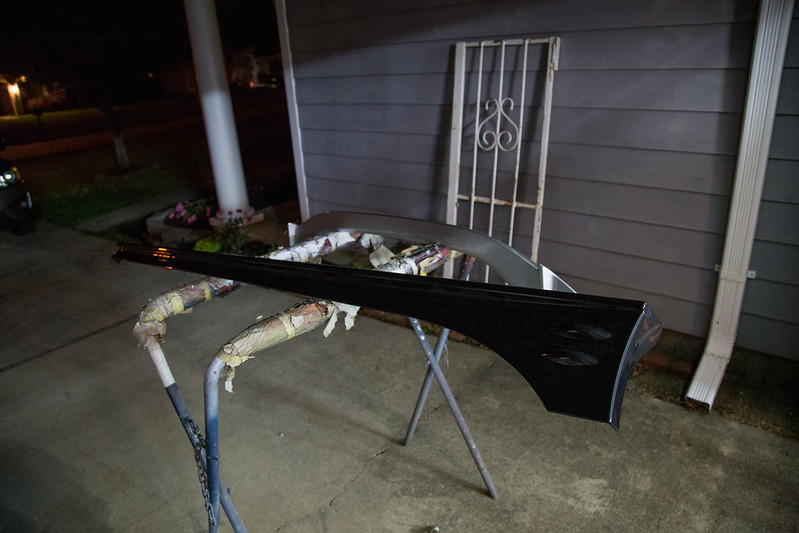
I also traded some alignments for some exterior parts. Got a TRD wing to replace the stock BRZ spoiler ( THAT I DESPISE) and some sit style side skirts. Fitment on both were great.
I also have on order the Cleib Dolphin tail 2.5" SS cutback. Cant wait for that to come in. Thats on a 2 month lead time so still have a ways out on it.
 IMG_9308 by lawrx, on Flickr
 IMG_9311 by lawrx, on Flickr
 IMG_9313 by lawrx, on Flickr
 IMG_9314 by lawrx, on Flickr
 IMG_9315 by lawrx, on Flickr
 IMG_9317 by lawrx, on Flickr
Leave a comment:
-
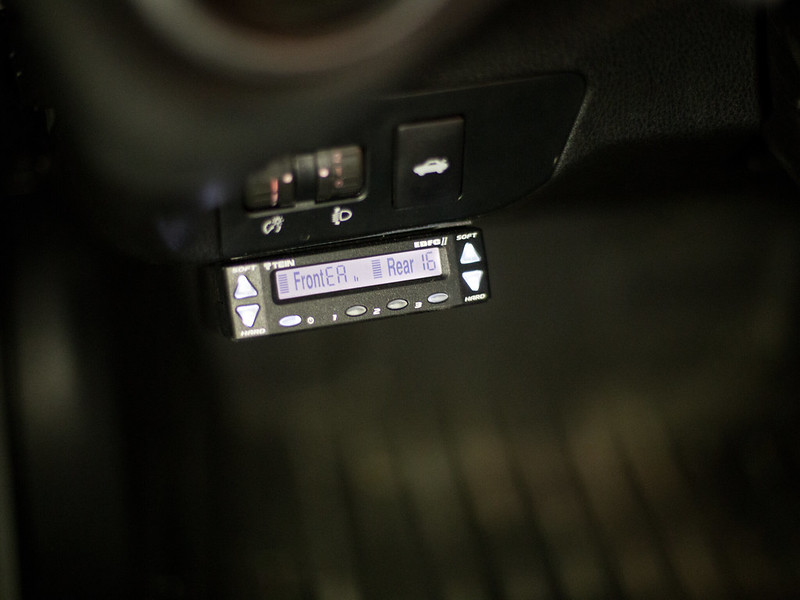
Thats correct. as you press the upper or down button on the controller the motor turns and changes dampening same way you would manually with a knob.Originally posted by MikeyRa View PostLeave a comment:
-
That's cool as hell! So, does the EDFC work like a normal coilover that is dampening adjustable but with a little motor on top that gets remotely controlled instead of manually clicking the knob around?Leave a comment:
-
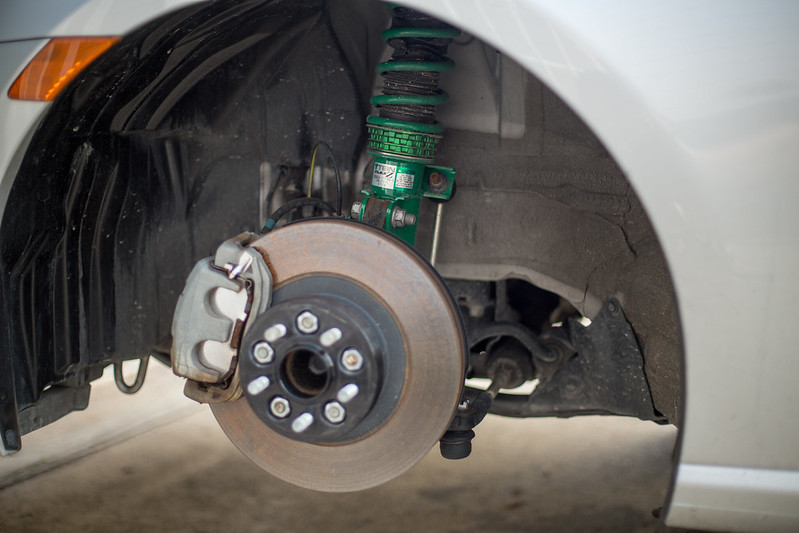
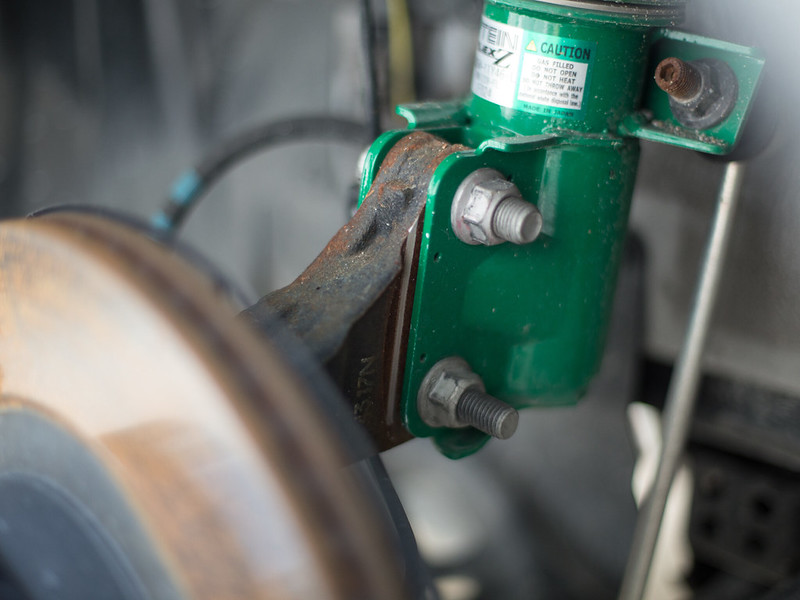
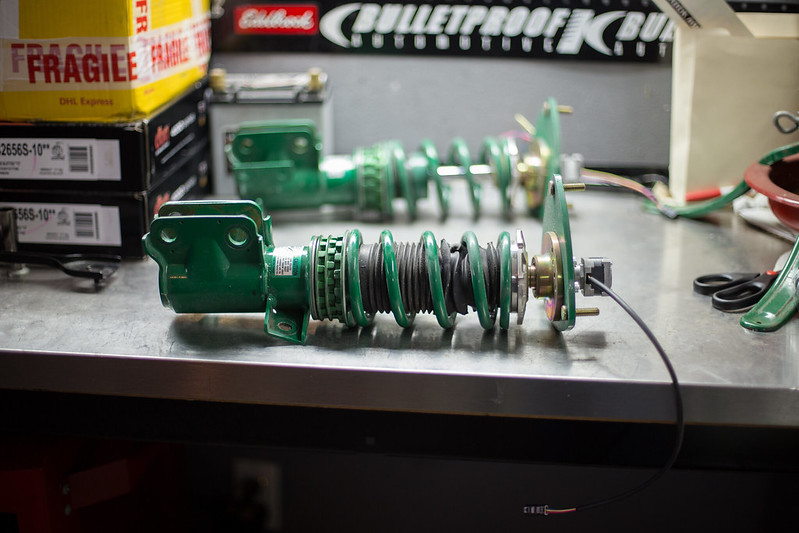
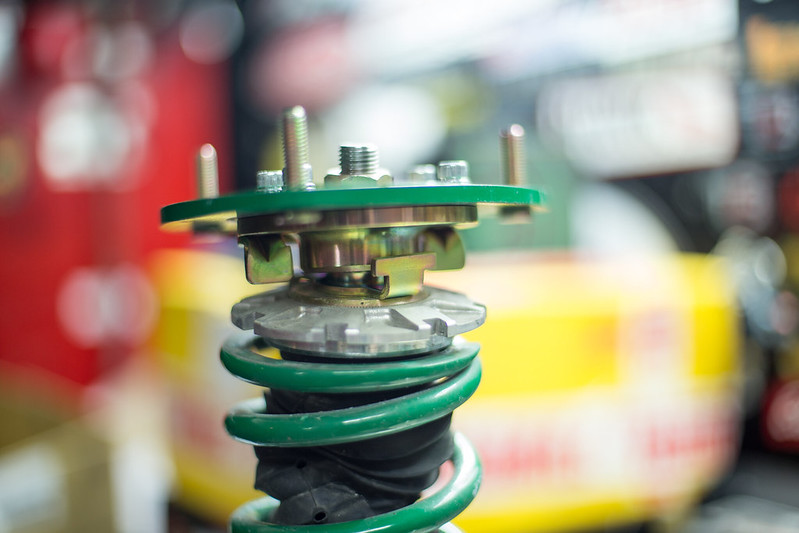
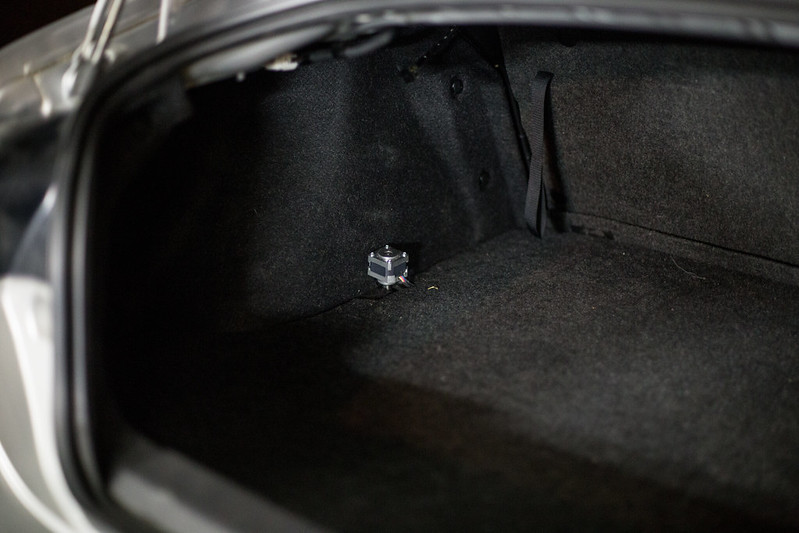
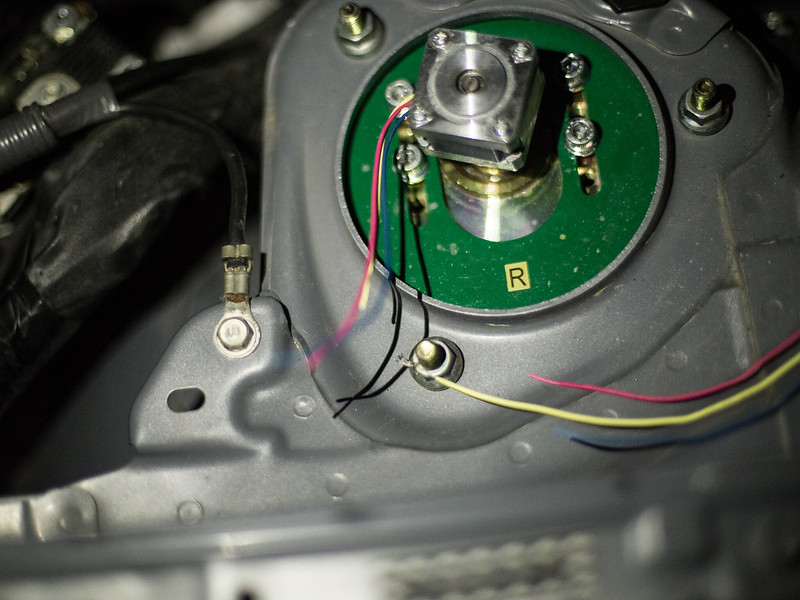
Finished up the EDFC wiring over the weekend. This system is sweet, very cool setup. Ended up finding I had damaged some wires on the rt front as I did not install the strut stops which keep it from spinning. I had connected the wires and after driving for a few days it had twisted the wires around the motor and broken them in the sheathing. Now I need to pull the front coils and install the strut stops to keep them from spinning and I can hook them up permanently.
 IMG_9192 by lawrx, on Flickr
 IMG_9193 by lawrx, on Flickr
 IMG_9194 by lawrx, on Flickr
 IMG_9195 by lawrx, on Flickr
 IMG_9197 by lawrx, on Flickr
 IMG_9198 by lawrx, on Flickr
 IMG_9199 by lawrx, on Flickr
 IMG_9201 by lawrx, on Flickr
 IMG_9202 by lawrx, on Flickr
 IMG_9203 by lawrx, on Flickr
Leave a comment:
-
Leave a comment: