-
I found the error of my ways. I had the polarity reversed (was welding with a negative electrode). I have added my learnings to the front page. Experts, please check my work! -
I'm having trouble TIG welding aluminum again.
My settings are as follows:
3/32 2% thoriated tungsten slightly tapered
#5 cup
130 amps
65% AC balance
110 AC frequency
15 cfm argon flow
All I want to do it lay a bead with no filler on a clean piece of aluminum. However the tungsten keeps melting up into the cup and shows no desire to even start a puddle. It just zaps an area the size of a dime. I got these settings from weldingtipsandtricks.com so I'm pretty sure it's me that's the problem. There are no other settings being used (pulse, pre/post flow, etc.). What am I doing wrong?Leave a comment:
-
I'd suggest making a new flange out of steel and cutting the old one off. Weld the new flange on how I said in my previous post using GTAW or SMAW and a rod with high nickel content. Preheat the part completely with a torch or an oven then when you're done welding wrap it in a fiber blanket or leather blanket/ welding coat to allow for a slow cooling rate to prevent cracking. You can peen the weld as well to relieve stress.
A rod like this will be what you want
http://www.lincolnelectric.com/en-us...incolnElectric)
This tig rod as well would work as it has a high nickel content (looking for something above 2%)
http://www.lincolnelectric.com/en-us...incolnElectric)Leave a comment:
-
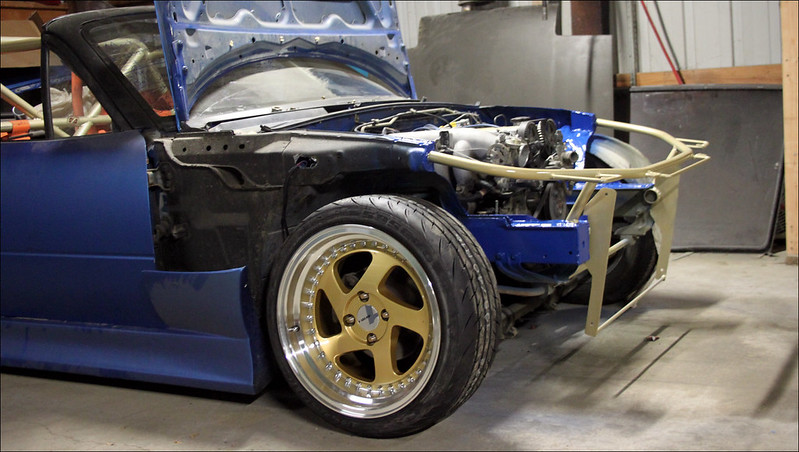
So the base of turbocharger is different than the exhaust port

Blue element is base of turbo, analogously the gray element is the base of exhaust port

I need to cut the grey base and weld the blue section. I look for the best way to do this.


Leave a comment:
-
For welding cast you it's best to pre-heat over 500*F and weld with low current. You want to use a filler metal with a high nickel content in it and at low current. Best to TIG weld it as you can concentrate your heat a lot better than say with MIG. This is more so done for repair work than making a new assembly joining pieces of cast together. What do you mean by a cast iron base under your turbo? is it possible to be done out of stainless steel/ mild steel?Leave a comment:
-
Hi, if anyone of us has an experience in welding cast-iron ? I need make a cast-iron base under the turbocharger, I heard somewhere that i can use stainless steel wire in mig weld, do you know something about this ?Leave a comment:
-
Try here newcastle > http://metalsupermarkets.com/seattle-kent/
You might find some stuff cheaper somewhere else, but the selection of in-stock material is pretty excellent at the one near me. Here's another hint: before you have them pull a length from the shelf and cut it for you, ask if you can look thru their 'drops'. This is all the leftovers that are <8' usually, they should only charge by weight. Sheet drops are clutch since most times I only need a smaller piece anyways. Happy hunting
Leave a comment:
-
So i just got my mig welder and i really want to start welding soon but i can't find anywhere to buy materials for my build...I'm looking for sheet metal for body panels and square tubing...where does everyone get their supplies?Leave a comment:
-
First off, good on you M.Do for starting this thread. We can all stand to learn a little something from each other.
Here's my 2 pennies worth for now, in reference to overhead welding but equally as important for most every weld. Body position is important to keep welds consistent. If you're constantly twitching or stopping cos you're getting burned your welds will show it. Overhead is the toughest to position for since it's usually in the hardest-to-reach spots, but you can still minimize how much splatter you take to the chest by thinking about body position for an extra second.
In my experience, 6010 electrode is usually used in an application where you can't get a super clean weld joint and have to burn thru extra crud. That's pretty much the nature of 6010. If it's possible, try a different stick and you'll more than likely produce a nicer looking weld. I say all of this assuming that you're welding mild steelOriginally posted by Garrett B View Post
CheersLeave a comment:
-
When the repair panel costs more than the car did.
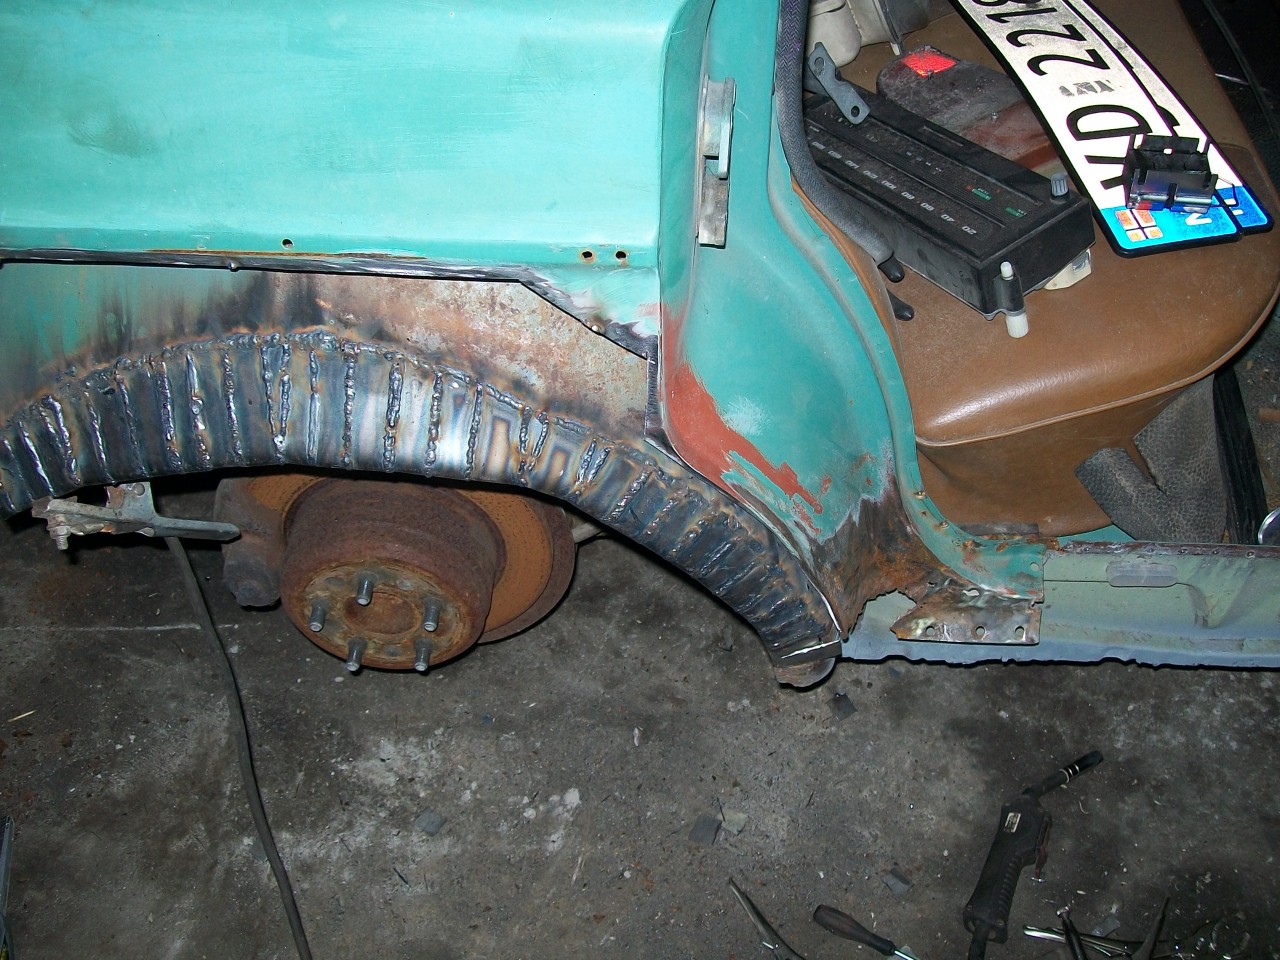
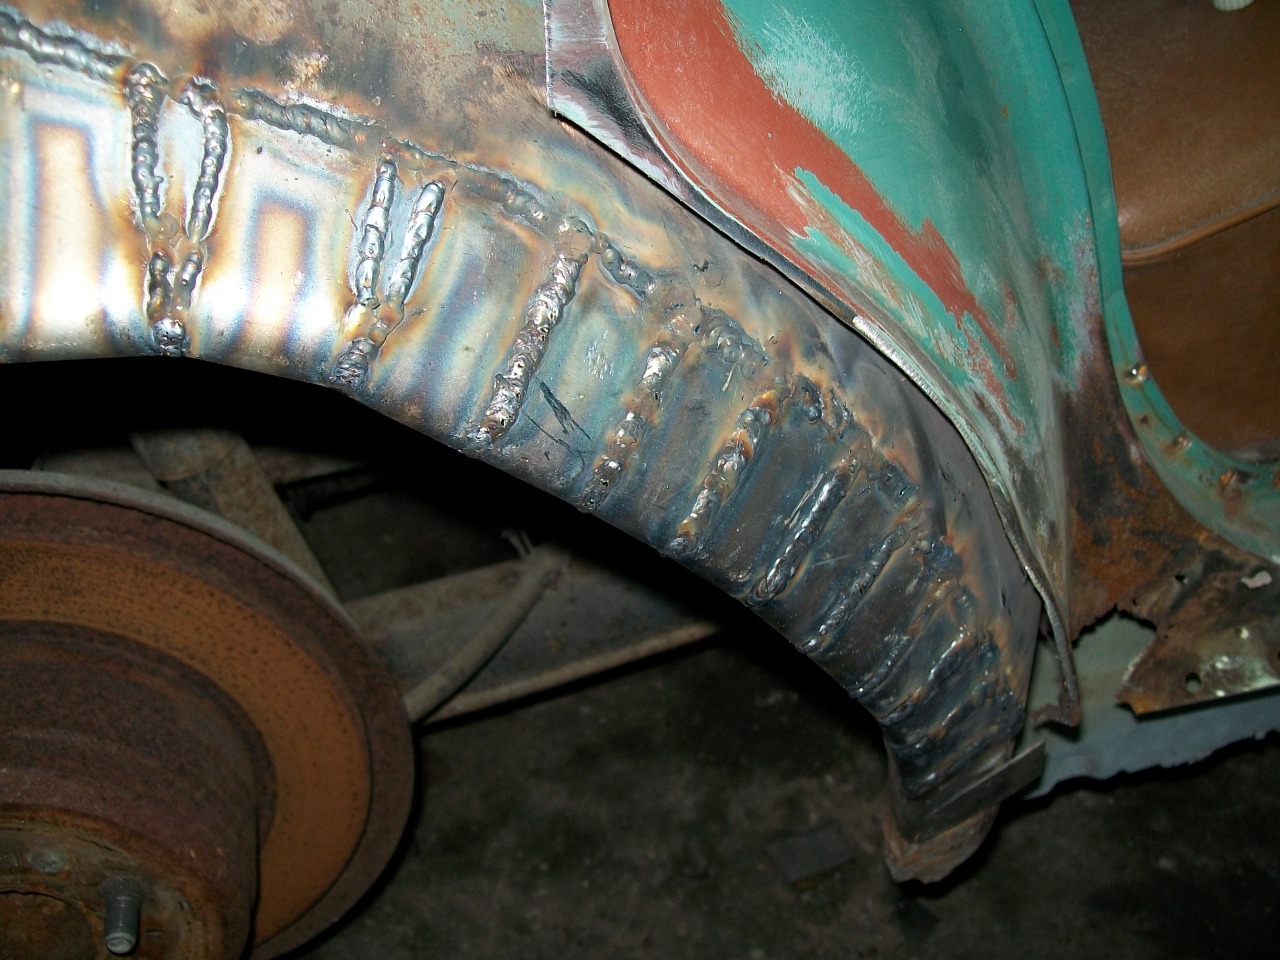
The gun on my welder (mig\mag Lincoln something170amp) is on its very very last legs, so the welds get kinda uneven. AND this would be my first rust repair on a car! Only done exhaust, and thick stuff before, so have held a welding gun before, but thats about it!Leave a comment:
-
I diagnosed my issue on the welds, its oxidation... bad argon shield. changed better gaslens.. now welds looks alot better.


Compared to the previous:

Gas flow was not changed just the lens for this type:

(in order to get rid of all the coloring i should bring up the post flow couple seconds its now 6seconds..)
-CheersLeave a comment:
-
The difference in the two machines you're talking about is night and day. Mig and Tig are far different processes, so you really need to look at what you will be using it for and what your end goal is with welding. Mig will be easier to learn but has it's limits, Tig is more versatile but is harder to learn. Also do you plan on any work with aluminum? If so Tig is certainly the way to go. Basically just figure out your plans for a machine and go from there. Either way you can't go wrong with a Miller.Originally posted by mikey G View PostLeave a comment:
-
Flow is about 13 liters per minute? cfh rate about 20? should be plenty. I think i craked this problem, that might have been that i didnt clean the parts well enought. ive been using this industrial grease remover. that is used in paint shops. i think i need to change it to acetone. and test some new pipings.Originally posted by TeckniX View Post
Post flow was about 3seconds. but tbh, i dont think that will affect the whole weld. i think the rst wasnt clean enough so thats why the welds are dirty as well.
Oh yea, somehow this image was left out.
 Last edited by Exami; 02-09-2015, 12:57 AM.
Leave a comment:
-
Holy. I never saw this thread, even though it was stickied.
First off, I am a CWB certified level 2 welding inspector. I used to inspect both stainless and carbon steel welding with procedures done under PWP7 and PWP10 (Pressure vessels).
Now I inspect to a standard which is a lot higher than what is necessary for any exhaust system, but my goal isn't "pretty" welds, it is strong welds which will last a lifetime with slurry or corrosive materials flowing through them, or welds which will withstand lube oil systems which are under 100's of PSI.
One problem I see in here is that we only see picture of the outside of the weld, that only tells half the story, you can have a beautiful weld on the outside, and have absolutely zero root penetration. The other thing I see in a lot of the pictures is porosity, AKA pinholes, even on an exhaust porosity is your worst nightmare because it is what allows moisture and water to rust out welds.
Next up arc strikes, for heaven sakes you cannot imagine the changes which happen at the mollecular level when a piece of steel is struck. Arc strikes can actually change the metallurgy of a piece of steel, so much so that by code a piece of pipe which has an arc strike on it must be cut out and replaced. That's how seriously arc strikes are taken in welding. So watch it when you are waving that stinger around.
So next person to post up pictures of their welds, even if its just on thin wall shit, post a picture of the inside of the weld as well if possible. Without it we can really only judge how "pretty" your weld is, we cannot determine whatsoever if it is a proper weld however.Leave a comment:
Leave a comment: