
-
thats rad, 5.0s are awesome. my buddy has one in his e30, thing absolutely tears on the track.
fourth gear heavy sliding through corners G.

not a gameLeave a comment:
-
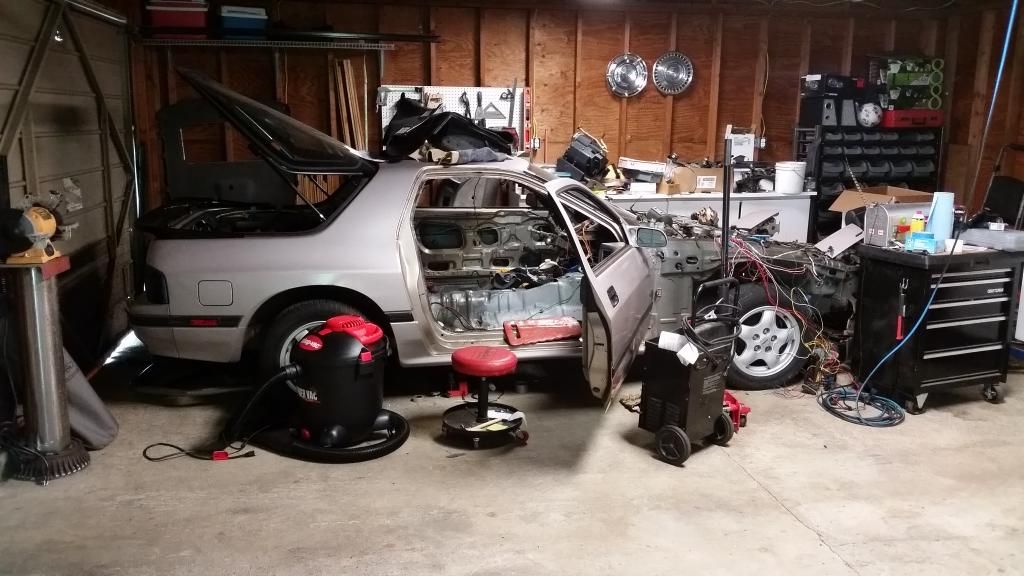
So this weekend I spent a lot of time in the garage to distract myself from the MPHS shooting (I went to high school there and live about 20 minutes away from it). I really didn't much done on the RX7 but it was still nice to have a distraction from the emotions for a bit.
Finally doing some actual work on the engine harness haha. I've been avoiding doing any real surgery to it but I finally just decided to go for it.
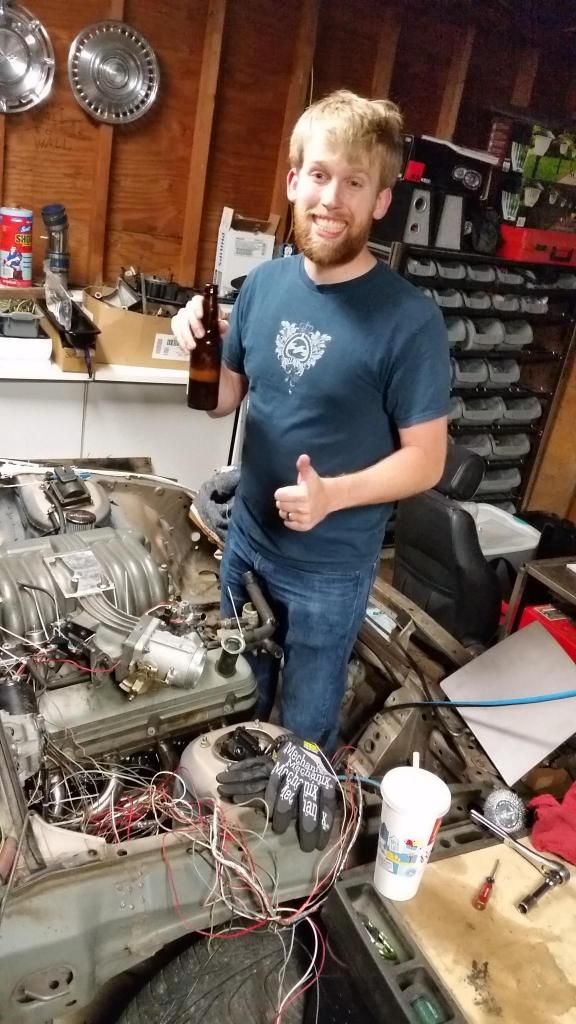
Thats me just hanging out in the engine bay, trying to convince my wife that I'm excited to be in there haha.
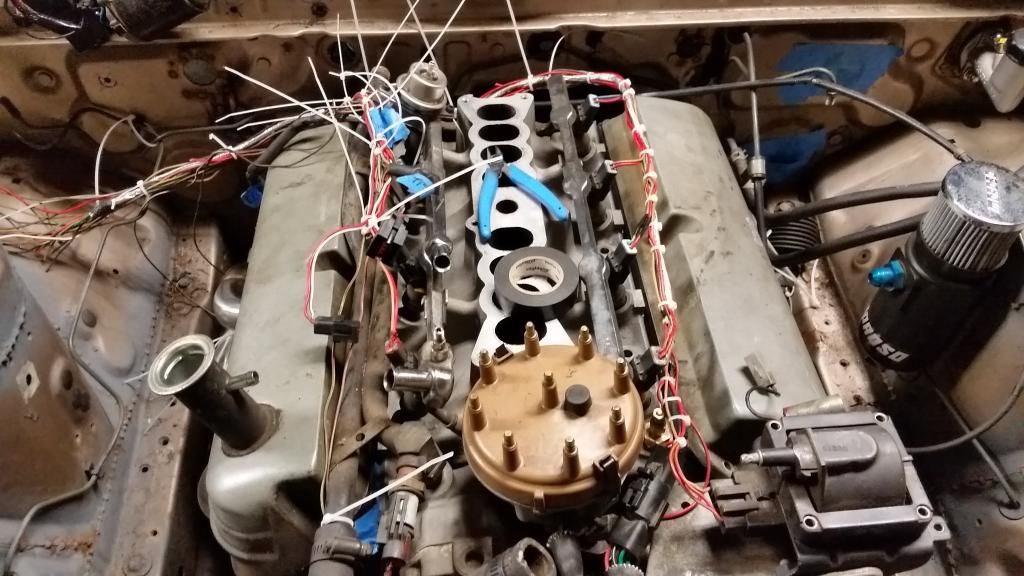
First few steps...
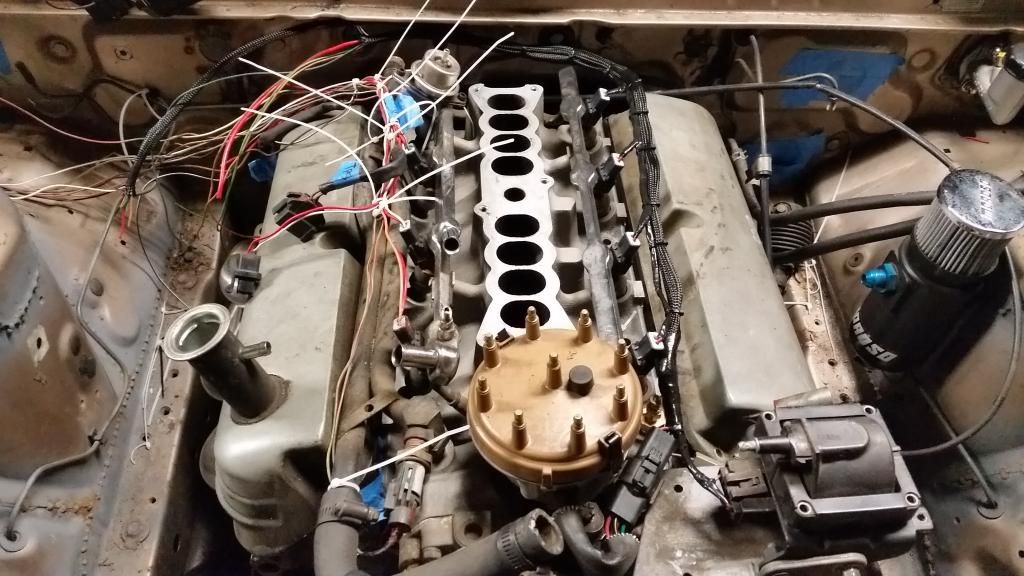
Driver's side done and passenger just routed, no wire sleeve yet.
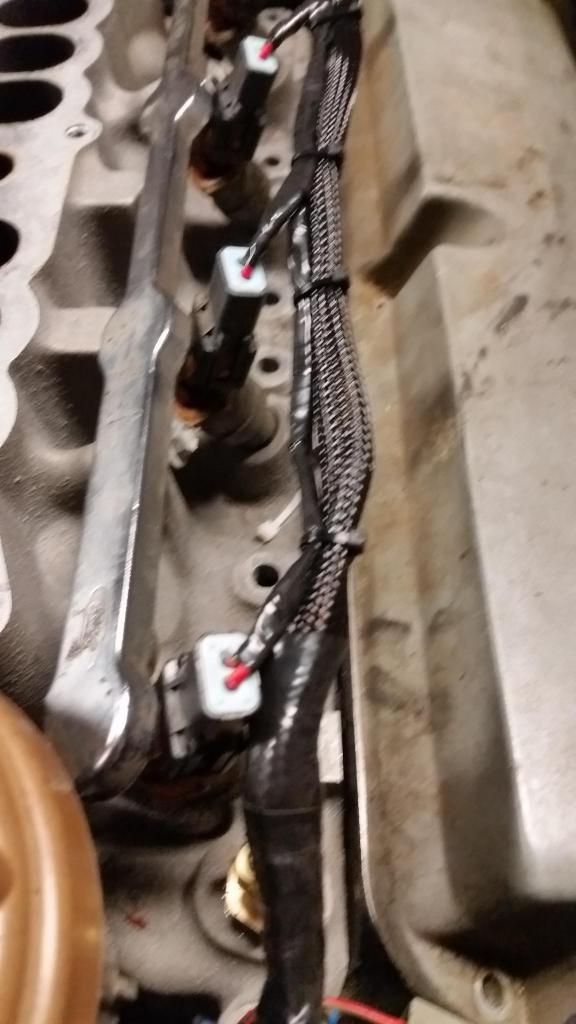
Close up, sorry for the blur I broke the screen on my phone (my only camera ) yesterday in the garage so it wasn't noticeable that it was blurry til I uploaded it.
Some thoughts after doing this:
-The wire sleeve I used is a massive pain because unlike split loom I can't put it on after the wires are all bundled together. But in my opinion it looks so much better so I had to go for it. It doesn't really protect the wires either but based on how awful a job Ford did from the get go I don't think the harness will need much protection!
-The amount of time it took to loose route the wires and cover them (keep in mind I've only covered the driver's side at this point) took probably 2-3 hours. I'll admit, that includes me double checking every single connector next to a diagram and fixing any portions of the wiring that had the insulation worn off. That took a good bit of time as did cleaning everything before taping it.
-There's a big bulkhead-like 42 pin (if I remember correctly) connector that connects the engine harness to a shorter harness coming off the ECU. After fighting the wires while trying to route them I finally just cut all the wires at the 42 pin connector. Ford did a good job of not duplicating wire colors so it really will just be a matter of matching up color to color. My advice to somebody doing something like this is to cut early. Make sure you know how to get it back together after, but don't fight the wires if they're all wrapped around each other and won't route the way you want/need them to.
-Speaking of the 42 pin connector. I went back and forth on whether I wanted to shorten all the wires to it because where I placed my ECU I have a foot or two of extra length on the wires. I finally realized that for my intended goals, I'm going to completely eliminate the bulky connector and hardwire everything to the ECU harness. More to come on that later.Last edited by Zach Thomas; 10-27-2014, 01:59 PM.Leave a comment:
-
Just dropping this in here for now. Motivation and time have been low lately. The 3/4" Wilwood clutch master cylinder has been mounted I tried to keep it as close to OEM mounting as possible.
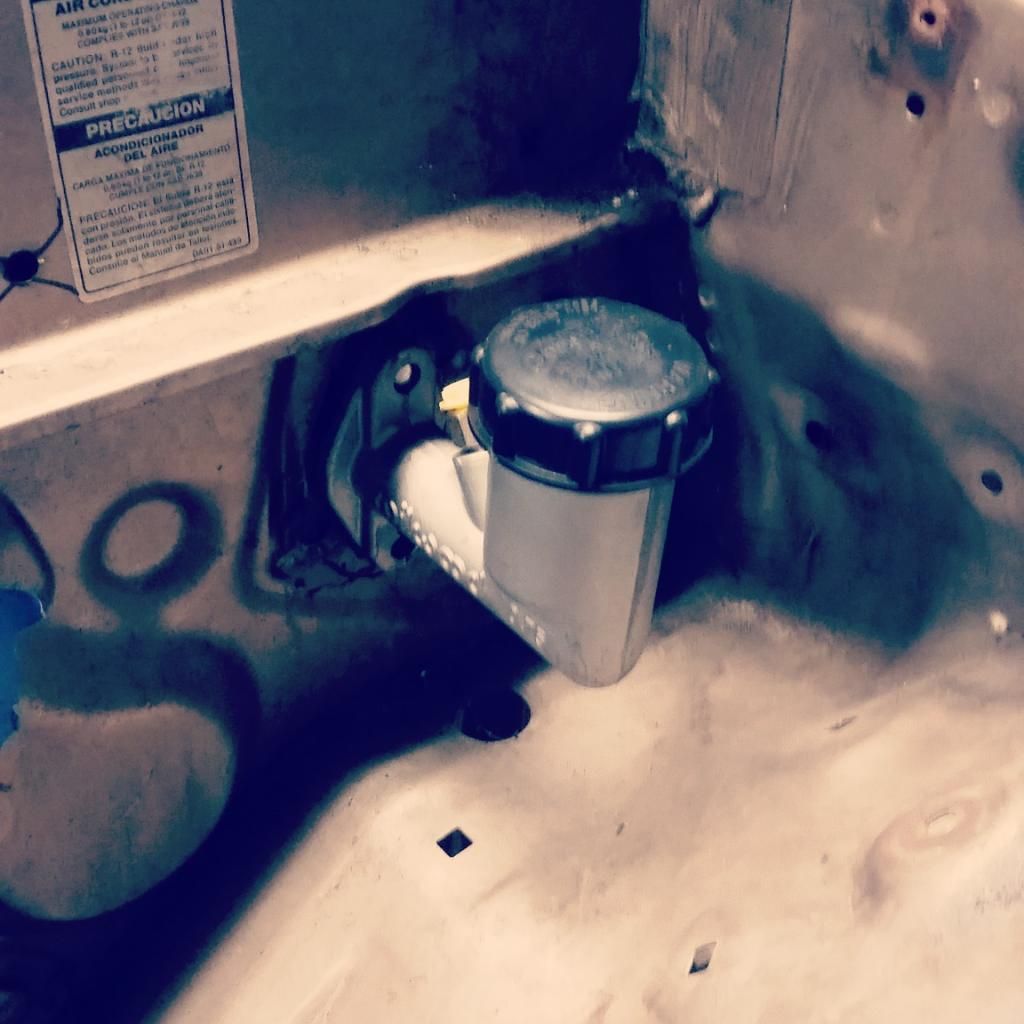
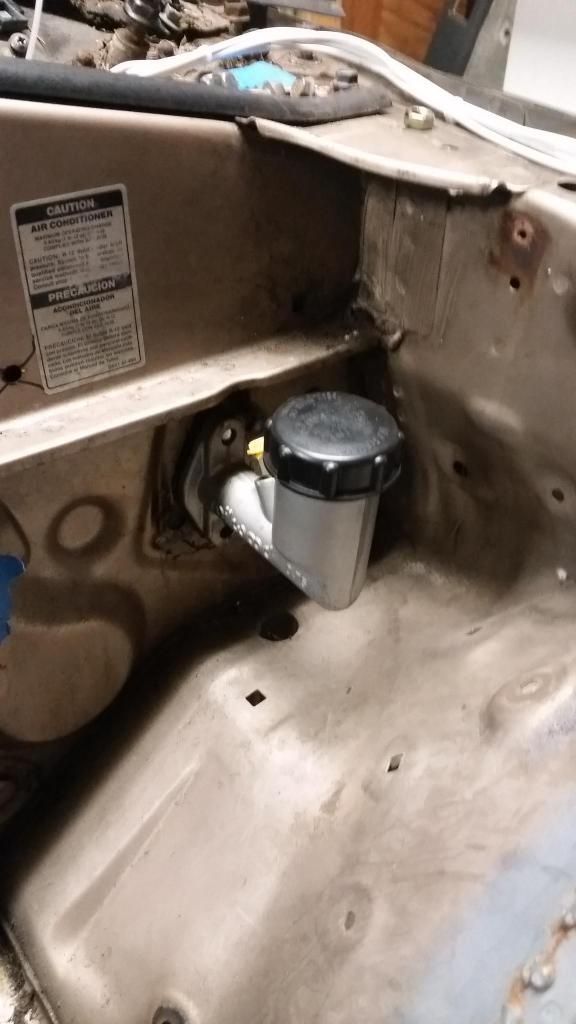
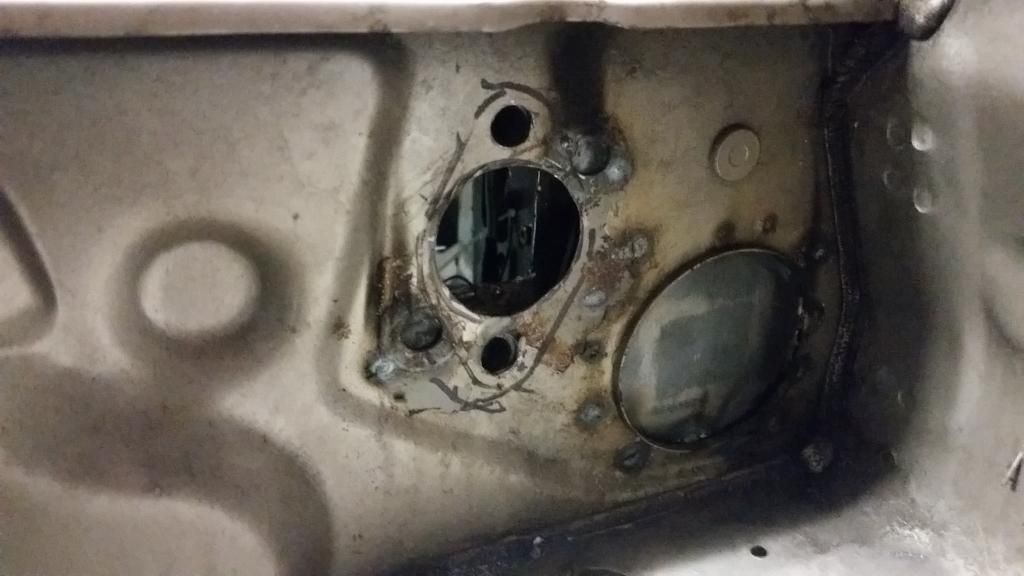

More cleanup on the pedal cluster to come soon! Those unfamiliar with the stock setup might not notice but the stock clutch master mounting holes are tilted a bit from lining up with each other vertically. Those little support tubes had to be ground off and relocated to line up with the Wilwood holes. The hole in the firewall also had to be enlarged and the original holes filled and relocated. Also the square cutout in the pedal cluster was my doing to clear the Wilwood cylinder. All in all I'm pretty happy with how it turned out! Hopefully it actuates the Miata slave cylinder properly when I get to that point.
EDIT: mind blowing moment was the 5/16-24 threads on the pushrod of the Wilwood clutch cylinder are so close to whatever metric size is used on the stock RX7 components that I could run a tap almost by hand through the clevis on the clutch pedal (where the pushrod attaches to) and the Wilwood unit screws right on! No need to weld a new nut onto the clevis or anything like that.
EDIT AGAIN: so should've waited a day to post cause today I bought some fasteners that will work. Stainless acorn nuts to keep the engine bay classy lol
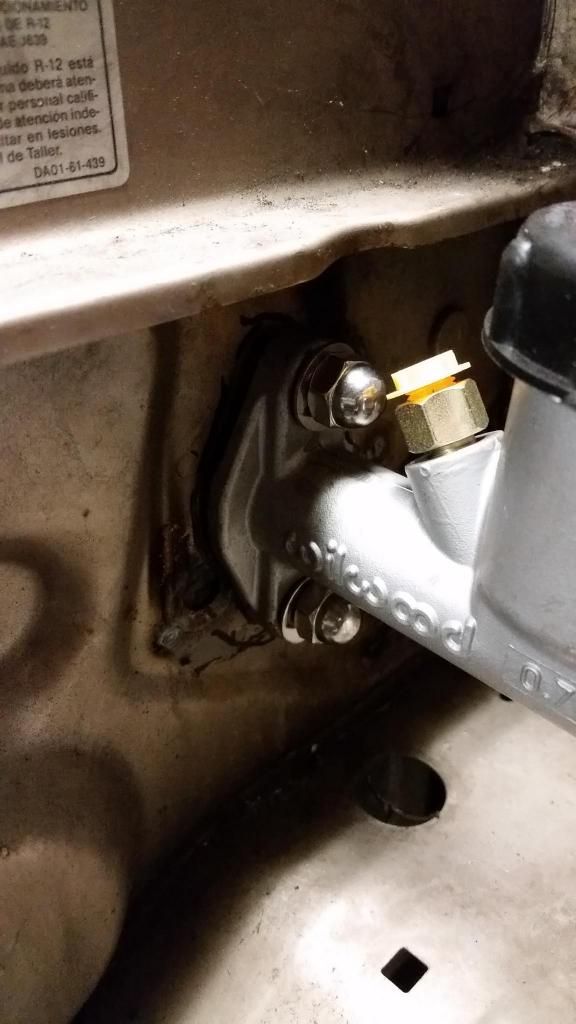
Here's where it attaches to the stock pedal using the stock clevis:
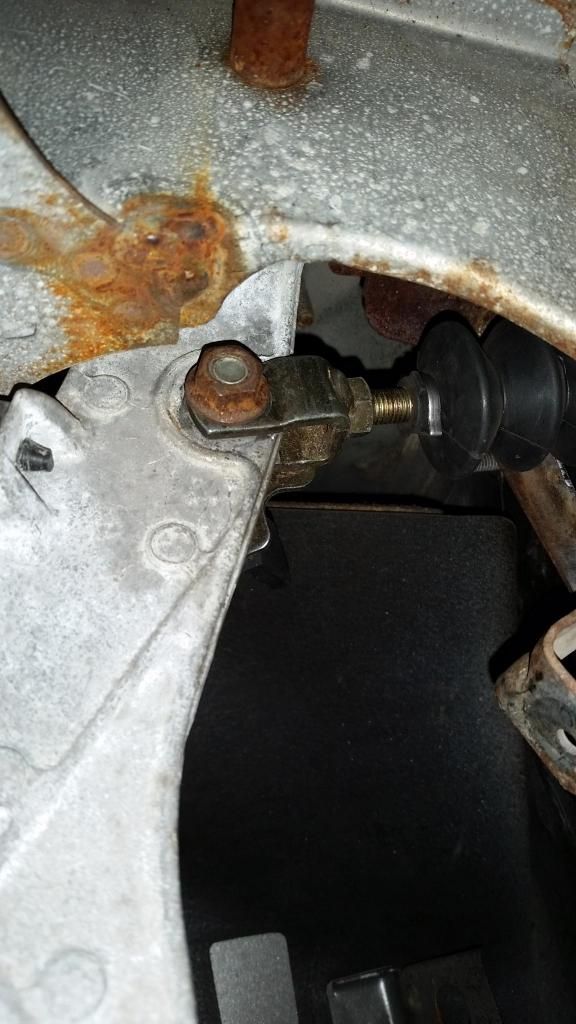
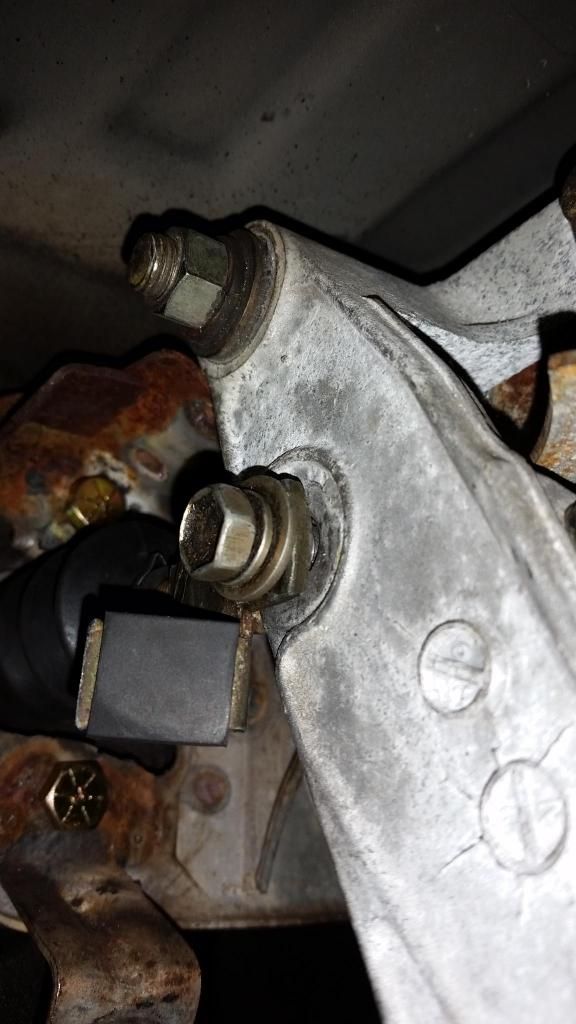
Grade 8 bolts (all they had in the size I needed haha), acorn nuts and washers: $5
New total: $2600
Side note for anyone reading: if you can plan ahead on fasteners you need, whether in bulk or not, buy online! Supporting local family hardware stores is nice in some respects, but the cost of bolts locally is obscene. I recommend boltdepot.com. Again, just a little tip for those that never realized how much it costs for nuts and bolts.Last edited by Zach Thomas; 10-23-2014, 03:45 PM.Leave a comment:
-
Minor update: figured out the manual sunroof conversion. I over thought it way too much trying to make sure it sealed like factory and finally decided I'm just gonna do it and deal with any problems with my "design" later. I think too much about this car without actually doing anything
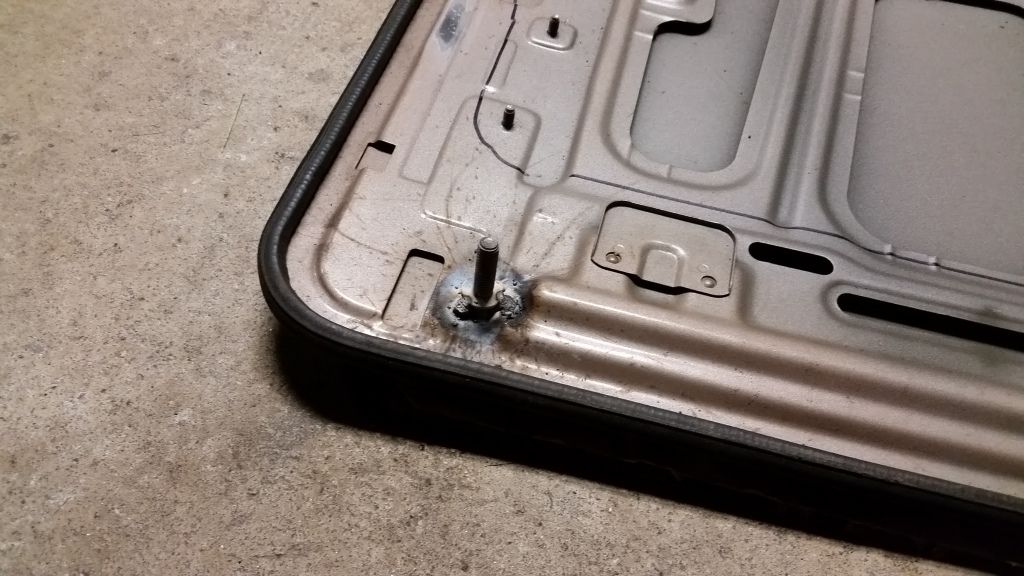
Here's the sunroof panel with 4 3/8" bolts welded to it:
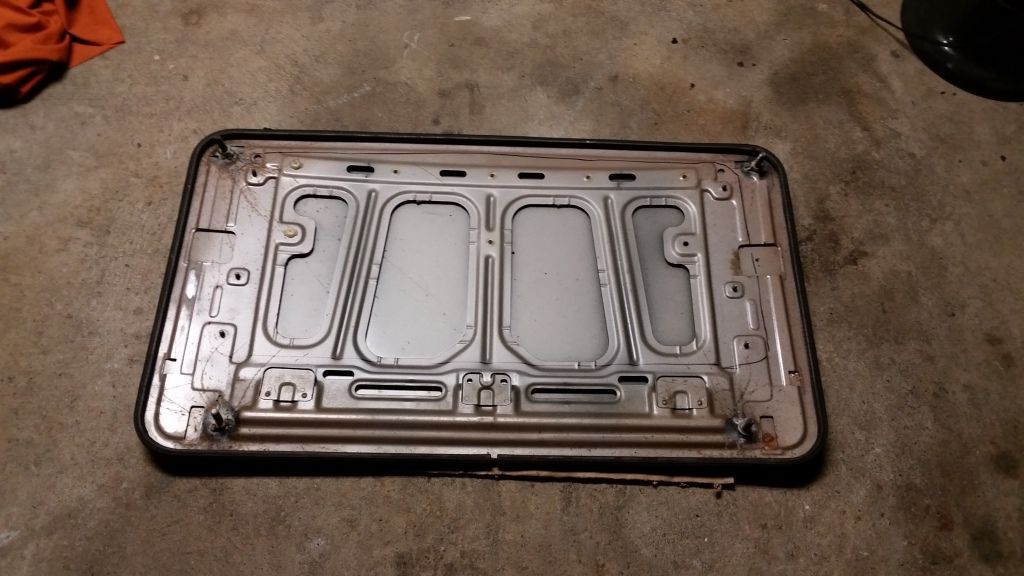
Welds look terrible as I'm still using flux core.
Bare sunroof assembly:
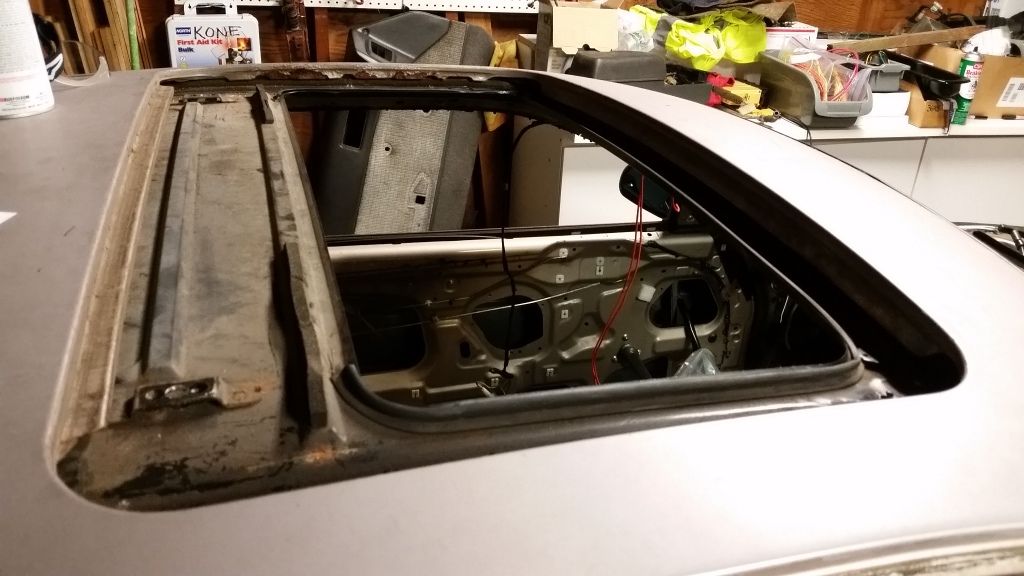
Drilled a couple holes in it, have yet to clean them up:
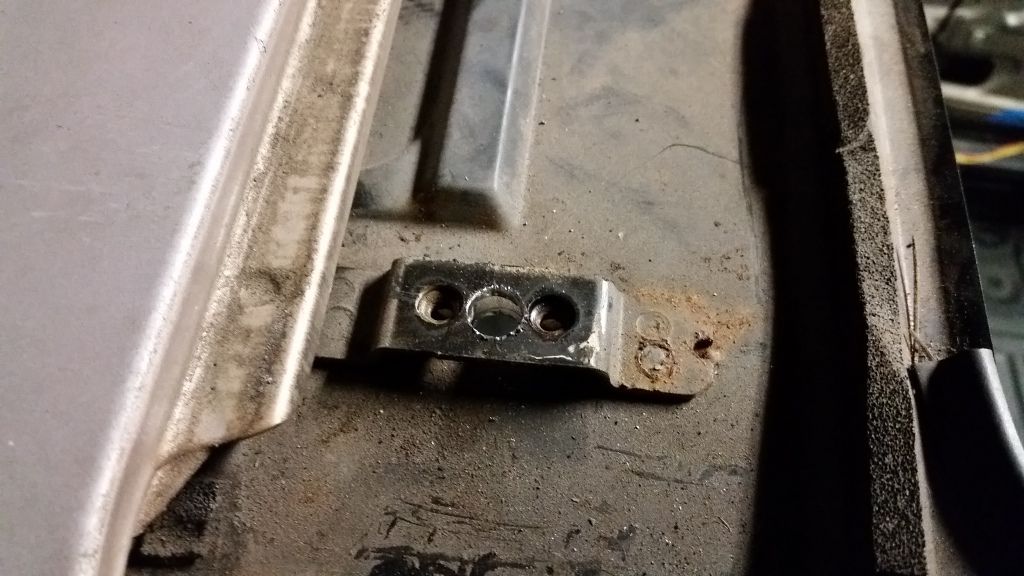
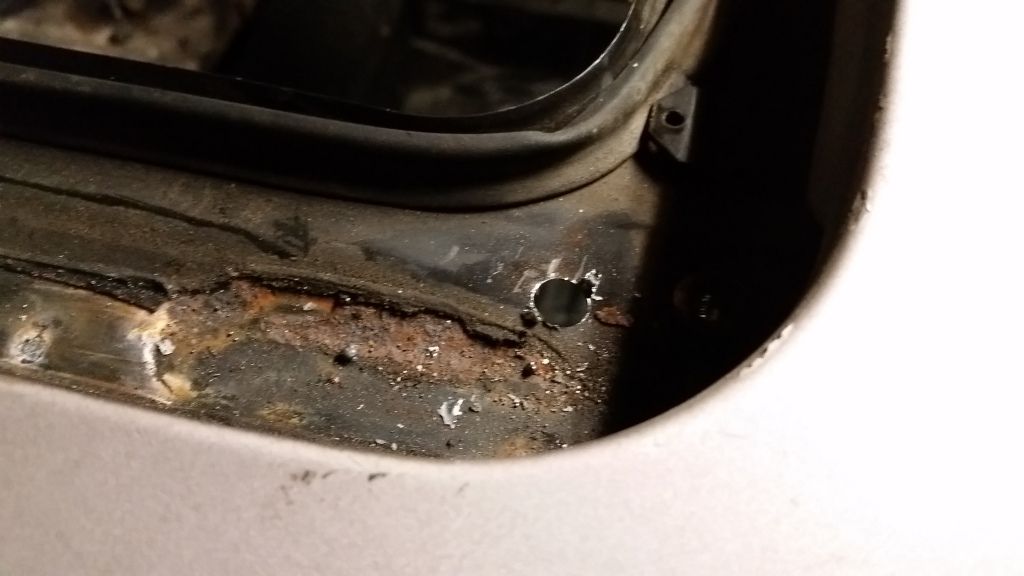
And that's all there was to it except for some drilled and tapped knobs that will hold it in place from the inside. I didn't want to have to use the sunroof support assembly that bolts inside the roof but I figured it was my best shot of keeping the whole deal leak free.
Also painted the rest of the floor:
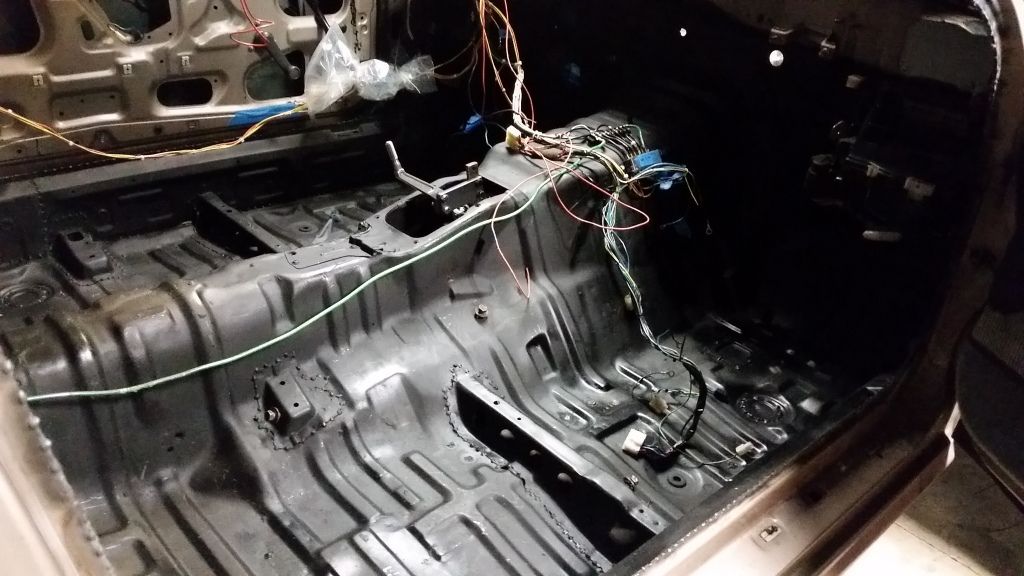
I have a Wilwood 3/4" clutch master on it's way, after I get that fitted to the stock pedal assembly I'll almost be ready to paint the bay. Feel like I've said I'd already be done painting the bay about a million times before...hmm
Wilwood 3/4" master $50
New total: $2575Last edited by Zach Thomas; 10-13-2014, 08:21 PM.Leave a comment:
-
Another small update...slowly chipping away. First off, something that is actually related to the swap itself. I took the plunge on some chinese eBay stainless shorty headers and I have to say, for $100 shipped I think they'll work great so long as everything seals okay, I'm perfectly happy with them. The weld quality is pretty good, the flanges are thick, the stainless itself looks pretty good and it comes with gaskets and hardware. I'm not positive I'll stick with the gaskets and hardware it came with in the long run, but to get me up and running I think they'll do just fine. Also notice the lack of EGR, these headers are meant for a fox body which doesn't have the EGR bung on the header. Gives a much cleaner look since I have no intention of running the EGR. Here's some pics of them temp installed on the engine:
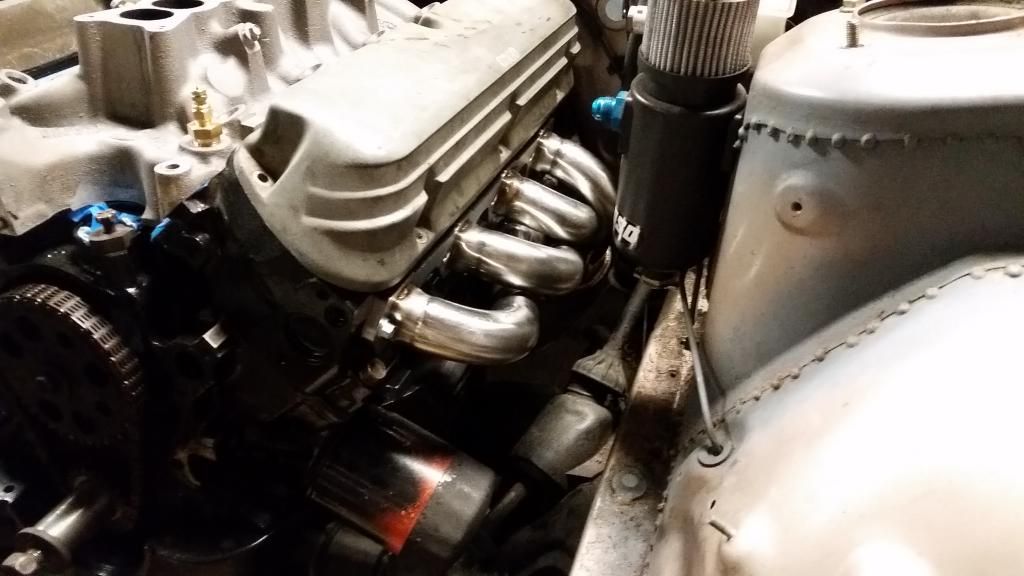
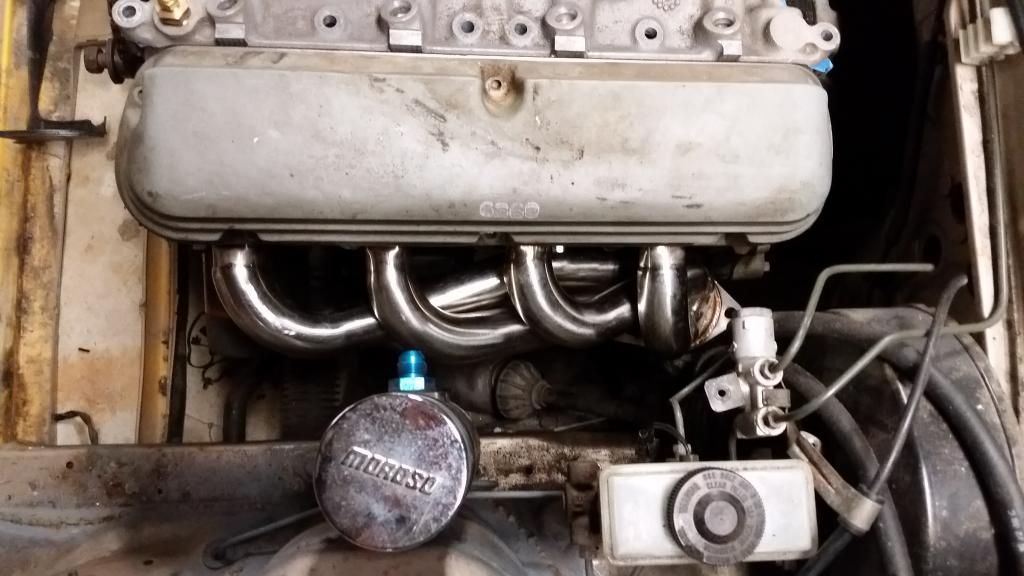
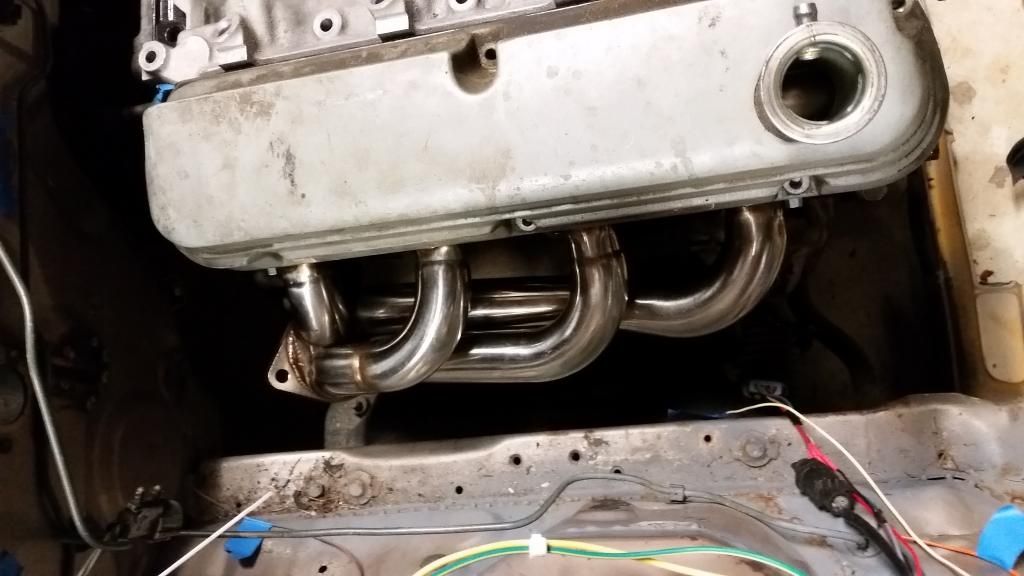
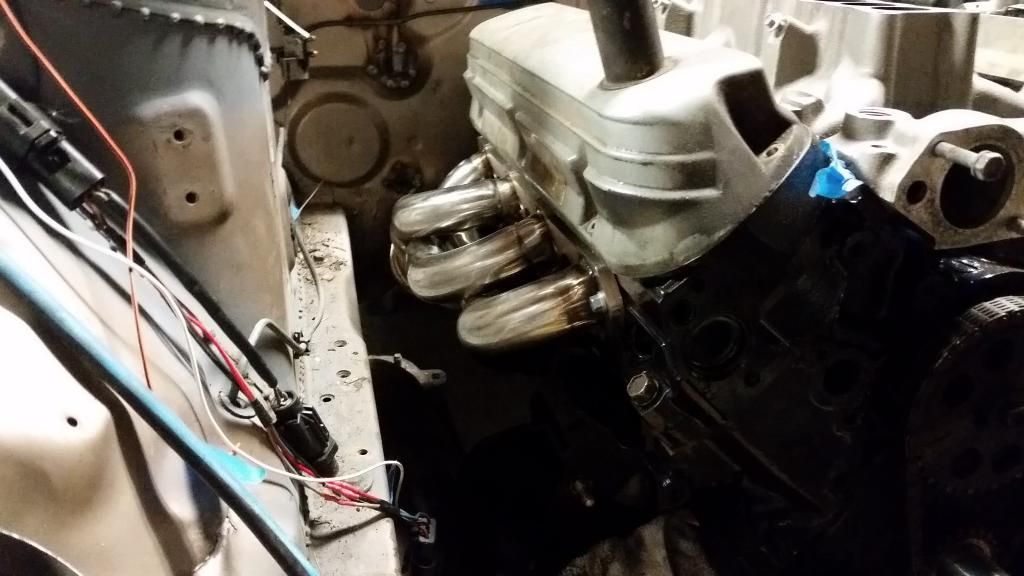
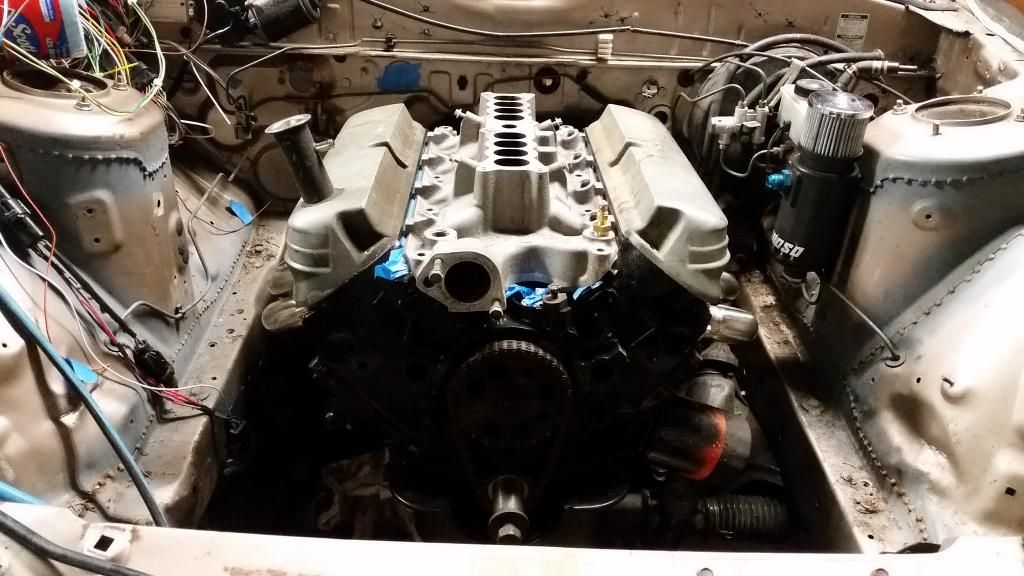
You'll notice how nice my factory lower intake manifold cleaned up. All thanks to oven cleaner, a brass scrub brush, simple green and pressure washer. You have to be careful with the oven cleaner cause it can leave stains. I have a few from it, but not bad at all for how well it cleaned it up!
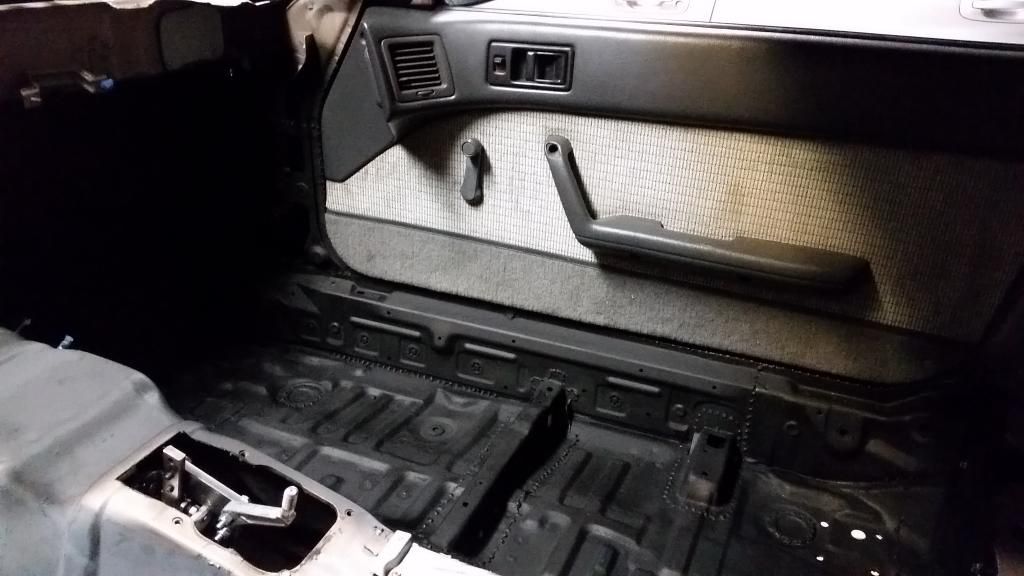
Also got the passenger half of the floor pans undercoated with some spray can rubberized undercoat. Turned out pretty good, I filled all the unused holes first with my mig welder.
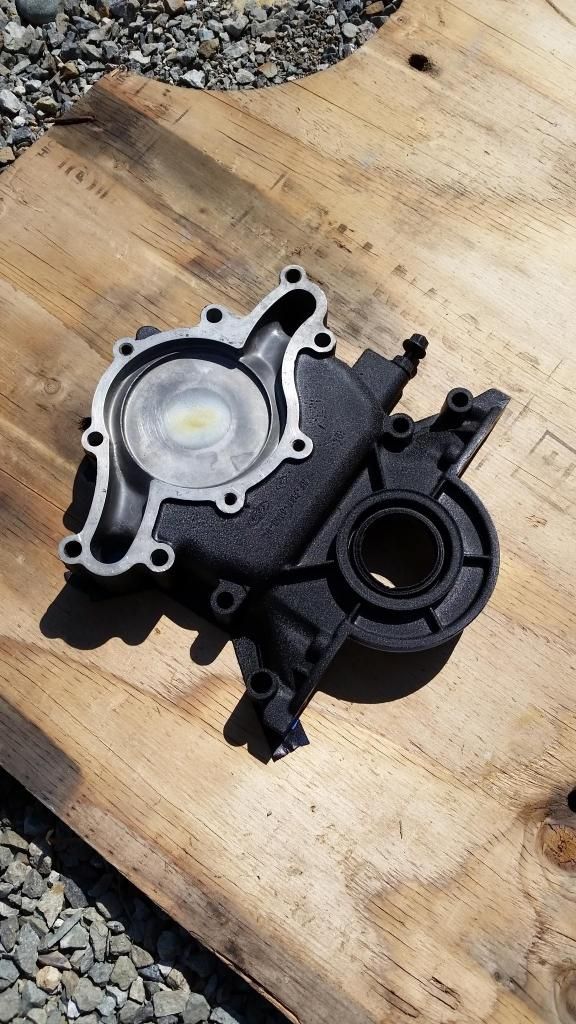
And did some wrinkle black on the timing chain cover. VHT really does make a nice wrinkle paint in my opinion. So long as you follow the directions it leaves a nice durable finish.
Like I said, as usual I don't have a big update but things are still rolling along.
Sweat shop built headers: $100
Rubberized undercoating x2: $13
Ducting behind dash for heater vents: $30
New total: $2527Last edited by Zach Thomas; 10-05-2014, 12:29 PM.Leave a comment:
-
Welp, not much to update sadly on the FC. The build is changing direction though. Race car just isn't going to happen right now. I think it's pretty clear my focus on projects is questionable to say the least. So between spending my time and money doing this:
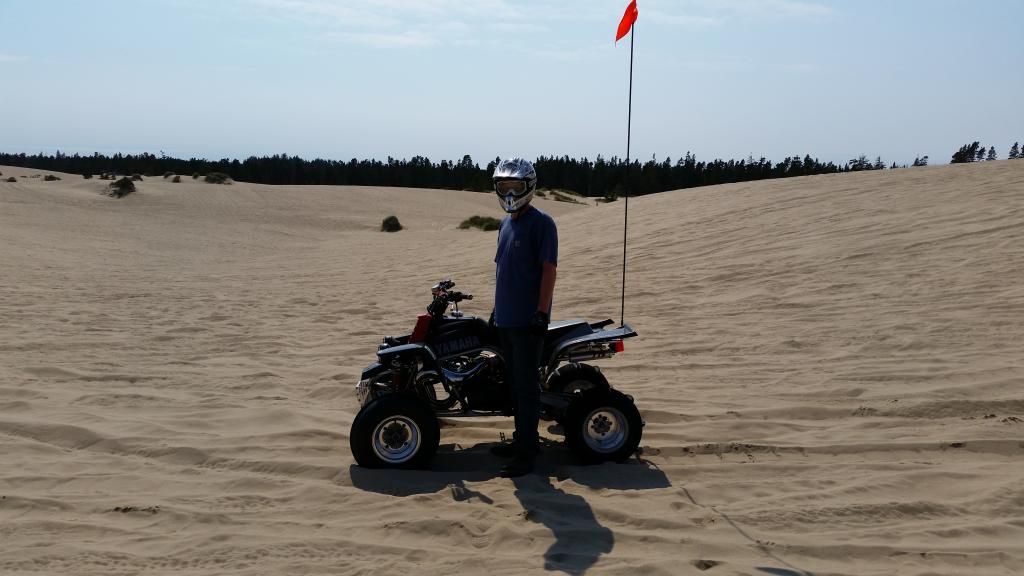

and doing side projects like the R6 (CBR on the right is my wife's bike):

I can't justify going full bore drift car on the FC. Occasional street driver is the new name of the game. It'll still be low and uncomfortable by nature, but that's okay with me! So instead of putting in a full cage I'll probably just throw in the bolt in 4 point that came with the car and build a harness bar for it. No extreme steering angle and I'll also probably forgo my dual rear caliper setup that I was piecing together. But I hope to still do a lot of the PBM solid bushings and such to get the suspension tuned up. I'll still at least fake the racecar look like everyone else when I can though
Anyways, the car hasn't changed much but I am still slowly chipping away when I get a chance (not that often right now, sadly).
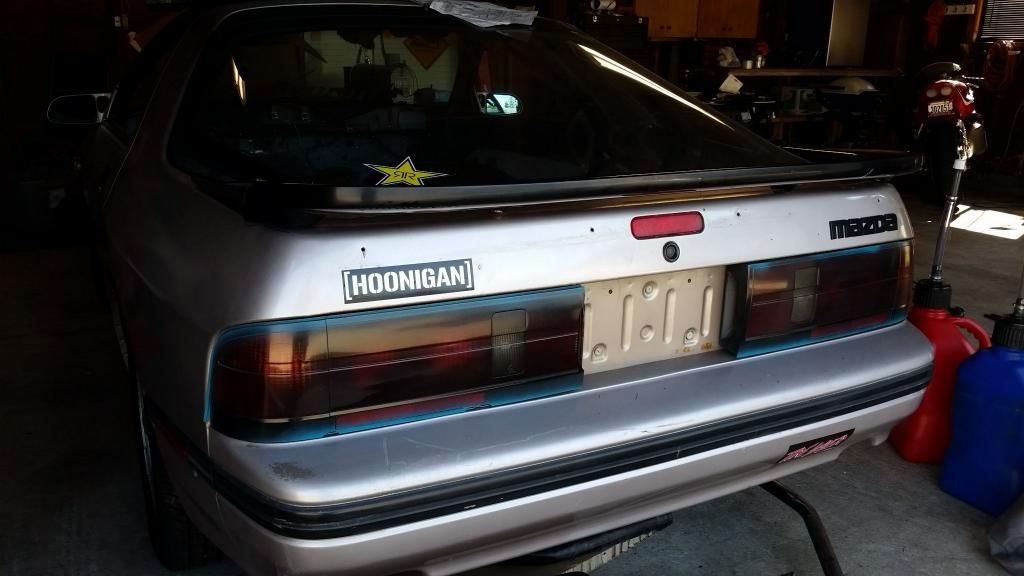
I bought a standard S5 spoiler cause I personally am not a fan of the S4 sport spoiler. That'll be getting sold on the old CL when I get around to completely finishing mounting up the new S5 spoiler. It's a little haggard, but after I get done mocking up all the parts I've accumulated everything will be pulled back apart and cleaned up/restored.
Hammered stock S5 spoiler - $20
New total: $2384
Updates will continue to be few and far between. Currently I've got the ECU mostly stripped down to the essentials. I'll probably be taking a break from that soon to focus on painting the interior up, but again progress will be slow

Not worth a whole new post for this, but painted the awful and faded maroon dash. Turned out really good, much better than I anticipatedLast edited by Zach Thomas; 09-01-2014, 04:05 PM.Leave a comment:
-
Even after hacking off the top yours never did clear?? Damn I thought that that would be all I would have to do to clear!
I've got my R6 as prepped as it can be for its engine swap next weekend, so I'm hoping to plug away at the FC all week depending on how work goes.Leave a comment:
-
Steeda shifter is the best! I had to cut the top mount he off though, in order to clear my dash. I still don't have a useable ash tray..Leave a comment:
-
Thanks mad-ass, the investment was a little hard to justify but once I got the connectors and crimps in hand I knew it was the right choice
I have nothing new and exciting to update with, I did get an SN95 specific BBK CAI for $90 off of eBay which I was happy about!
But the only reason I haven't been working on the car lately is I picked up a new short term project last weekend....2001 R6 with a dead cylinder. Bought it for $600, have an engine being shipped to me from Florida that cost $1000 and the bike should be back in action by next weekend. Shortest project I've ever had assuming it all goes back together nicely.
Anyways, hopefully after next weekend I'll have some quality RX7 updates!
BBK CAI used - $90
New total: $2364
EDIT: some random shots of "progress" lol. Sometimes I get too sidetracked with small details and get nothing done because I'm trying to think of how to do something instead of just using it as is. An example is the wiper motor. You can see the before where the plug is mounted on it and looks crowded and ugly. So I spent an unnecessary hour extending the wires and relocated that plug to inside the car. Complete waste of time to most, but tinkering is what keeps me interested in my projects.


In hindsight, probably could've moved the ground to a lower point of the wiper motor to make it even more clean. I probably will later, since currently everything I'm doing is mock up only.
Also, here's the mess inside the car currently:

You can see the nice Steeda shifter and the hacking of the tunnel that I had to do to clear it. I made the shifter extension with some scrap steel plate. I might have to alter it for a better position once I get a drivers seat, but at this point I just needed an approximate setup to cut the dash and tunnel. You can also see the small mess of wiring I still need to clean up. After the engine harness is done I will be stripping the interior for paint and my updates might include pictures that are actually interesting
Last edited by Zach Thomas; 07-20-2014, 04:08 AM.Leave a comment:
-
at least you are using good connectors, I just recently(ha, recently...more like 4 month ago) stocked up on my terminal supplies which costs me $100 easy.
good on you for buying molex crimper, good investment I'd say.Leave a comment:
-
Ain't nobody got nothing on my new ratcheting crimps:

Worth all 7000 pennies I spent on it, and it leaves a super strong crimp on these non insulated terminals that I bought from DigiKey. I'm not including the cost of the crimps in my running total cause I've wanted them forever and unless the tool is only going to be used on this project it doesn't count.
I don't really have any solid updates other than that, rewiring a car using it's factory switches but not all the factory relays and whatnot really blows sometimes. My wiring knowledge is minimal too so that doesn't help. But at this point we have working turn signals, heater control and taillights. Once I finish the body harness I can finally start wiring the engine. I will be so happy when the damn wiring is done.
Couple new costs:
100' of 14 gauge white wire: $15
2 prong electronic flasher relay: $12
New total: $2194
Edit (not worth a whole new post):
Used Steeda Tri Ax: $80
New total: $2274
These little things for the wiring add up quick, this is definitely an area where you get nickel and dimed badly. If you notice I've already spent over $50 on wiring supplies, and I still have to buy fuses (cheap individually, but they add up), a battery, heavy gauge wire for the battery, bulbs, etc. So sad, because none of these things are necessary to actually drive the car
Also, there will likely be no updates from me for about a month. Trip to Vegas next weekend and back down to Sand Lake the weekend after that Talk about going broke in a hurry lol
Last edited by Zach Thomas; 06-19-2014, 11:12 PM.Leave a comment:
-
Filler neck on the valve cover will have to be cut and angled to clear the throttle body (no big deal, it's just some thin wall steel). The EGR casting on my SN95 is going to be ground down to clear, which is more biggie cause I was already going to have the EGR deleted. And I'm not positive on the SN95 alternator fitment with the SN95 brackets. I've read online on a lot of Mustang forums that it needs the alt case shaved down just a little but. Guess I'll find out fairly soon!
And yeah I hope you get yours running soon to tell me what to fix while I'm still assembling mine I'm really wanting to get all the wiring done in the next month and then I'll be back to attacking the engine bay and drive train!
Leave a comment:
-
I like your choice in fuse blocks ;D
glad to see progress! ill stay tuned for the fox valve covers, as I have a set waiting to go on. Getting my car running is my first priority but I wanna know what you do to make them fit. what alternator are you using? I have a big 3g alt that gets in the way of the valve covers as well as our SN95 intake...Leave a comment:

Leave a comment: