Originally posted by Zach Thomas
View Post
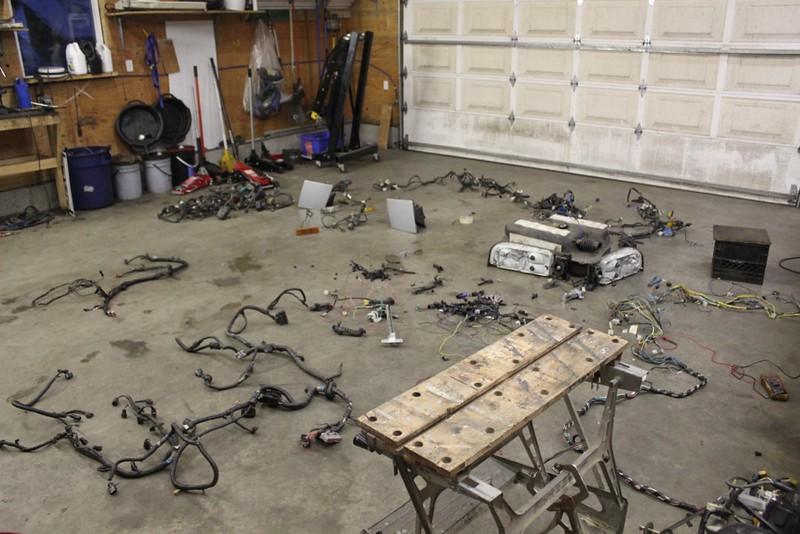
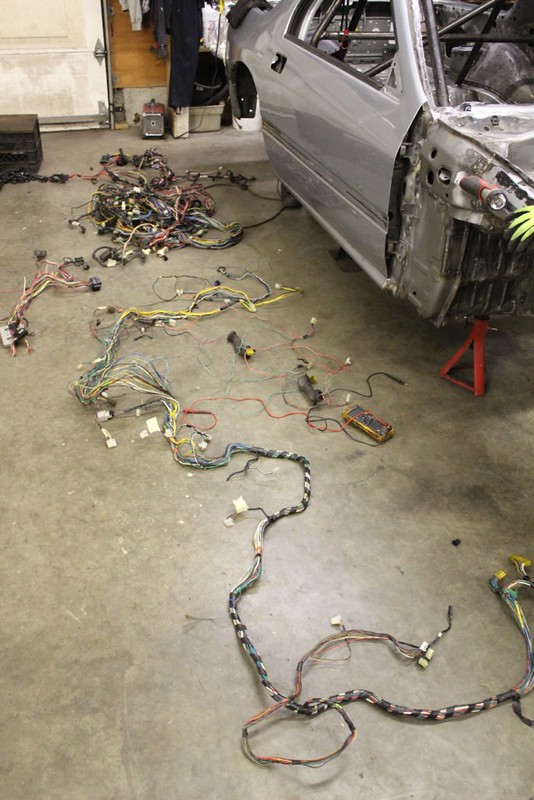
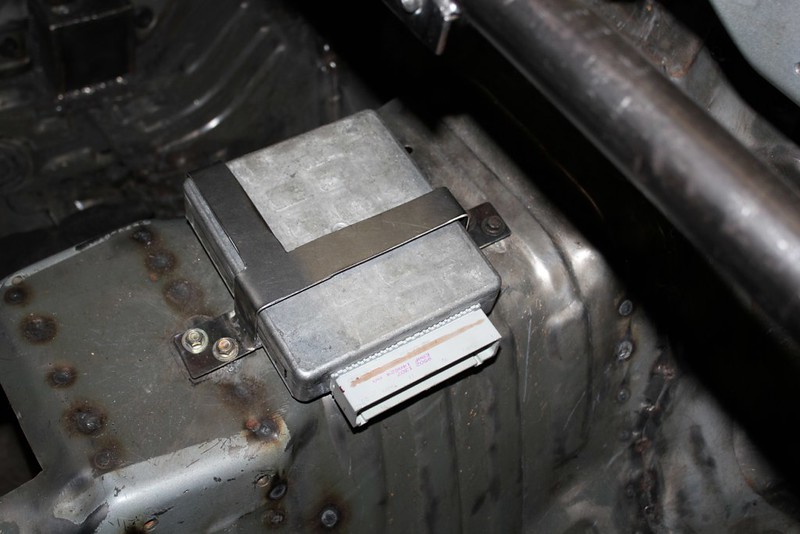
 The wiring diagrams aren't too bad to learn, after a little bit of studying.
and ask and you shall receive:


this week (ya week) was all Kings Of Leon. They came to town a short while go and I saw them with some friends, man what a good show. I basically love everything after AKA Shake Heartbreak (still not sure what I think of that album and the one before it) so I was rocking out while sniffing paint fumes.
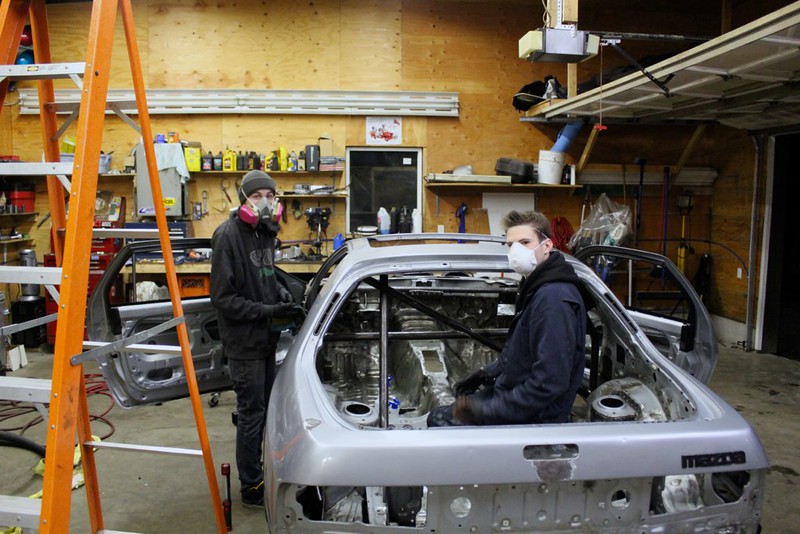
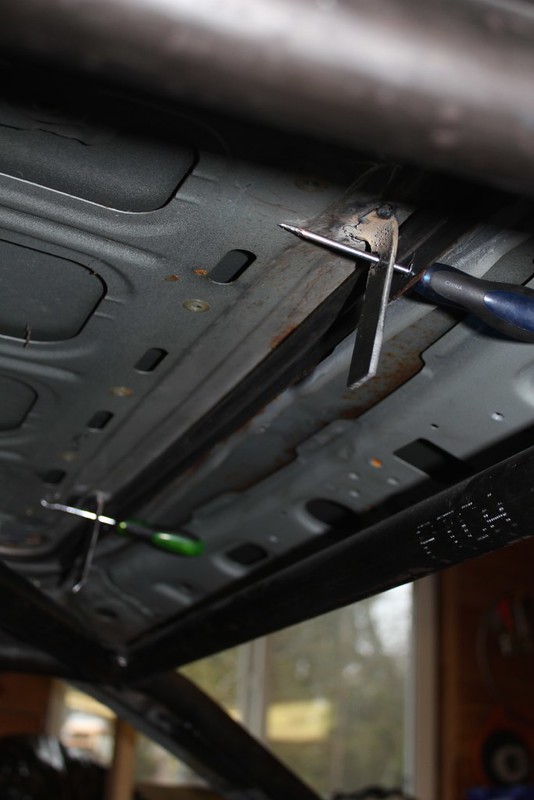
so first things first, rolled the car outside; well okay I took apart my engine stand to make a dolly and the wheels were getting stuck on the gravel even after I layer roofing tiles to smooth it out. So I grabbed my dads truck and pulled it outside haha. Then degreased and pressure washed the whole thing yet again. oh and this was after taking a wire wheel to everything just to make sure there was no surface rust or anything.

then spent a late evening scrubbing the entire thing with acetone (or "ace-tone" as sean kept calling it) shoutout to alex and sean for getting high on paint fumes for/with me!
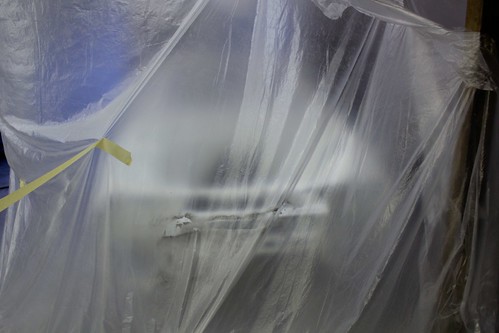
then built the "booth" and put the car in it
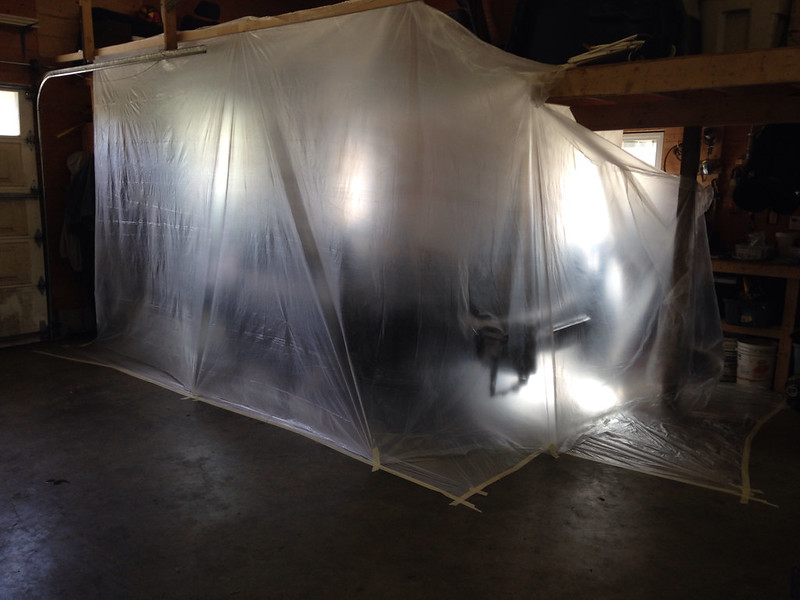
(apologies for iPhone pic)
my lens isn't wide enough for a decent shot of the inside but you get it..
my paint preheater system. better known as warm water in a bucket.

The weather played nice too, didn't rain this week, humidity was low enough. No super strong wind. I waited till late afternoon/evening to paint when the air is warmest. Kept a heater in the booth over night as well, to let the paint cure quicker.
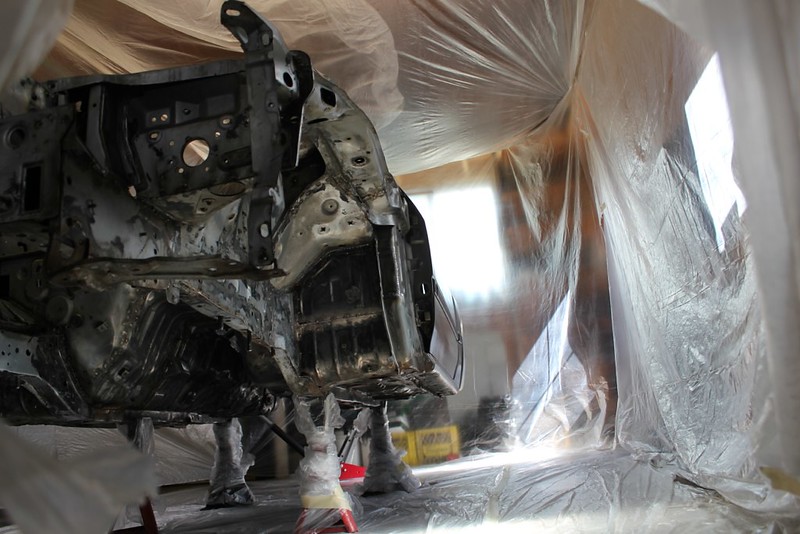
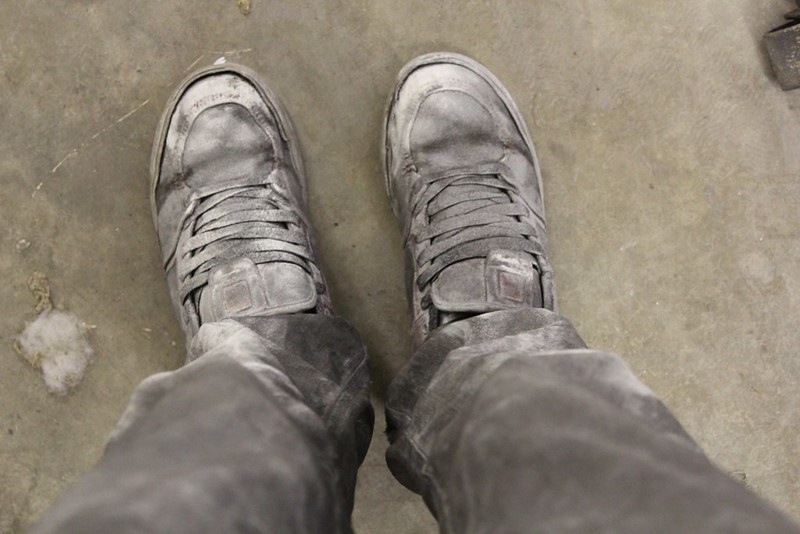
now I didn't take many pics, the dust level inside was crazy. I was doing my best to vent it with the door but I didn't want to risk my camera.
primer dust too is the worst
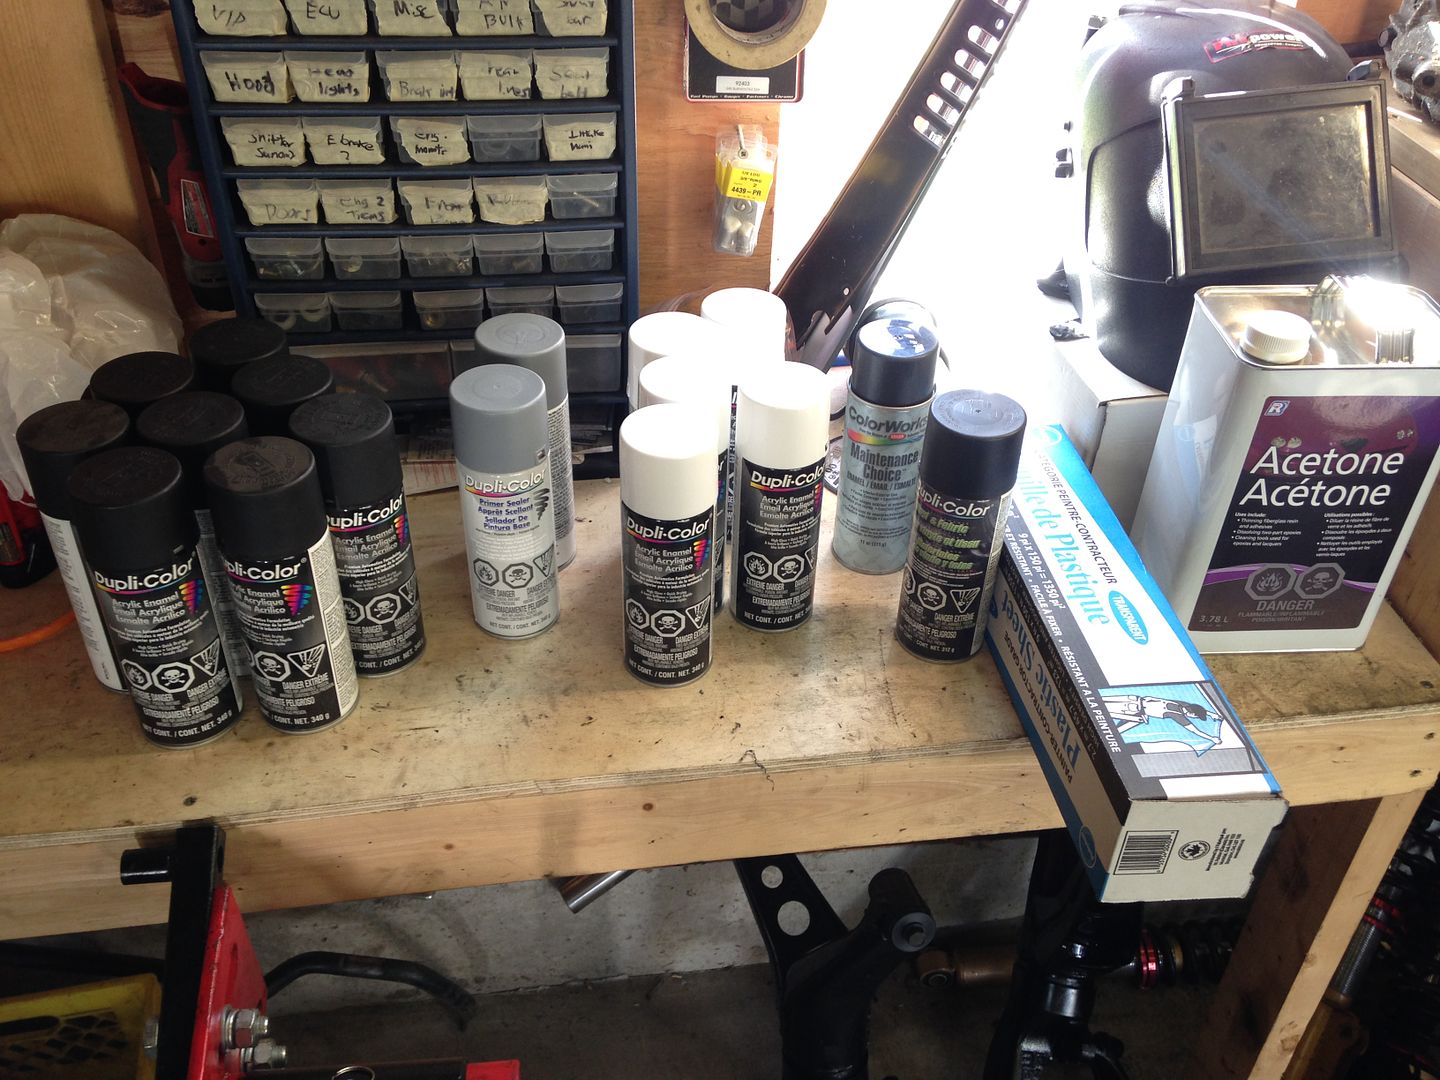
and I ended up need close to double what I started with for paint
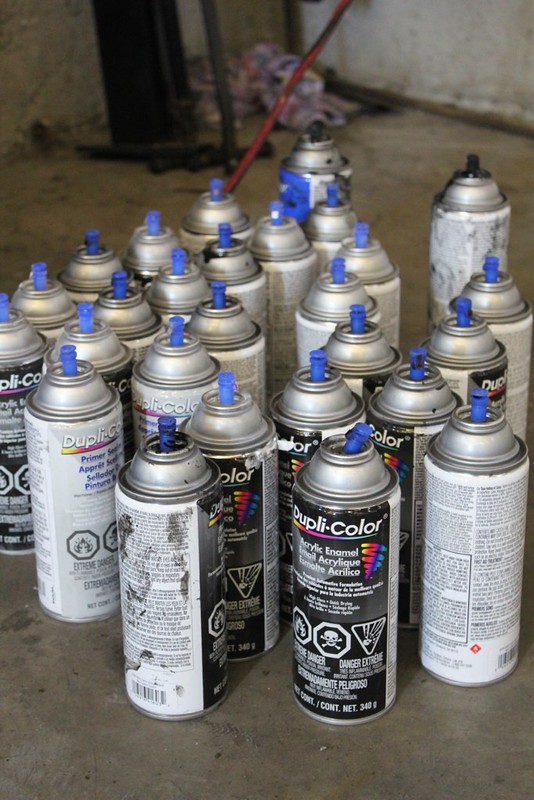
I used:
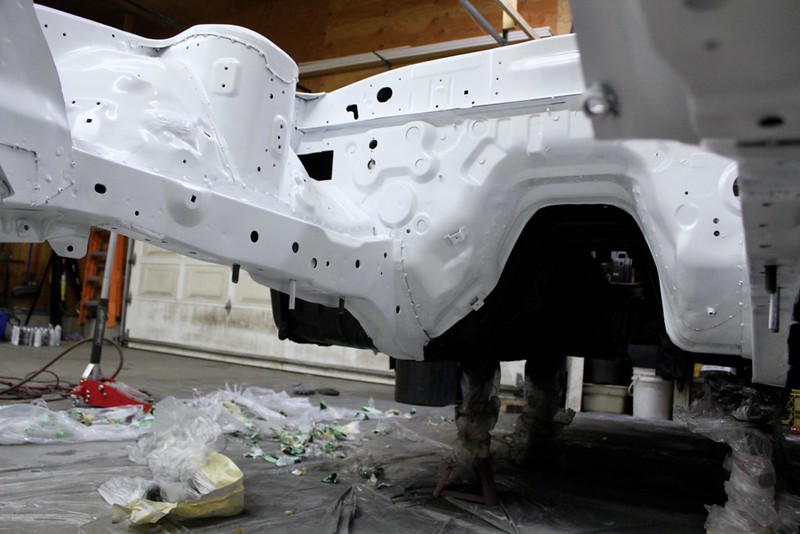
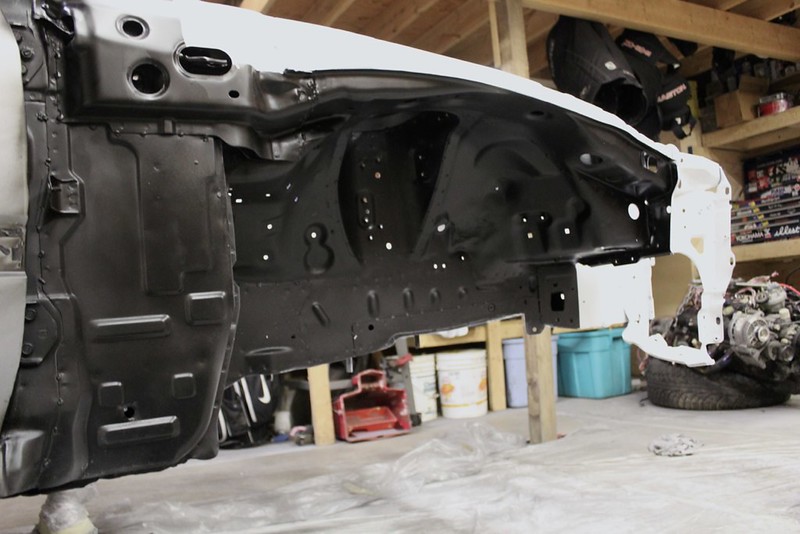
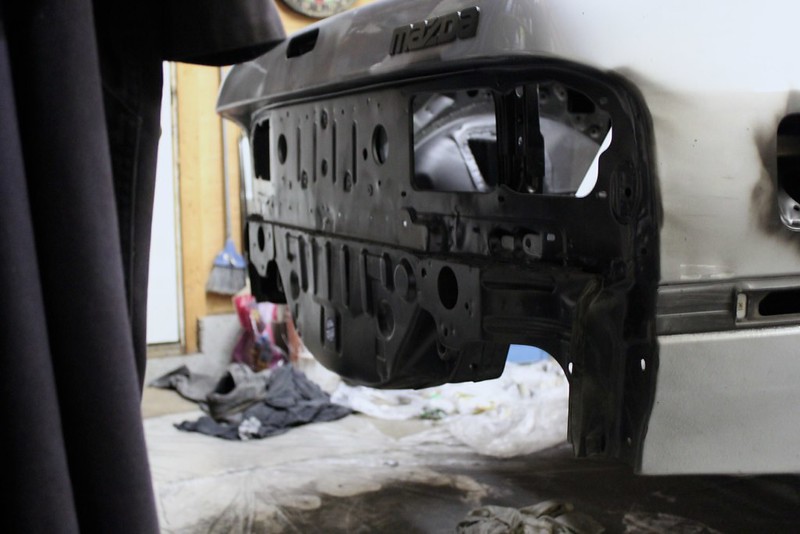
4 cans of primer for Engine bay and seams around car
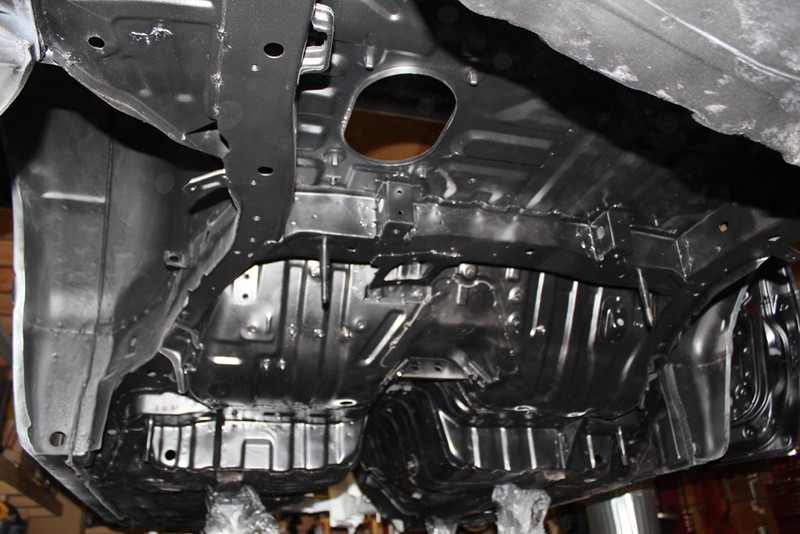
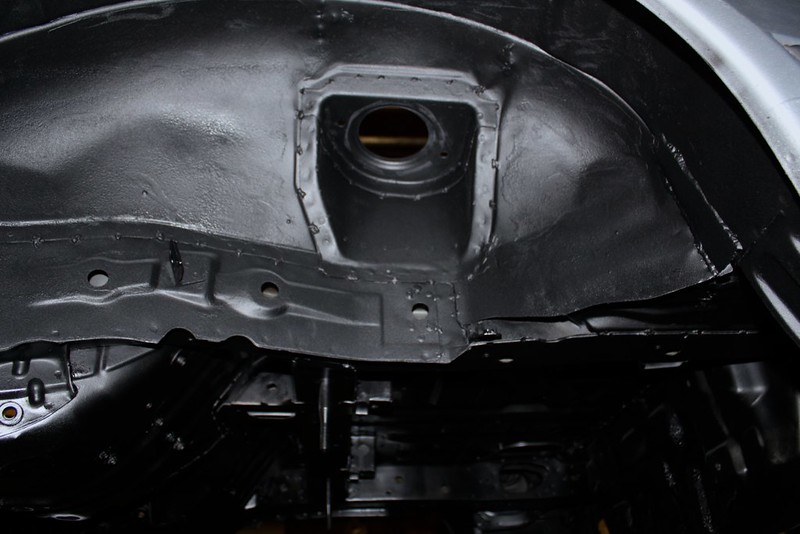
4.5 cans (had a 1/2 leftover from before) for the underside/wheel wells and back.
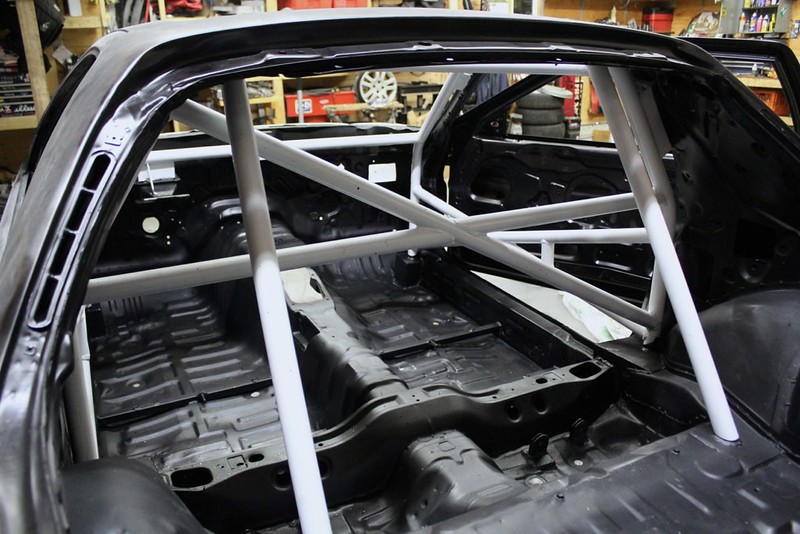
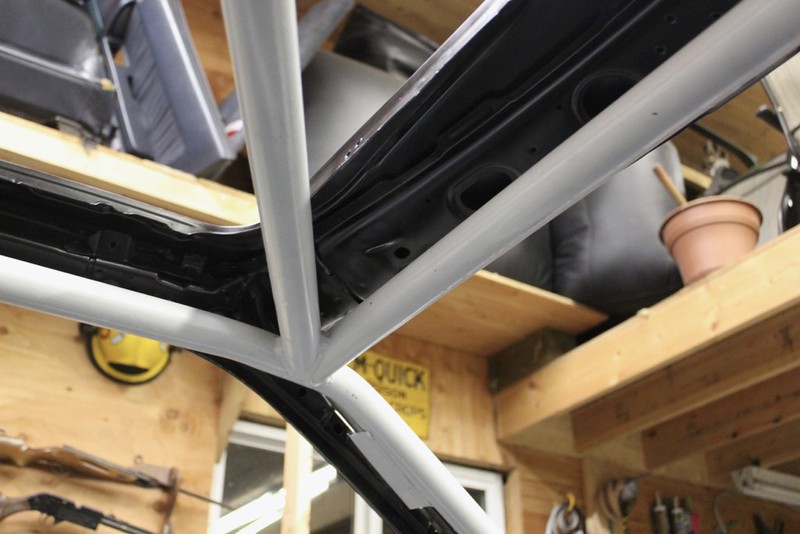
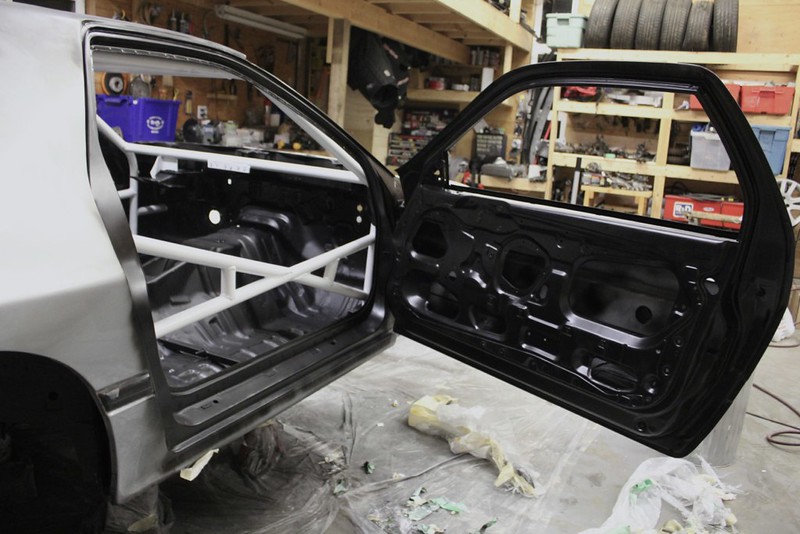
4 cans for the roll cage. turns out round is hard to paint.
5 cans for engine bay
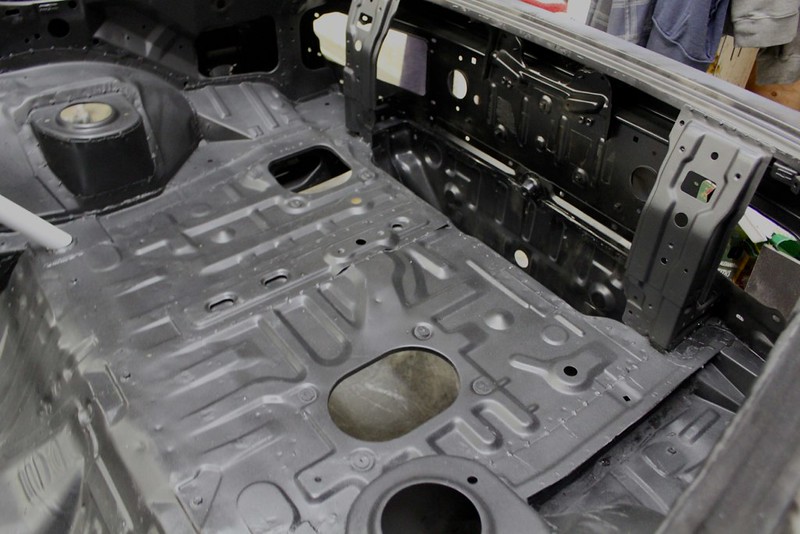
8 cans for interior
2 cans of this:
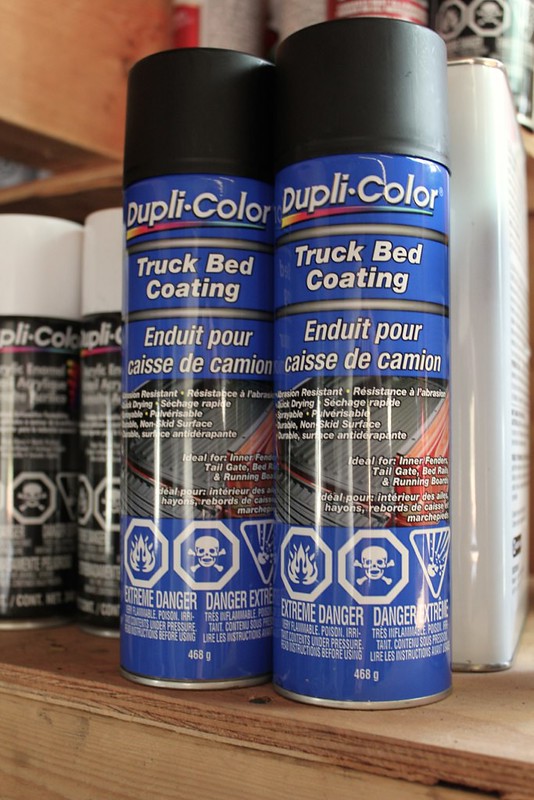
did light coats of bed liner in the wheel wells, underside and floor of the interior. Turned out awesome, my buddy did this in his jeep in place of carpet. looks really cool, is super tough and masks over spray etc. Did the wheel wells to hopefully prevent rock chips.
I'm also amazed it only took 2 cans to do all of that
so sometime later
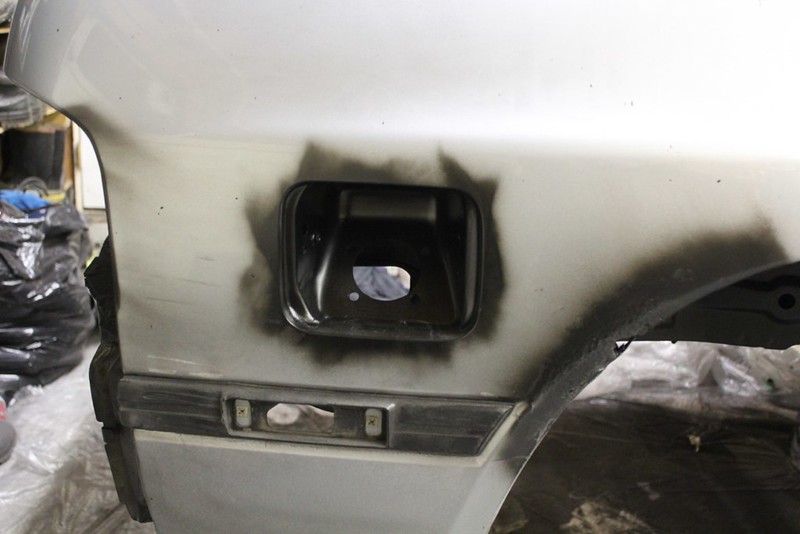
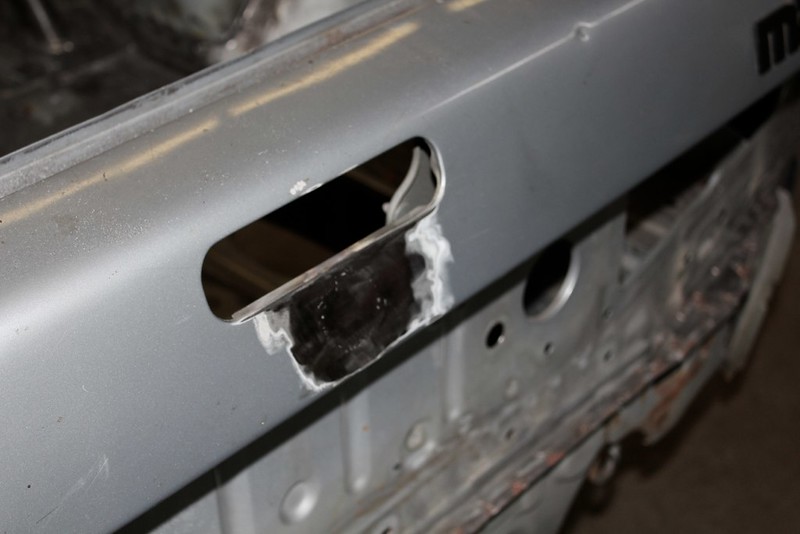
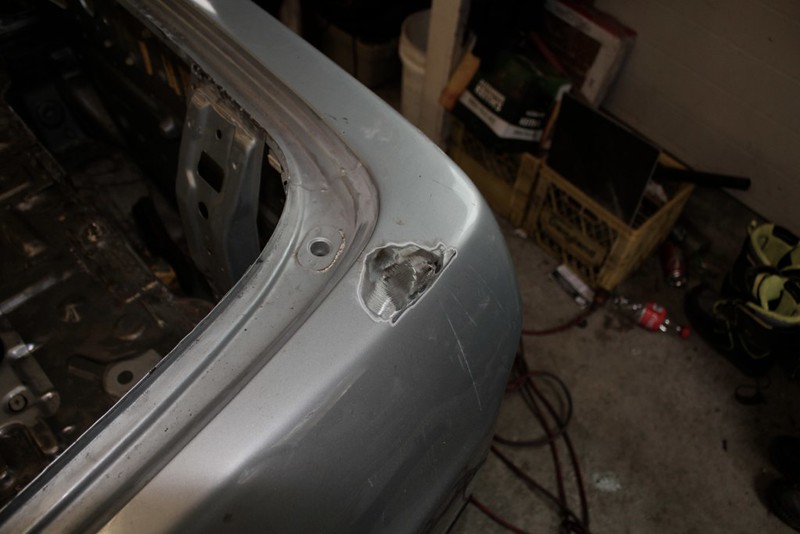
oh and disclaimer: I took these right after I pulled the booth down, so there was a decent amount of dust everywhere and on everything. So if a spot looks bare or oversprayed its probably dust. coverage was pretty good on everything.
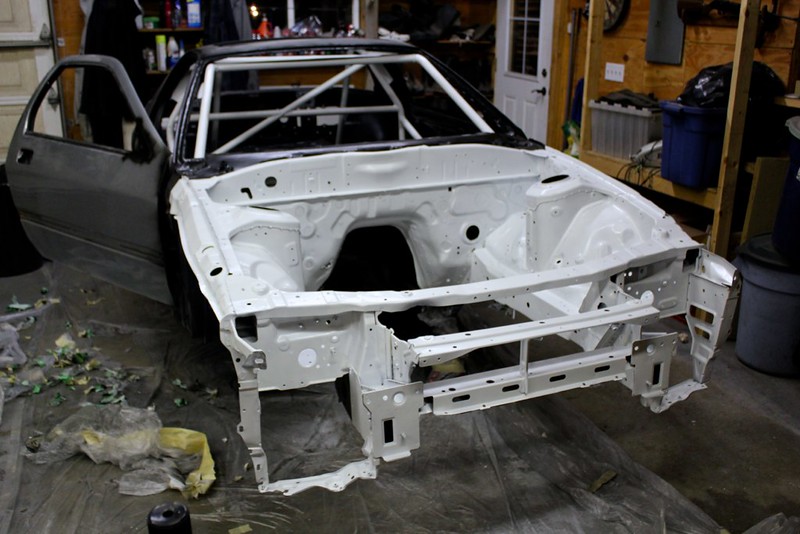
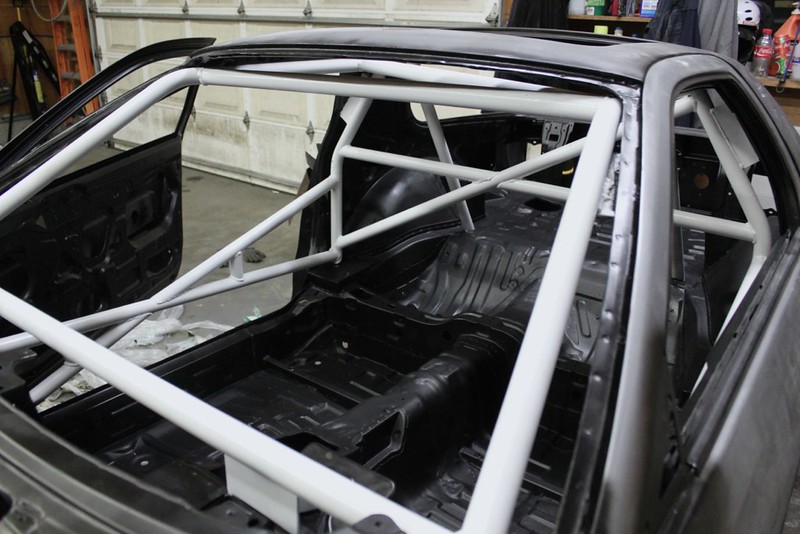
roll cage was a huge ordeal to mask so I could paint the interior...
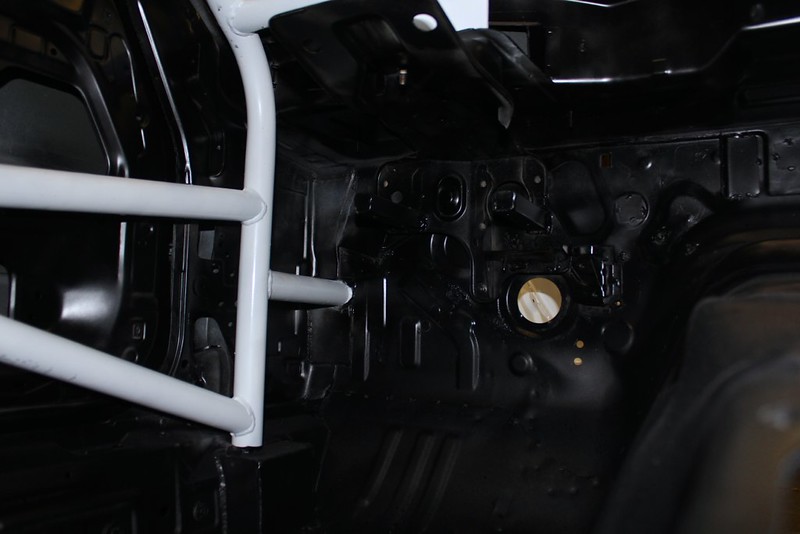
did all the areas that after its plastidipped won't be covered in dip. door jams behind bumpers etc
with basically 0 regard for overspray lol
Overall I'm happy with it for spray cans. The cage is a bit rough, the spray pattern on the cans makes it really hard to not have it run. but its rust proof and the whole thing cost me maybe $250 in paints and supplies. now I just gotta wait a week for the paint to fully cure and then start putting everything back together. As of this weekend I'm 2 months away from my goal of driving it to my buddy's wedding.
Gonna have to fill the time while I wait this week with small things, still have a diff to clean and a bunch of small stuff to paint.
 I had it in my head you were using the stock master so I didn't even look at the pedals, oops.
")


 Good progress though, it looks like it's coming along great!
Leave a comment: