scrapped the collectors, unfortunately a lost of time lost but thats all part of the fun
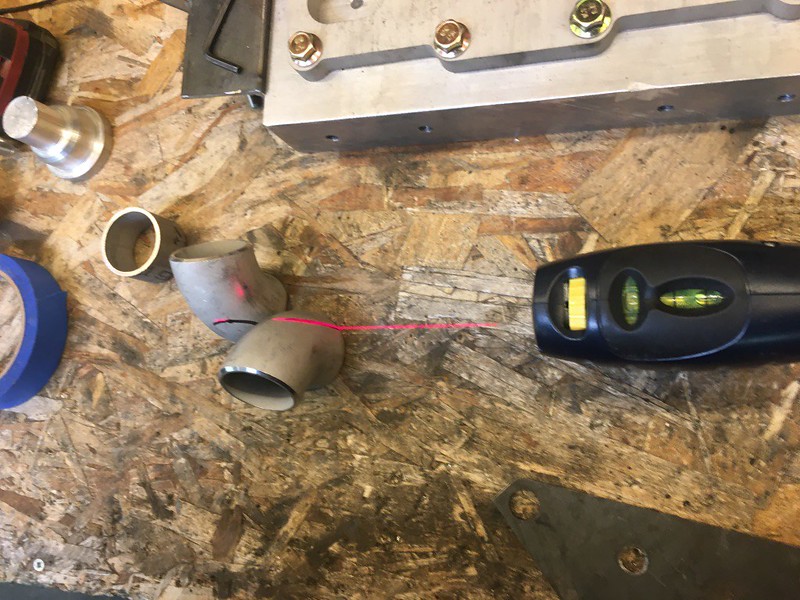
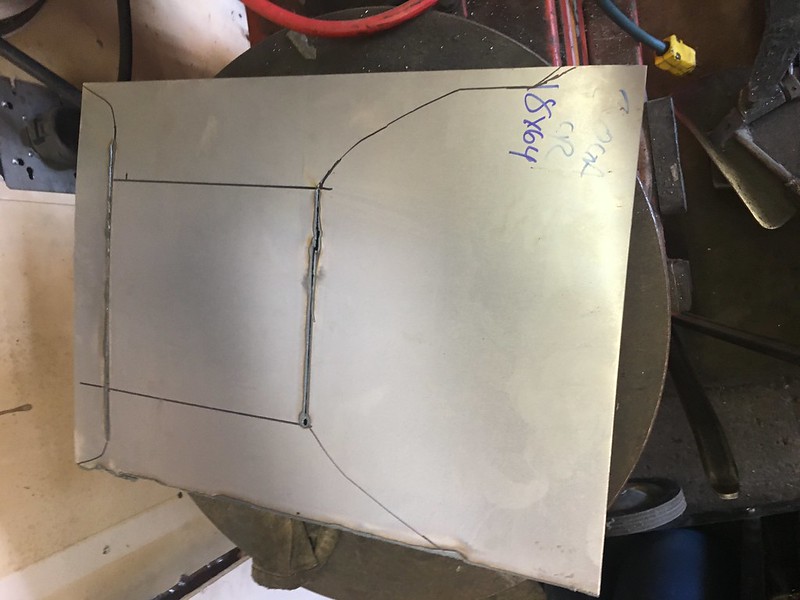
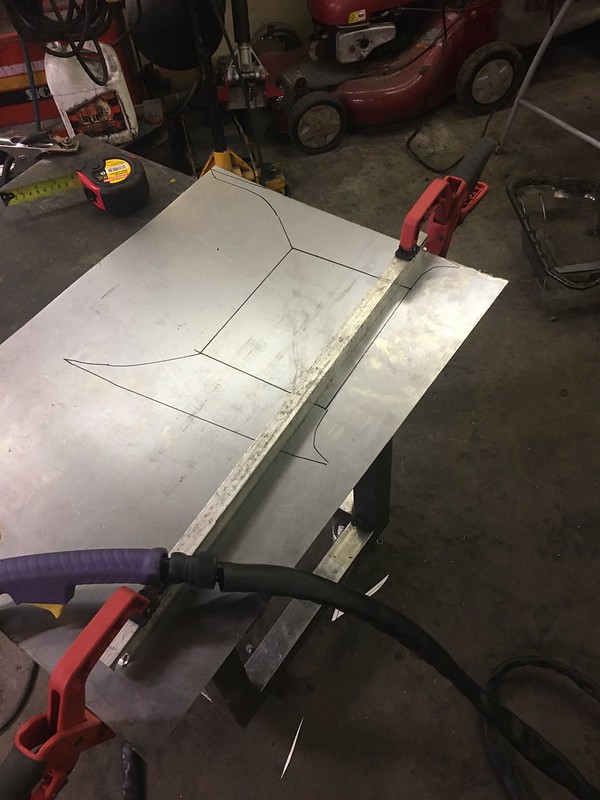
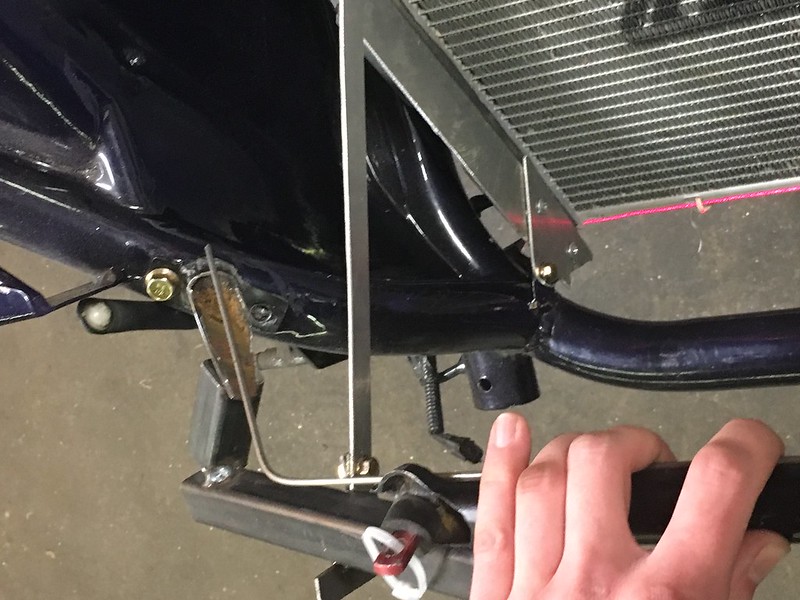
I use a laser whenever I can, I just like laser beams. Made it easier to get the cut and fit really tight. Im not the one welding these so I want to make it as easy as possible and that means tight fit ups.


rinse repeat.

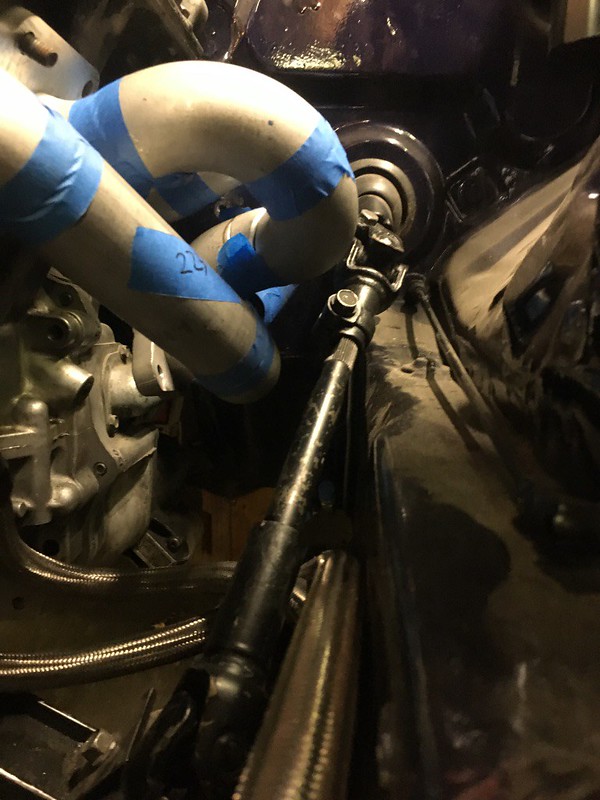
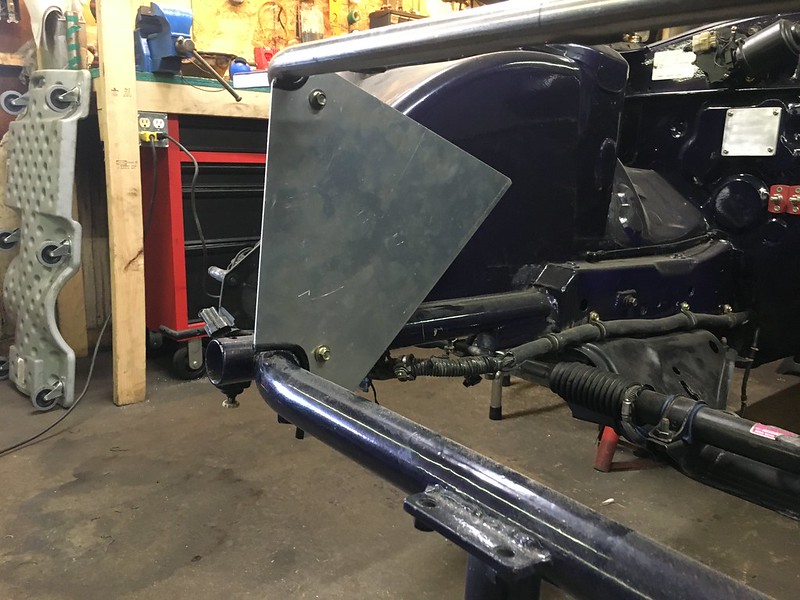
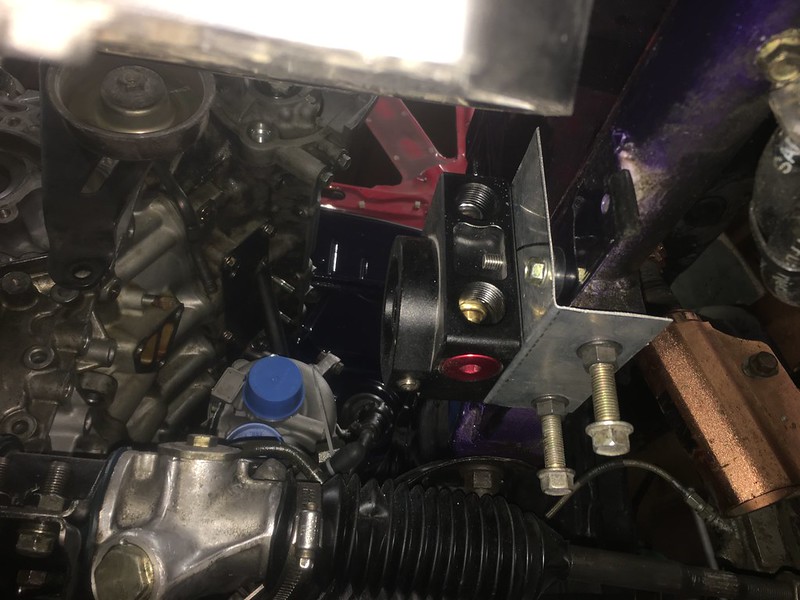
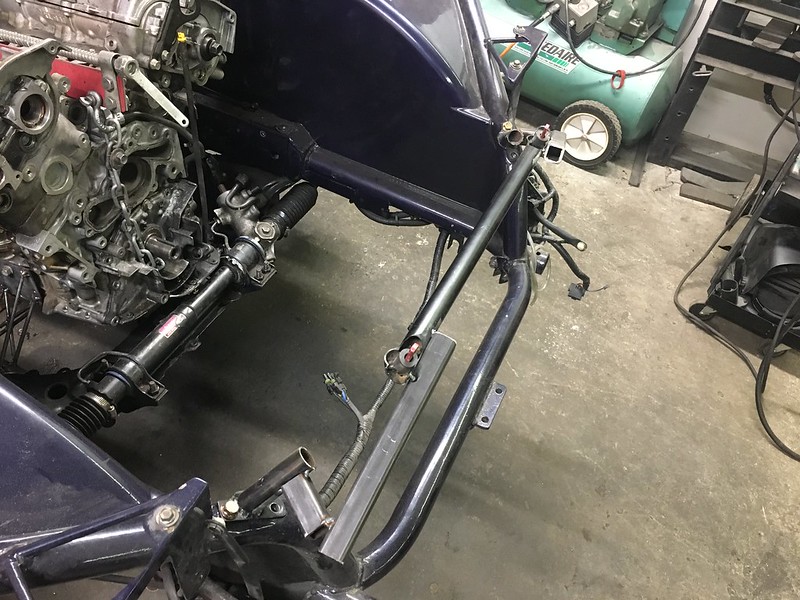
much better fitting near the steering column


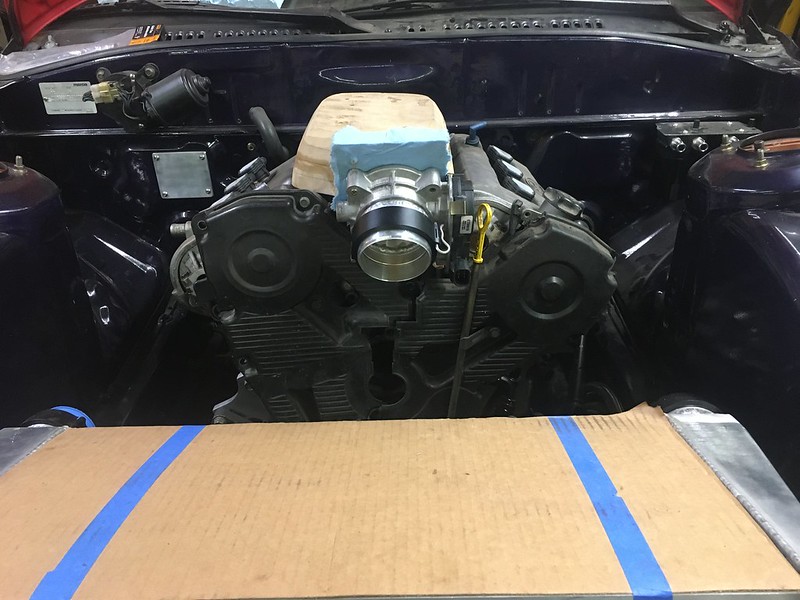
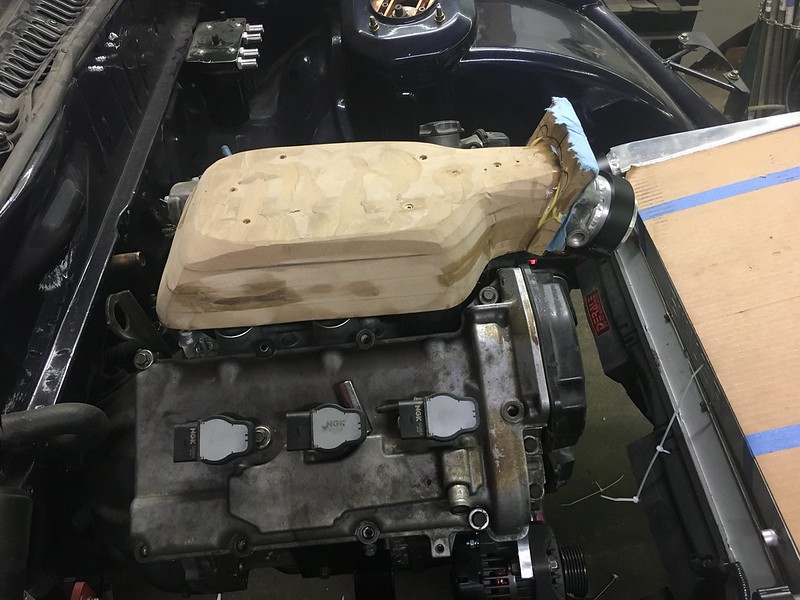
This kinda made for an awkward manifold that had really long runners and hard to get the bolts and get in and out of the car. My OCD wasn’t happy

sooooo minor change
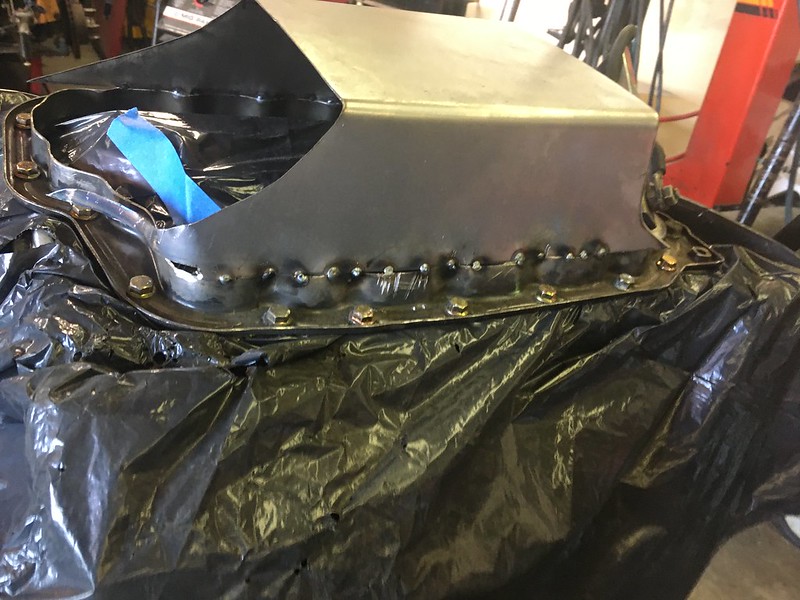
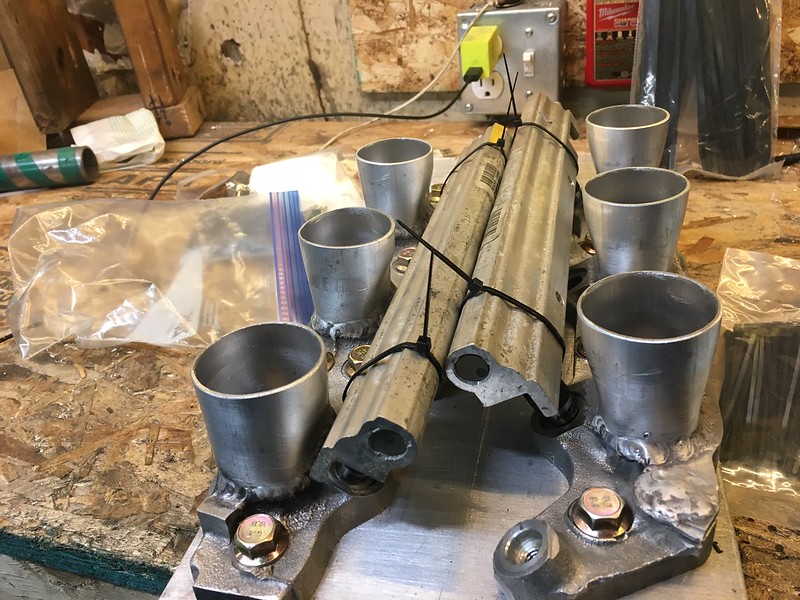
tack them in a symmetrical way

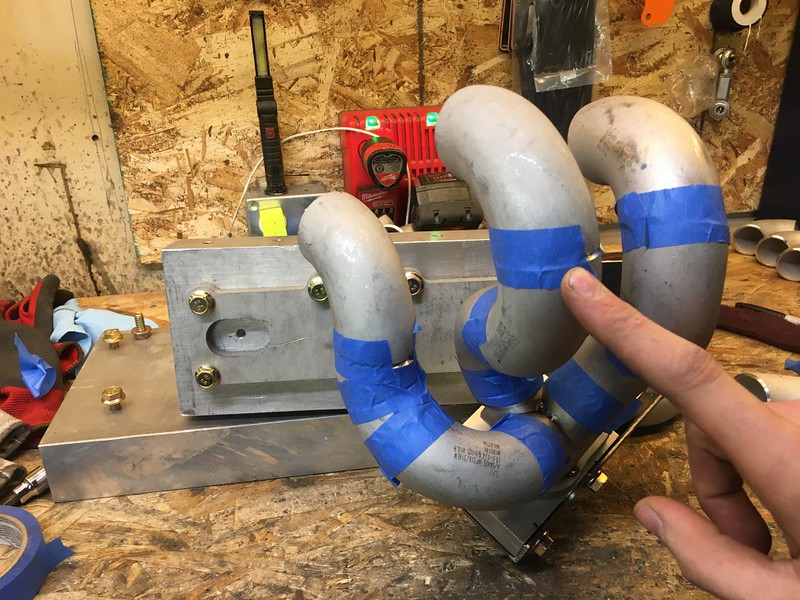
to make fitting them easier, as tape holds it it place pretty well but you can adjust it once its taped, I cut some thin aluminum tube to make like spring holding thing

worked really well actually


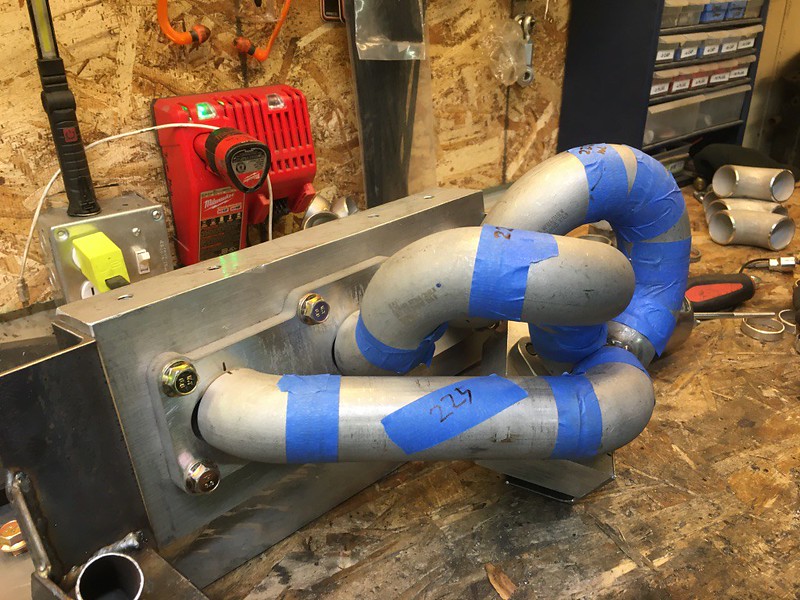
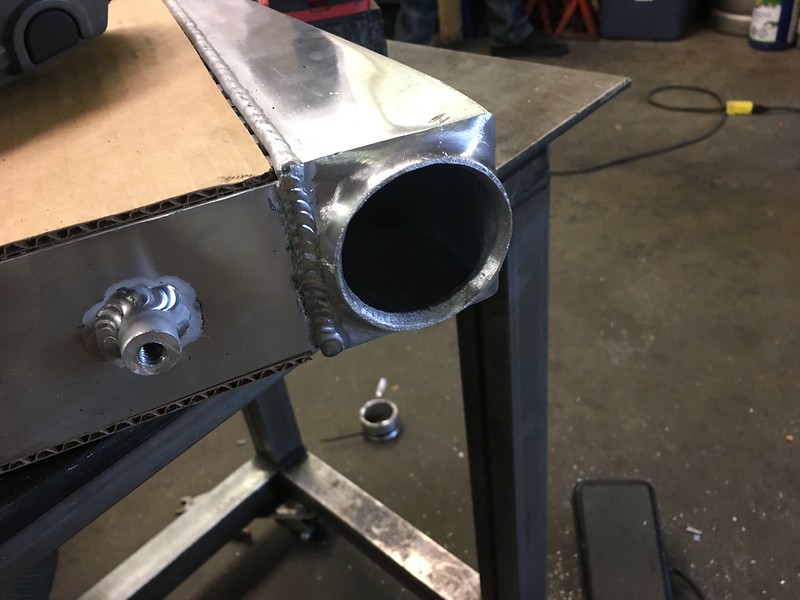
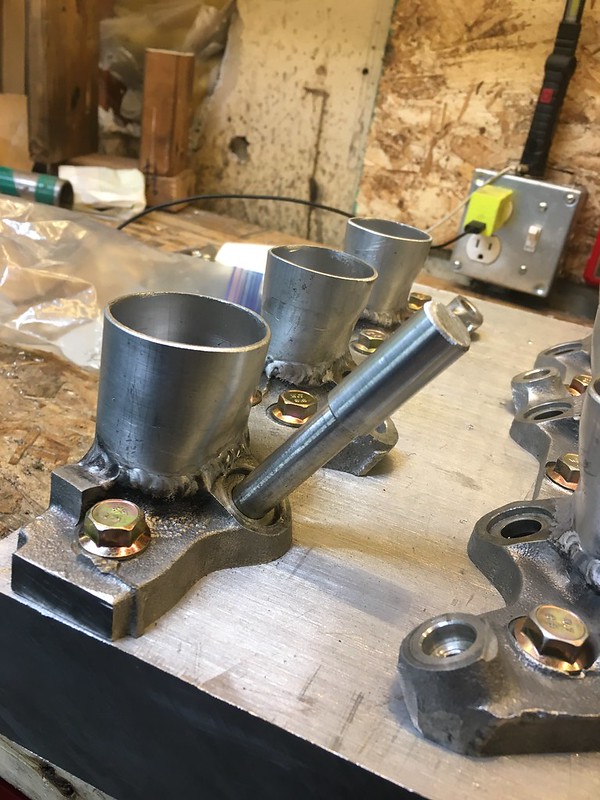
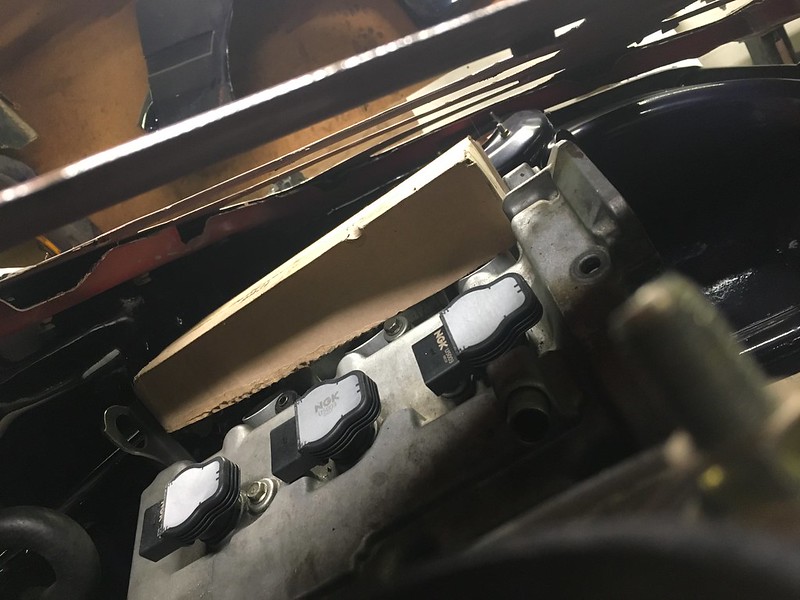
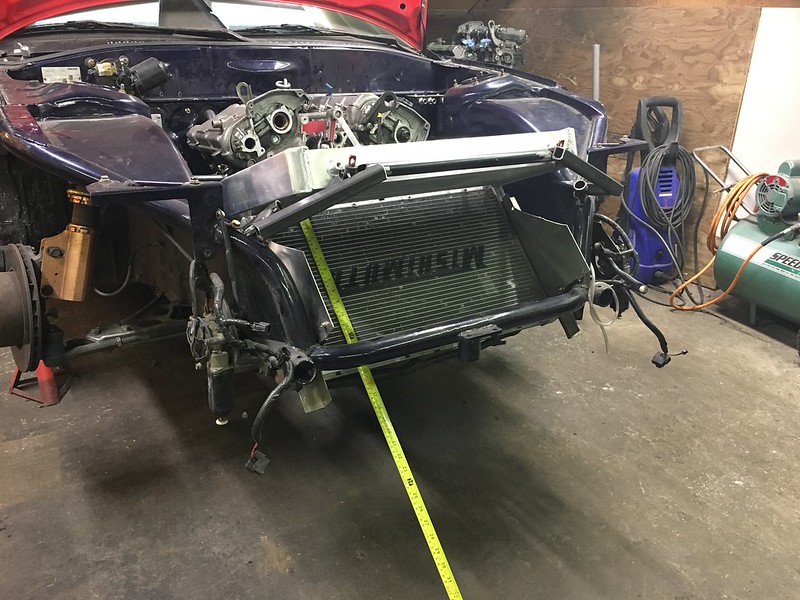
got the runners fit up nicely. Funny thing I learned is that equal length manifolds really mean equal volume. So all my runners are really close, not sure what acceptable tolerance is but they are within 5%

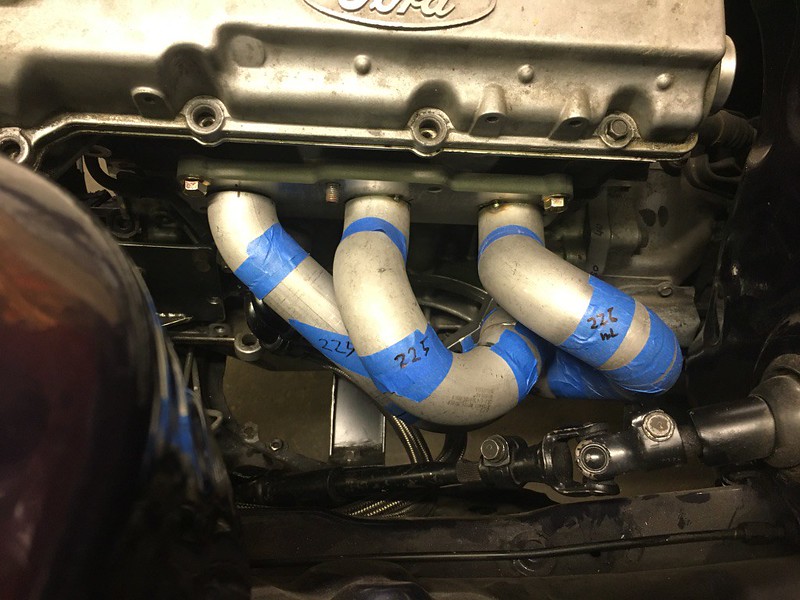
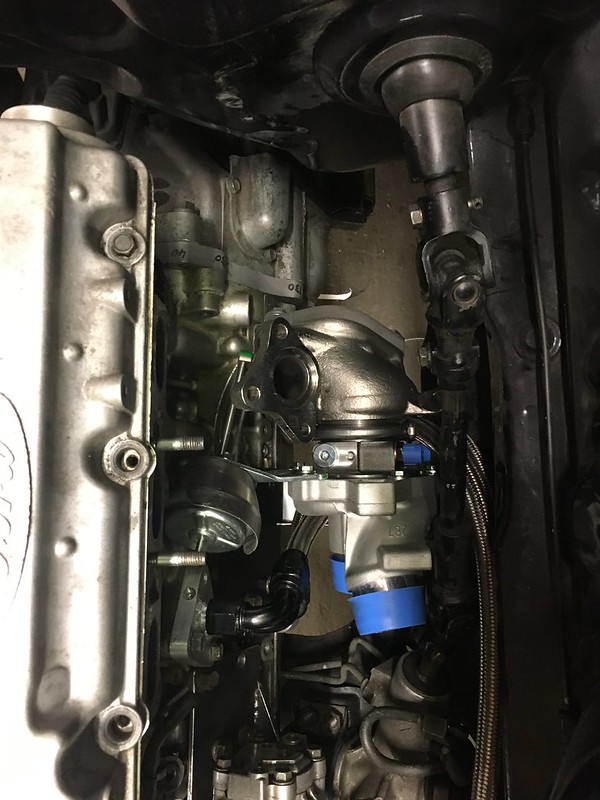
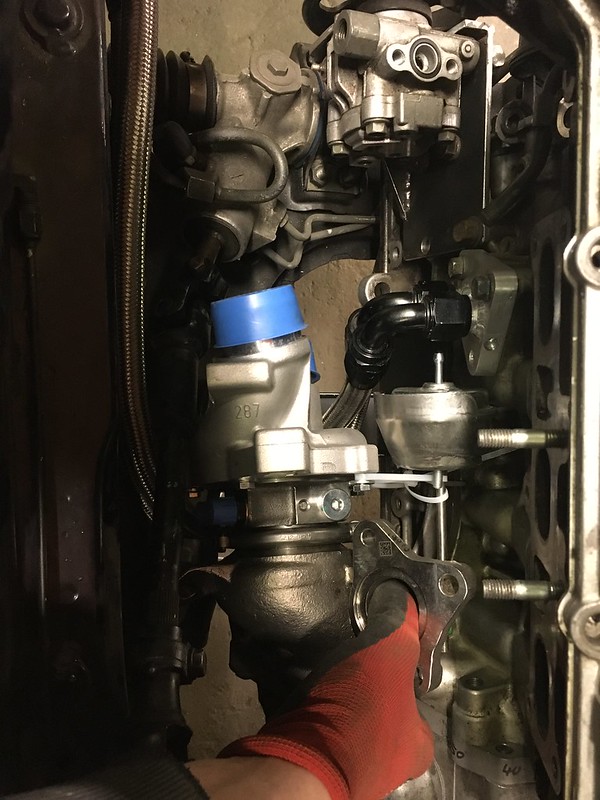
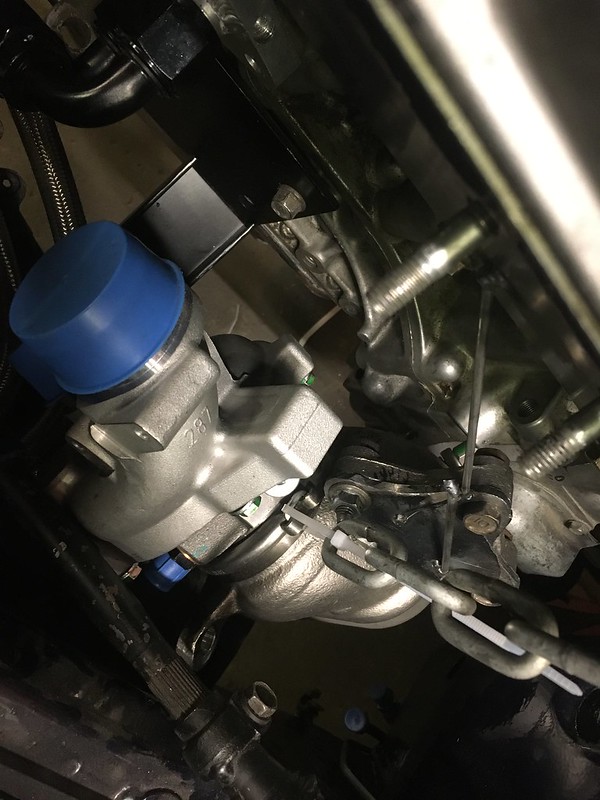
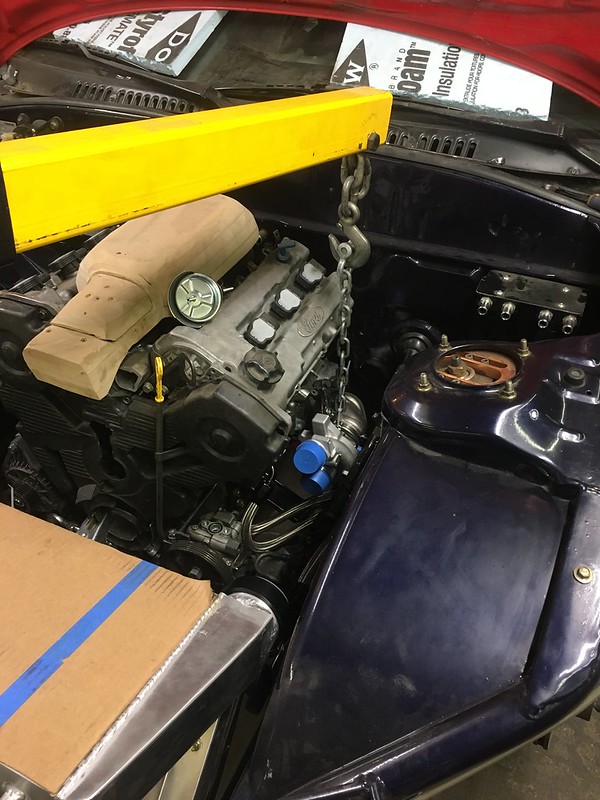
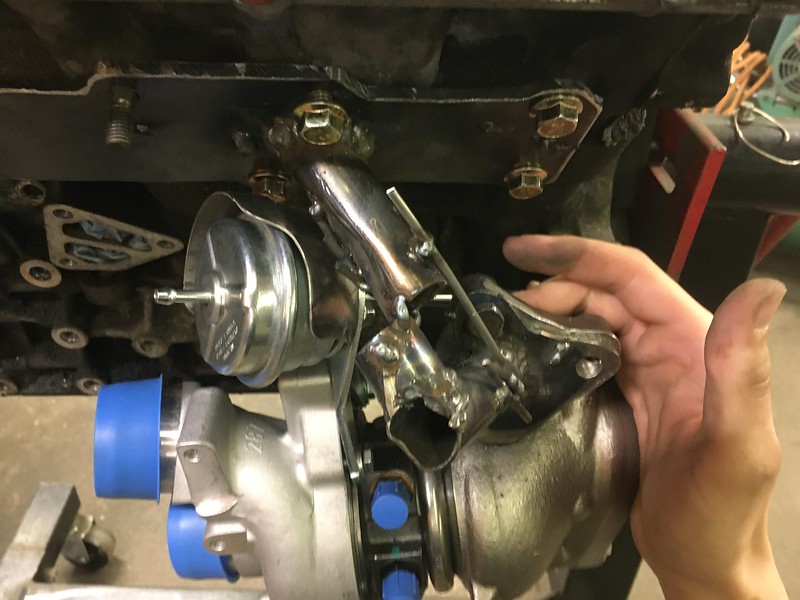
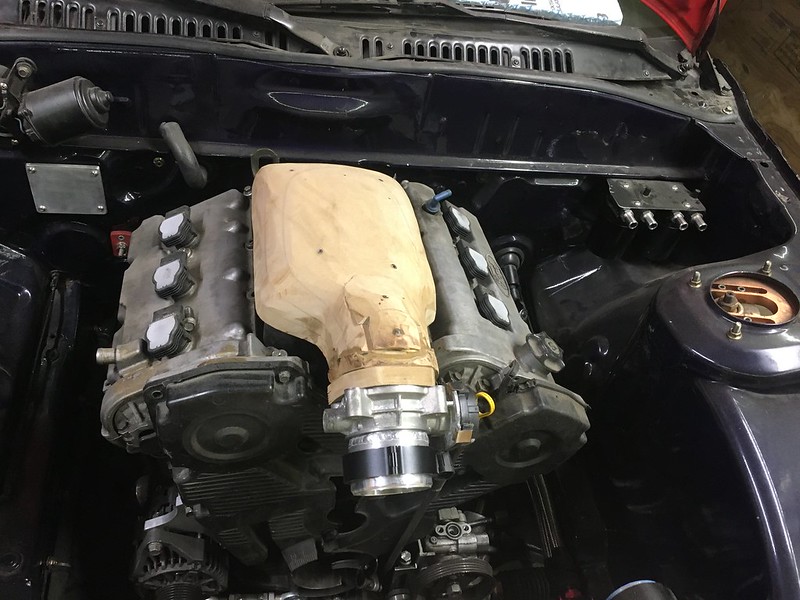
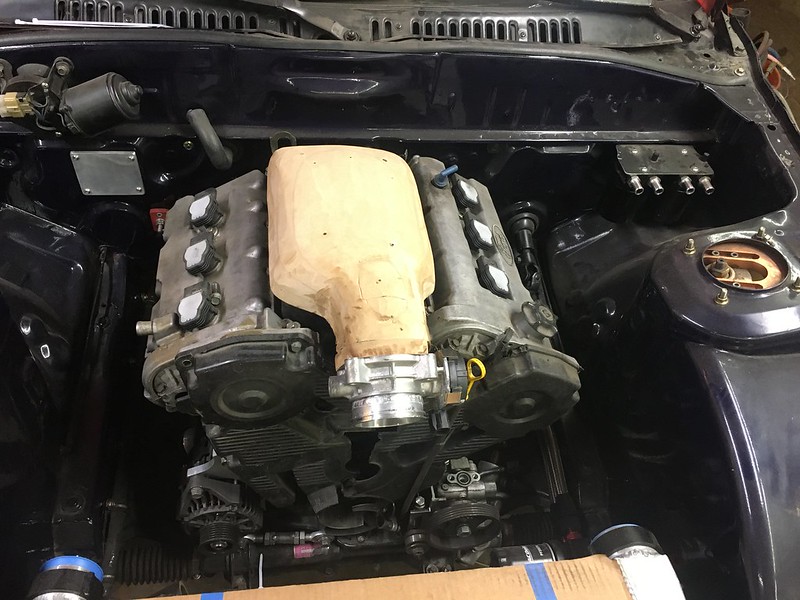
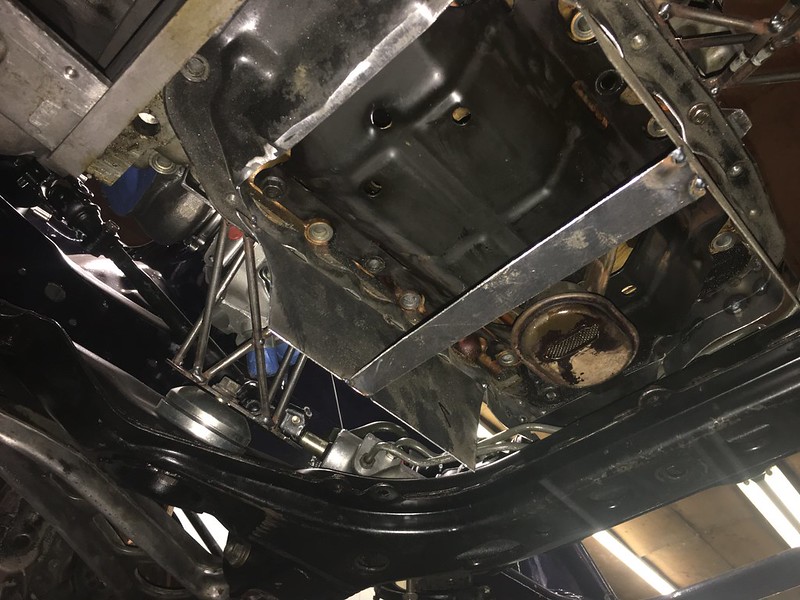
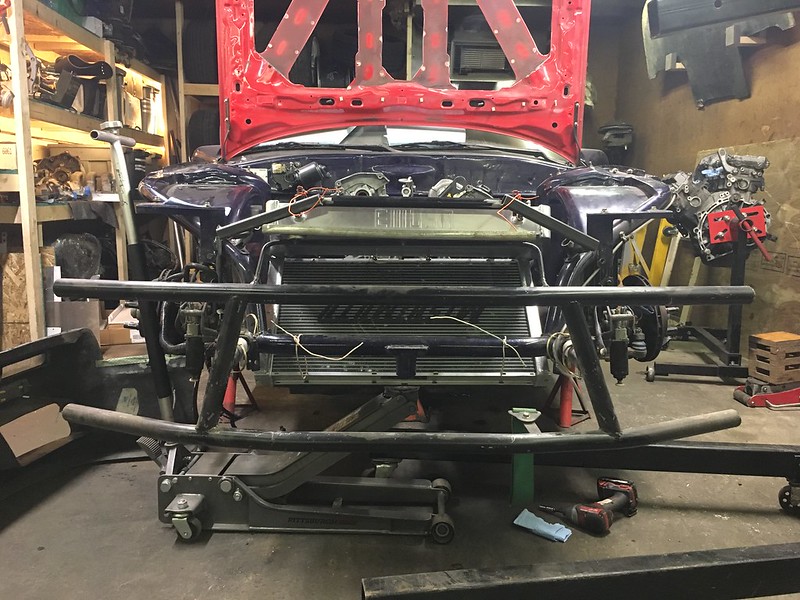
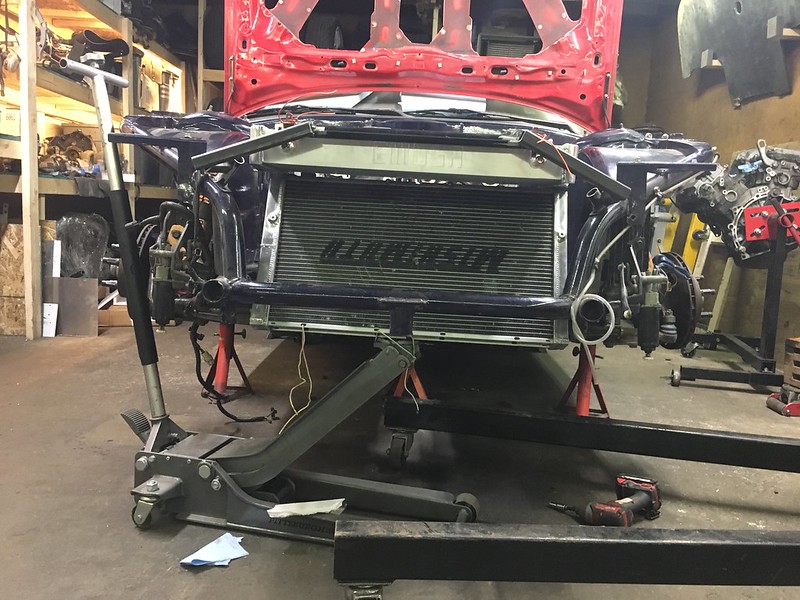
Fits in the car well, I can get the manifold on and off without having to lift the engine or anything silly. I dont know about with the turbo on yet but should fit fine. I can use one stud but no more, Mazda only used 2 studs so I’ll try bolts and one stud and we’ll see how that seals.
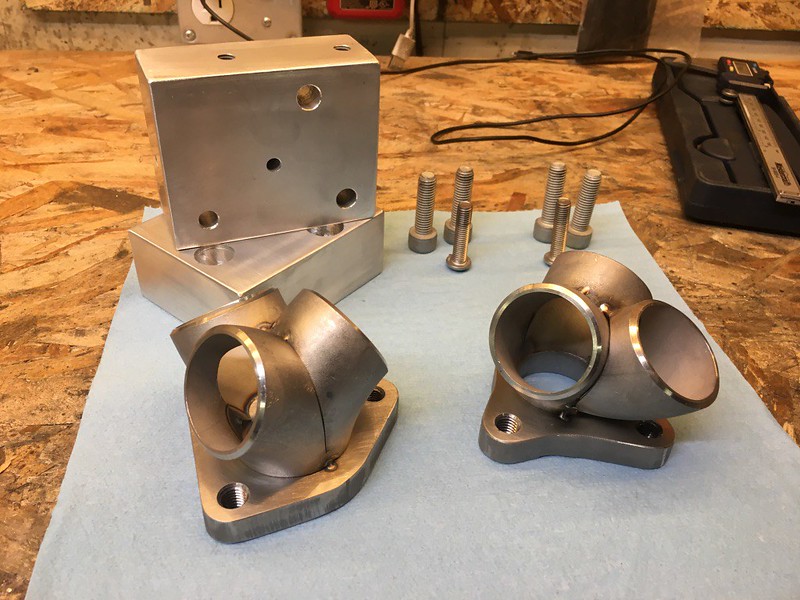
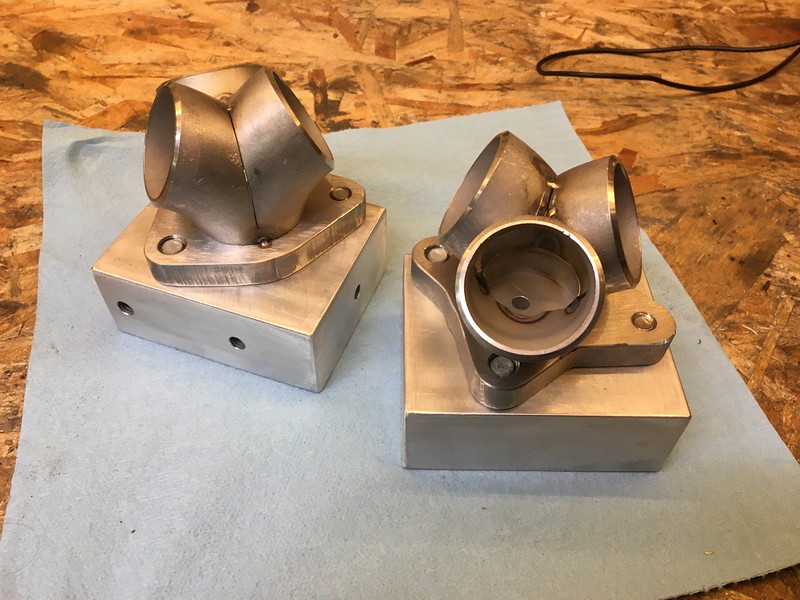
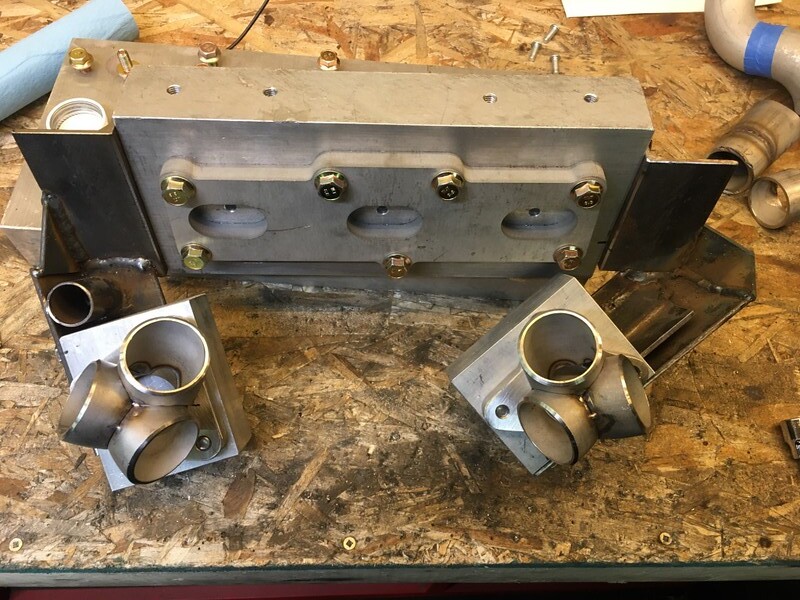
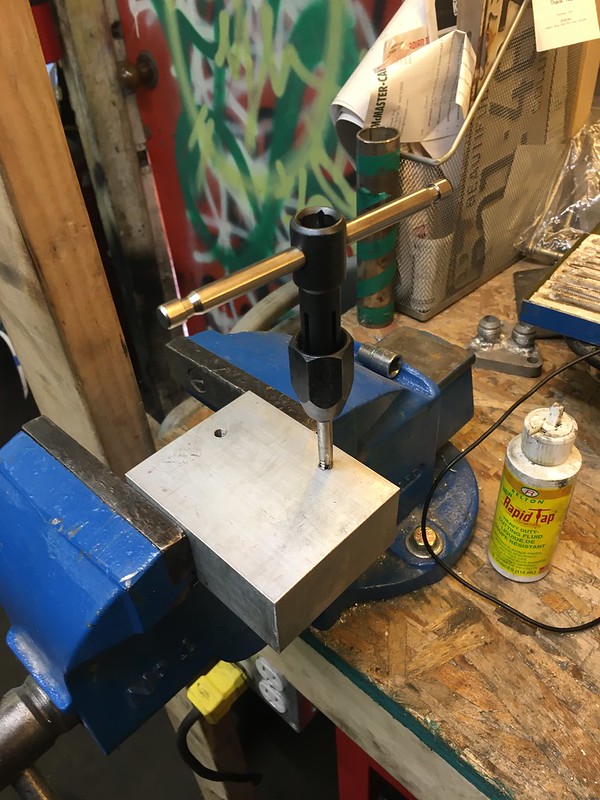
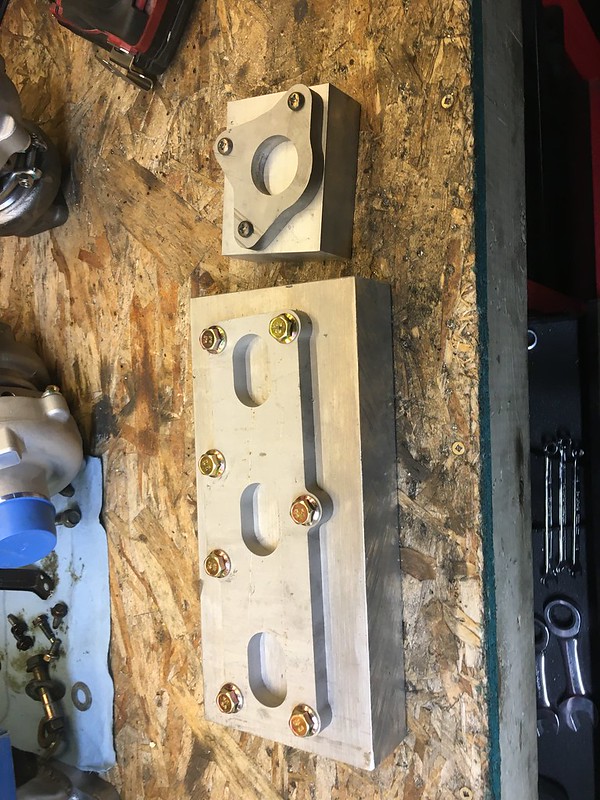
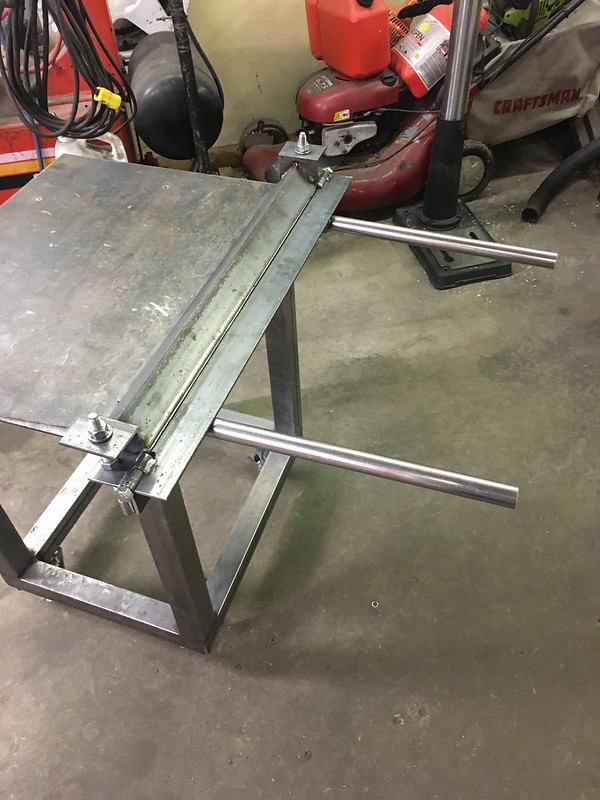
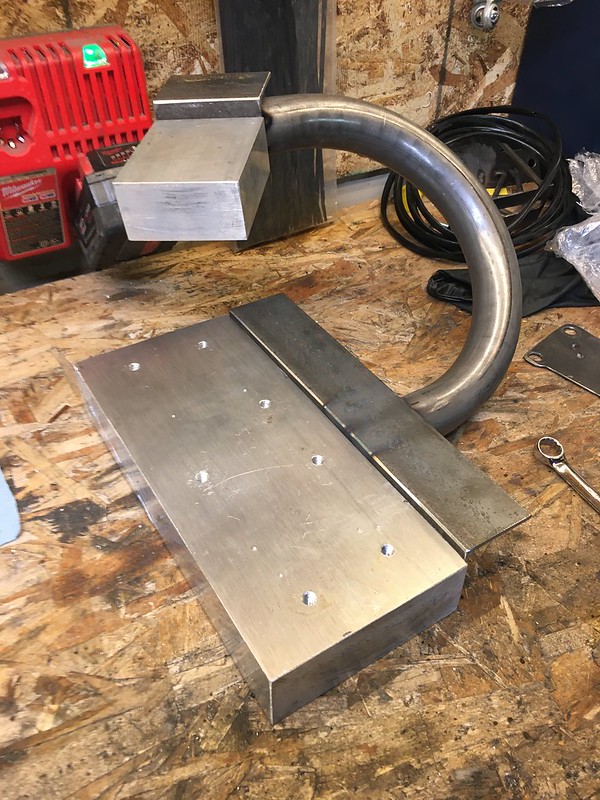
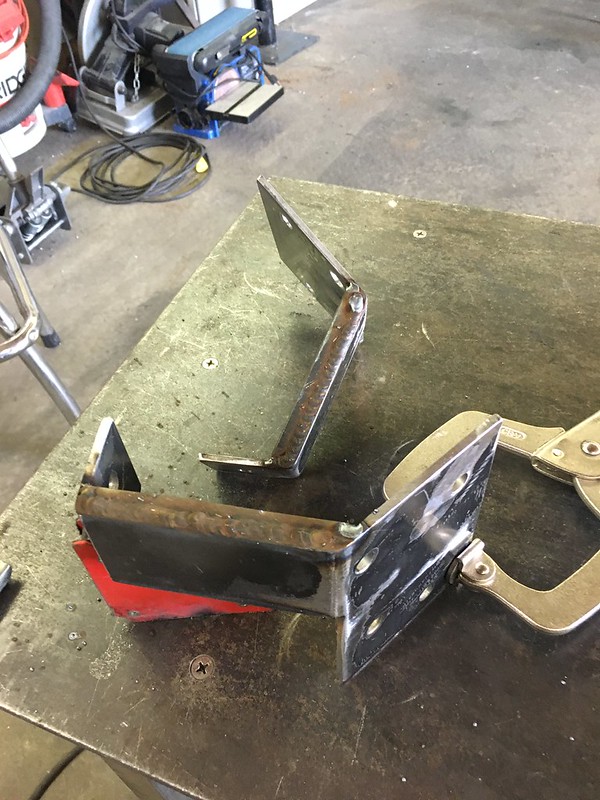
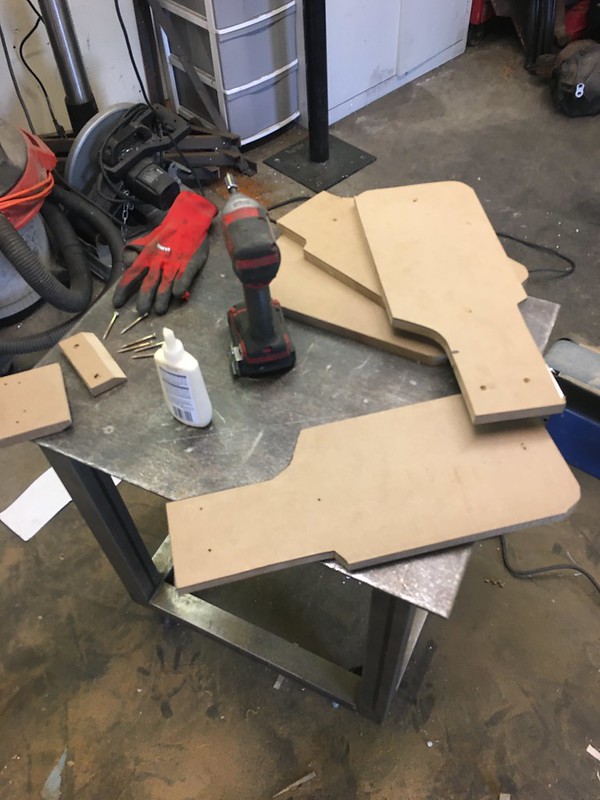
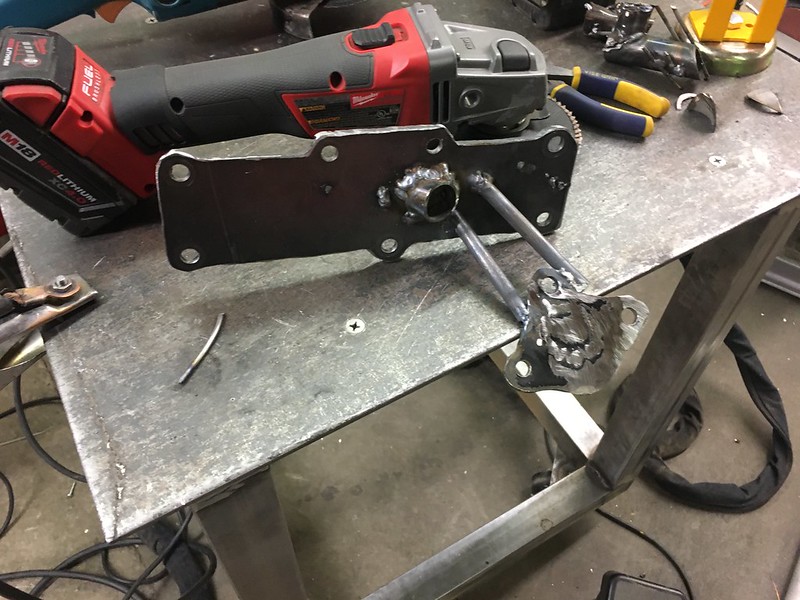
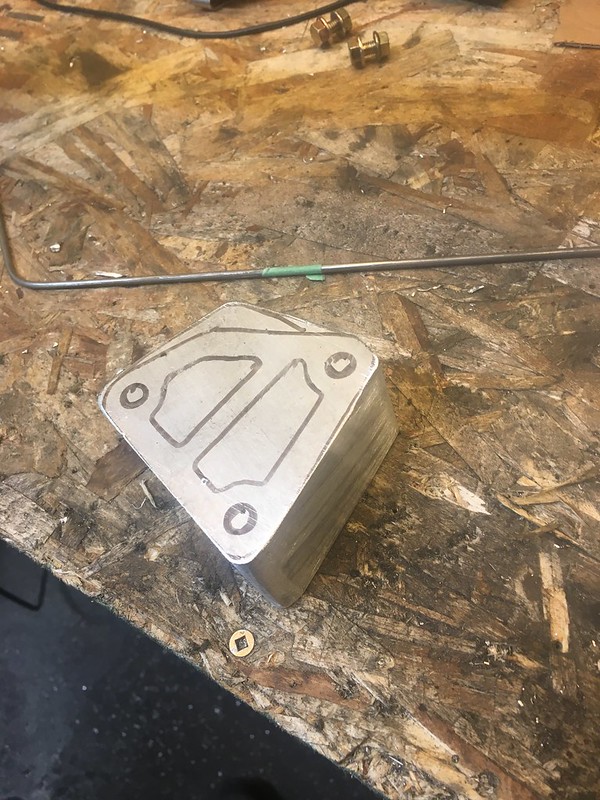
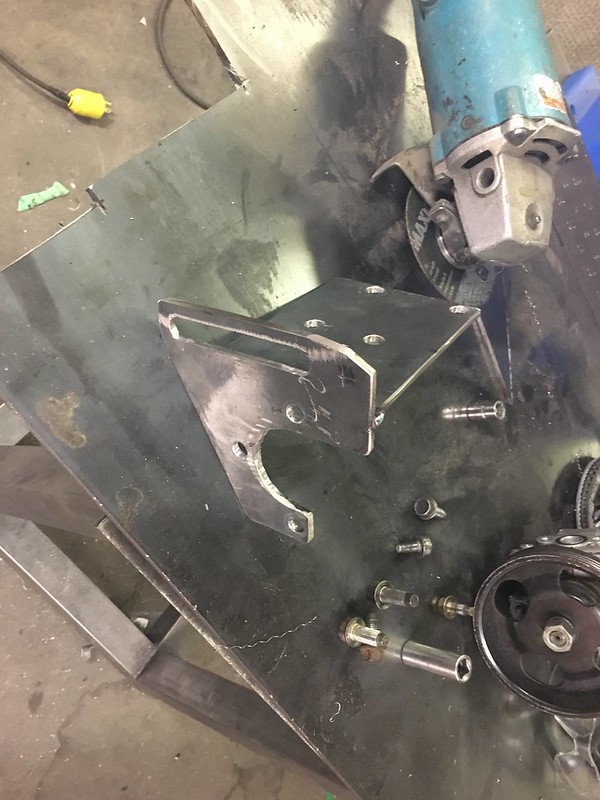
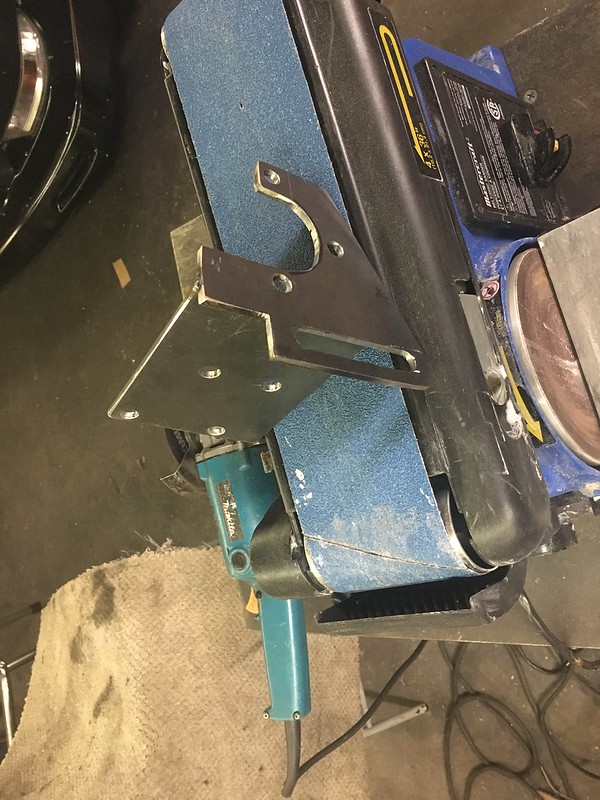
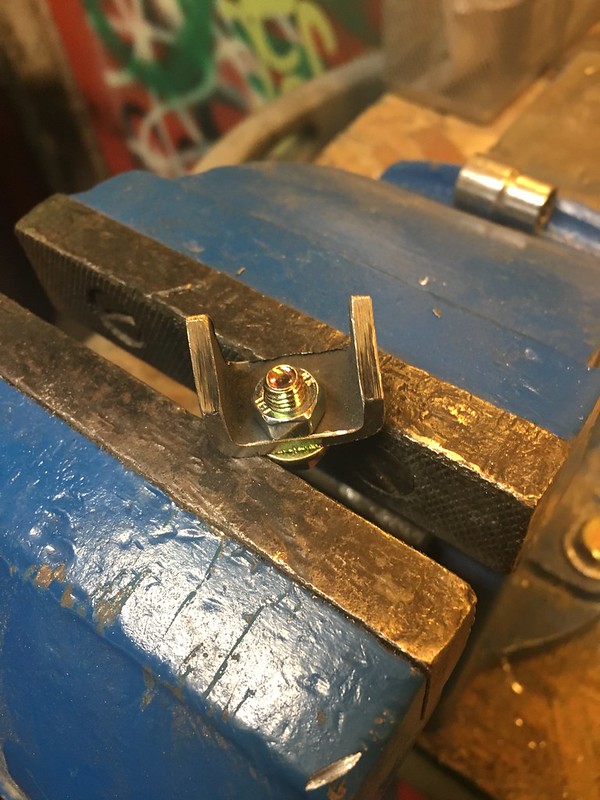
finished the welding blocks, got the hardware sorted and dropped them off with my buddy Travis to weld them. Tapped a 1/4” barb for back purge, he later told me to add a diffuser to make the gas flow straight

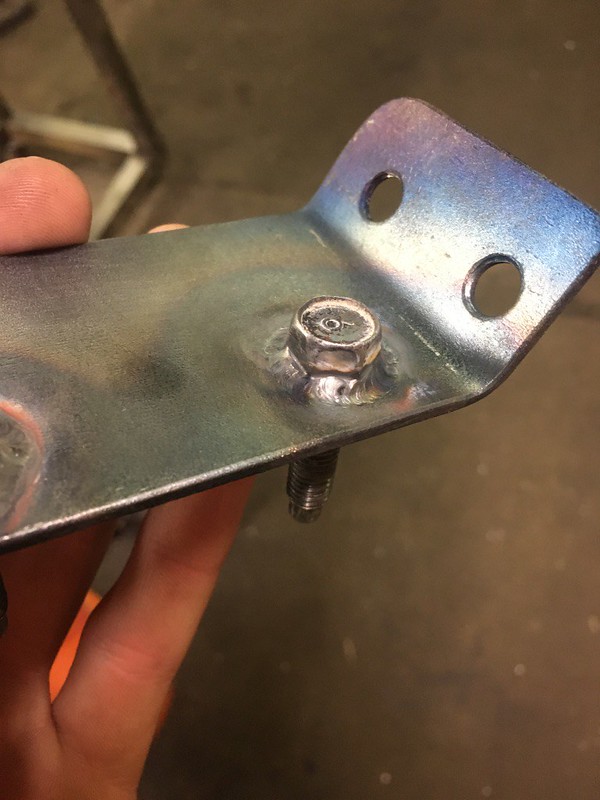
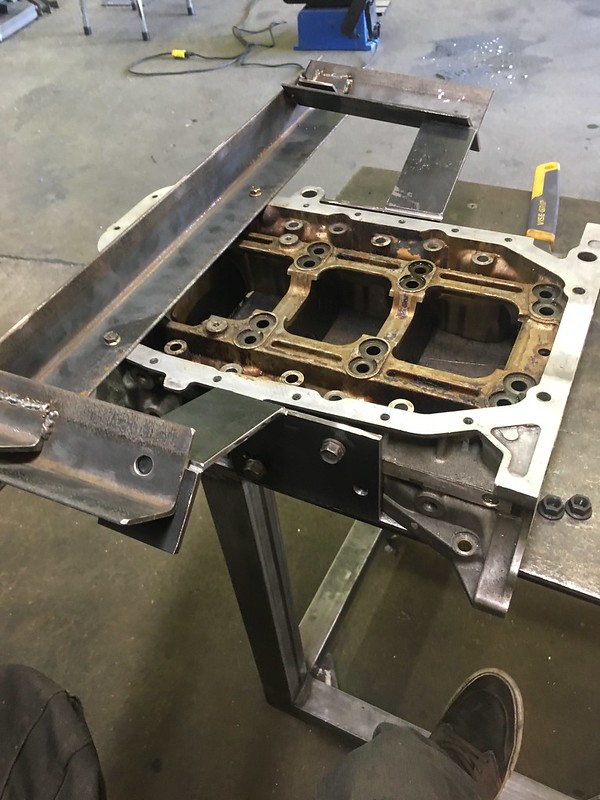
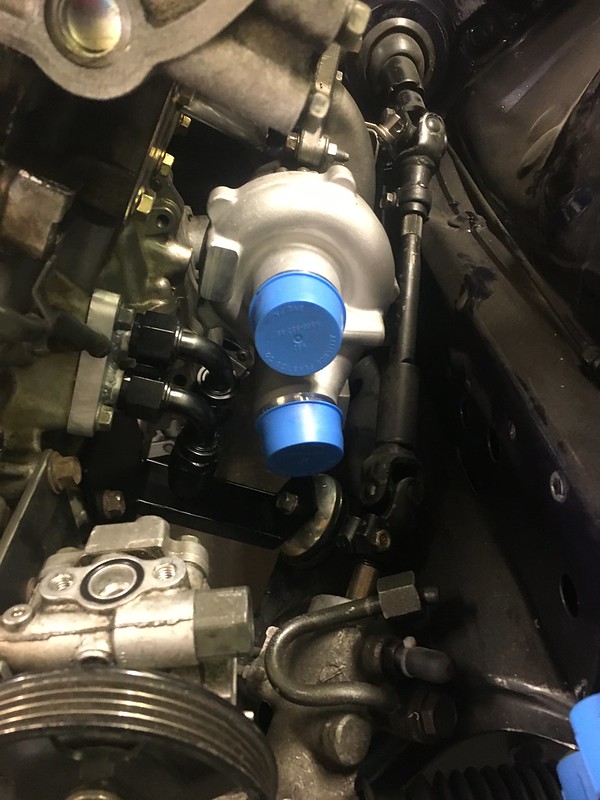
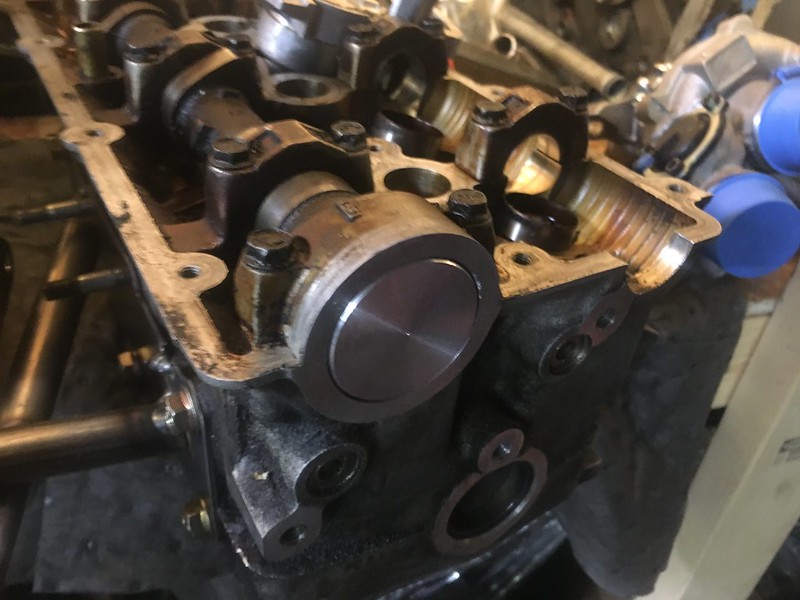
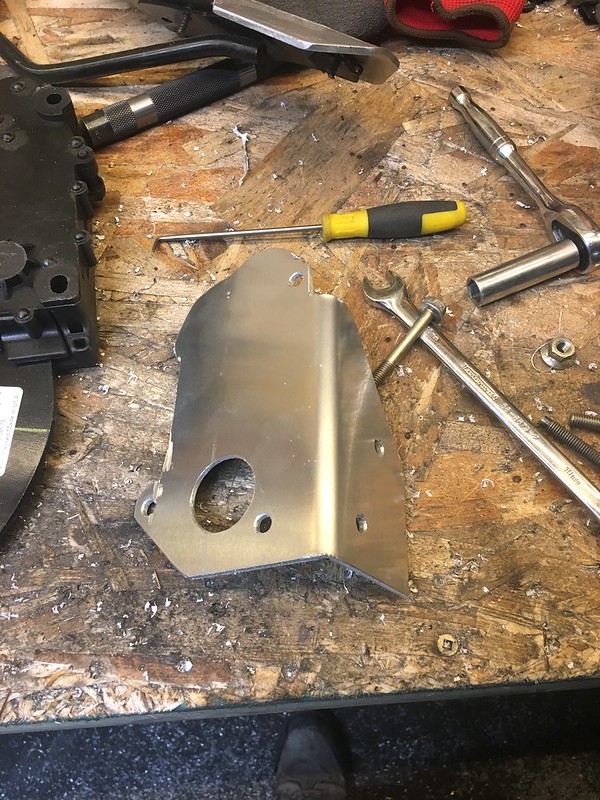
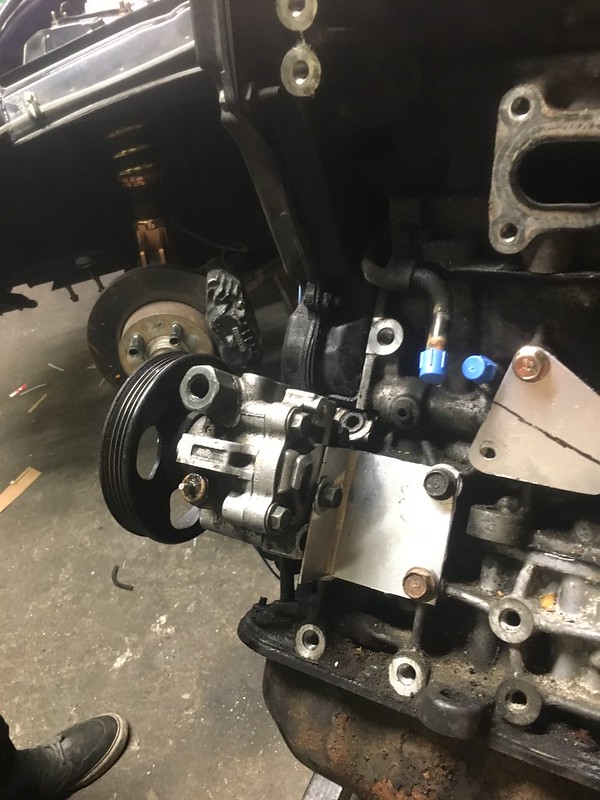
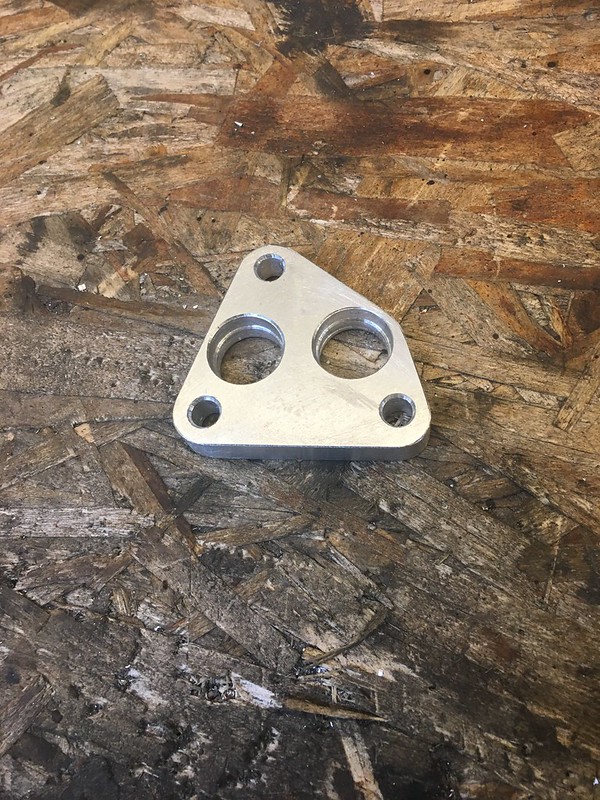
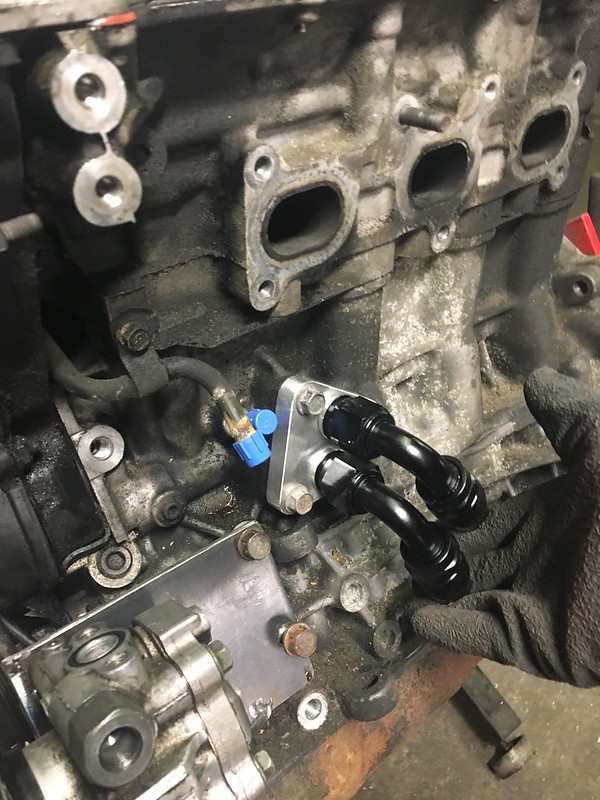
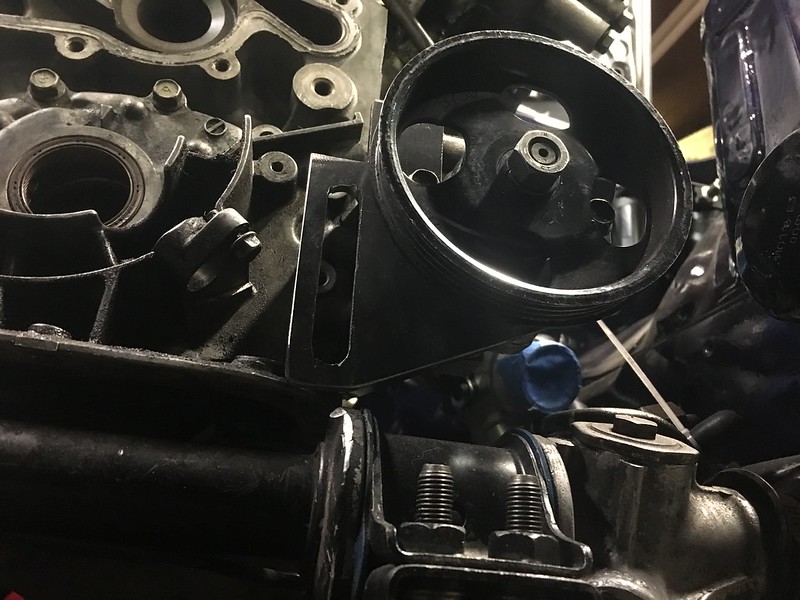
Got the real deal adapter plate back from cutting and machining. Made a few small changes besides the hole size on the M12 bolts to the block

I gave up trying to find a countersunk allen head in M12x1.25.
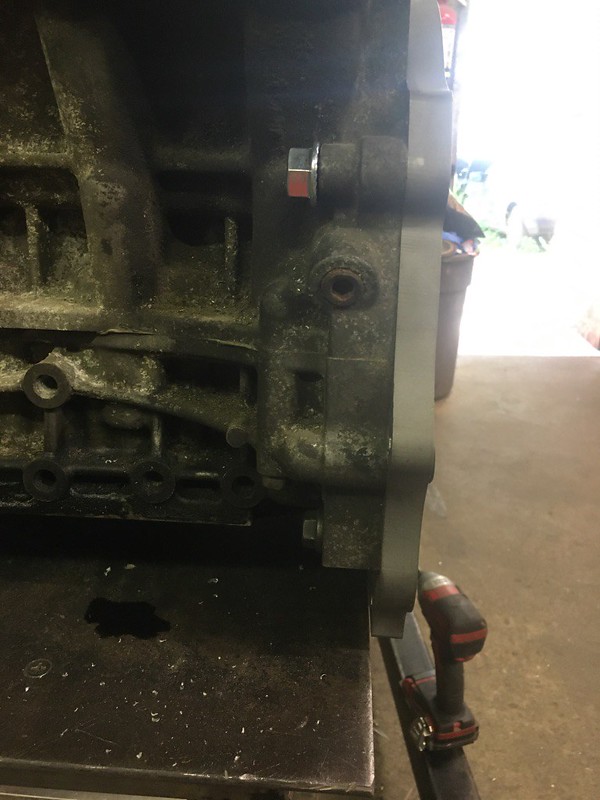
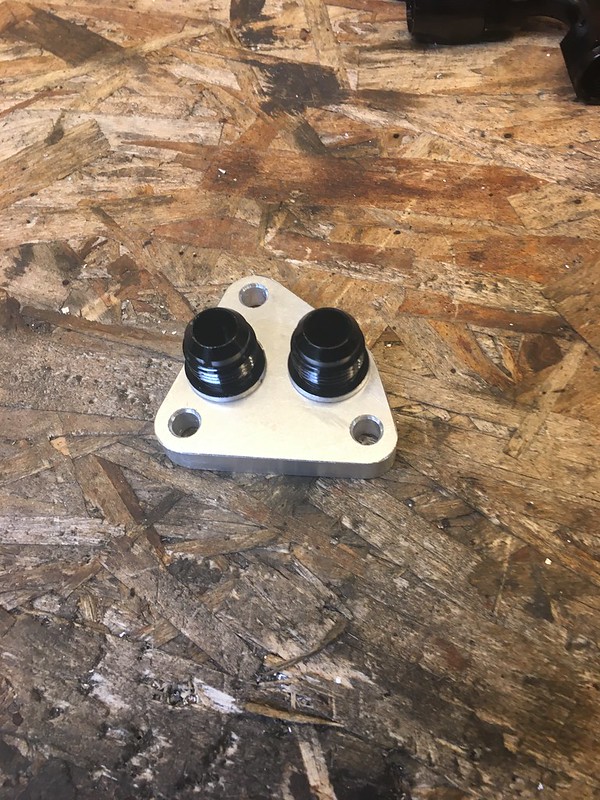
M12x1.75 is much more common and easy to get. One side on the engine block isn’t even threaded, and the other side is threaded but theres nothing behind it.
drill it out and put a nut on the back
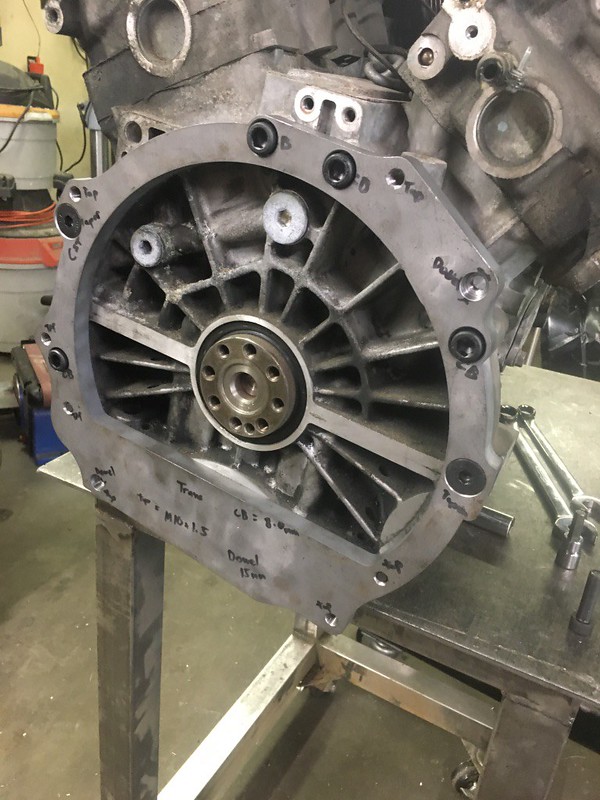
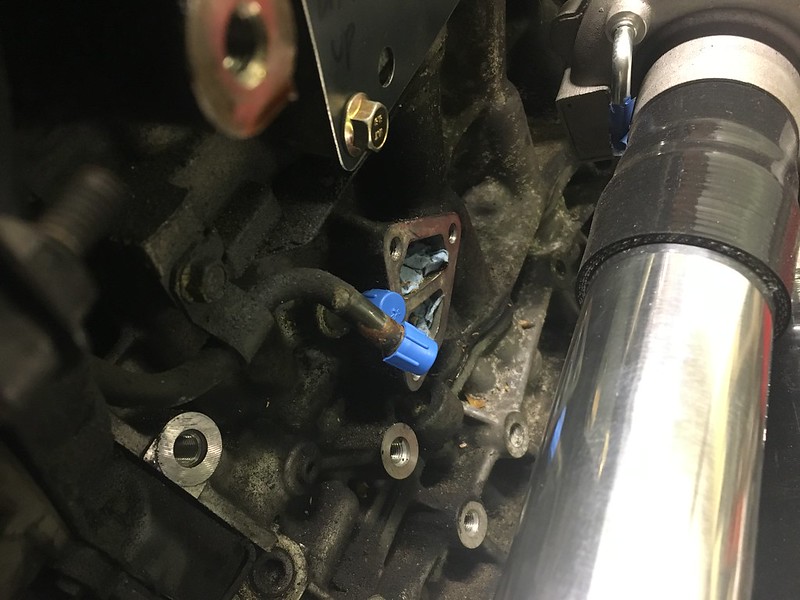
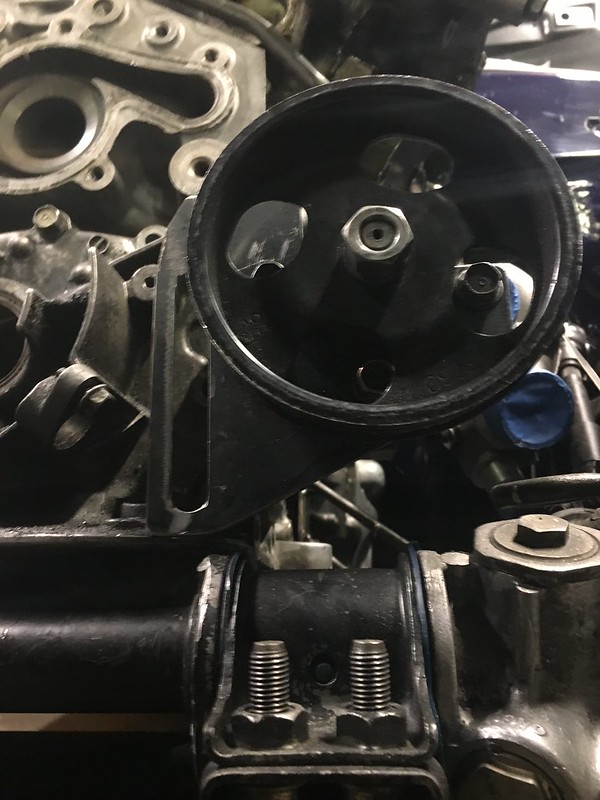
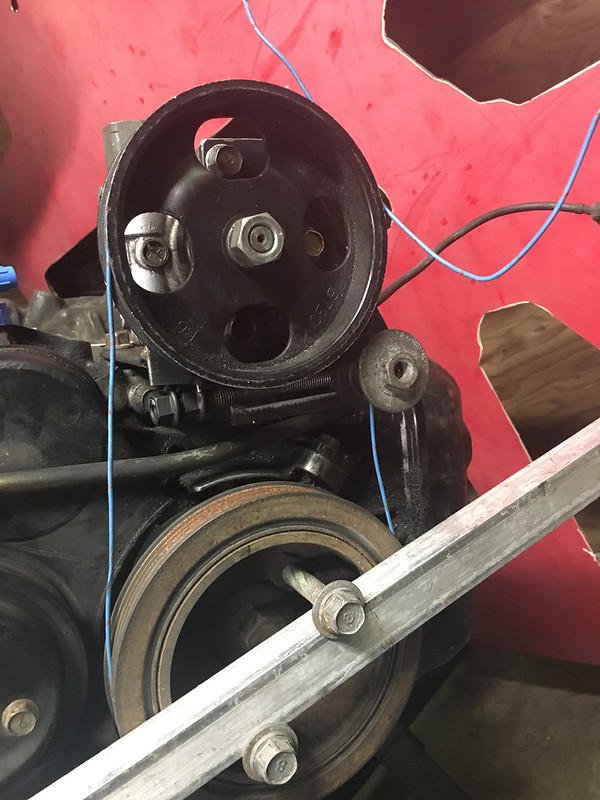
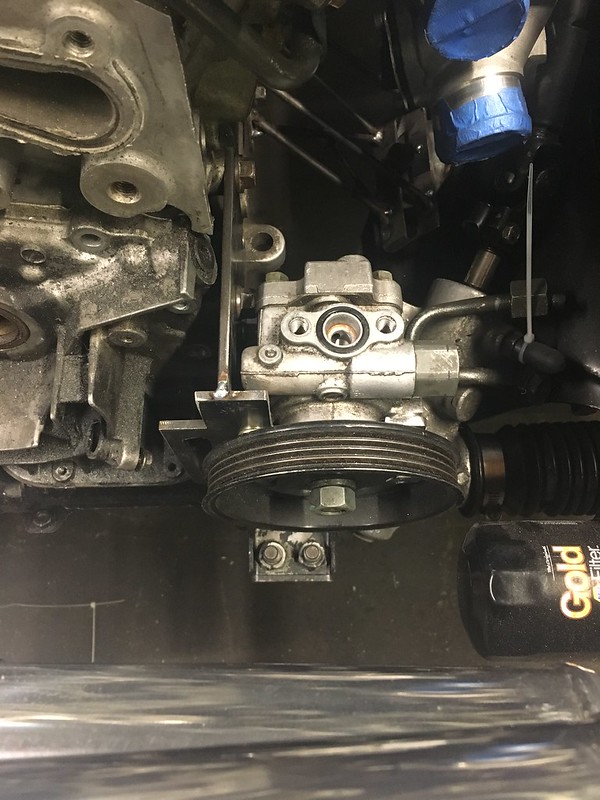
whole thing bolts up perfectly

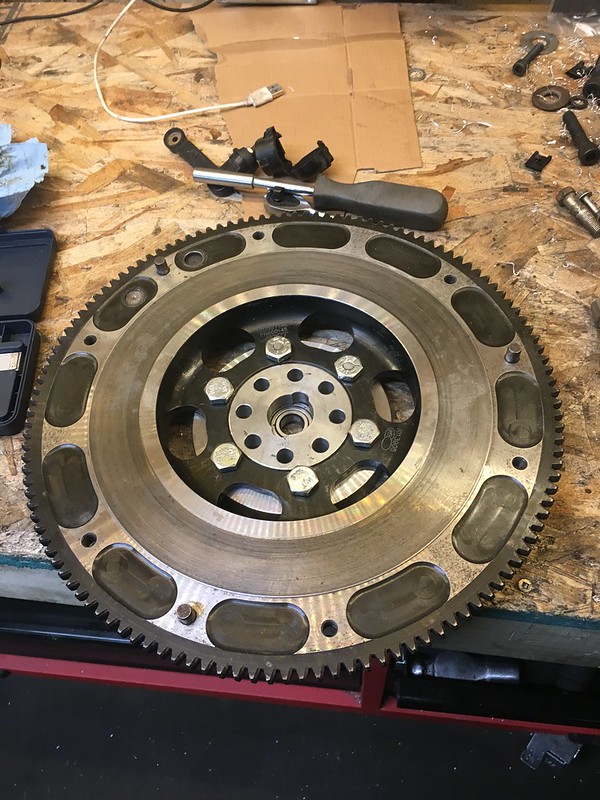
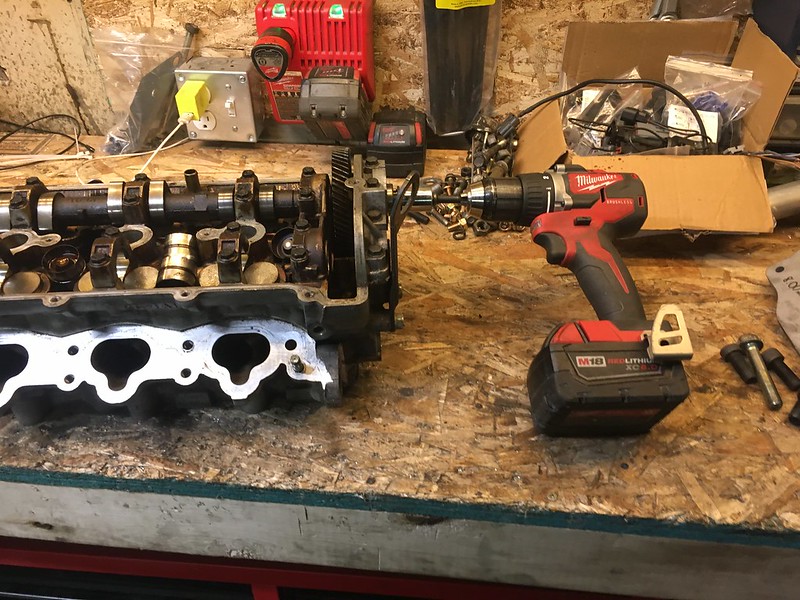
also got some less then common hardware M10x1.0 for the flywheel adapter.

Its actually a reasonably common thread for flywheels but not in allen head and in the length required for the adapter

flywheel bolted up
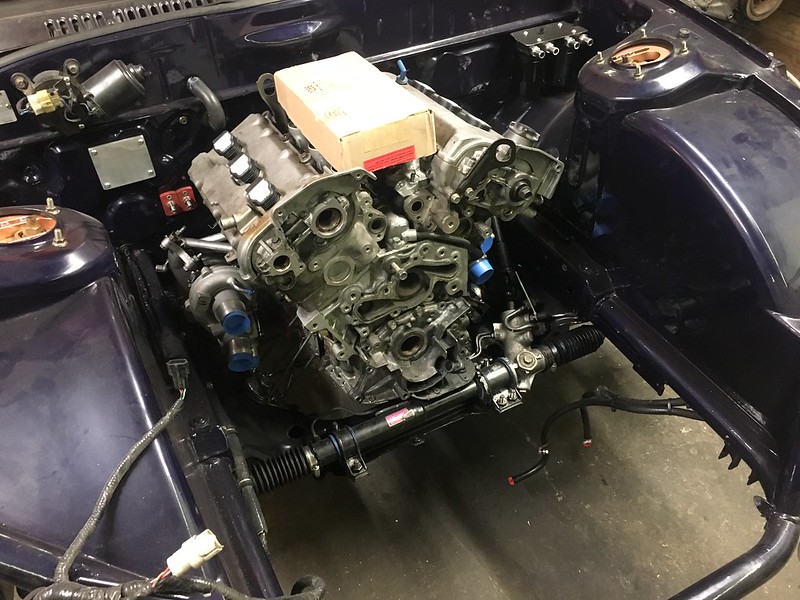
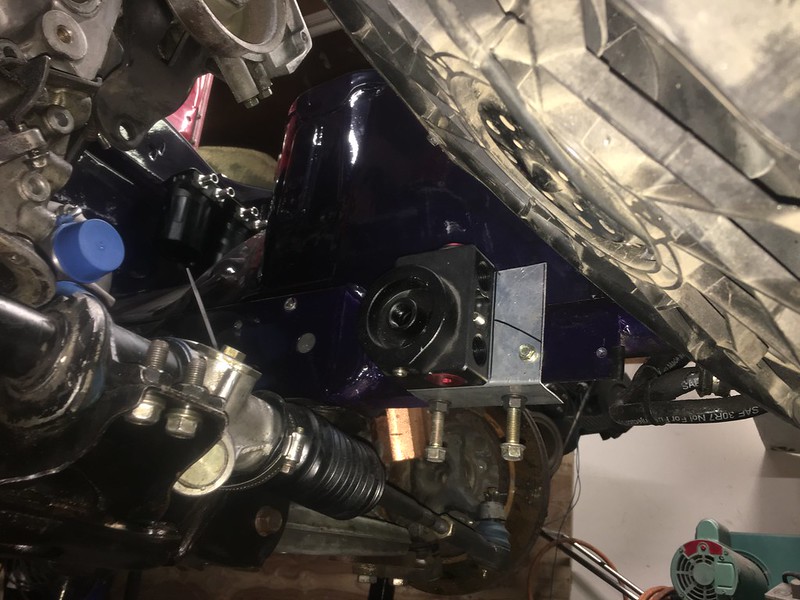
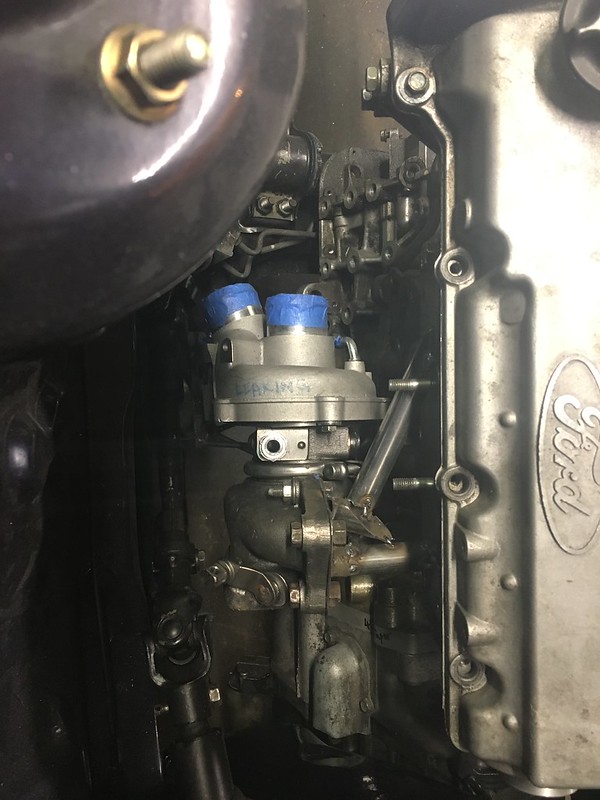
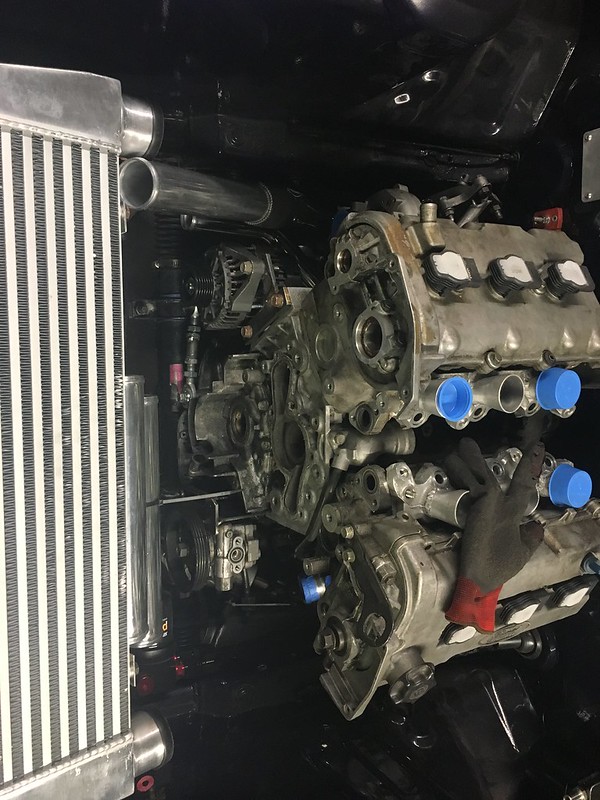
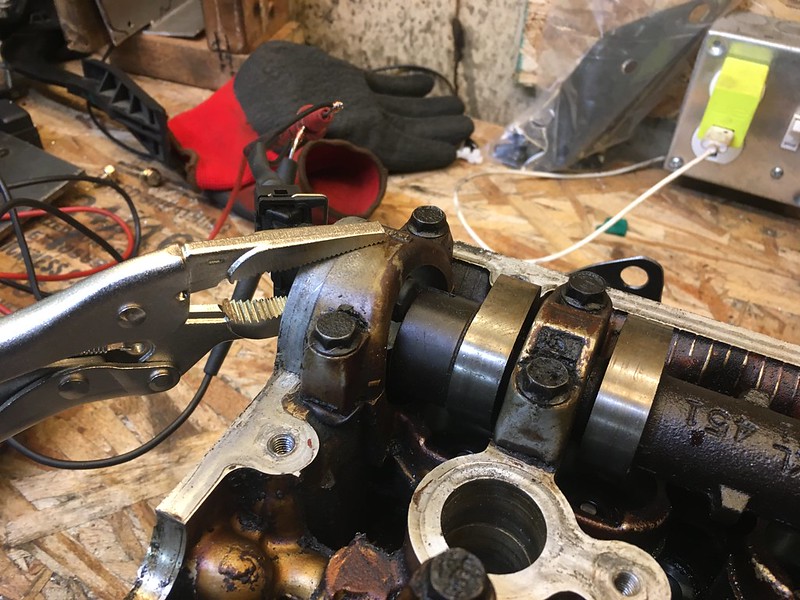
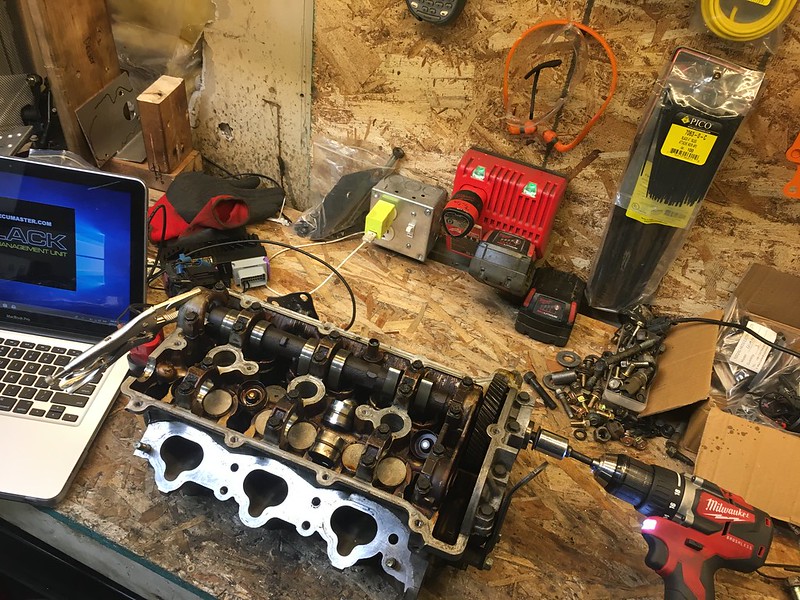
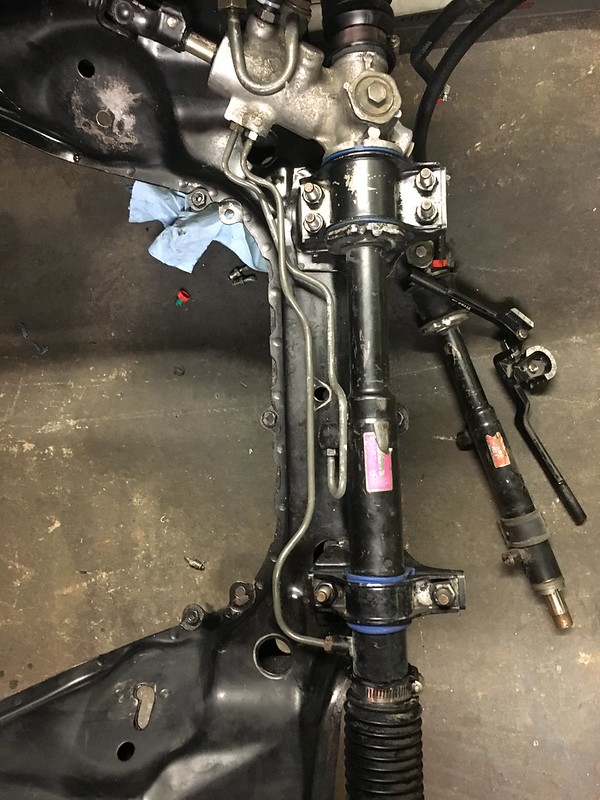
So for the first time I have the engine and transmission bolted together with the clutch lined up and it all fit
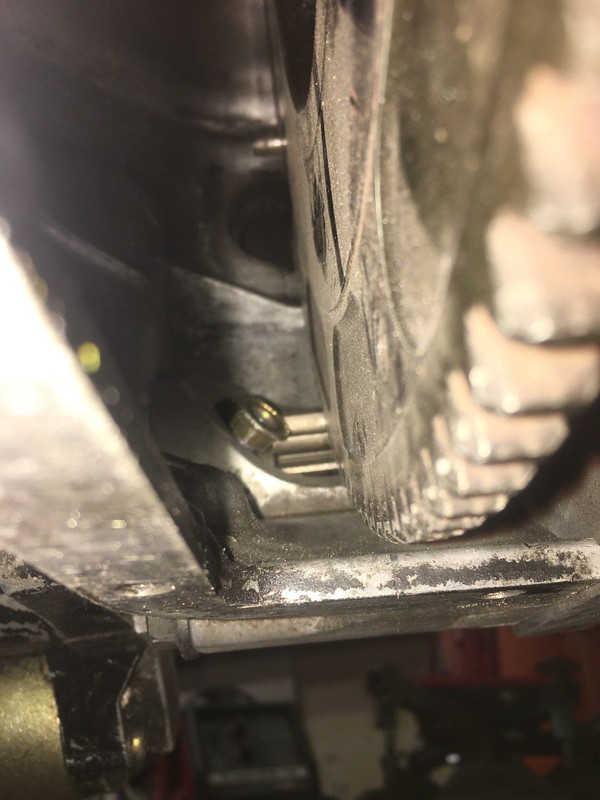
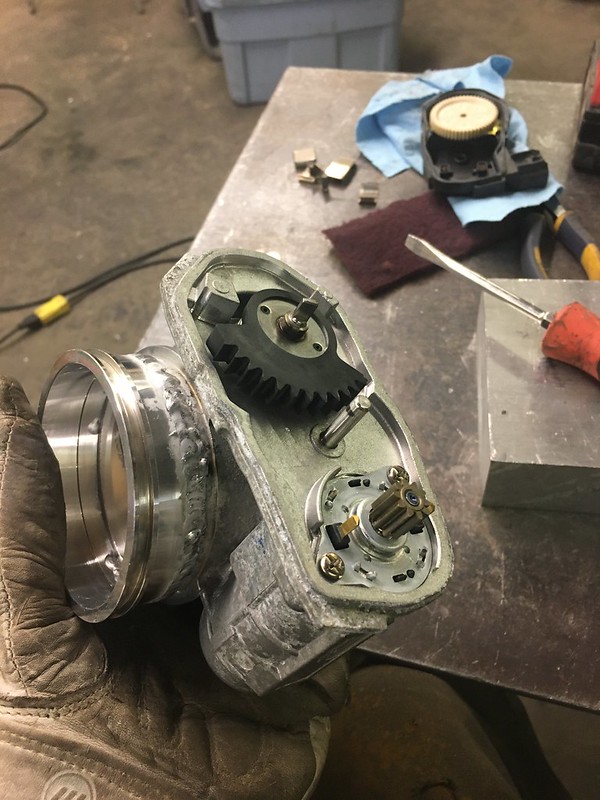
starter engagement is good, I locked the spur gear all the way out to check

pilot bearing is right on the end of the input shaft, like full engagement though. Prefer this because the adapter sandwiches the pilot bearing between the crank and it self.

turns out T2 and NA rx7 trans use different slave cylinders. Well barely

Thankfully the T2 ones are cheap and available
The whole thing fits, I’m blown away. Big thanks again to Neil at SCG for all the help. Arguably the biggest piece in making this build functional. Also thanks to Hose for his help machining all things I can’t lol.

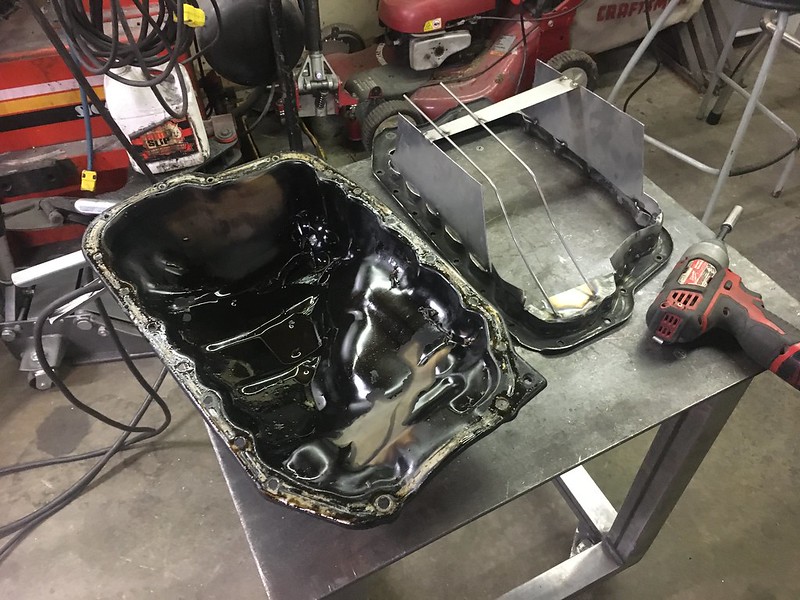
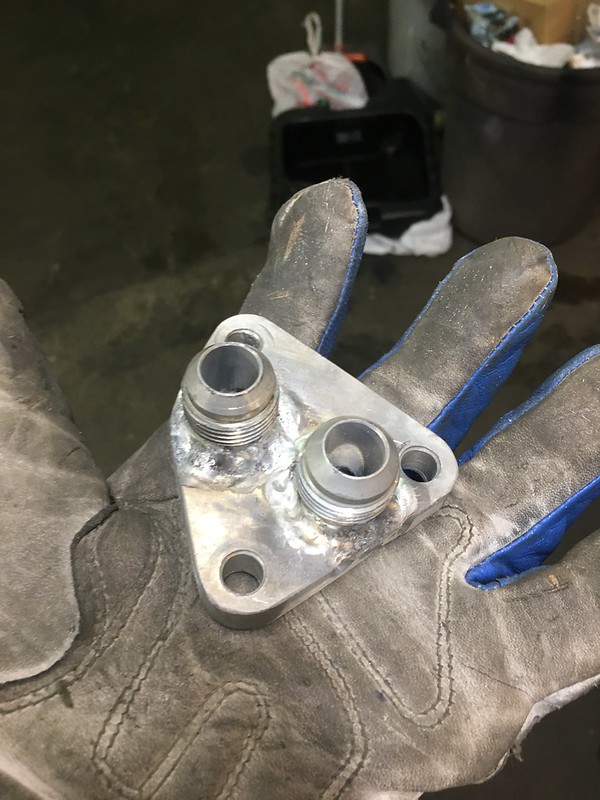
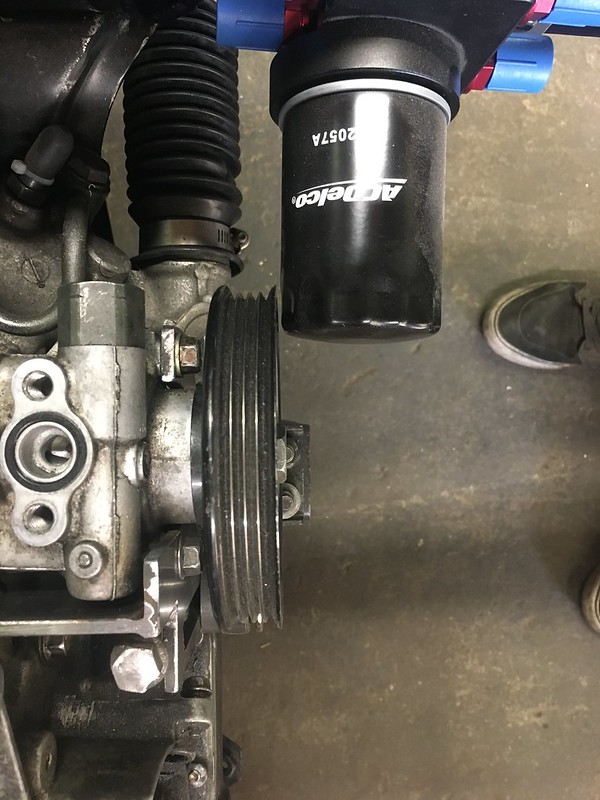
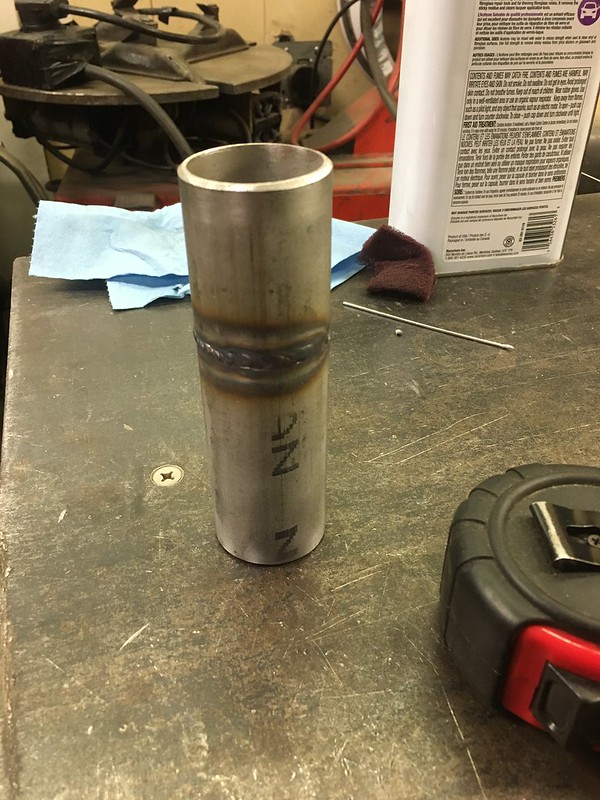
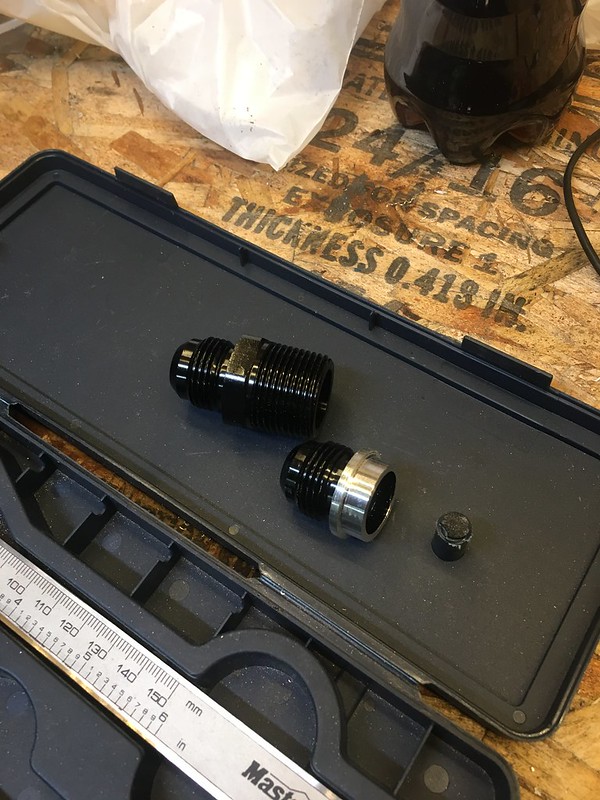
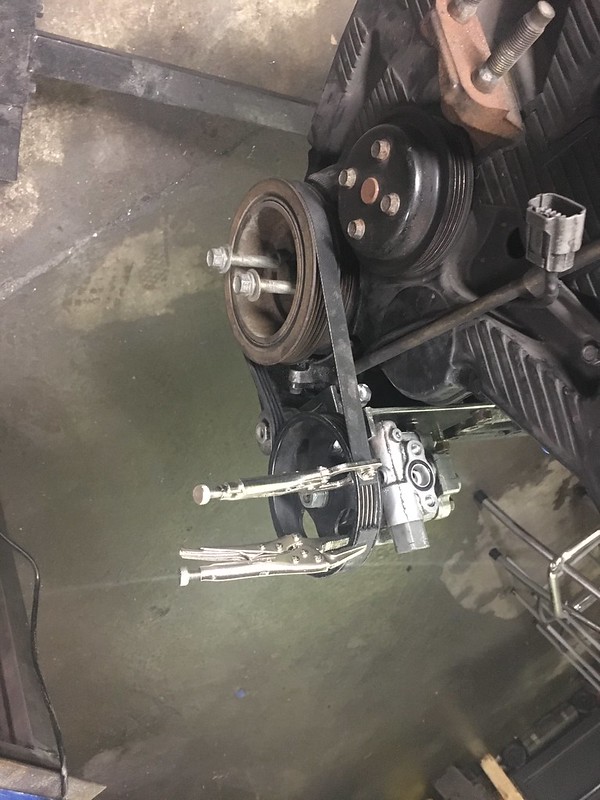
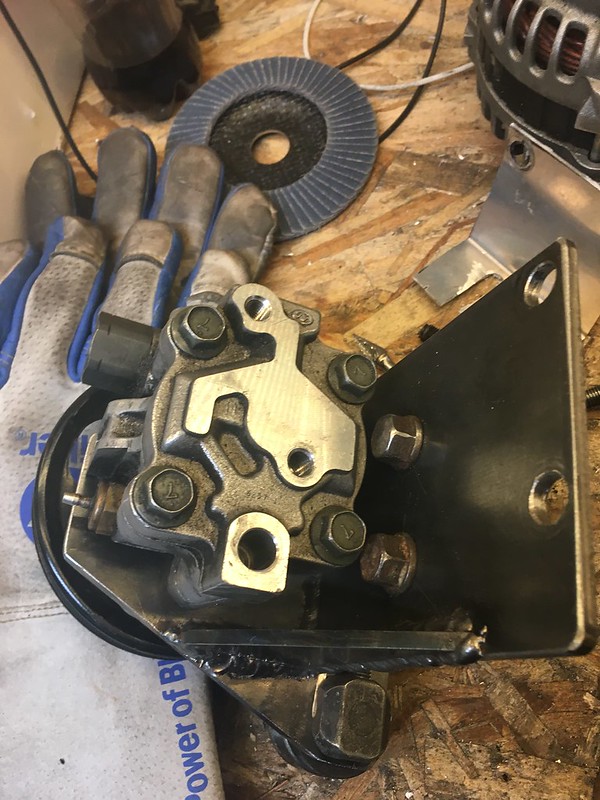
another small thing I didn’t want to get held up by later, I used the adapter from the filter block already on the fuel filter because it didn’t come with one. So I had to make one and while I really don’t like the idea of welding this but it will have to work for now
used a bolt to get it good and aligned
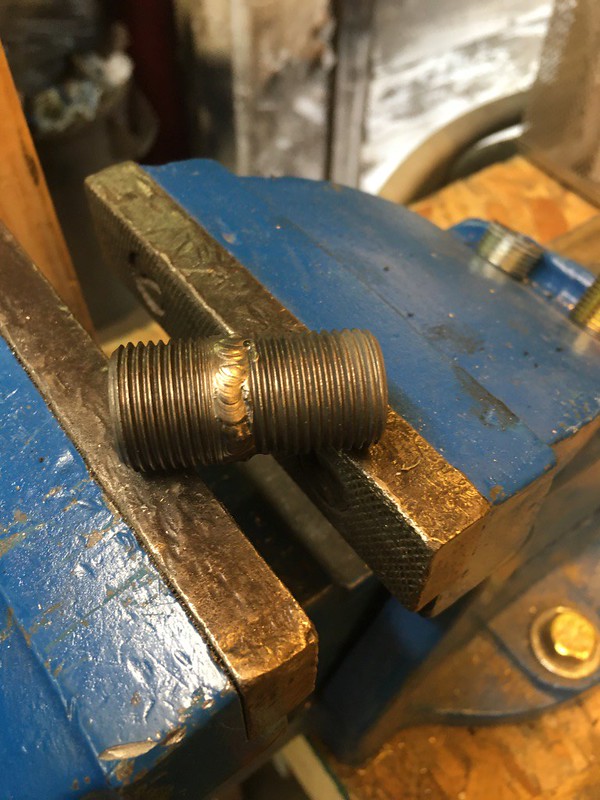
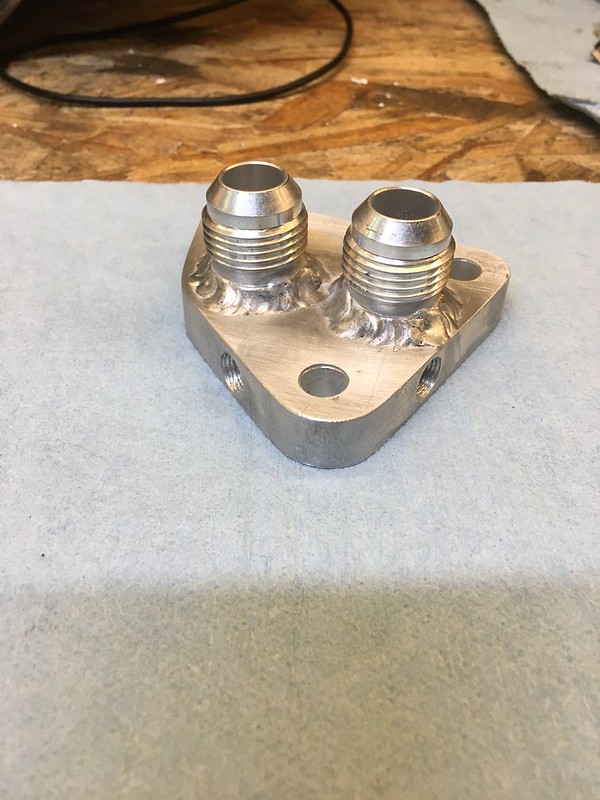
practiced my tig skills. round objects are hard

reamed out the inside

and threw it in there
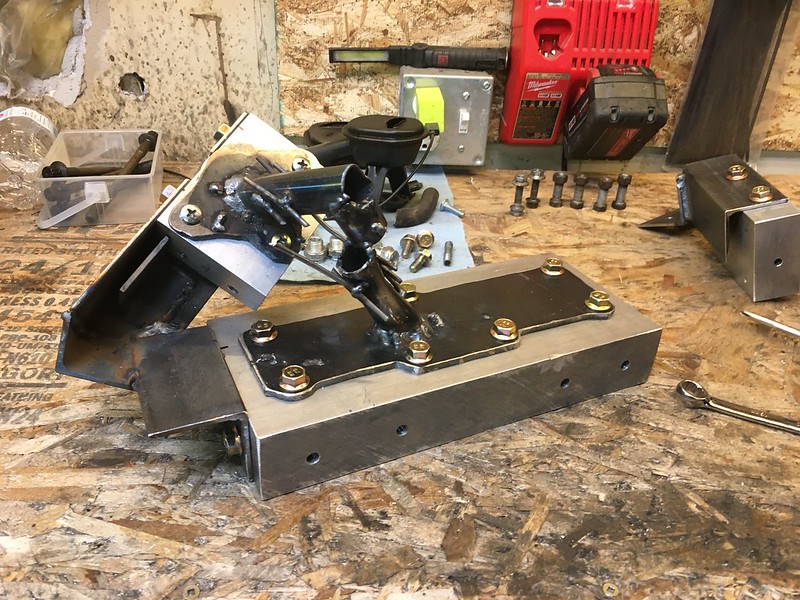
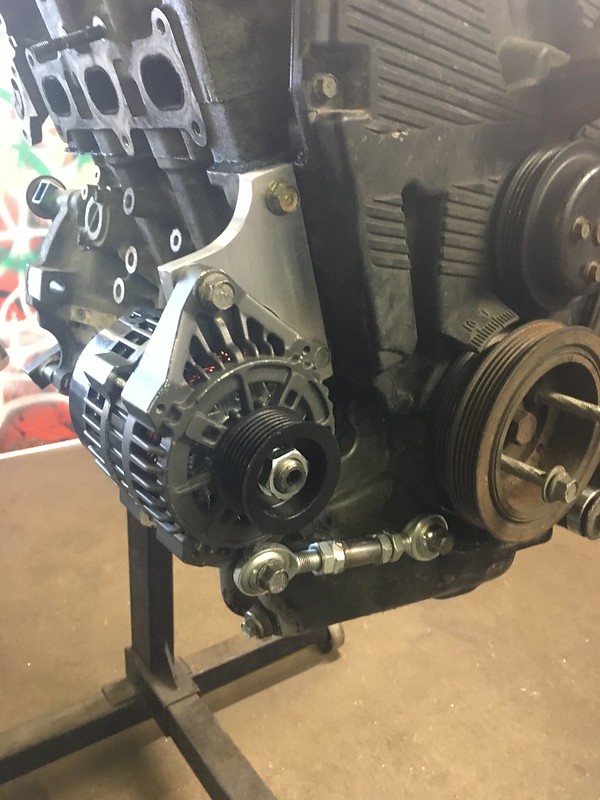
went back to finishing the trans mount since the trans was out of the car again

tig’d with no filer and really like how that looks. I’m sure using filler is proper or whatever

however since I fitted it back in the car, between the engine mounts and now the trans mount it doesn’t quite fit perfectly so I’ll need to cut and tweak that a bit
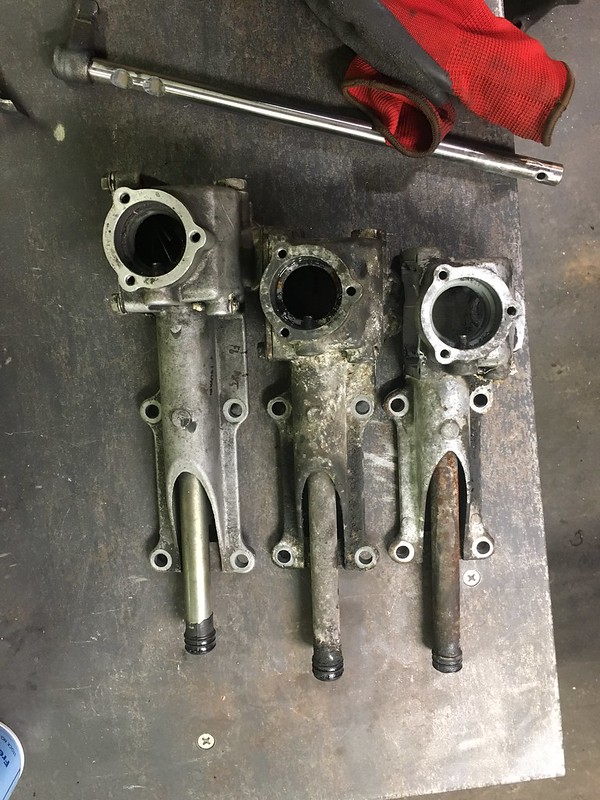
a kind of issue has been the fuel rails. So I had found these Honda J30 V6 rails had the same injector spacing, but as far as mounting goes it was going to be a challenge and also ugly. I was ok with that somewhat because it was going to be hidden under the intake manifold. But they didn’t exactly fit the injectors I had, so my options were to get new injectors ($$), modify those rails to suit and **** the end result or just buy rail stock and make something I’d be happy with.

Mopac had a FAST 24” rail in stock, wasn’t far off the cost of ordering rail stock from the states

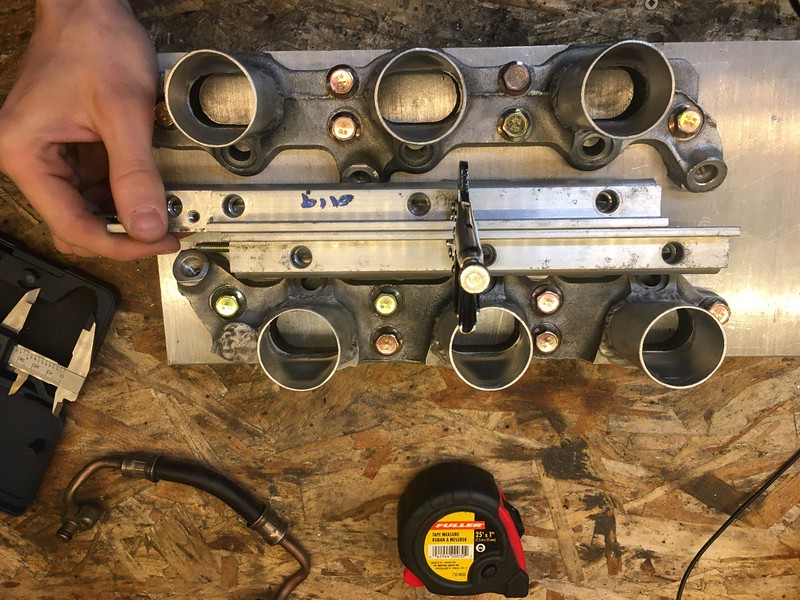
double checked all the measurements on the stock rails and laid out and drilled the new ones after cutting them in half

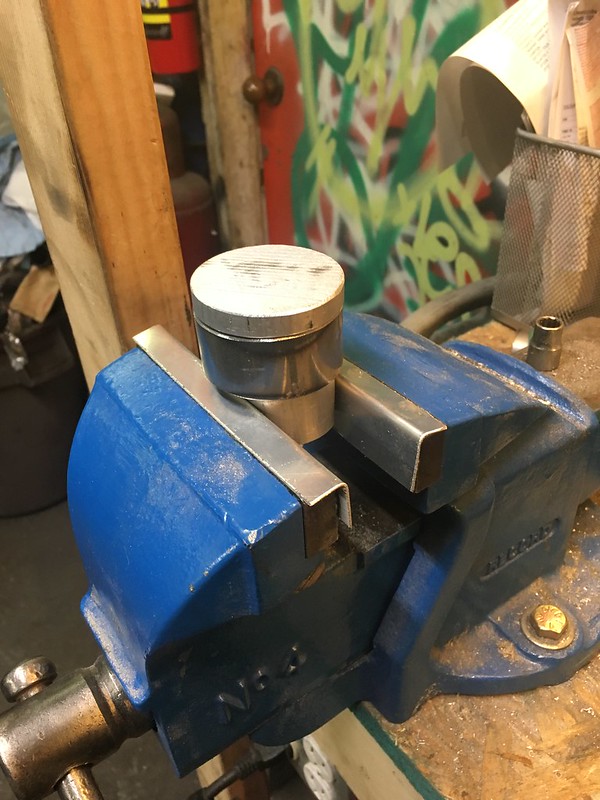
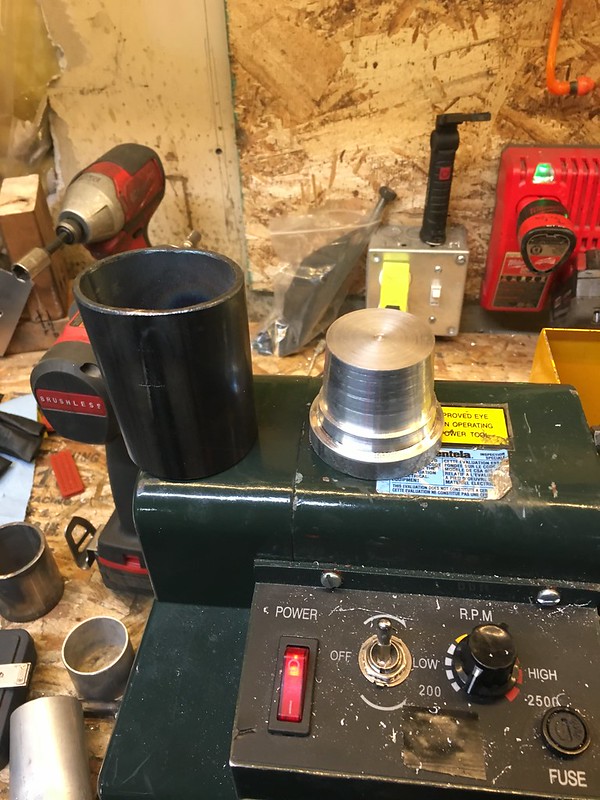
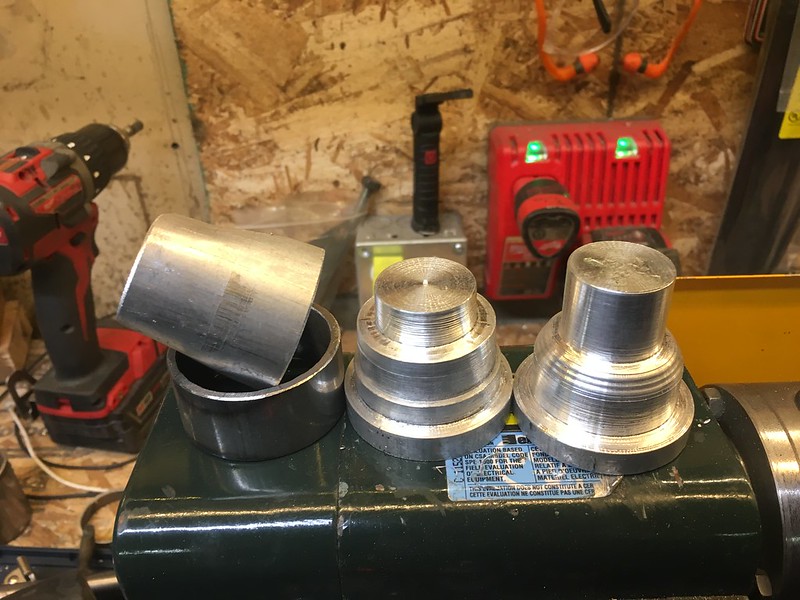
I measured and ordered tooling to replicate the ID adapters as close as possible, including the 10mm step to locate the injectors

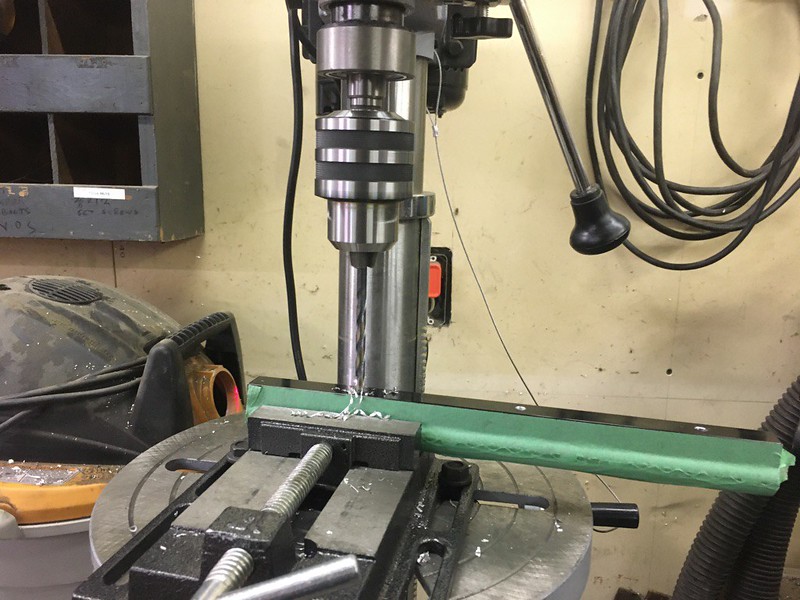
did a test run on some bar stock just to make sure it all works. After some measuring it looked like I was going to have to max out what space I had and drill the rail as deep as I could and the manifold as deep as it could be

So after much setup and struggle to get it aligned using the tool I made


and then drill the rails


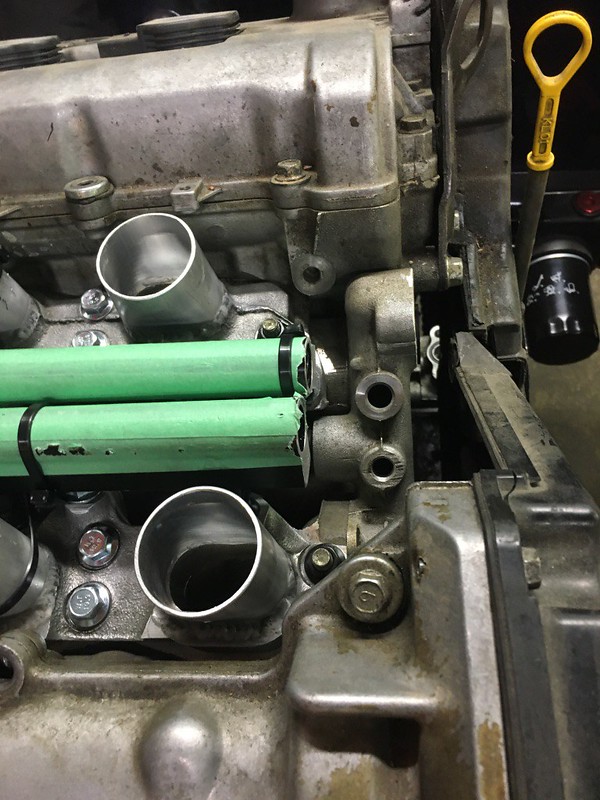
Mockup with the injectors in place to be able to measure for mounts

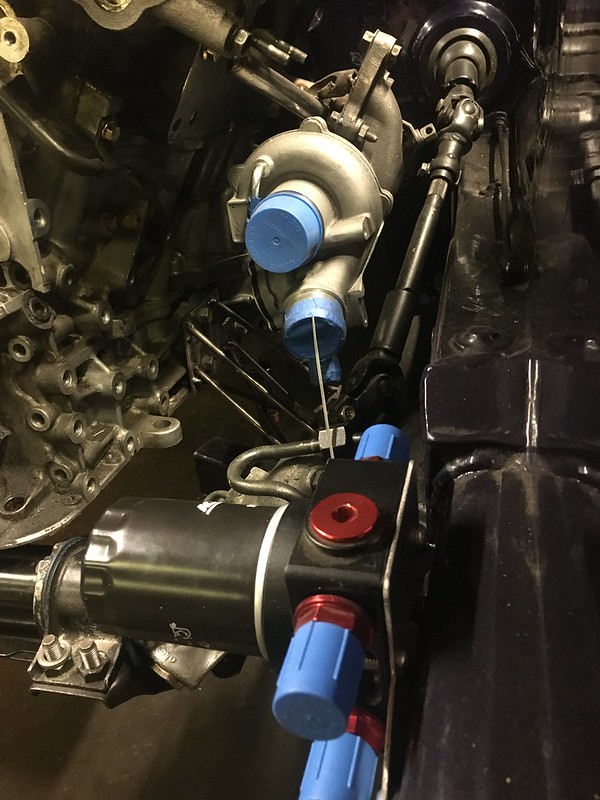
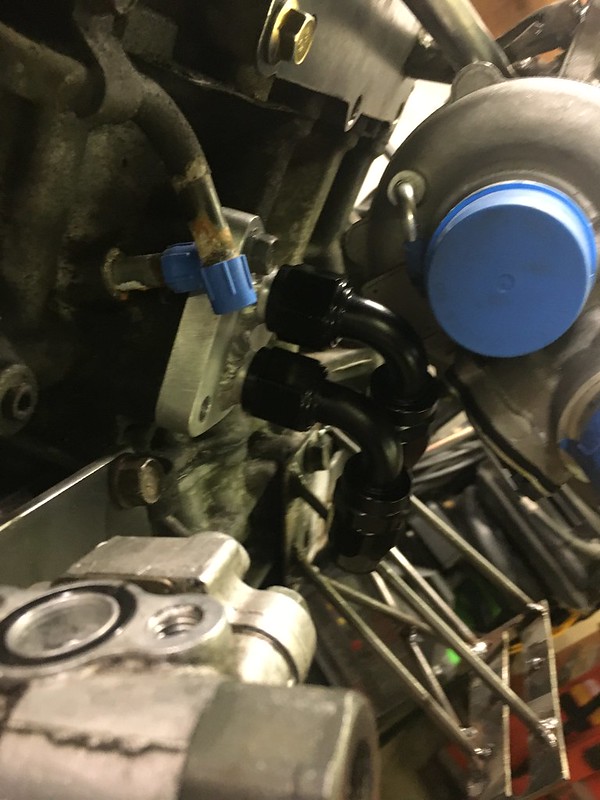
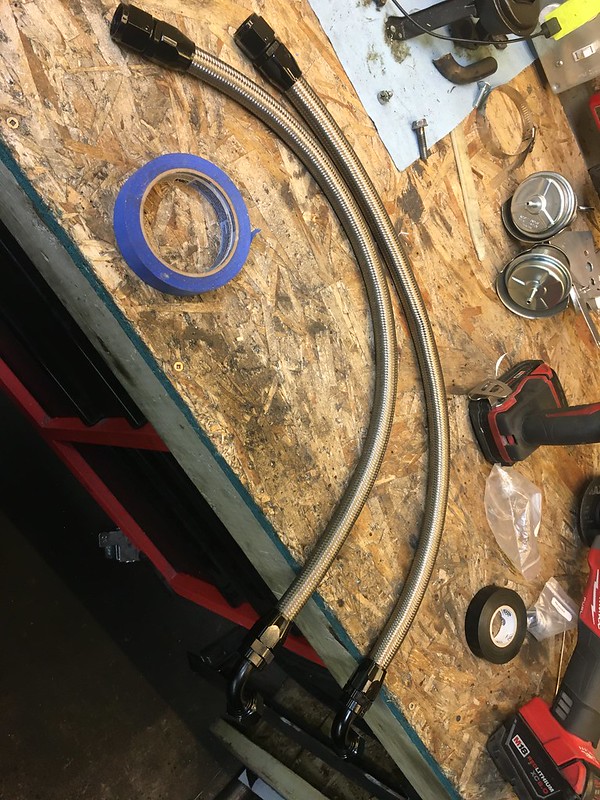
the tricky part here was going to be joining the 2 rails. I was thinking banjo bolts and a machined block until I fit it in the car and realized how little space I had. Then the banjo bolts that fit the bore have a head size thats too big, so now I’m working on an idea with a 180* fitting…


then I spent an entire evening making mounts for the fuel rail just to find that I made a measuring error. The rails sit on a 30* angle relative to the flange and where I measured the offset distance was much closer then where the rails actually sit. But now I know what they are supposed to be lol


Leave a comment: