-
Thats great though. Love the sound of those motors with F/I. Post a video when you get a chance. -
A lot of work on compiled into a few pictures. Great job dude...your FX sounds even more like a whining cat now. What numbers did you put down?Leave a comment:
-
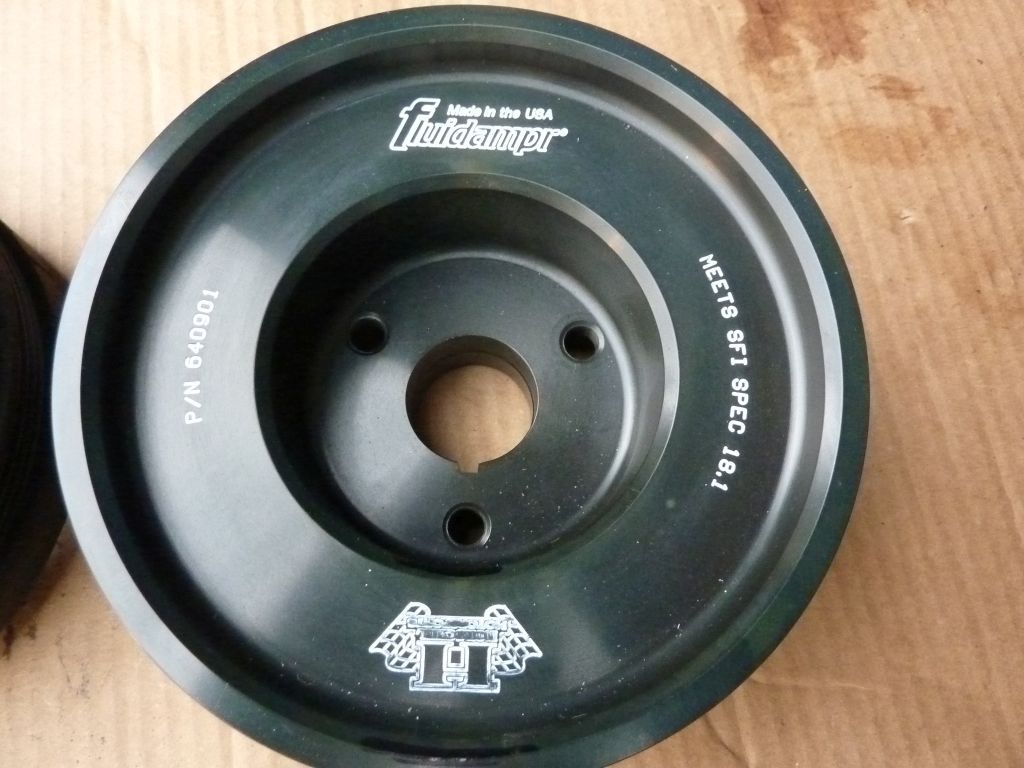
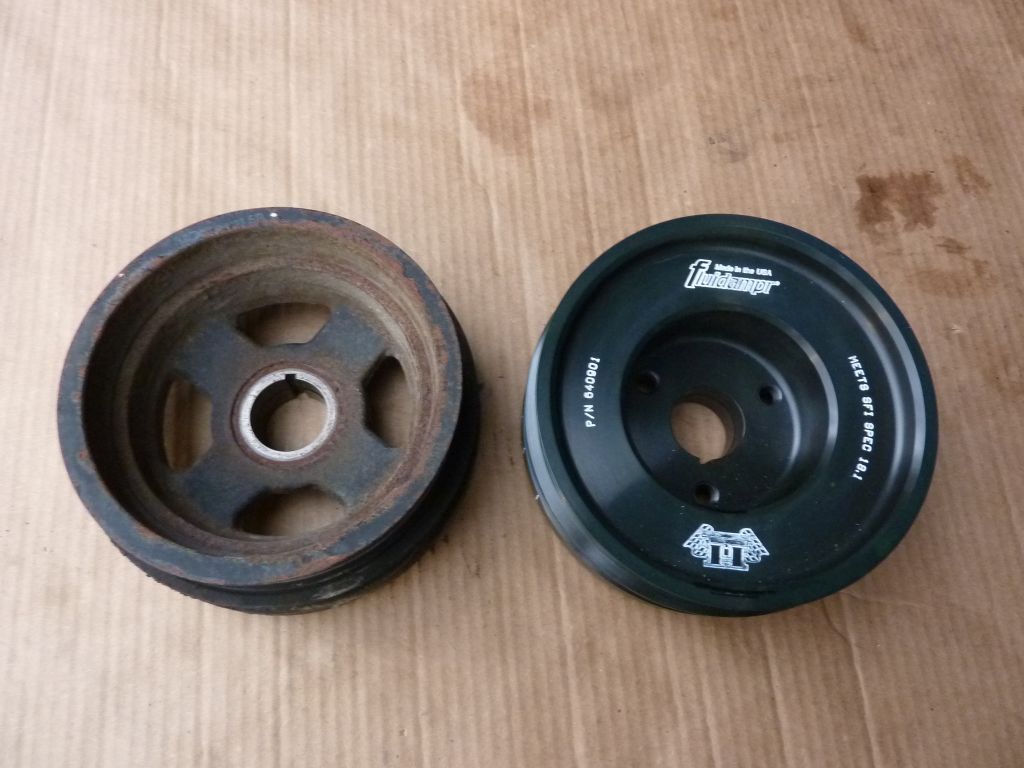
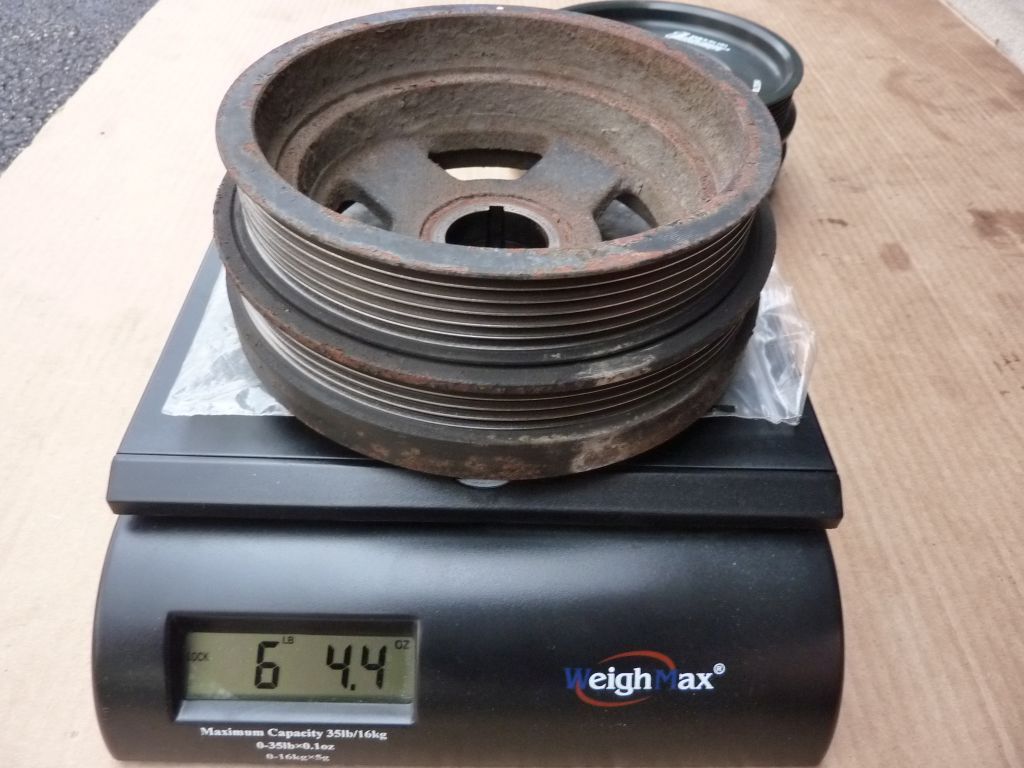
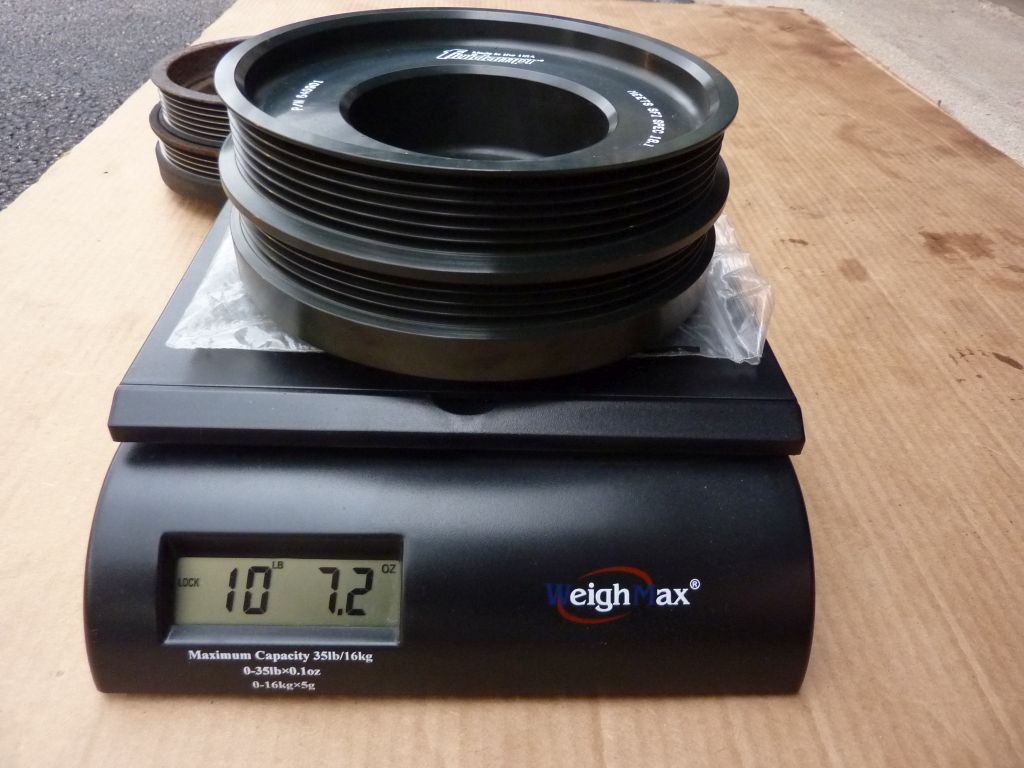
Fluipdampr crank pulley
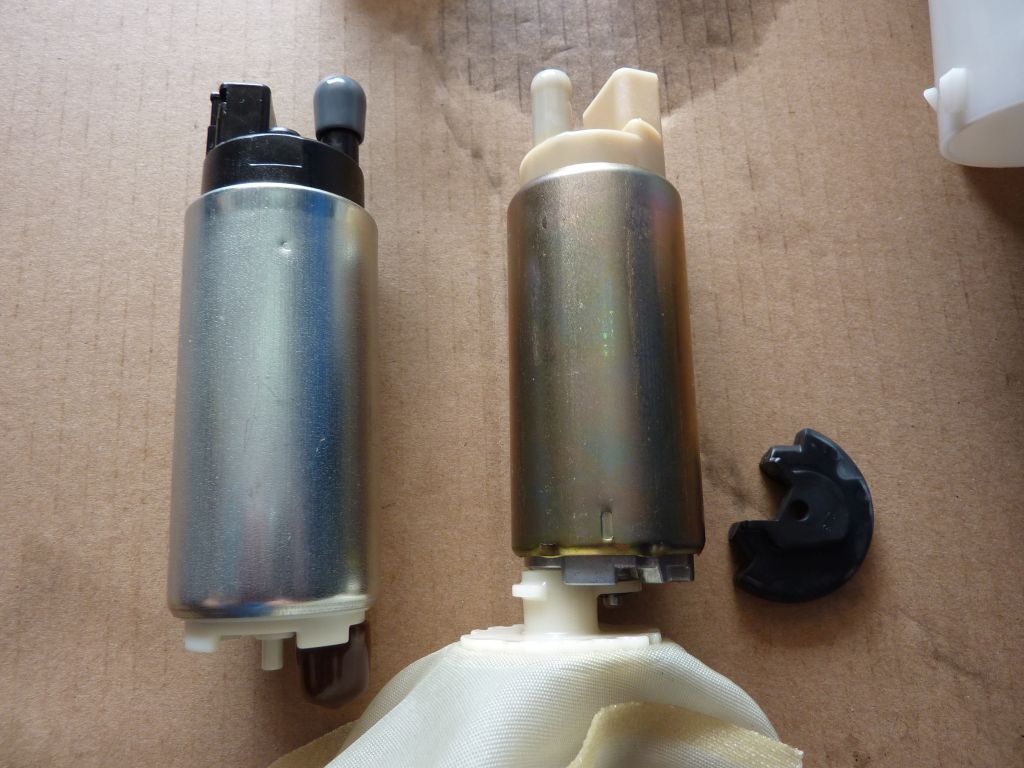
Walbro GSS342 fuel pump upgrade
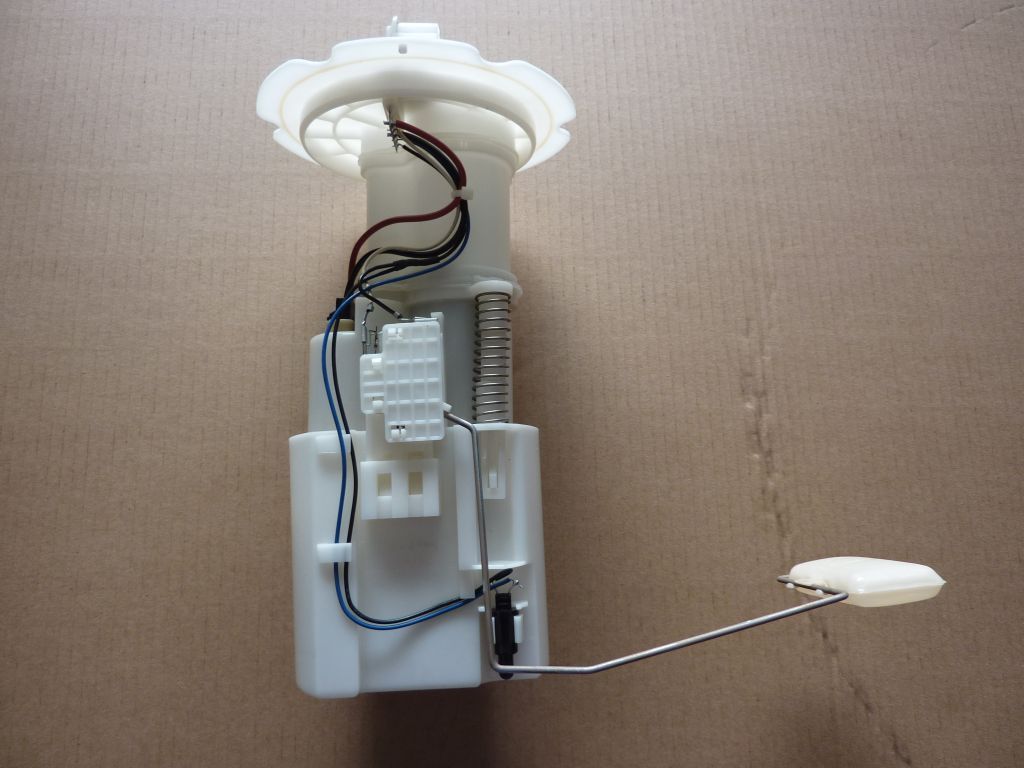
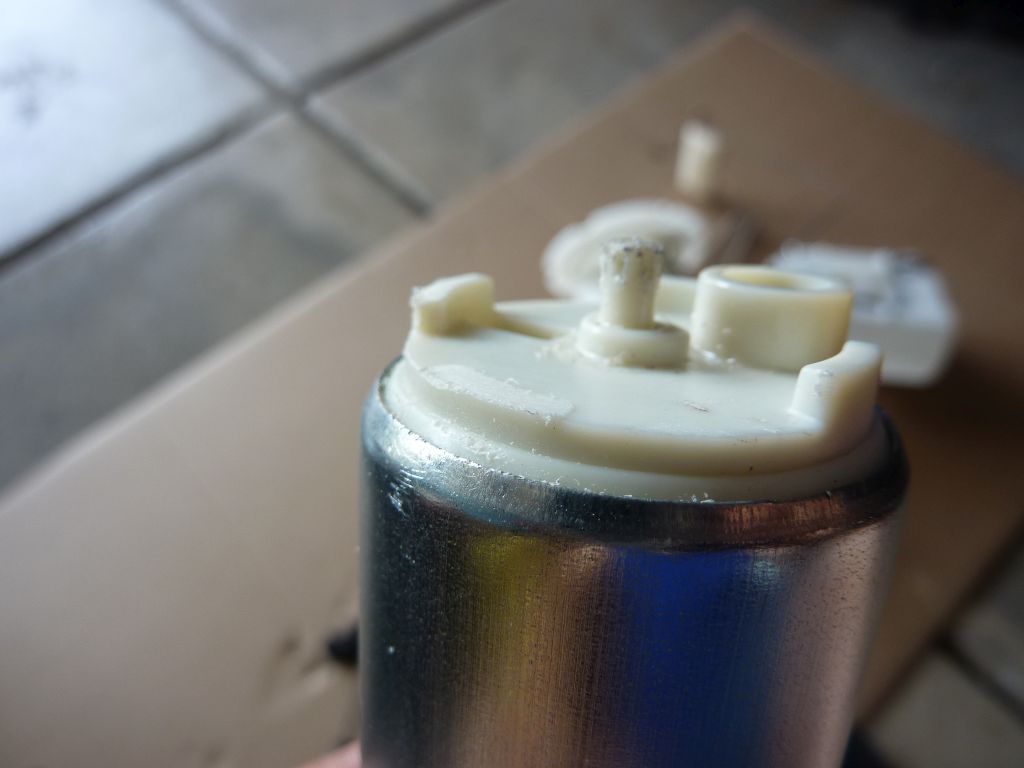
Factory fuel pump assembly
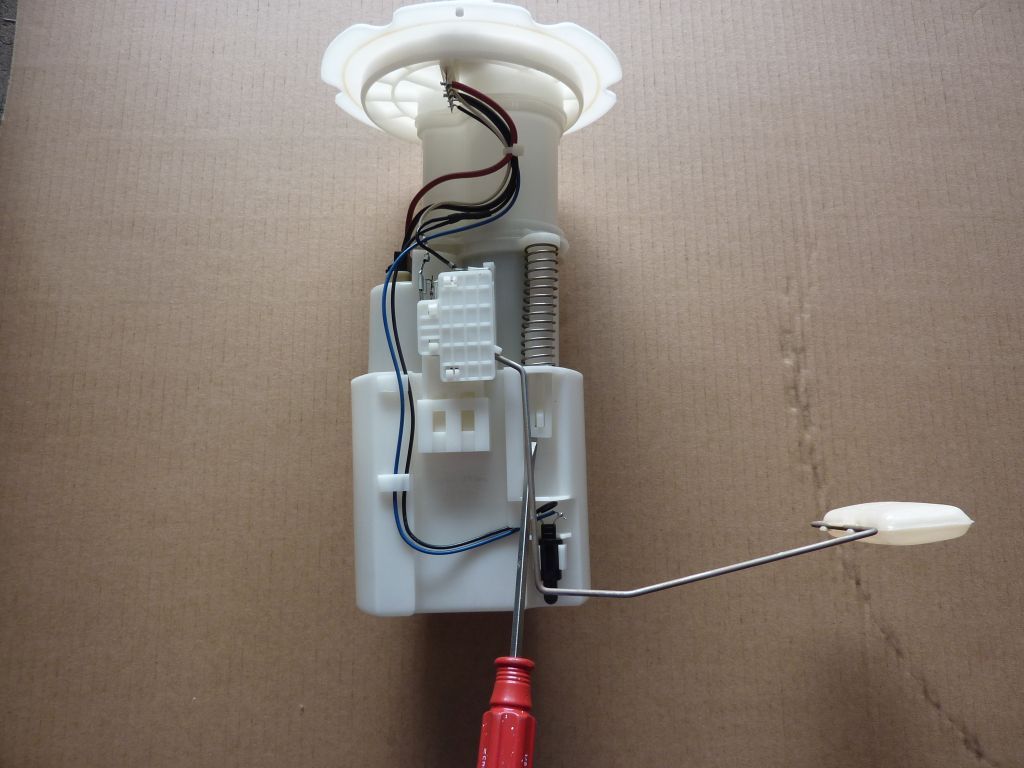
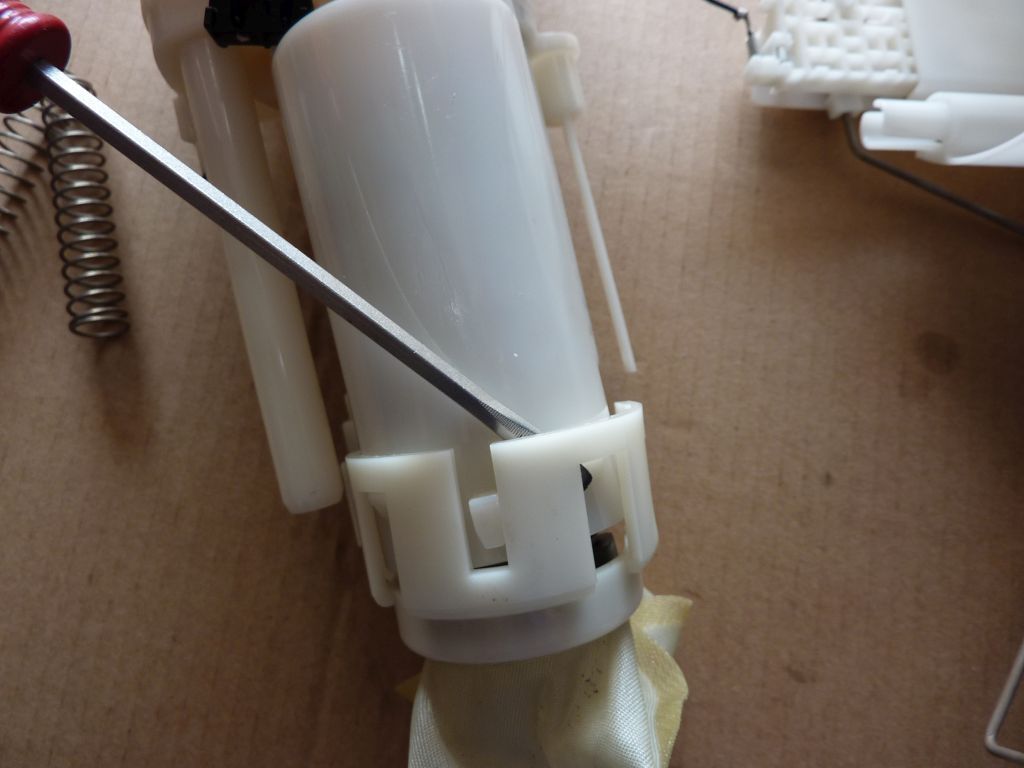
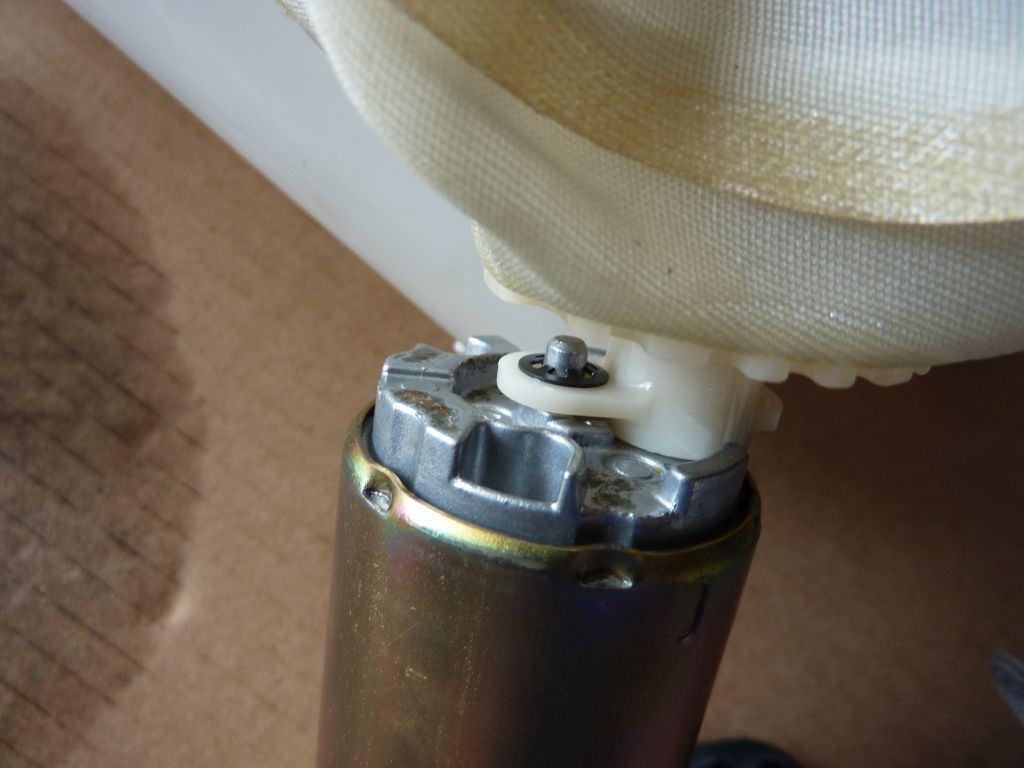
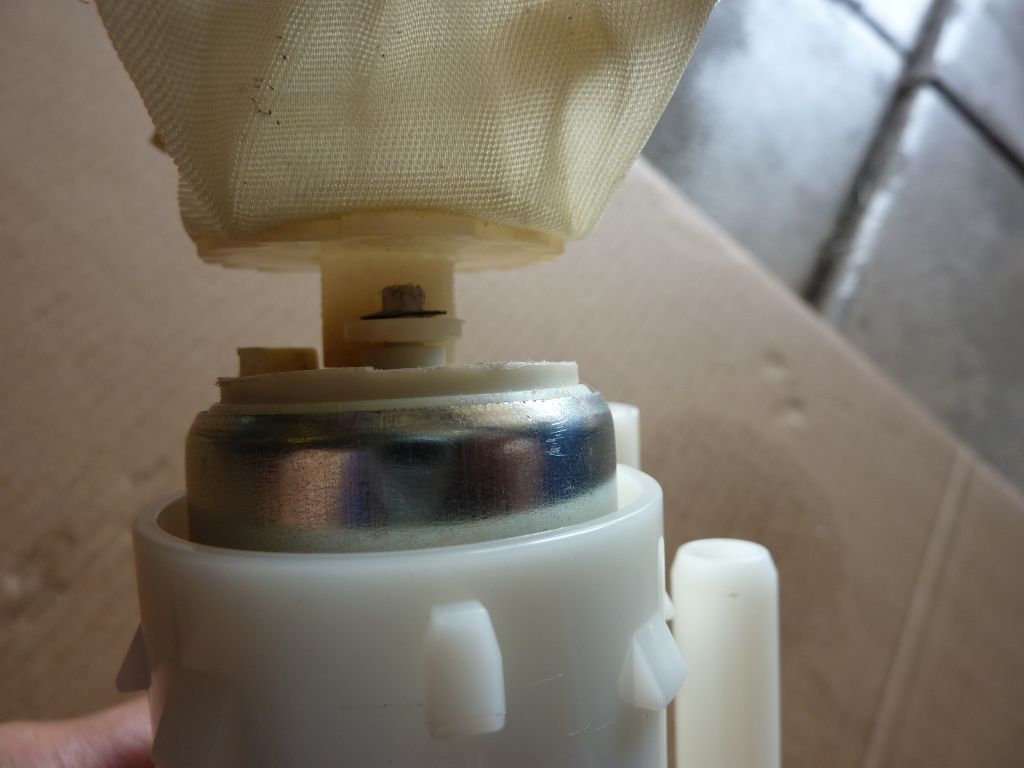
Disassemble the plastic components to release the factory pump
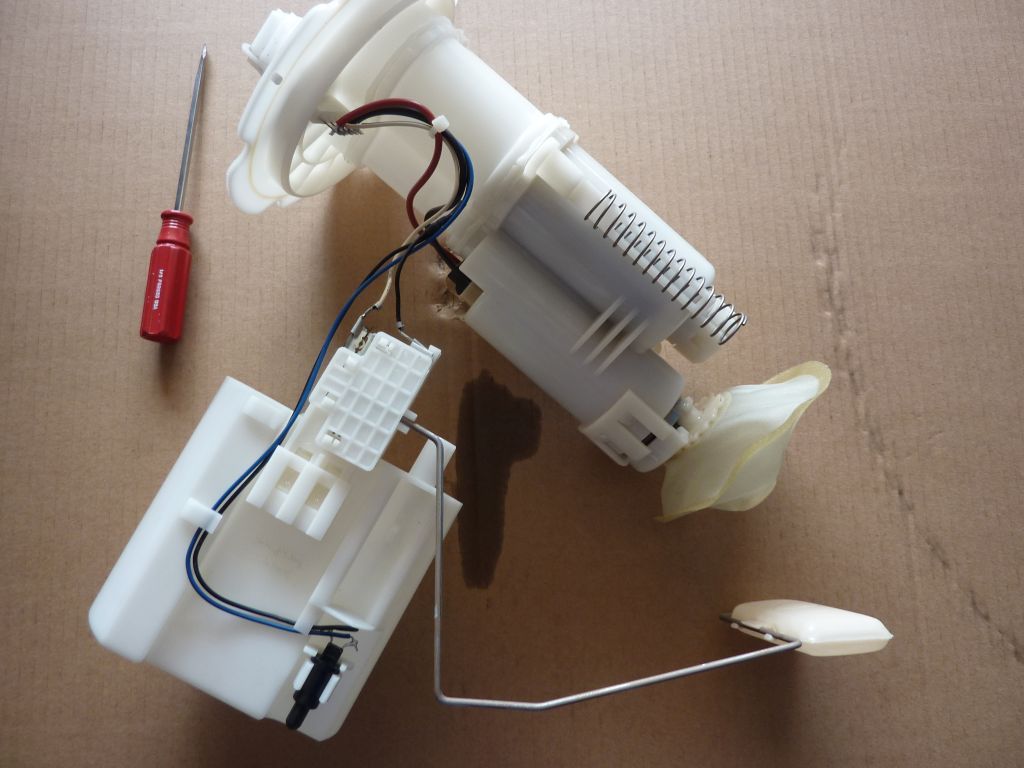
The pump is coming out
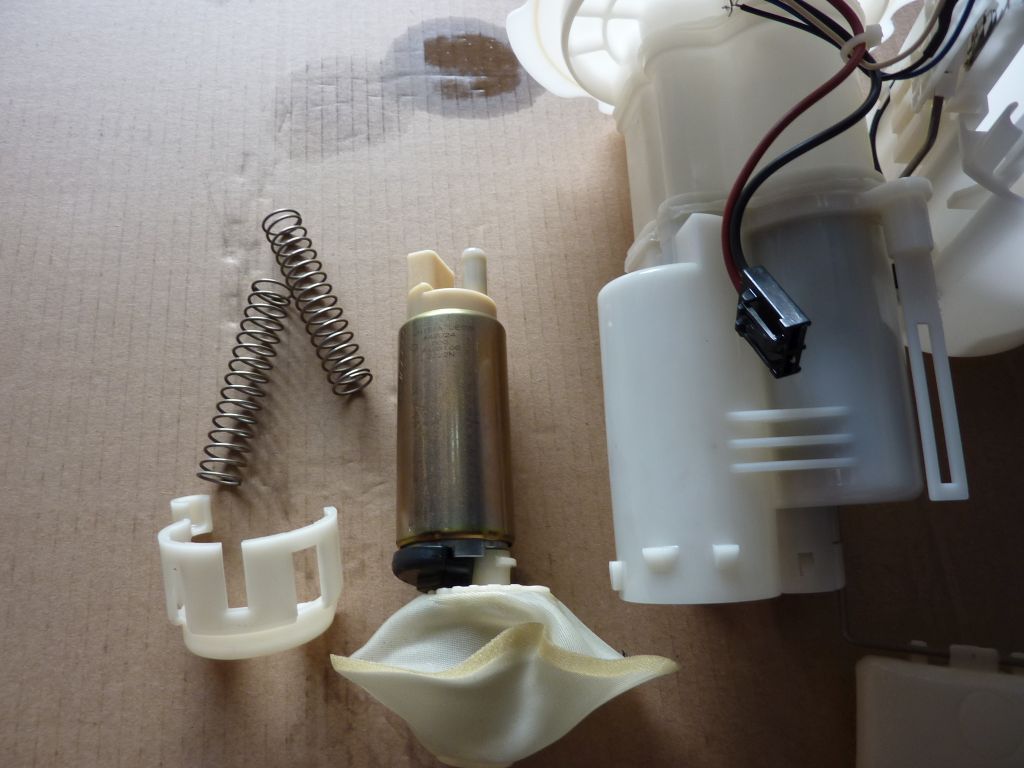
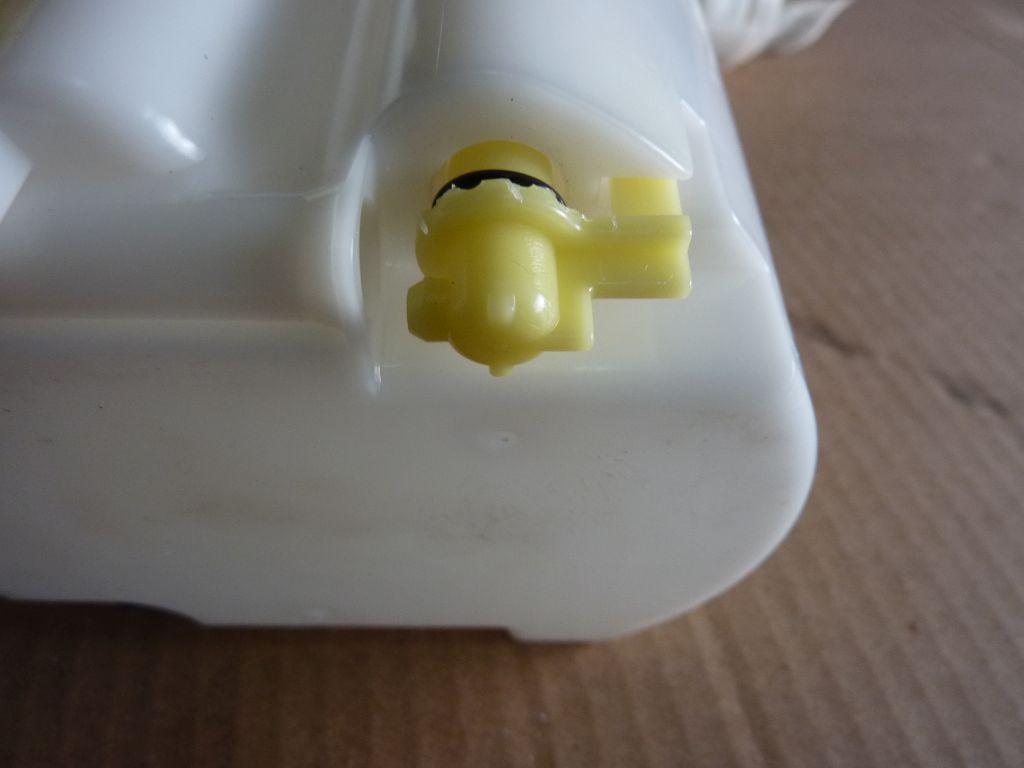
Walbro on the left
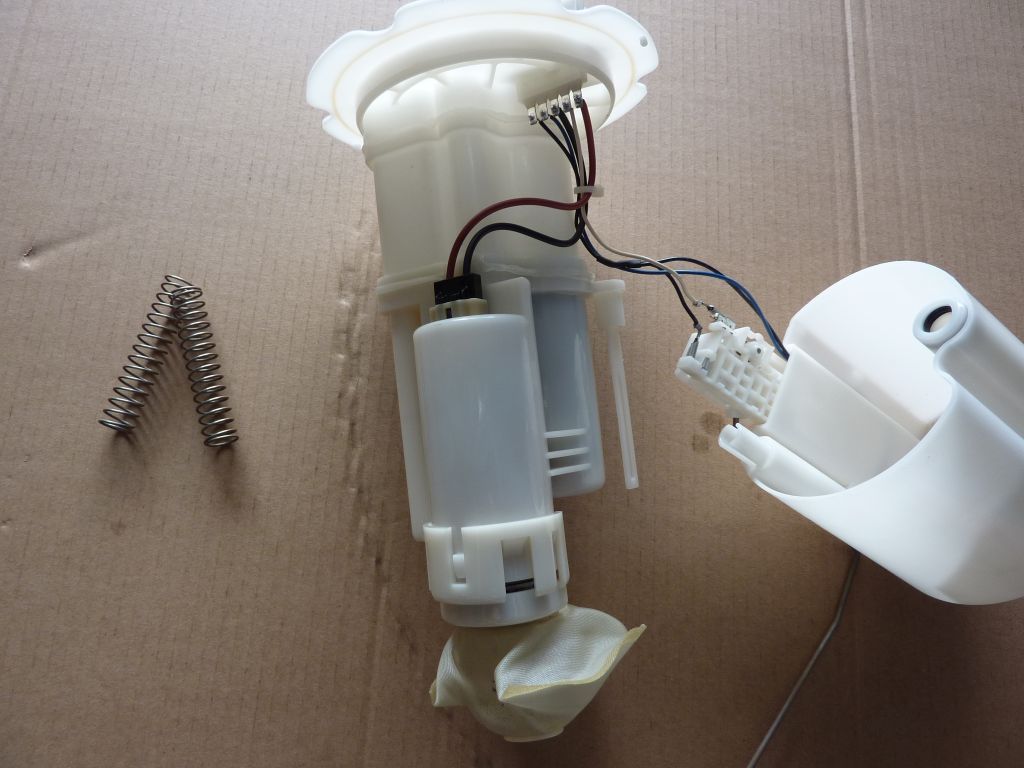
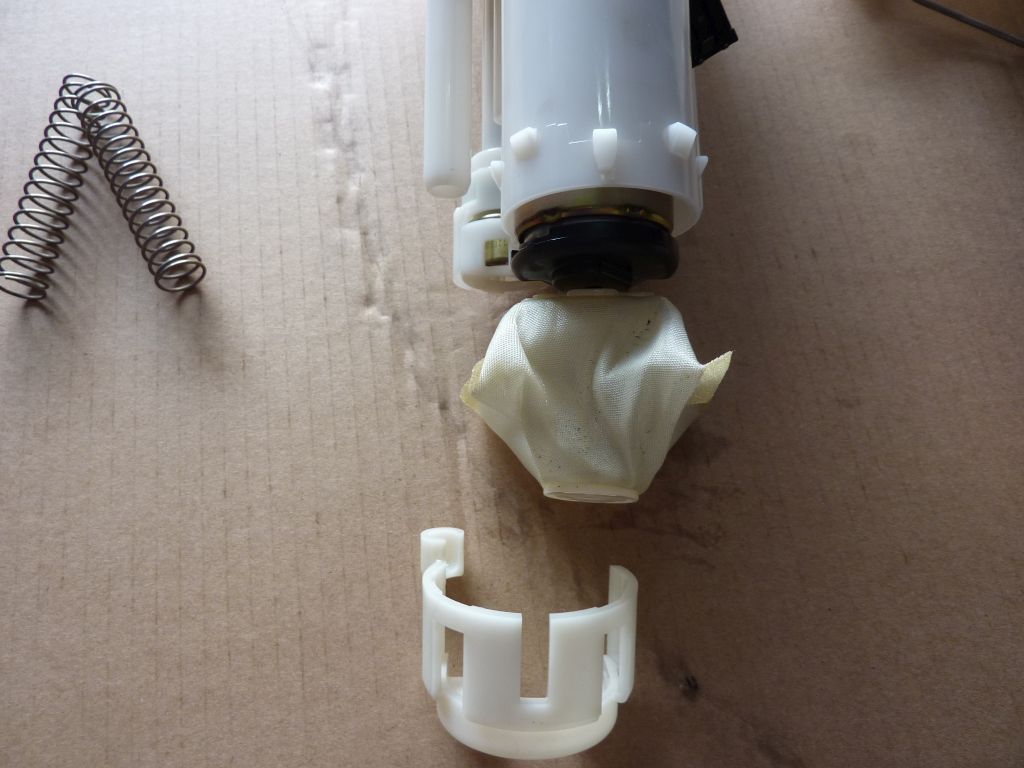
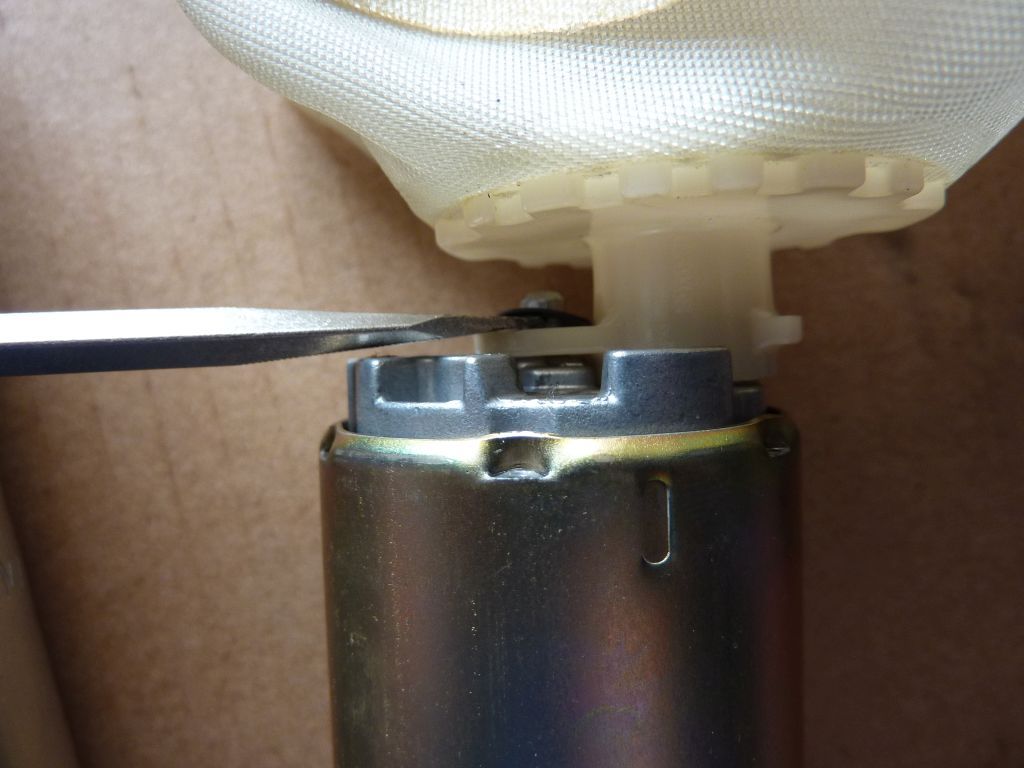
Remove the sock fliter from the factory pump
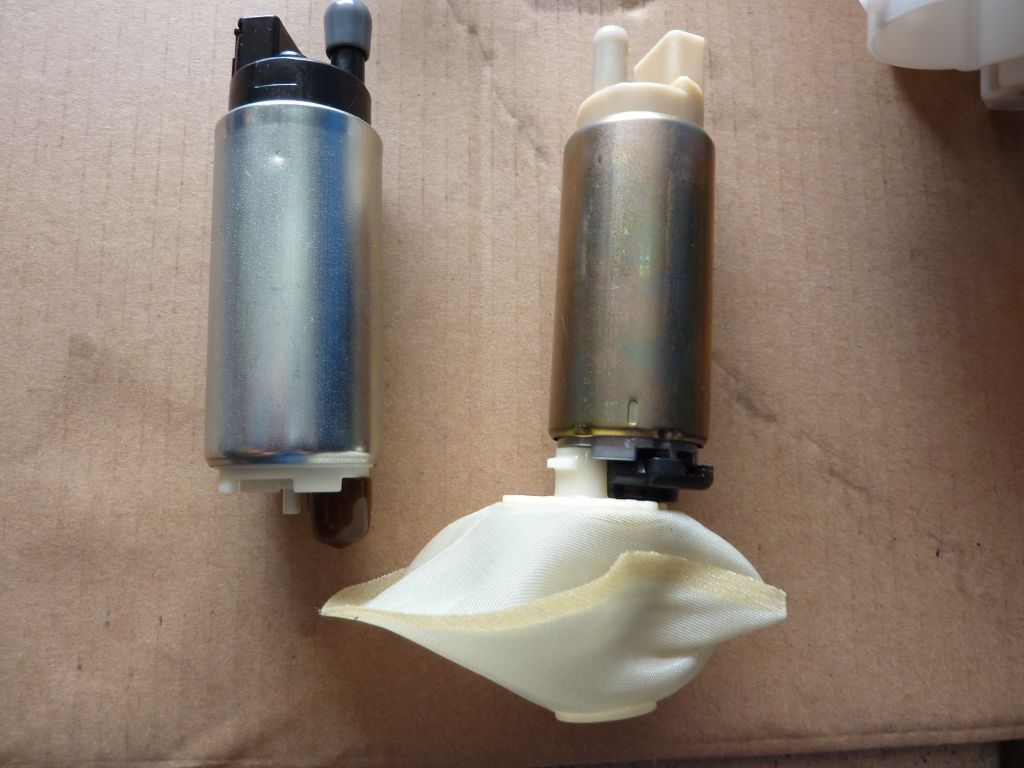
Modify the Walbro
Install sock fliter onto the Walbro
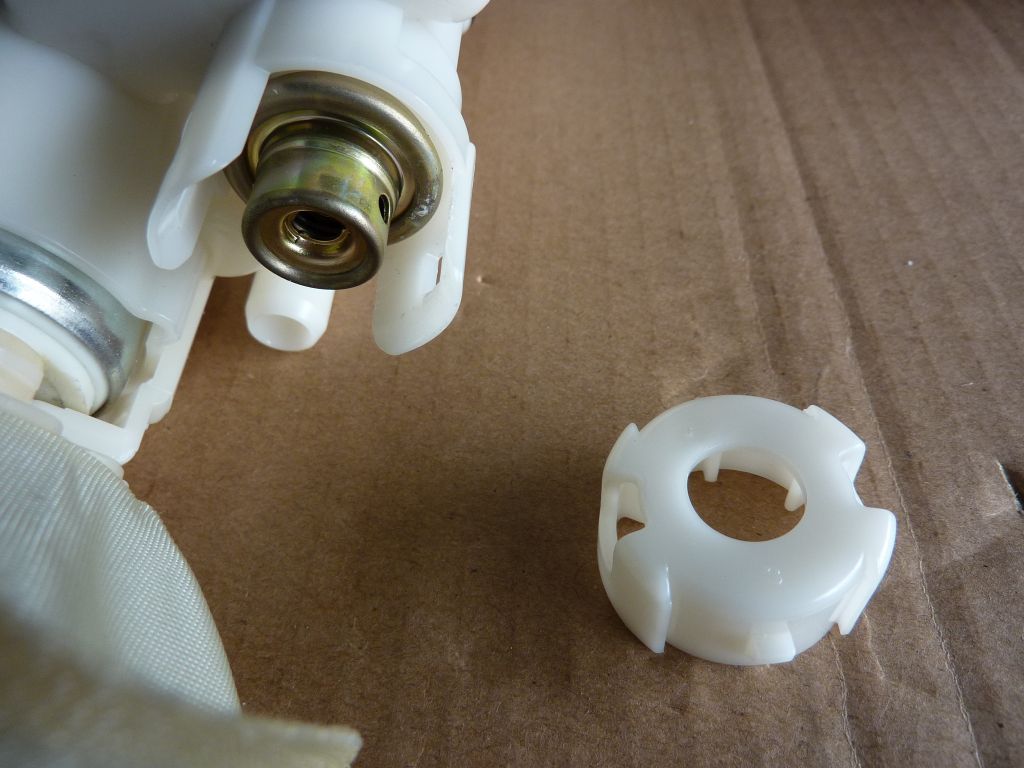
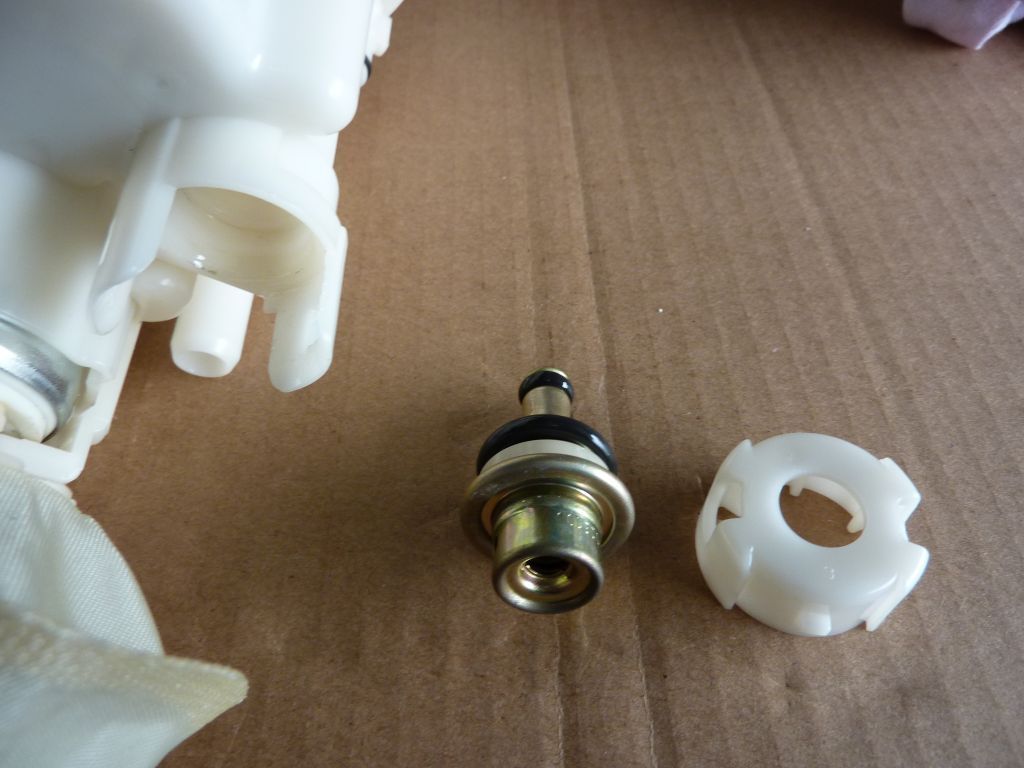
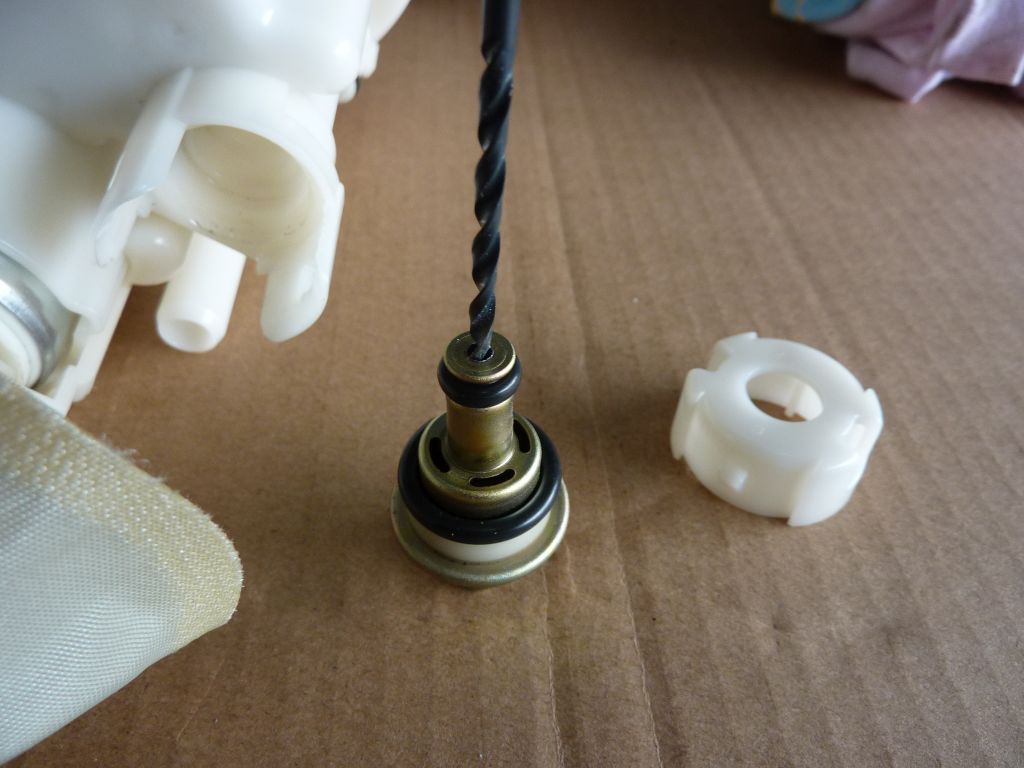
Enlarge the swirl jet

Enlarge the regulator outlet
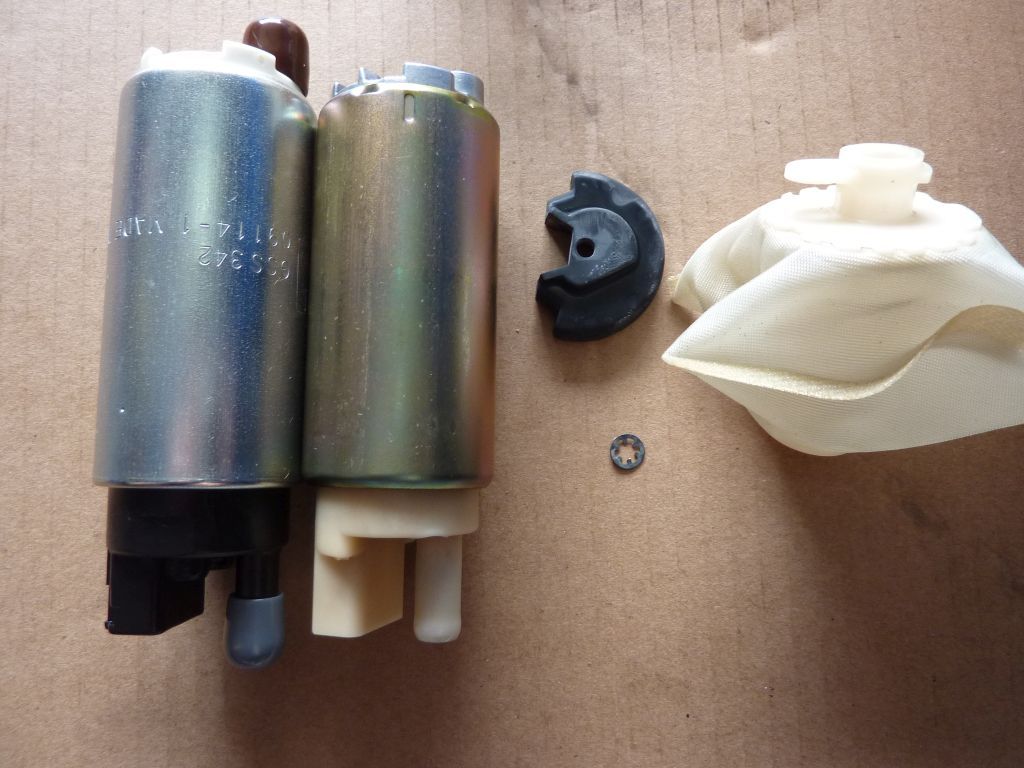
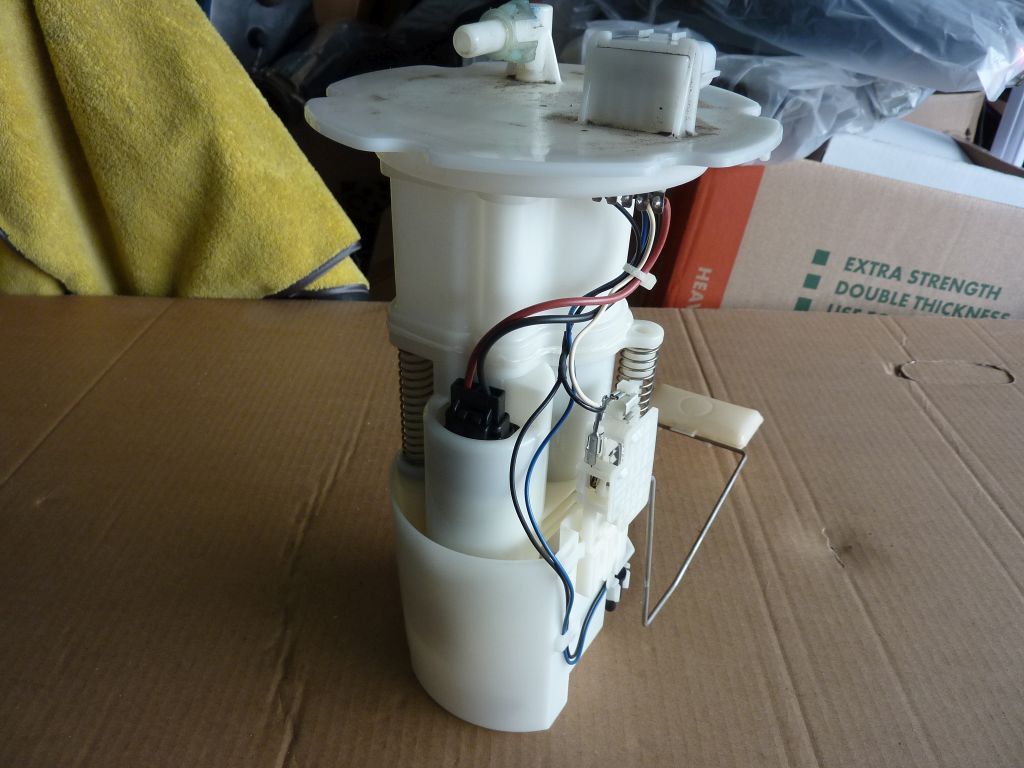
All done. Ready to go back into tank
---------- Post added at 12:12 PM ---------- Previous post was at 12:10 PM ----------
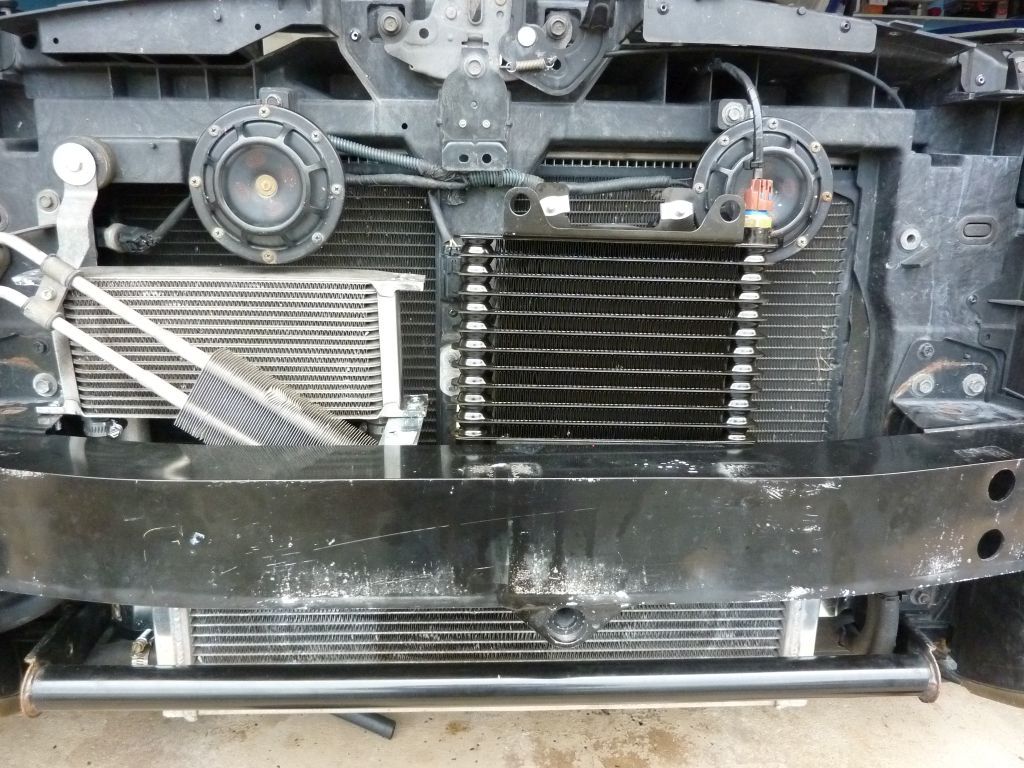
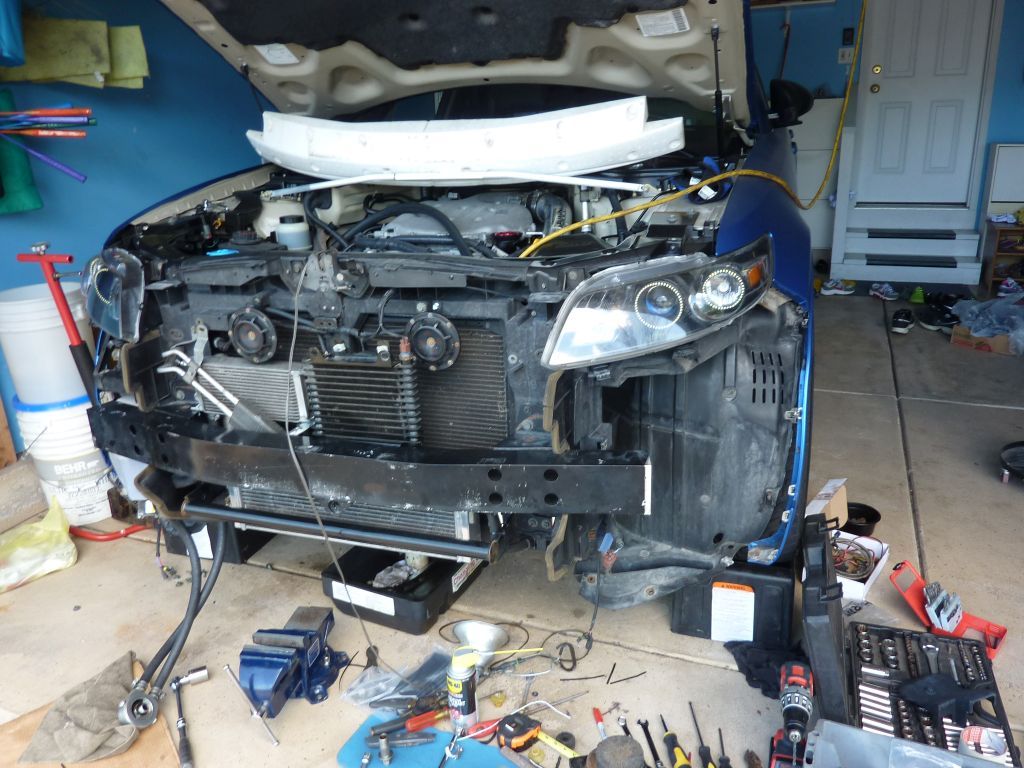
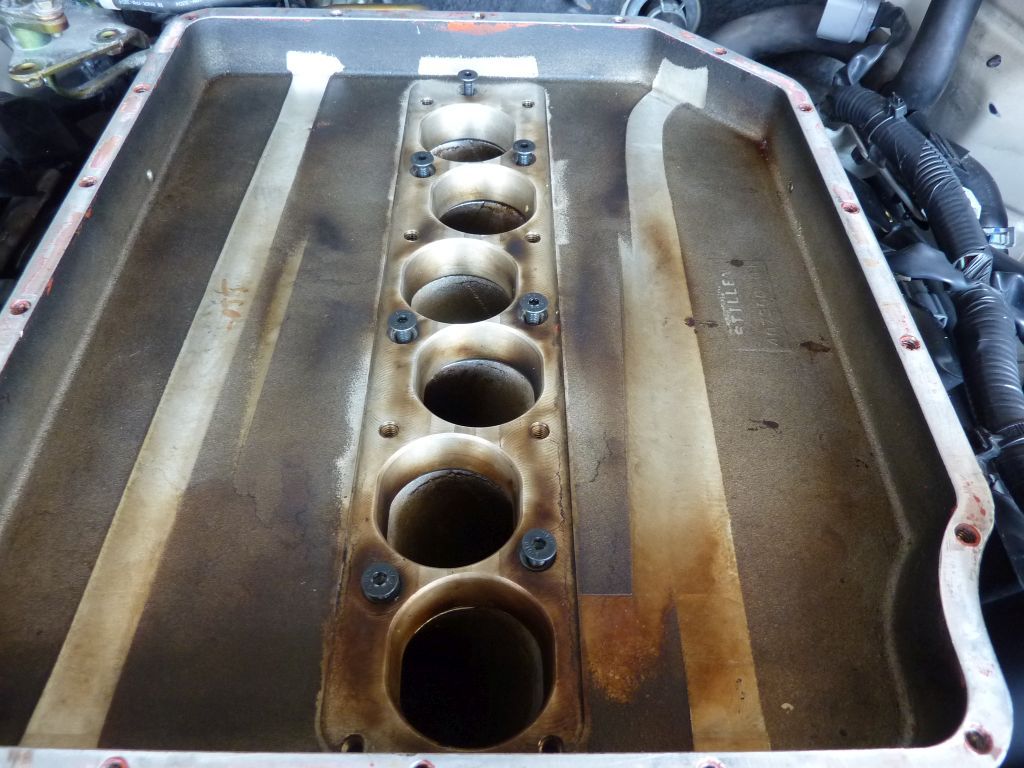
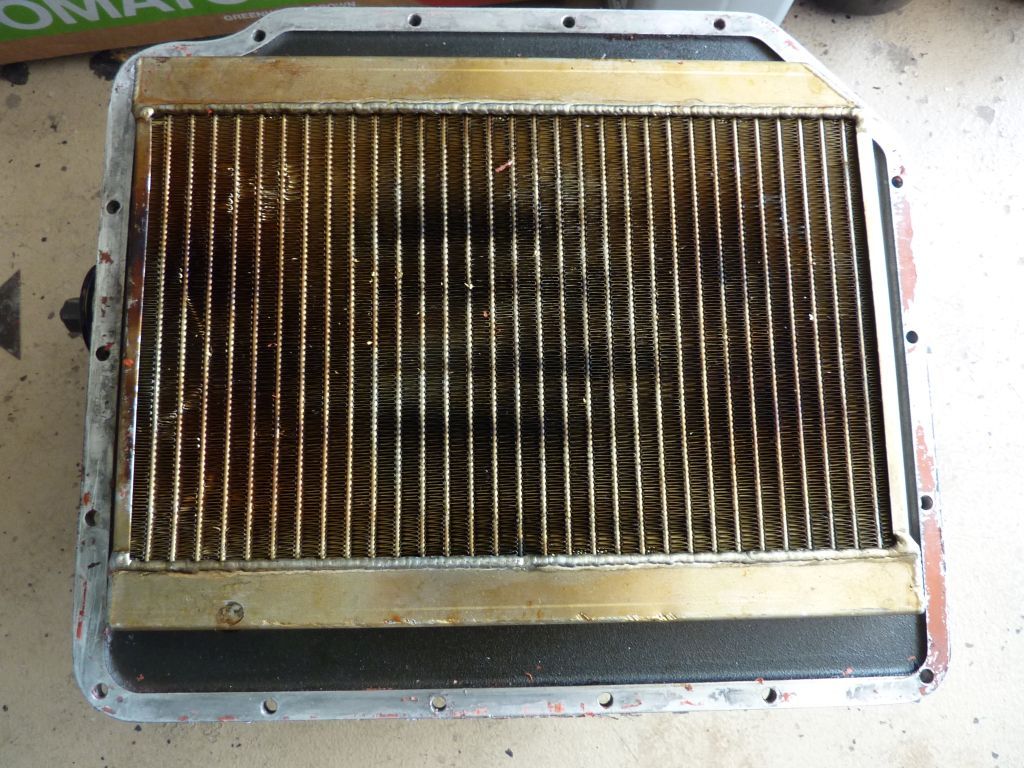
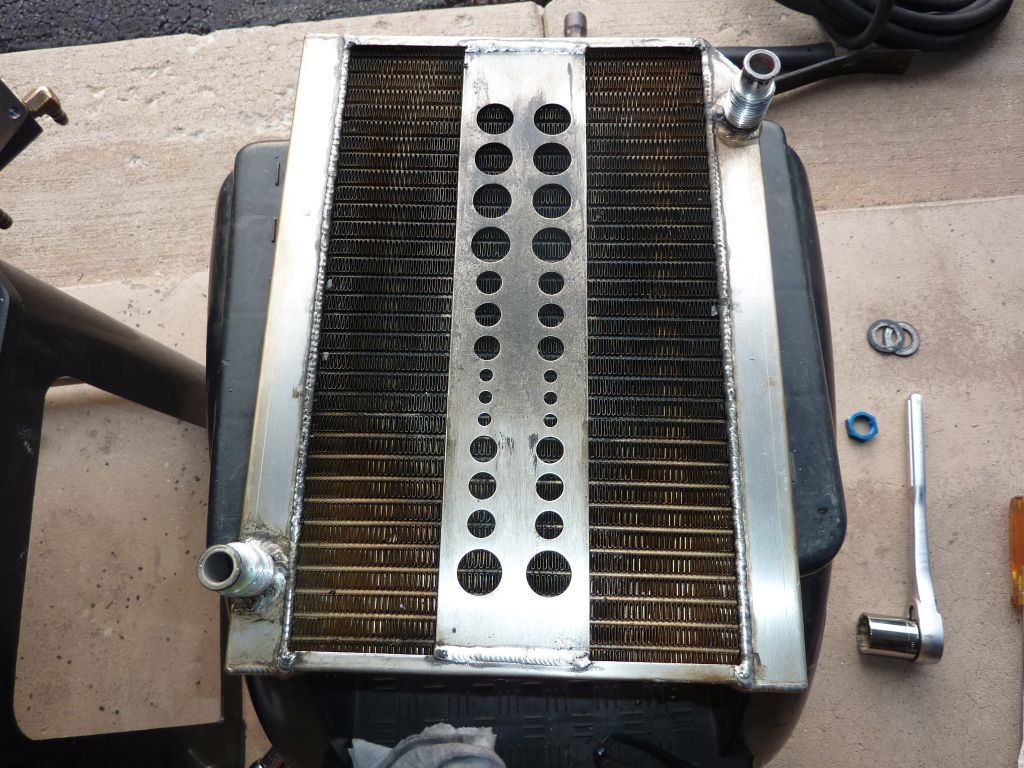
Coolers installation (oil, trans, an SC inter-cooler)
SC inter-cooler
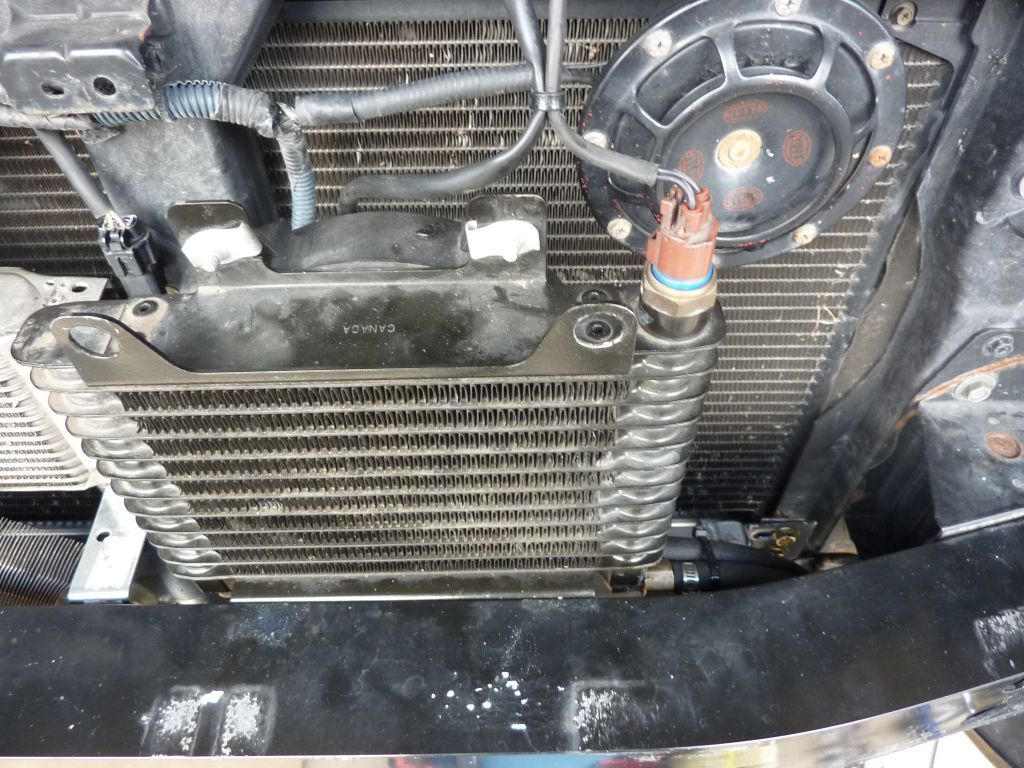
Oil cooler
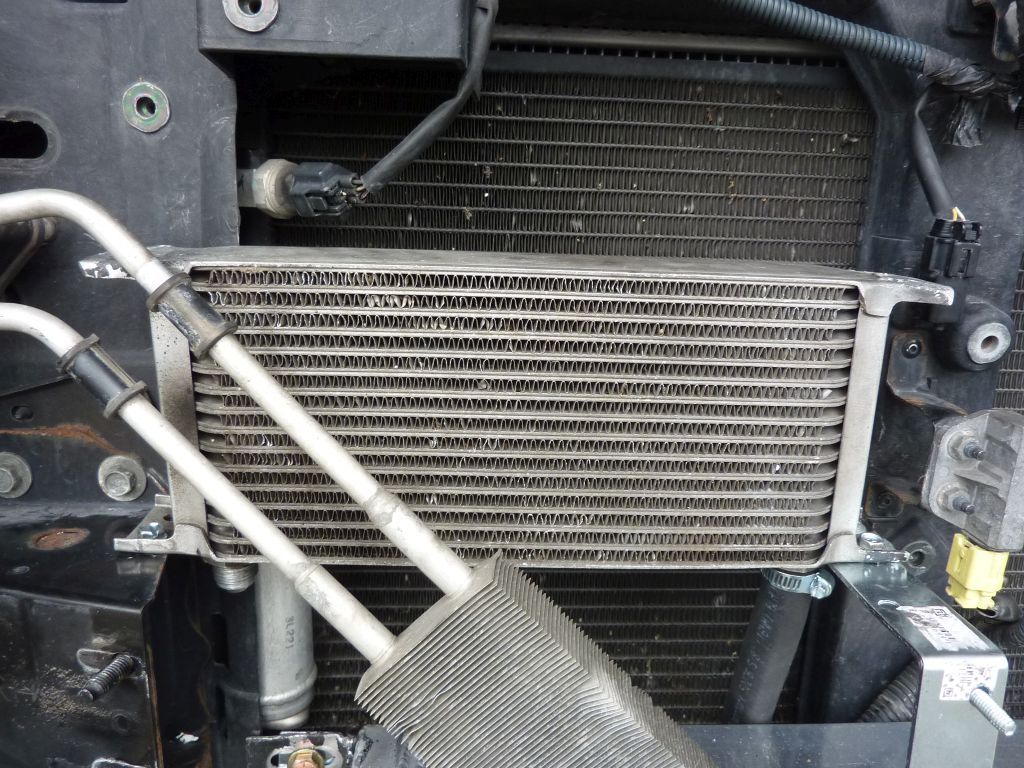
Trans fluid cooler
All three coolers mounted
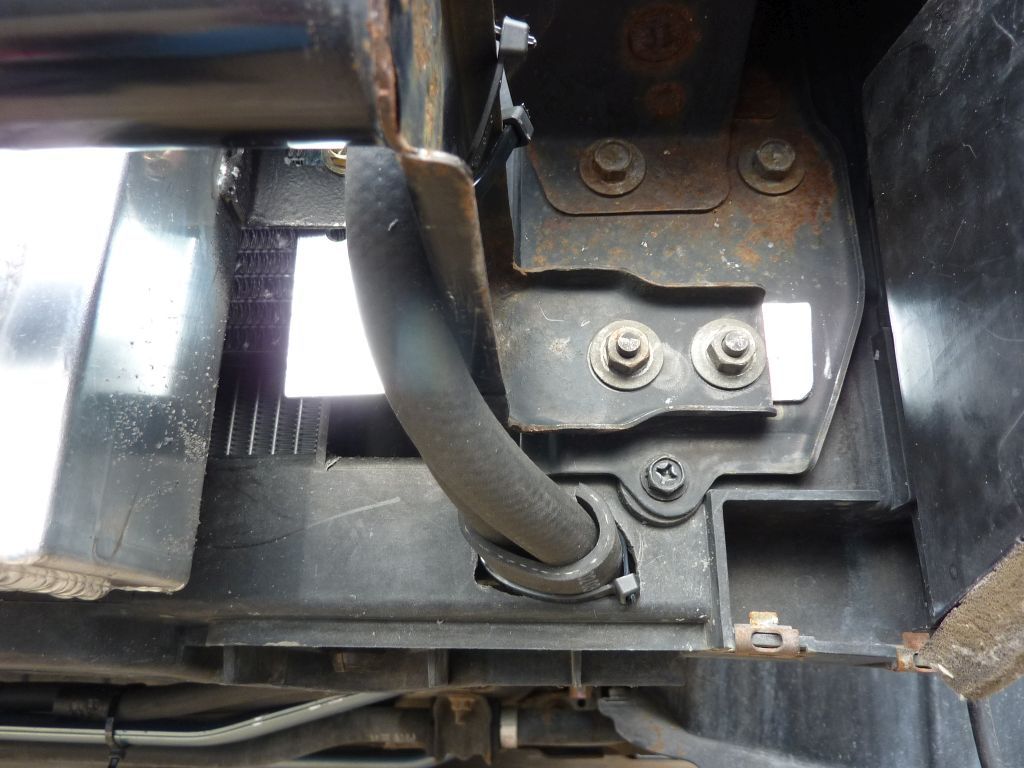
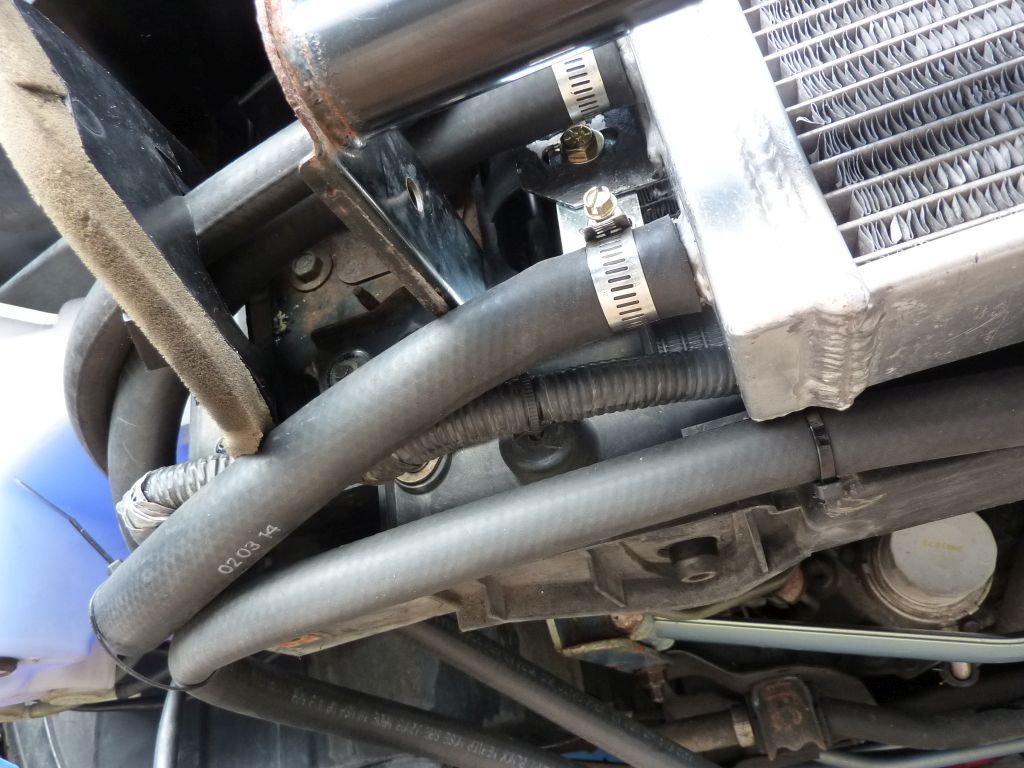
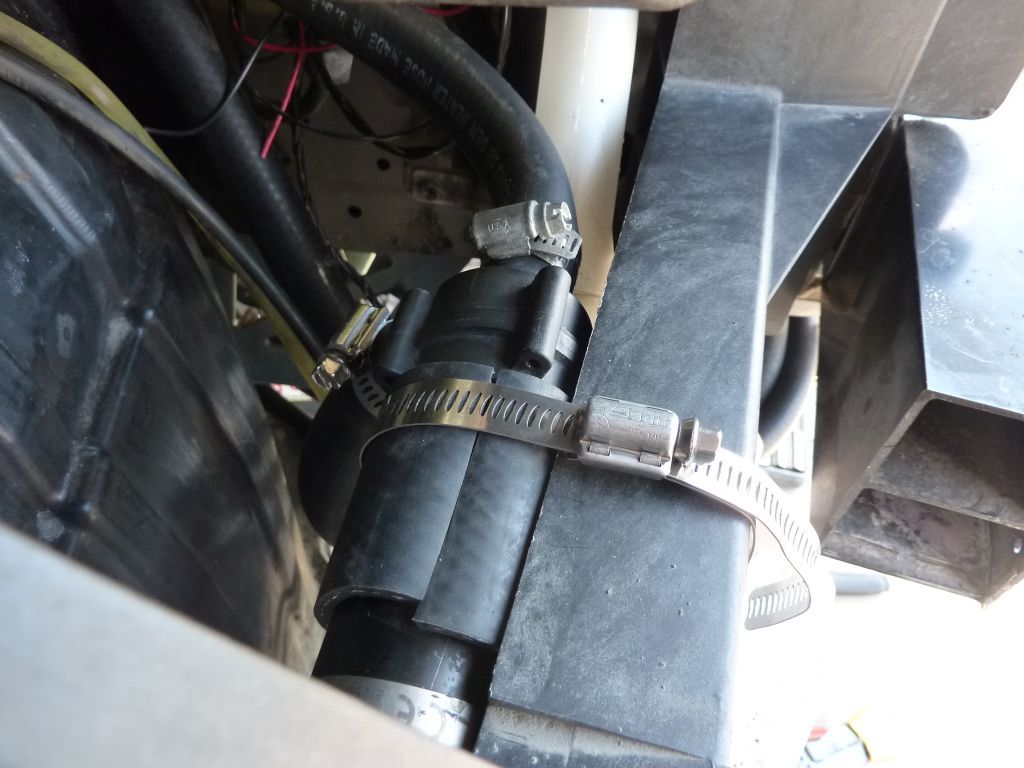
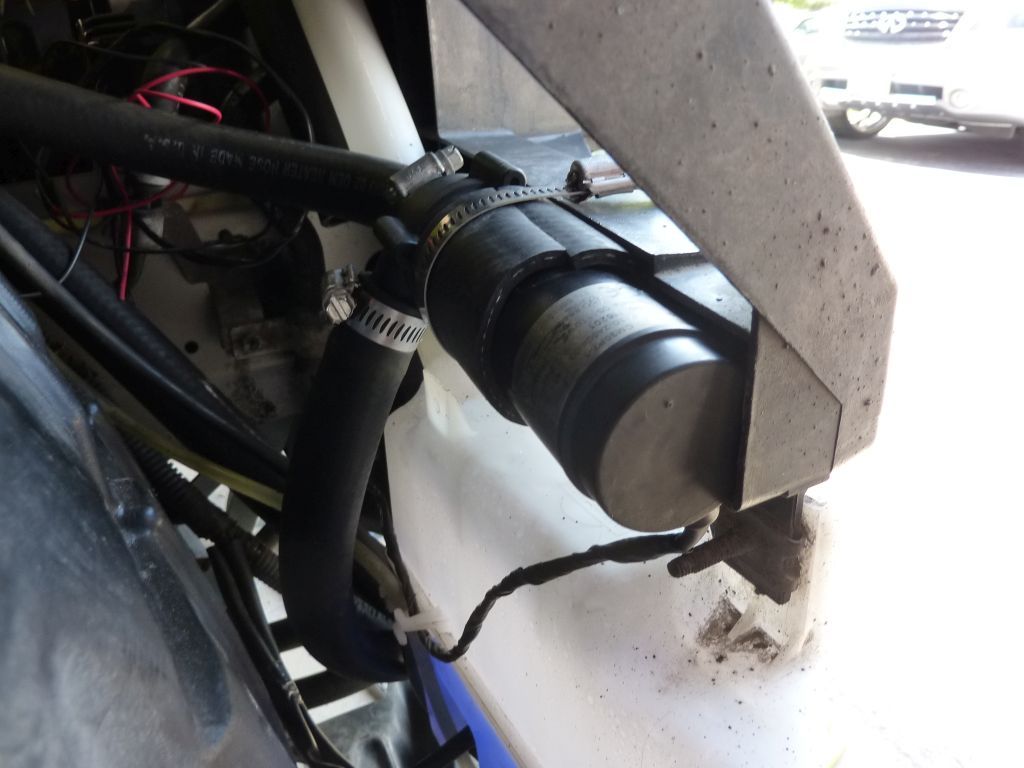
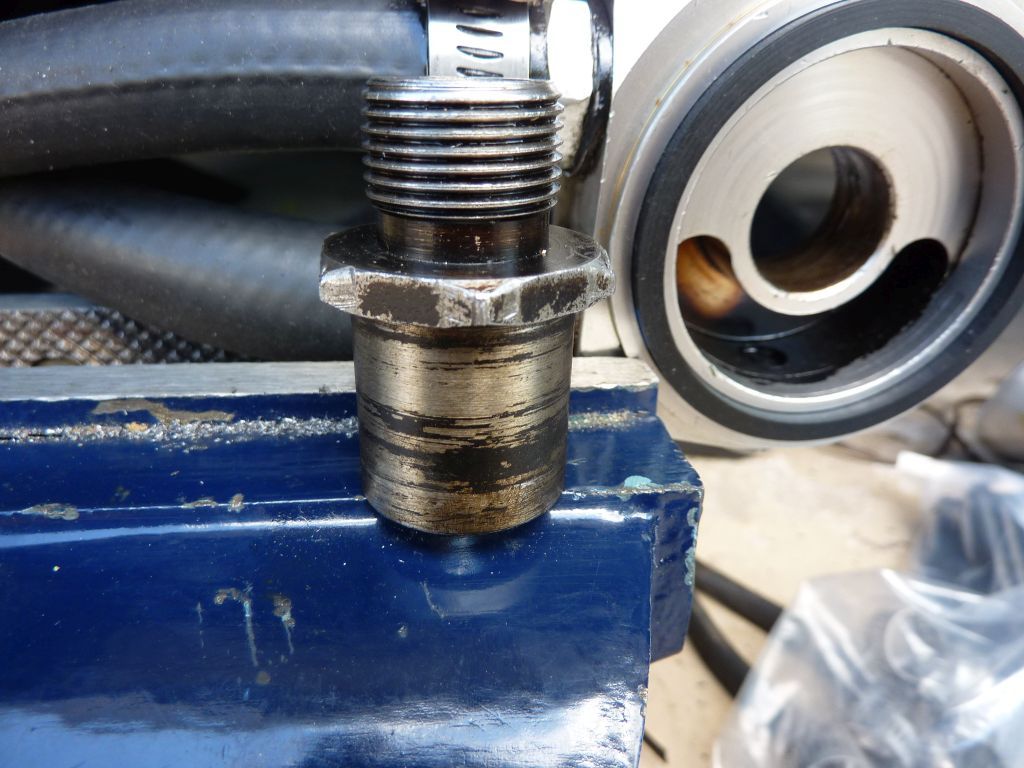
Inter-cooler coolant pump
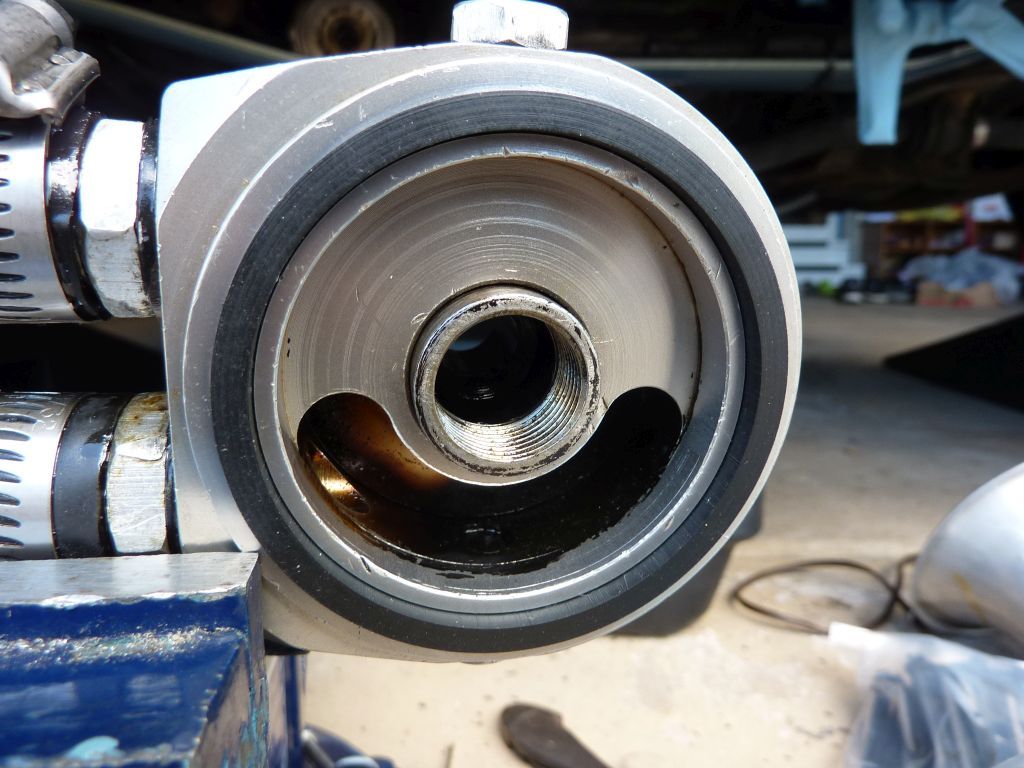
Oil cooler sandwich adapter
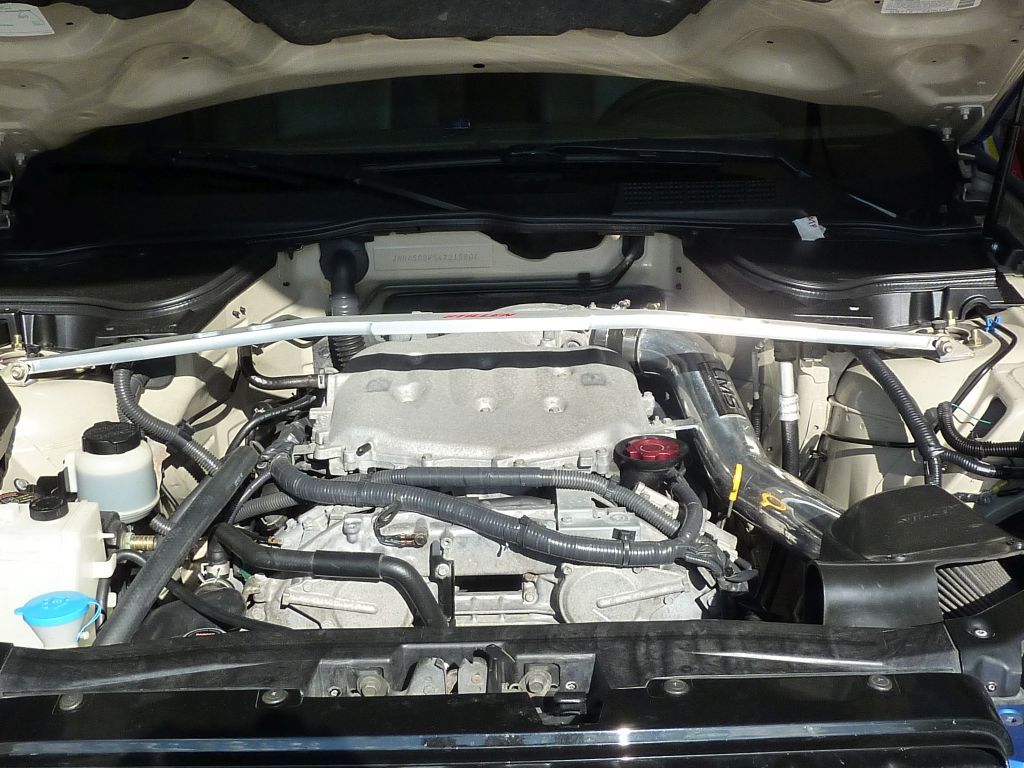
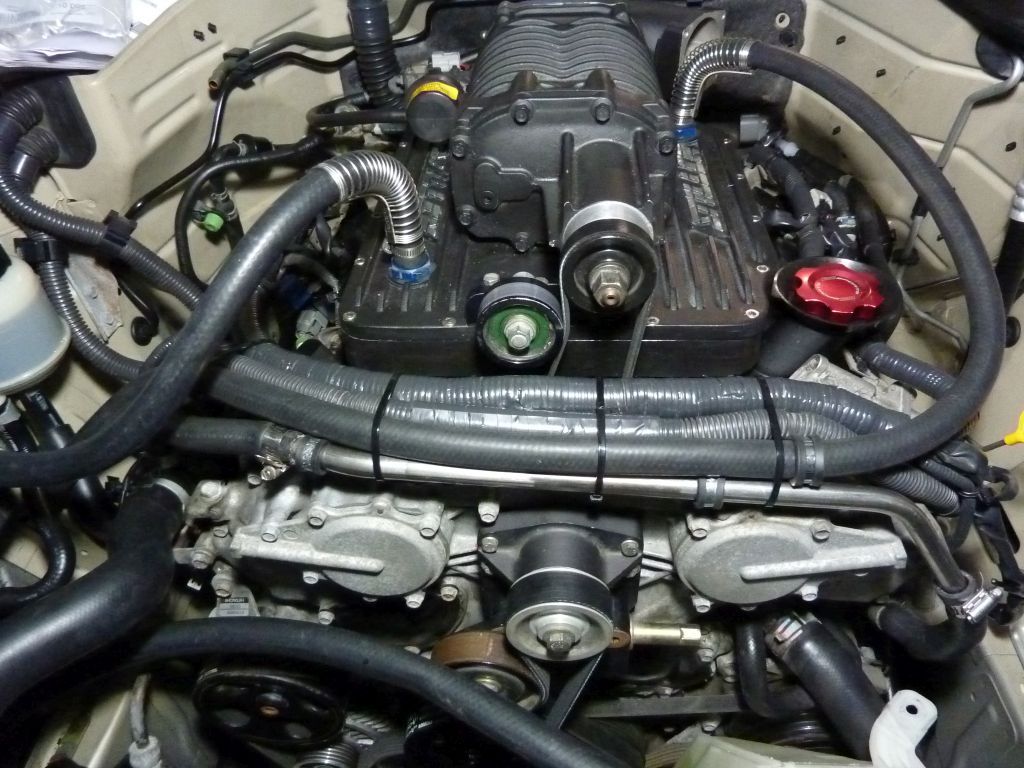
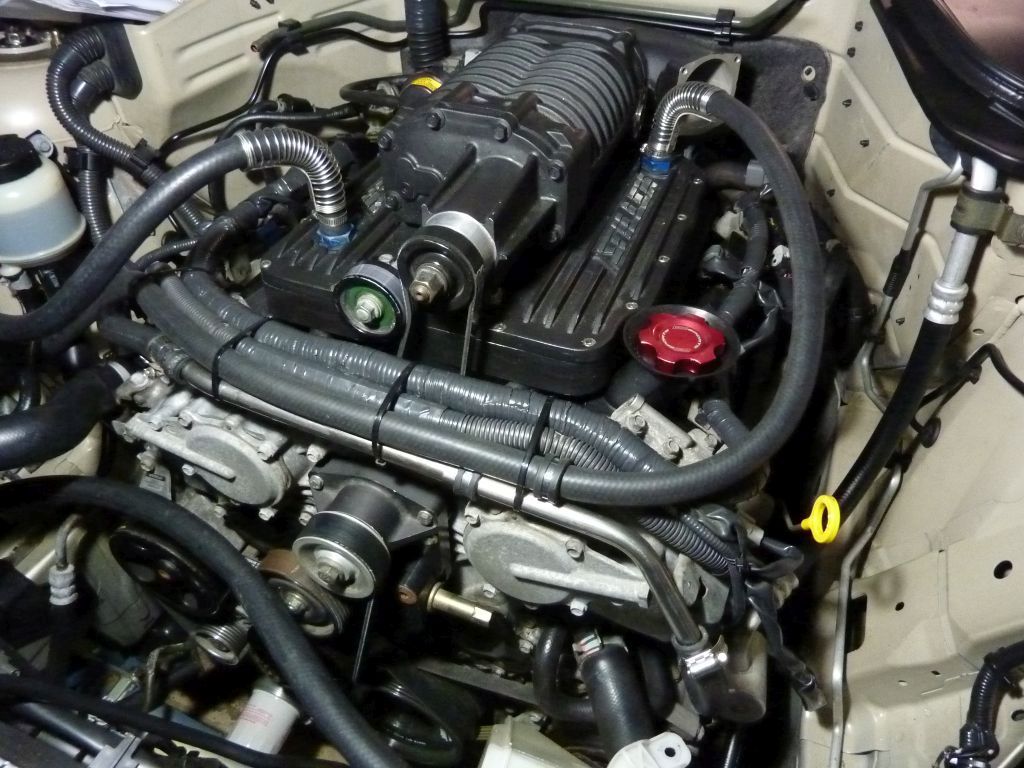
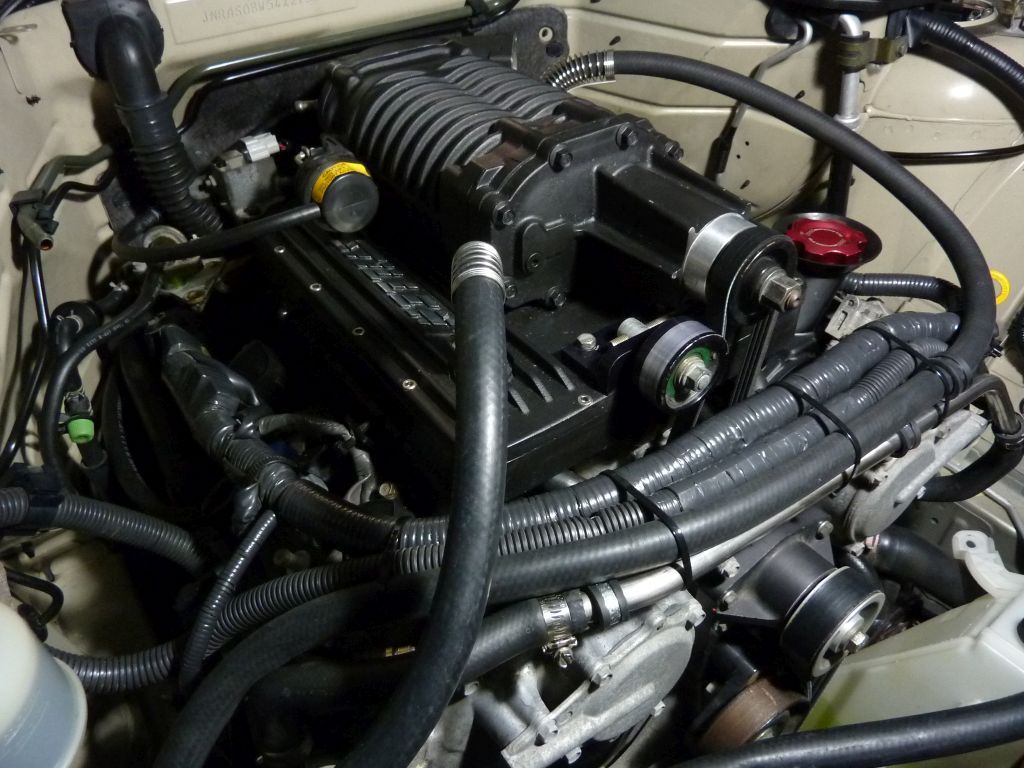
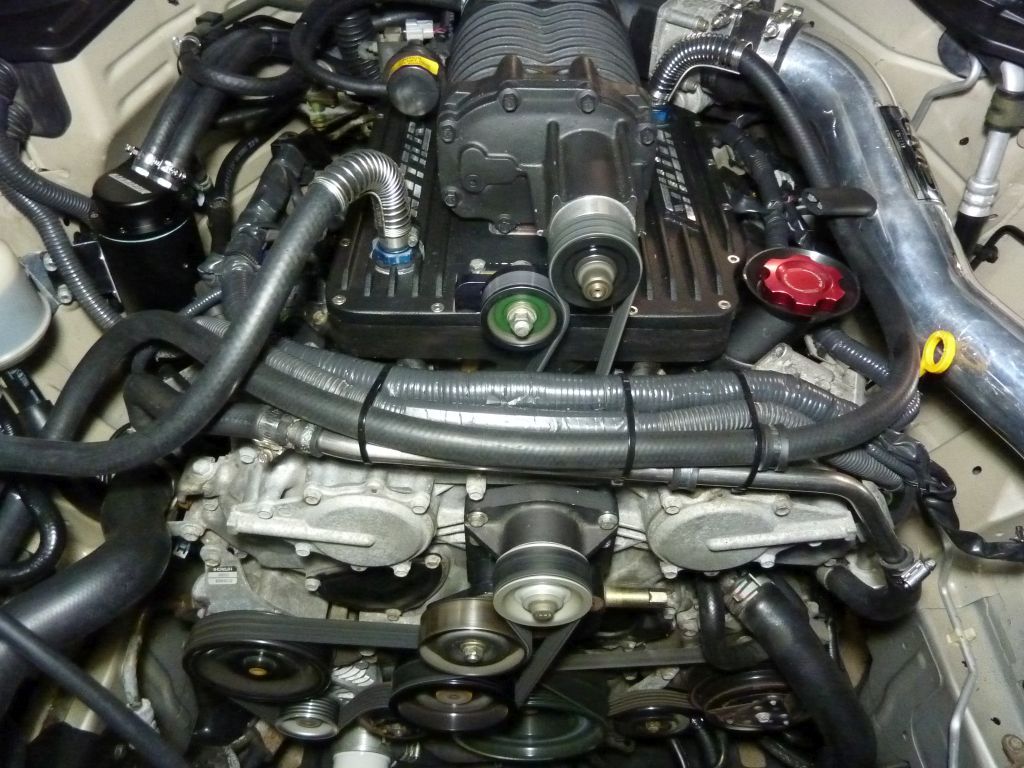
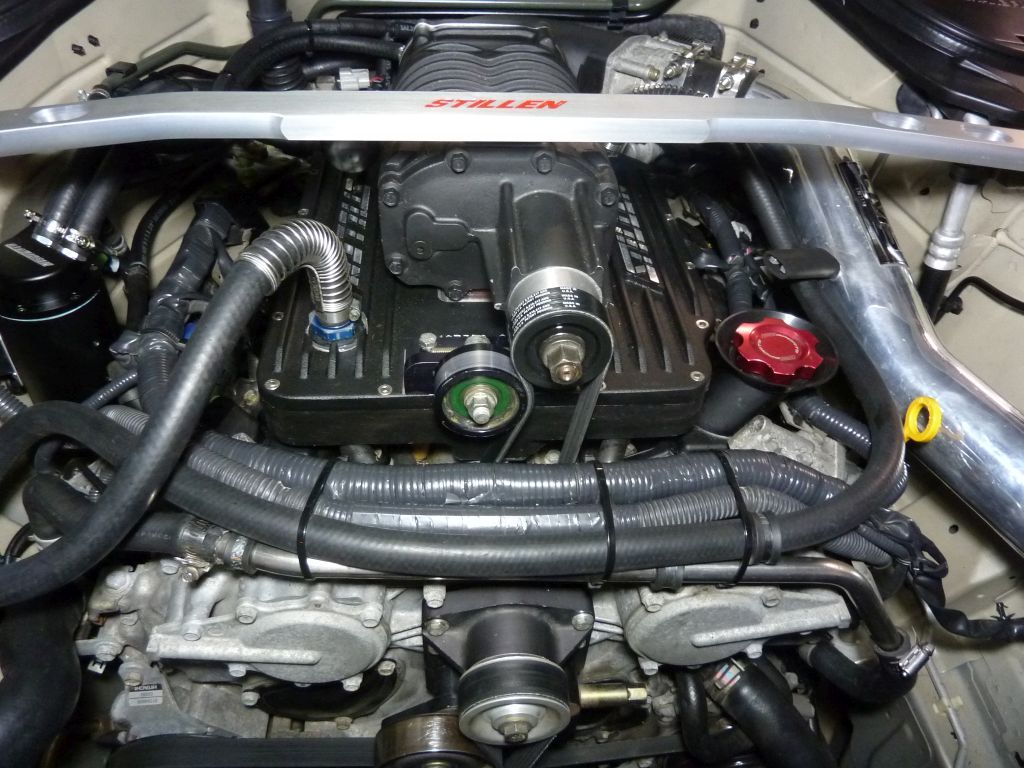
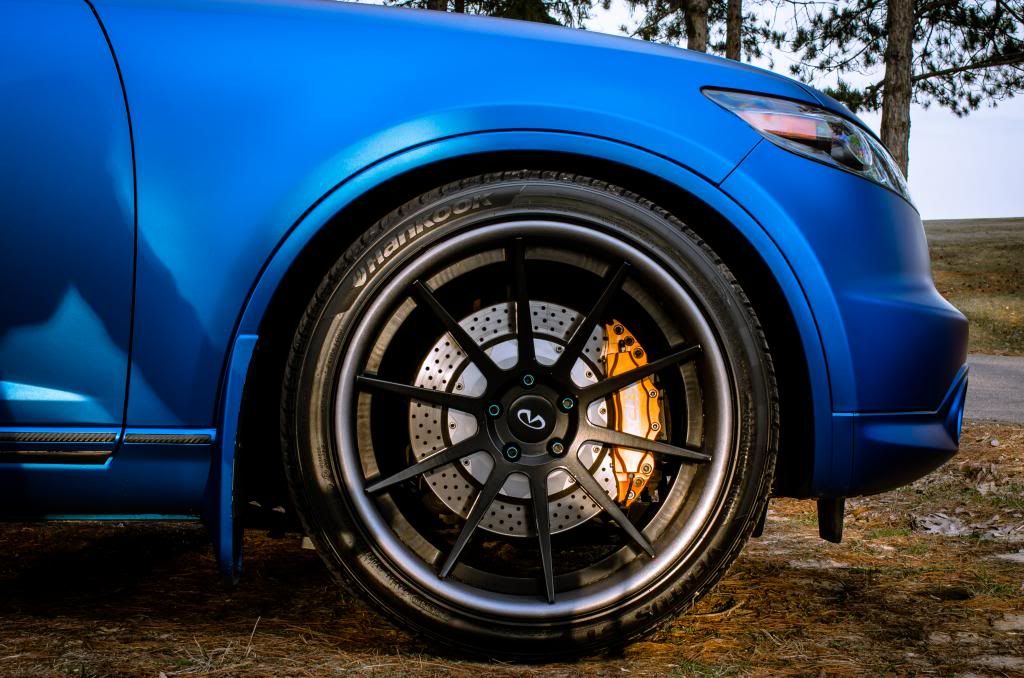
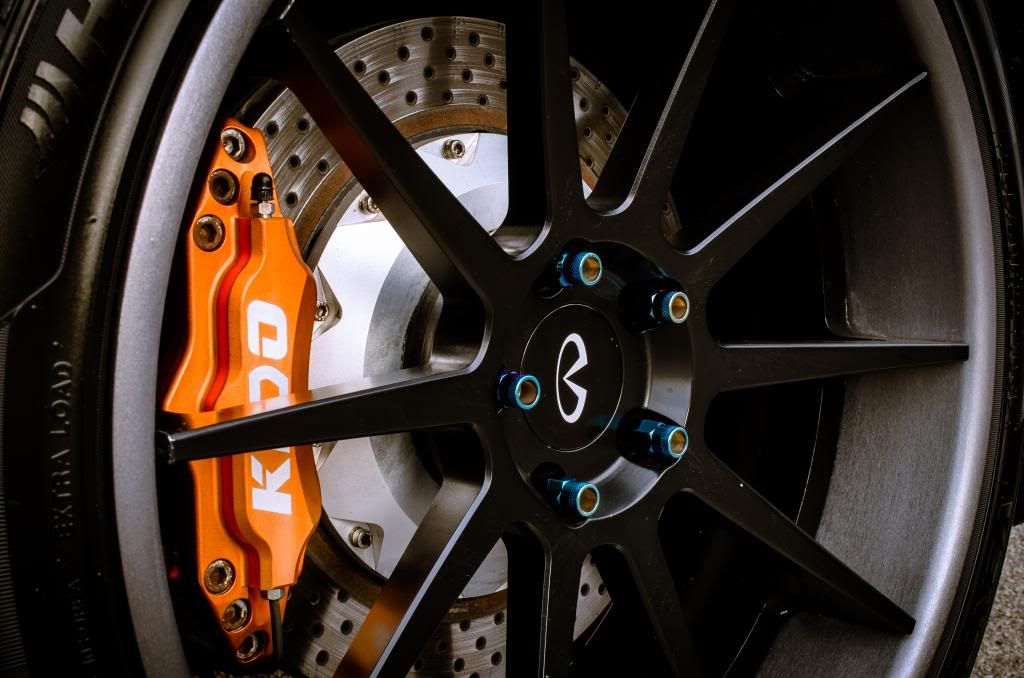
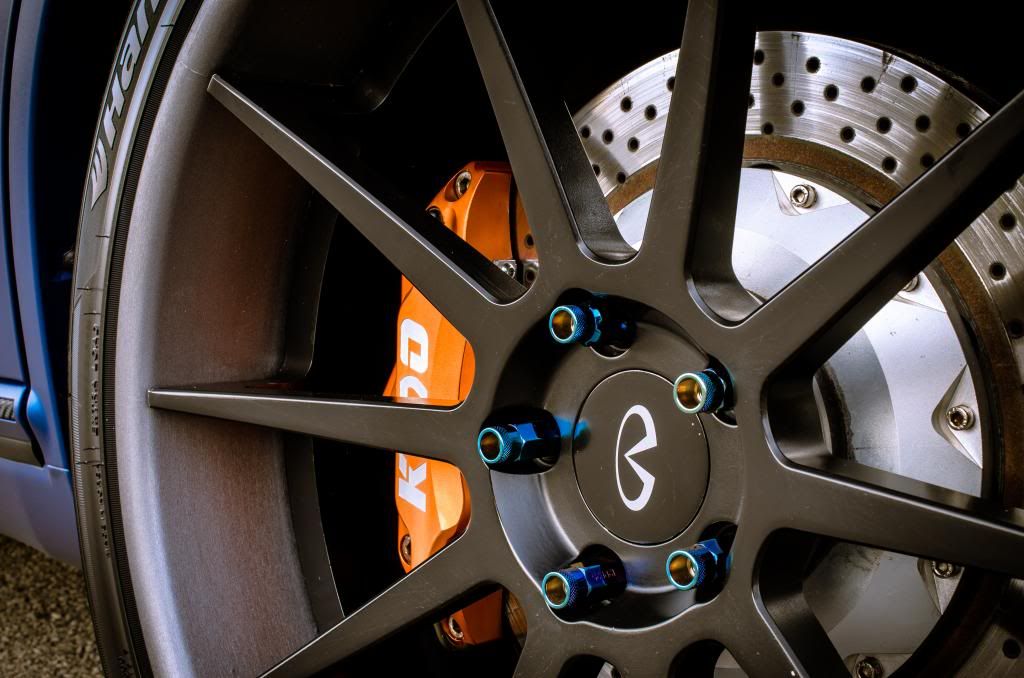
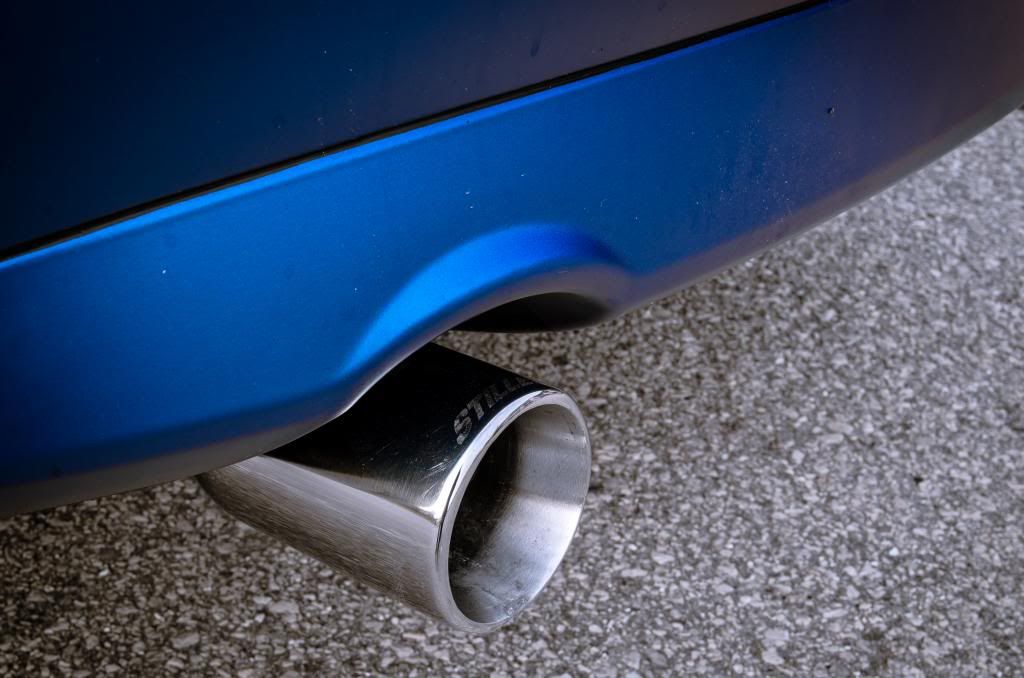
Stillen Stage 4 Installation
Stock plenum
Re-routed the crankcase breather hoses and installed the 4 rib pulley
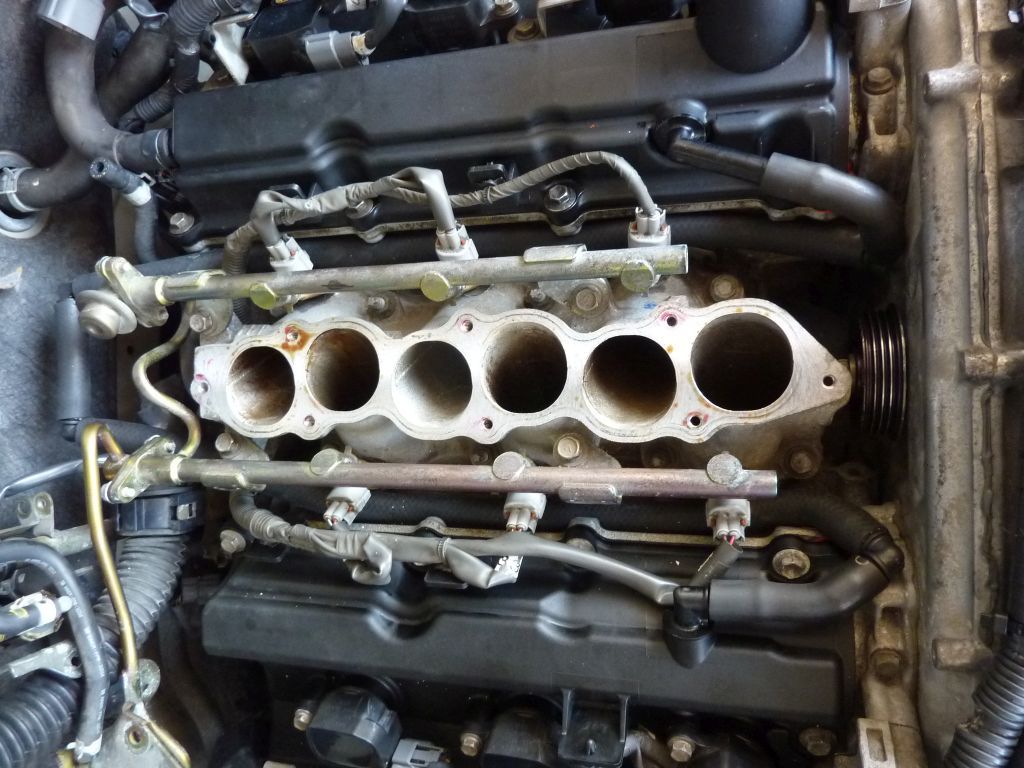
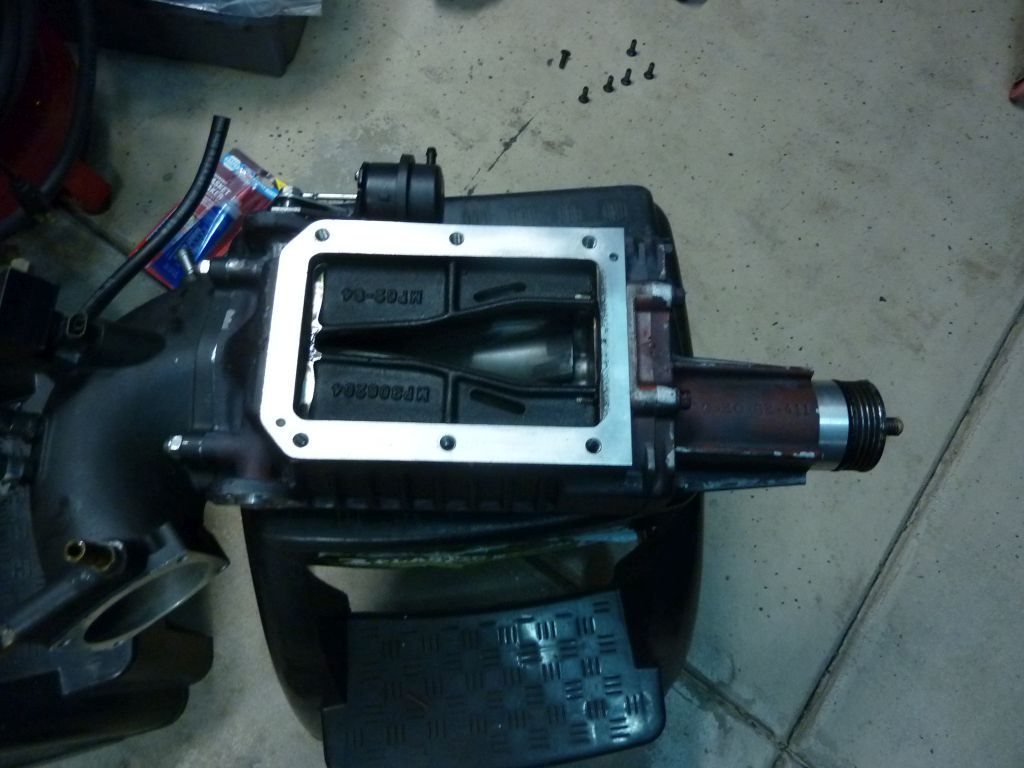
Stillen lower plenum mounted on the lower manifold
Underside of the Stillen top plenum with the cooler
Tada
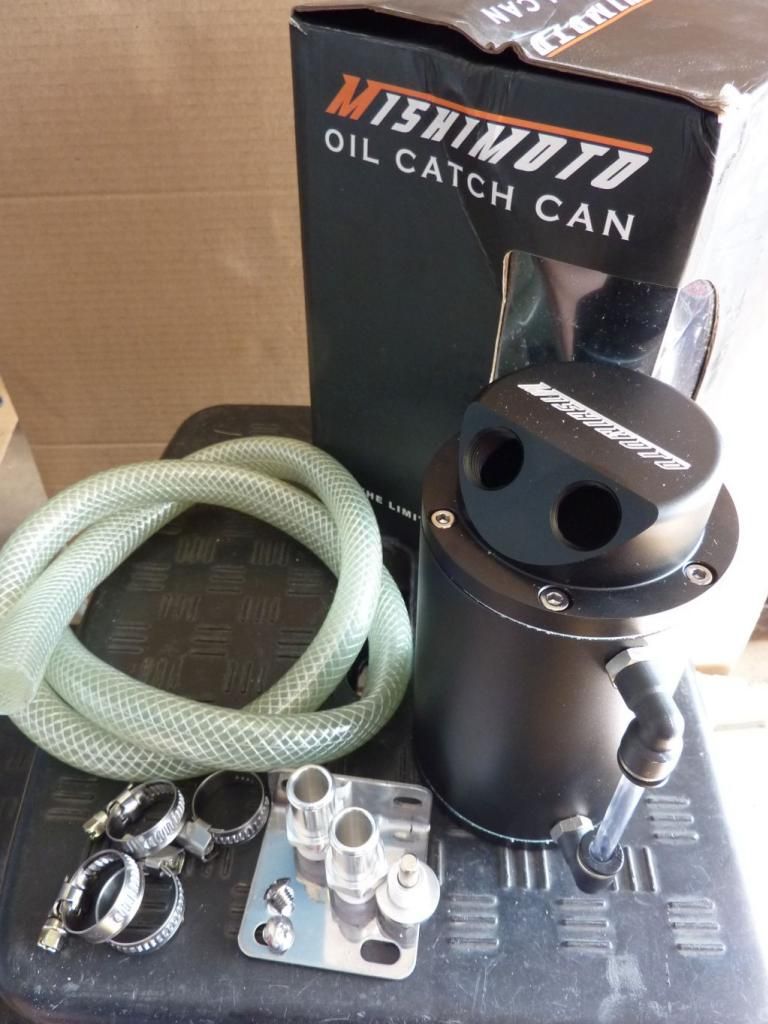
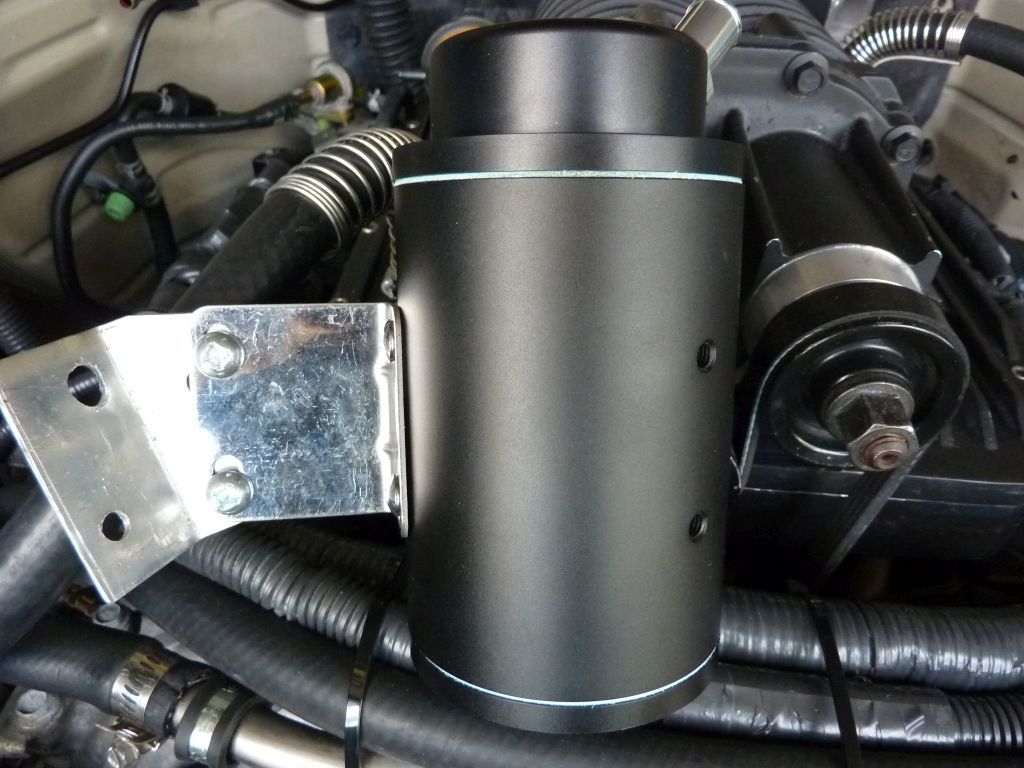
Oil catch can
Fabricated a bracket to mount the can
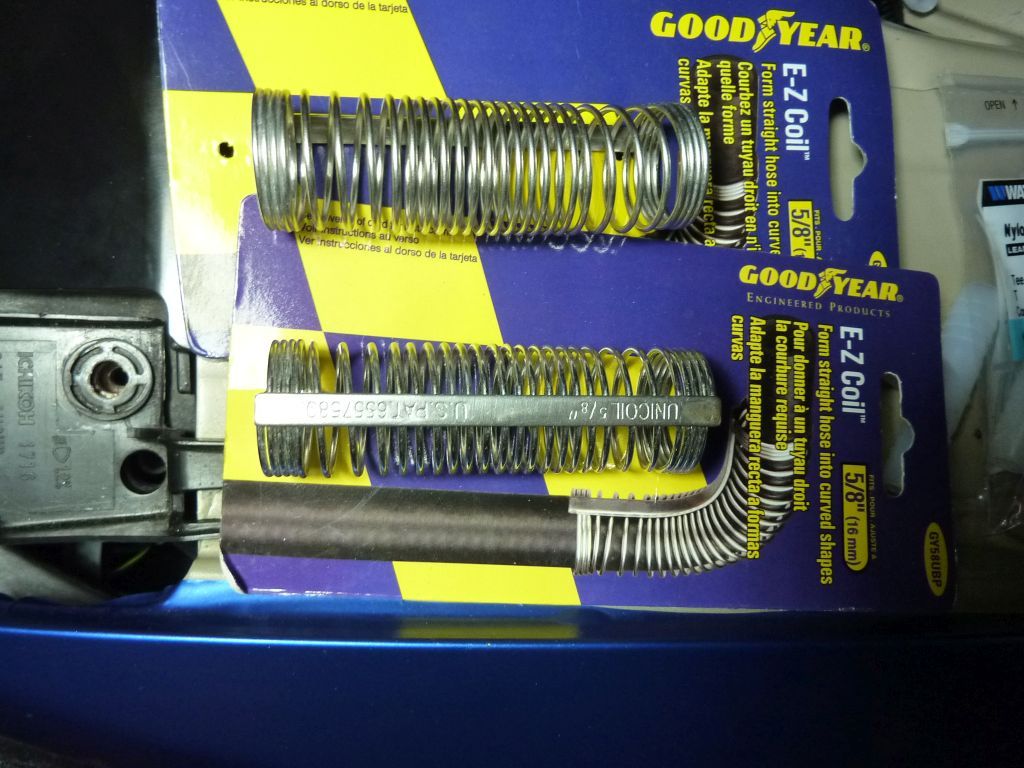
Goodyear EZ-Coil installed onto the two inter-cooler port to keep the coolant hose nicely bend
I'm ready for the dyno!!!!
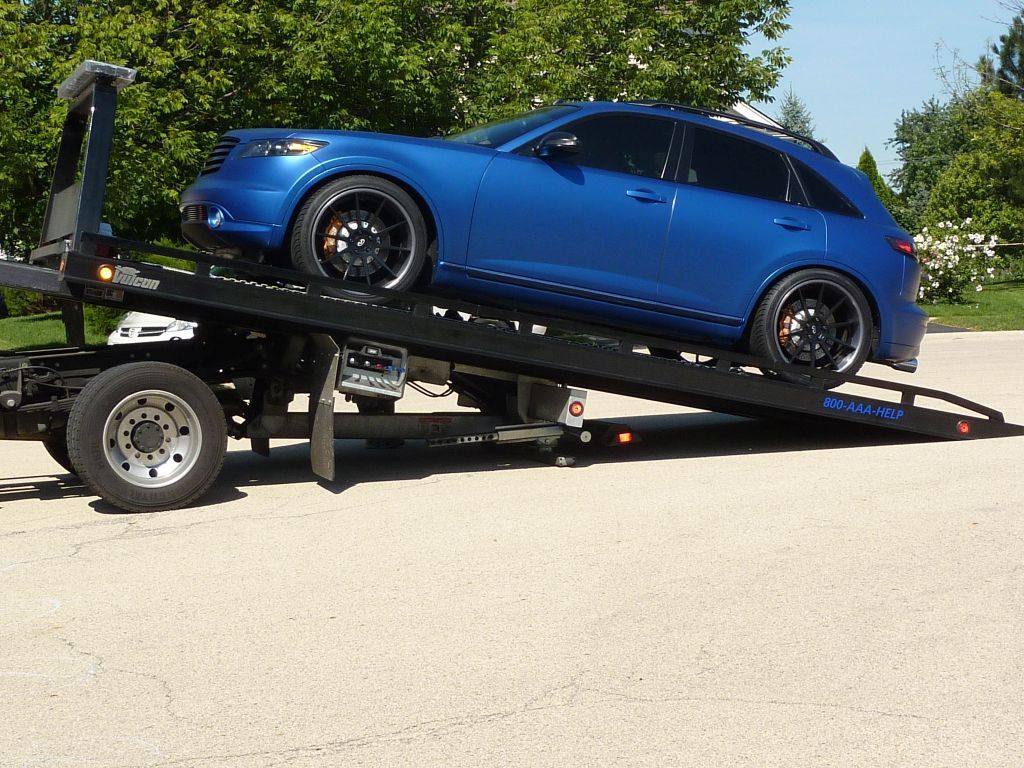
On the dyno
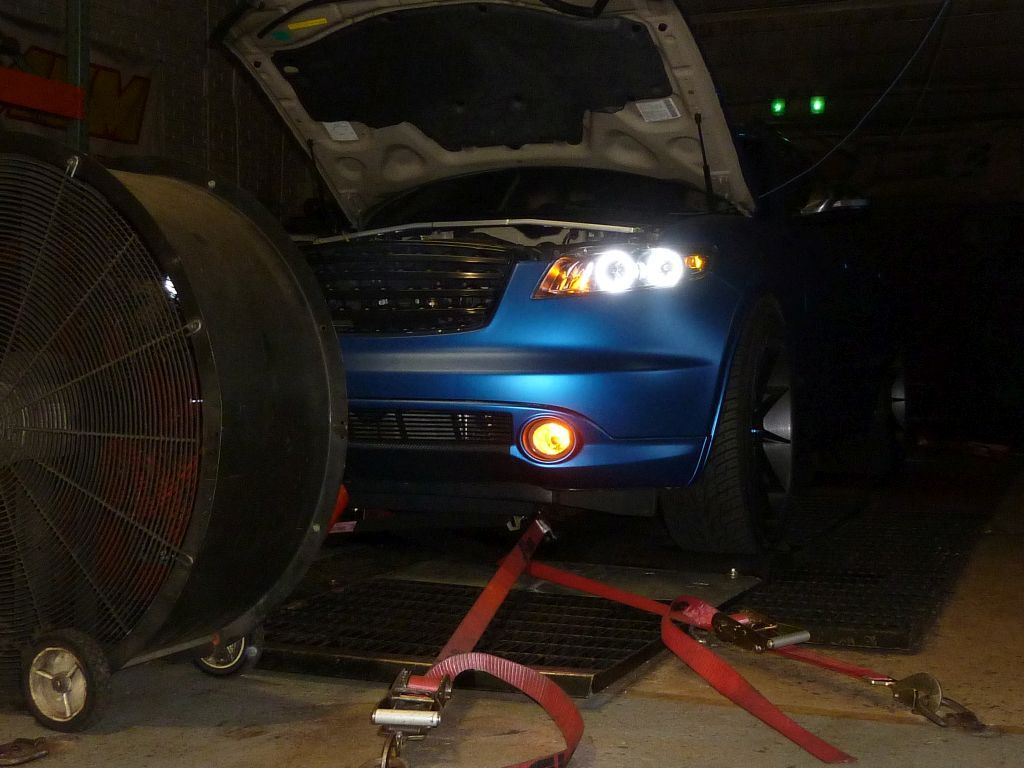
On the first dyno run, we found some serious leaks around the inter-cooler coolant ports due to aged seals and rear portion of the supercharger. The tuner made remarks on Stillen had an upgraded the the pulleys nose cone 4-rib pulley to a 6-rib pulley to help the belt slips. Since the leaks will results in taking the supercharger off the car, the opportunity for the 6-rib upgrade kit was ordered.
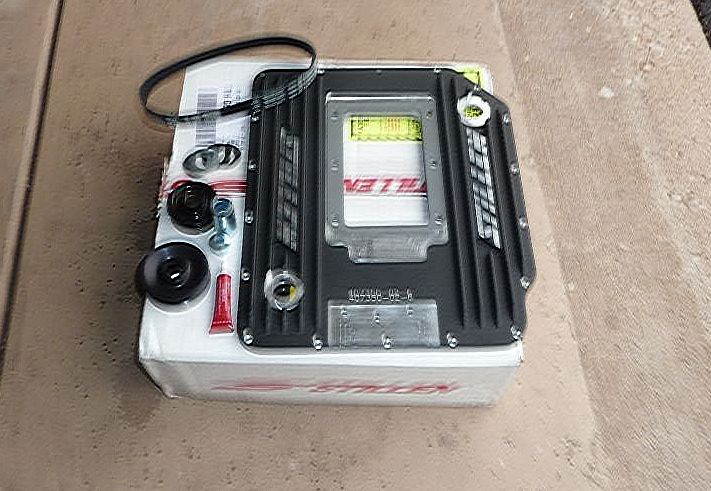
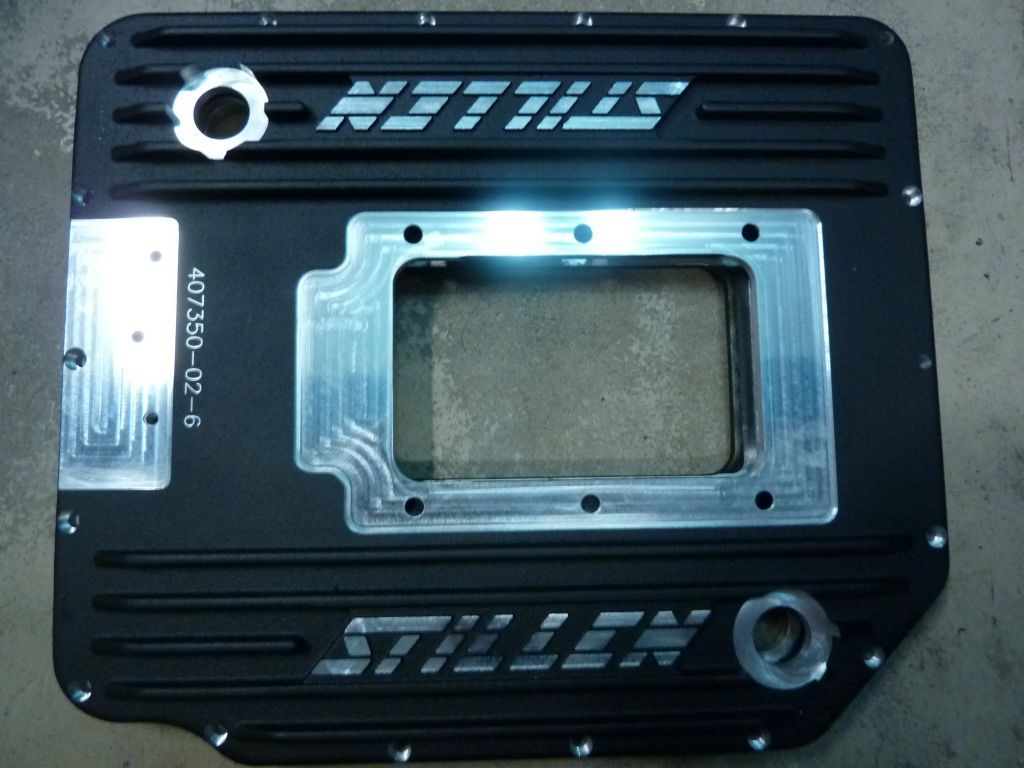
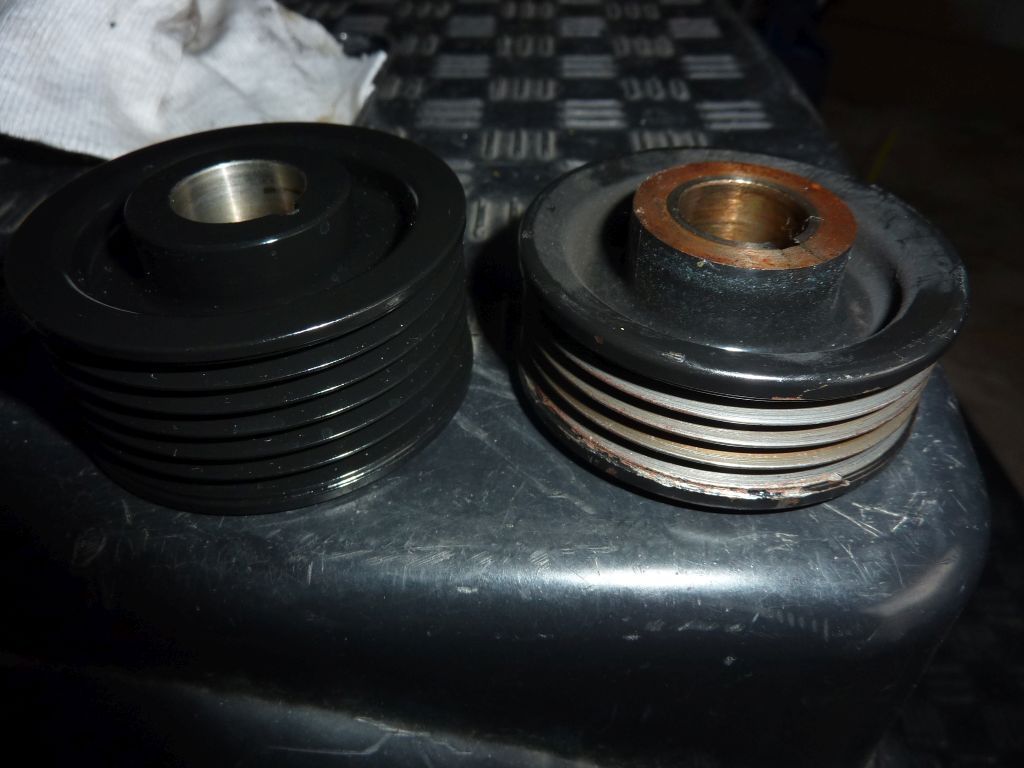
Here is the Stillen 407350-02-6 6-Rib Upgrade kit
Old 4-rib pulley
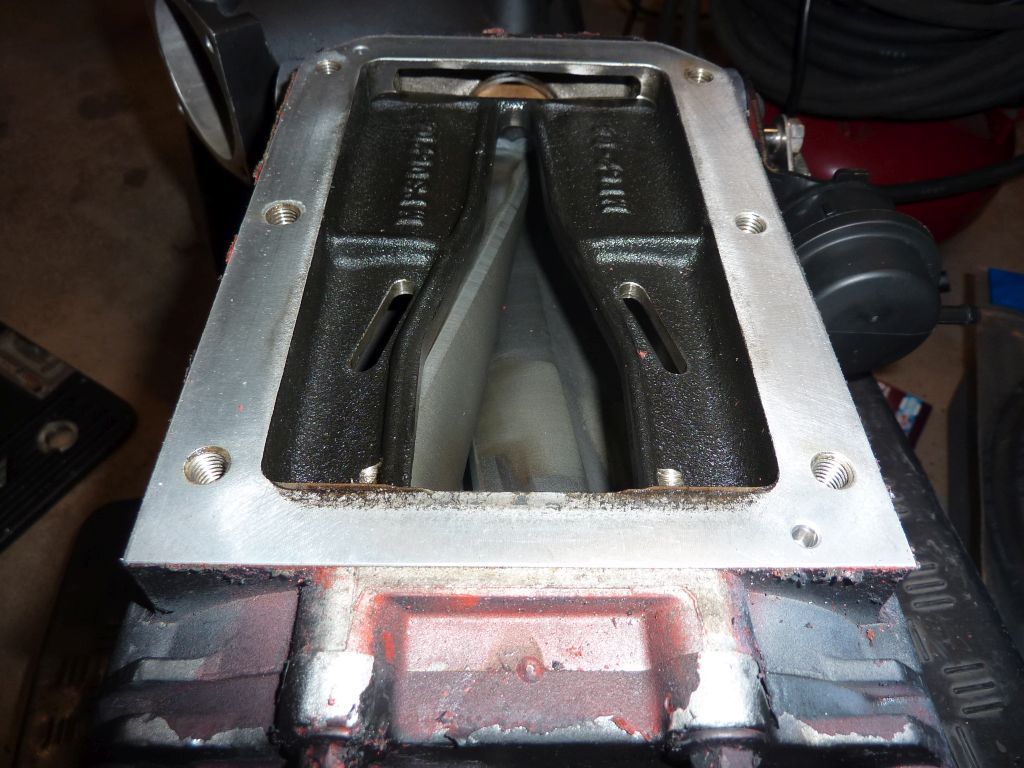
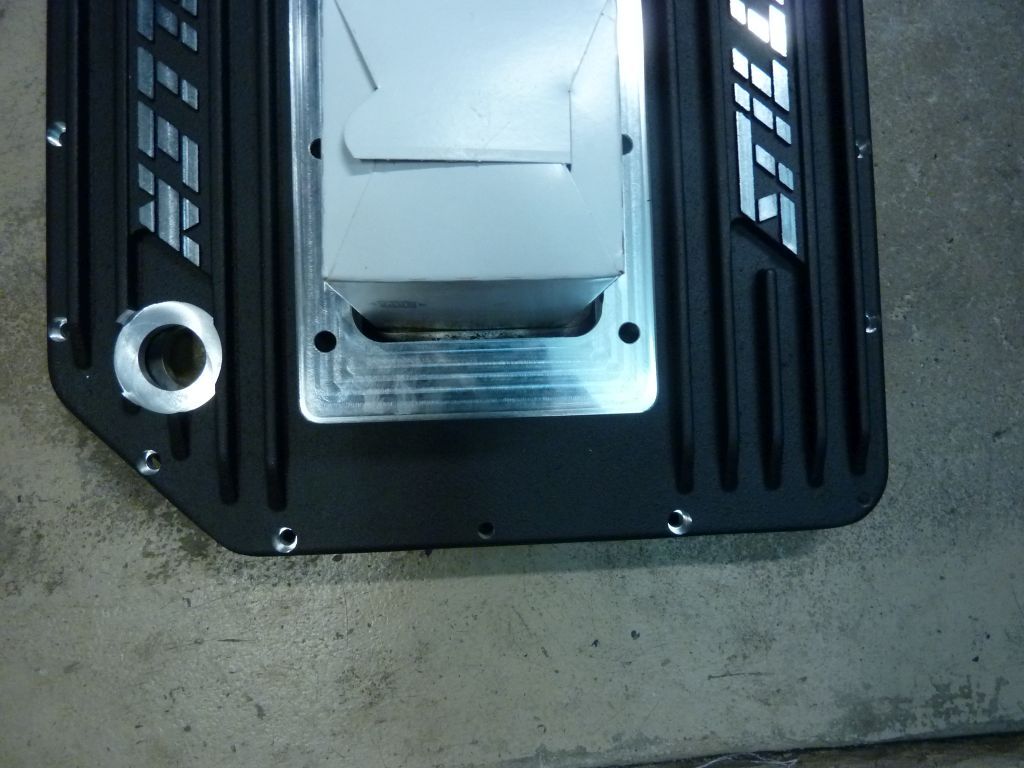
Cooler removed from the Stillen top plate

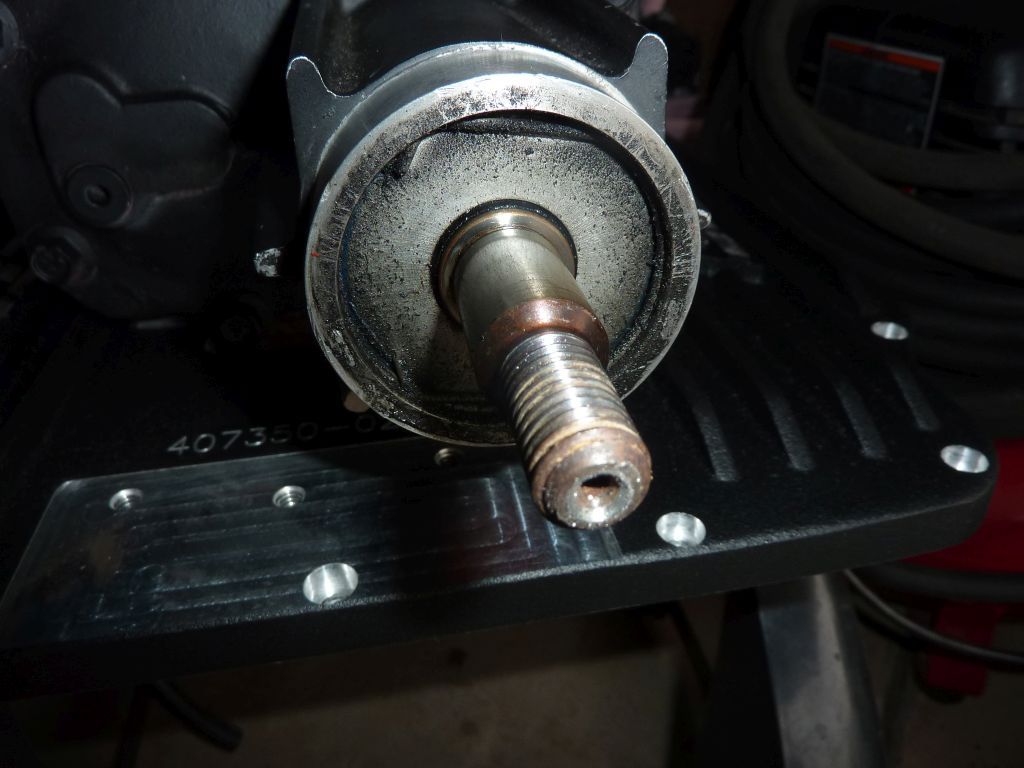
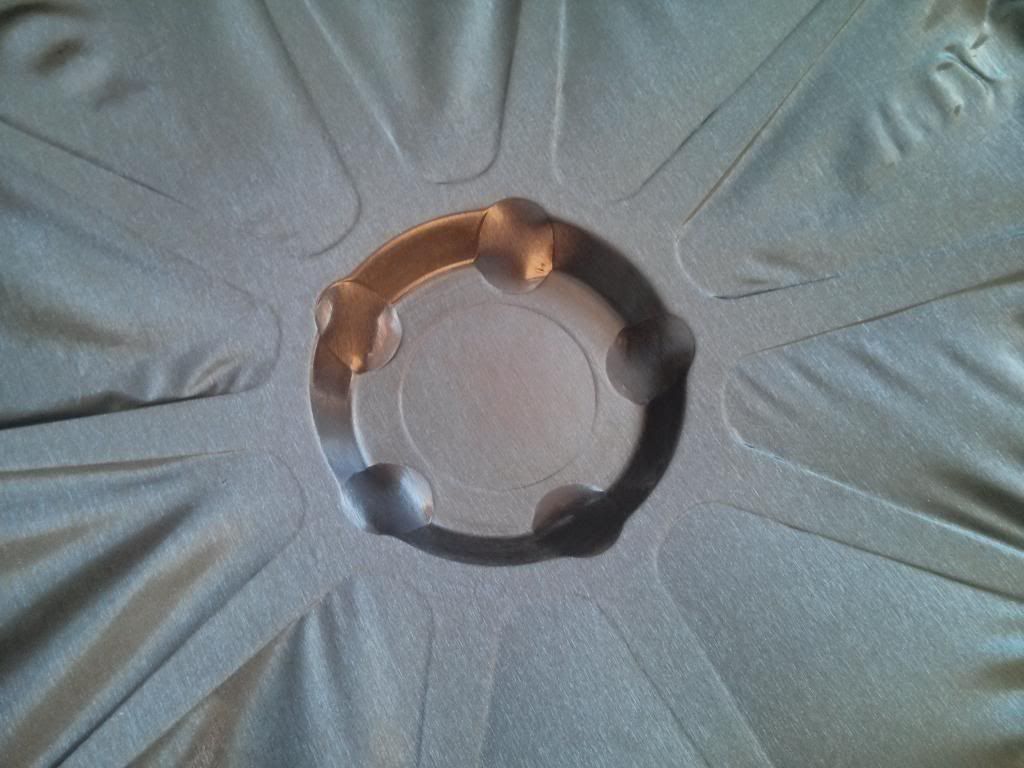
The underside of the Eaton MP62 supercharger
The new Stillen 407350-02-6 top plate. I stack the new top plate over the old plate to show hole the change to the plate. The new plate moved about 1/8 inch toward the rear as you can see the picture
The supercharger mounted onto the new plate
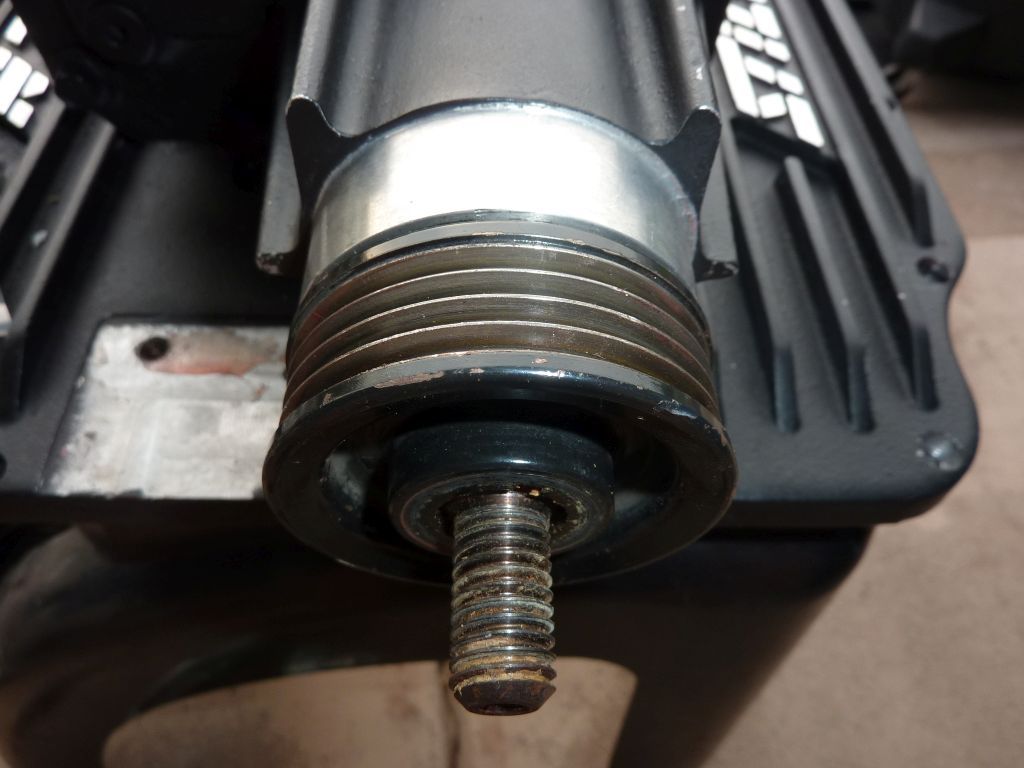
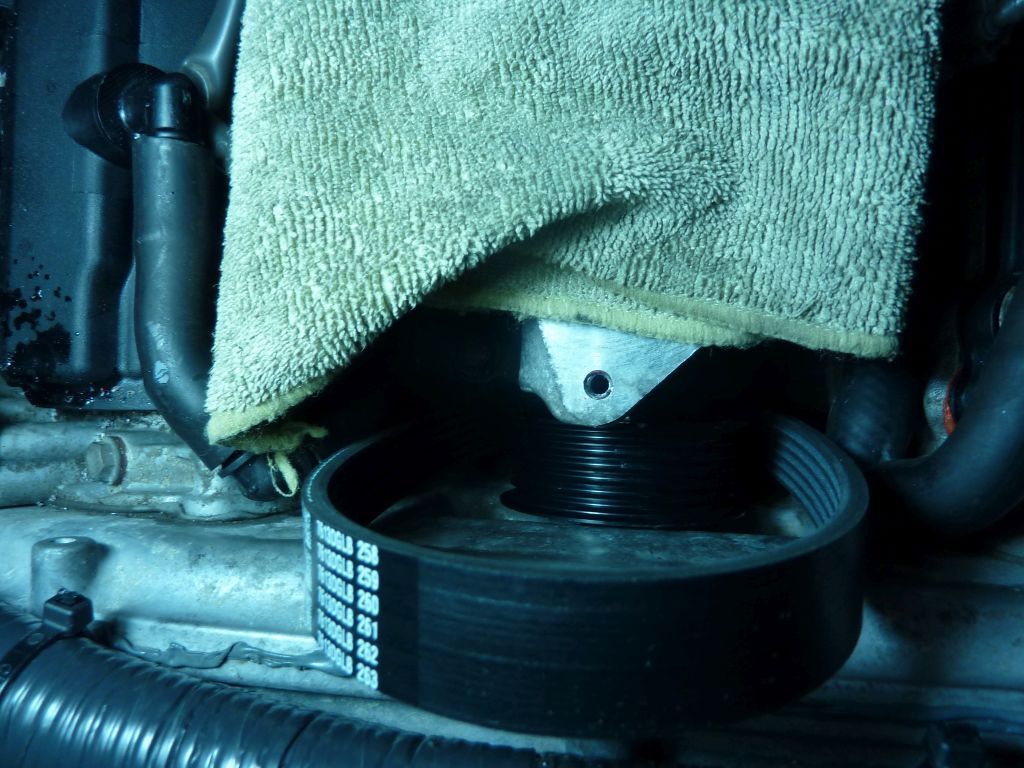
Top view of the new 6-rib pulley installed. The new bushing was installed onto the pulley shaft and it hidden from view. It is under the timing belt cover.
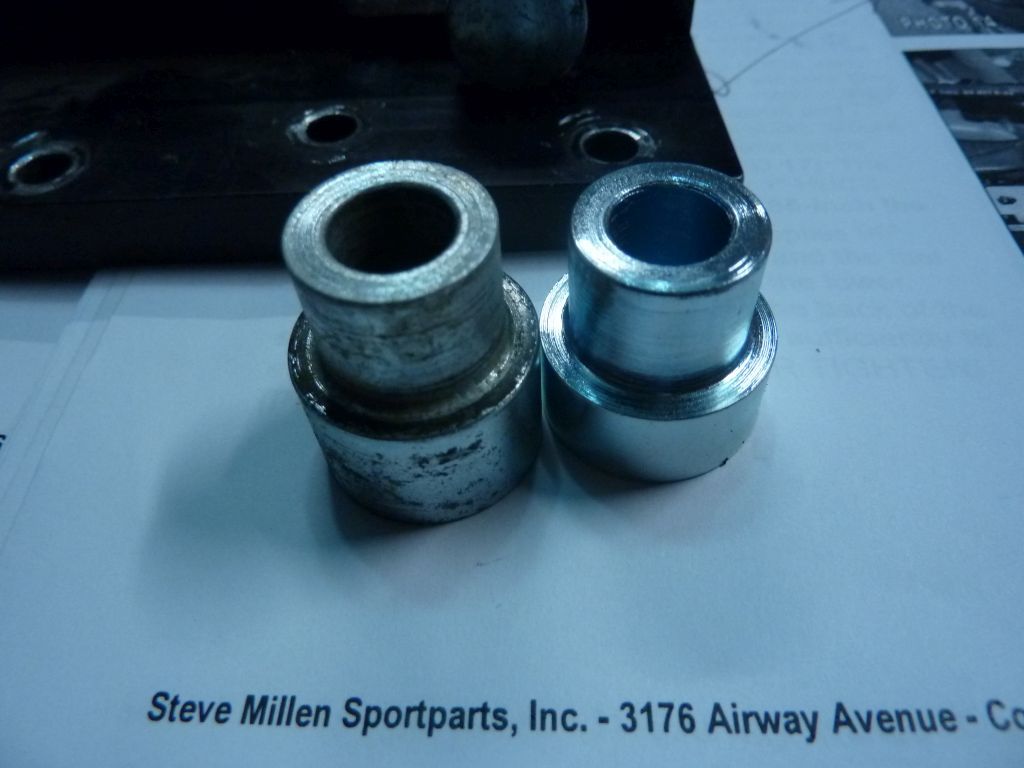
Old and new belt tensioner bushing
The belt tensioner with new bushing
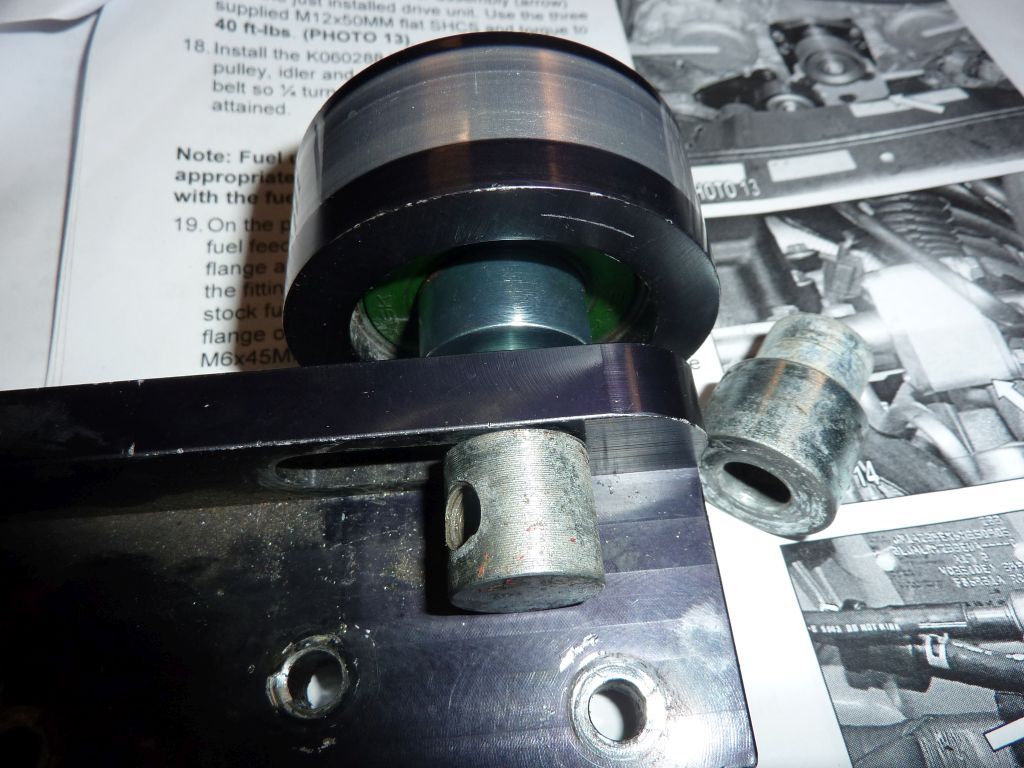
Remove the 4-rib nose cone pulley
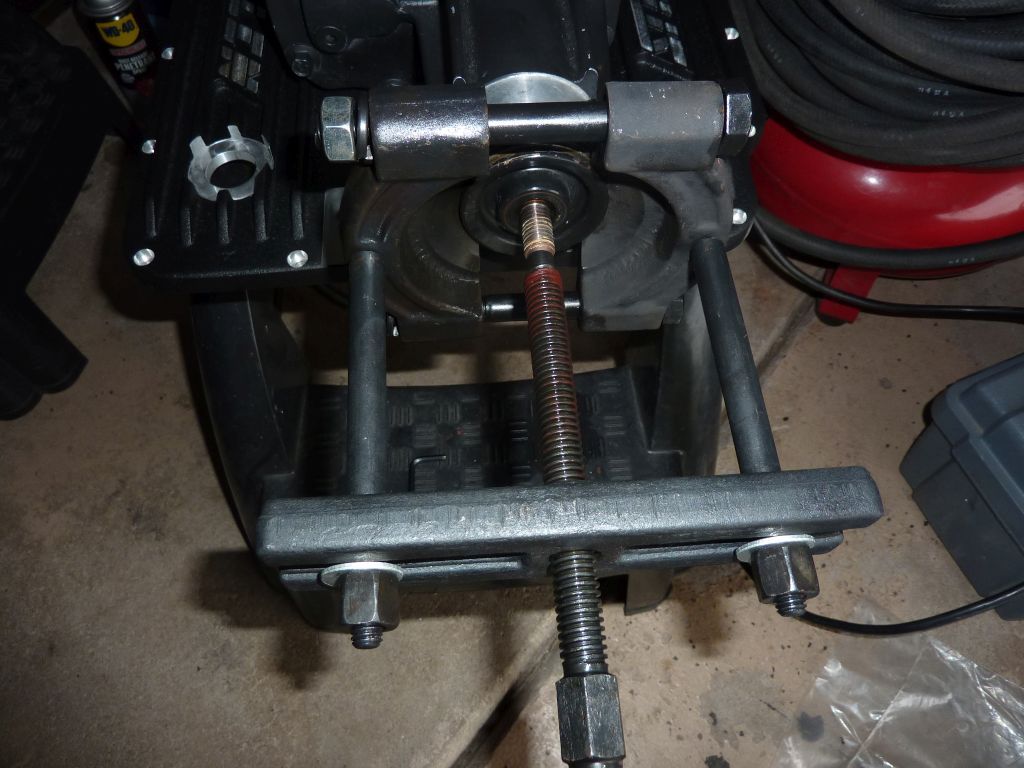
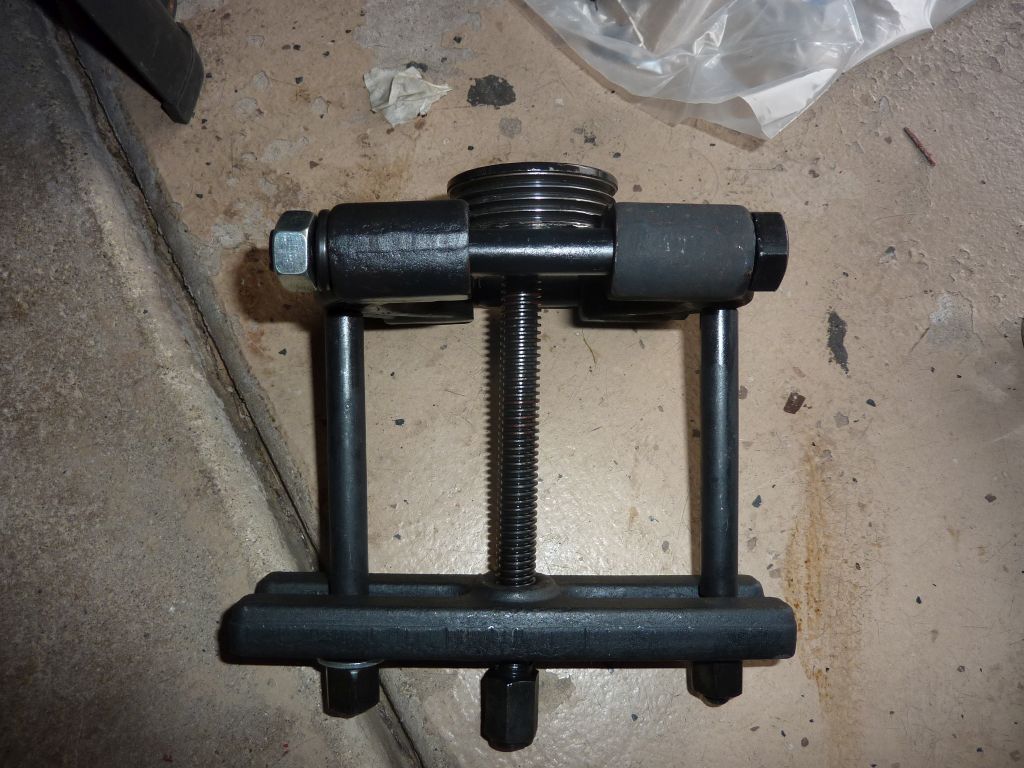
New 6-rib pulley
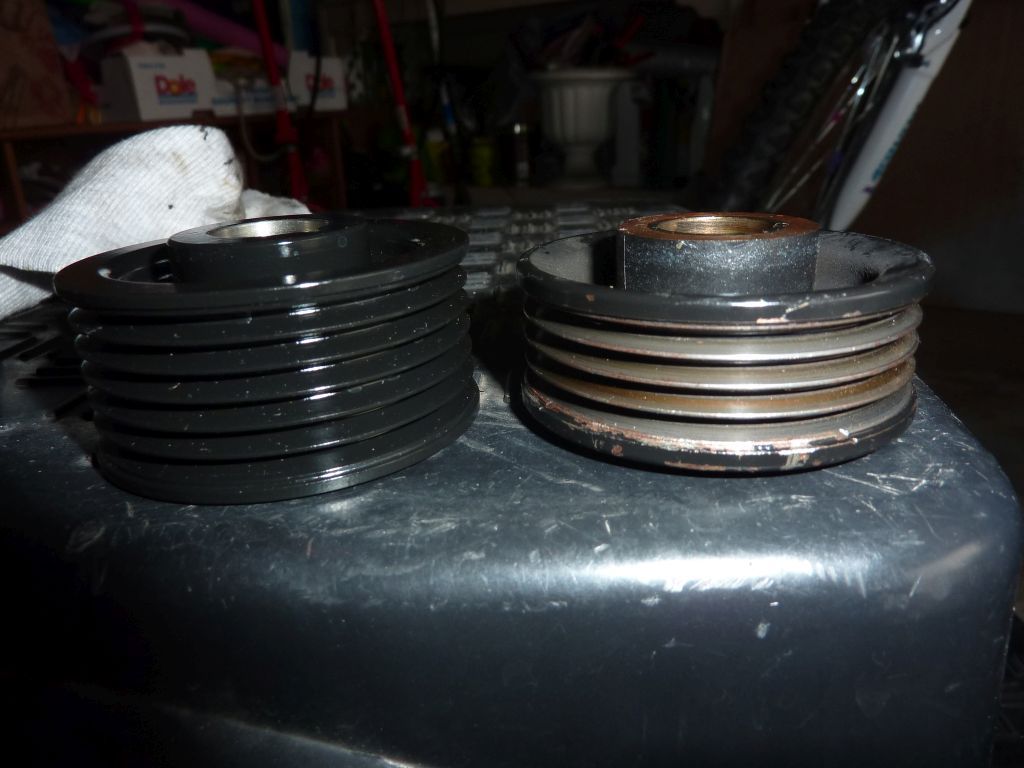
New 6-rib upgrade completed
All Done!!!!!!!Leave a comment:
-
I'm back.
Summer 2014.
The car has been dropped off at my buddies home garage in Chicago.
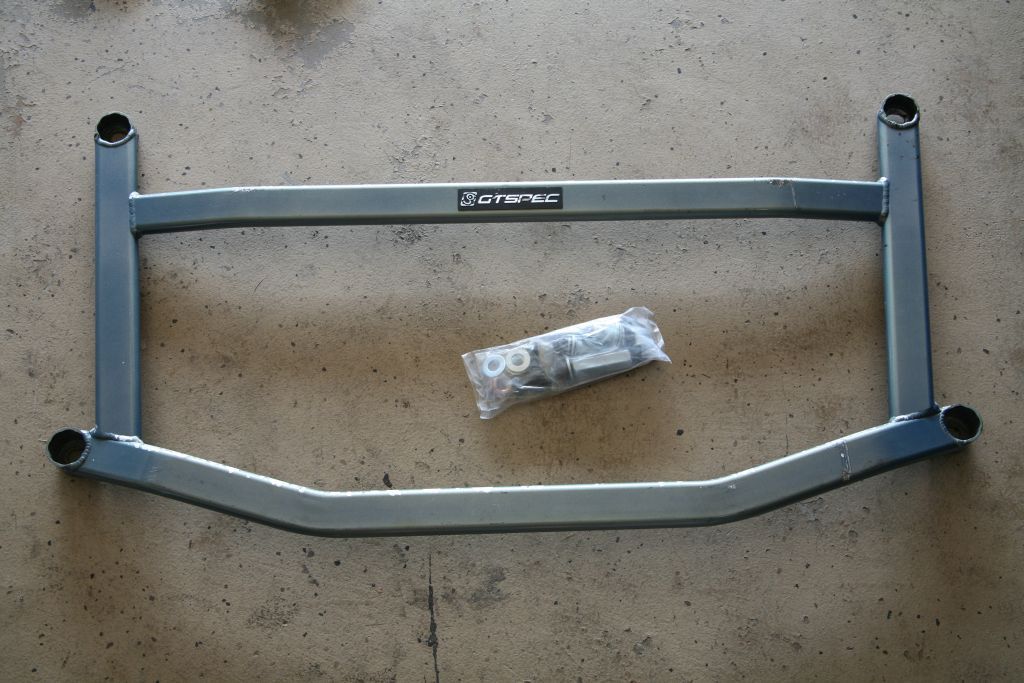
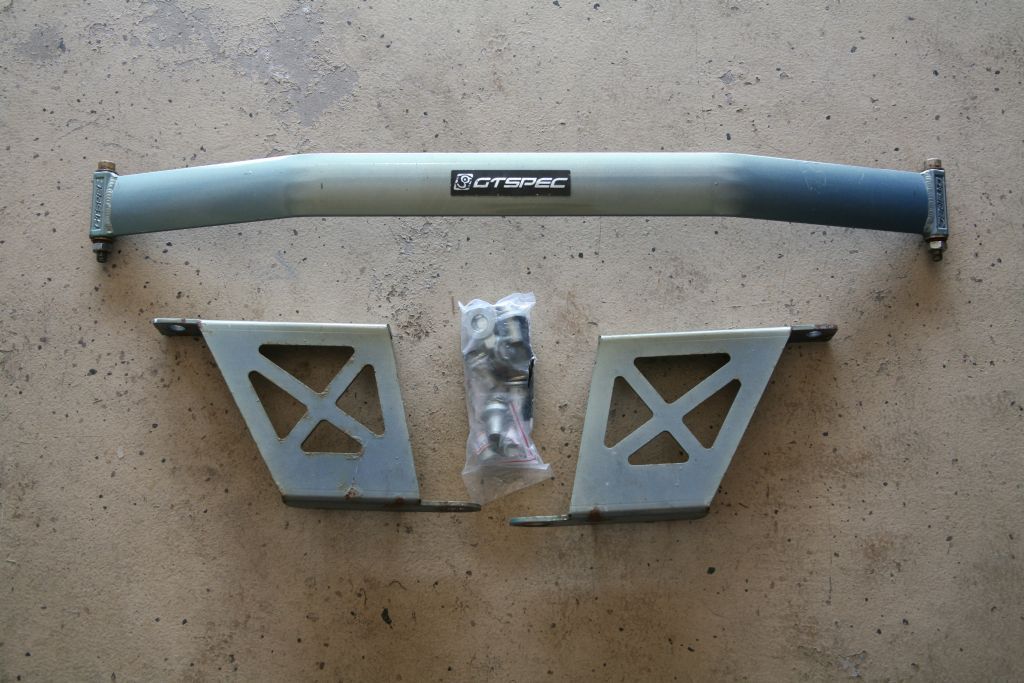
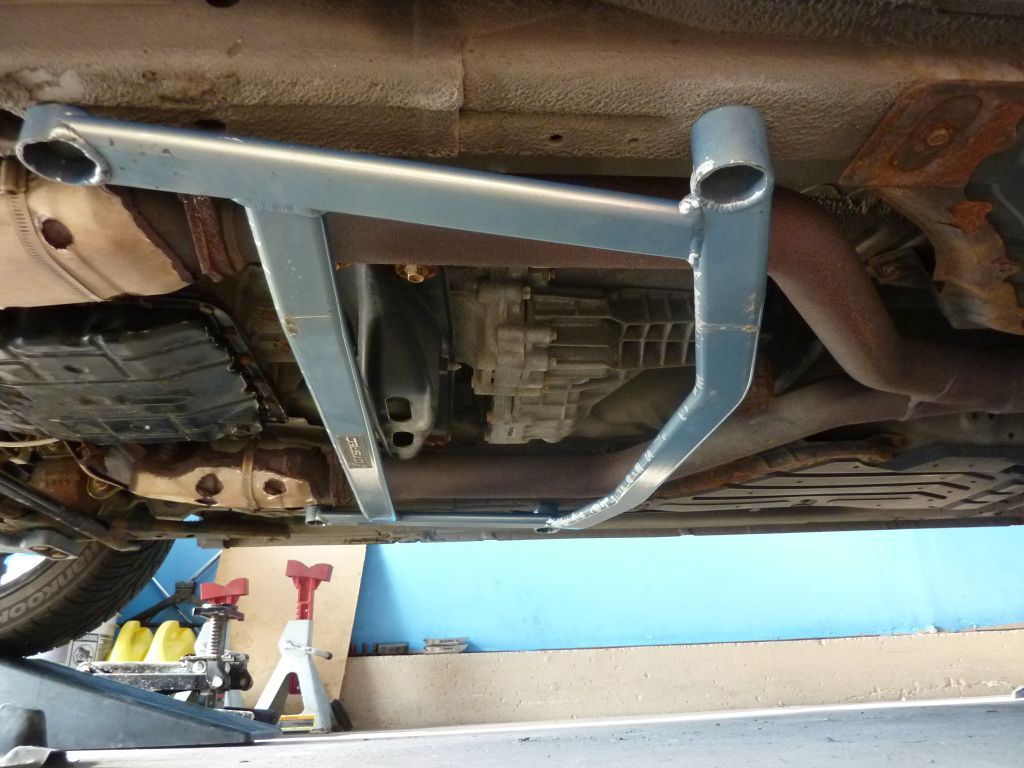
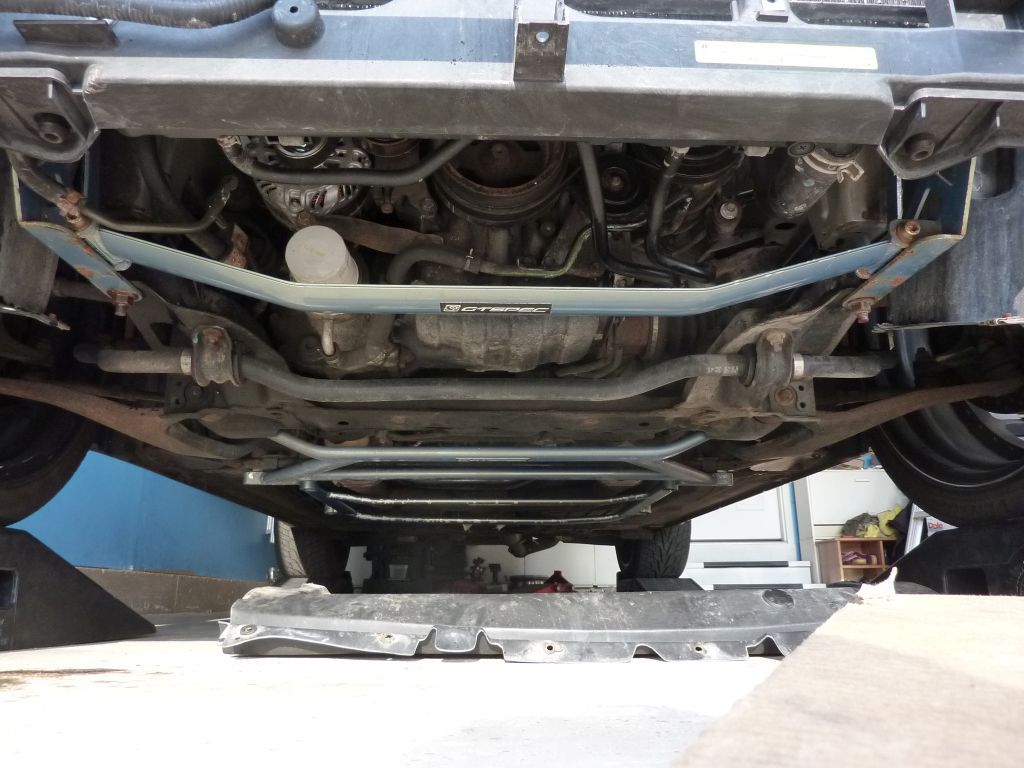
Install GTSPEC braces
Mid chassis
Front lower engine
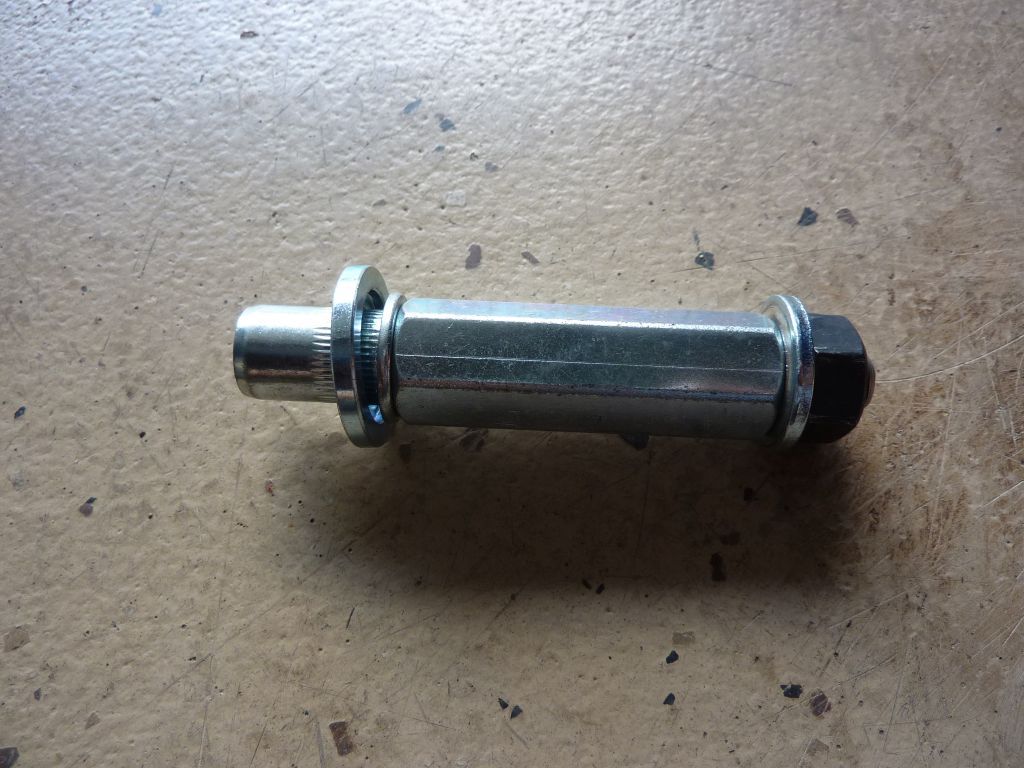
Installing rivet nut onto frame
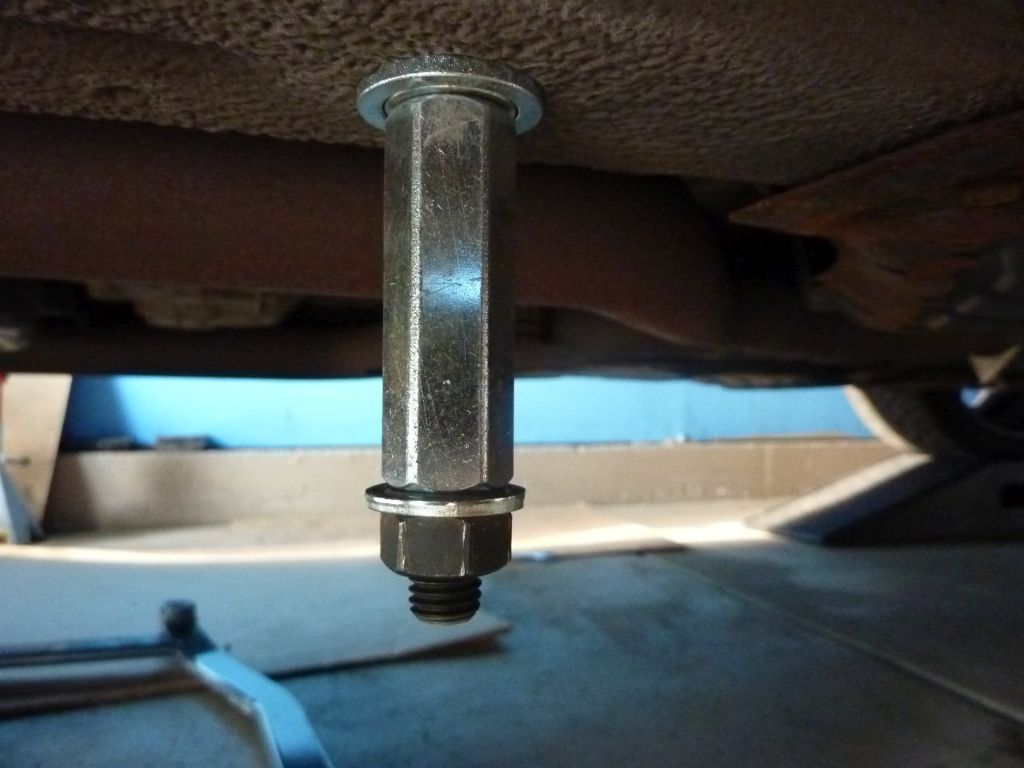
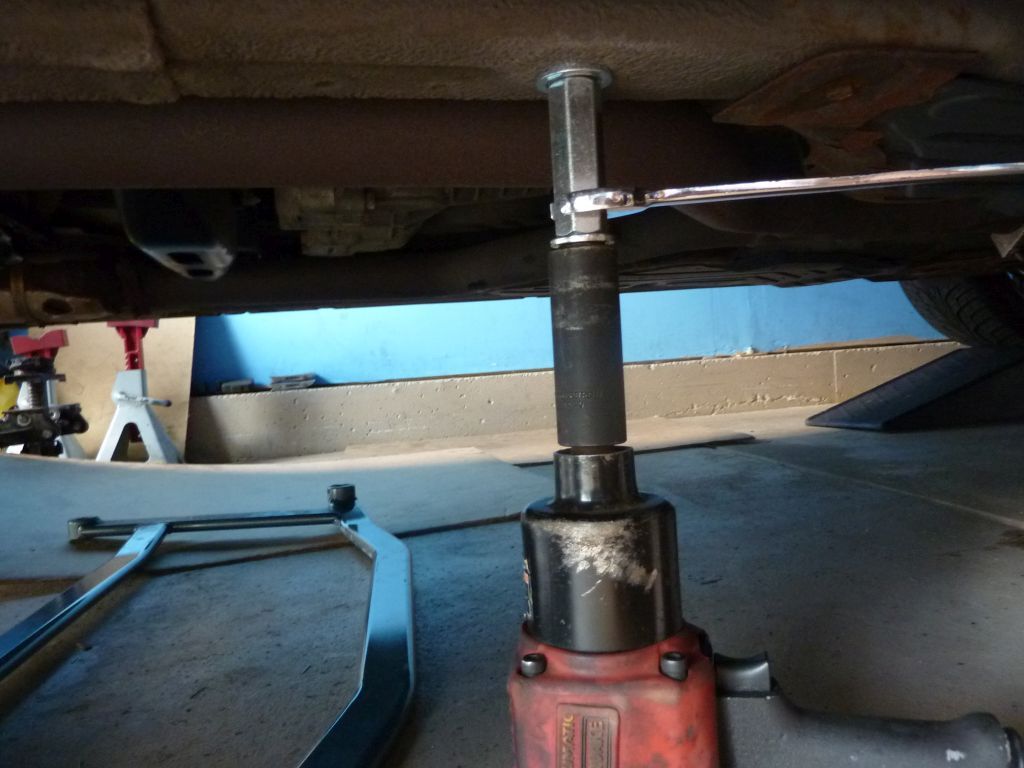
Braces installed
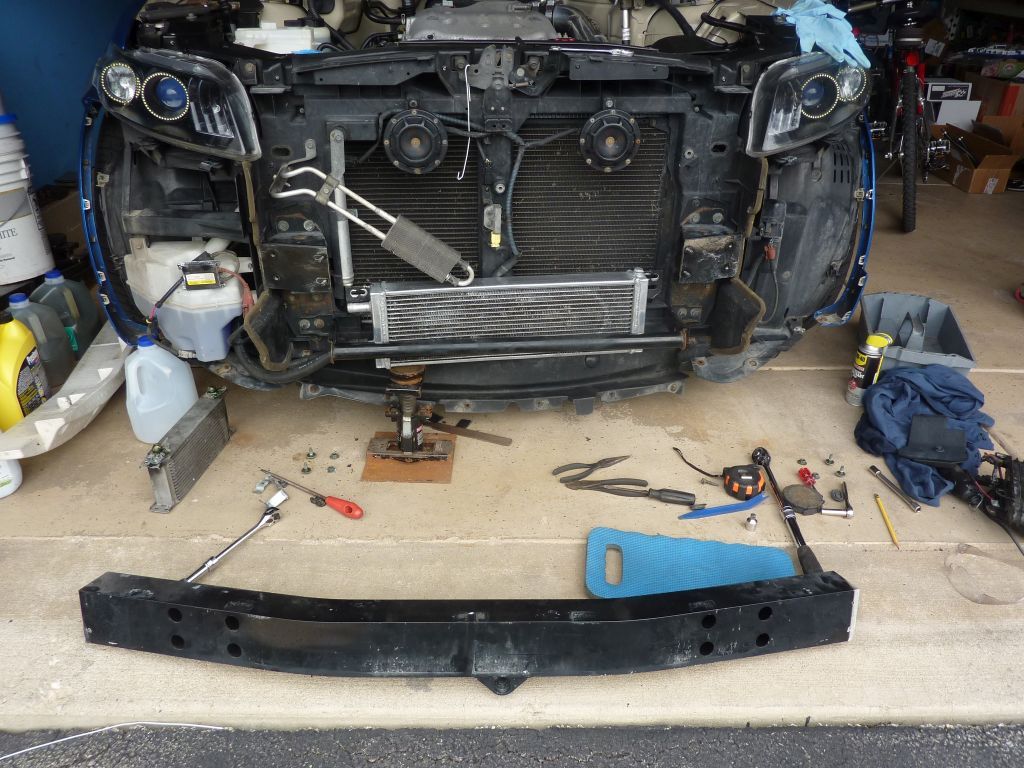
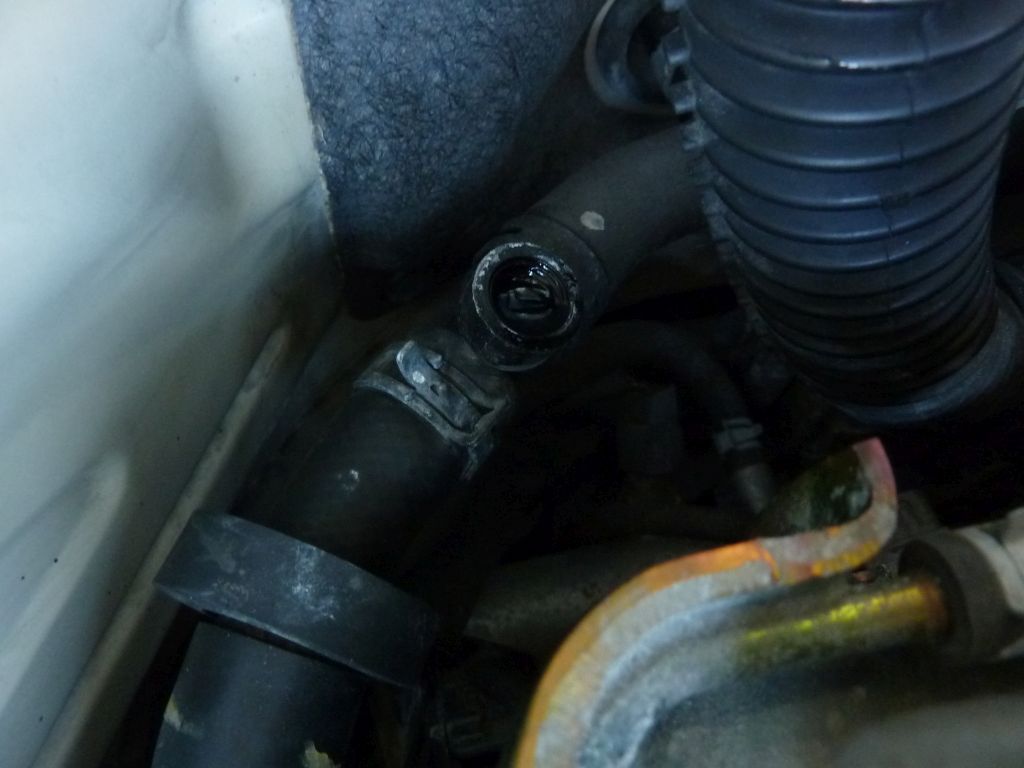
Replace Radiator and coolant flush
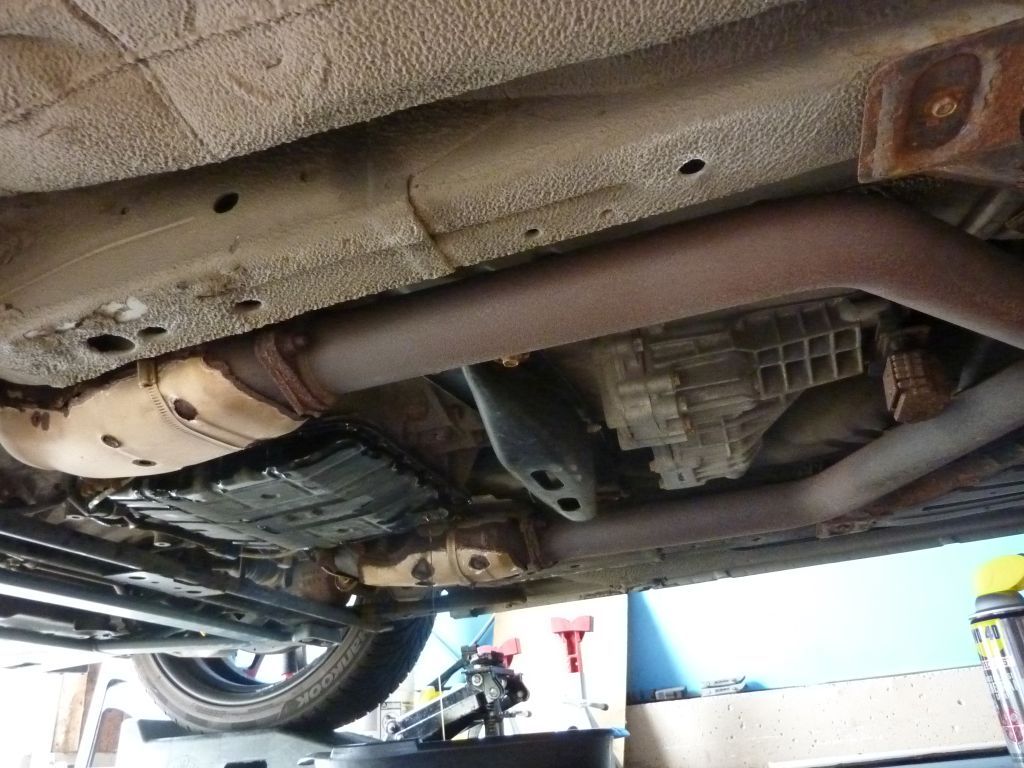
Disconnected the trans cooler lines at the bottom of the old radiator
Out with old
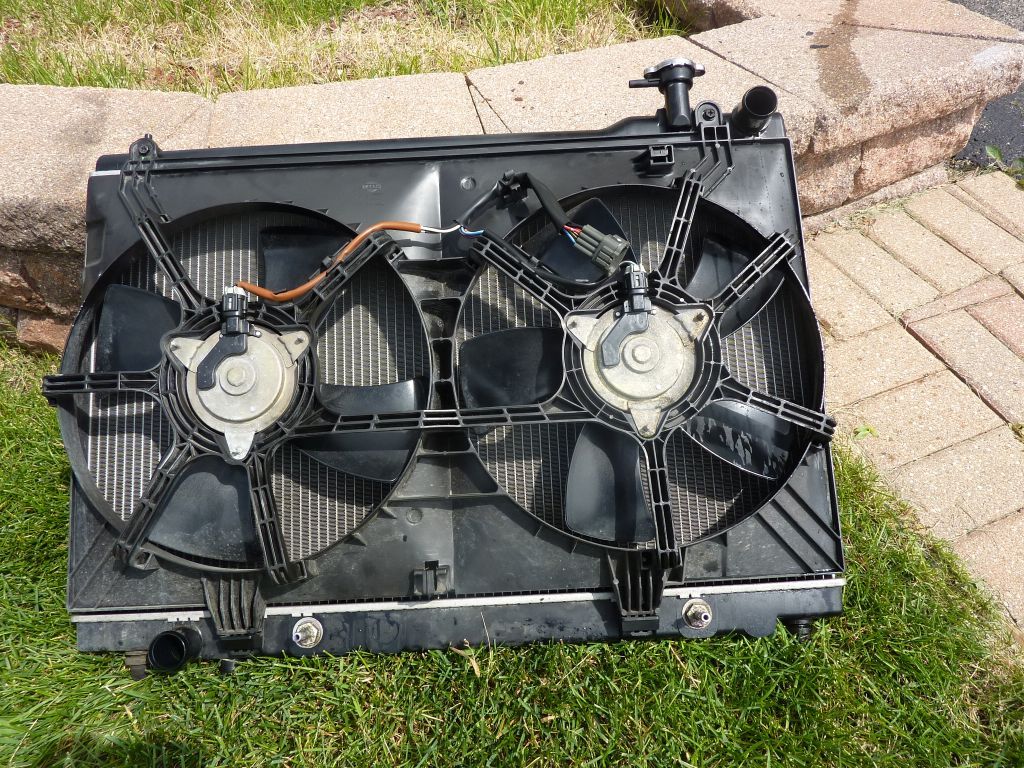
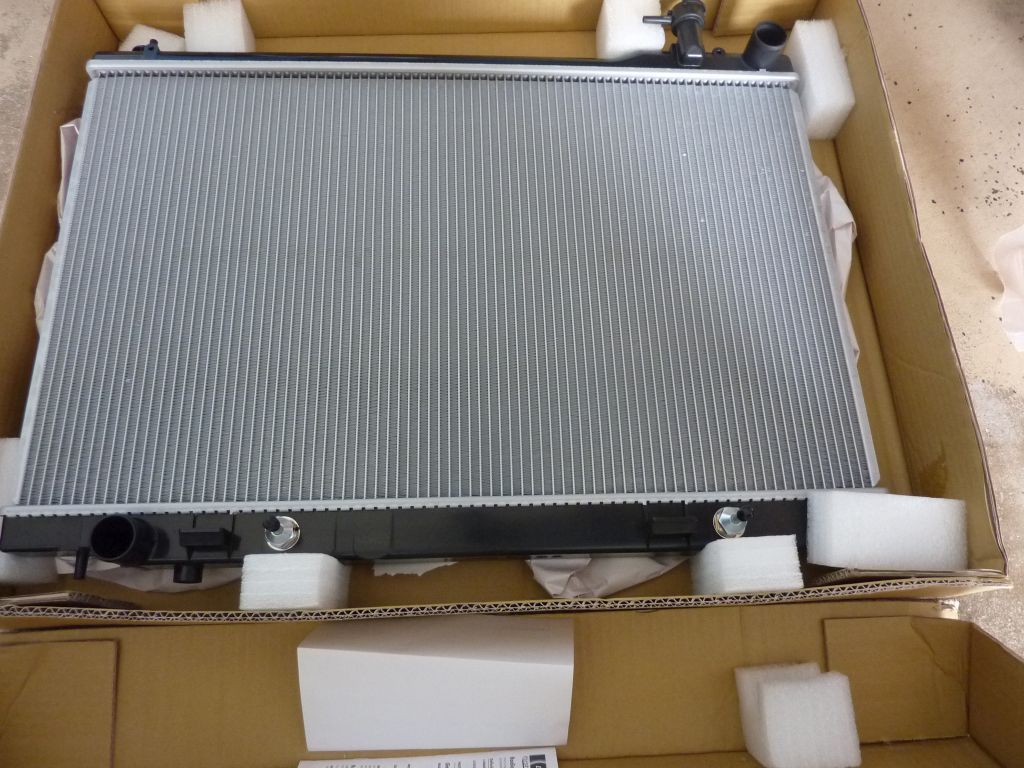
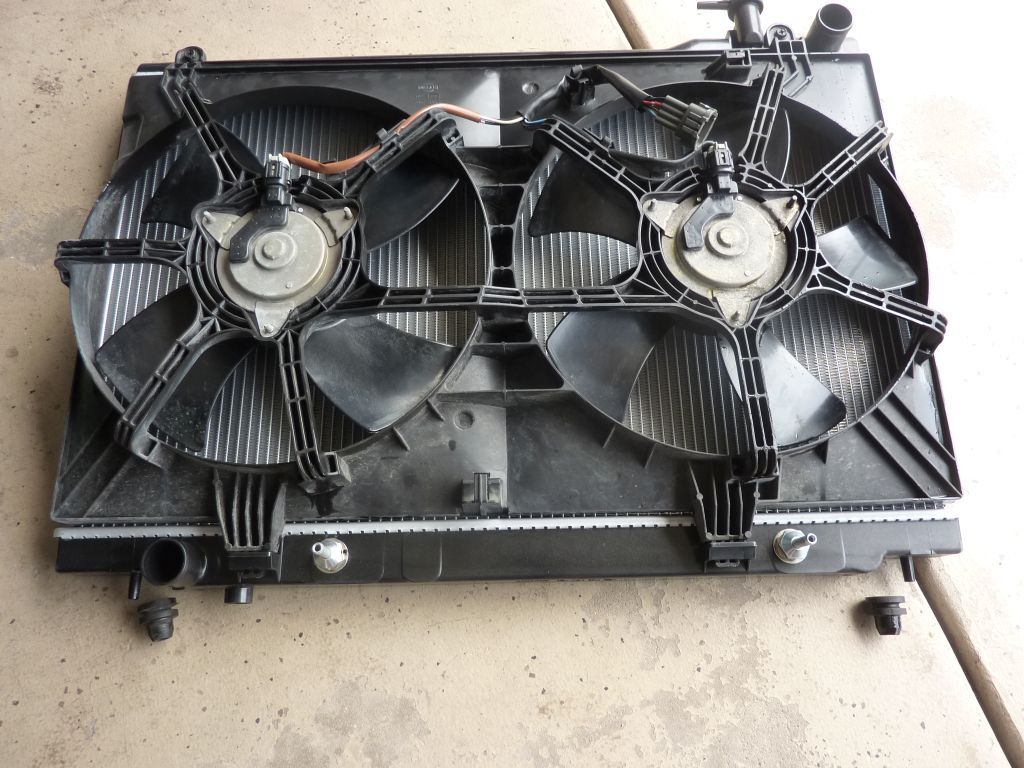
Here is new...Denso radiator
Existing fan onto back of new radiator
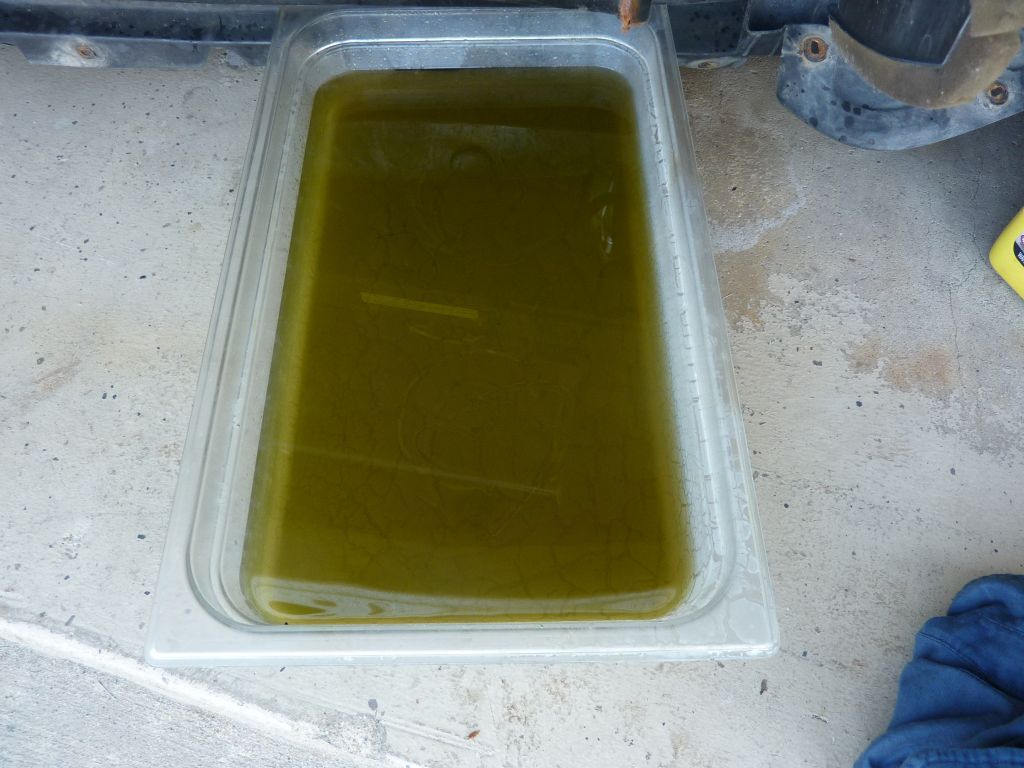
Flush supplies (2 gallons of 100% coolant and 5 gallons of distilled water... I think!)
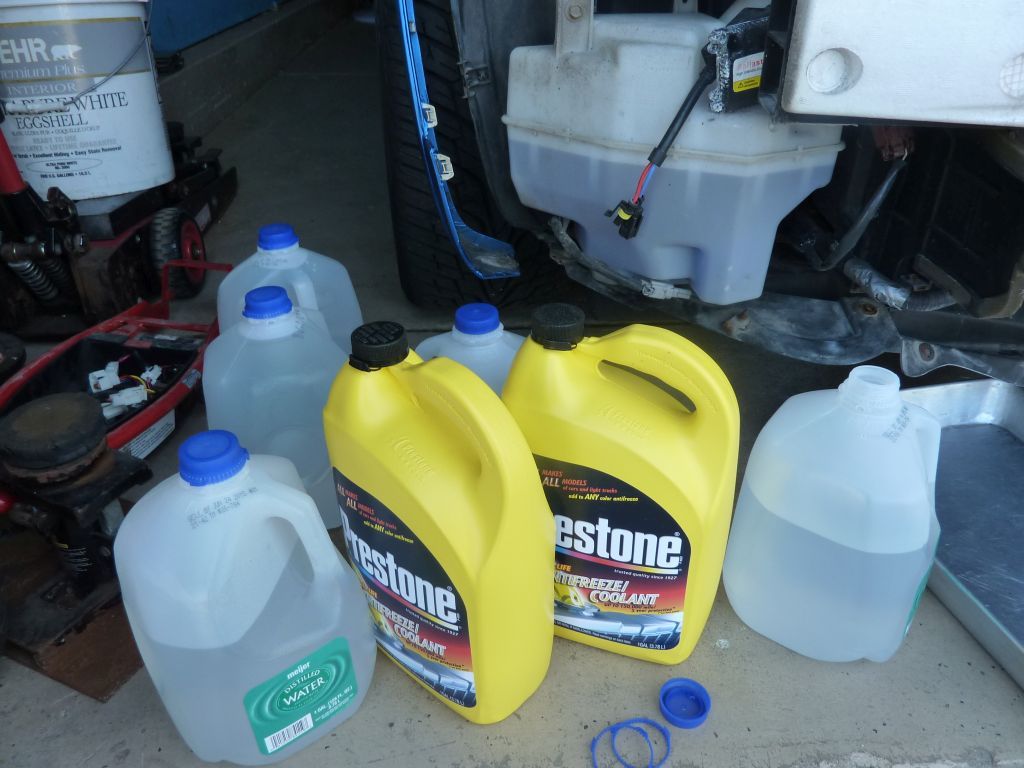
Forgot to take picture of old coolant when draining the old radiator.
Open this plug (corner of passenger side fender and firewall) as you slowly refill with fresh 50/50 mix coolant.
Refill until fresh coolant until you see coolant in the plug opening. Reinstall this plug after each refill. Continue to refill up to the neck of the radiator cap opening.
Don't forget to empty, clean the coolant reservoir and refill with proper amount of fresh 50/50 mix.
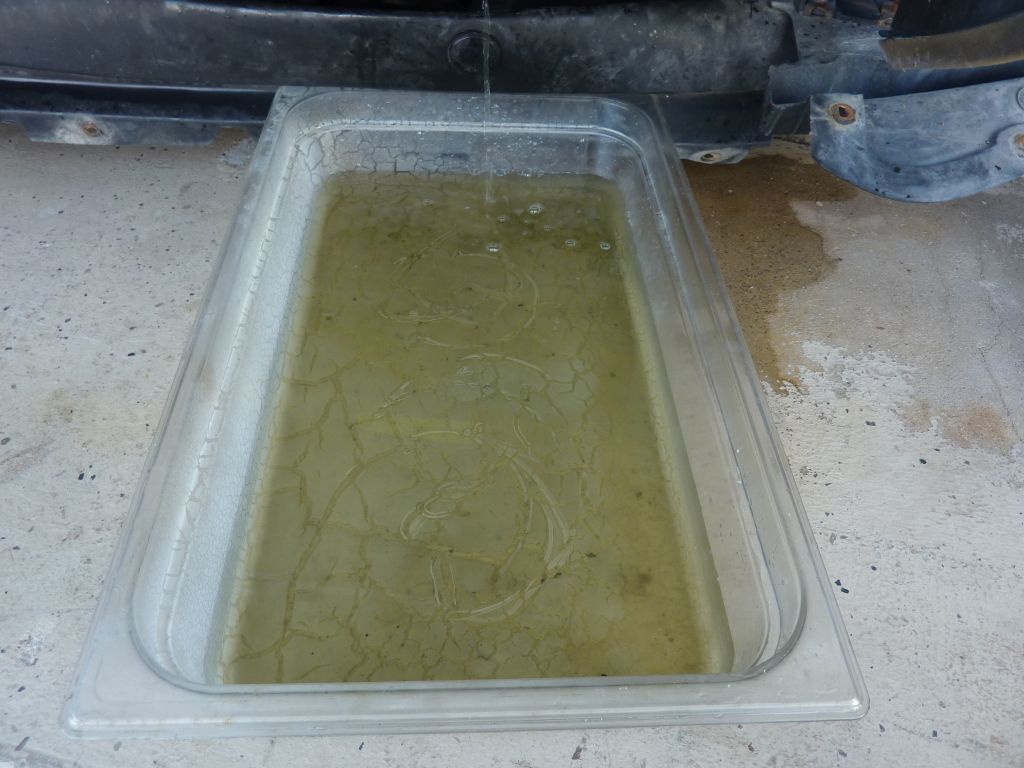
Drain from the first refill of fresh 50/50 mix.
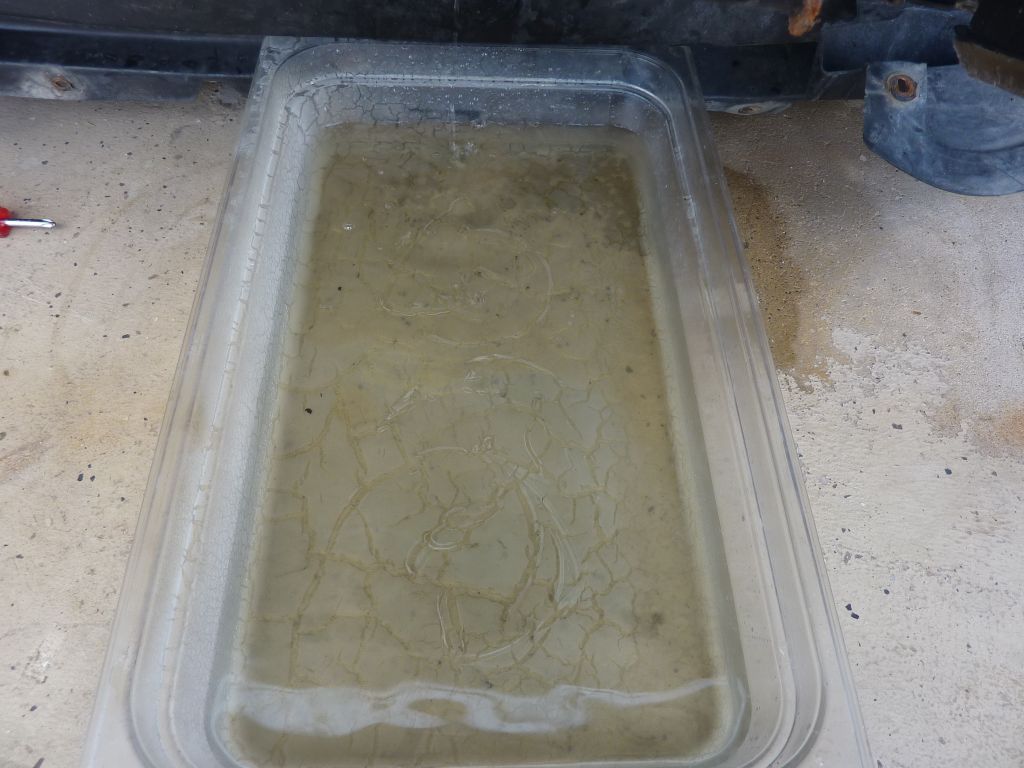
Drain of second refill of fresh 50/50 mix.
Drain the third refill of fresh 50/50 mix
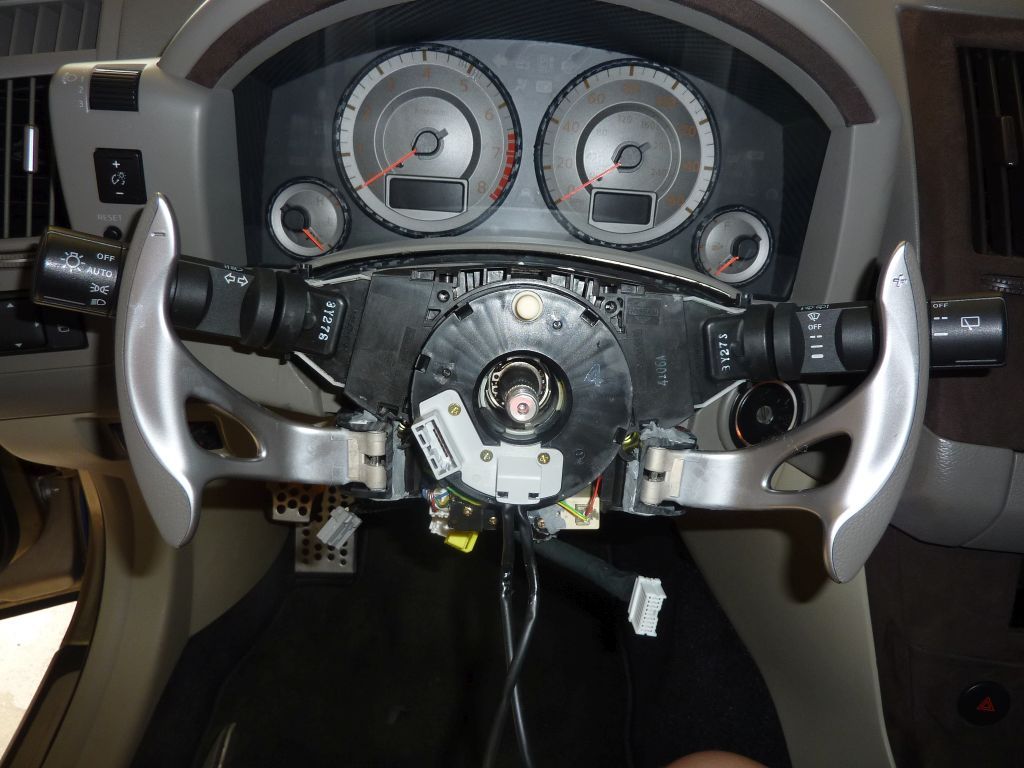
Retrofit paddle shifter
Remove airbag
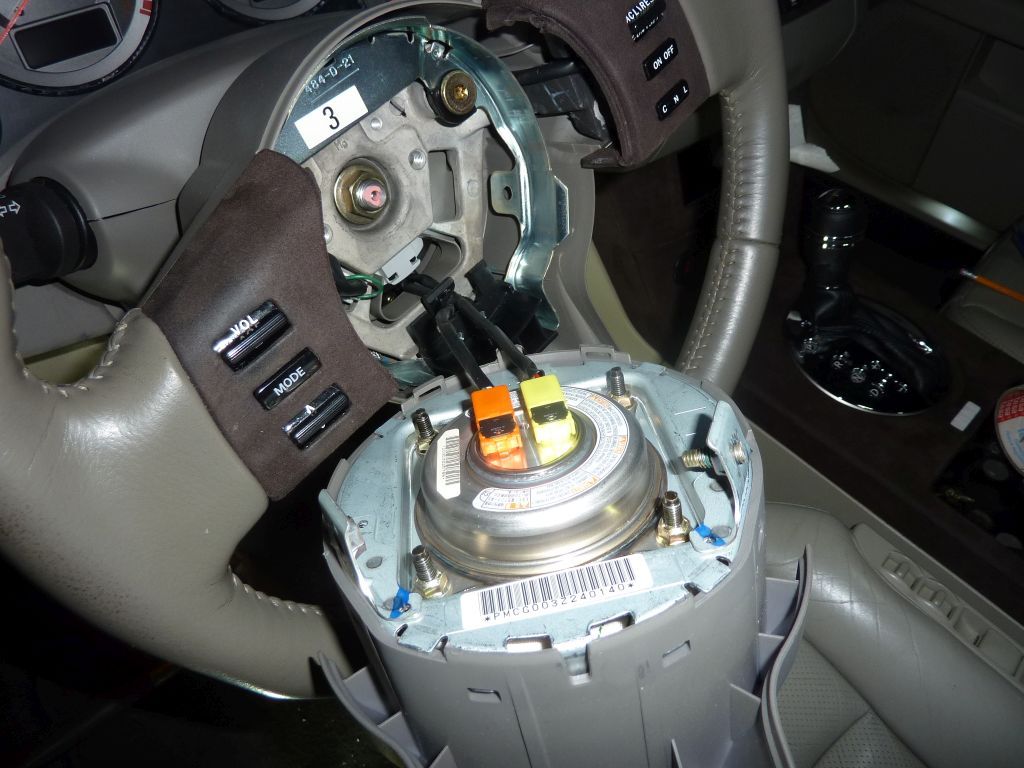
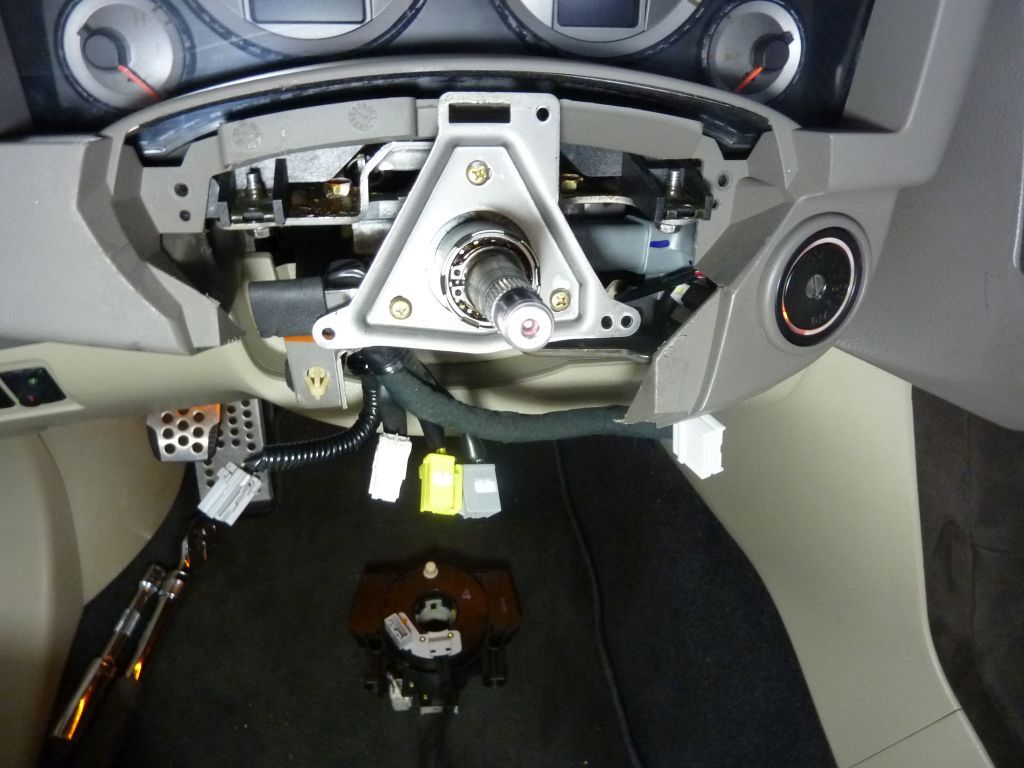
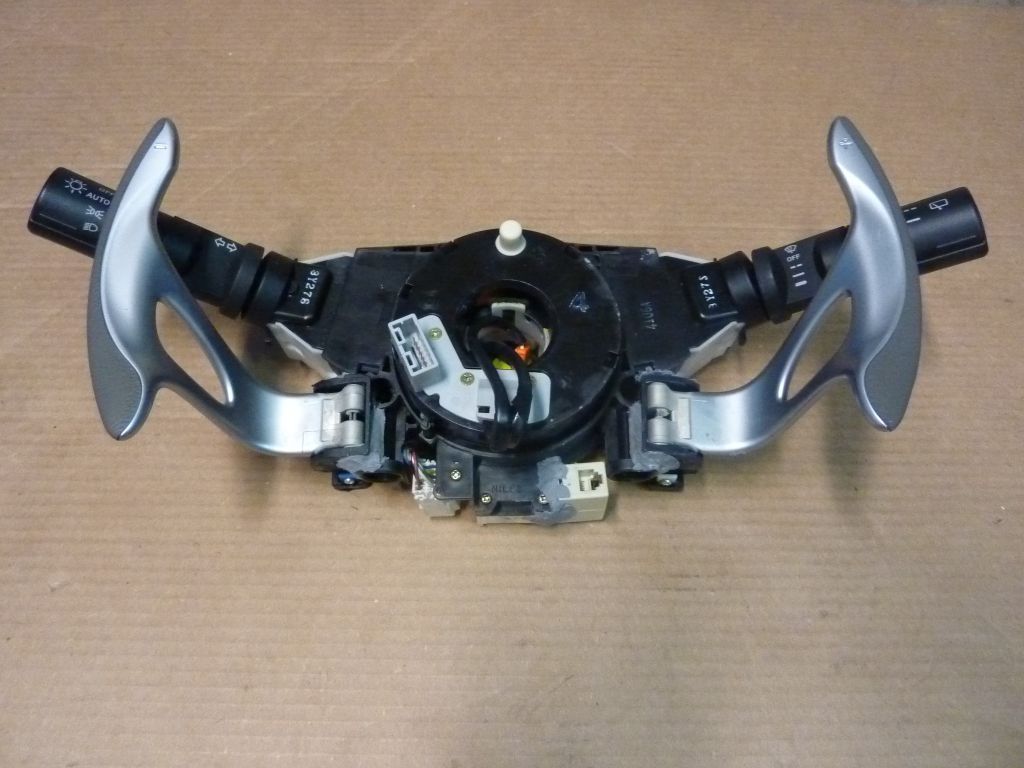
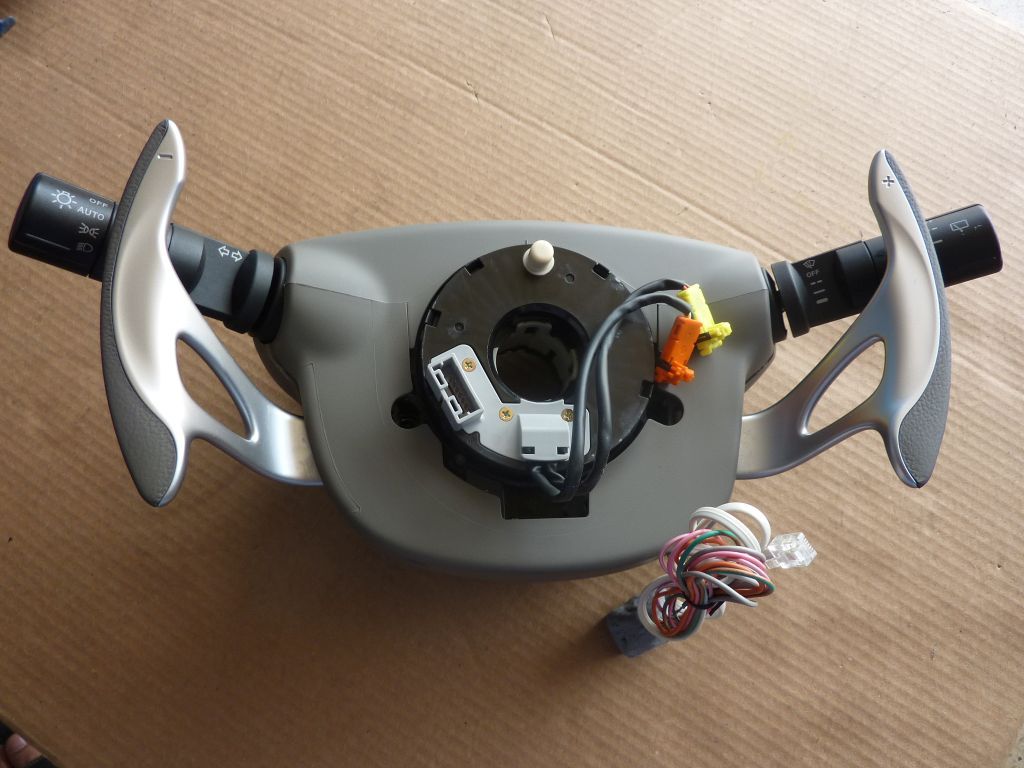
Clock spring
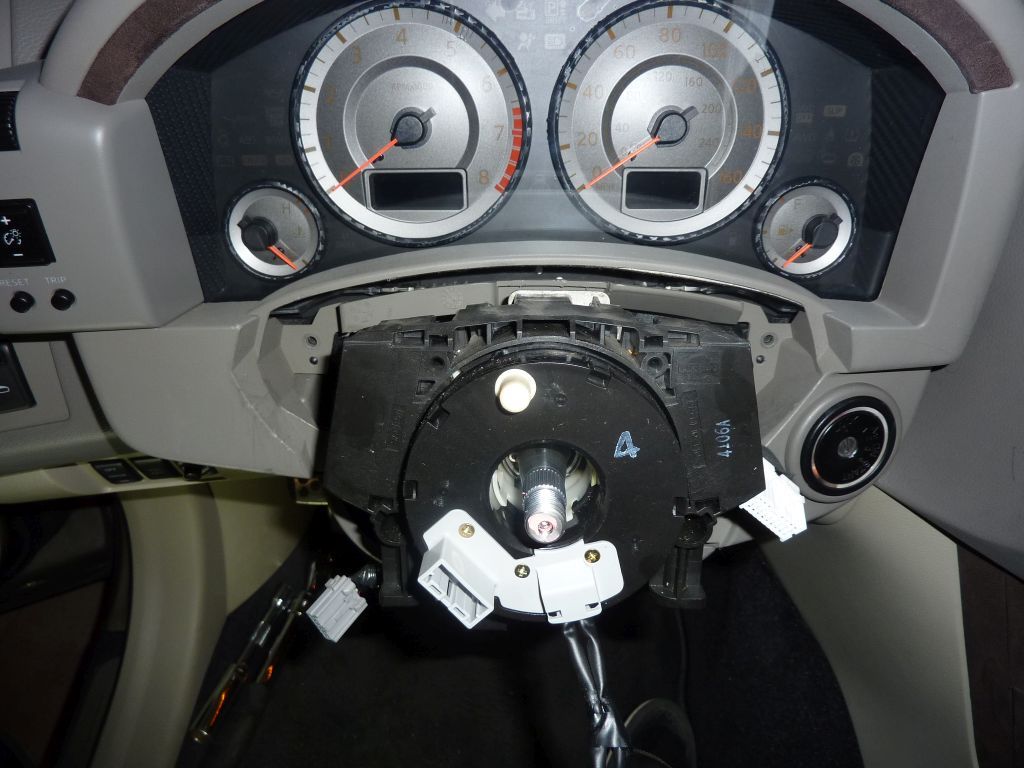
Naked steering column
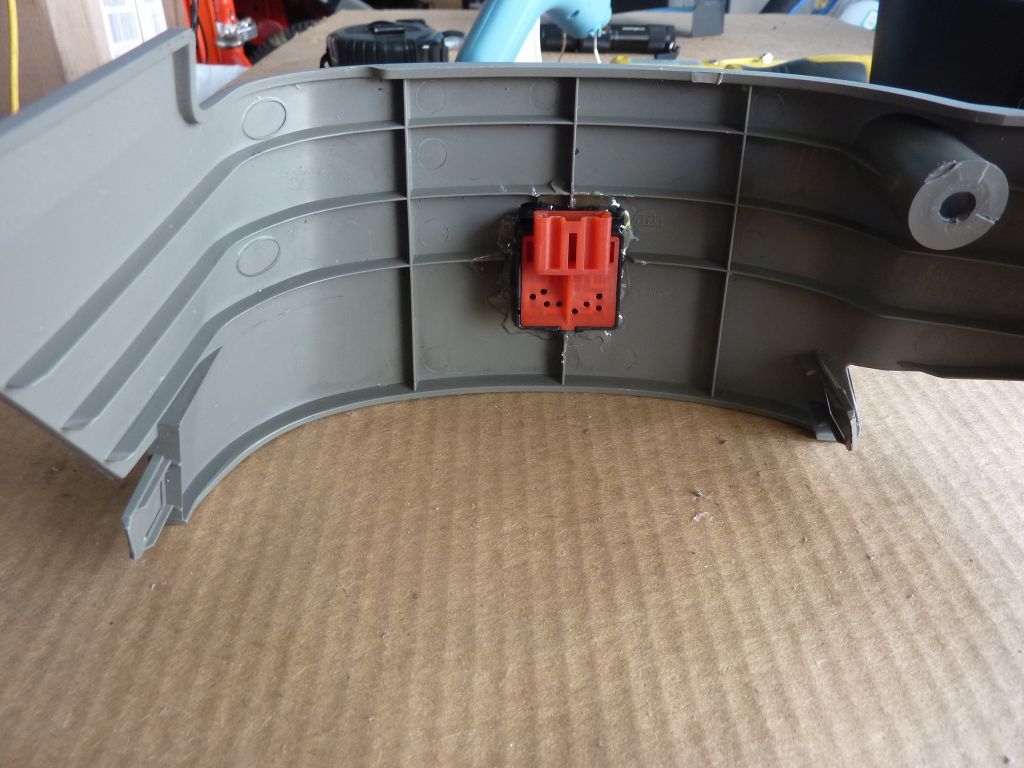
Driver side paddle wiring
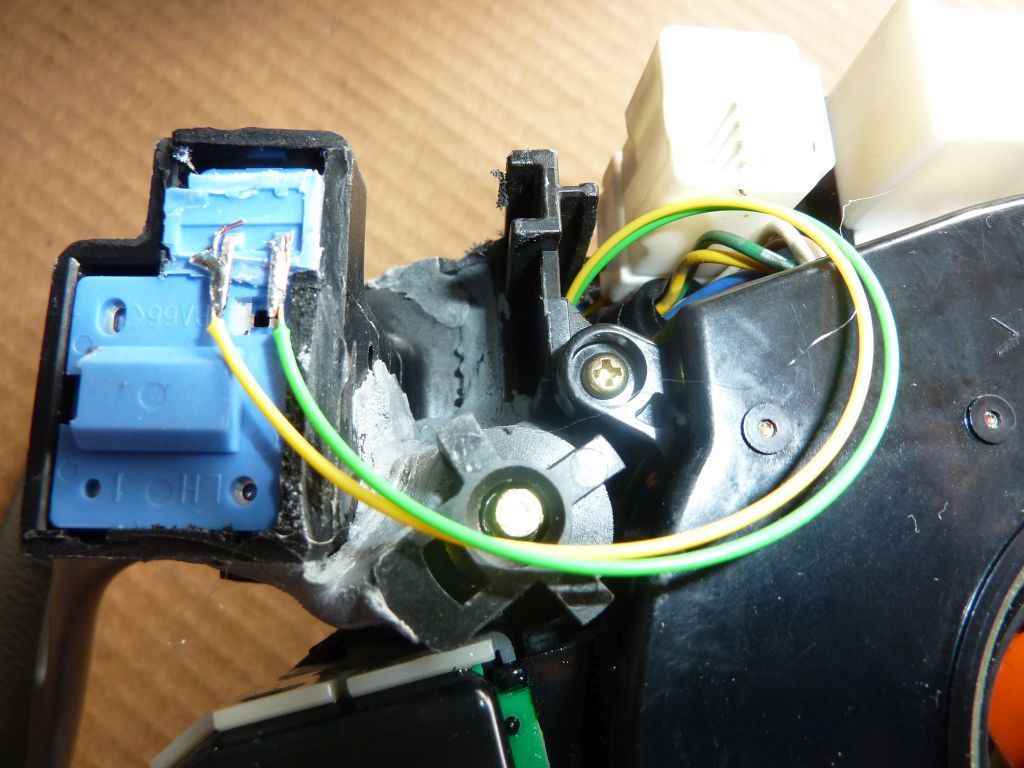
Passenger side paddle wiring
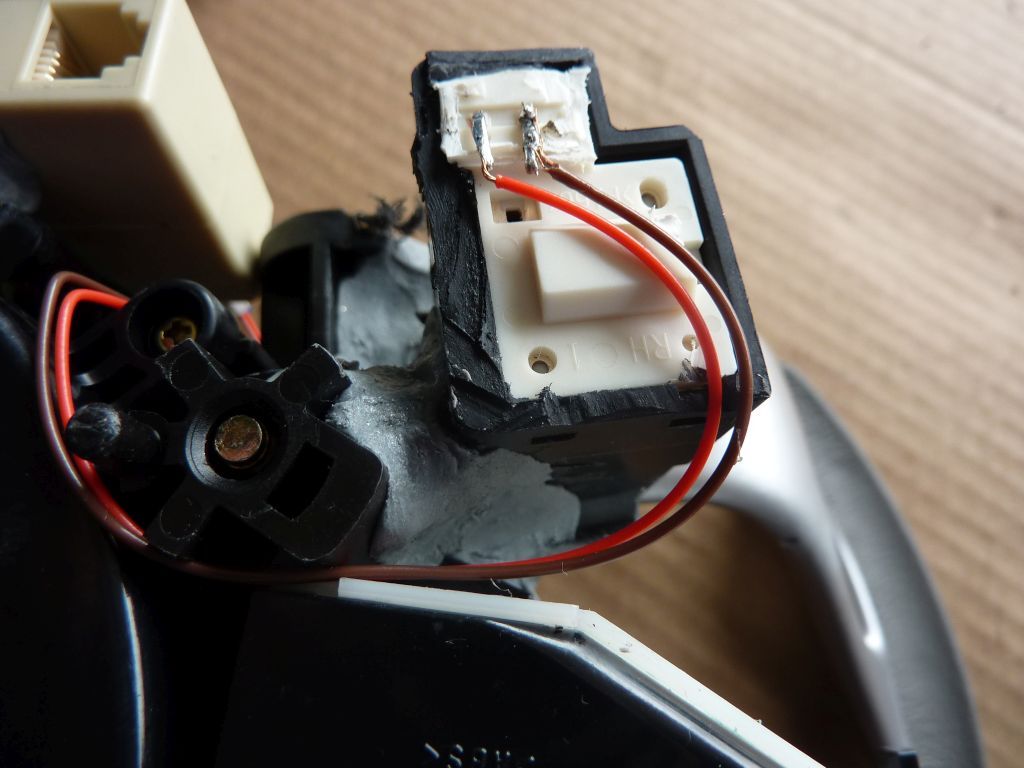
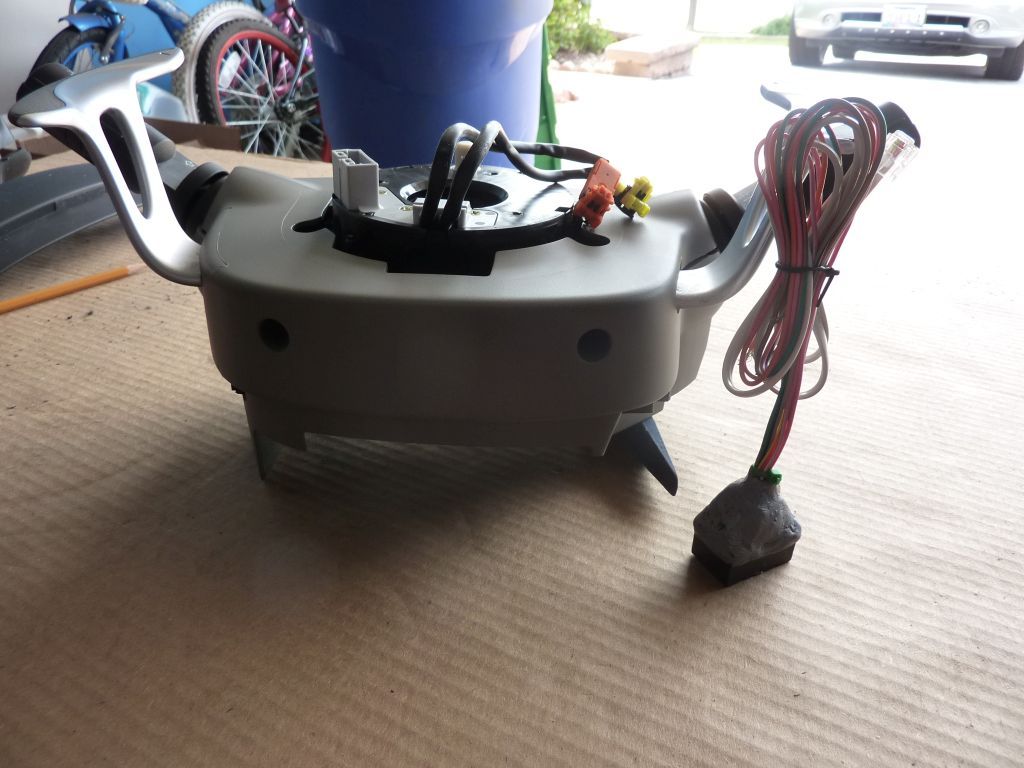
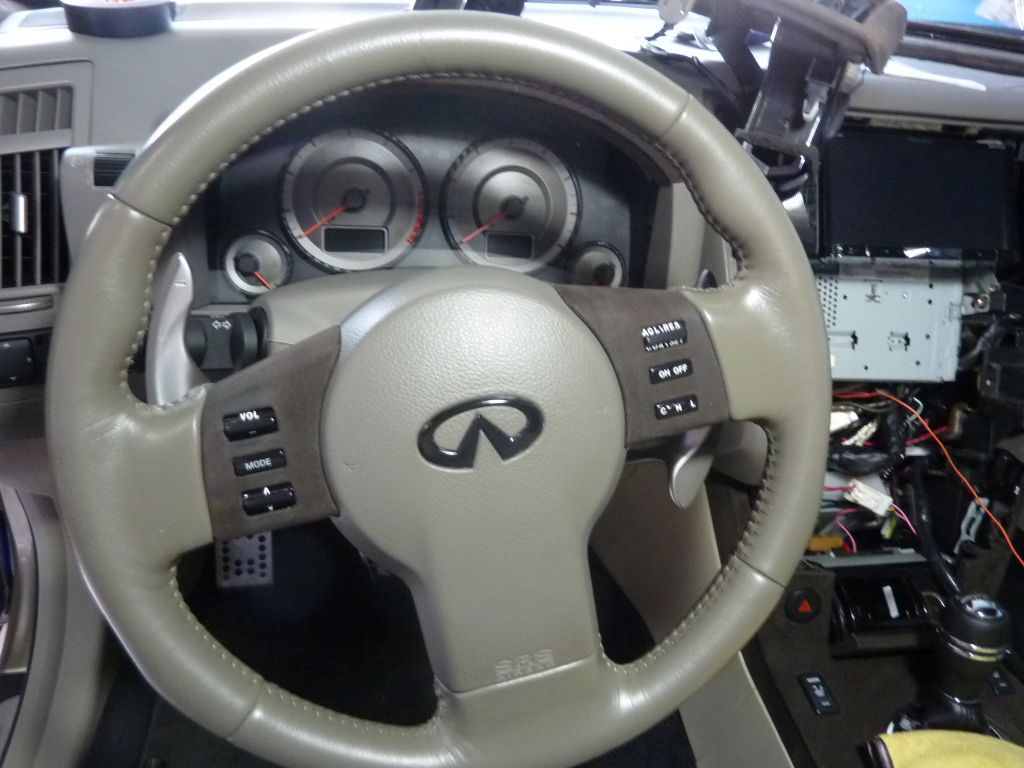
Finished paddle shifter, clock spring assembly
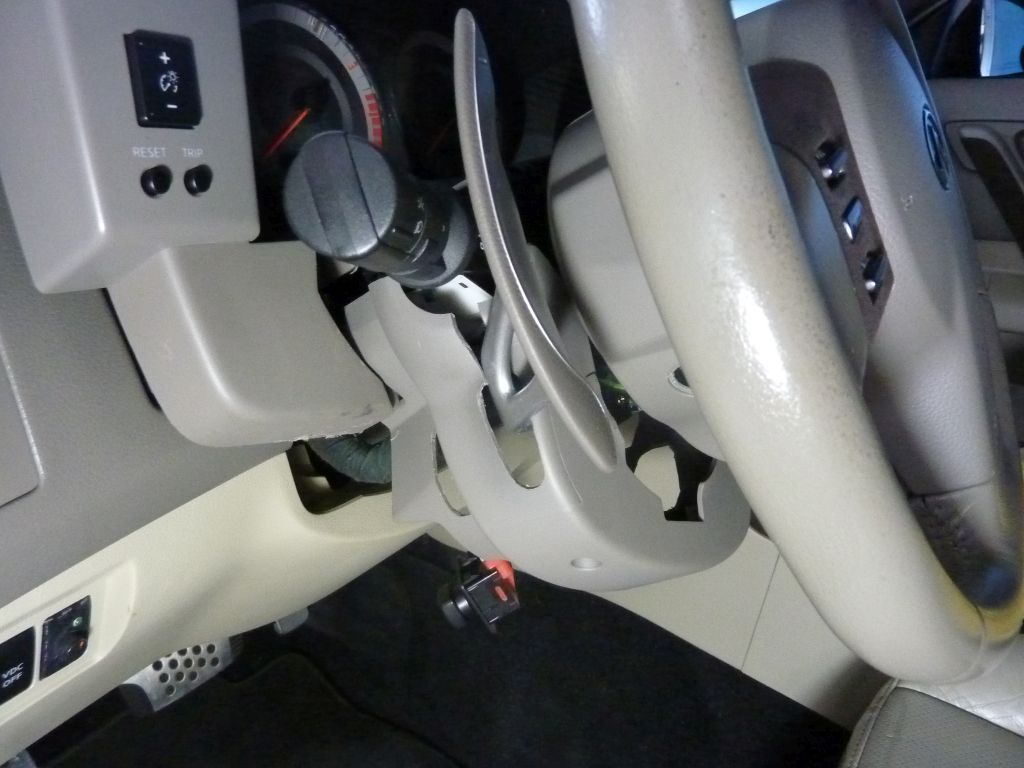
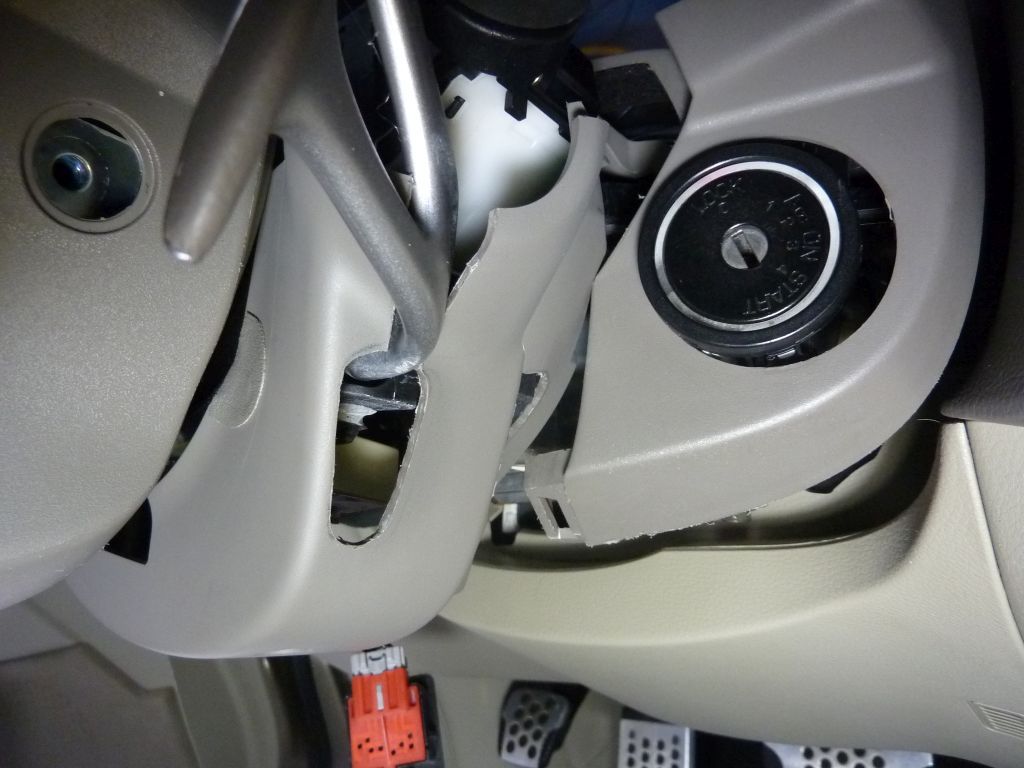
Passenger side steering column cover cutout

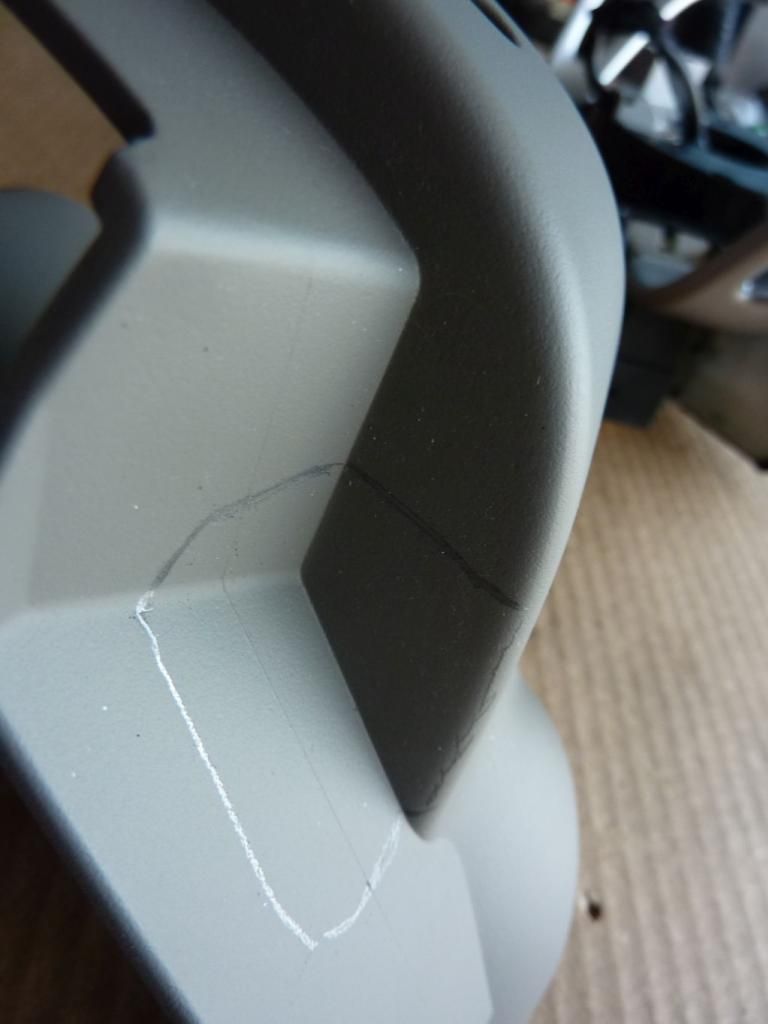
Driver side steering column cutout
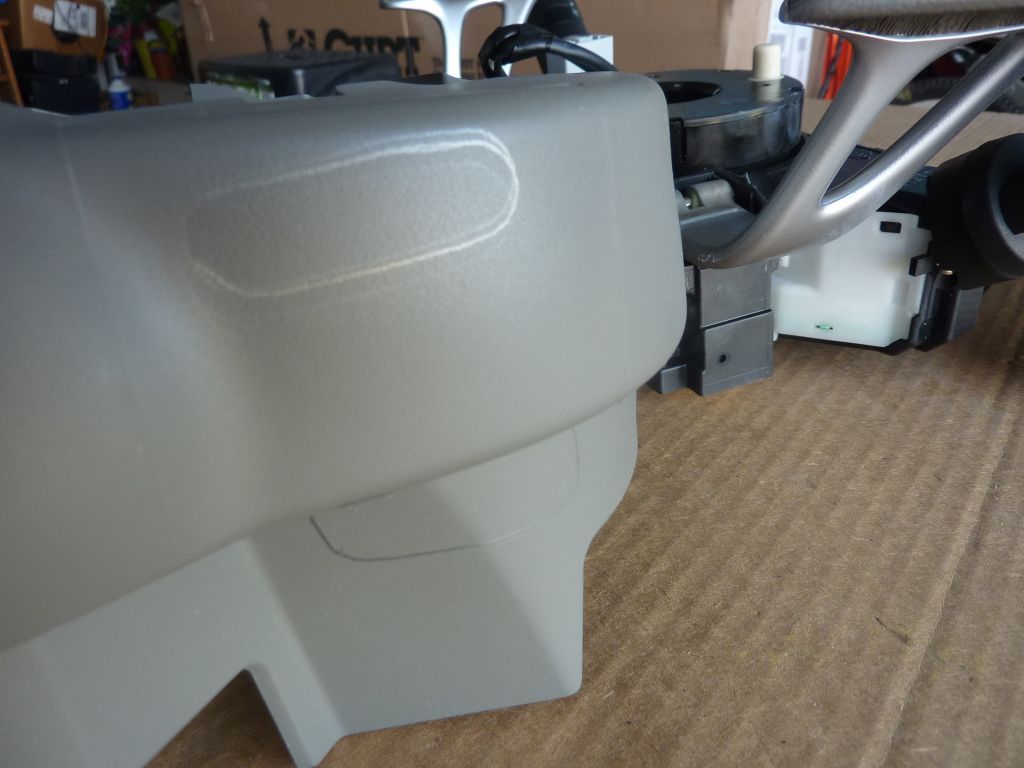
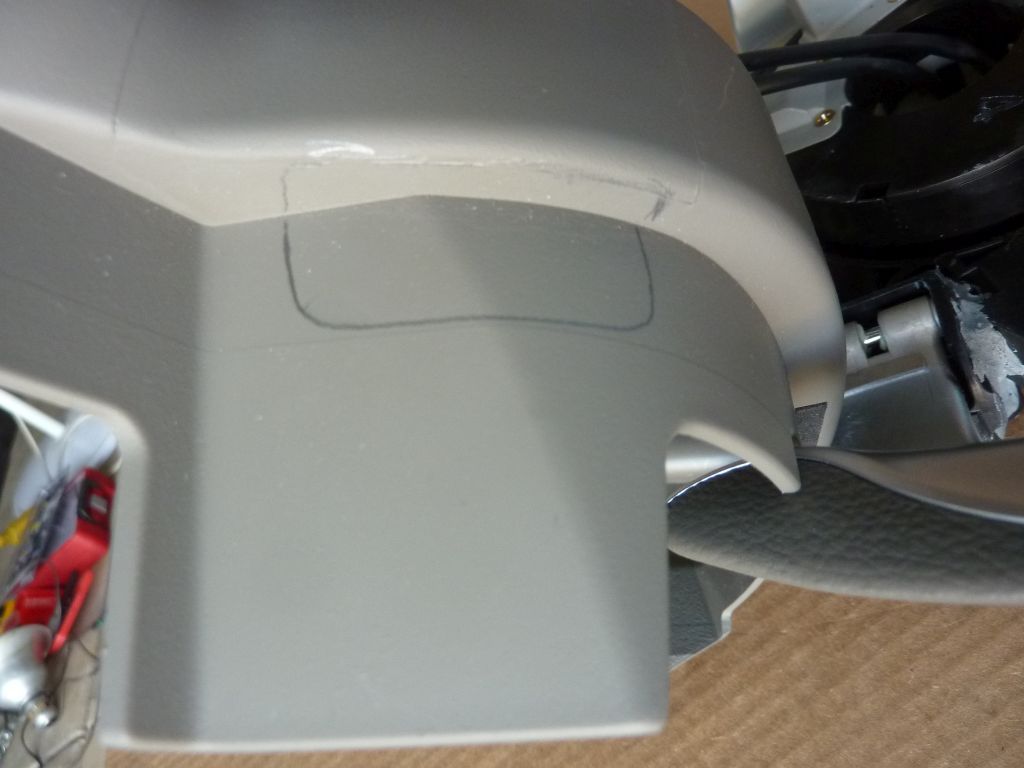
The cover is on

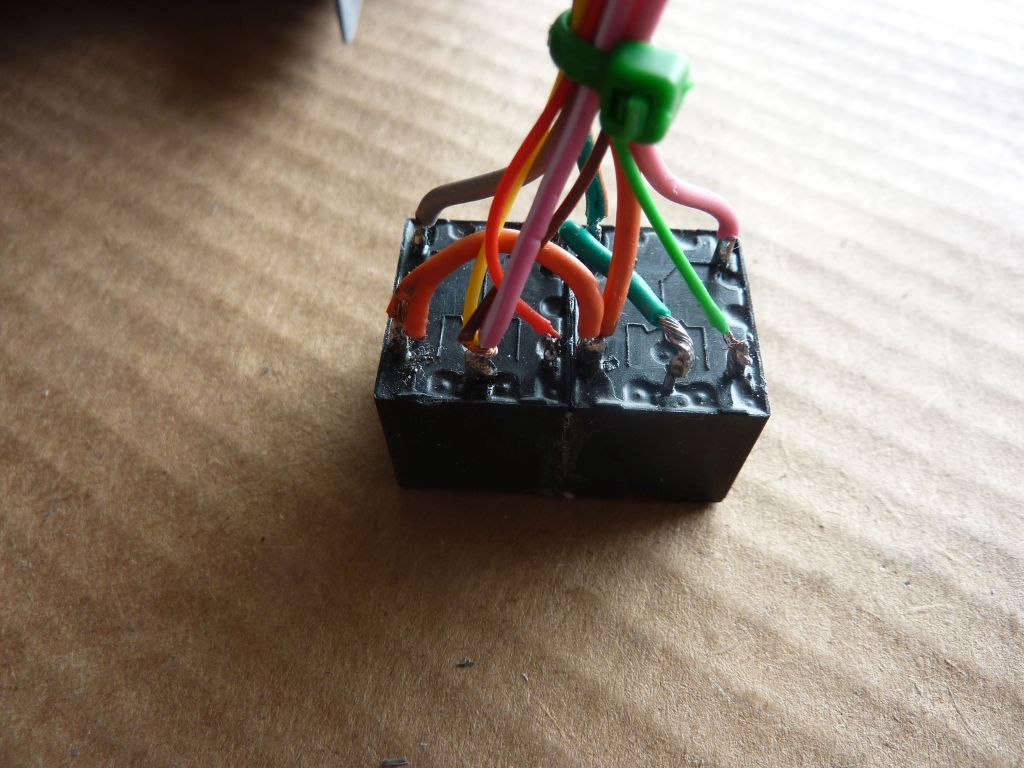
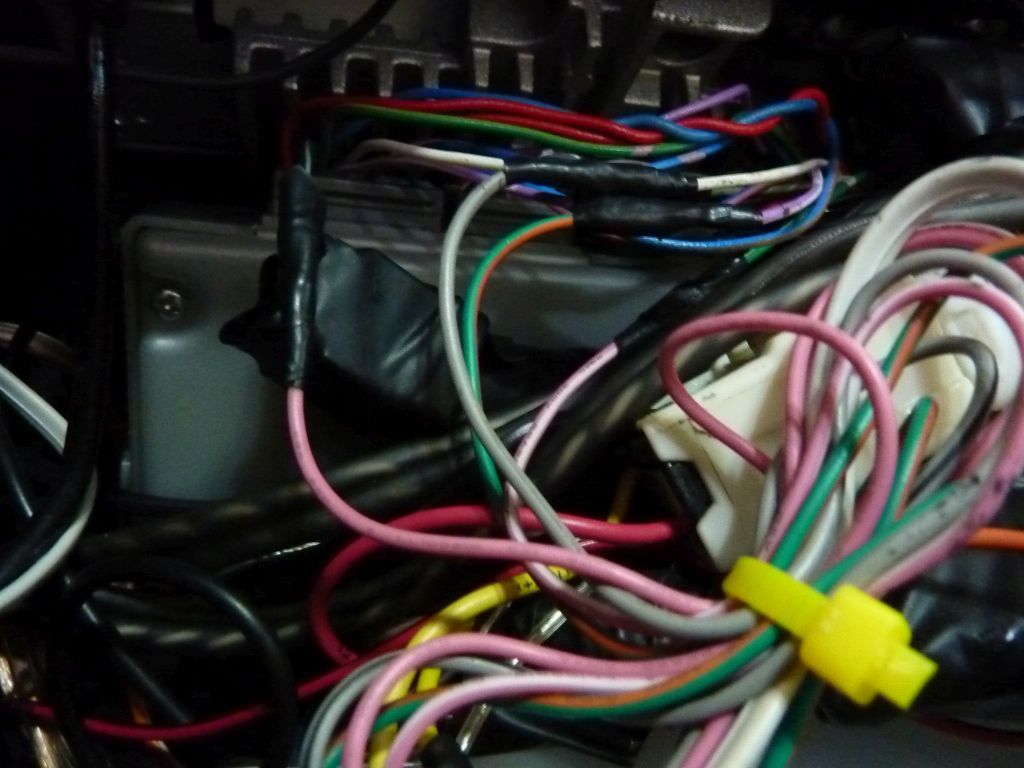
The relays
Ready to be install onto car
---------- Post added at 12:08 PM ---------- Previous post was at 12:07 PM ----------
Paddle shifter back onto steering column

Relocate the steering column tilt switch

Not sure what this stuff are. :smile (2): Looks like a custom custom dash center console and after market headunit


The relay is tucked away and wired up
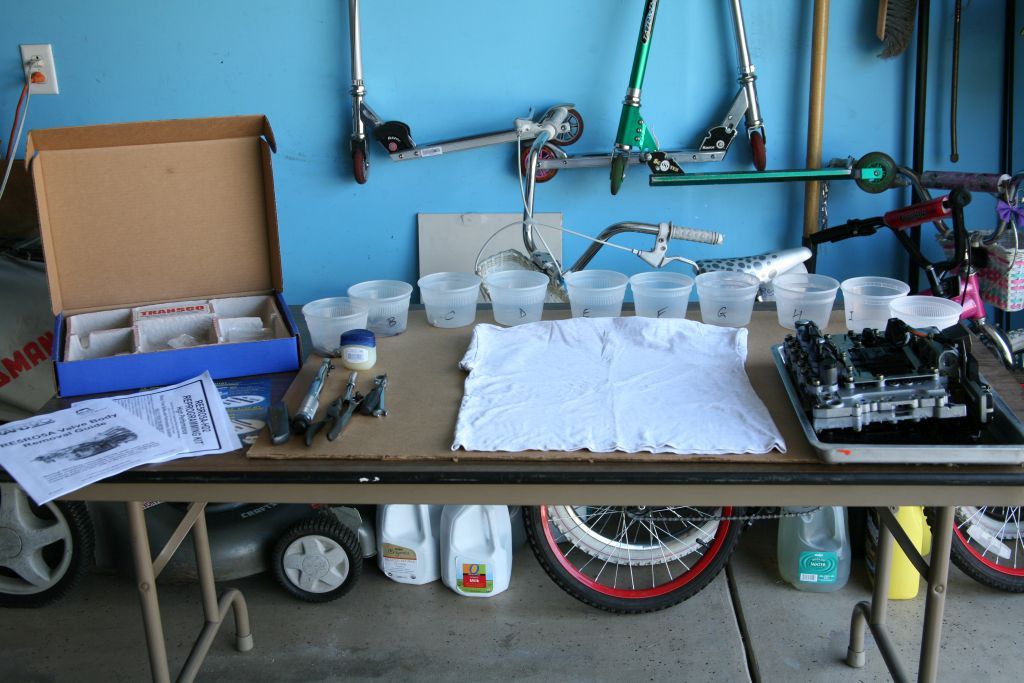
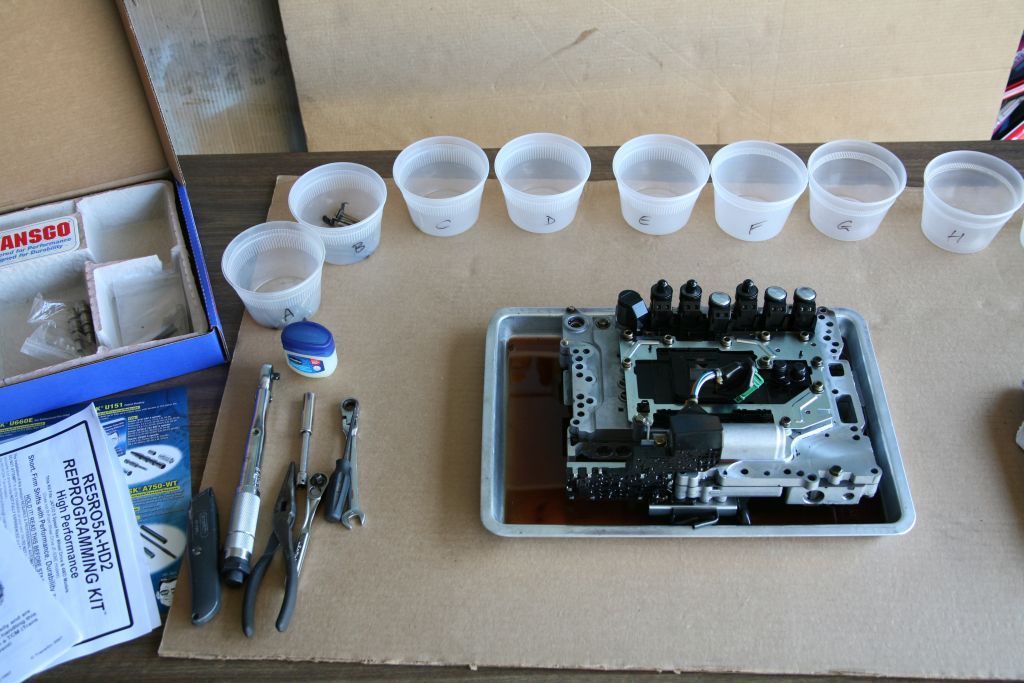
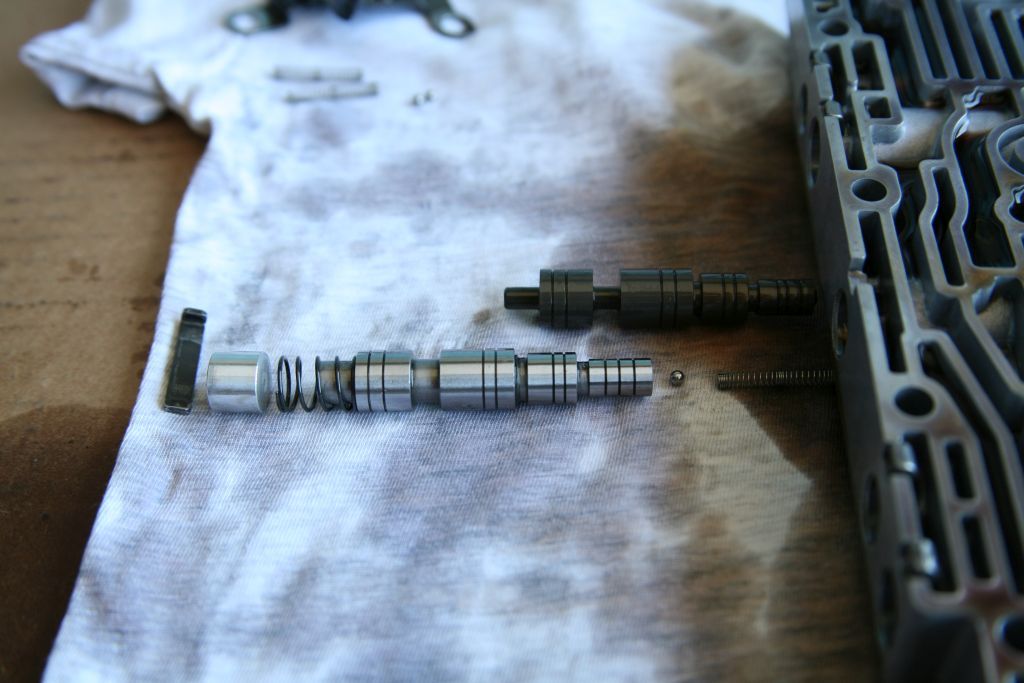
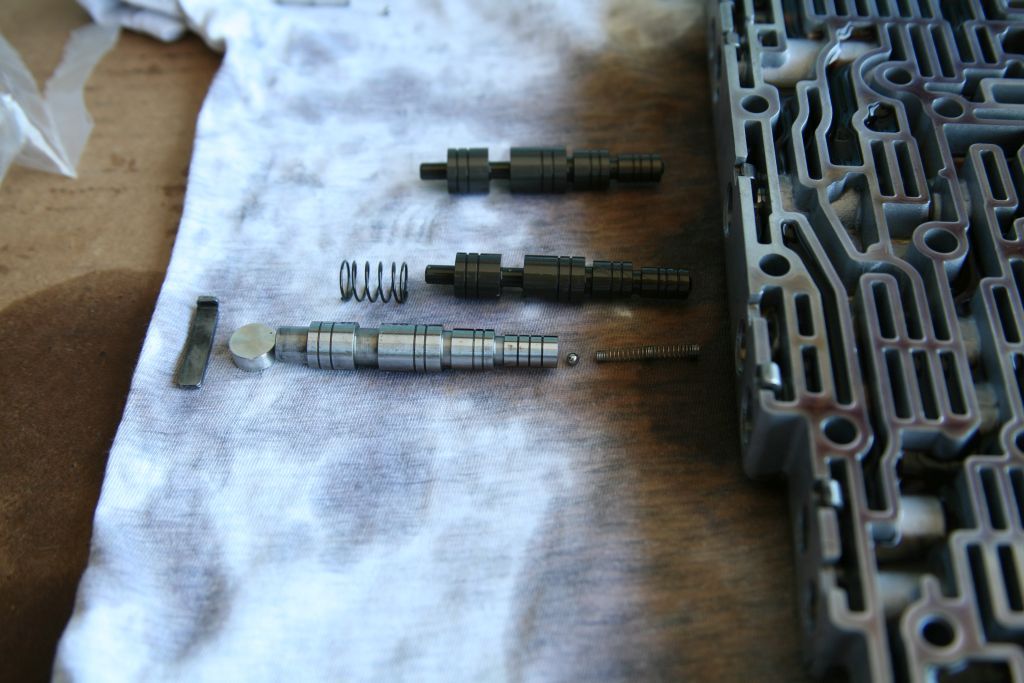
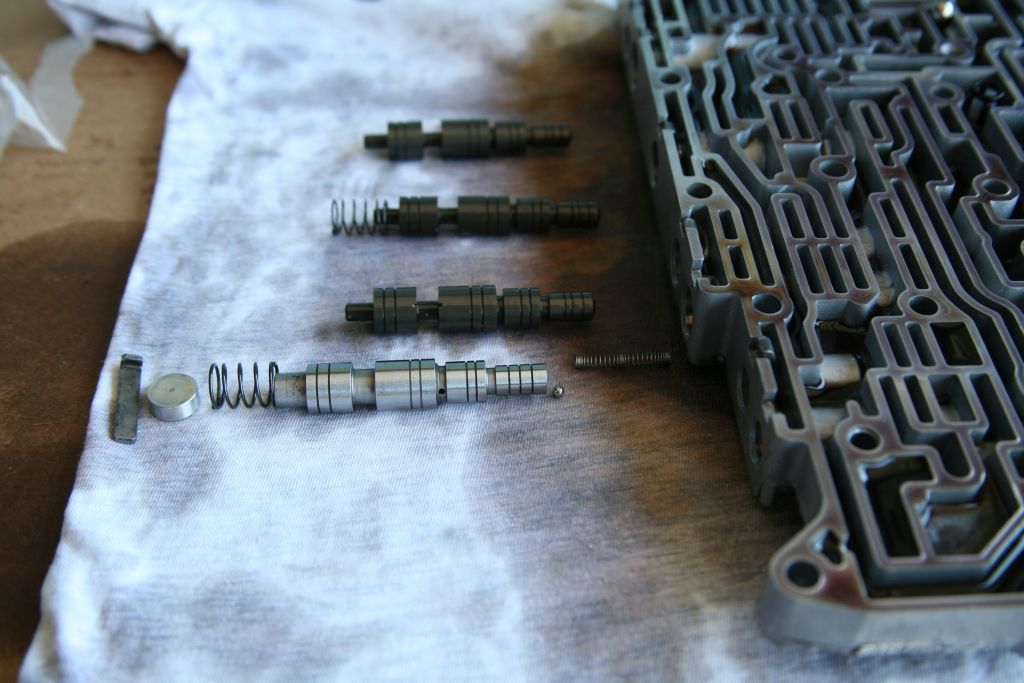
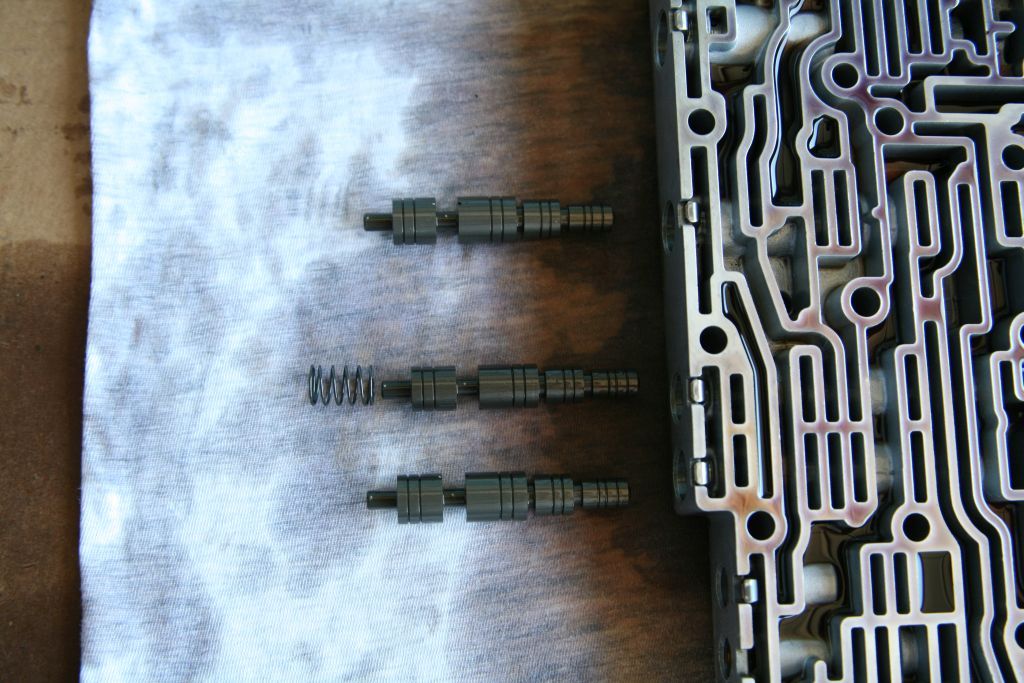
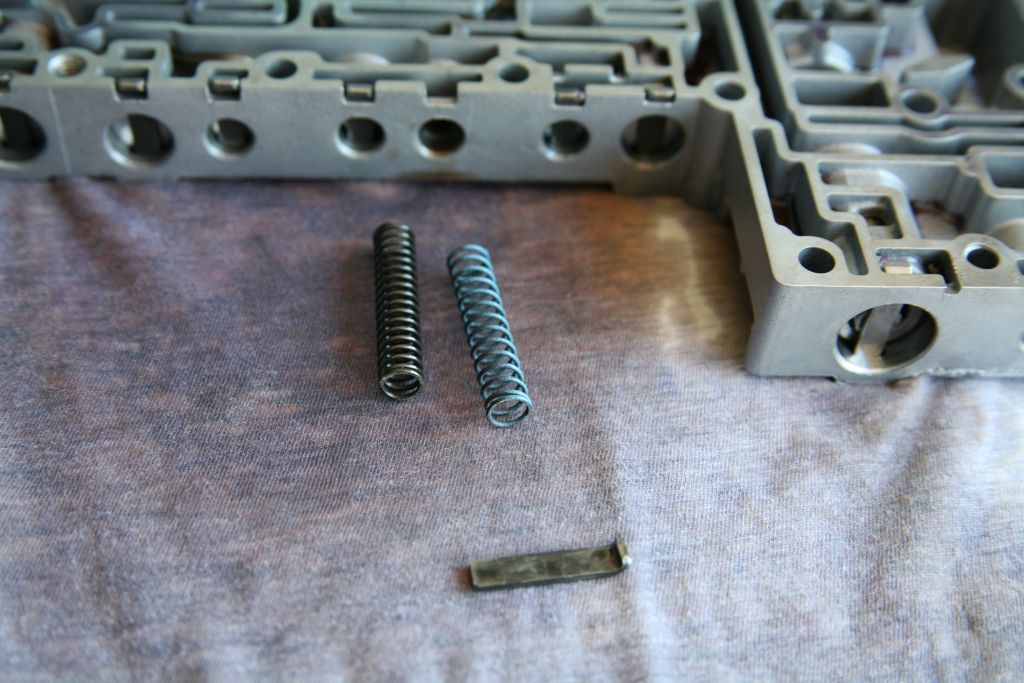
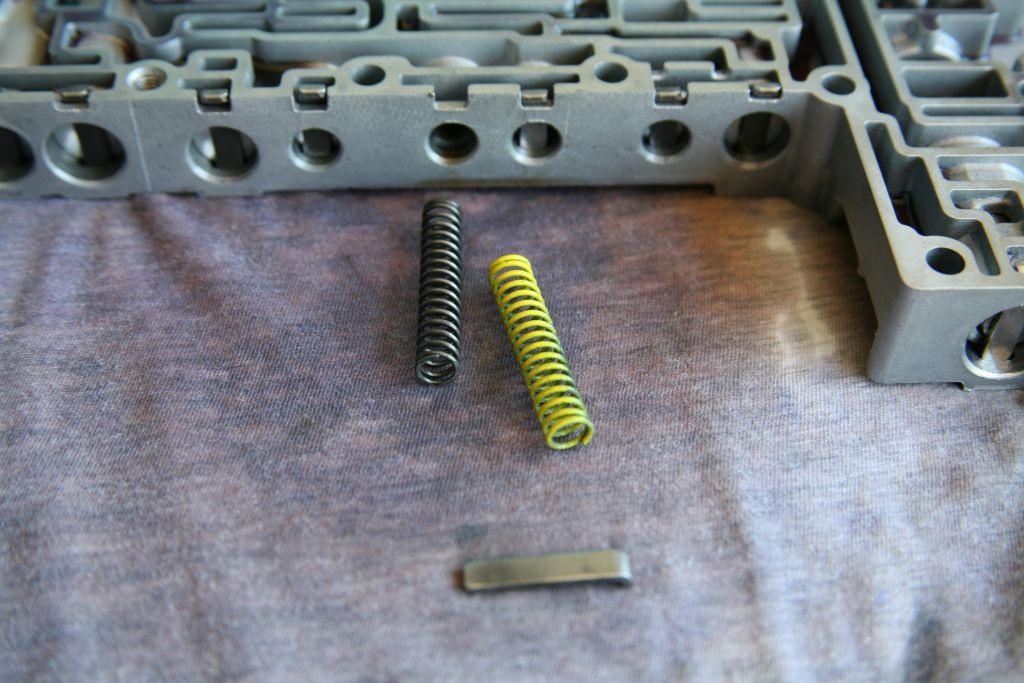
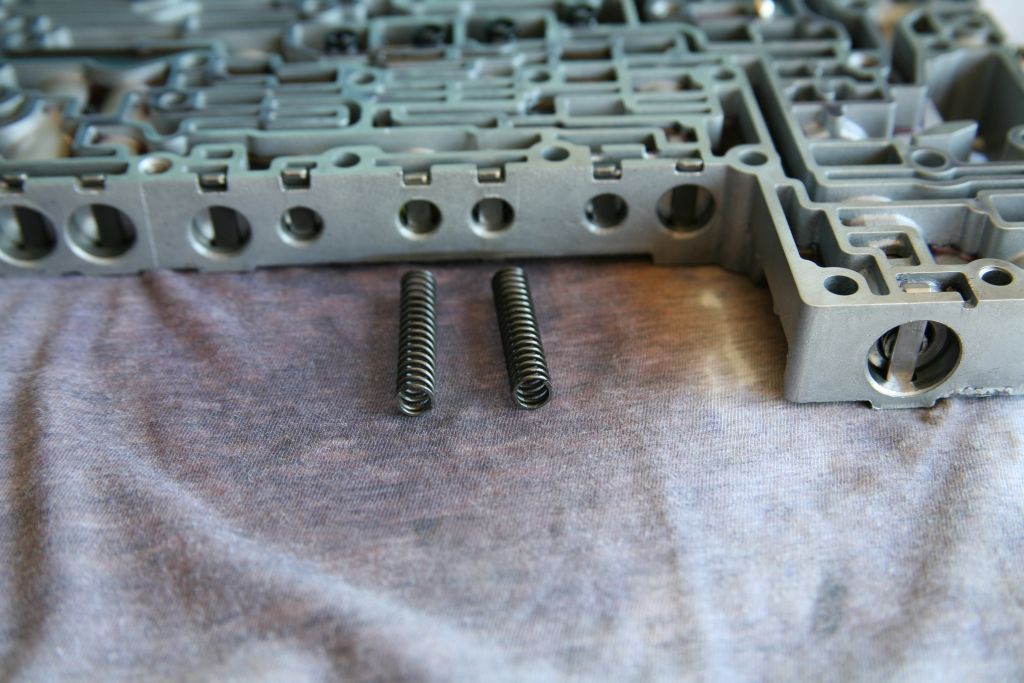
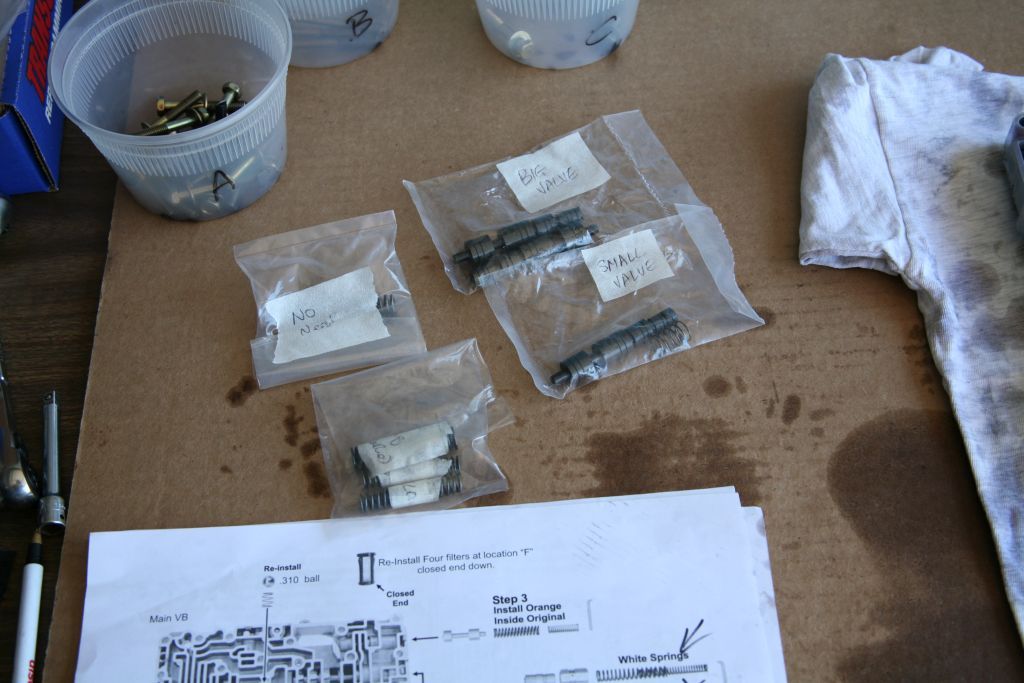
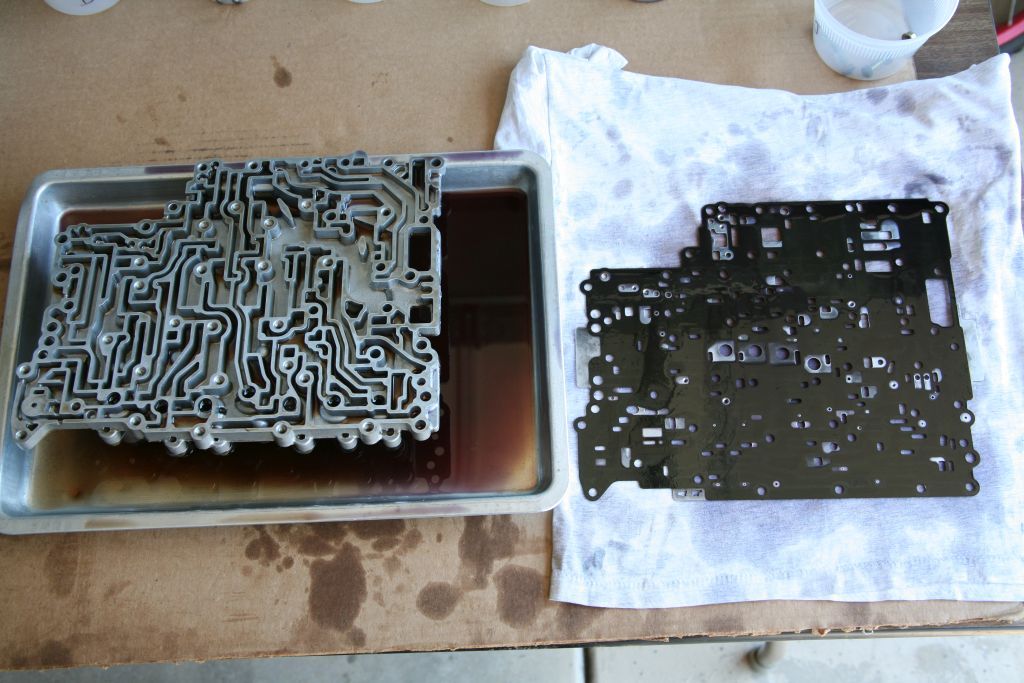
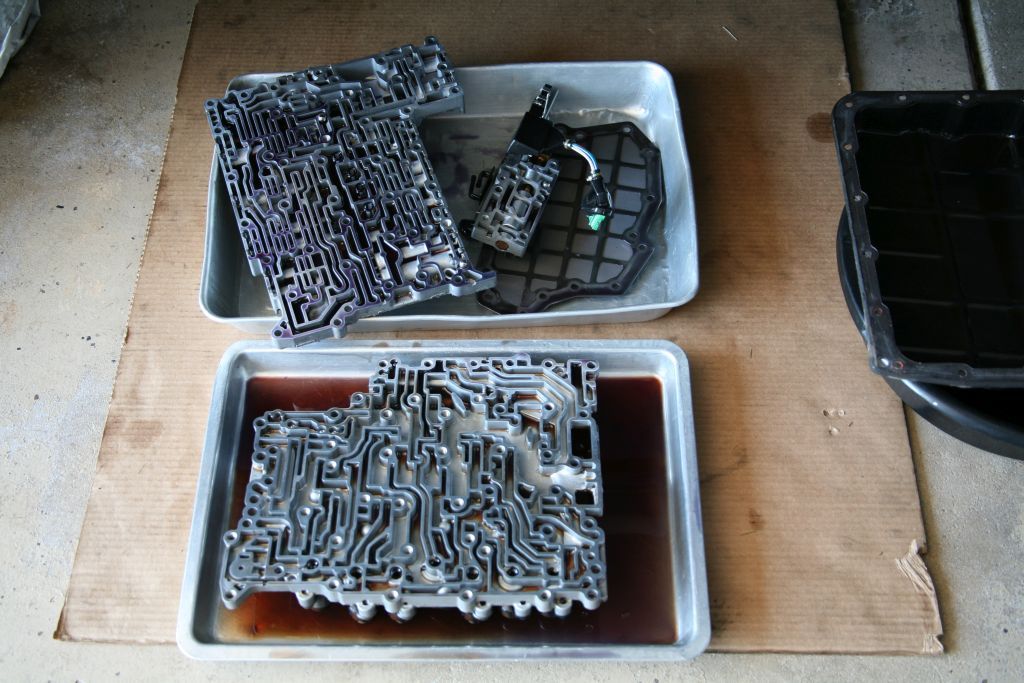
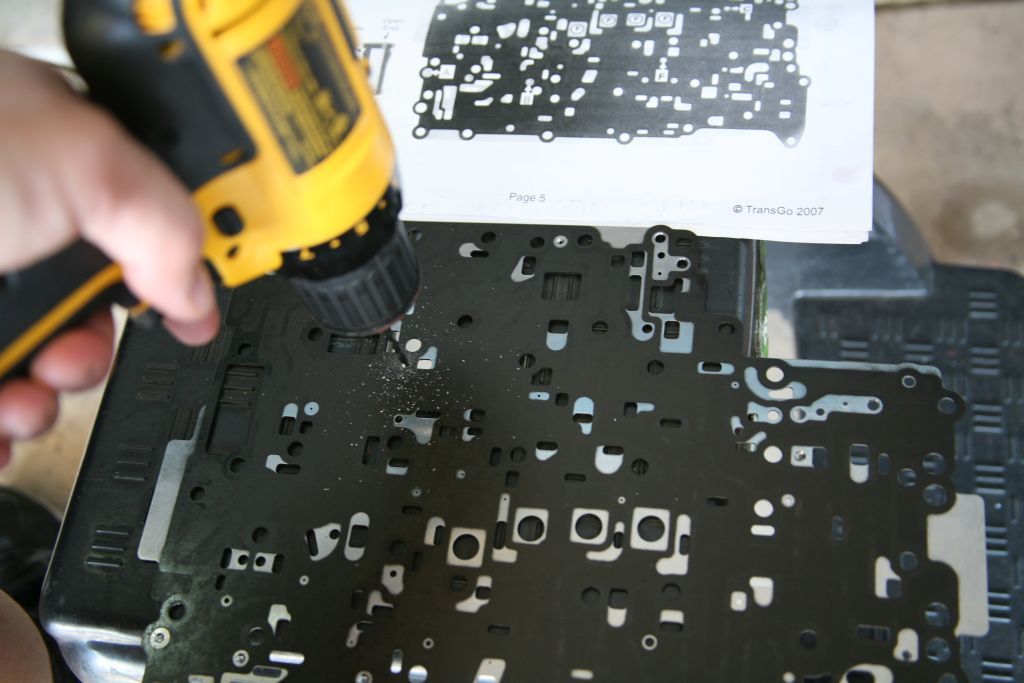
Transgo shift kit installation
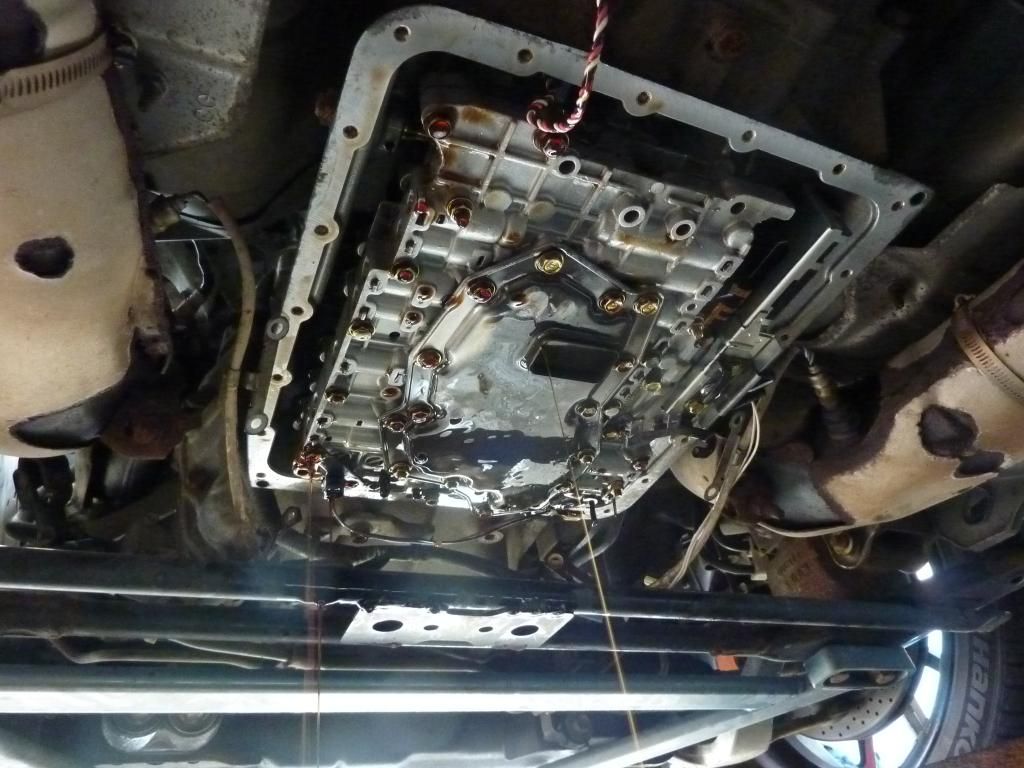
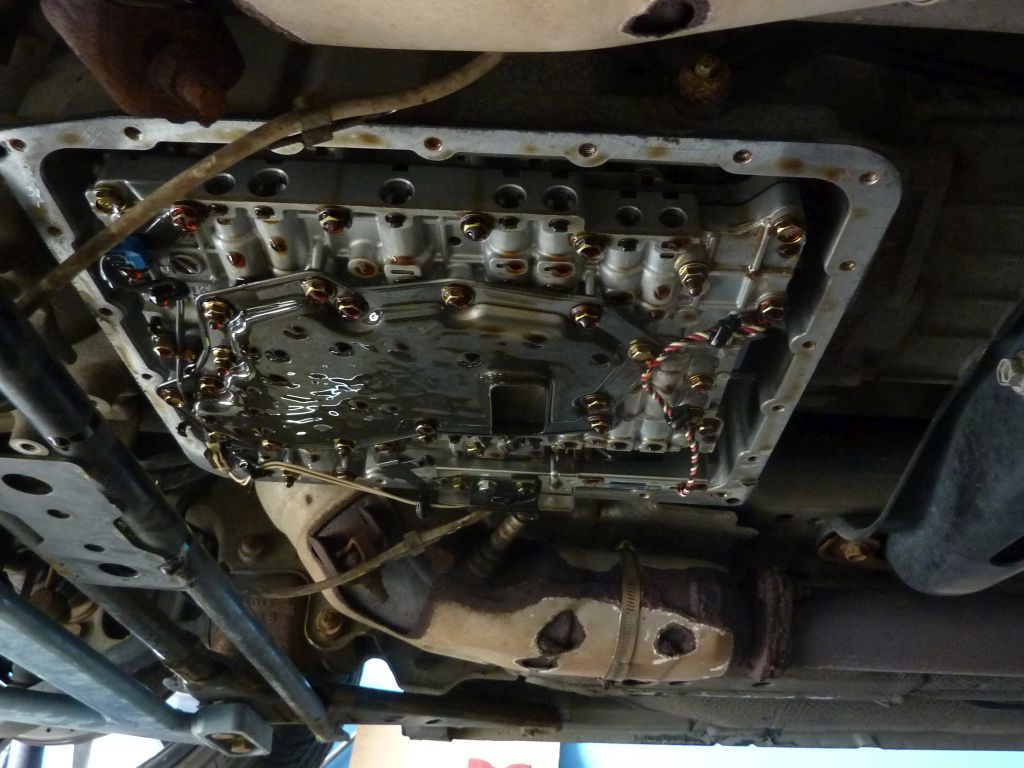
Getting ready the drain the trans fluid and remove the valve body from car
The never ending "waterfall of toxic strawberry death syrup"
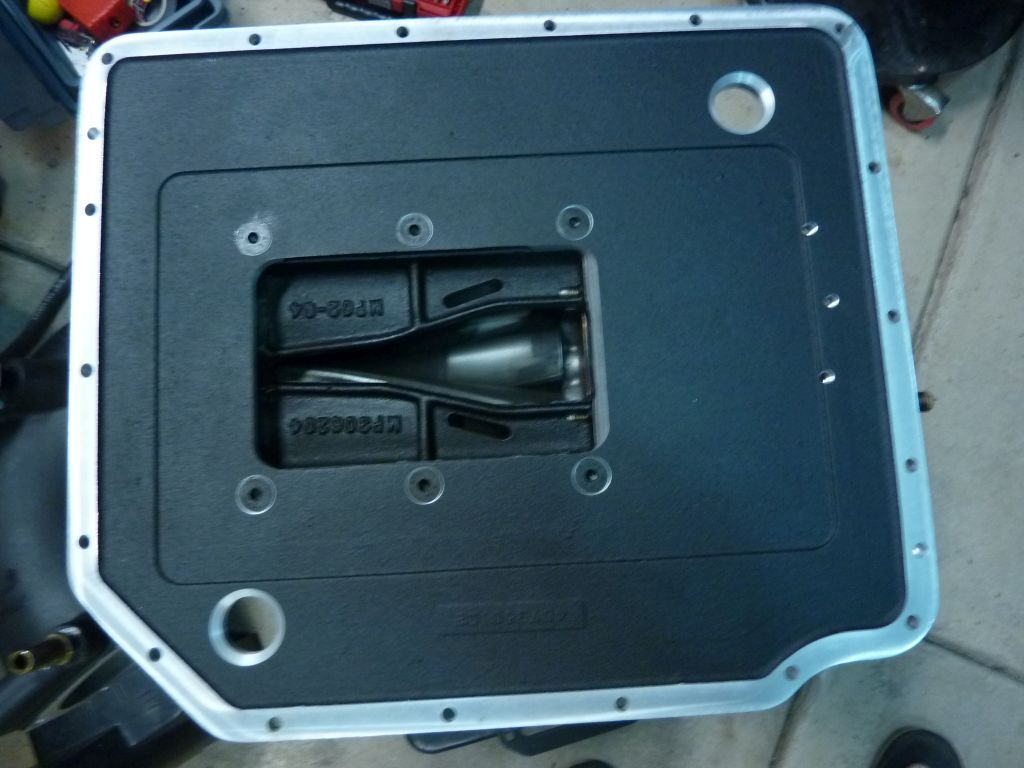
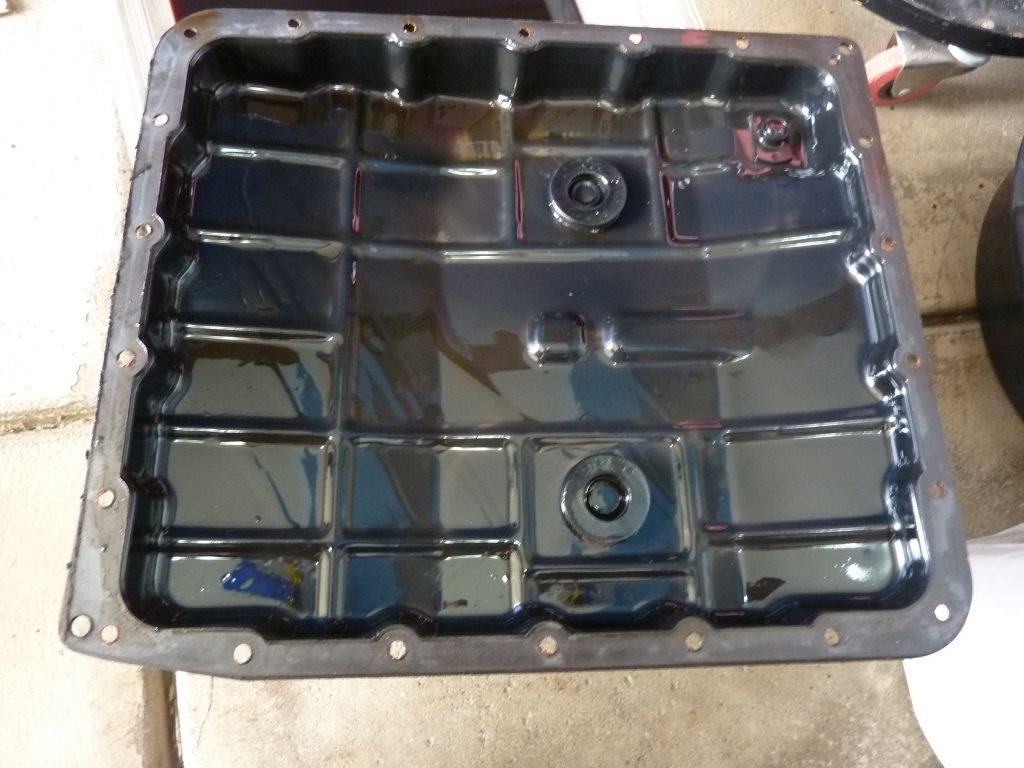
Trans fluid pan
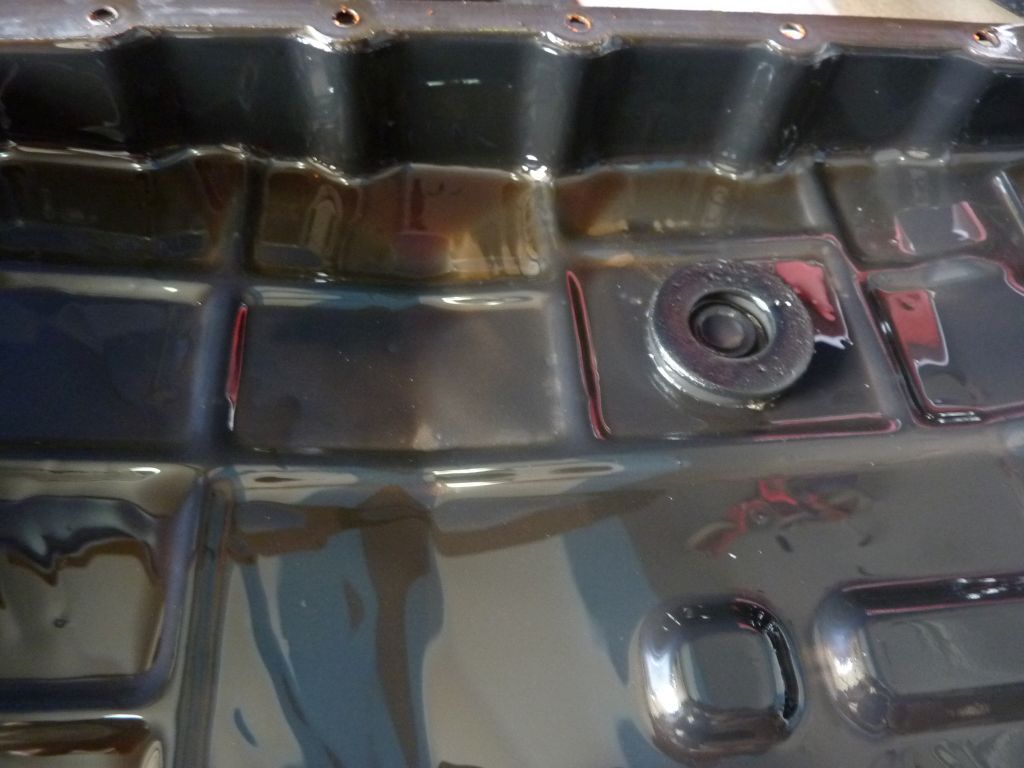
Magnet in the pan
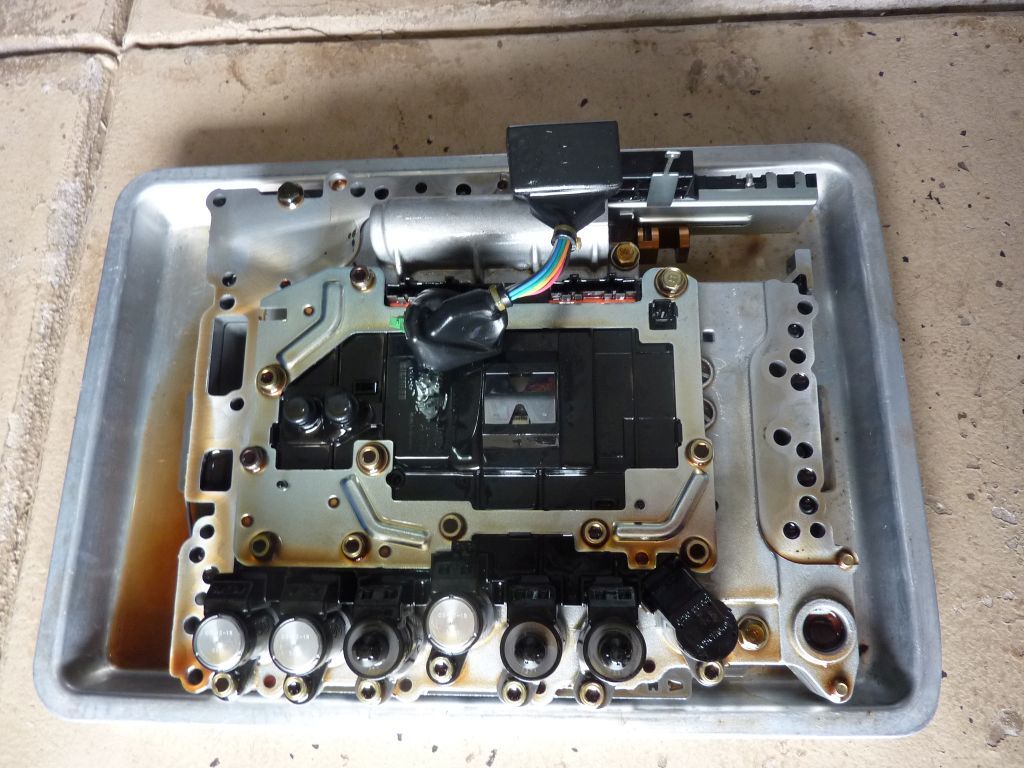
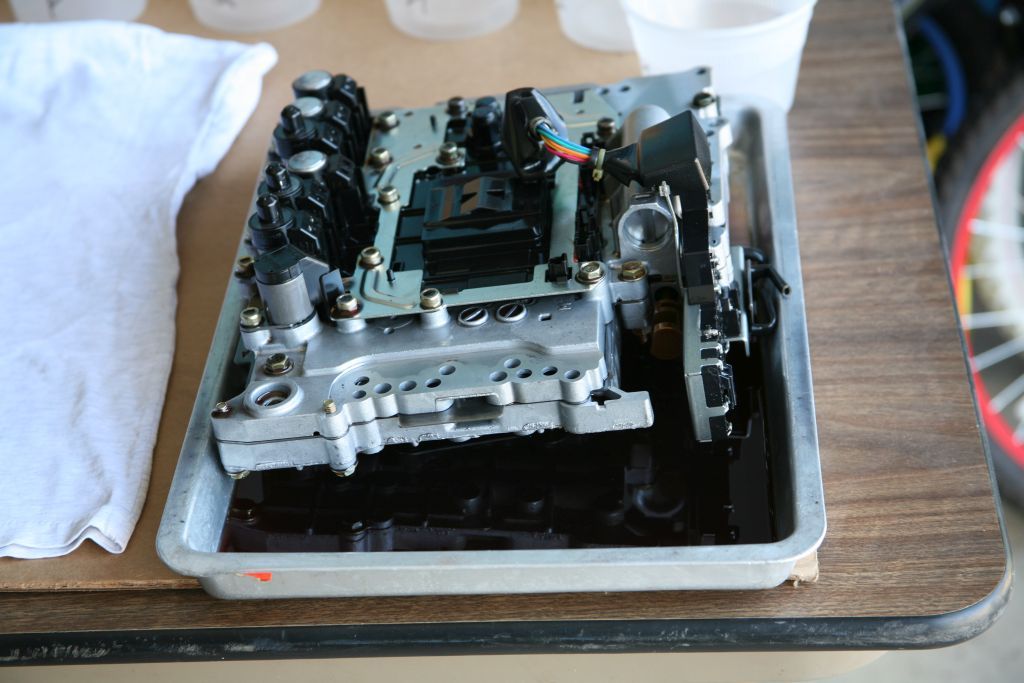
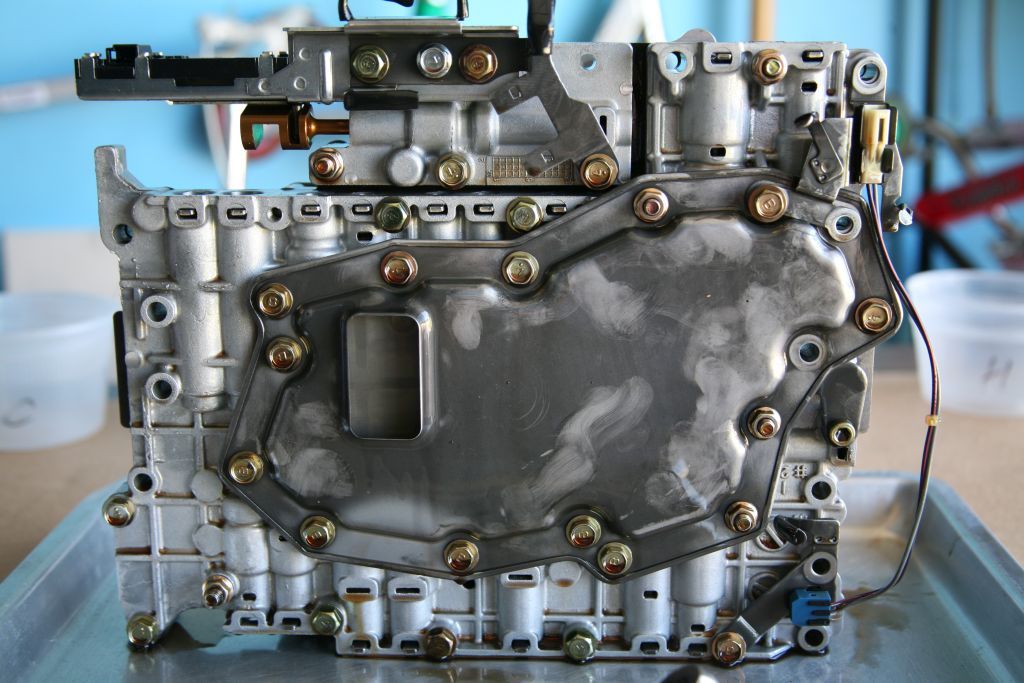
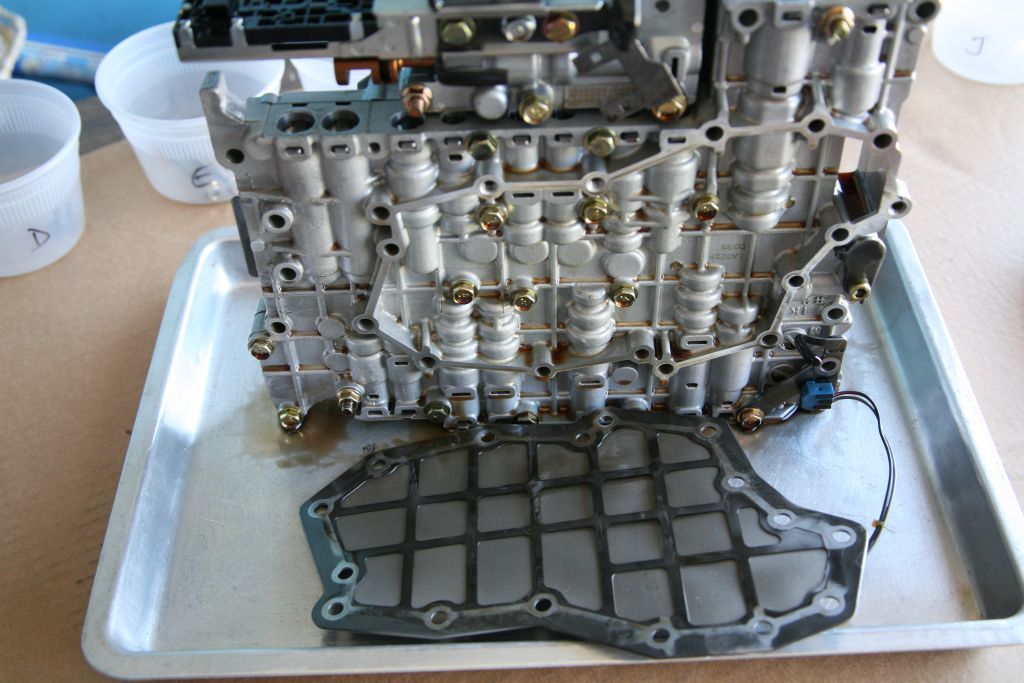
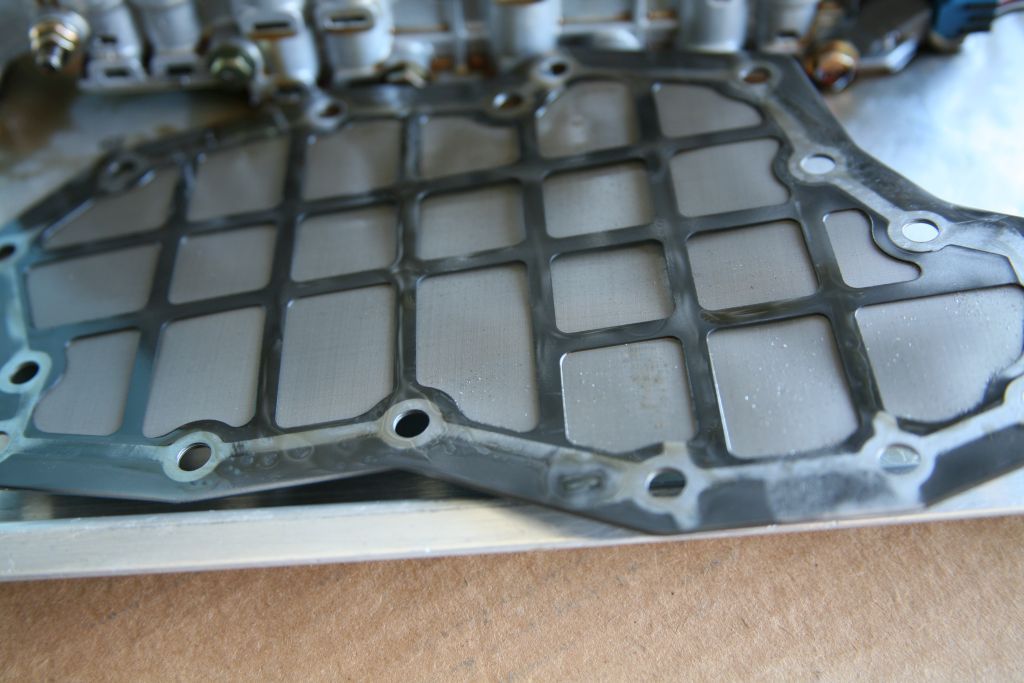
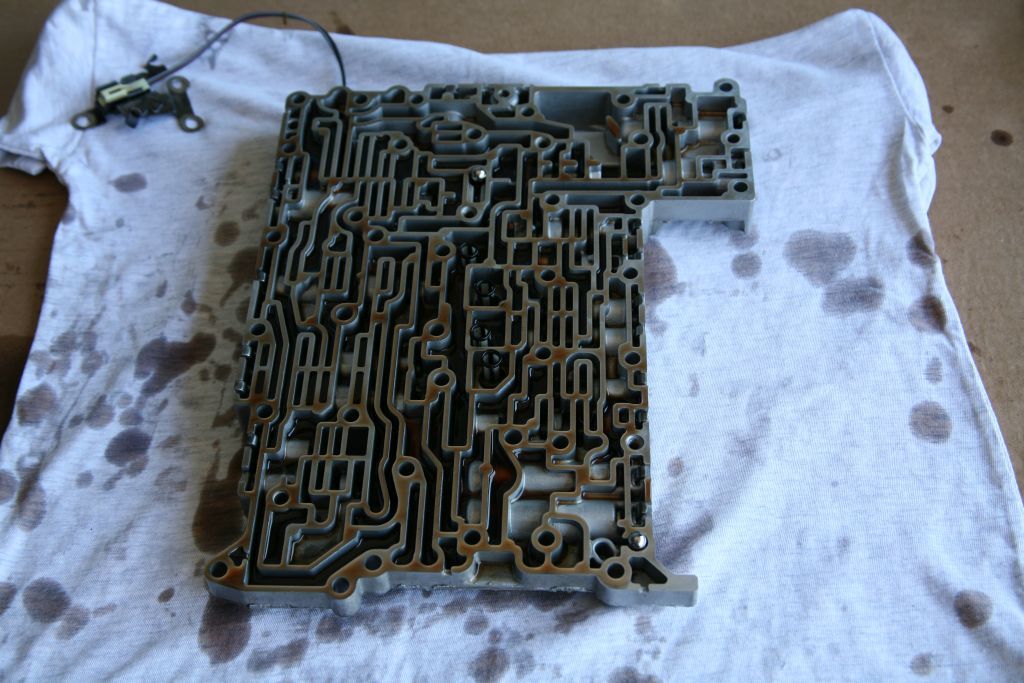
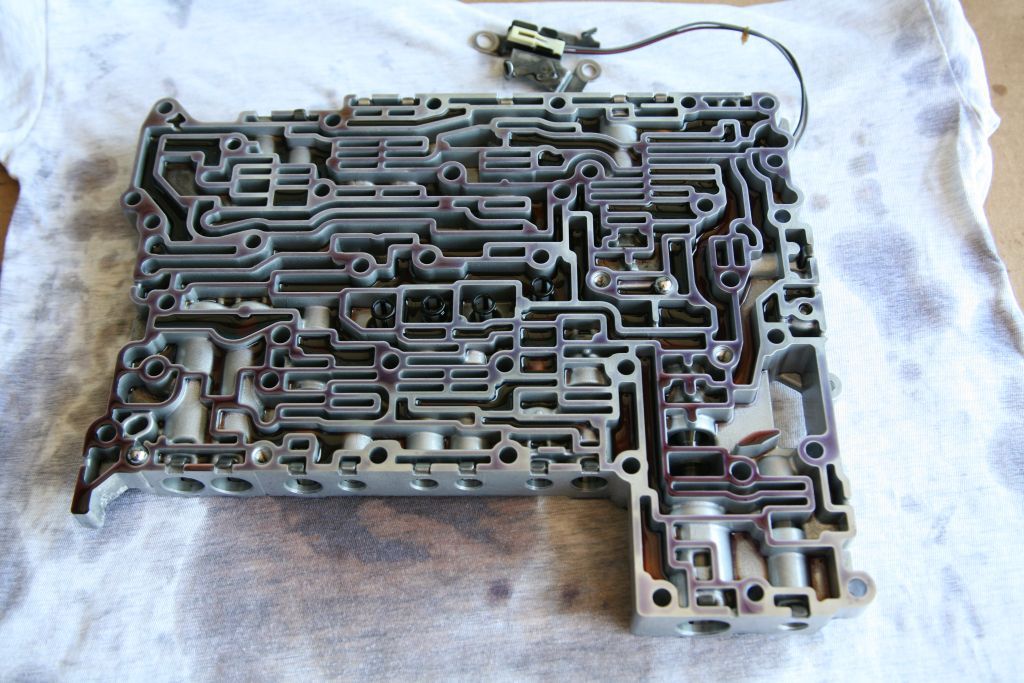
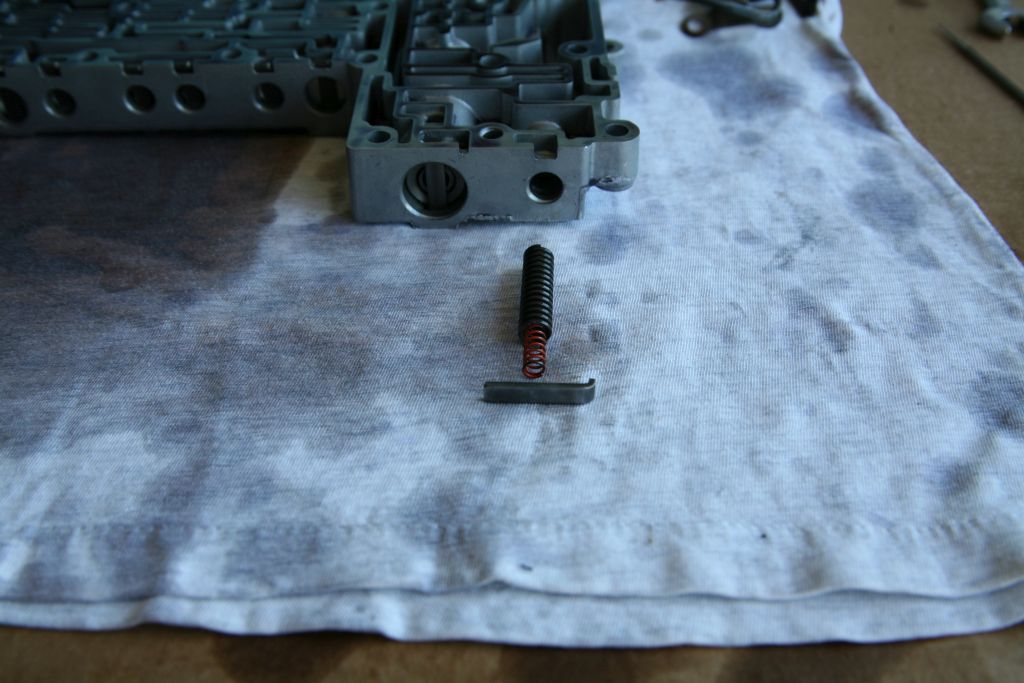
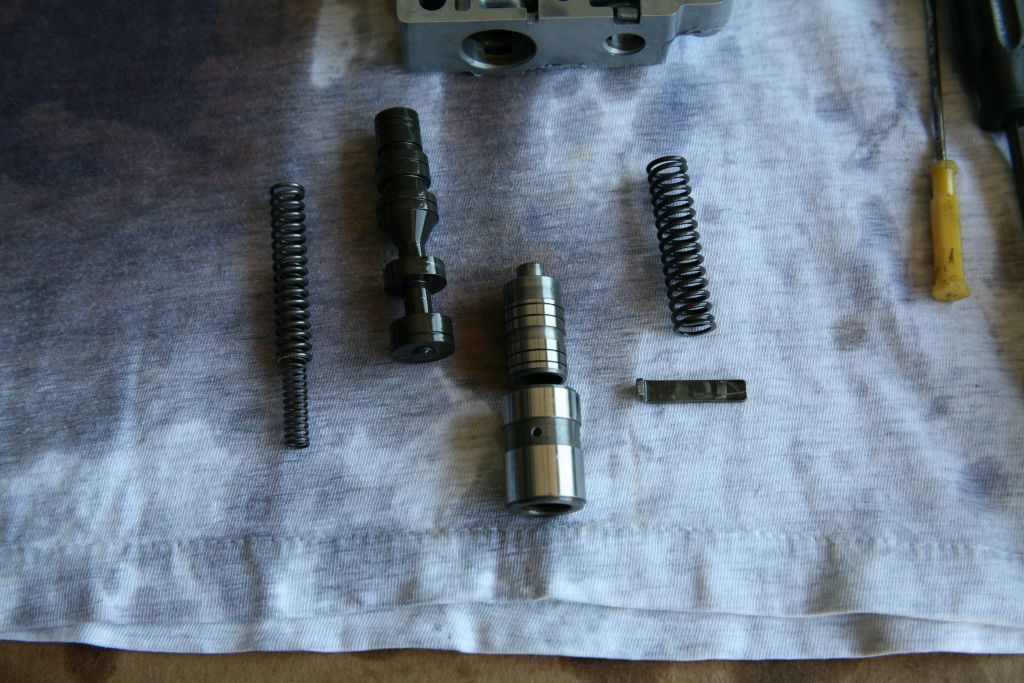
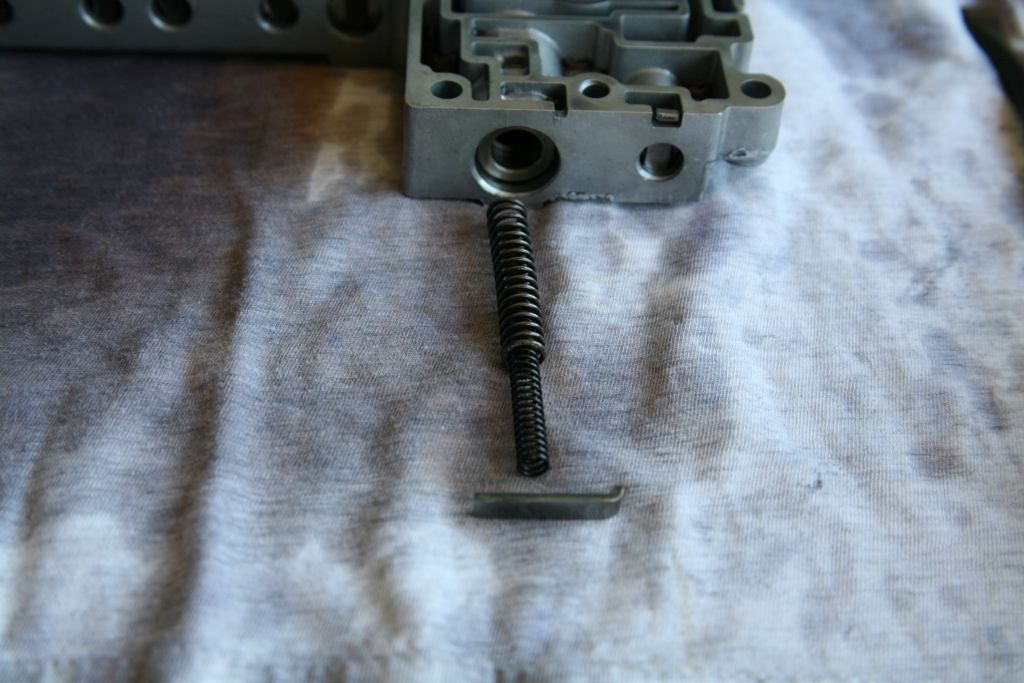
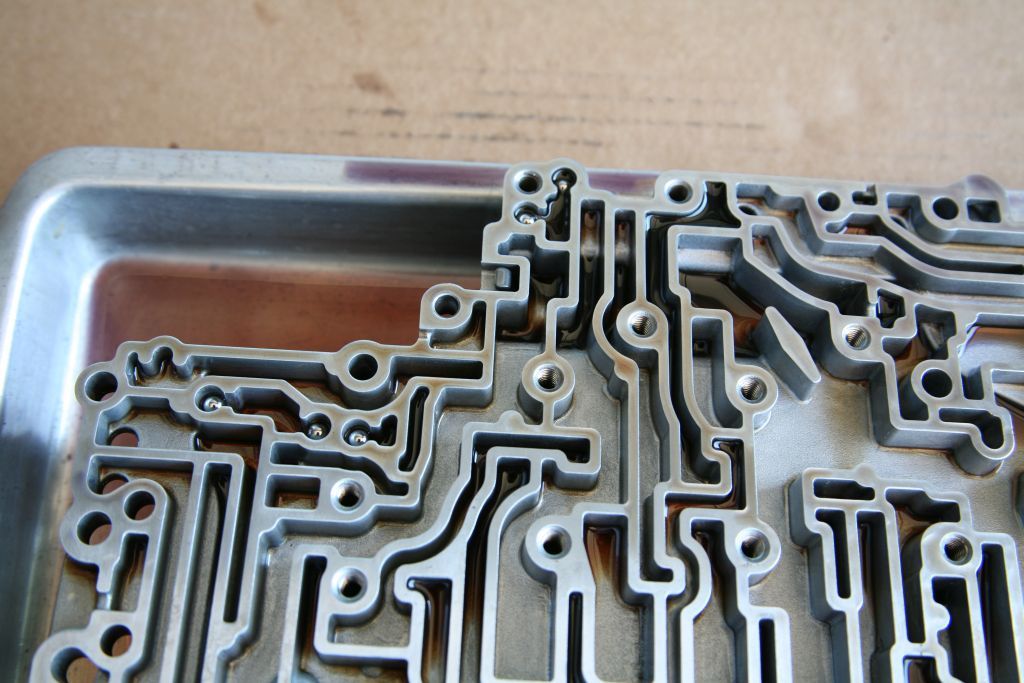
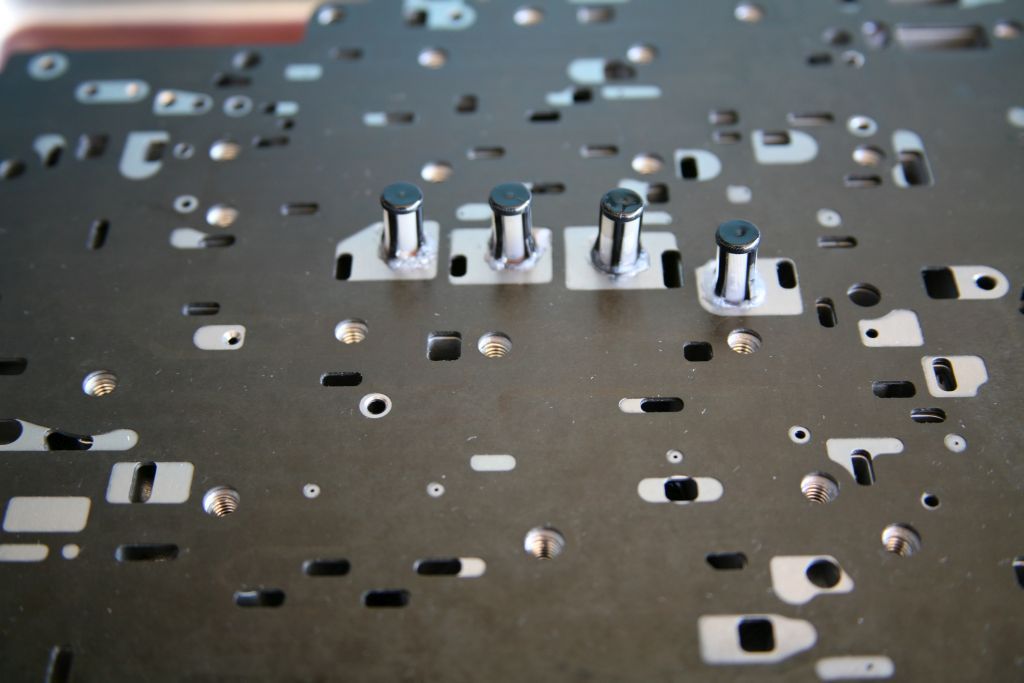
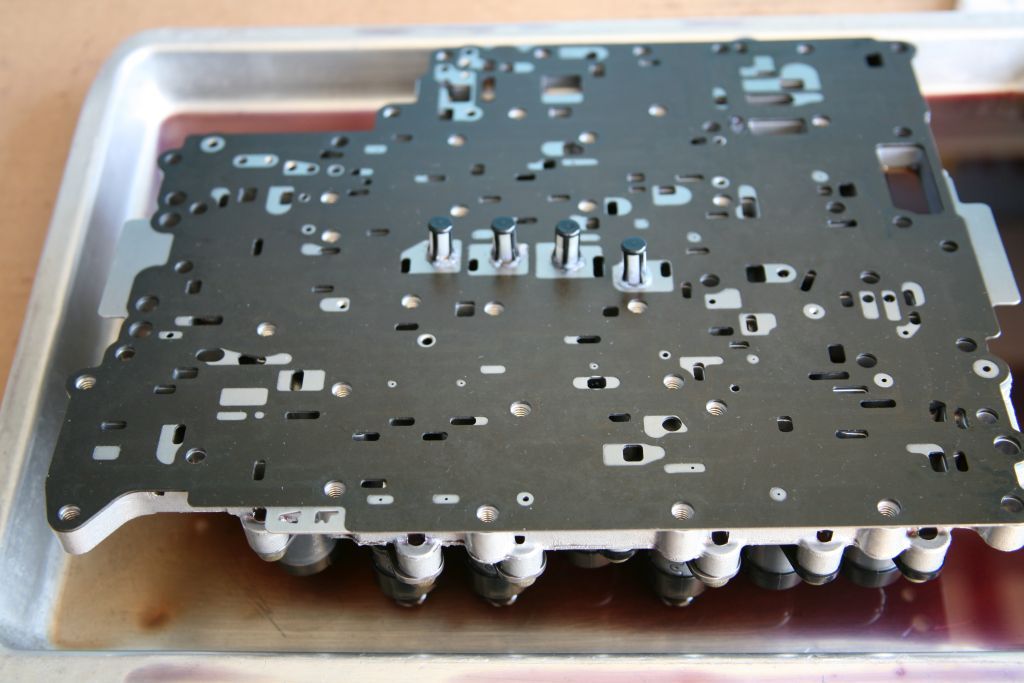
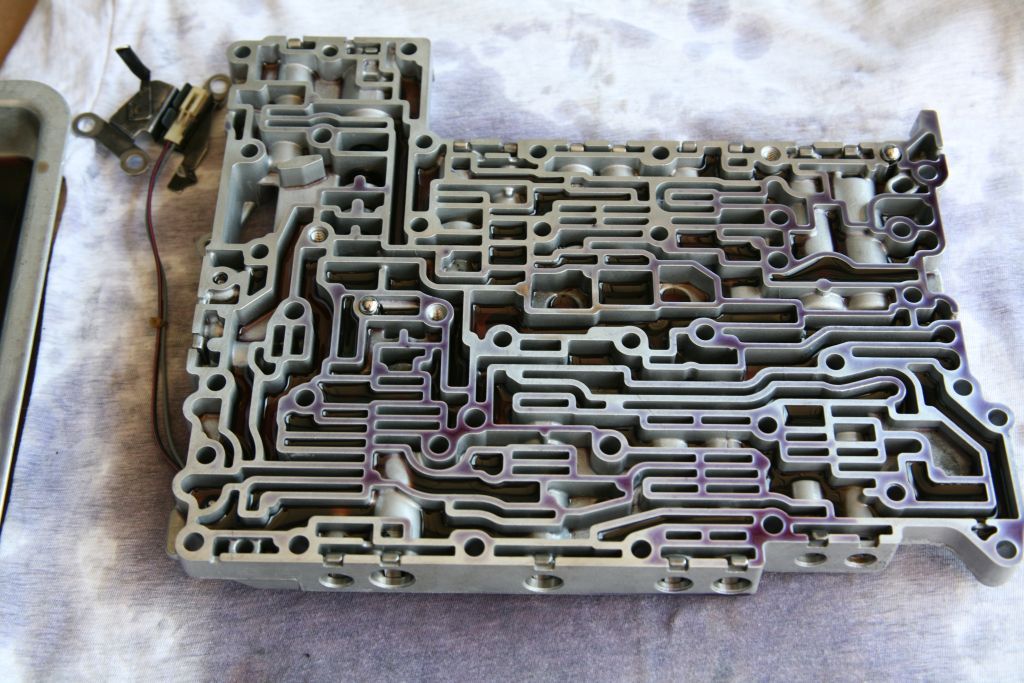
Valve body
Ready for the real fun

---------- Post added at 12:09 PM ---------- Previous post was at 12:08 PM ----------

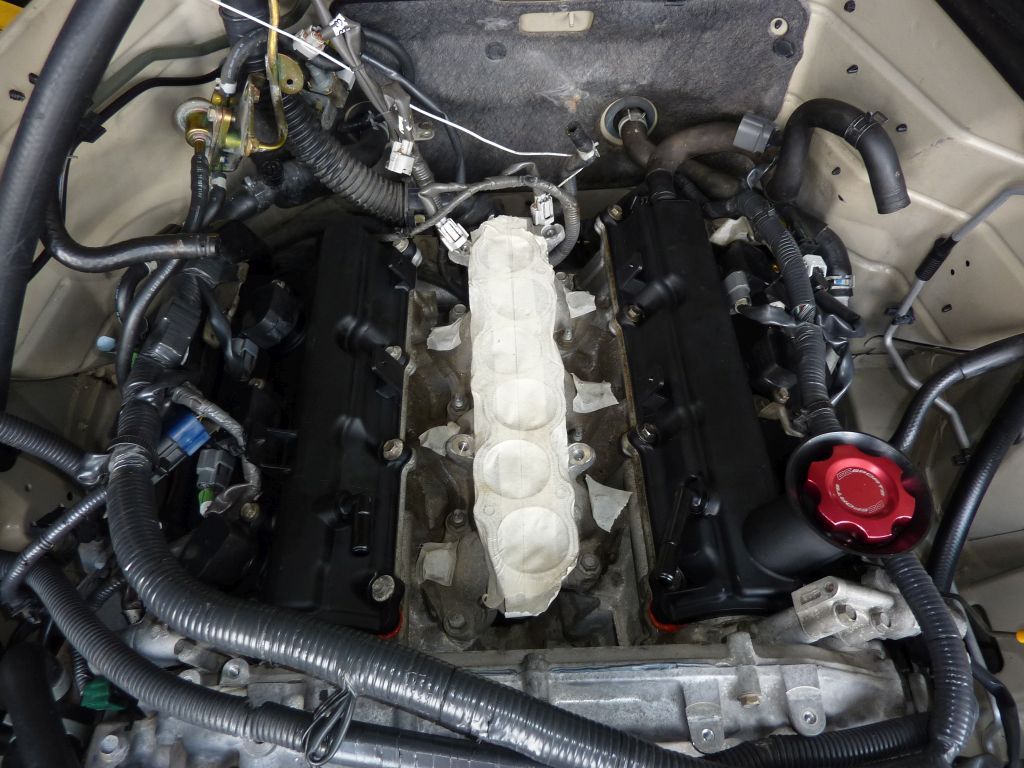
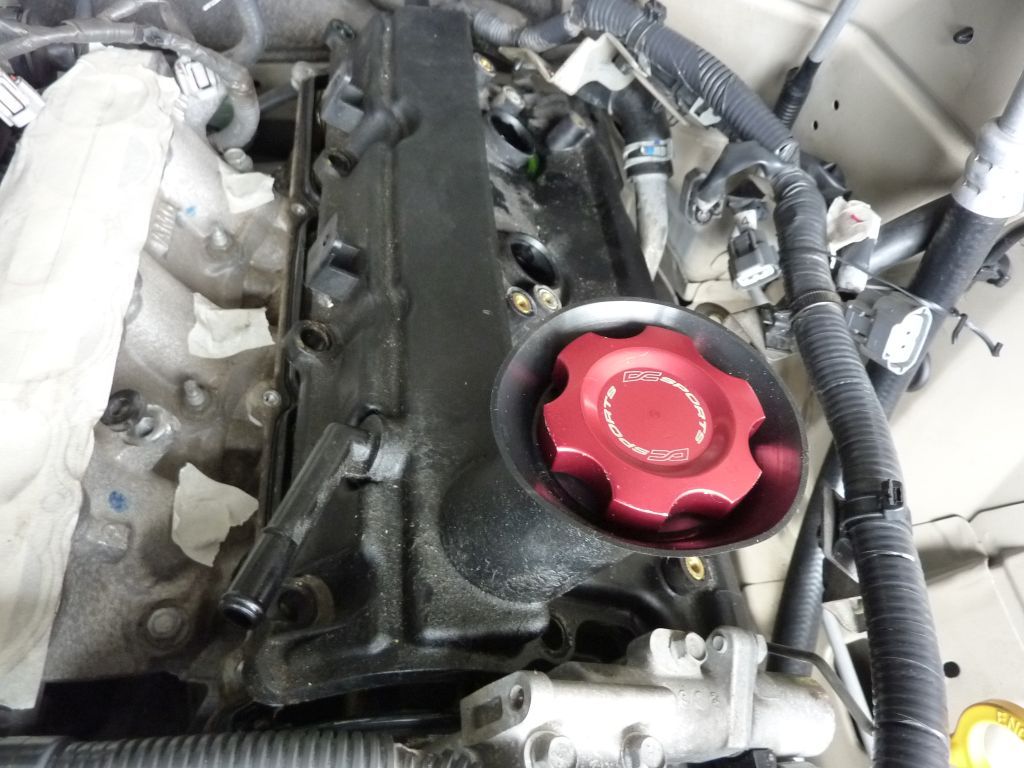
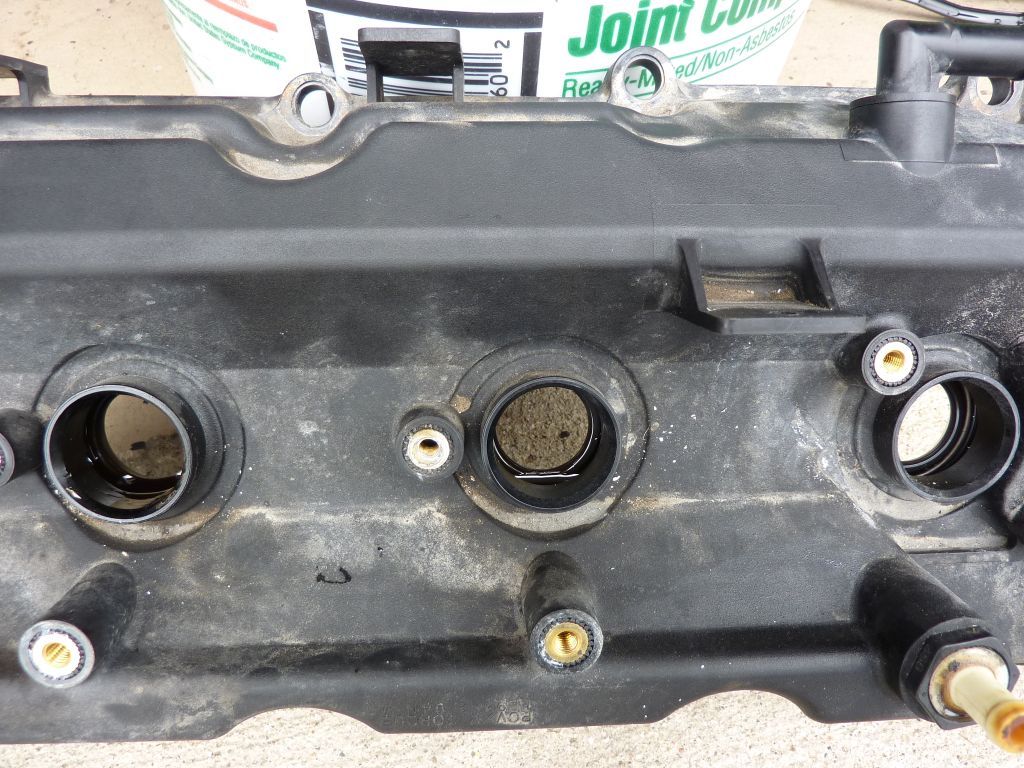
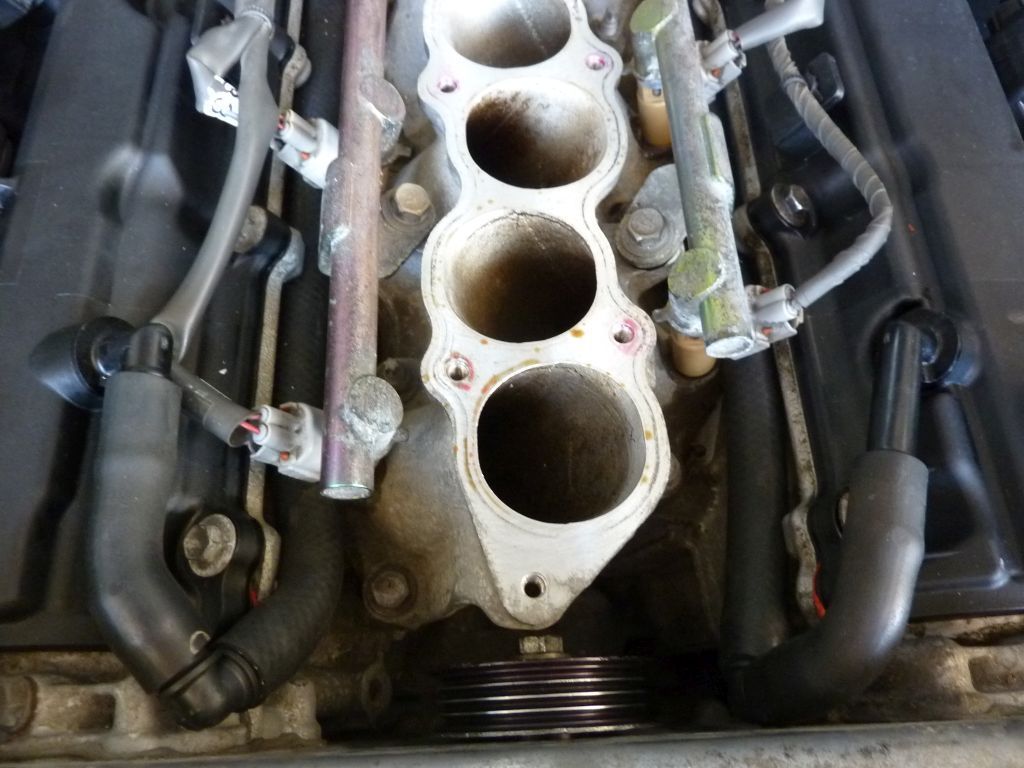
Replace valve covers
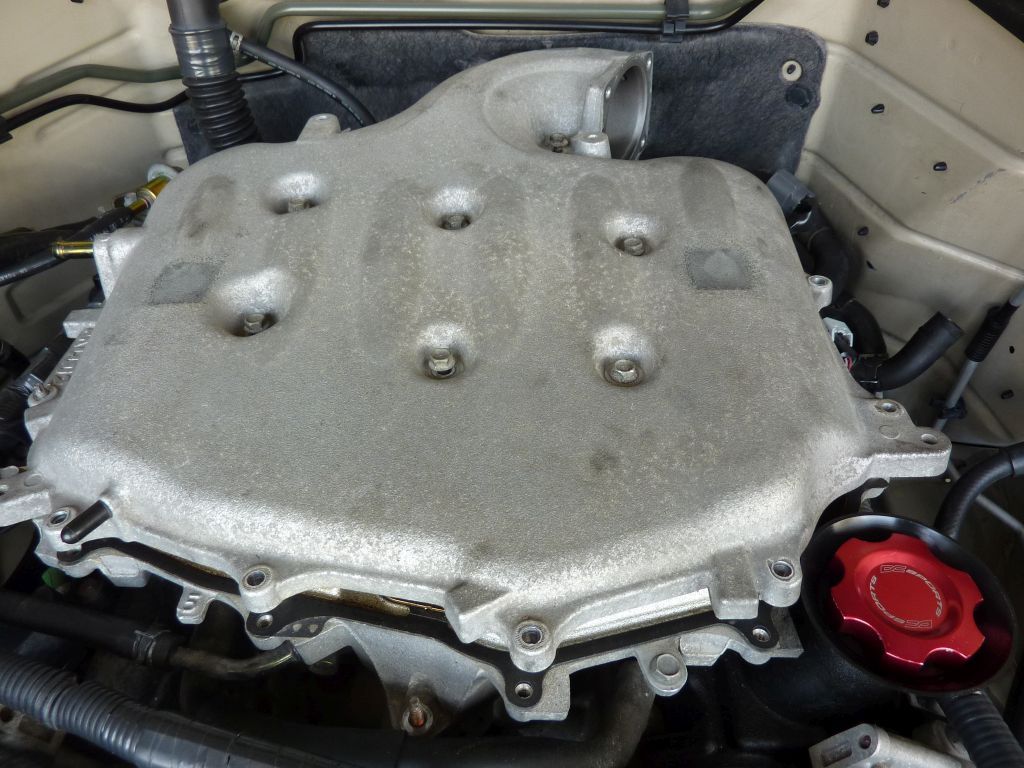
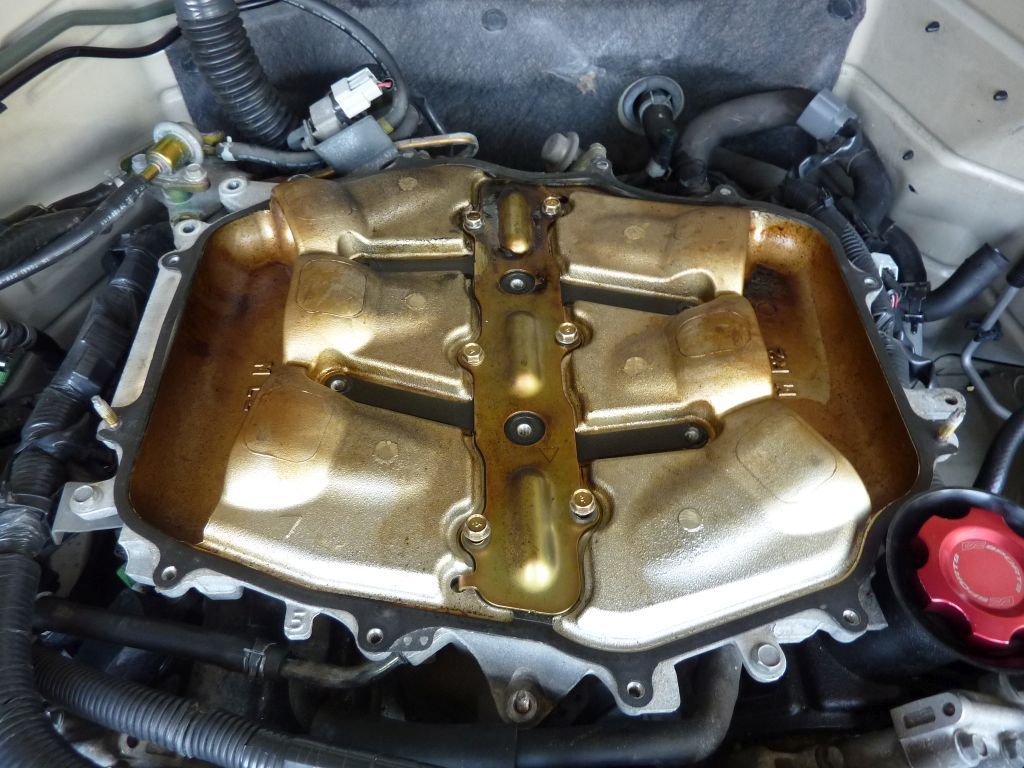
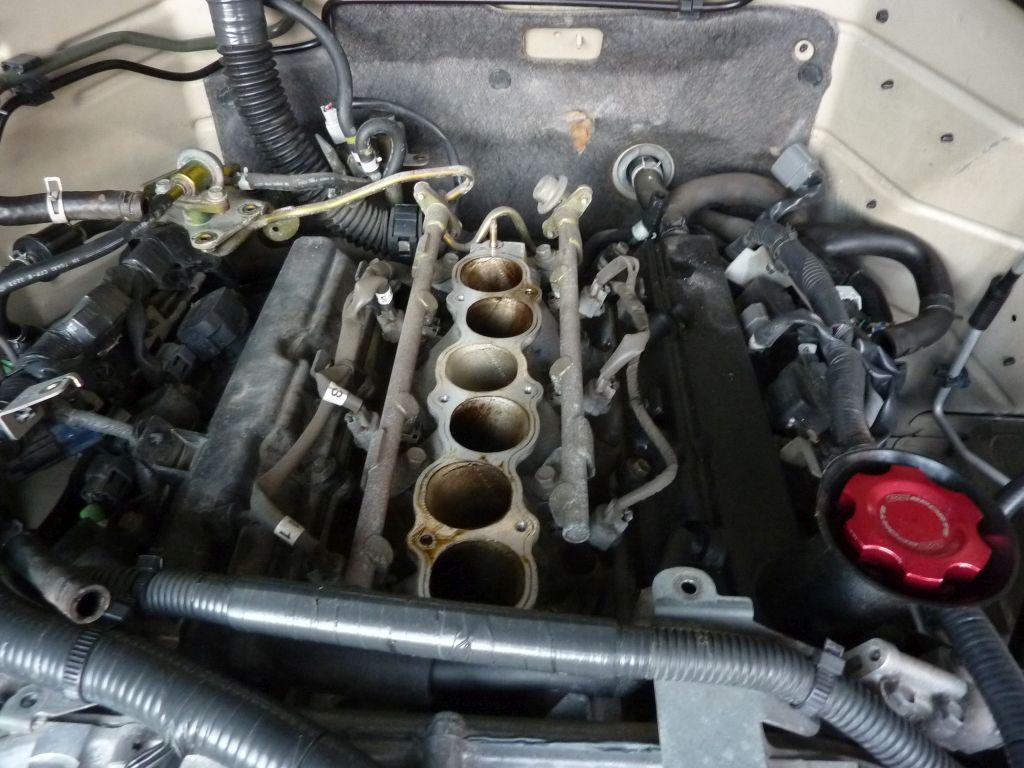
Tape up the lower plenum to prevent foreign objects to fall into the chambers
Driver side valve cover removed
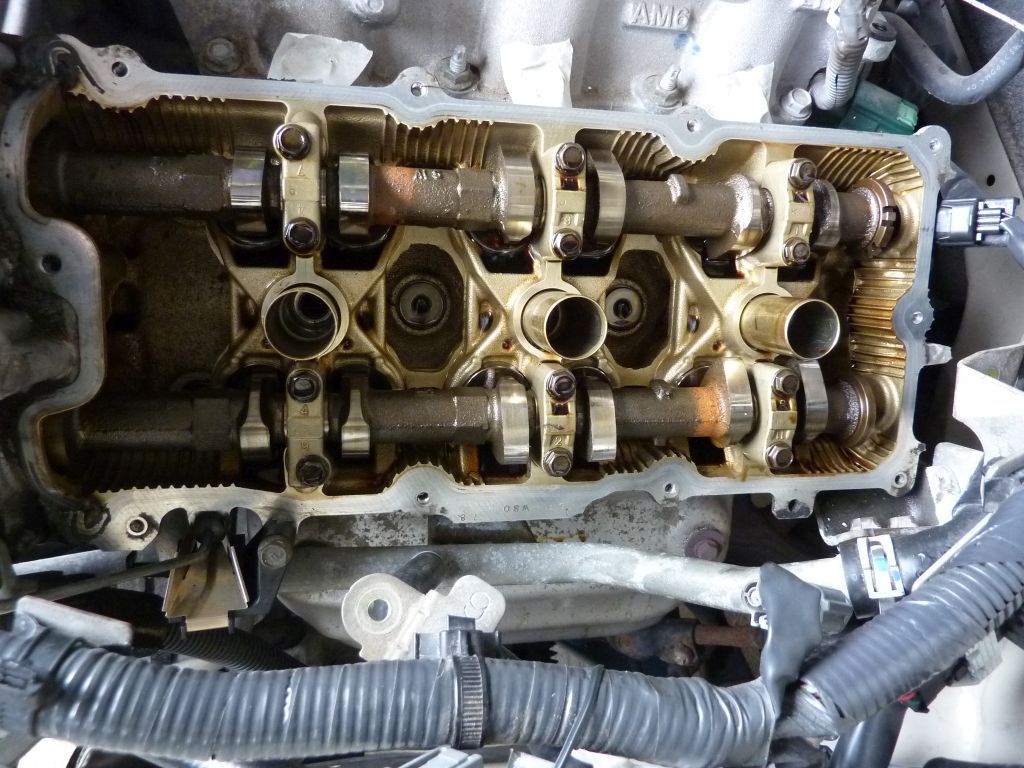
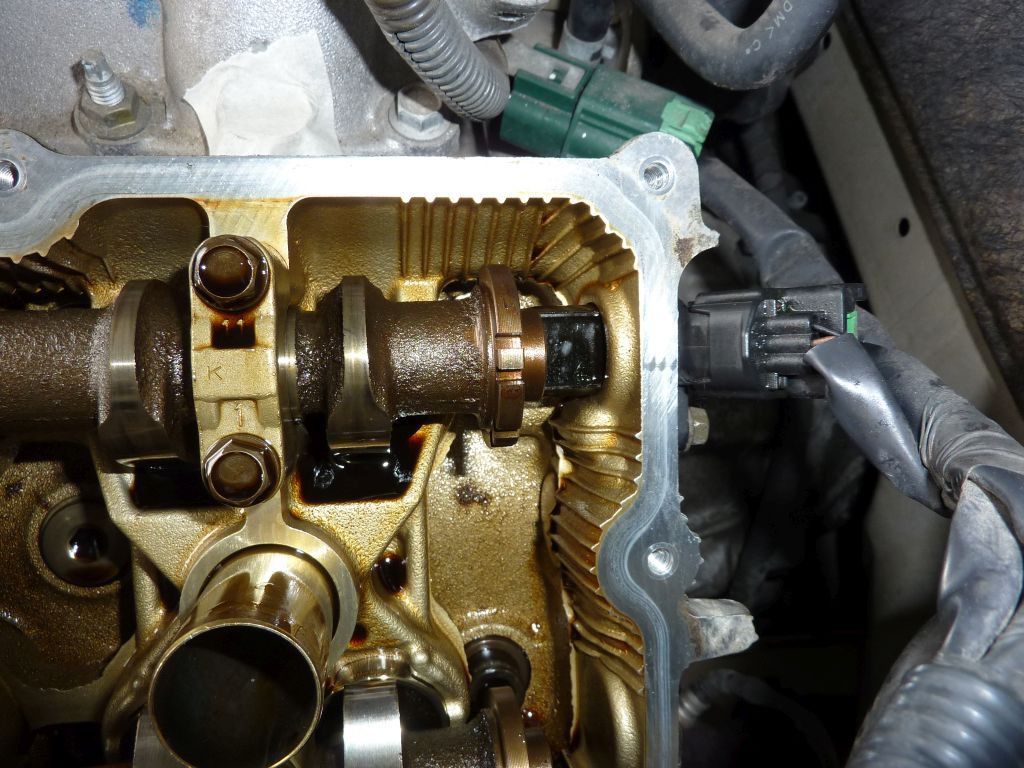
Camshaft sensor
New valve cover
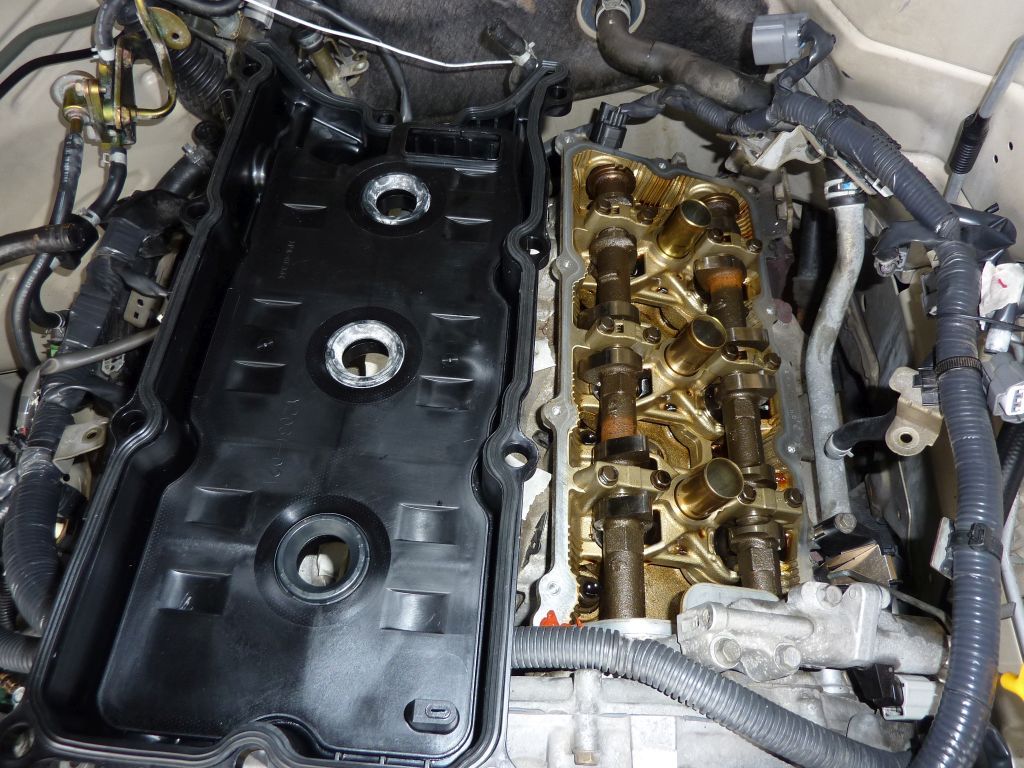
Passenger side valve cover removed
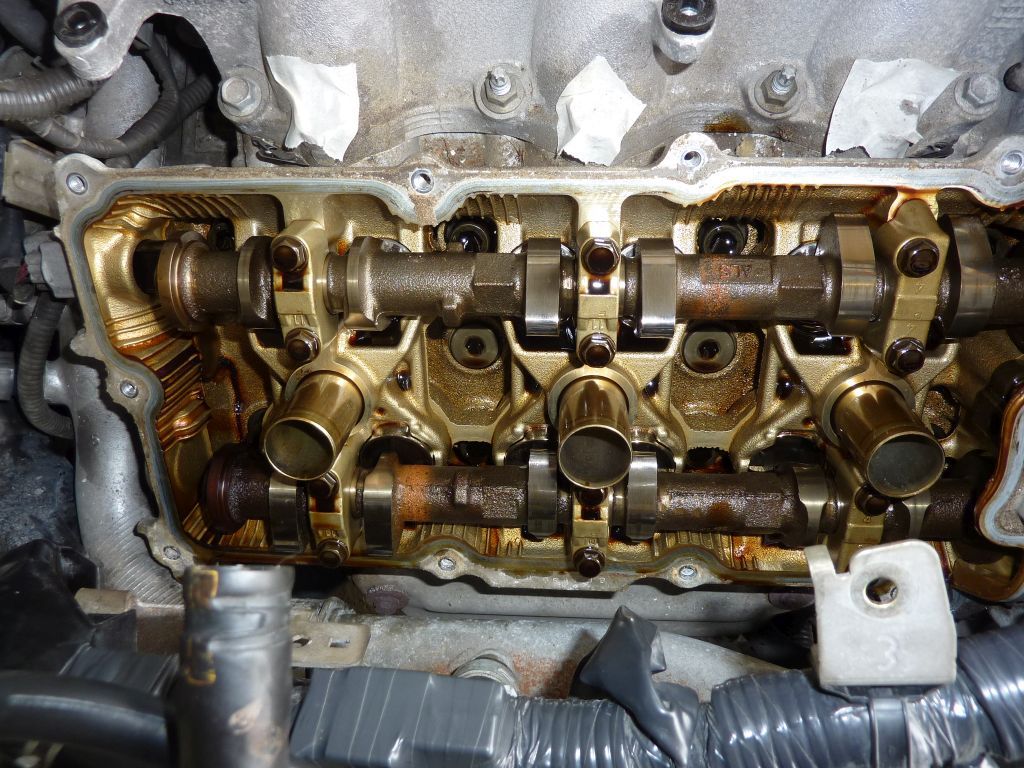
Leaky old valve cover
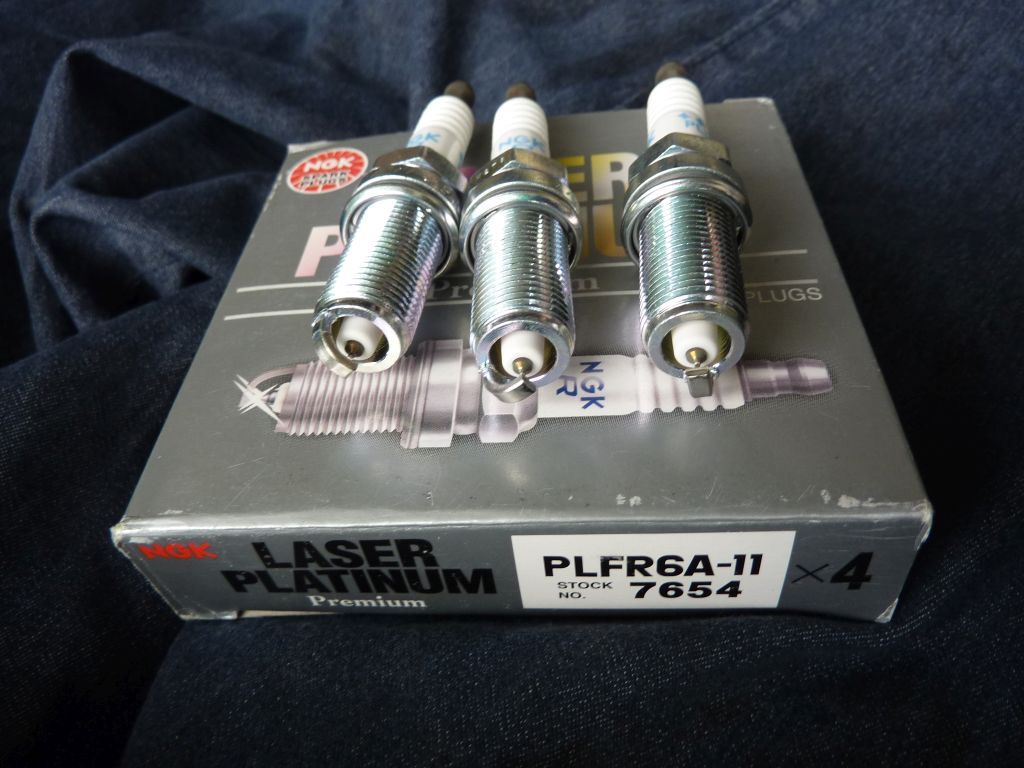
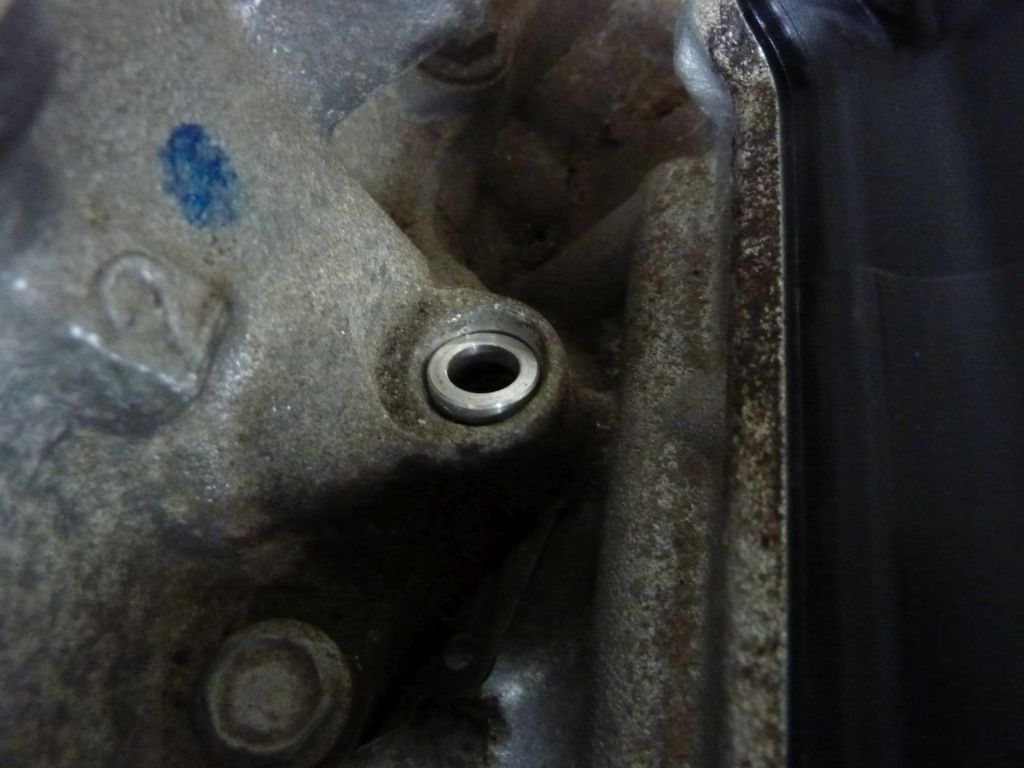
Colder spark plugs for Stillen SC
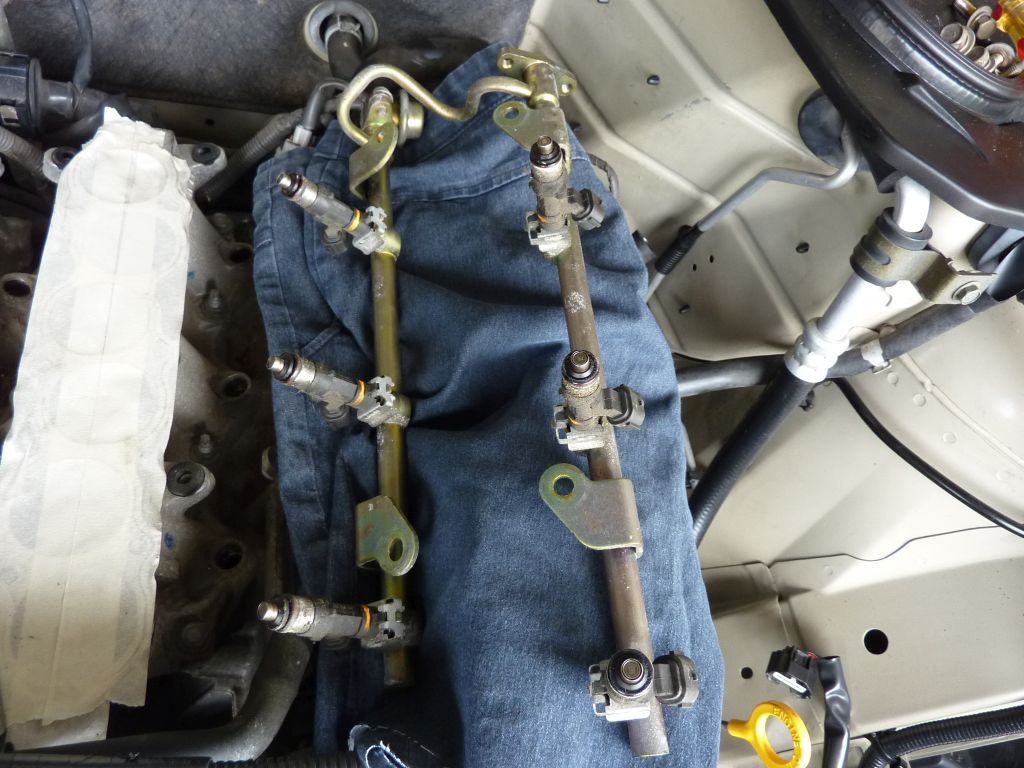
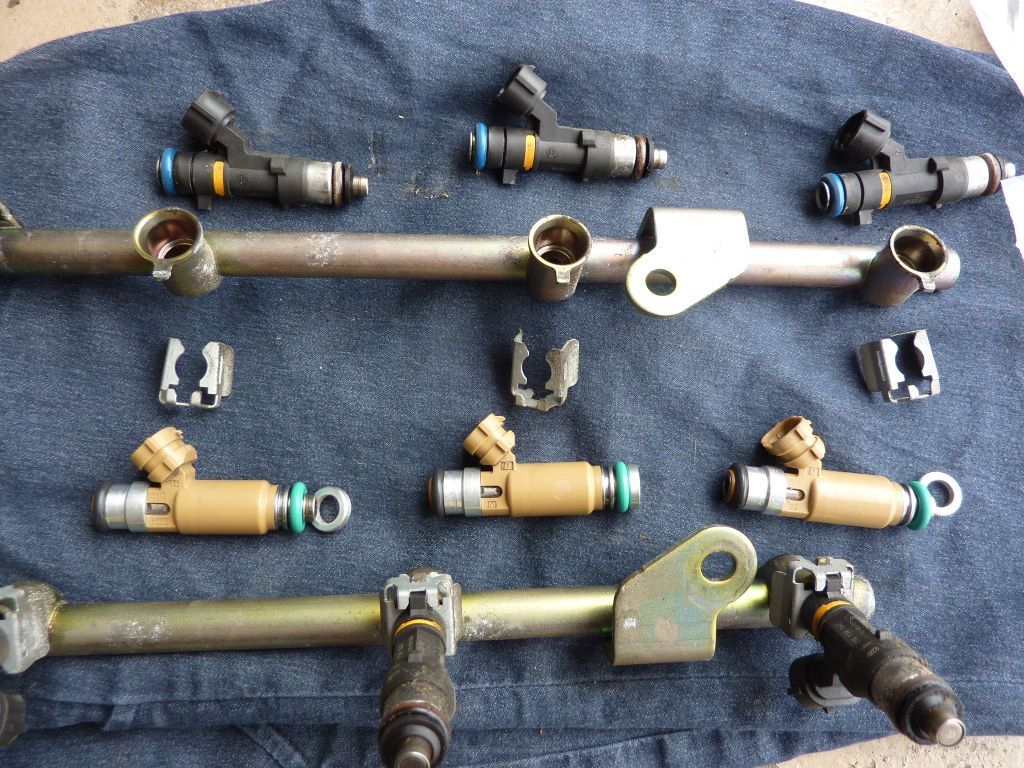
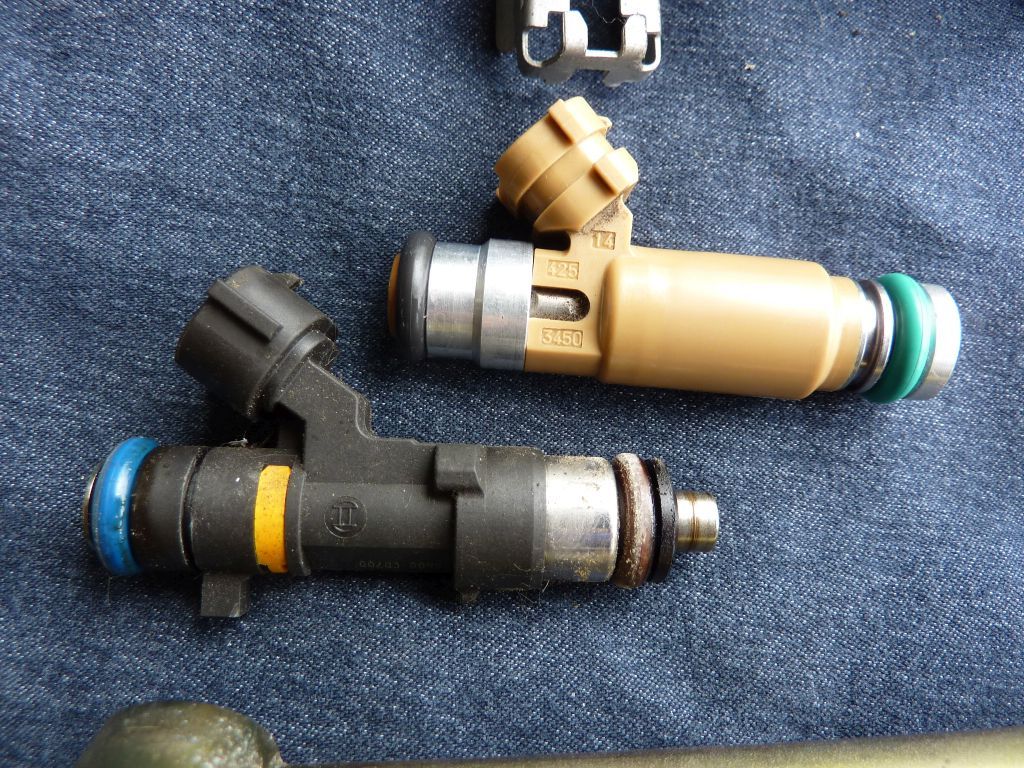
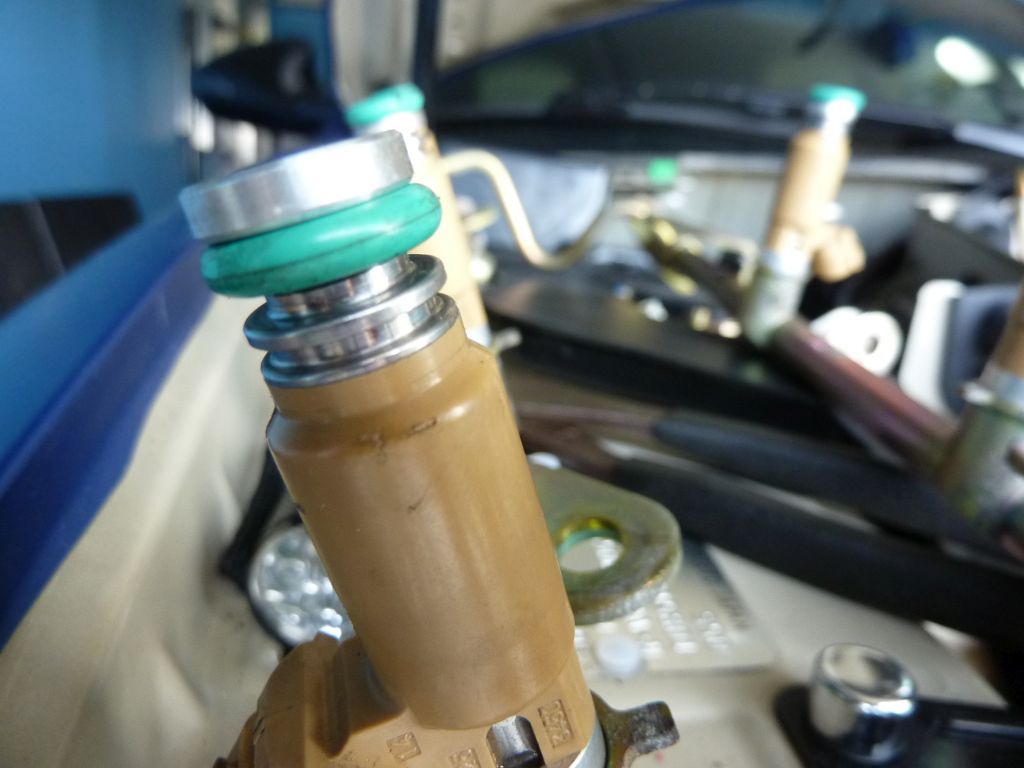
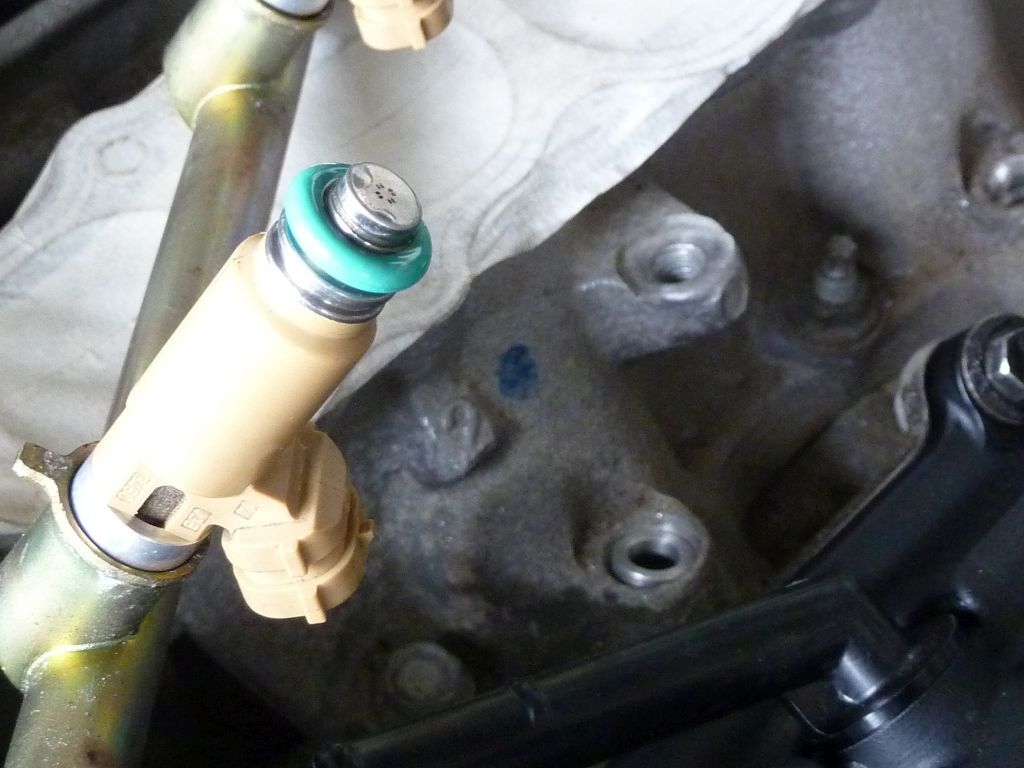
Install bigger injector upgrade for Stillen SC
Fuel rail and injectors
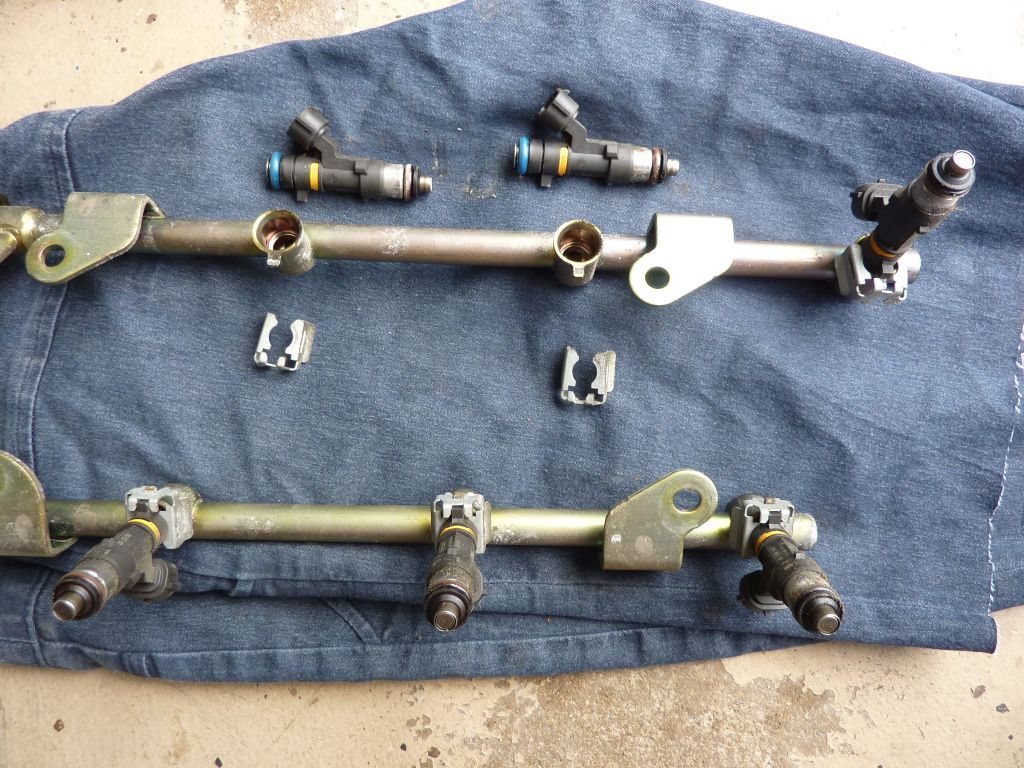
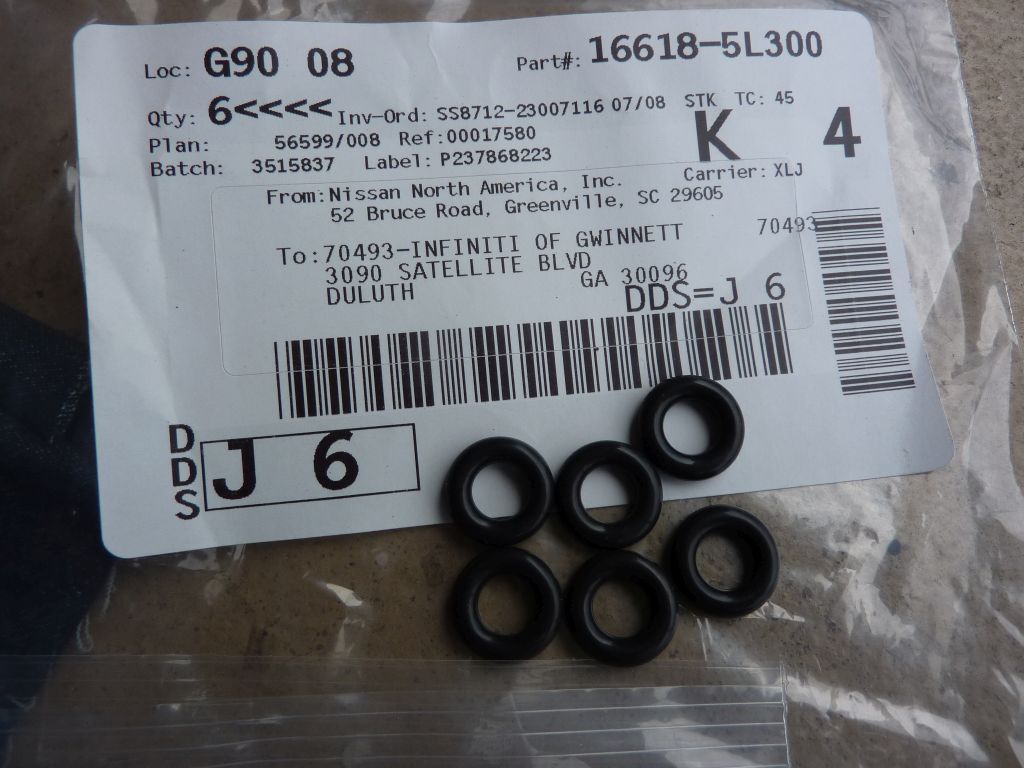
New injector o-rings

Old and new injectors
Ready to reinstalled
Leave a comment:
-
I normally **** these as well, but damn yours looks amazing, and I like the mudflaps myself! Keep up the good work!Leave a comment:
-
What really caught my eye at first was how meticulous the dinoc was laid on the center column. The attention to detail here is infinite. Very sharp fx.Leave a comment:
-
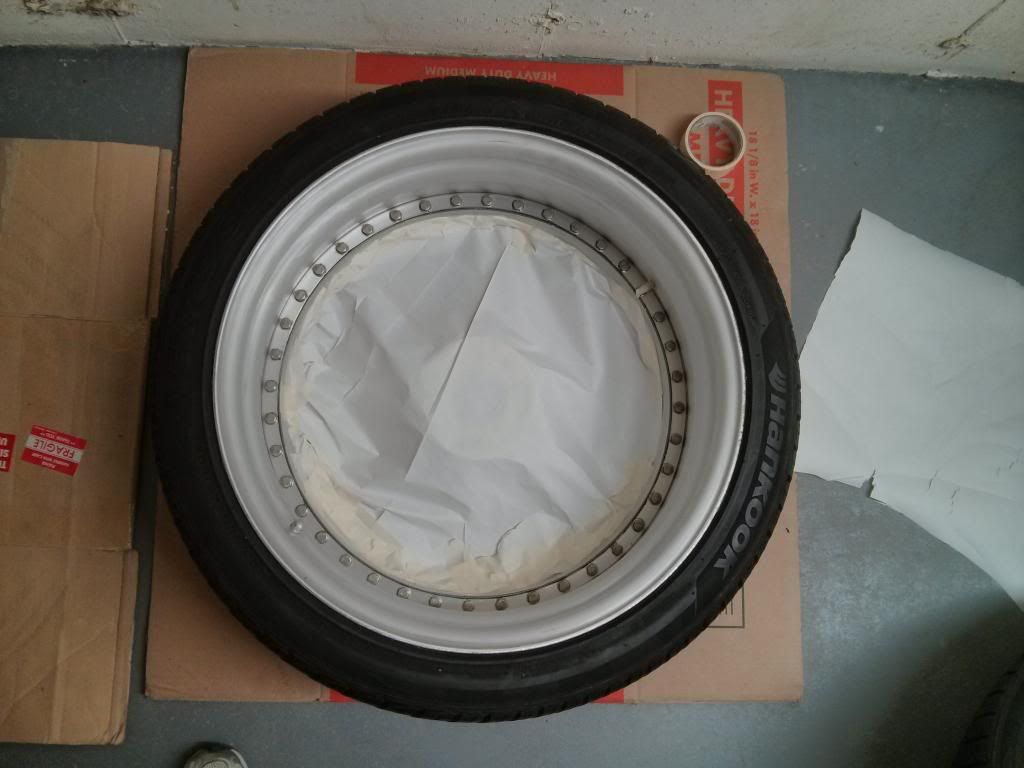
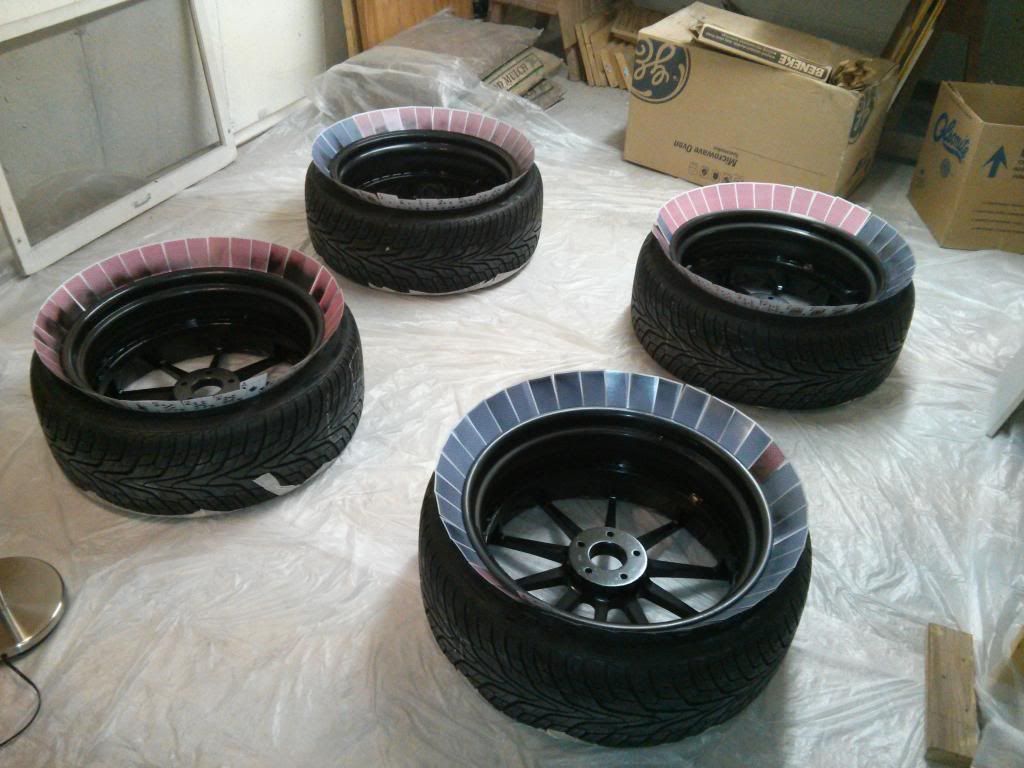
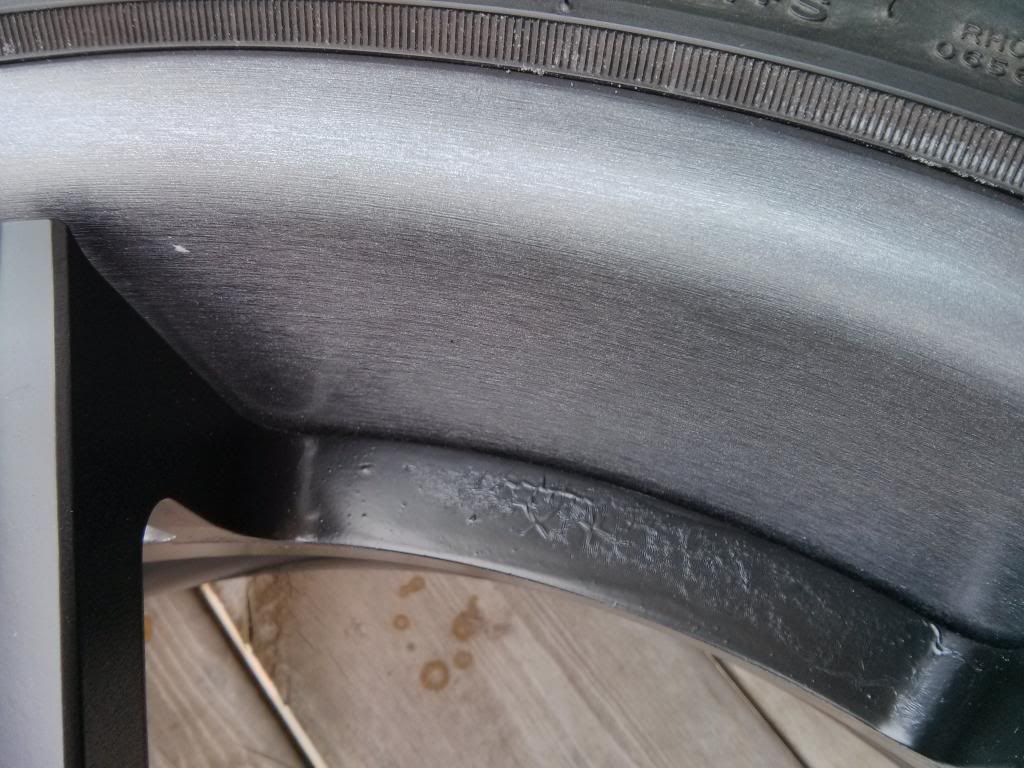
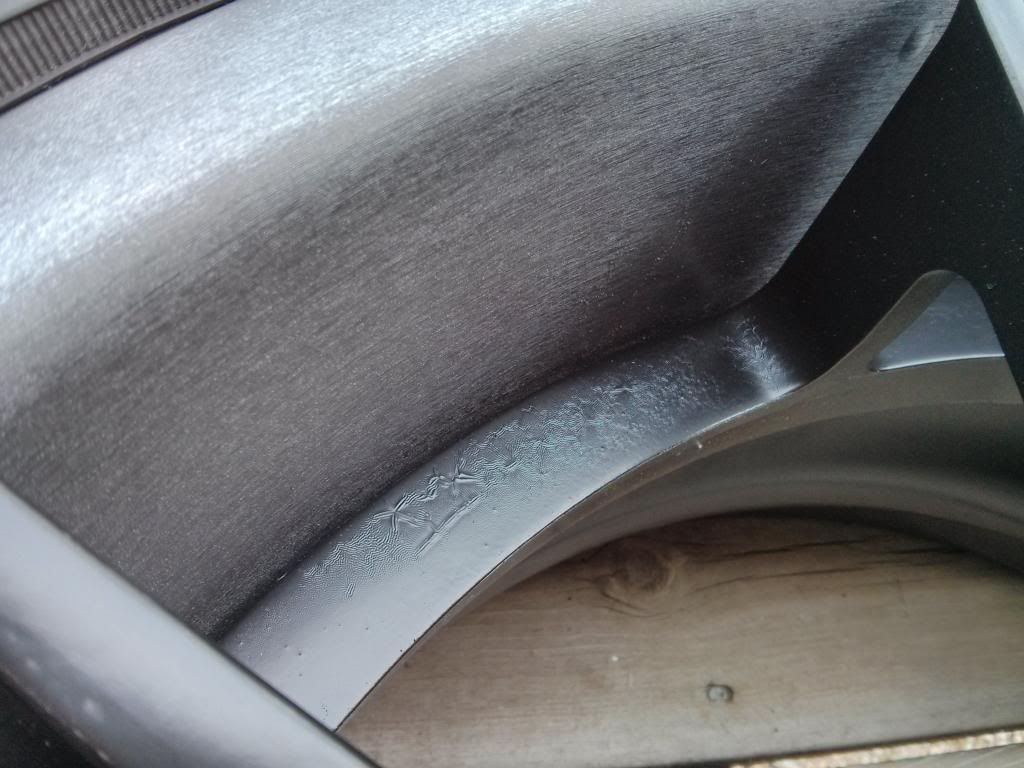
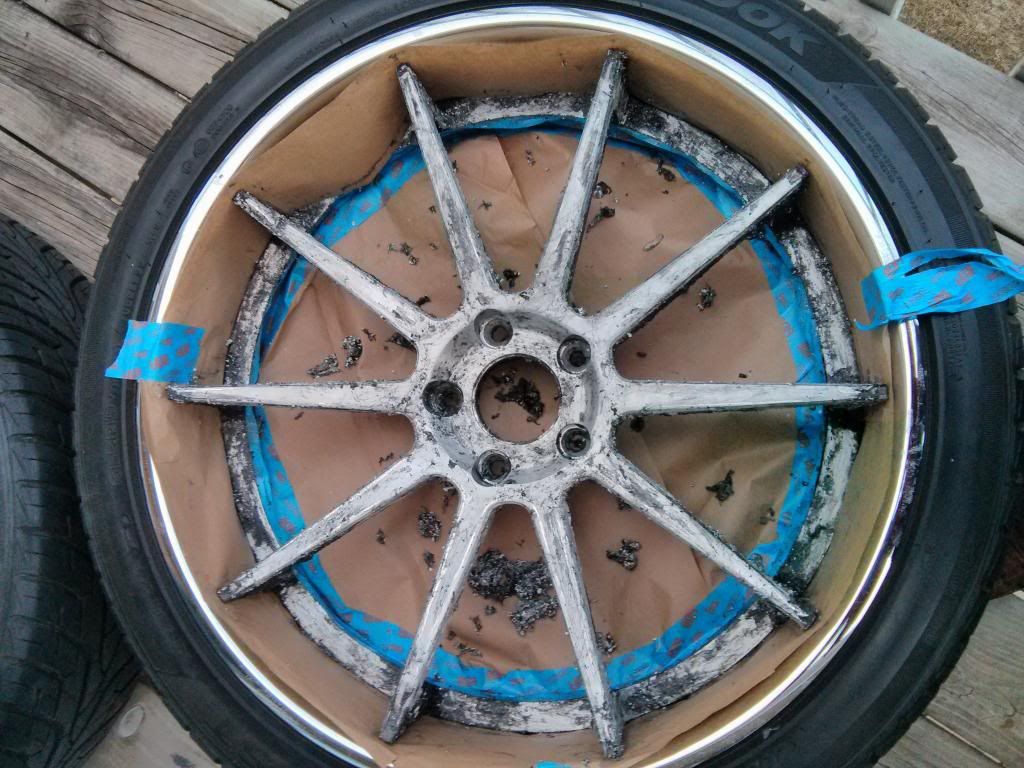
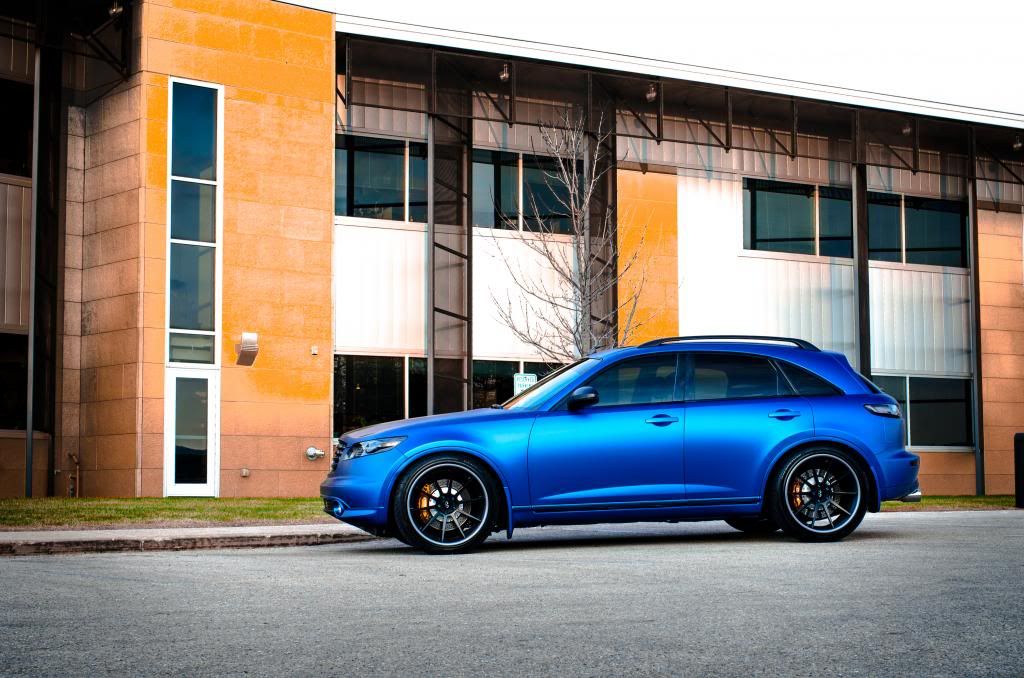
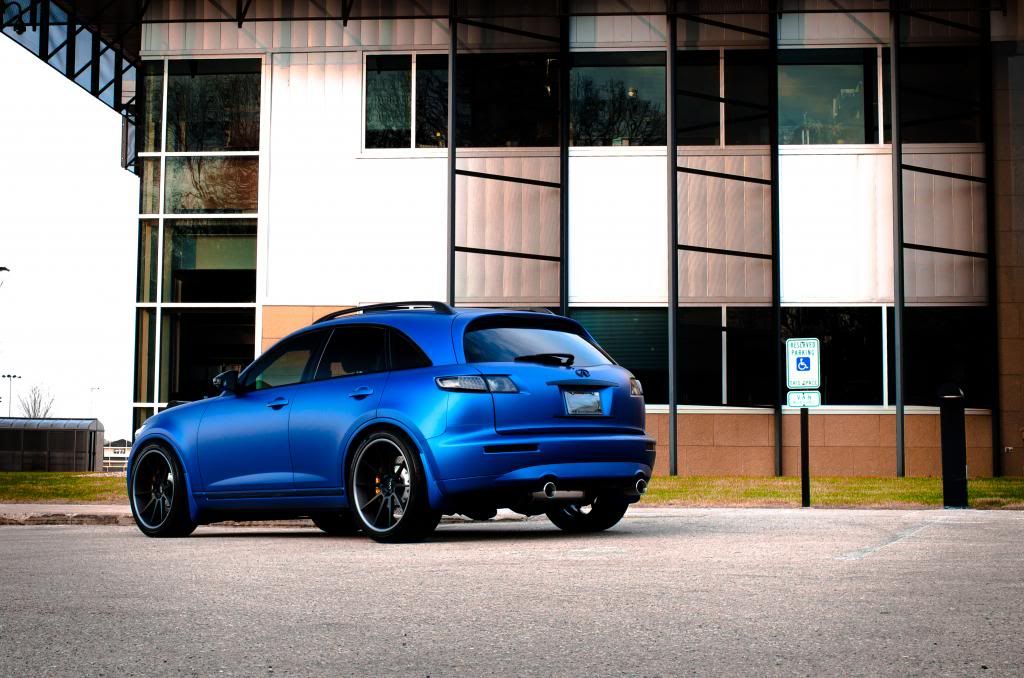
I'm back. It was huge PITA project for me.
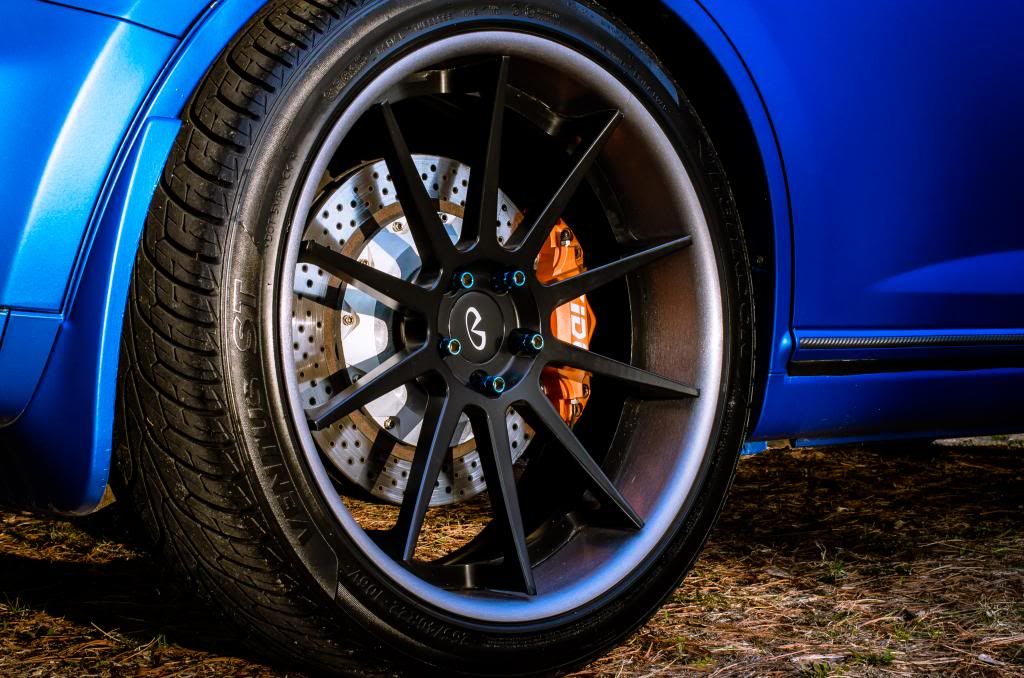
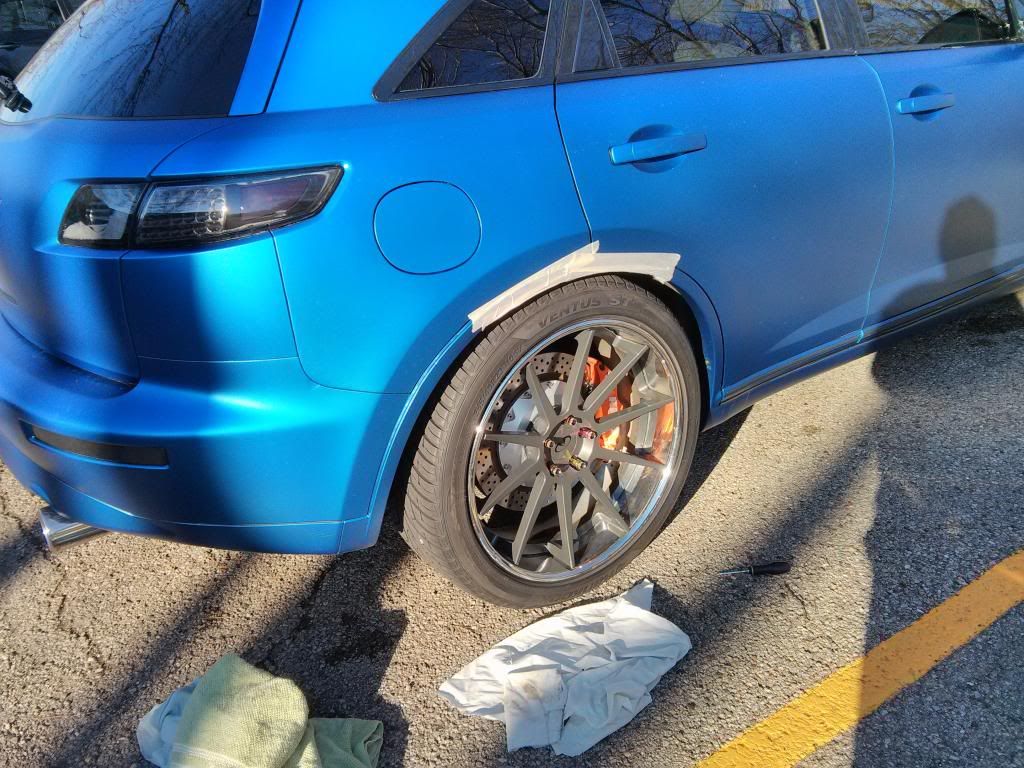
I have been thinking to change the lip and barrel color, since I don't have any chrome on my car. So I was debating between gold/black and brushed/black scheme, but decided to go with brushed aluminum and black.
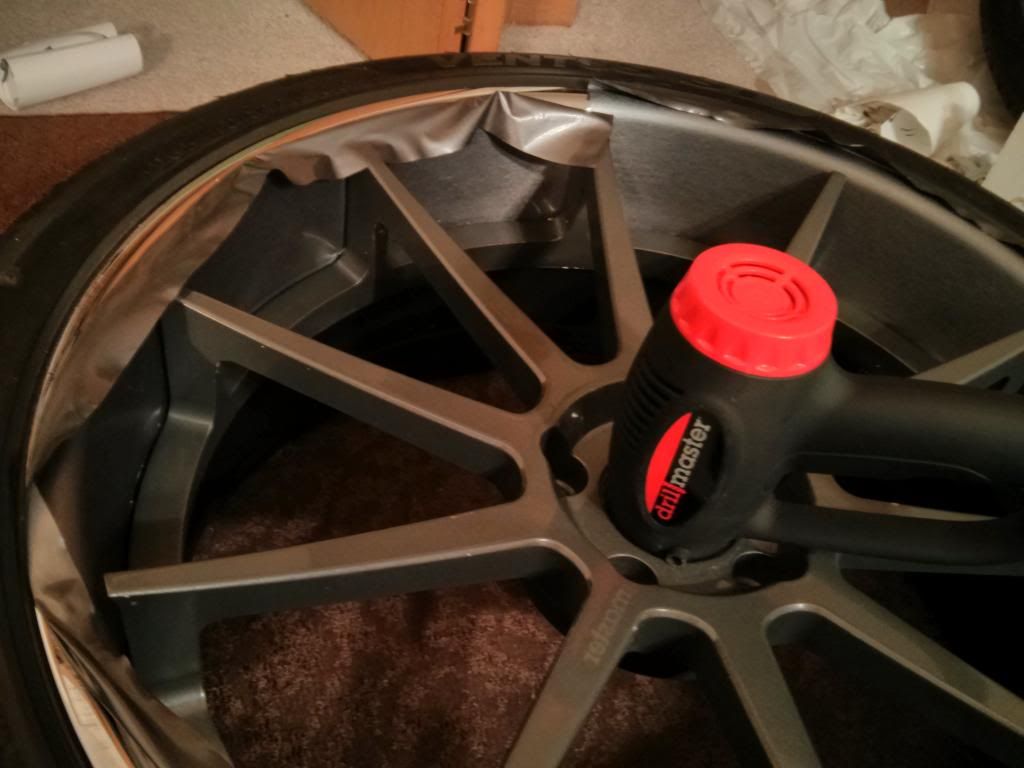
First I cleaned and prepped the barrels
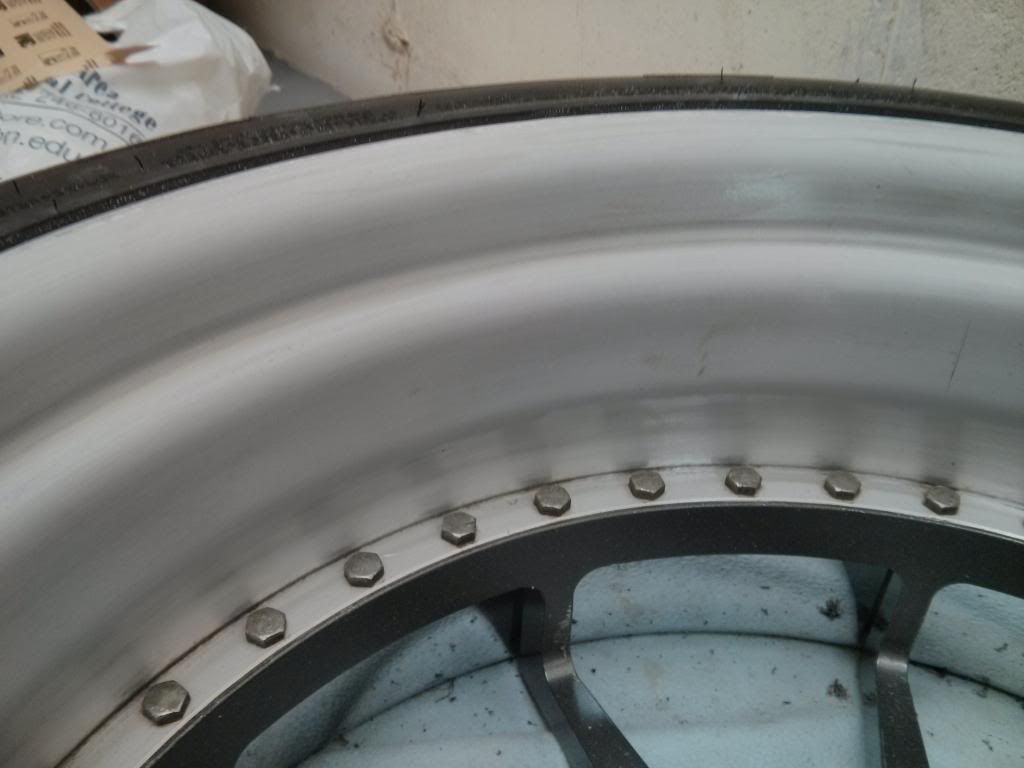
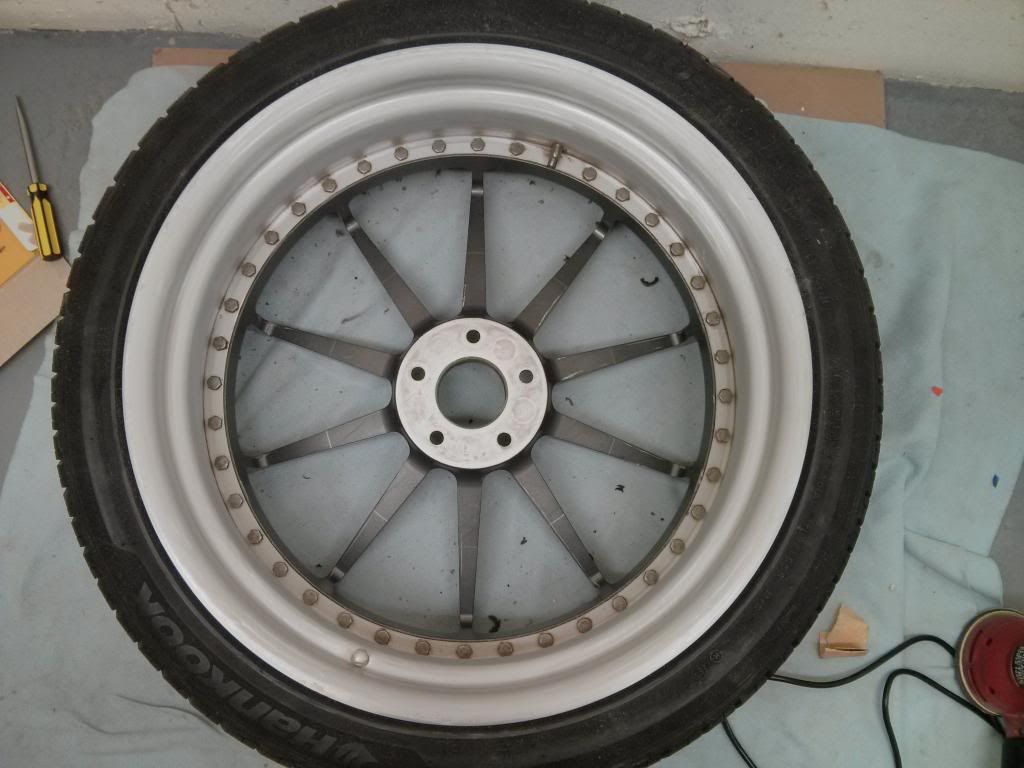
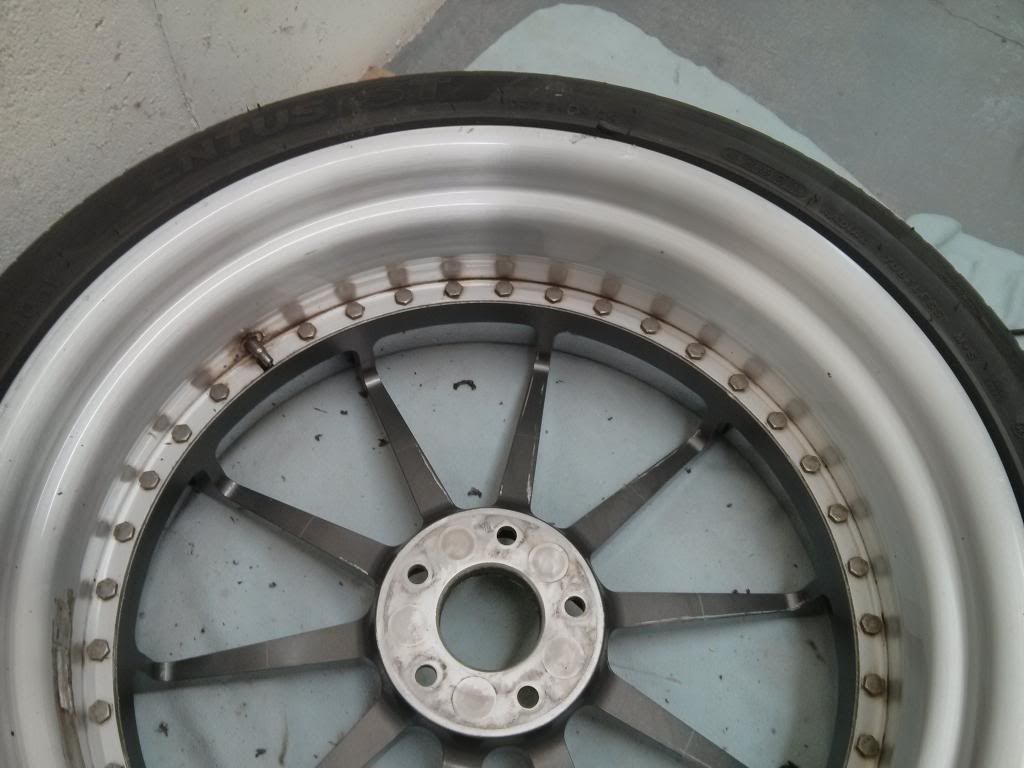
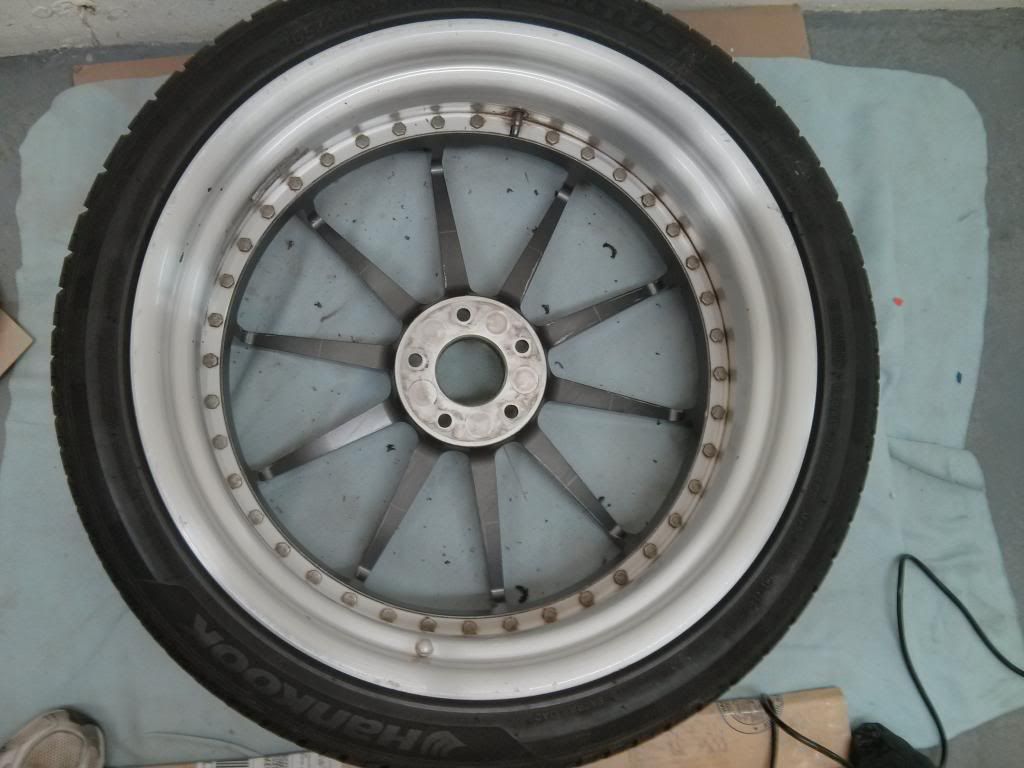
Masked everything off
Primed
Painted with Rustoleum Automotive gloss black paint
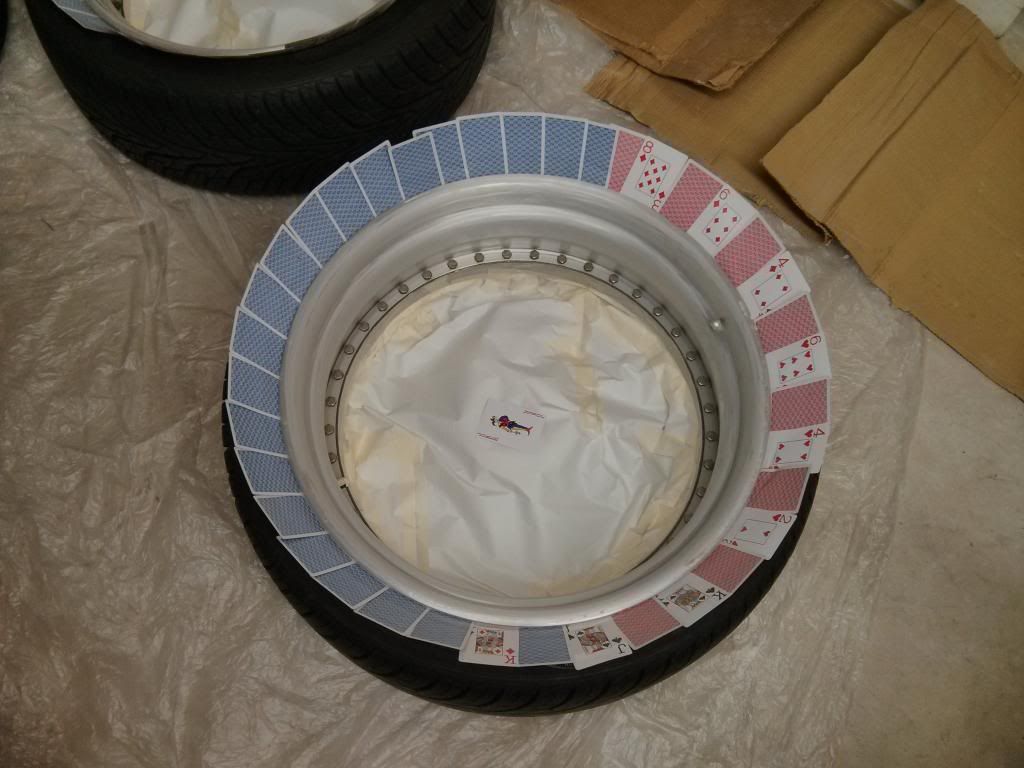
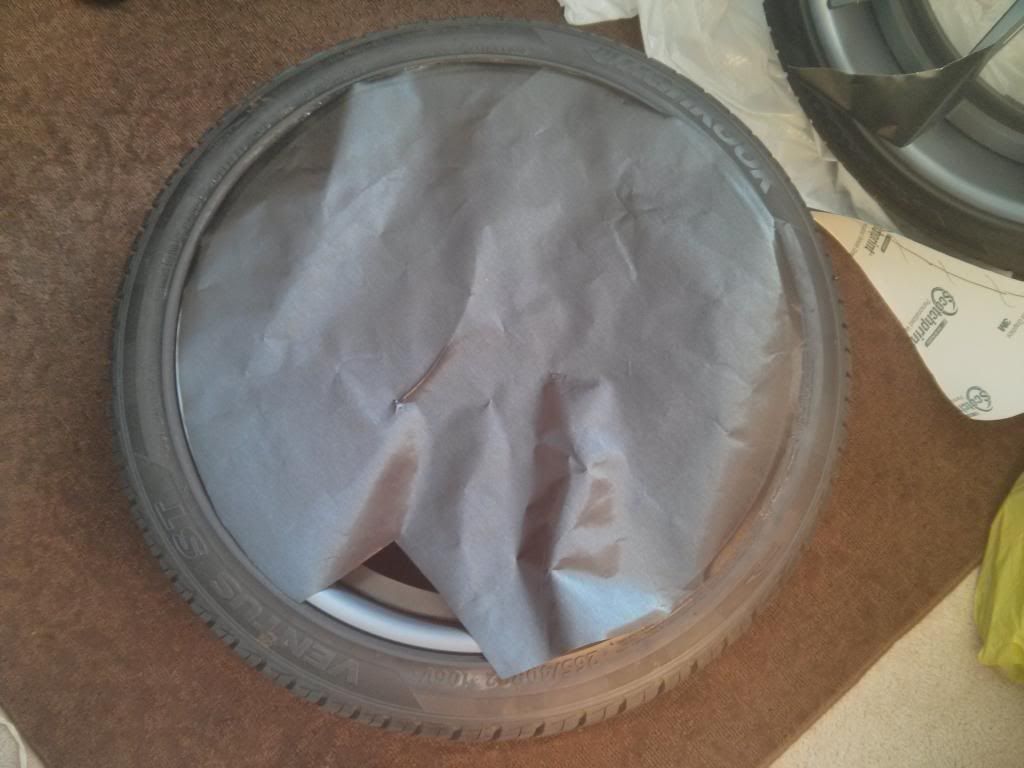
Wrapping the lip
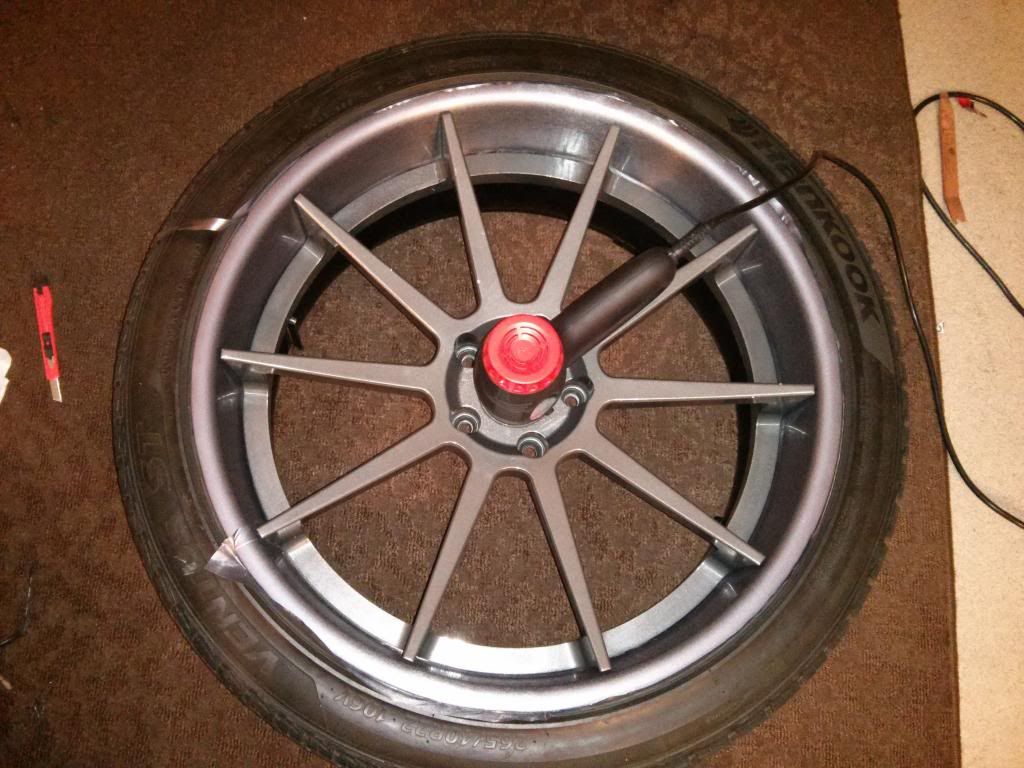
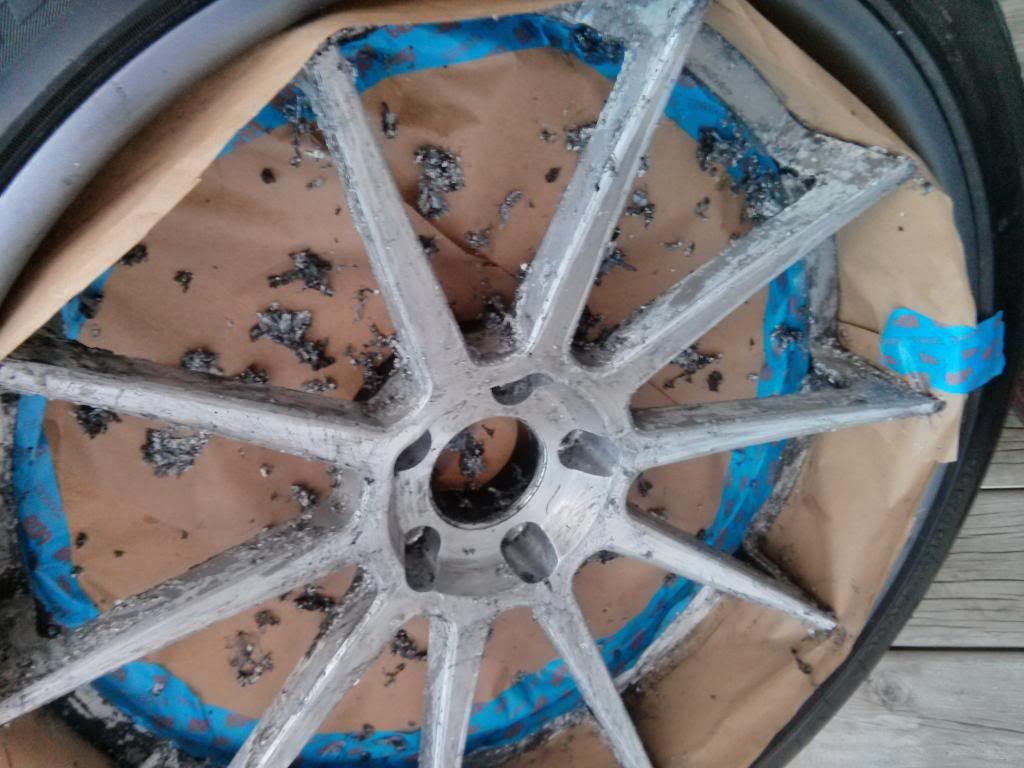
All done. I didn't like how it came out. It just was a mix of gray colors
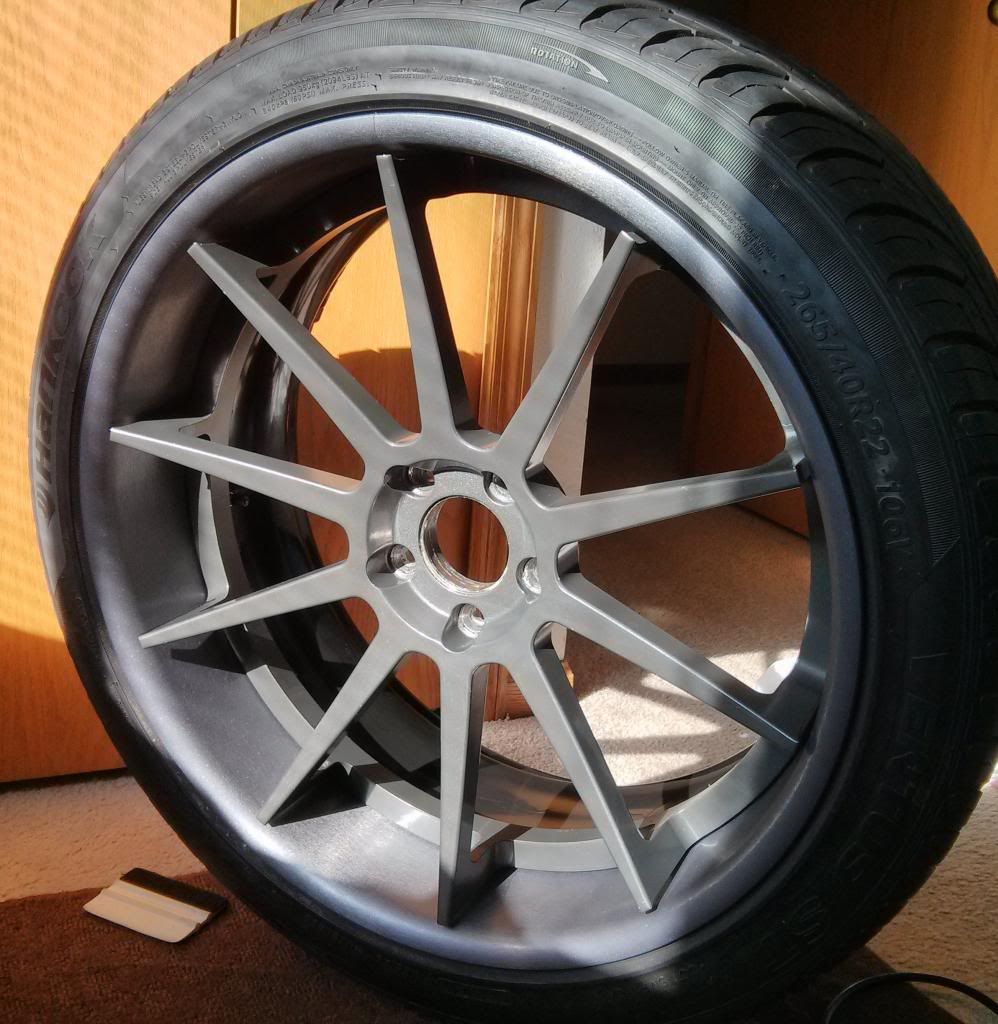
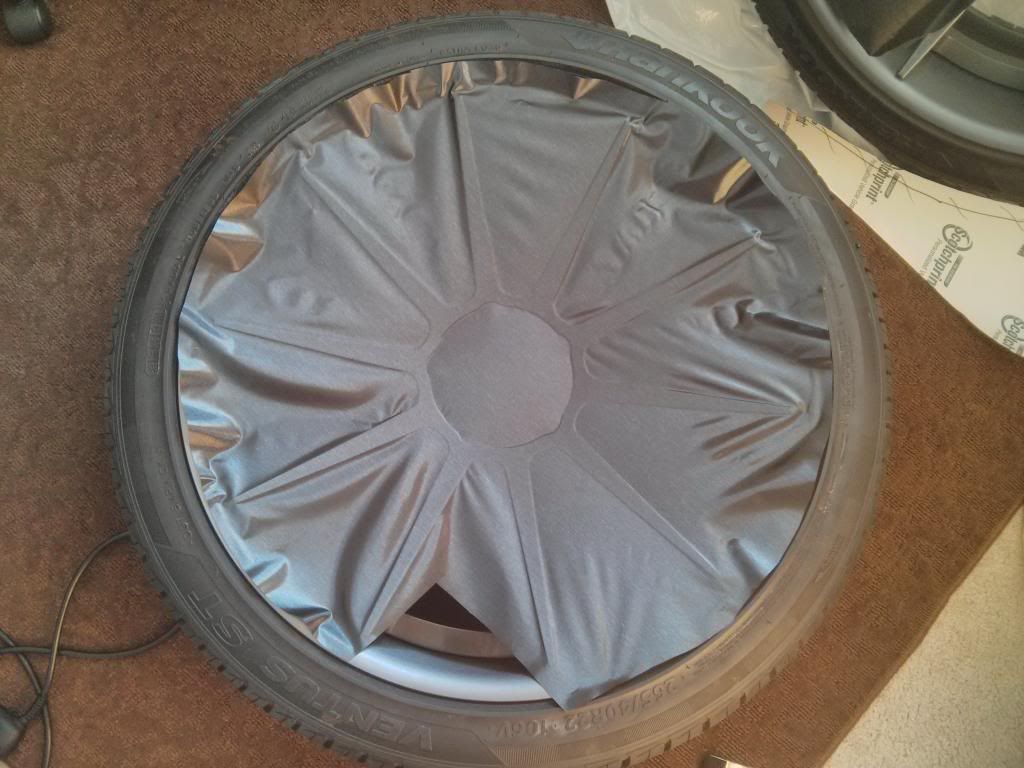
Decided to wrap the face in black brushed aluminum

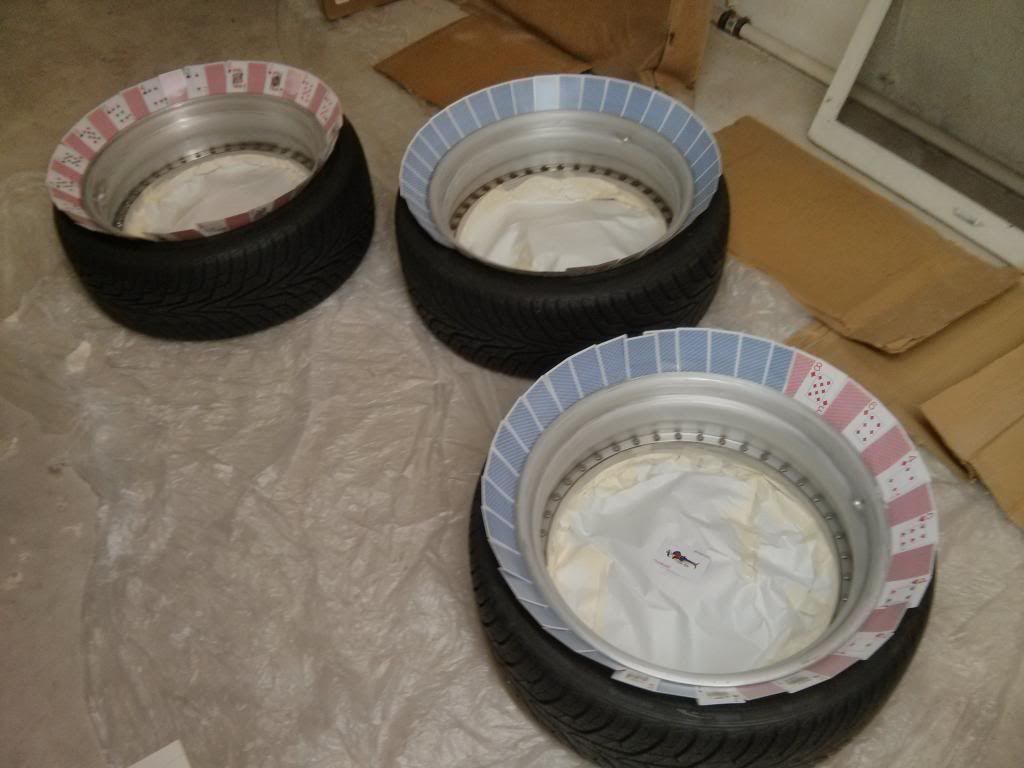
Didn't like the look at all
Way off
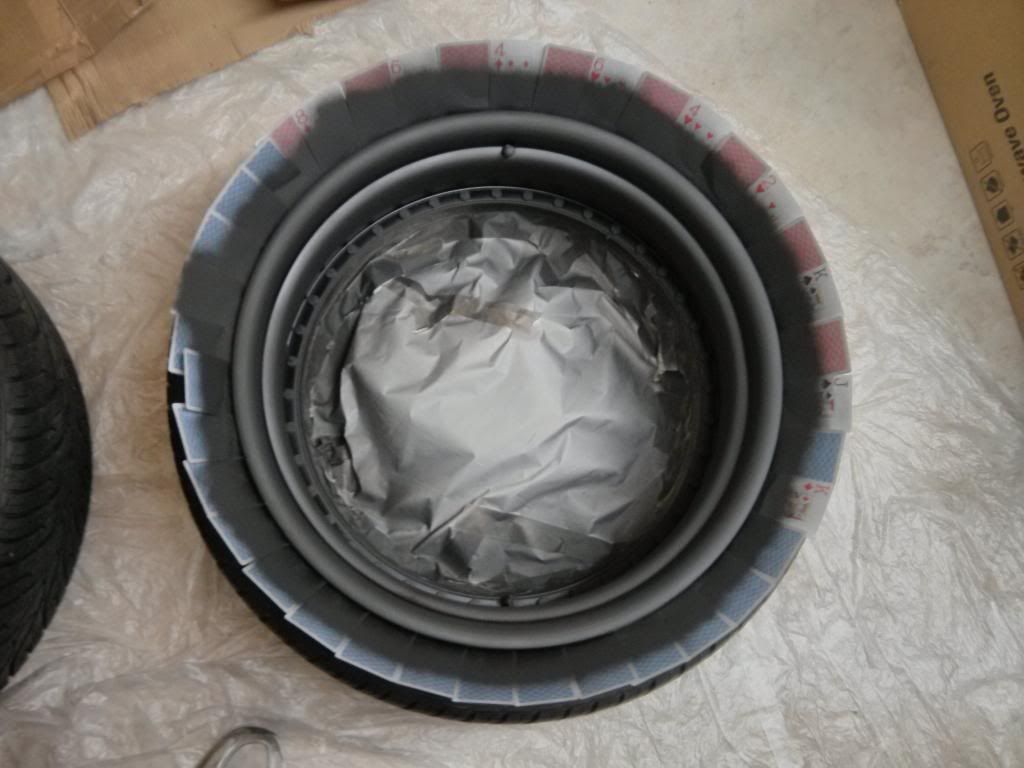
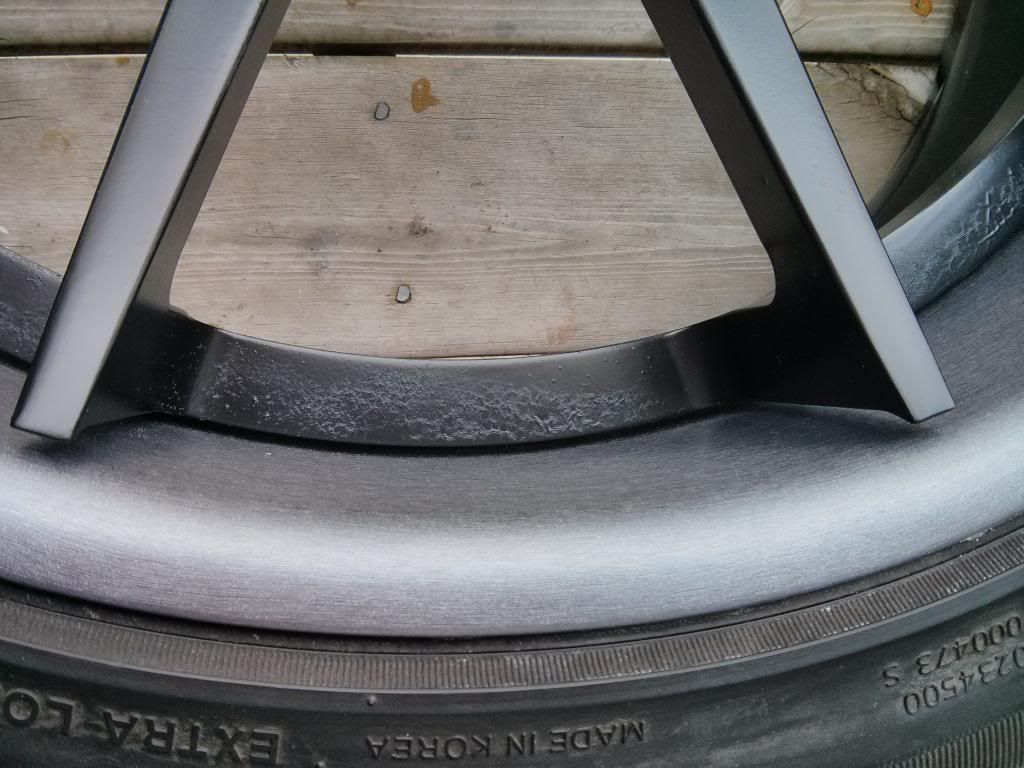
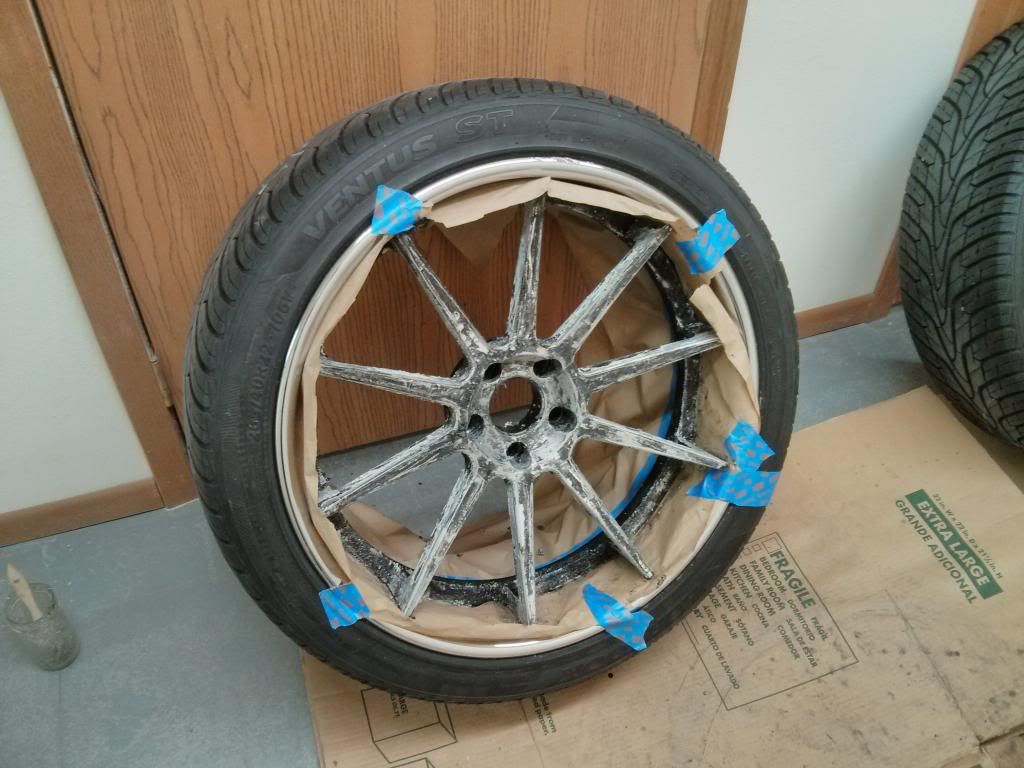
Painted the faces with Rustoleum gloss black and satin Dupli-Color clear coat
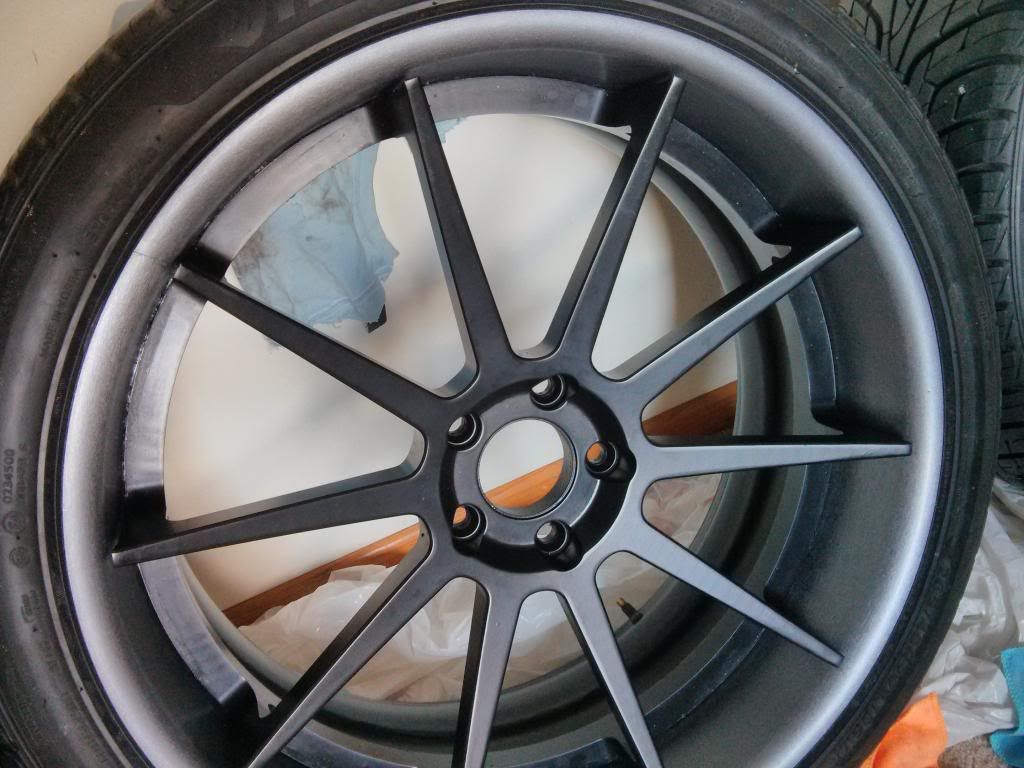
Looked great at first...
...but I messed up the drying time between coats and and it came out like this
The only way to go was to strip everything off. Here we go(5 days of labor)
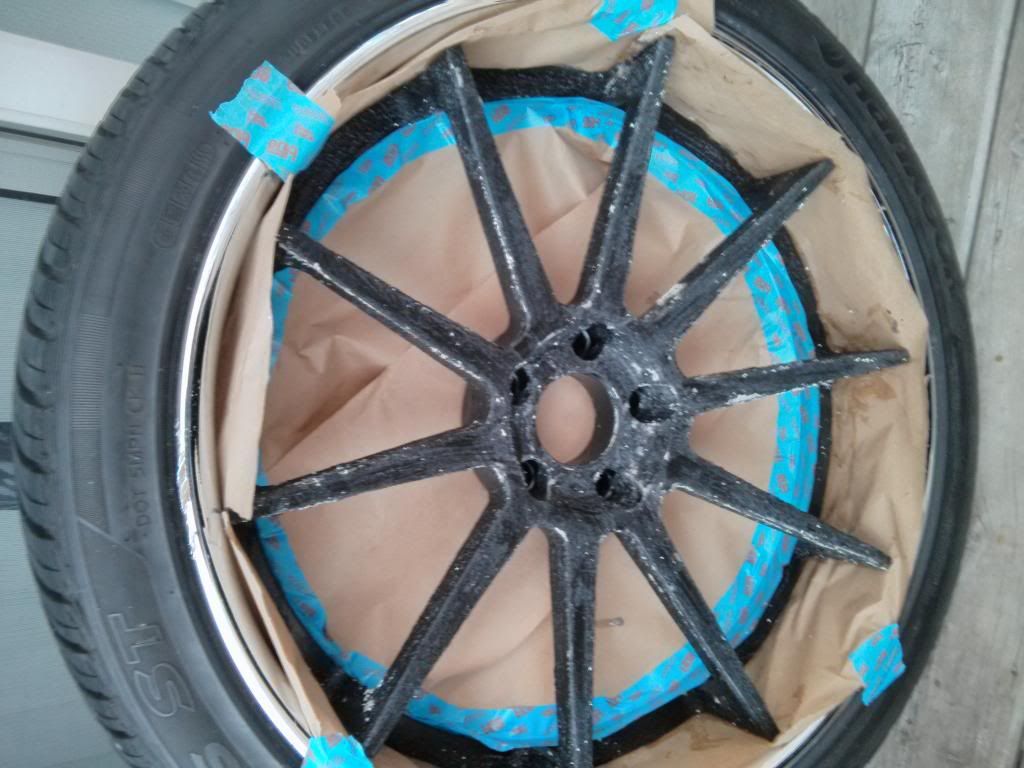
getting close
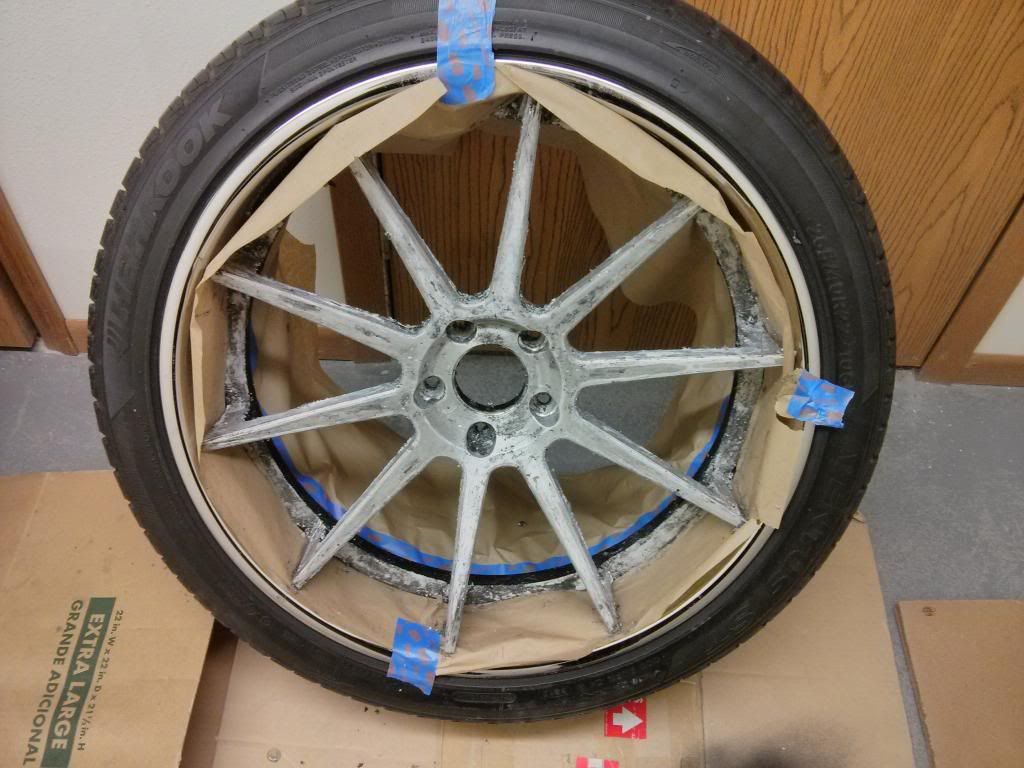
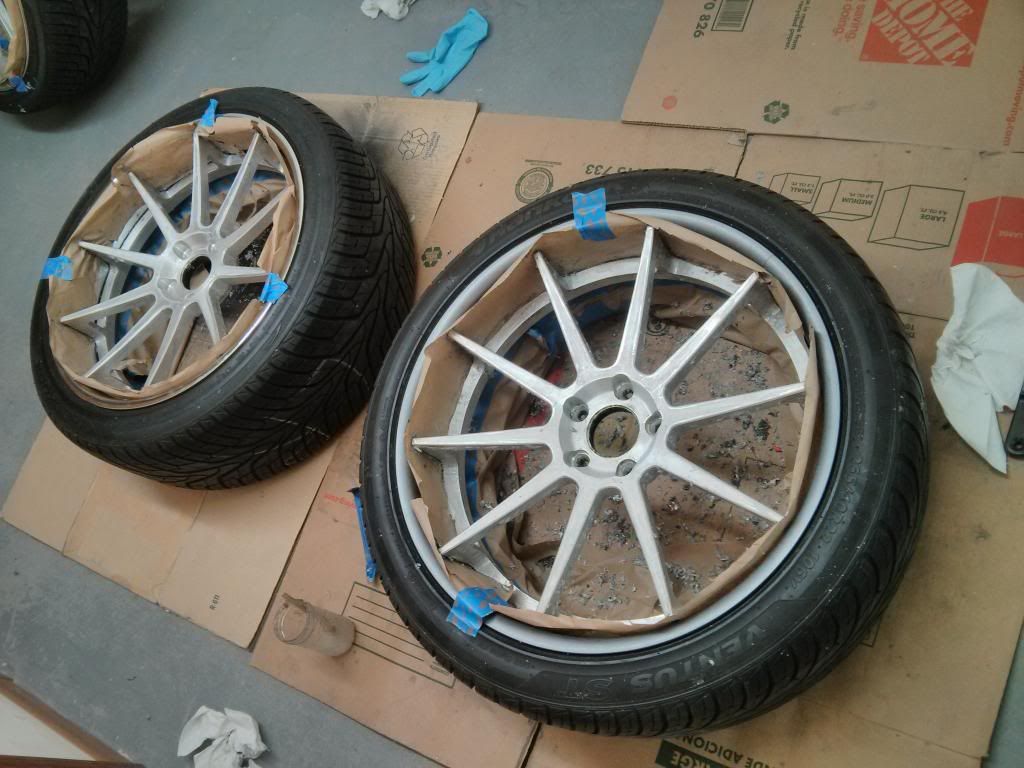
and done

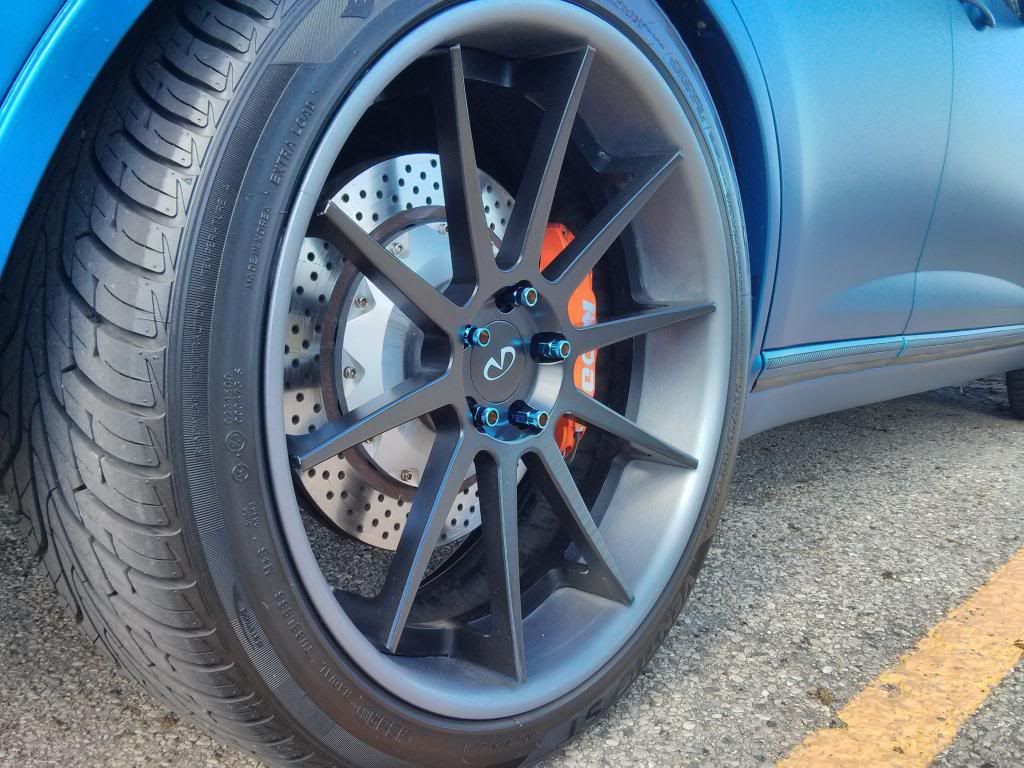
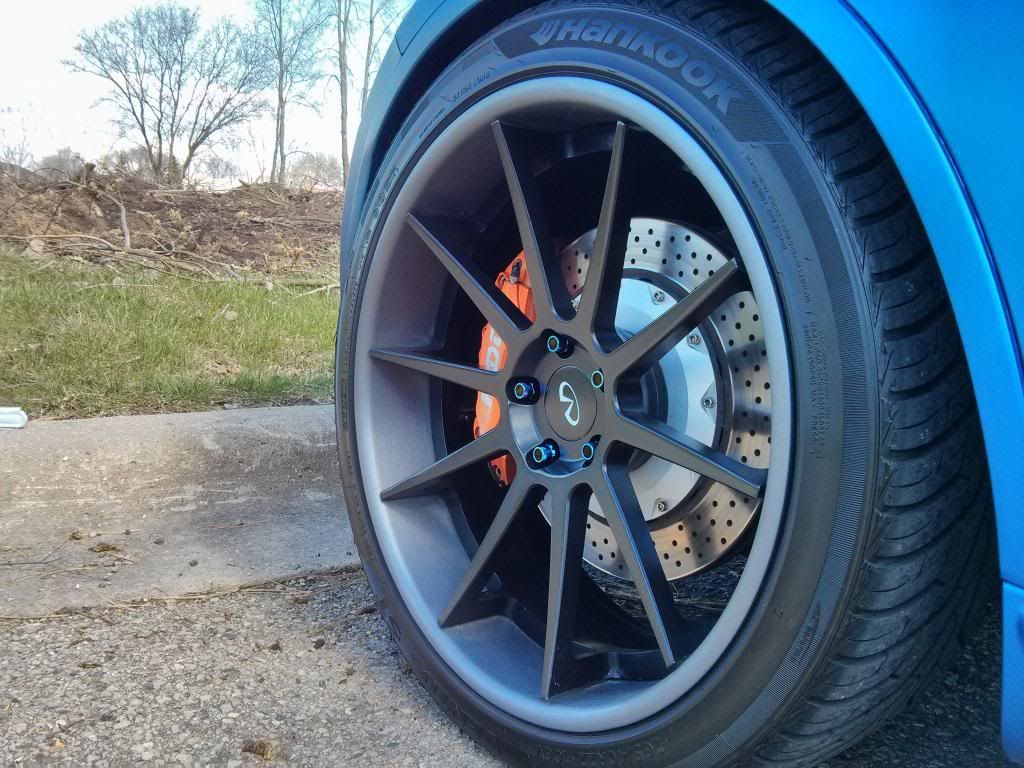
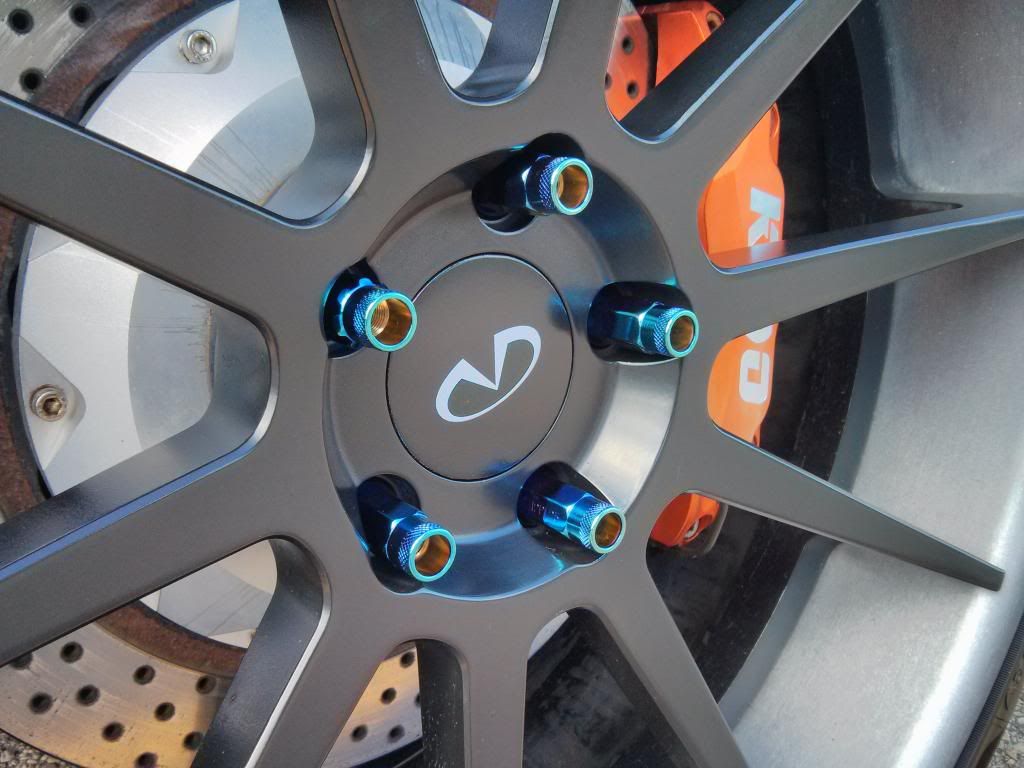
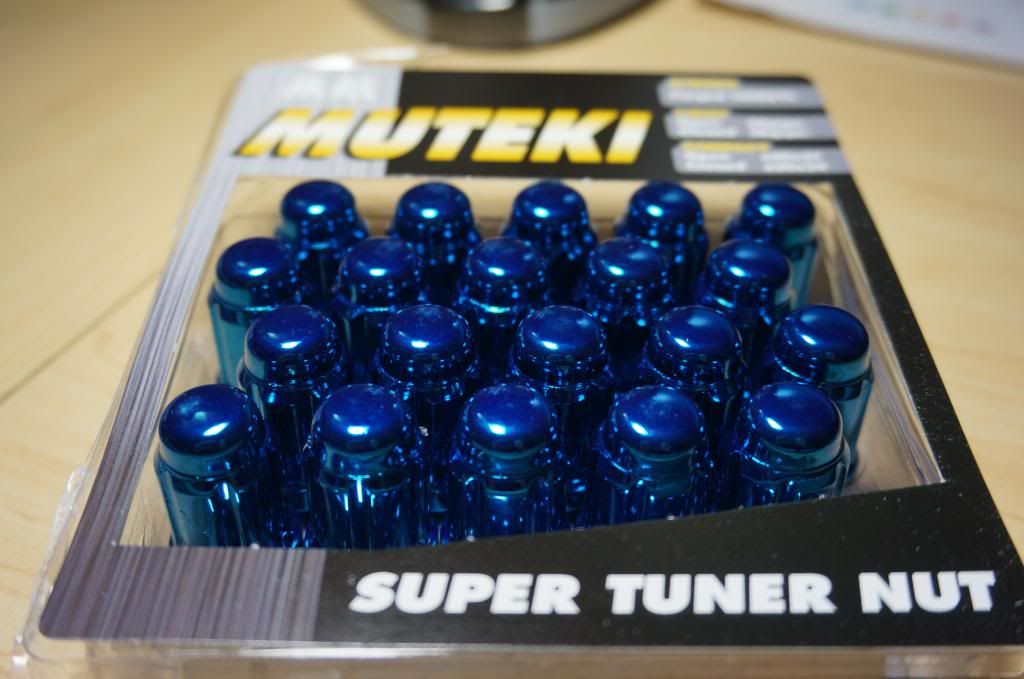
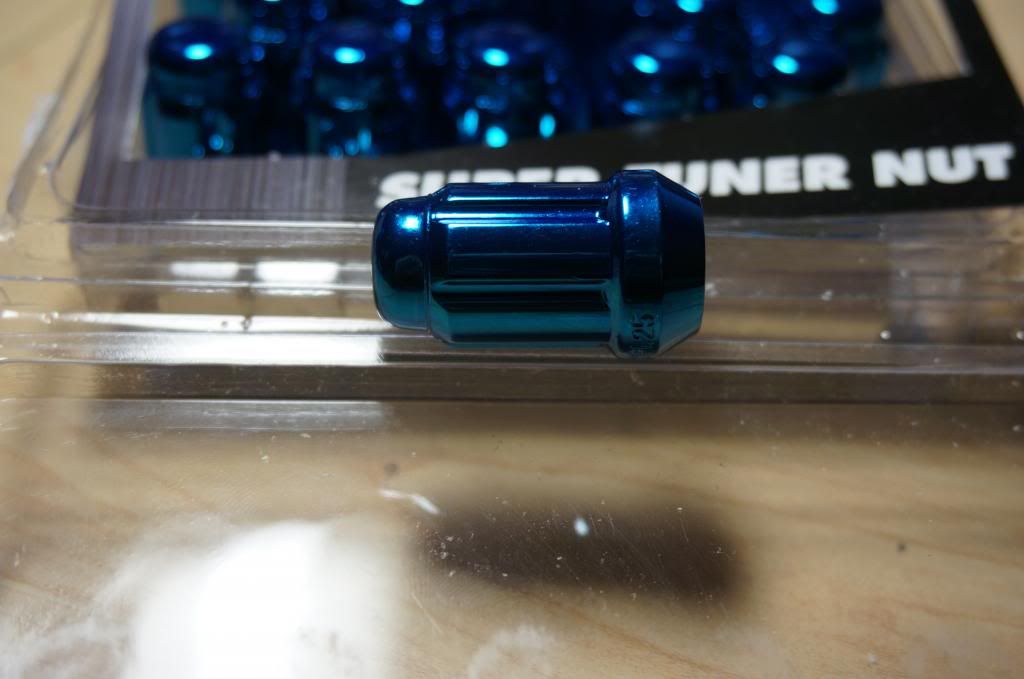
I repainted everything correctly this time, applied the custom Infiniti decals, but didn't take any pictures(I think there are plenty here already . Also got a new set of Muteki Burning Blue lug nuts with locks.
...also installed new Bosch evolution wipers
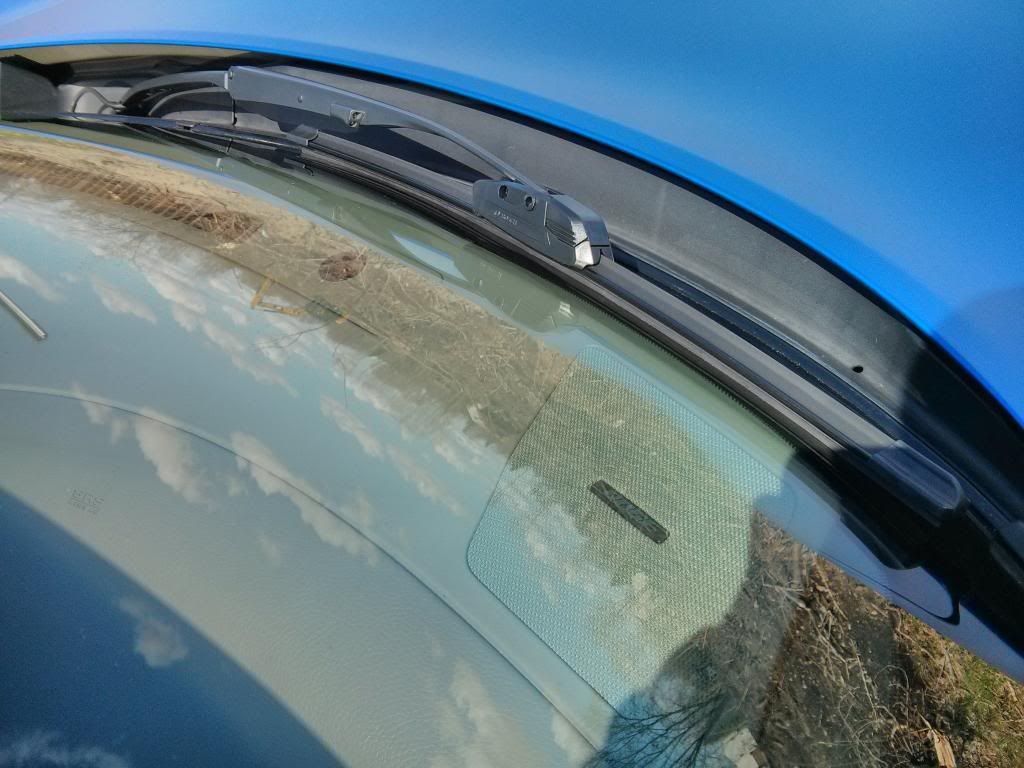
Polished the windshield with Zaino glass polish

...applied the Aquapel on my windshield

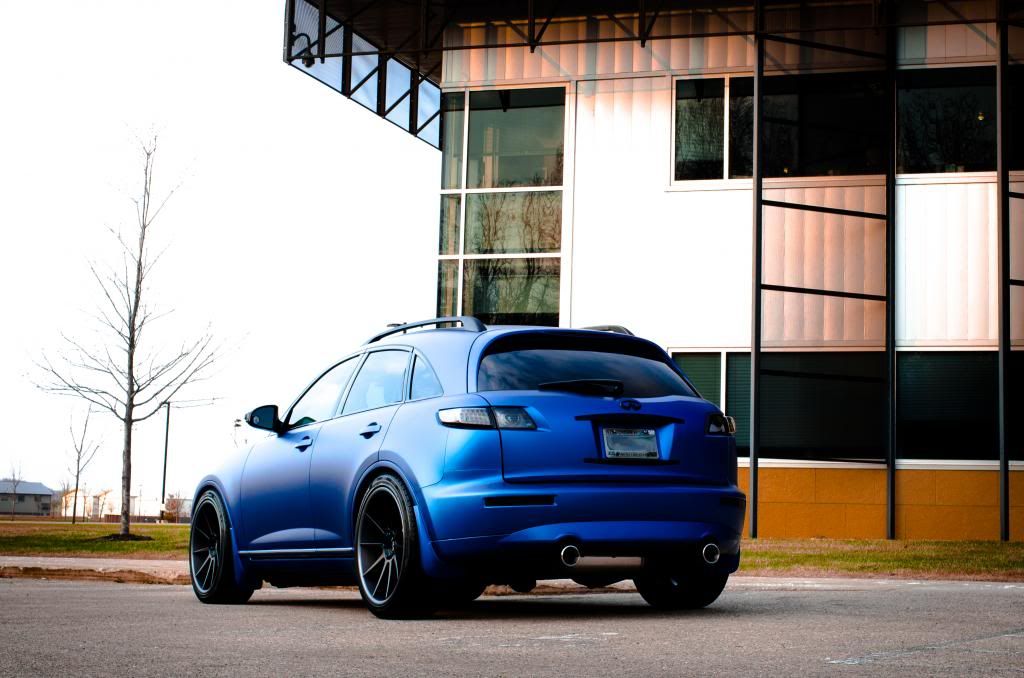
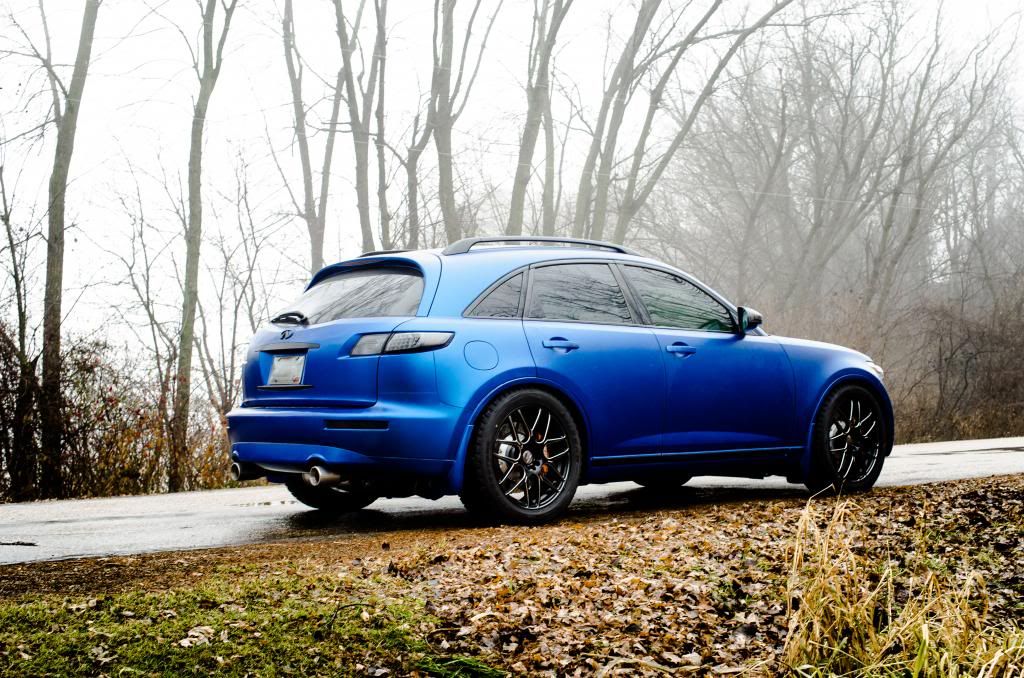
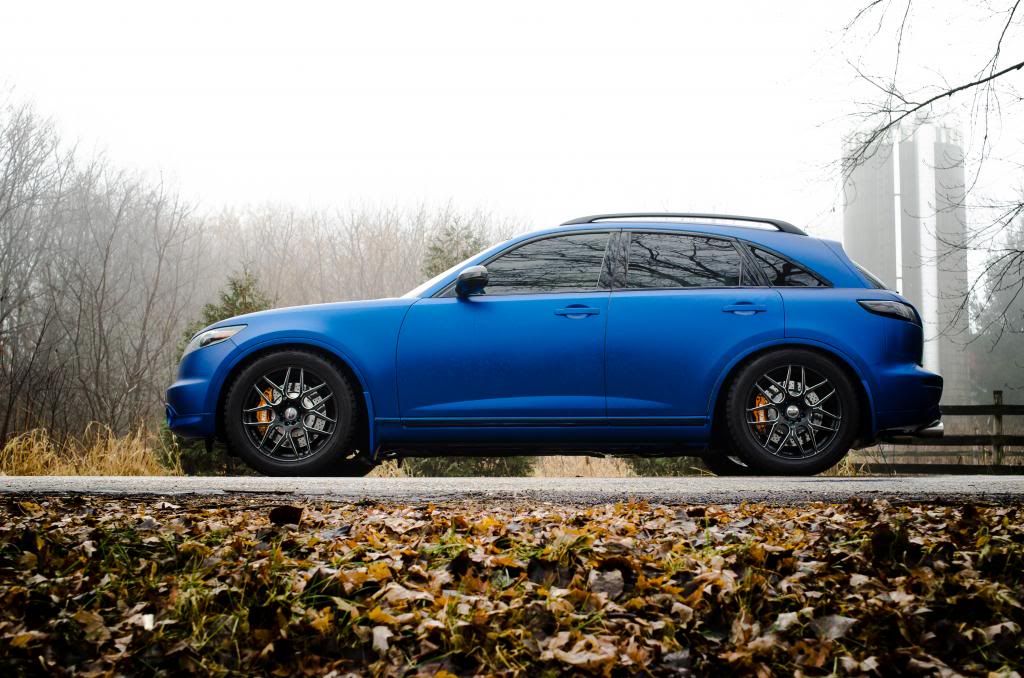
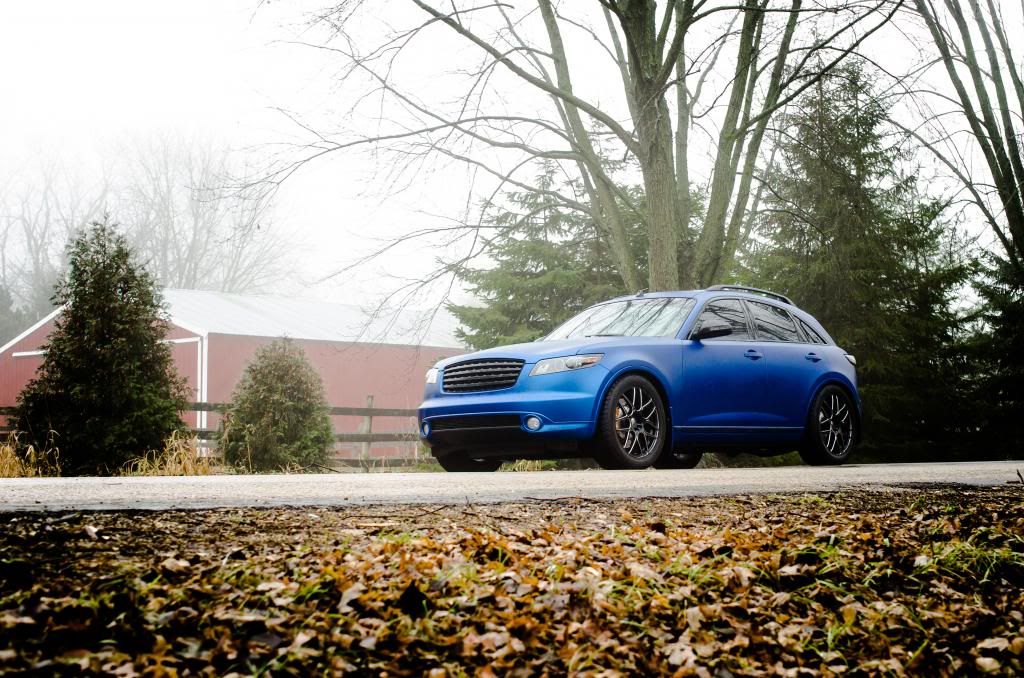
Unprocessed cell phone pictures

And a mini photoshoot after
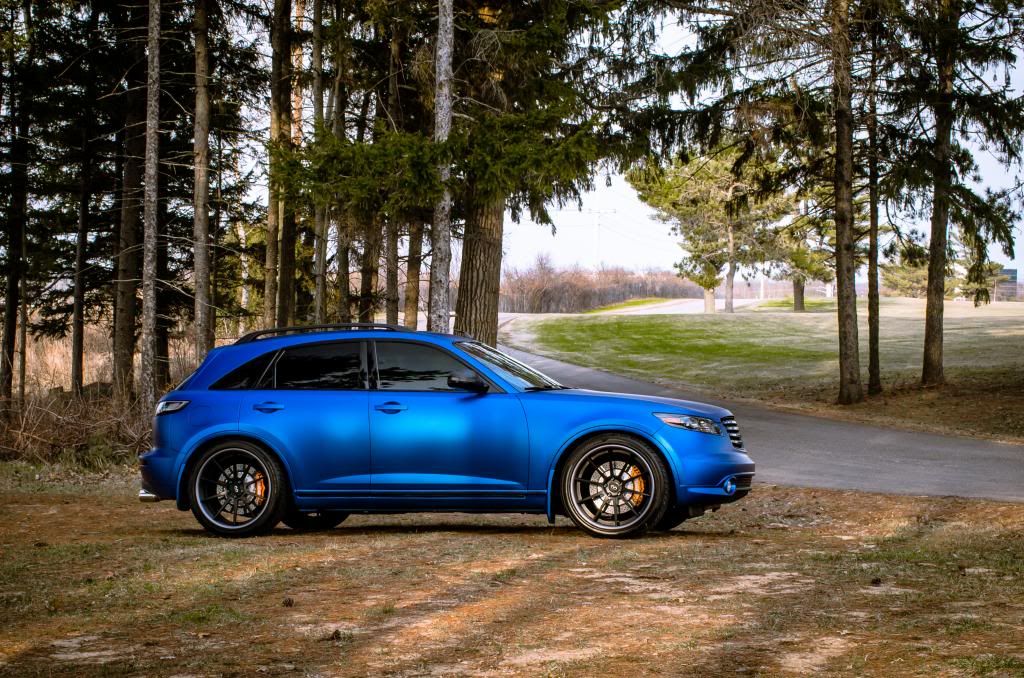
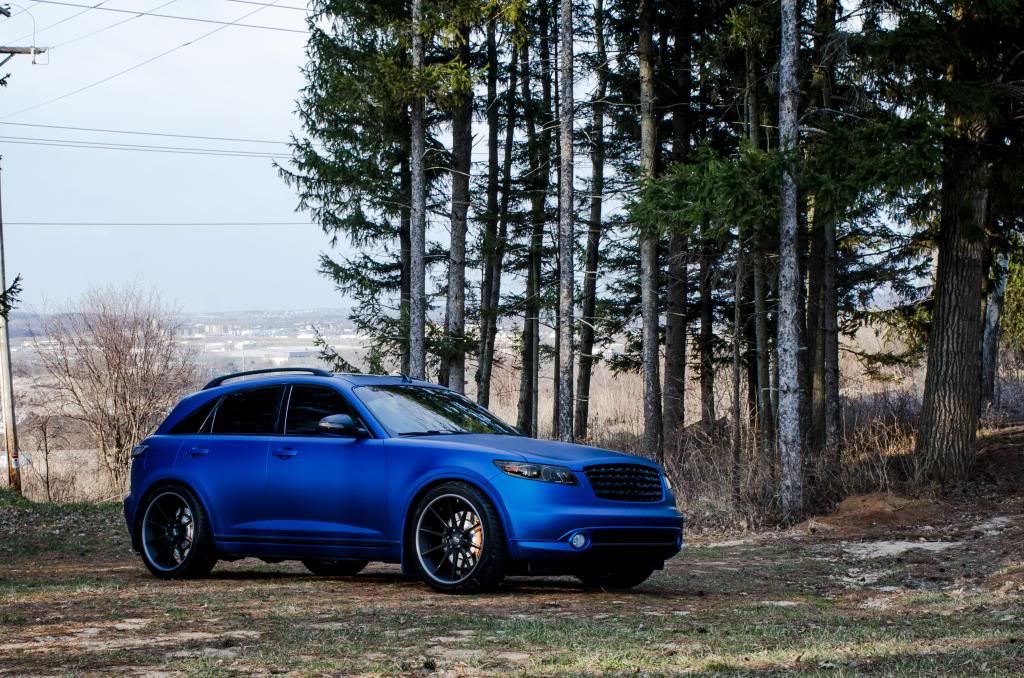


mudflaps are gone now and I will probably powder coat the wheel faces next time:good:Leave a comment:
-
I honestly think that FX35 is one of the ugliest things ever... having said that you have completely transformed it mate!
It actually looks ... great (I can't believe I like it)!
Great work!Leave a comment:
-
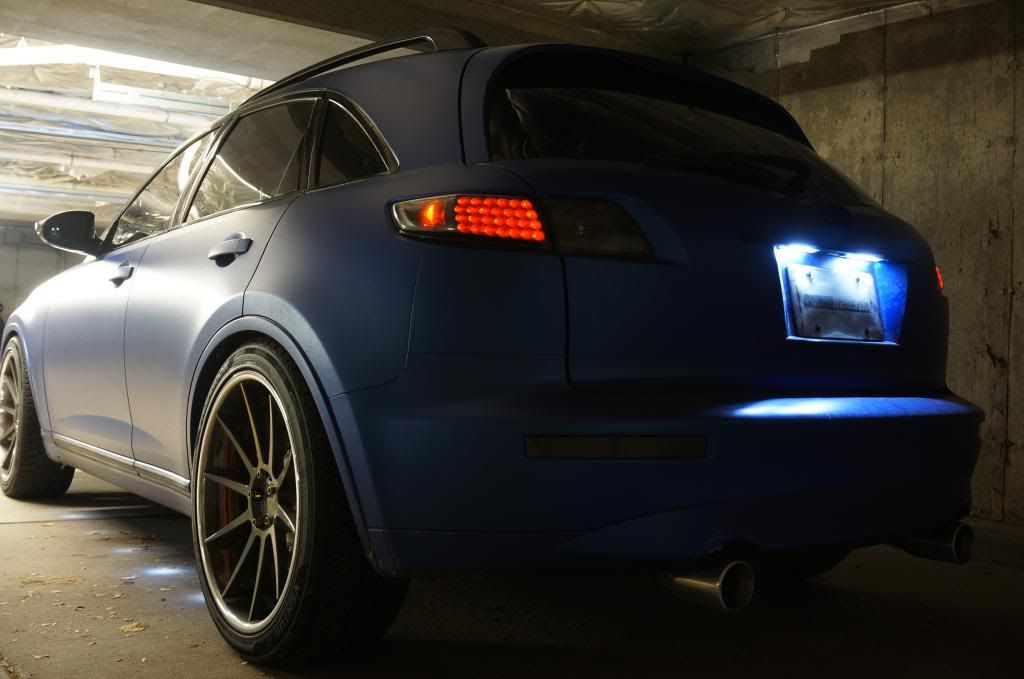
Winter updates!
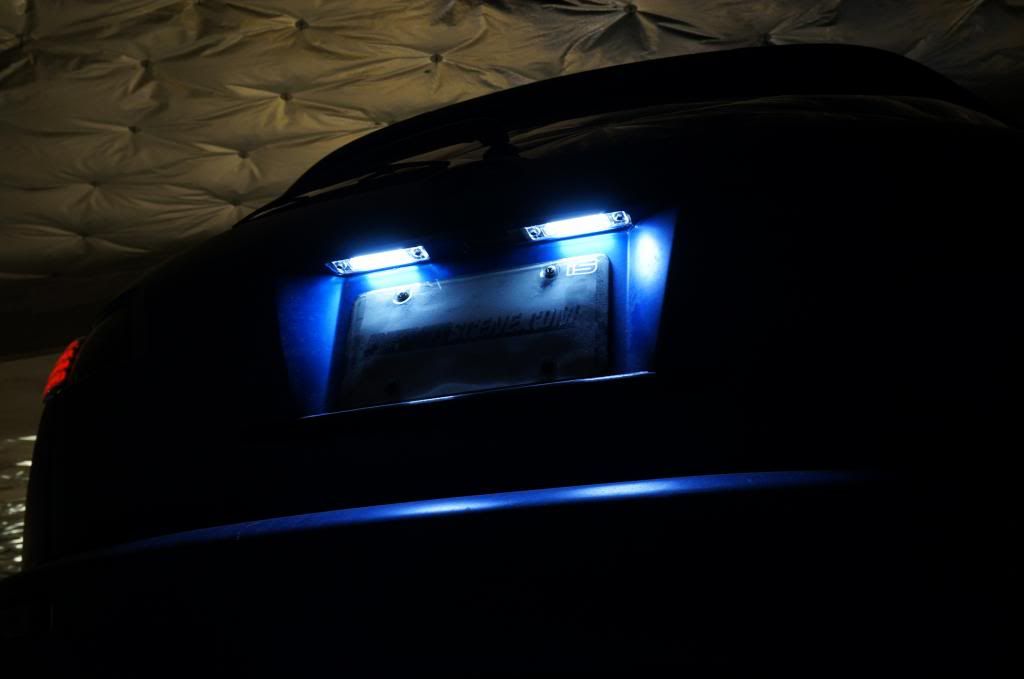
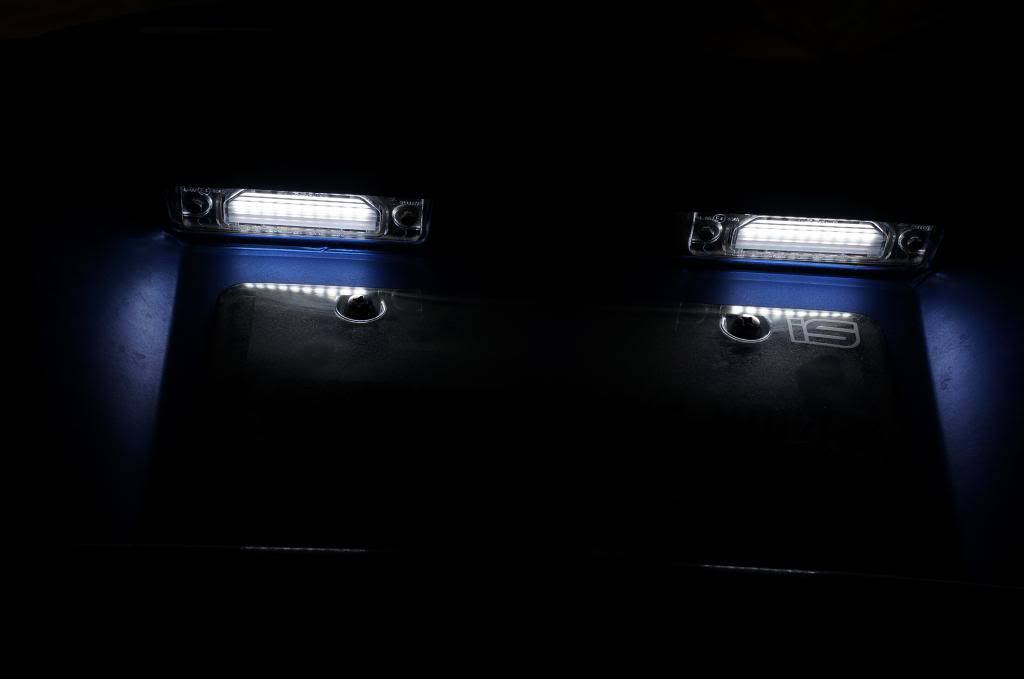
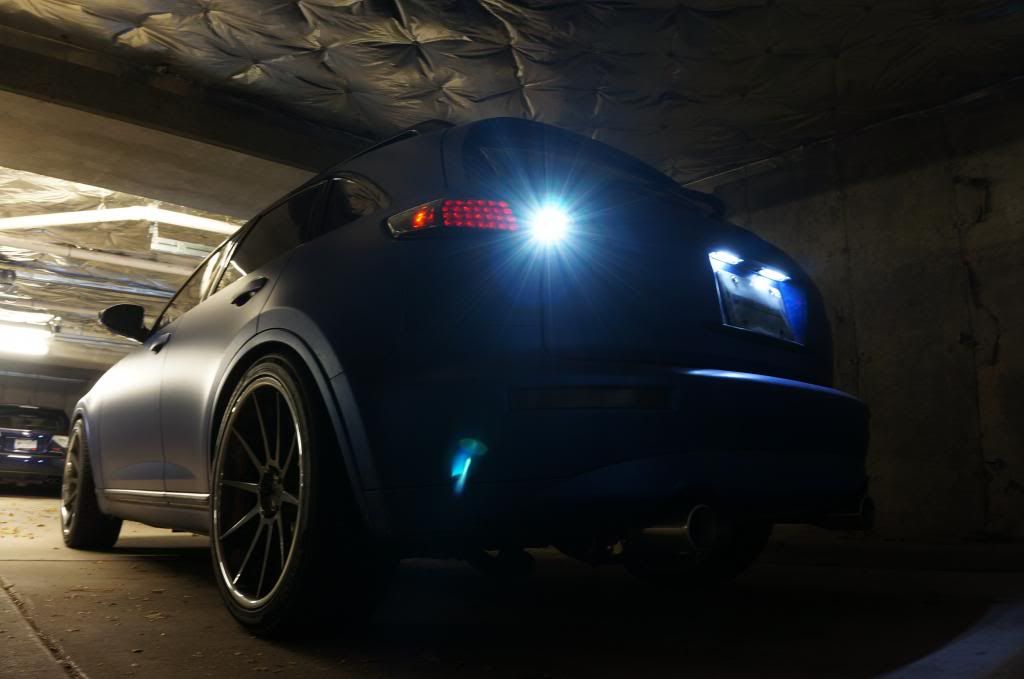
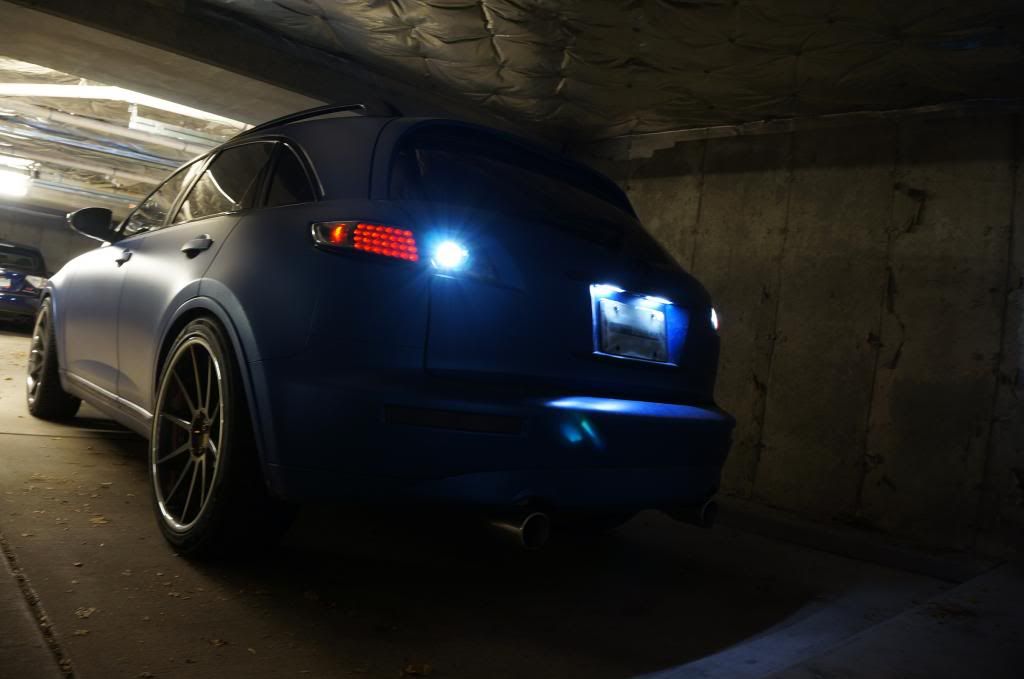
Installed the SPRTFX rear license plate LED's. Very happy with outcome.It was hard to capture the light output, but these LED/s are very bright.
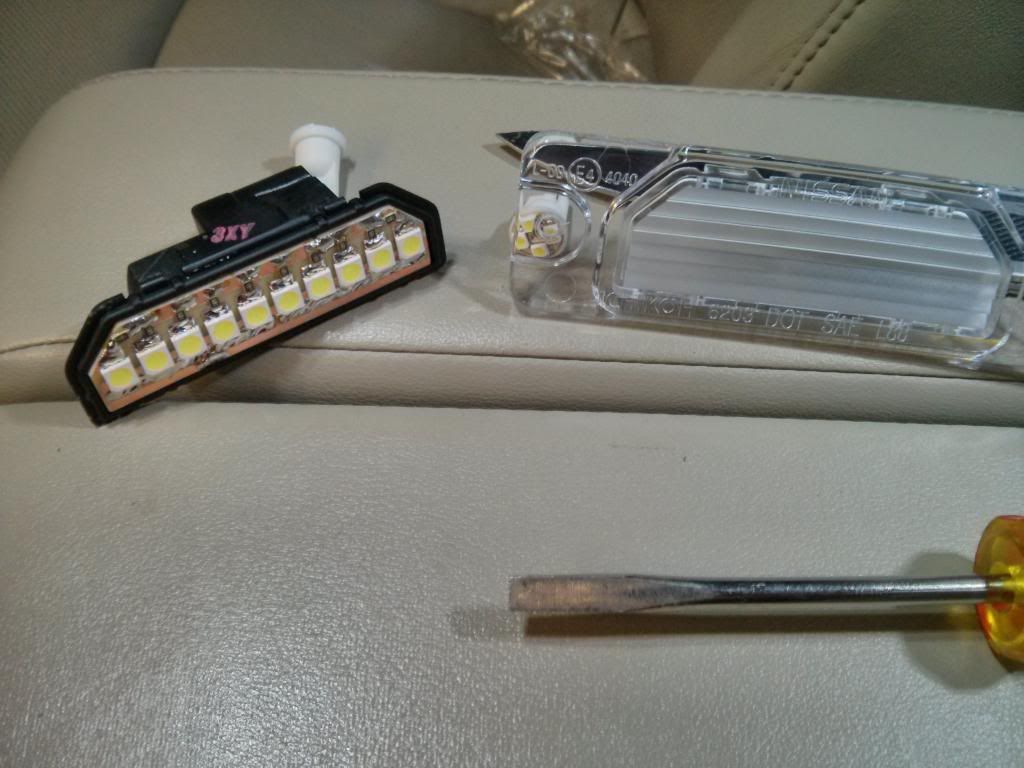
Before

Left SPRTFX LED's, right regular LED's
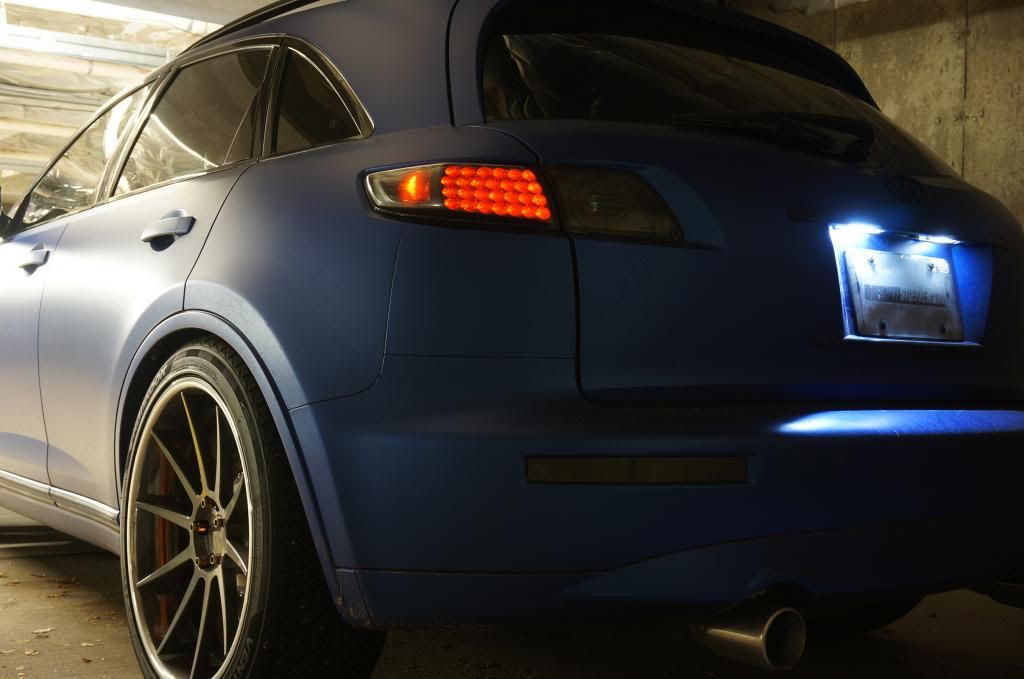
Left and right SPRTFX LED's
Also installed the 7W Q5 Cree Backup LED's. Very bright, highly recommend, and they only around $5 shipped for a pair.

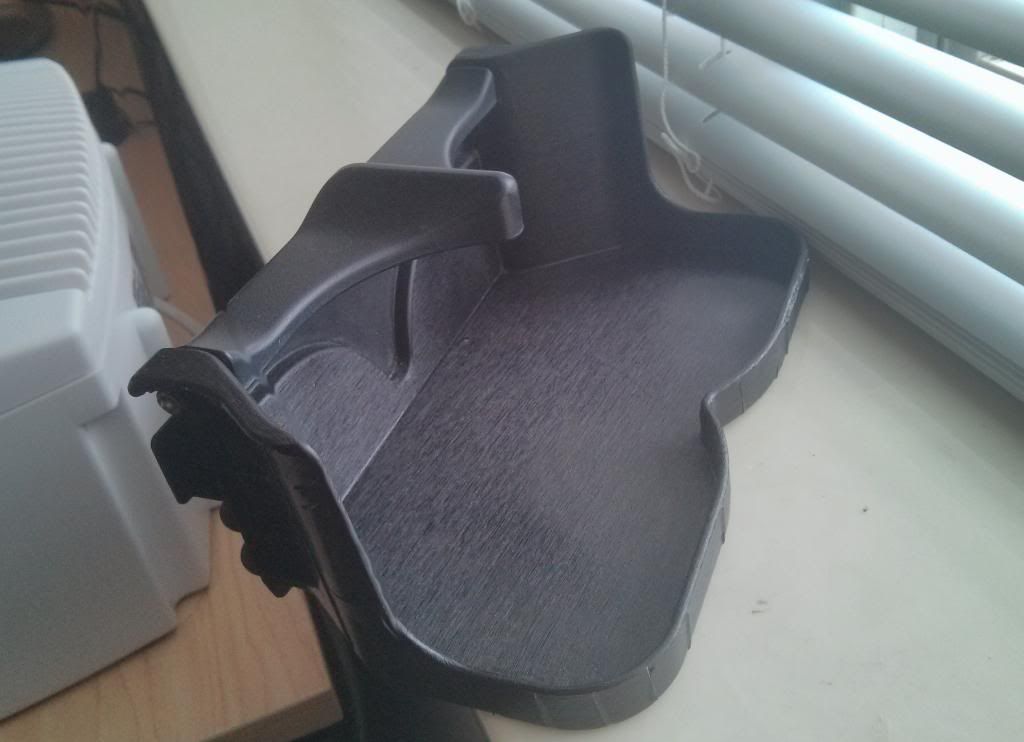
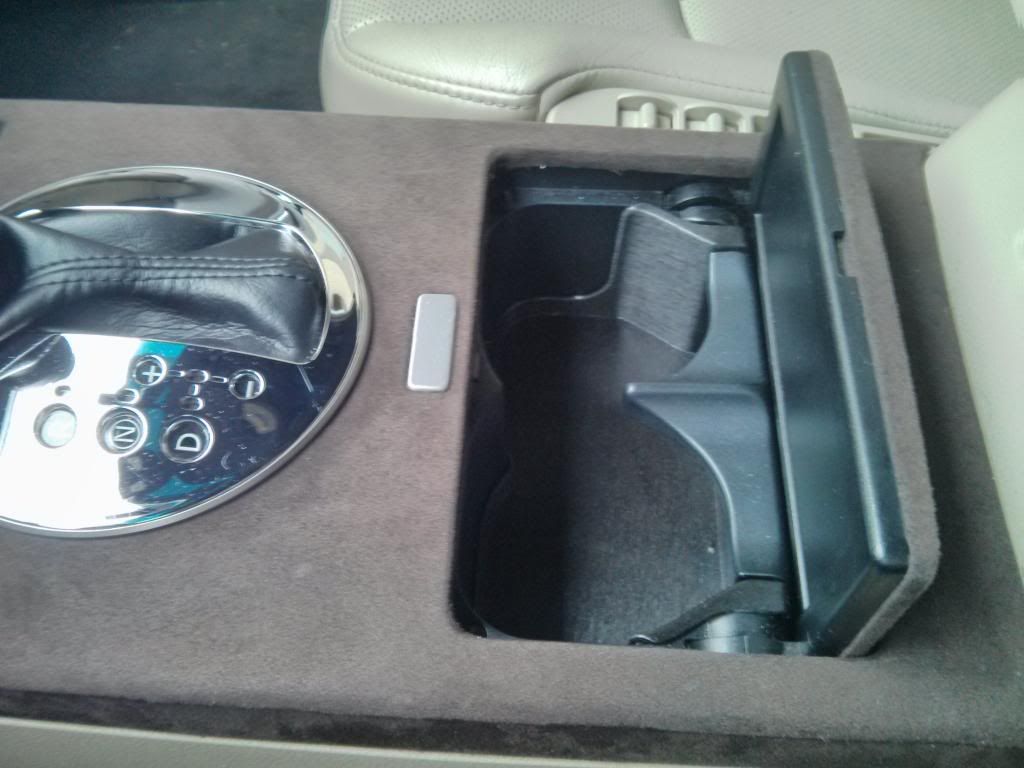
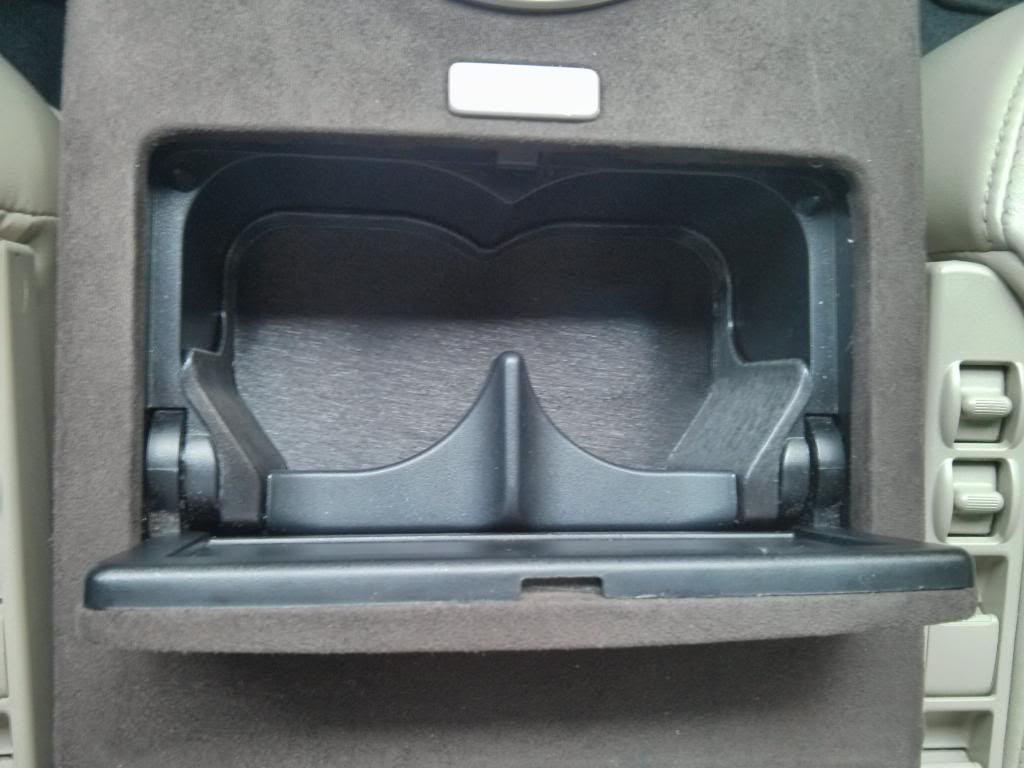
Was bored one day and wrapped the cup-holder in 3M brushed aluminum. Came out nice IMO.

Prepared the car for winter
Put the mudflaps back


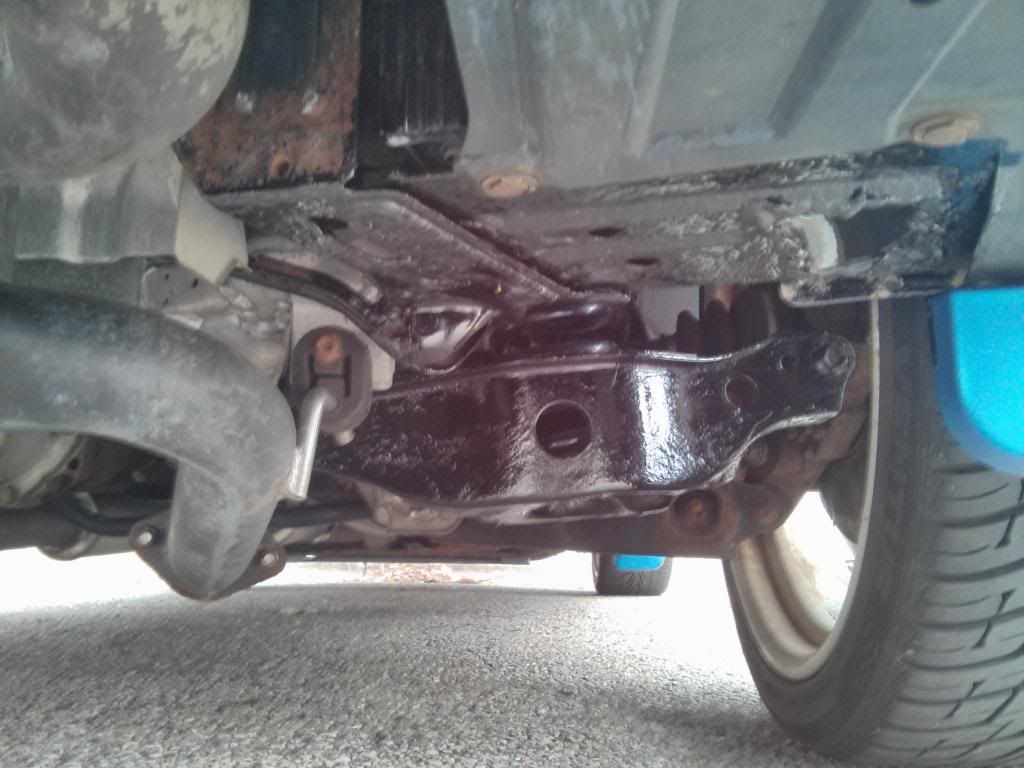
Fixed my rusty spring buckets
Before:
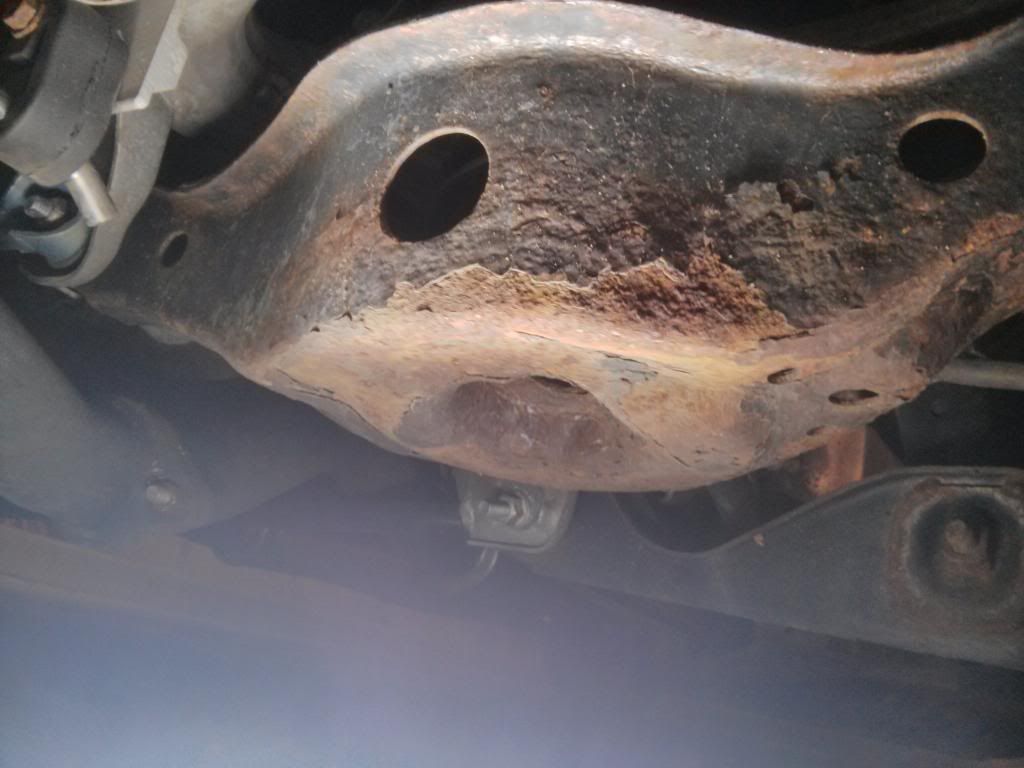
Sanded
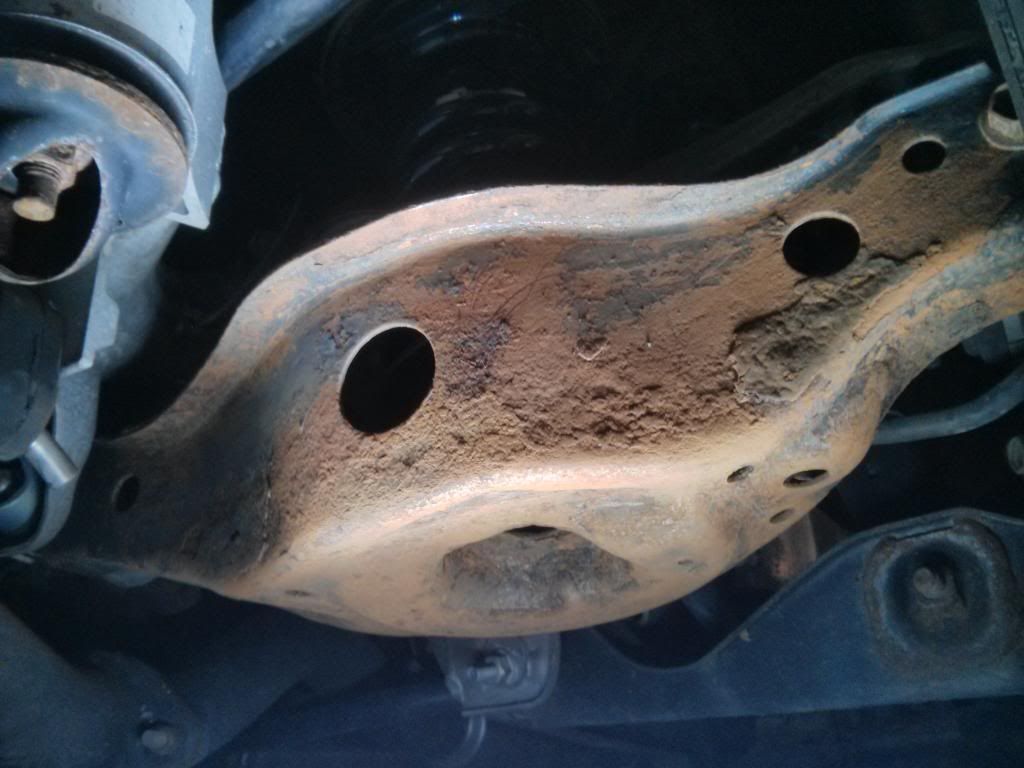
all the rust that came off from my spring buckets
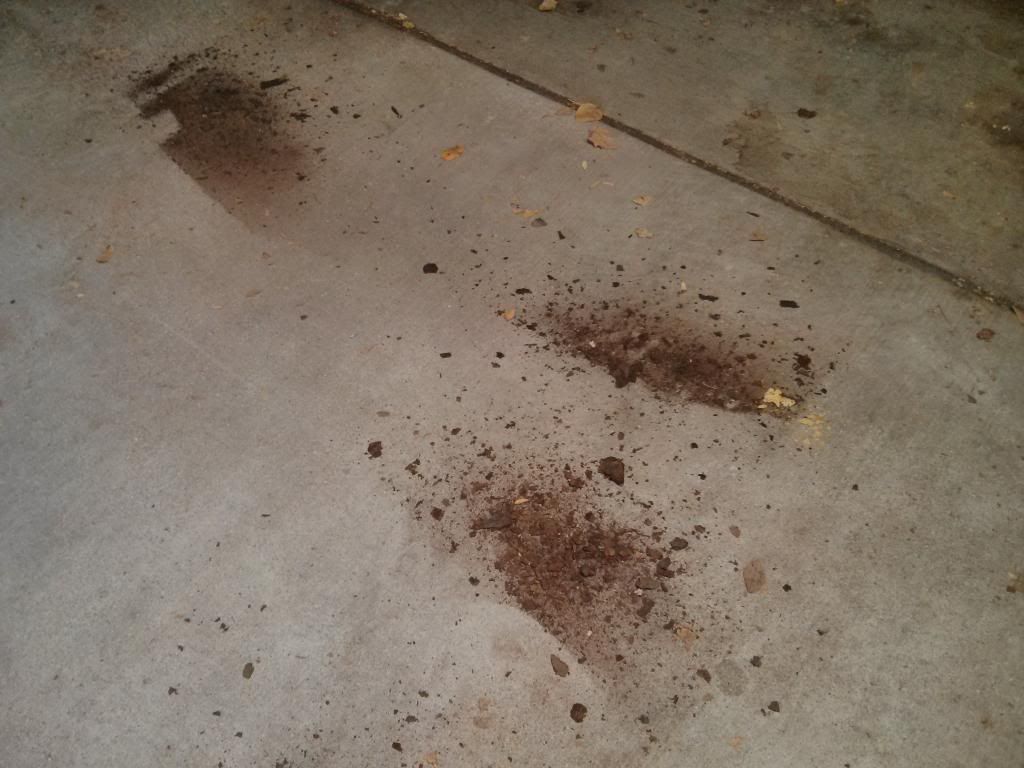
pressure washed
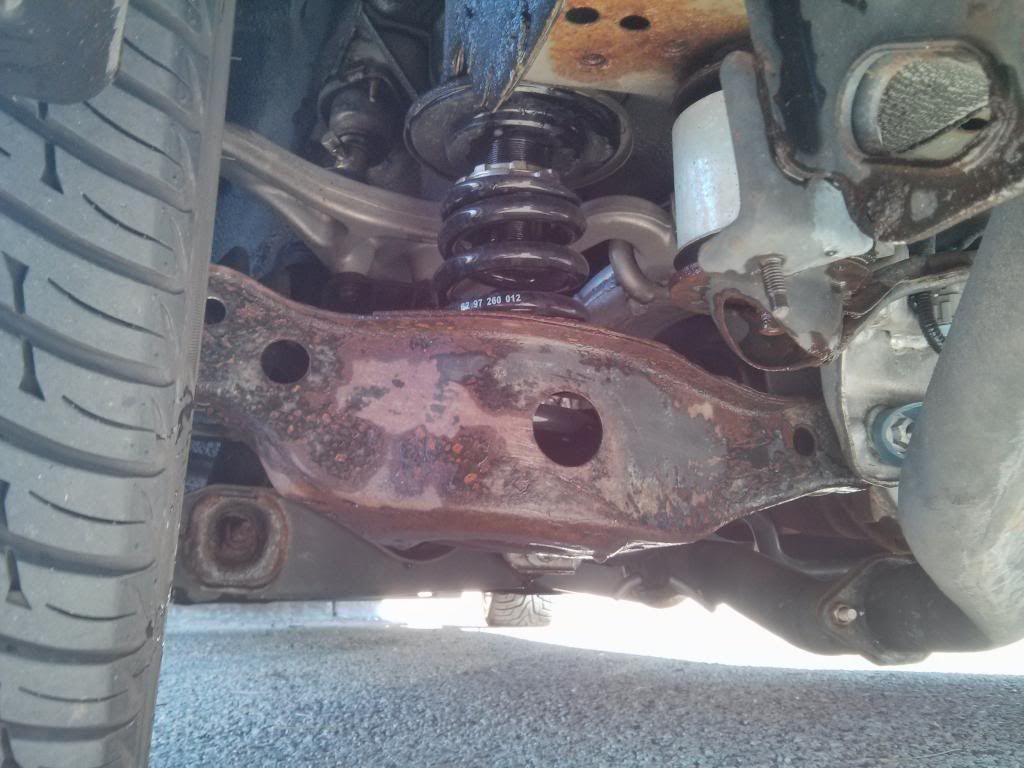

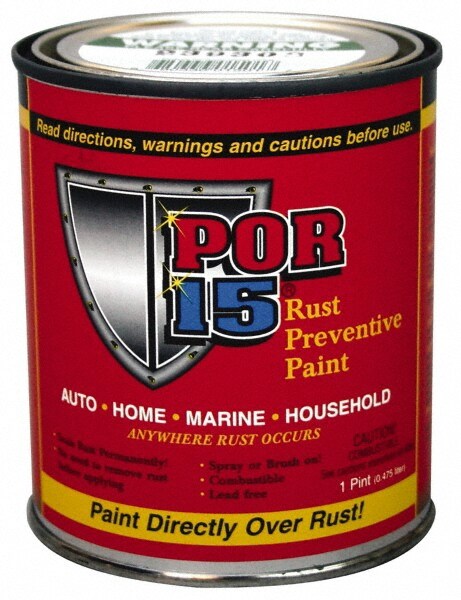
applied the POR-15 rust preventive paint

this rusty piece of metal fell off from the bumper support
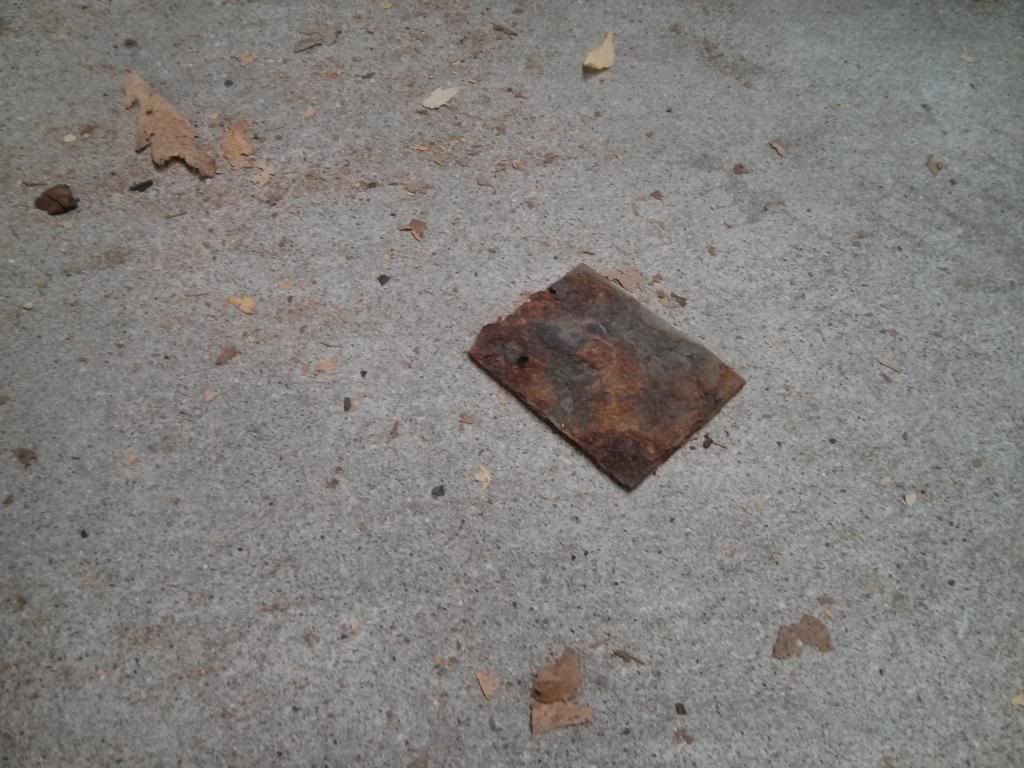
fixed it and painted over with POR-15 also
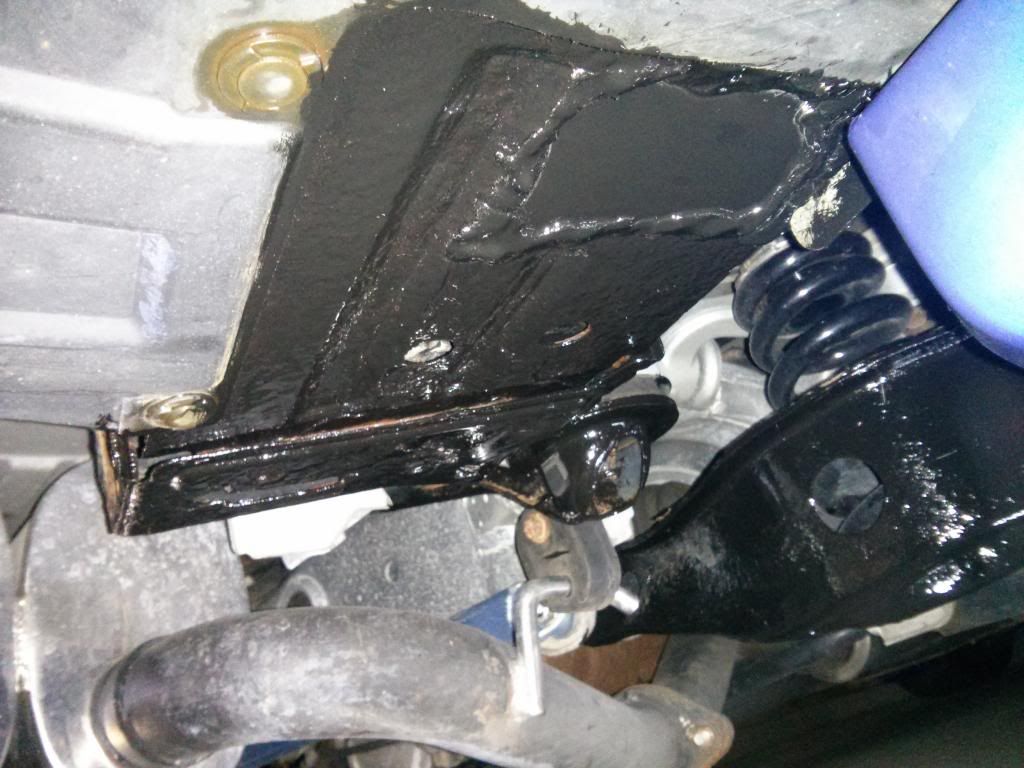
painted the rolled rear fenders with POR-15 also
Sprayed the ACF-50 anti-corrosion lubricant on my coilovers

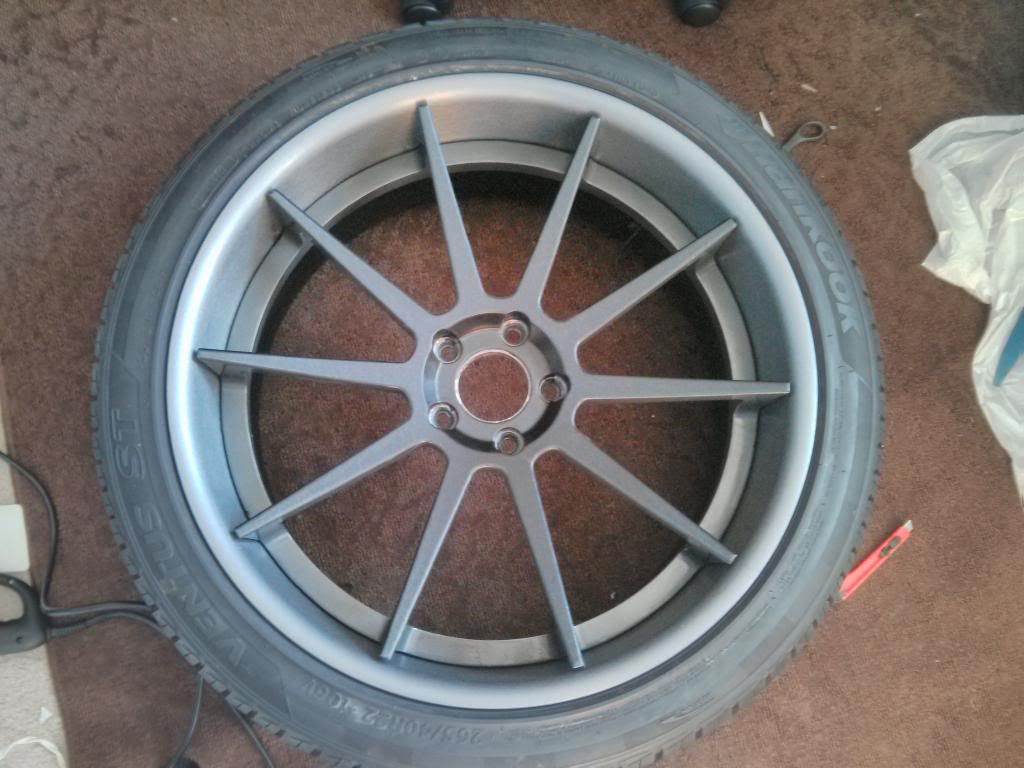
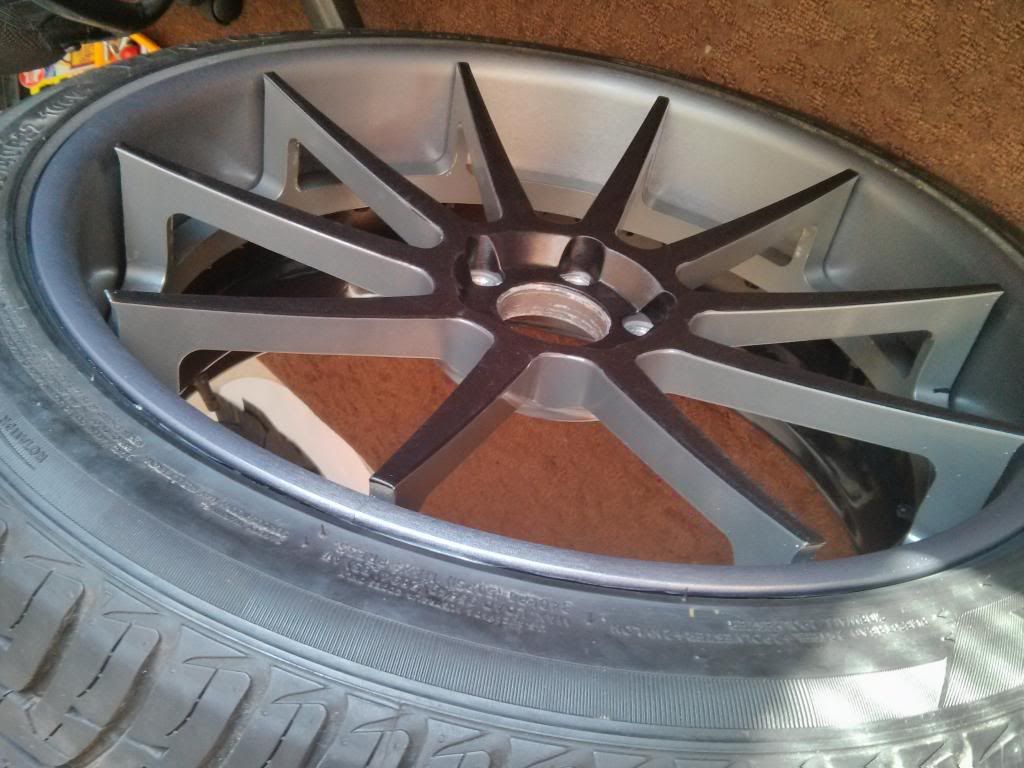
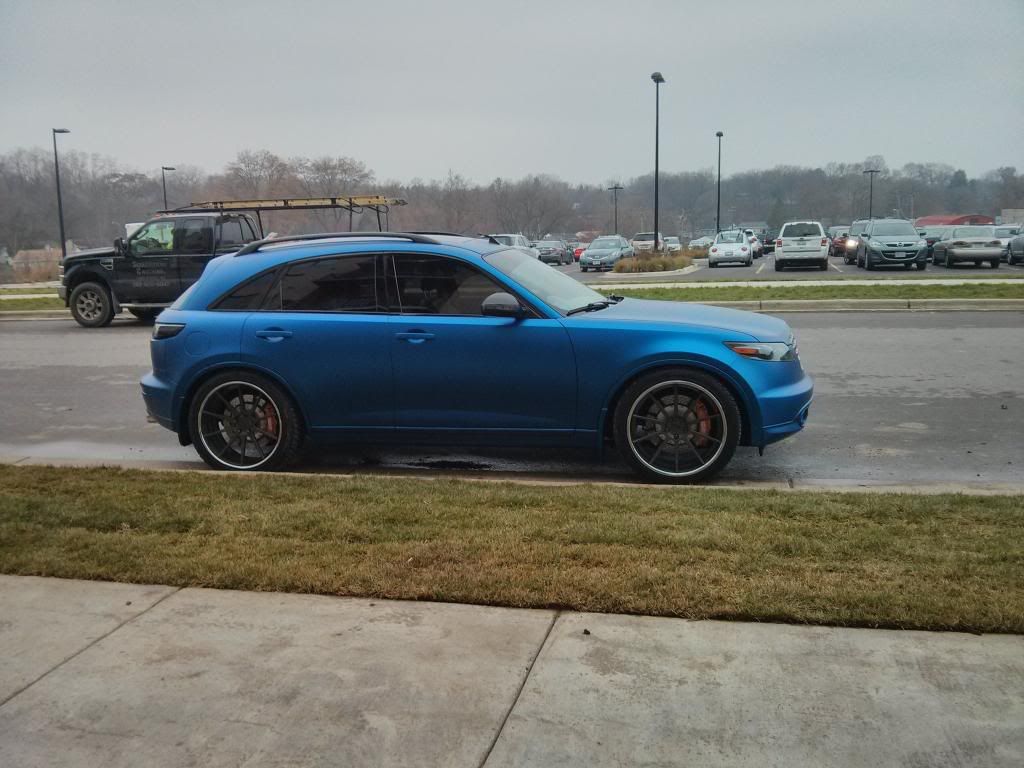
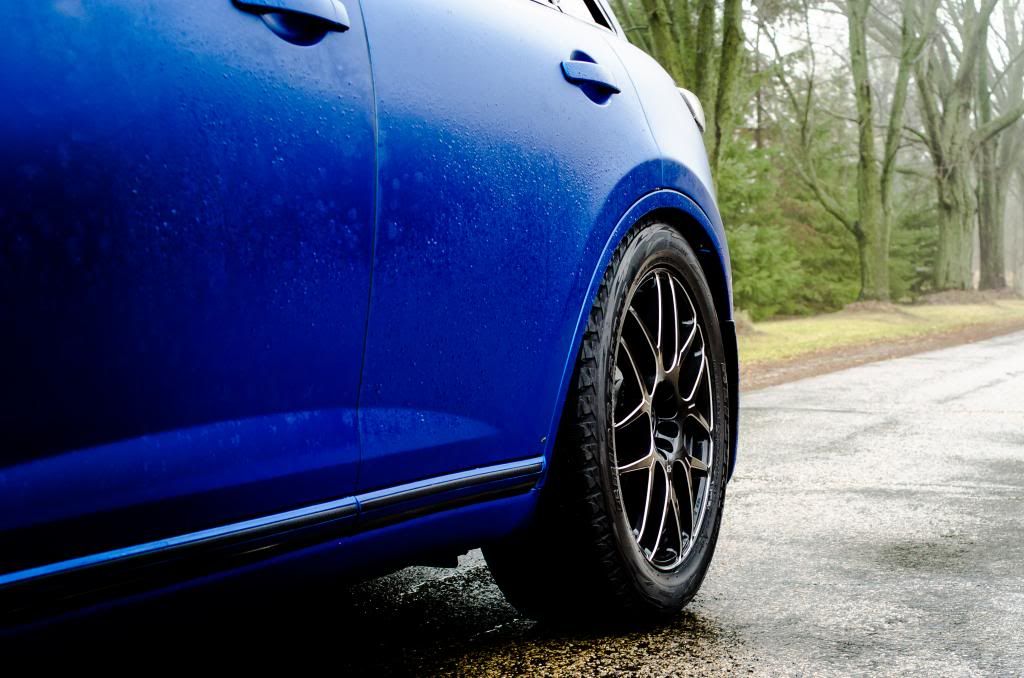
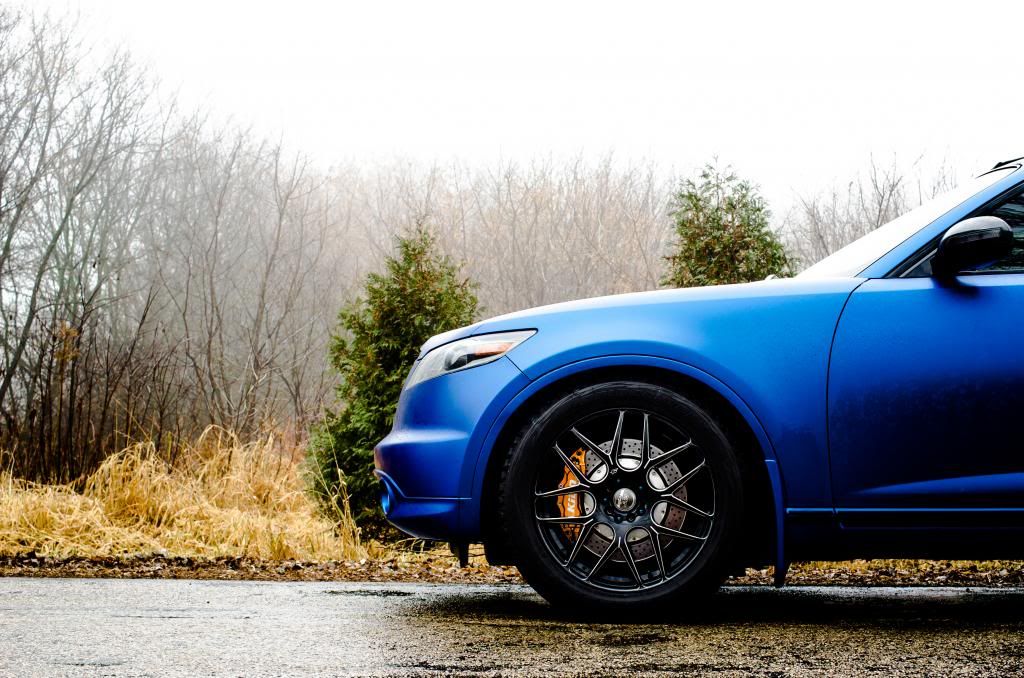
...and installed the new winter wheels, got a REALLY good deal on them. These are Falken(FK Wheels) RT-7M wheels, 8.5 wide with +35 offset. I kept the 19mm adapters on. Tires are Bridgestone Blizzak 265/50/20. Thanks to guys from my local Discount Tire store.
Washed the summer setup. Going to change them a little bit for the next season.
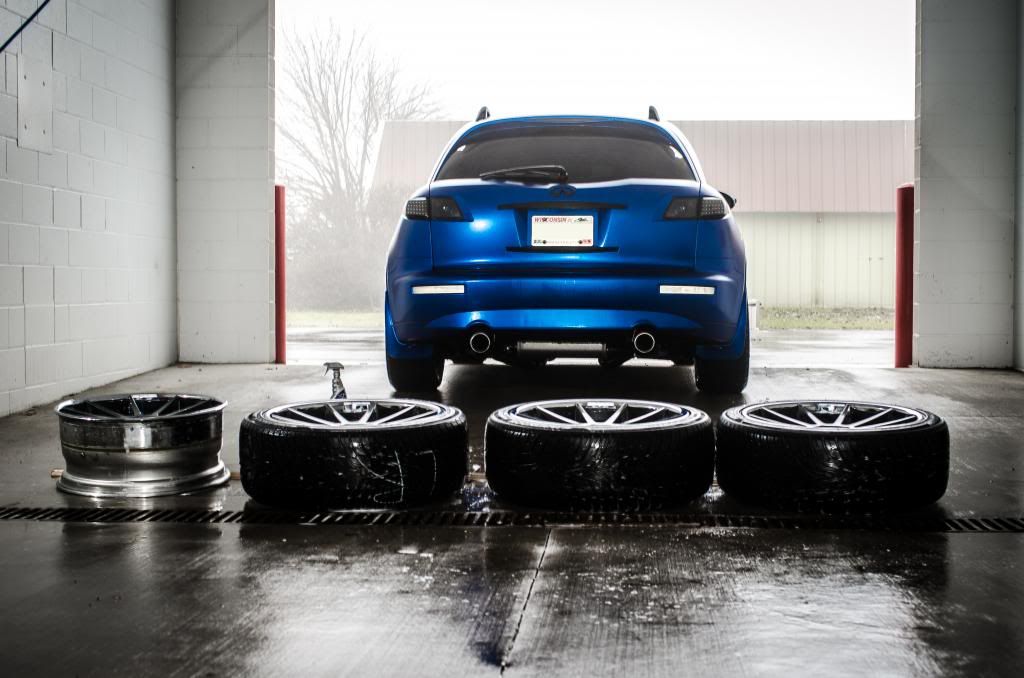
new winter lug nuts
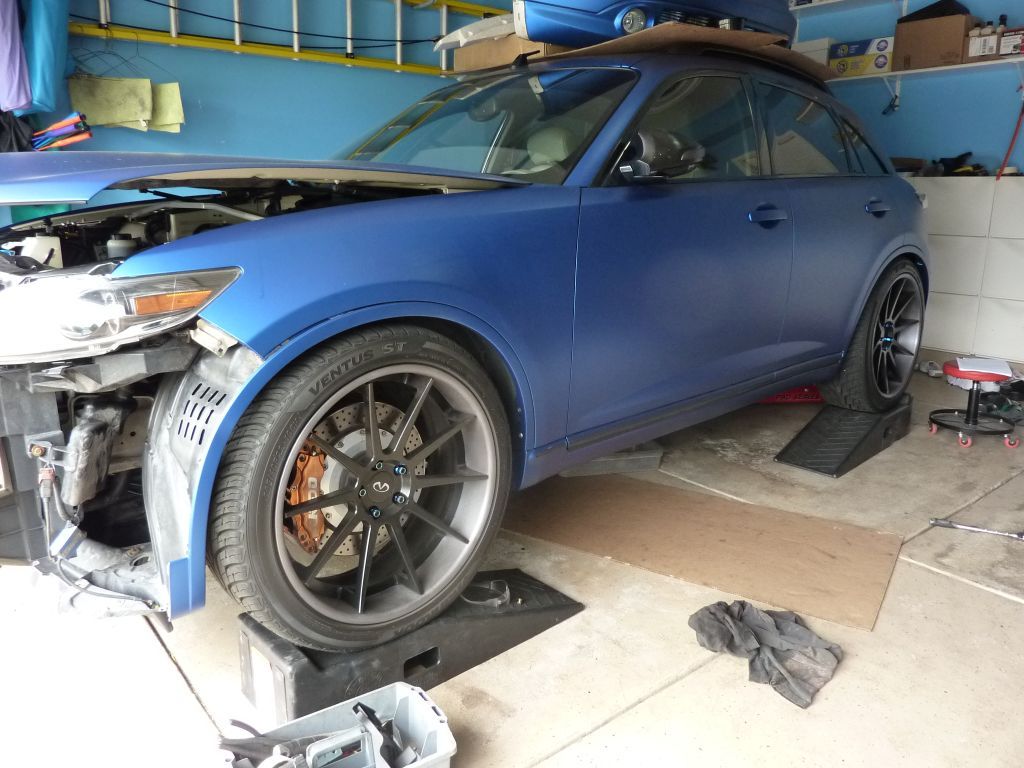
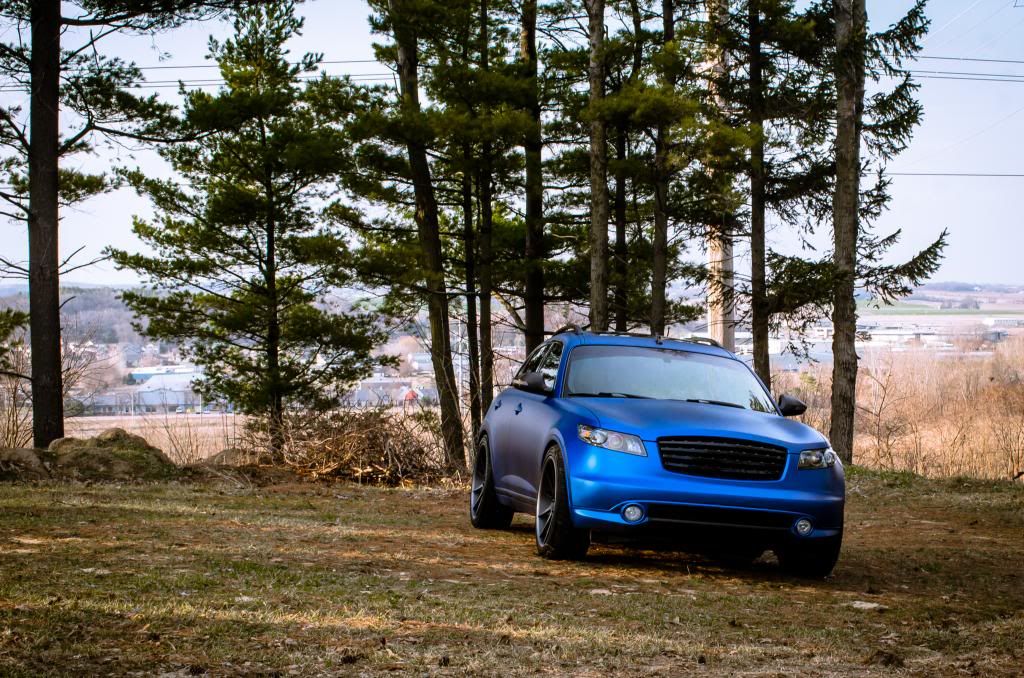
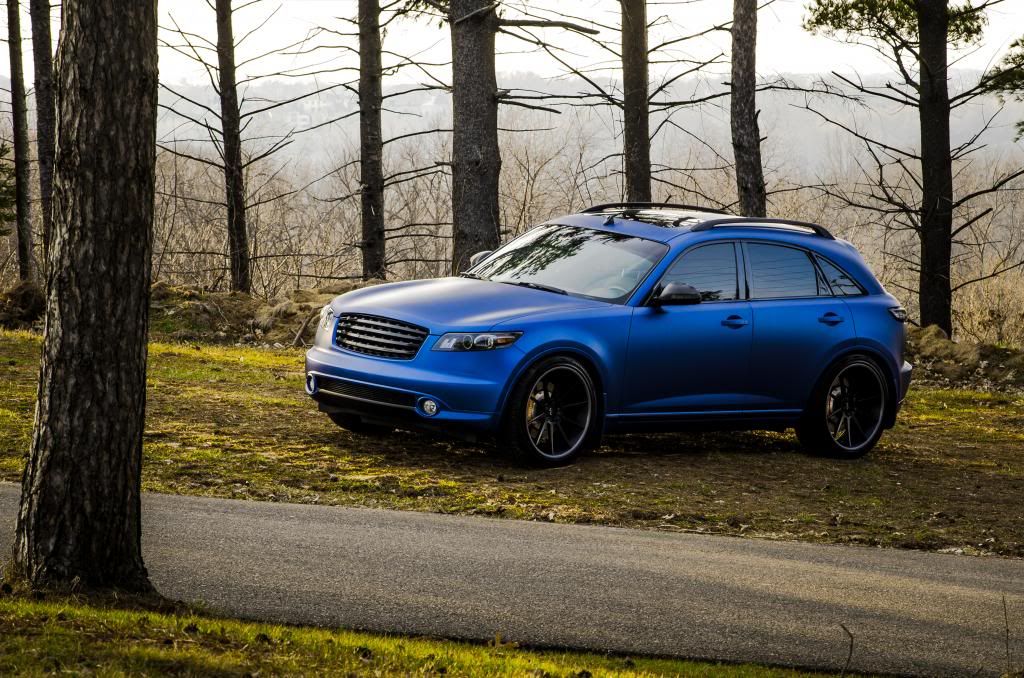
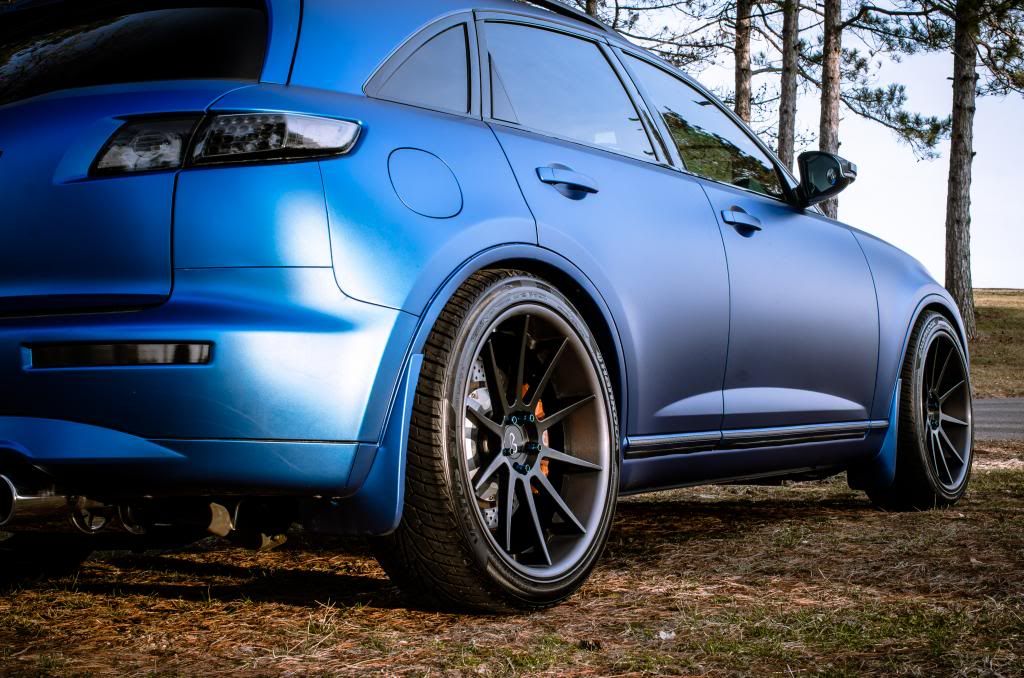
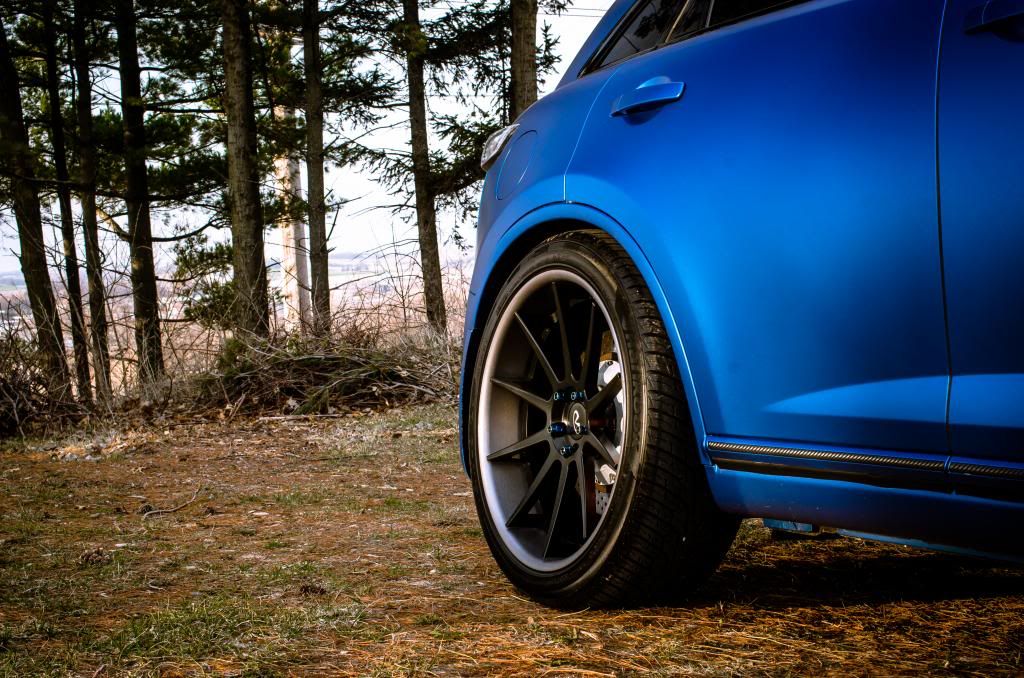
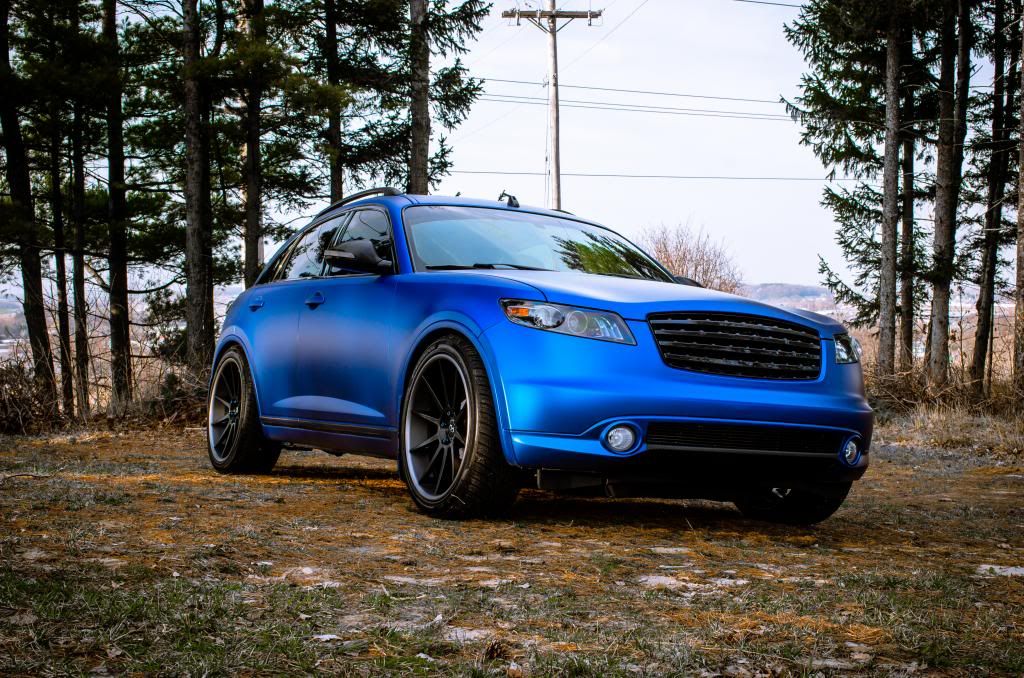
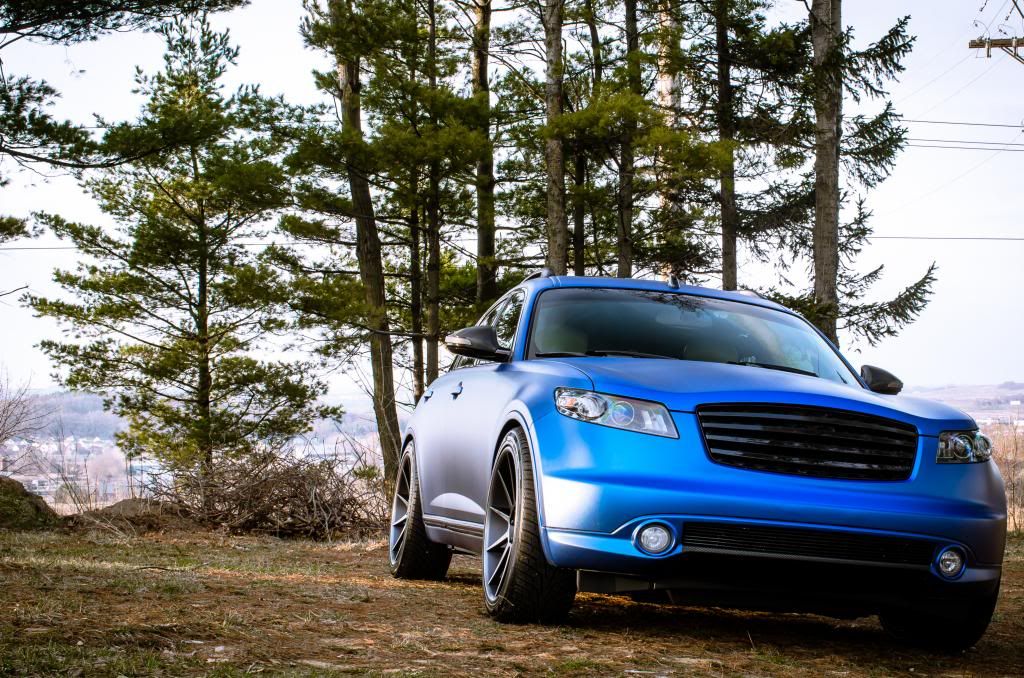
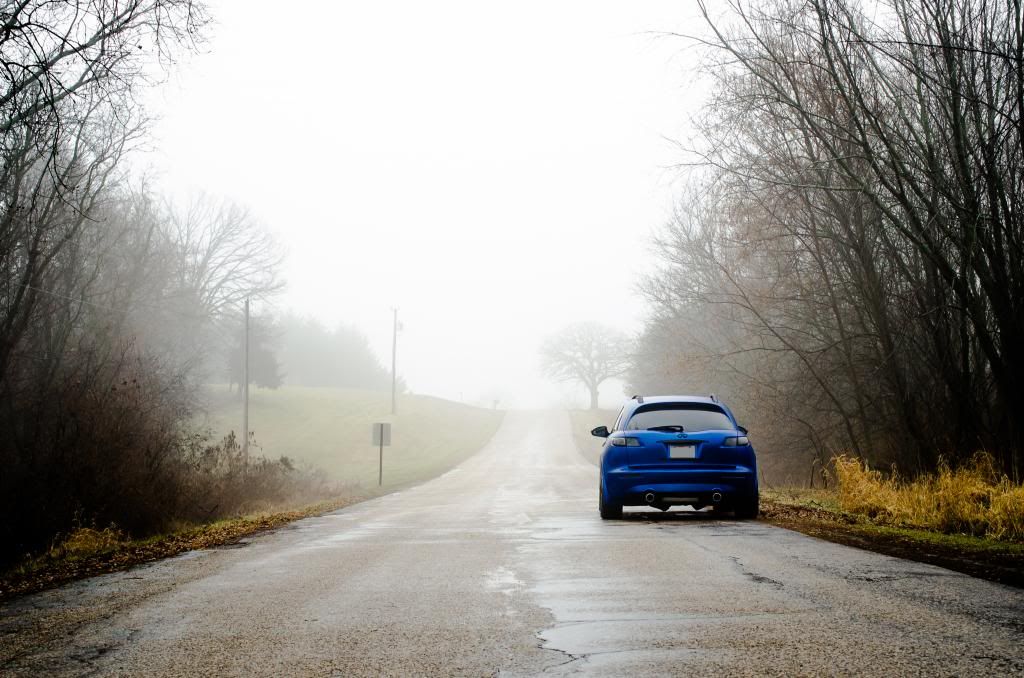
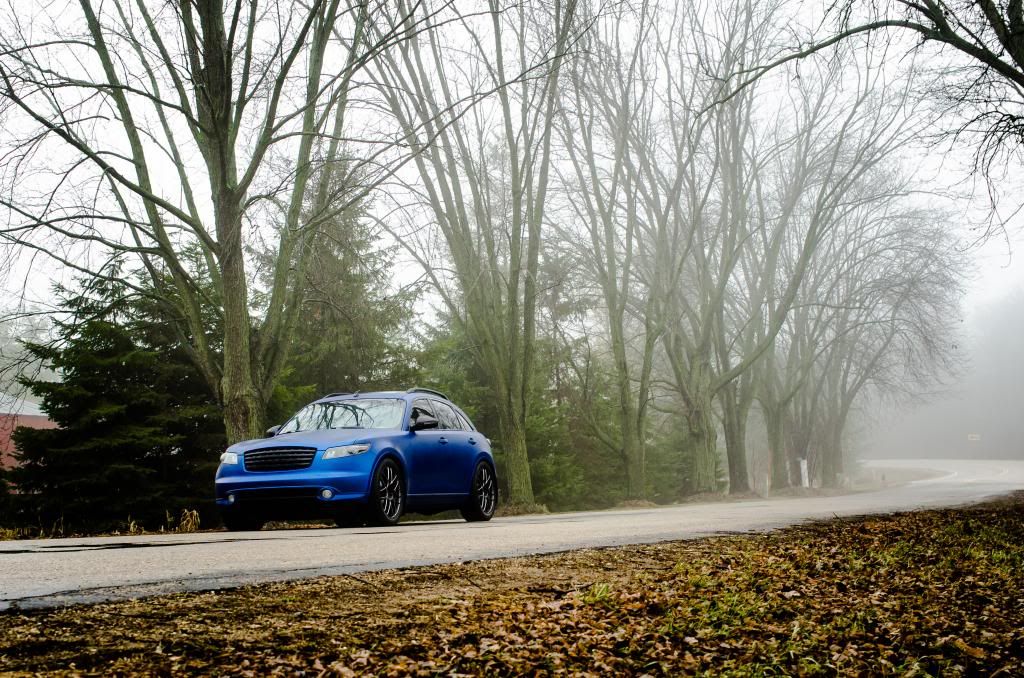
Quick photo-shoot just outside of town.


Leave a comment:


Leave a comment: