 cant wait to see it on the salt flats
-
what can I say that hasn't already been said...you never cease to amaze me. Tackling a project like flipping steelies without prior experience is quite bold but you managed to do it. (btw, are those things for sale?) And even in your failure (which is the wrong word for it) you still managed to lower your car even more and repair problems you didn't know you had. That's one hell of a good learning experience if you ask me.
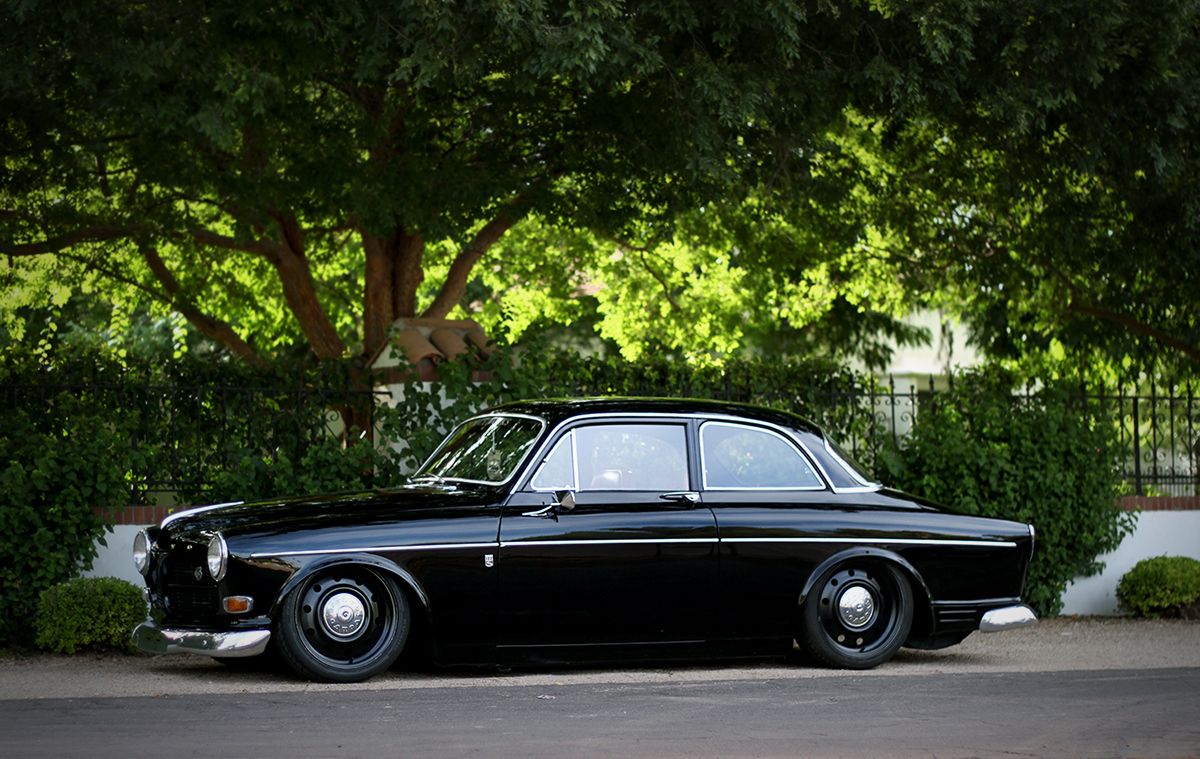
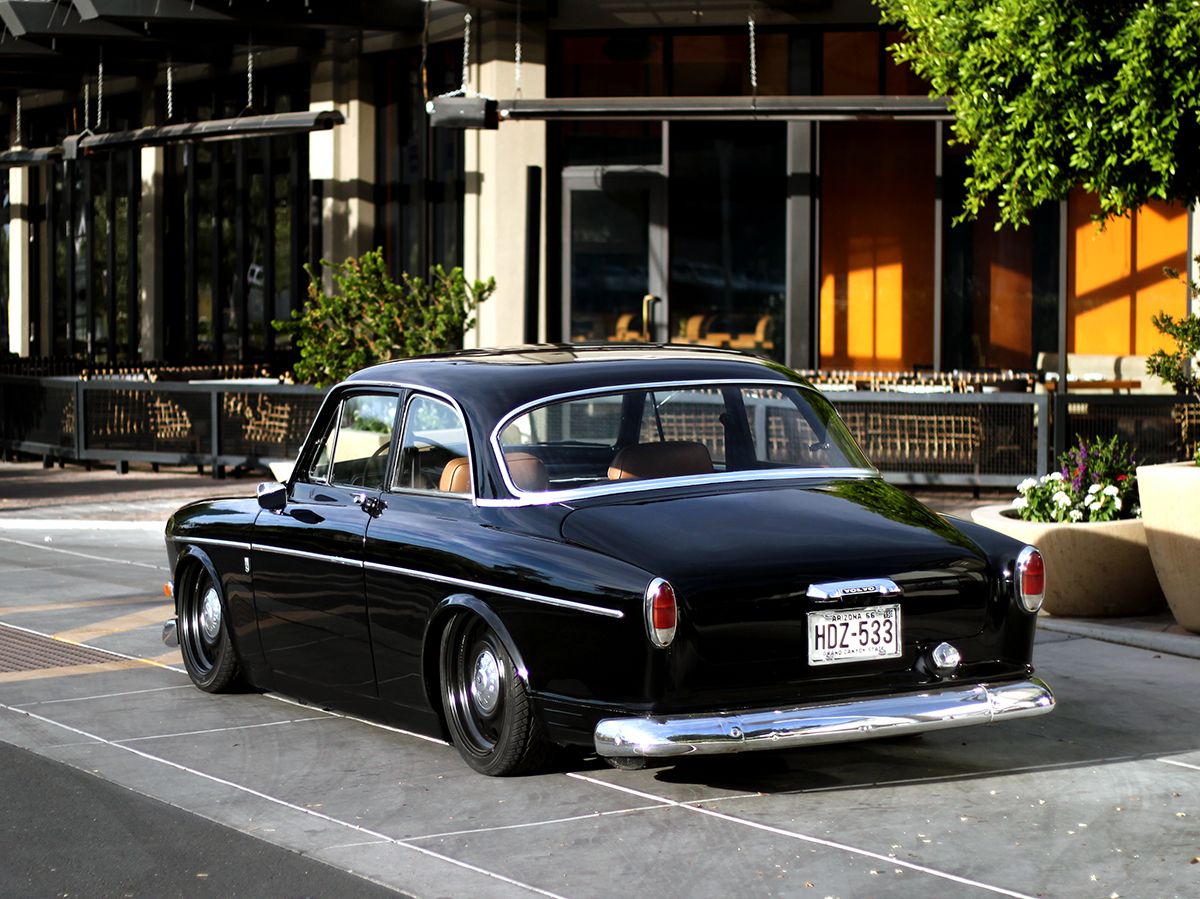
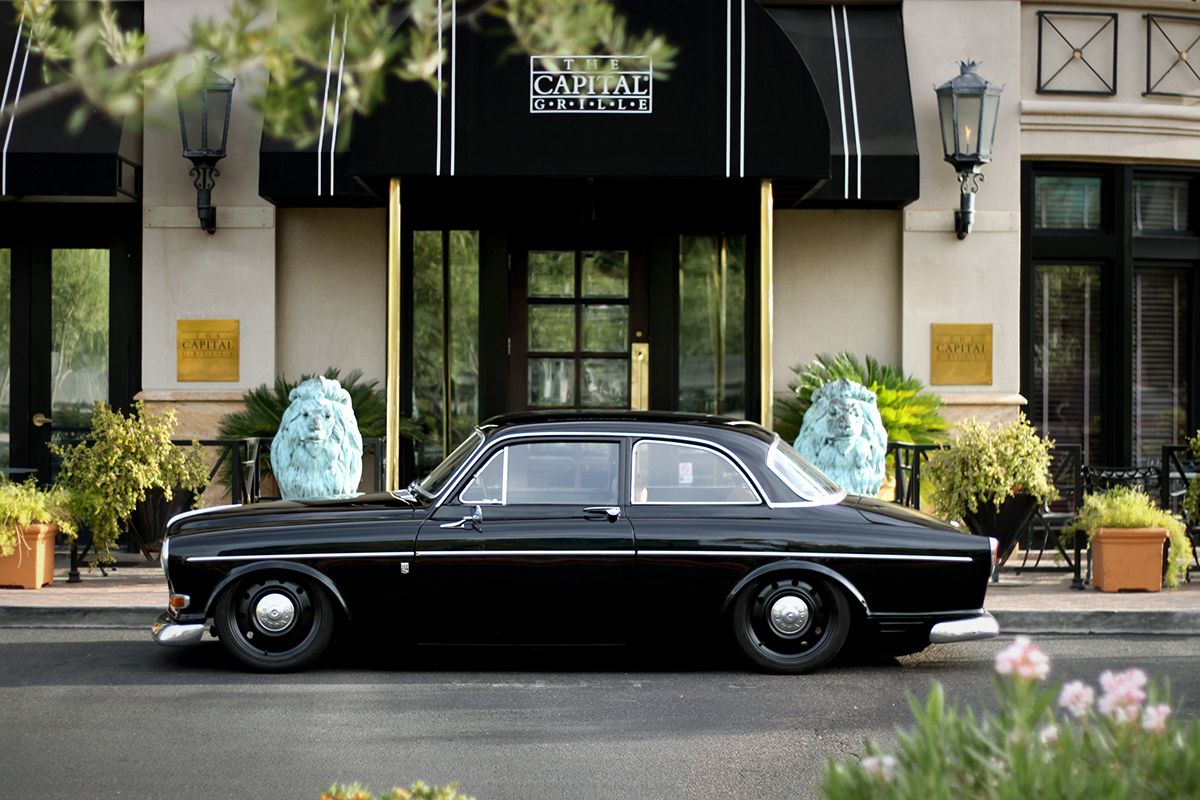
The pics look amazing, as always, and my favorite has to be the side profile shot right in front of the Capital Grille. it's so classic and timeless, very nice work.Leave a comment:
-
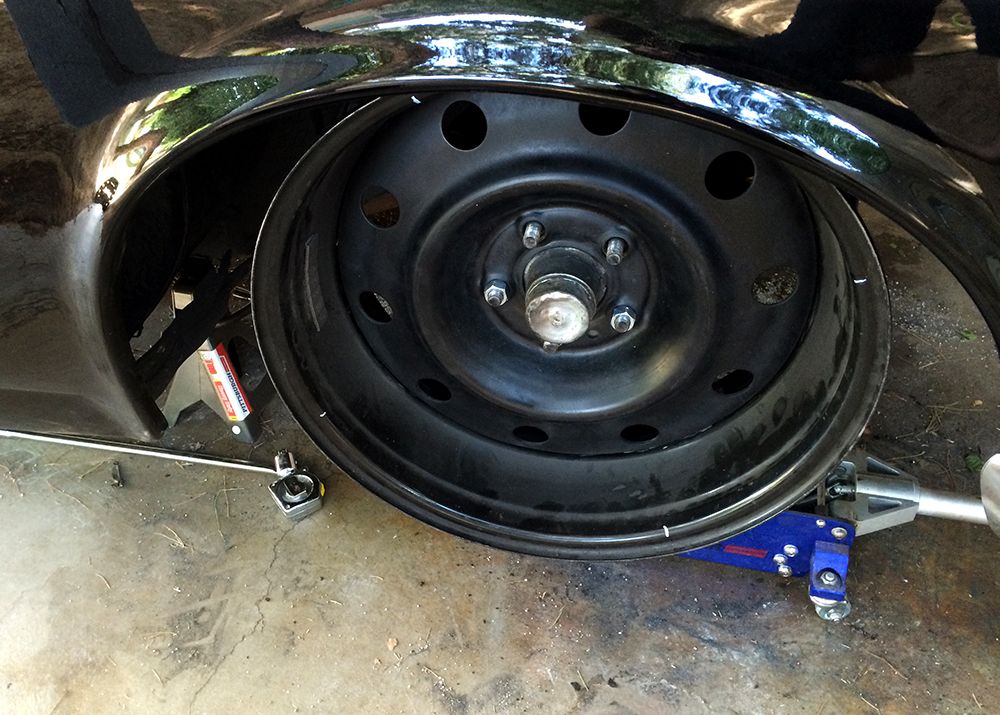
So I figure the build thread should be as much about the failures as much as the successes. Myself and my friend Nathan (who happens to be great with metal) decided we would tackle a flipped steelie project. Initially we wanted to just knock out the center and move it back about 22mm to give the wheel a zero offset and get more of that dish look. I was going to have them plated or powder coated if everything worked.
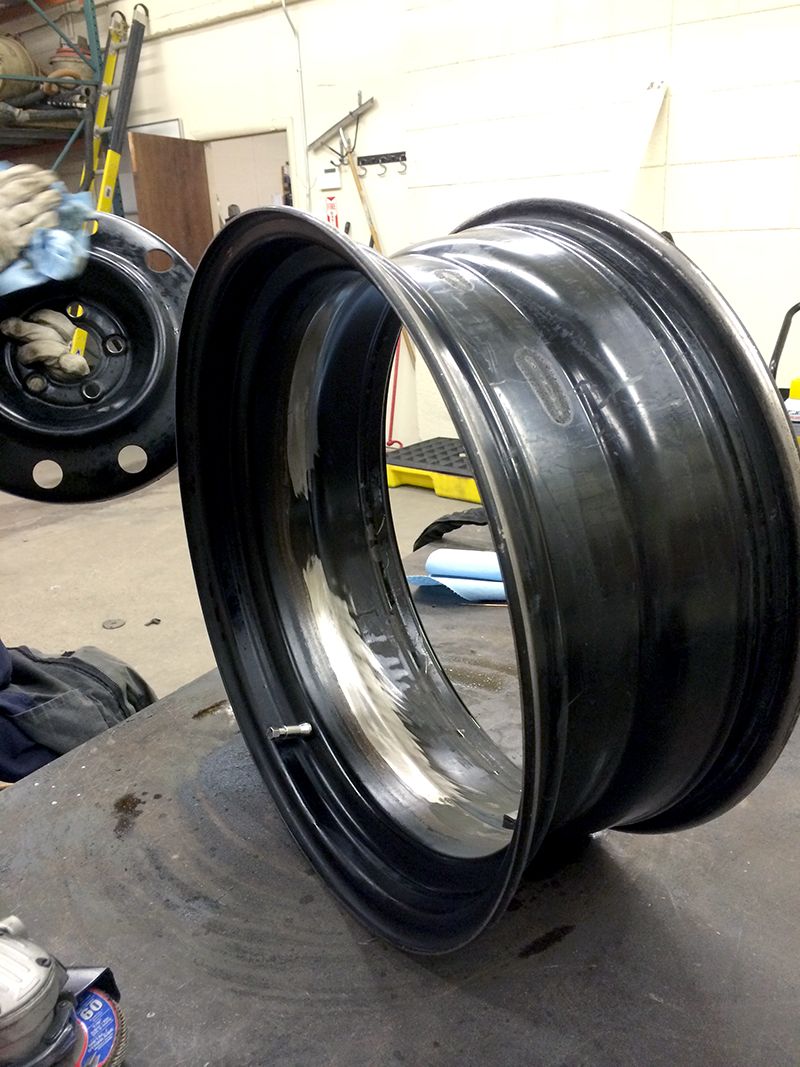
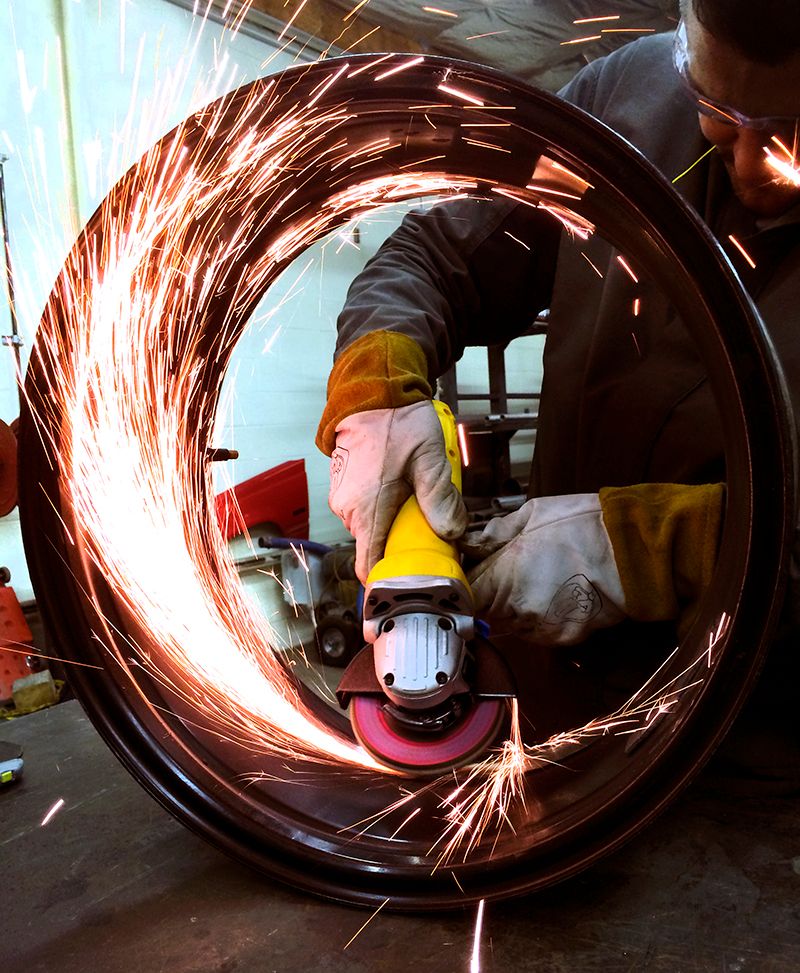
The way the wheel was designed it wouldnt work. We found that out after removing the centers. Could have seen it before if we had the experience under our belts, but neither of us had done one before. So after a minute of staring at the wheel thinking of a solution before they were donated to the scrap bin, we tried flipping the center just to see. It really just dropped into place and didn't allow for any adjustment in regards to offset. Turns out they looked awesome. It was pretty deep though and I initially thought it had no chance on the rear of an amazon, but we had gone this far, why not tack it, bring it home and try it out.
Once home, I placed the wheel on the studs and thought, damn, this could fit! It was outside of the fender a little bit, but I knew I still had to do an adjustable pan hard bar and trim the fenders. So it seemed possible.
The fronts were never going to be a problem.
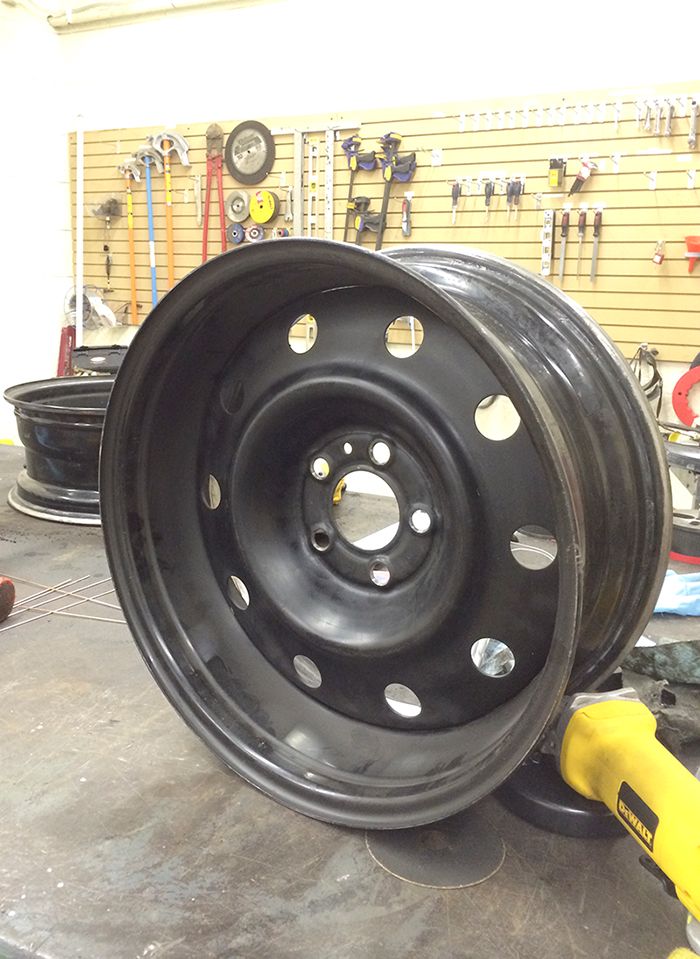
We went ahead and welded up and trued a couple more wheels . Fellow S|W forum member Andrew Nance who also has an Amazon that just happens to be in the process of a rear end swap sent me out his old adjustable pan hard bar. I put that in, got the adjustment needed, and became even more confident in the flipped steelies working. I had the 205/45/17's mounted and balanced before we got to trimming the fenders. The fenders came out very clean and were cut out as far as possible.
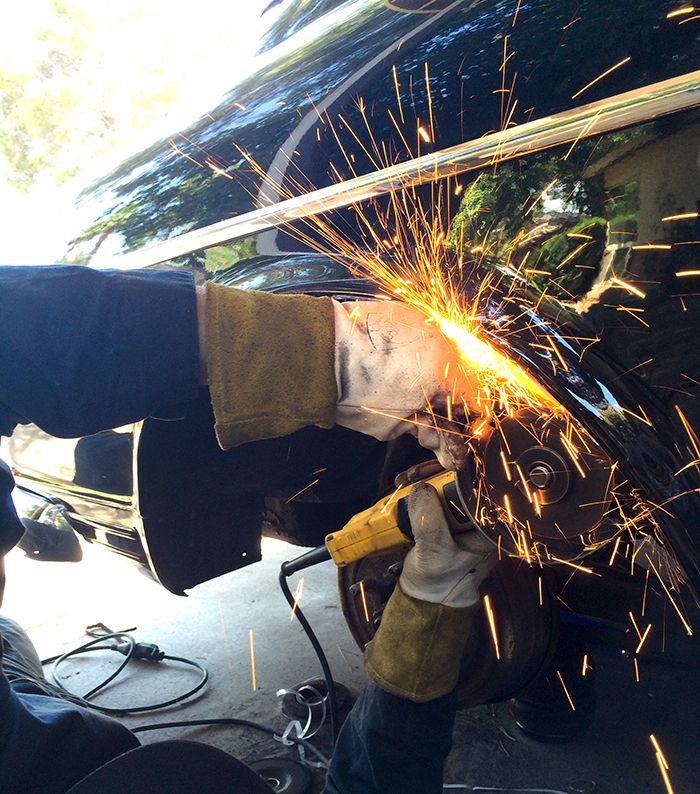
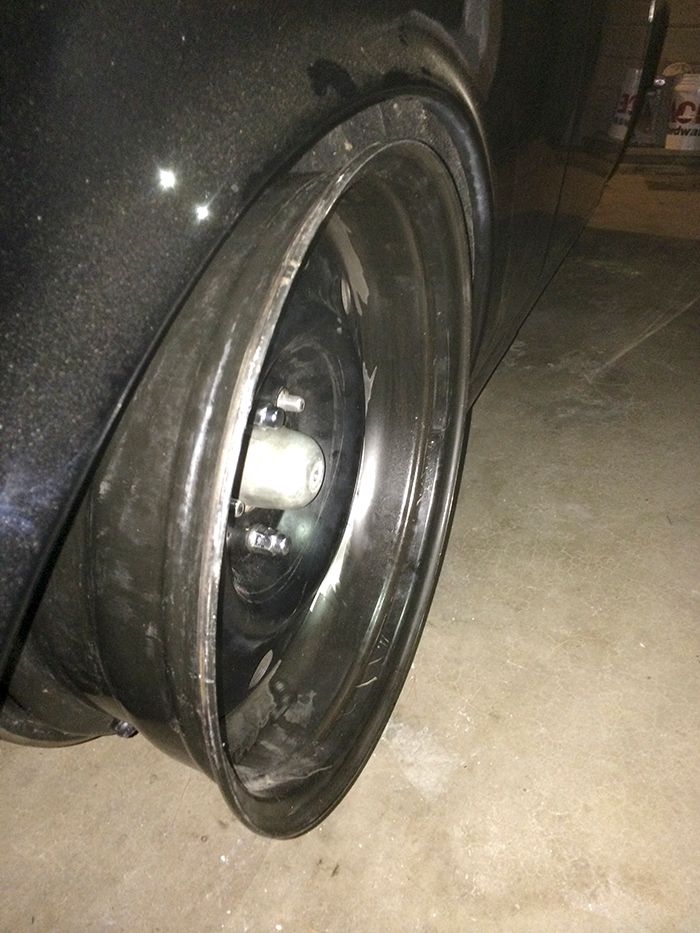
Feeling pretty good at this point, and then of course the inevitable happens... no dice. The wheels still wouldnt pass the rear fenders. I immediately thought of pulling the fenders, but these fenders are extremely tough and the amount of pull I needed would surely damage the paint and I wasnt willing to risk it. I also thought of stretching a tire, but there isnt much you can stretch on a 17x7 wheel. Ive seen the Nankang 195s but ive read that they end up being about the same as the 205s. The fenders are shaped in such a way that they dive in towards the body of the car right after the lip of the fender so clearing any tire would be a challenge. My mind then went to shortening the axle, which is definitely out of my realm of ability and seemed like a lot of work just to fit these wheels. So I threw in the towel. I got another set of steelies to replace the ones that were modified and just went back to the way it was.
But not before squeezing the last bit of drop that I could from the suspension. The brackets were cut. Material on the subframe was binding on the lcas so that was cut. Areas the bags could potential hit were cut and ground. It was a good thing all this was going on because I also noticed that a shock mount had cracked. It was still holding on, but was close to coming apart completely. Nathan welded that back up, I drilled new holes in the mount to move it up to allow for the lower setup, put the shock back in and waited to see the results. Pretty happy where the height is now. I wont be trying to go any lower. Its pretty maxed out without getting into some serious design and fabrication work.
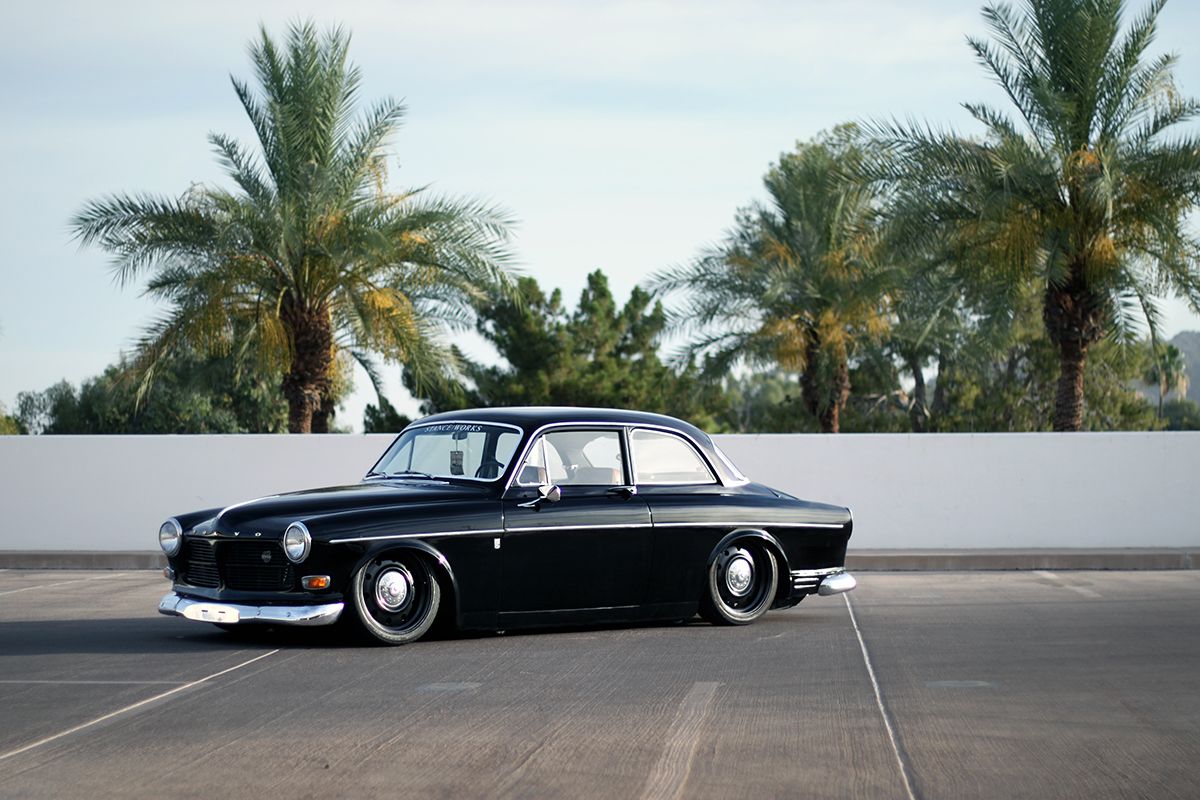
These photos arent anything special. I just took the car out this morning to the mall near my house to sort of document the recent work. I wondered if the inch or so of drop will show up in photos. I think it does, but maybe its because I know the car too well.
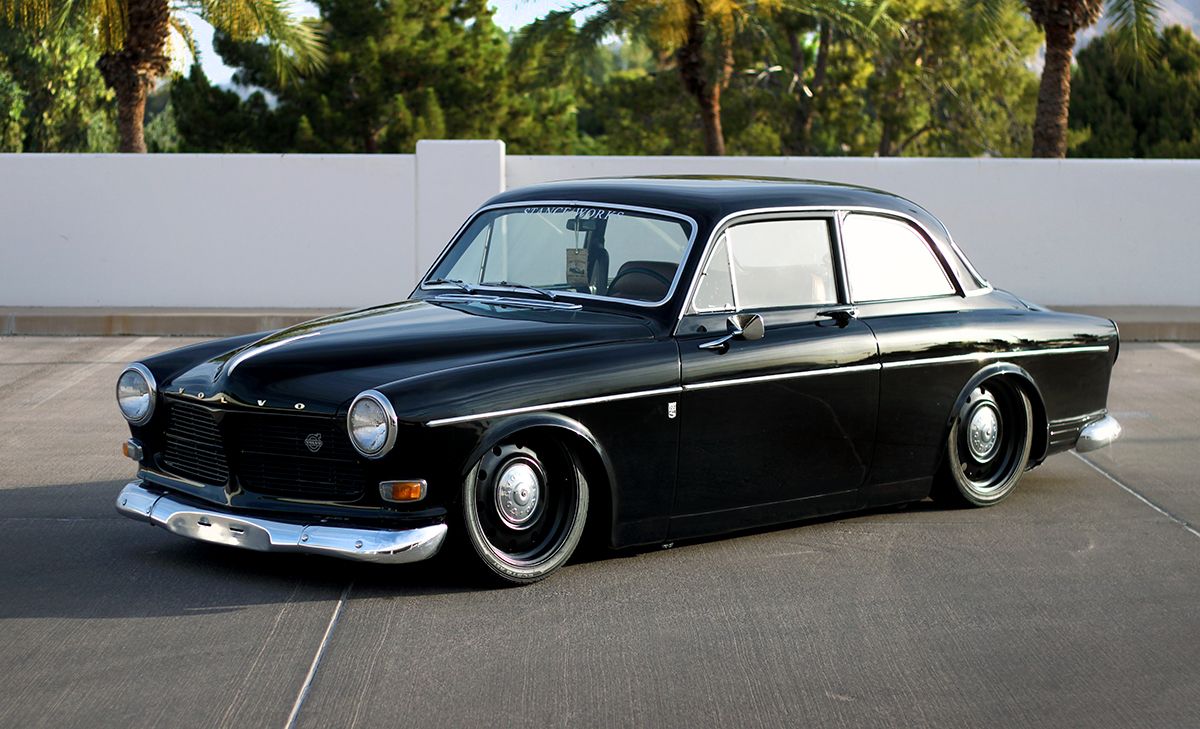

I decided to order a set of polished 17x7 et +15 2 piece American Racing Salt Flat Specials. I kicked around a bunch of other sportier options, but I just dont feel the car is asking for anything but a classic polished wheel. Plus, they were in the budget (which has gotten increasingly smaller since I got married back in October). They should have them finished in a few weeks. Cant waitLast edited by Keith602; 06-27-2014, 12:36 PM.Leave a comment:
-
My interior is like new so I will probably keep it as it is right now.Your car is a true source of inspiration.
Leave a comment:
-
Just amazing! I got a 4D waiting for some tricks aswell. Is your seats OEM?Leave a comment:
-
Keith602 you are inspiring to a lot of us 122 guys, been following this thread for along time, and I'm now finally able to start working on my 122s sedan.
One day soon I'll have a show thread/build thread, pm me though, I have questions on adding air to my Amazon.Leave a comment:
-
now it's workingOriginally posted by Keith602 View PostLeave a comment:
-
looks like i just got a new desktop background
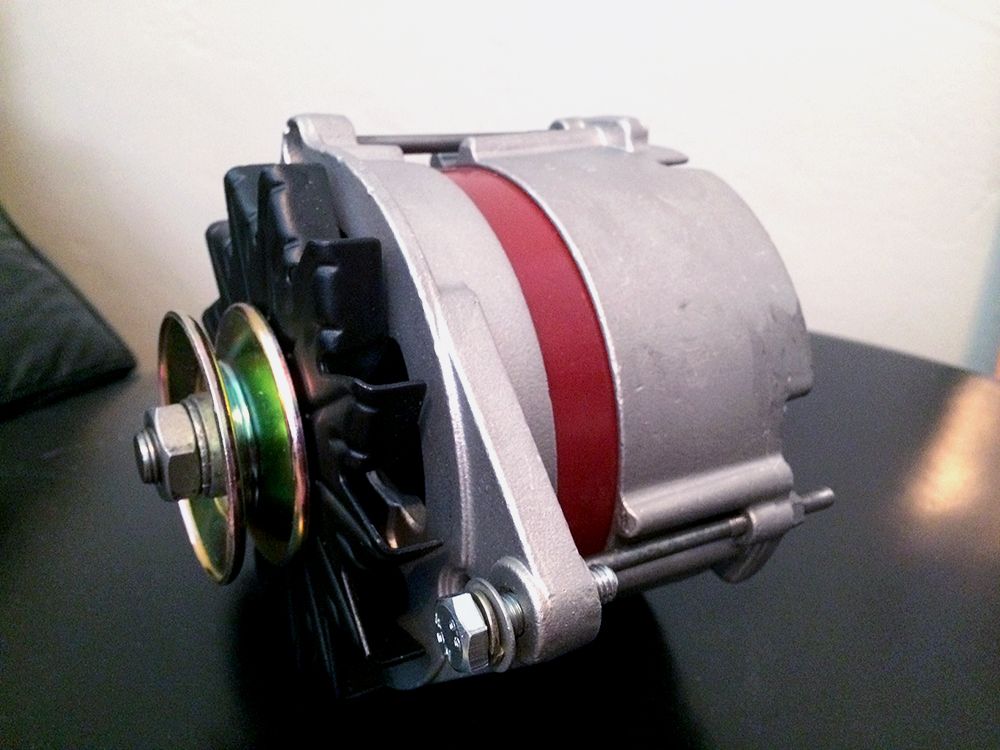
(the pic in your last post about the alternator {which i hope u post detailed install pics of} did not work)Leave a comment:
-
Picked up a Bosch 55 amp internally regulated alternator. Its probably a good time to do the conversion from the old generator. With the addition of the compressors, stereo, and soon electric fan, it will definitely be needing it. A bracket is required for the conversion, which I picked up a long time ago. Hoping to get it done this weekend
Leave a comment:

Leave a comment: