Sorry to here about that man!! SMH about the PO unloading a bad block...
Love the future updates though
-
I can see I haven't been missed. I suppose with stance like that I can't be surprised.
I tried running it again, this time it behaved even worse. I busted out the exhaust gas in coolant tester and it was a miserable failure. I was about ready to lose it.
Flash forward 6 hours later, and the engine is out and on the stand, ready to pull the heads off. New personal best for engine removal. God knows I've had plenty of practice.
I pull the heads and take a look. Head gaskets look brand new, combustion deck looks brand new. Everything looks just like it was when I put it back together.
I spent another week or two magnaglowing the heads, then having them pressure tested. Heads were A-OK, so was the gasket. WTF was going on?
A friend saw my rippled HGs from the first tear down, and pointed me to a thread of one of the fastest manual non-nitrous Cobras in the world. He had rippling in the gasket in the same spot. Huh. What was his problem? A 4" crack down the bore of cylinder 3. Still ran, and ran well putting up awesome ETs, but had cooling problems like I did. Out of morbid curiosity I rotate cyl 3 to BDC. Sure enough, two small 1" cracks.


So my block is trash.
This thing had cooling issues from day 1, so most likely I got sold a cracked block. Since the longblock was still factory, he likely didn't know how bad the problem was, but knew it was hurt and unloaded it.
So there's well over a year's worth of work down the drain. Awesome.
But I've got to soldier on. After going through this much, I'm not about to wave the white flag now.
I've got an aluminum Teksid block arriving next week that will shave 80lbs off the front. While that gets machined, whole front end will be UPR tubular, complete with coil overs for m0ar low.
Last but not least, when I get some free time come spring, I'll start making headway on the compound project. If I've got the engine out and getting it rebuilt, might as well, right?Leave a comment:
-
Well, back from the dead.
Everything finally got put back together. Lots of painting going on. Firewall, engine bay, engine block, headers, the works. I also ported the cylinder heads while they were off. Heads were studded.
I did go through with the checkerboard firewall. I definitely dig it.

After putting it all together, I ended up suffering a 2-week delay. I ran all kinds of tests and figured out I had fuel, air, and spark, but it wouldn't run. Two weeks of cranking and no start. Then one day as I validated the fuel rail pressure while cranking, it started like nothing was ever wrong. Voodoo, man. Voodoo. The thing really is cursed.
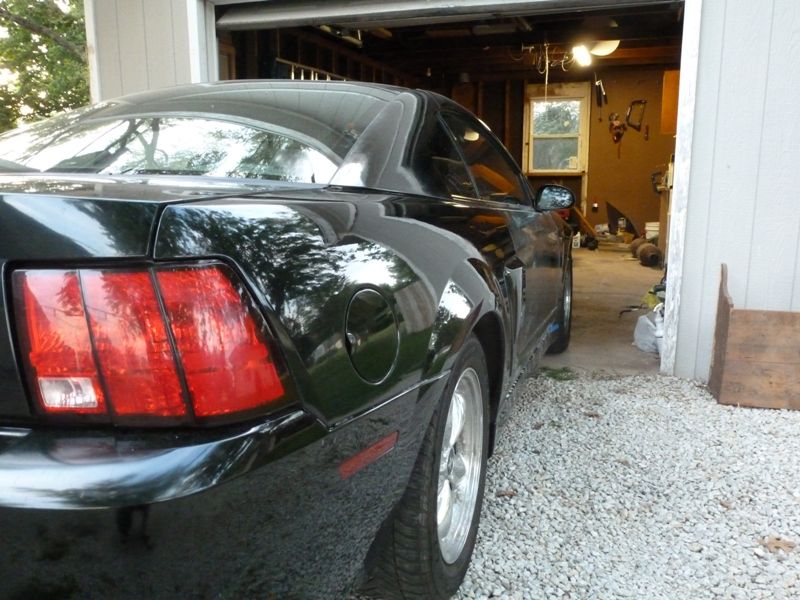
After a few romps, I got some pictures at an abandoned gas station. Messed with the camera settings and ended up getting an HDR feel without an HDR camera.


Not too shabby.
Not long after I run into more problems. After extended idle the coolant temp spikes, I kill it and leave it with the fan on to cool down. No puked coolant, but reservoir is dry two days later. Can't find any leaks. Refilled and let sit for another 2 days, no leaks. Hoping it's just an air pocket, but I've still got to sort out if I have a high speed fan issue.
But this is StanceWorks, not BunchofmechanicalproblemsWorks.
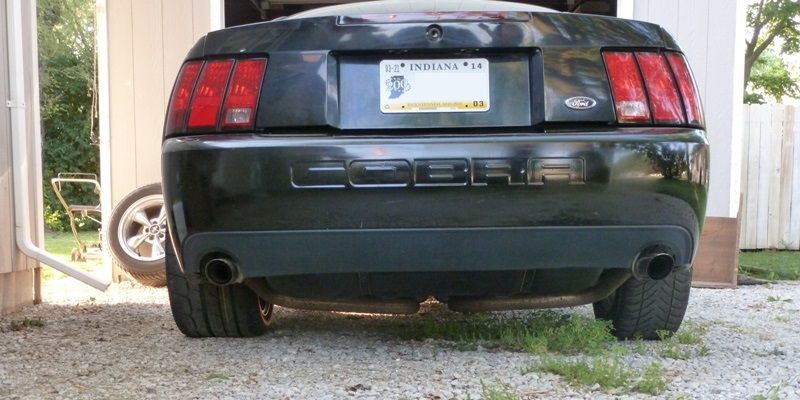
So down to the part people might actually care about. Due to the IRS subframe and bolt, even with a low profile one, I needed to run a spacer. To get adequate clearance, I would need at a minimum 1/2" on the rears, but ended up going with 1" since they were readily available and gave me better clearance. FWIW, the Toyo Proxes TQ seem to run wide.
The result is as follows. Not pretty, but an improvement over the Bullitts.


Needs m0ar low, and maybe a little fender pull on the rear.
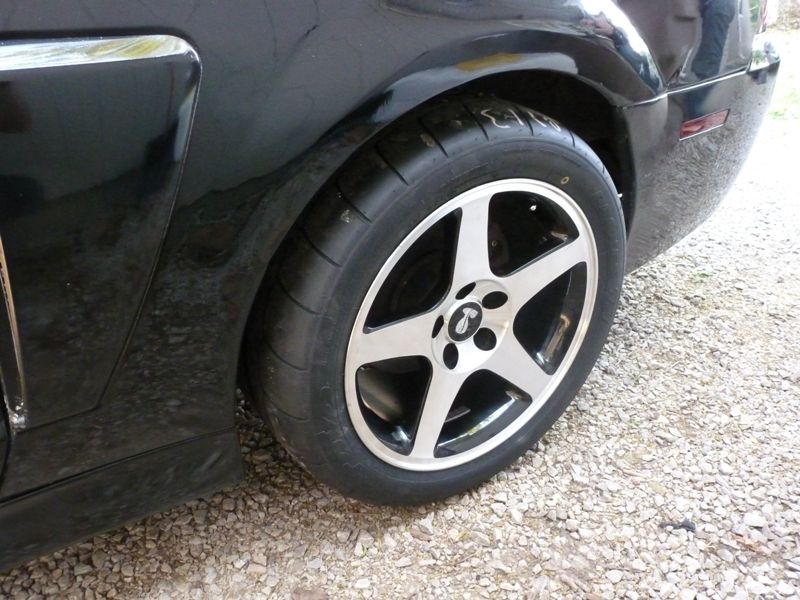
Mad poke out back, yo.

No there will not be any camber out back. That would defeat the purpose of 315 drag radials.
Bonus engine bay picture after cleaning and paint-

Where does it go from here? Well first it needs to run right. It hauls ass, but I need to get the cooling situation under control.
After that, tubular front end, coilovers, and better front tires are on the list.
Lots of little paint and finish projects to be done as well.Leave a comment:
-
I'm getting overrun by the "might as wells" with the engine out.
Headers have been repainted matte black. Engine block is getting the Cummins Engine Red treatment. Valve covers are getting resprayed black after the dyno tech effed the drivers side one all to hell. The transmission will be cleaned of oxidation and painted a cast aluminum silver.
The engine bay has been washed/cleaned already. The old faded and flaking black paint will be repainted. I've also decided to add a subtle old-school touch of a checkerboard pattern on the firewall like the old hot rods-

Granted it won't be very visible due to the large 4v engine and small firewall.
Heads will also be getting a light port.
In case you bask in my misery, here's some post mortems from the teardown:
Drivers side, just fine:

Passenger side, note the coolant residue outside the fire ring on #1:

Passenger side gasket, note the wavy passages and coolant residue:

Here's what a few of the head bolts from the passenger side looked like, due to the distorted gasket:

With all the problems I've had with this engine, I've decided to switch powerplants. No LS swap here, but this one has got some get up and go.

Dual rat w/VTEC.Leave a comment:
-
Well terrible wheel gap is the least of my worries right now.
Had it on the rollers Friday, and put up a measly 377hp while blowing coolant everywhere. (For reference an identical car with stock cams and manifolds put up 490.)
Engine and car are stripped down, ready to pull the engine tonight. ARP studs and machine work on the way.
On the bright side I've been nominated to compete for June's "Project Car Ride of the Month" over on moddedmustangs. Get nominated, pop a motor. Just my luck.Leave a comment:
-
Its nothing that can't be solved. Keep at it and kill that gap.Leave a comment:
-
As promised, more pictures.
Unfortunately I test fitted the rear, and it looks as bad as the front, if not worse.
I took a step back, looked at the overall package, and...

That's some awful wheel gap.
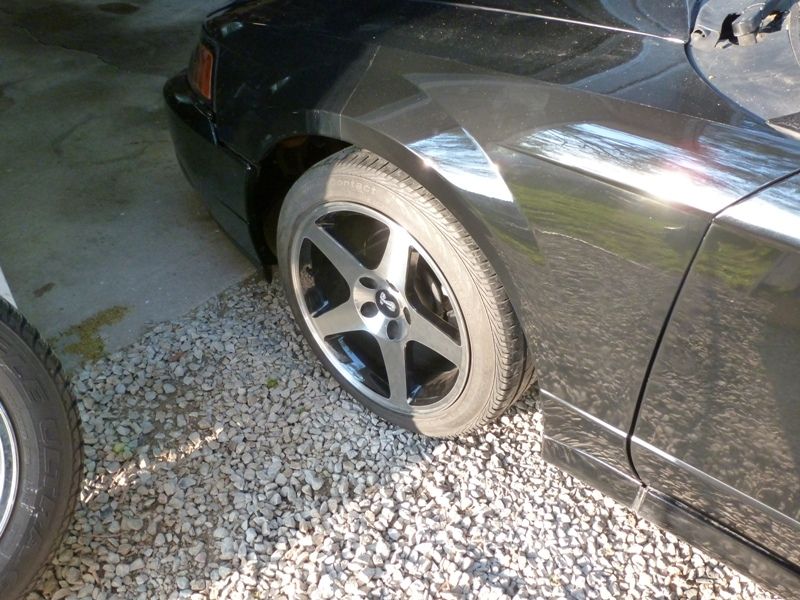
More bad wheel gap, but with a whole lot less room.
At least the paint looks good?
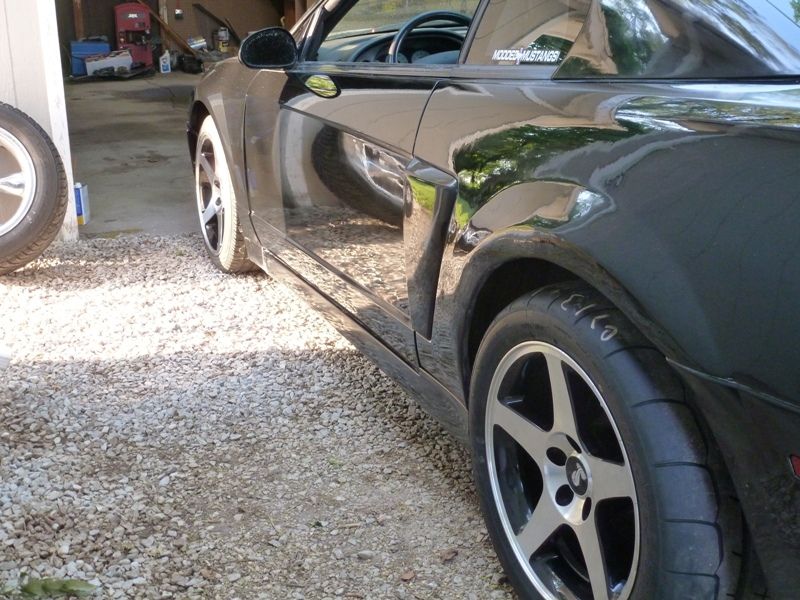
Comparison of old (right) versus new (left)
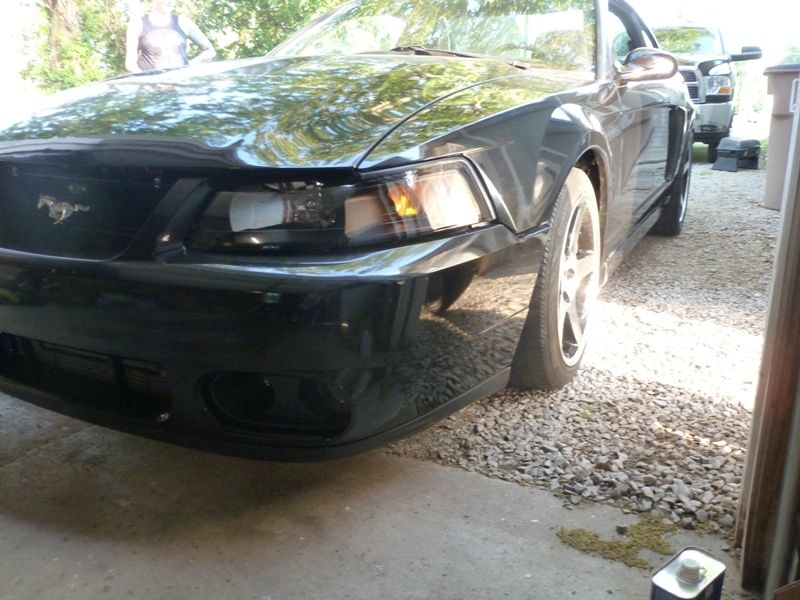
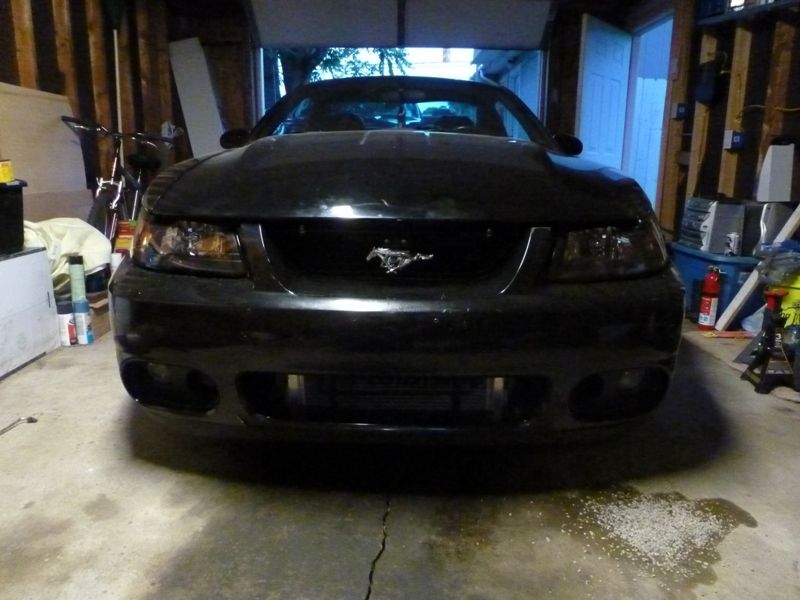
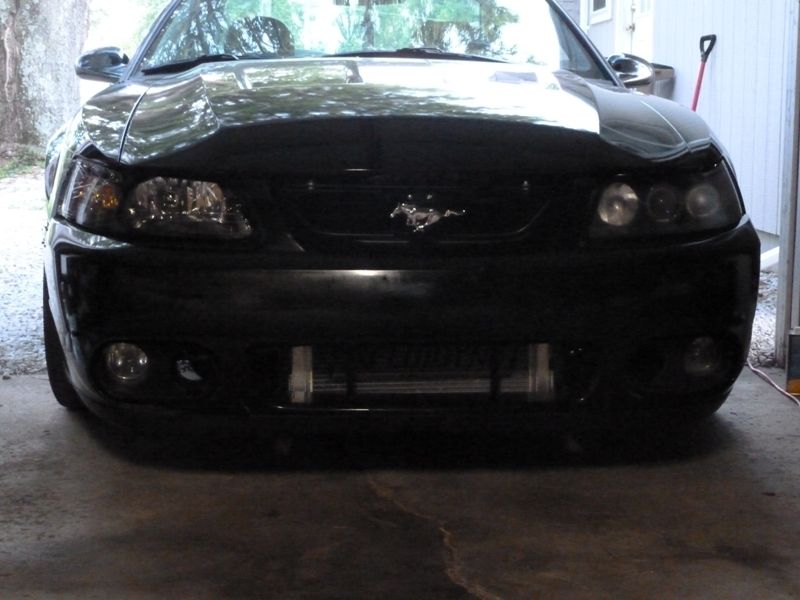
At least the new headlights went well.
The front I can at least solve easily. Get some coilovers, slam it. That was in the plan anyway.
The back? Not so lucky.
I'm caught between a rock and a hard place. On the inside, I've ground the IRS cradle bolt down, and even with a thin spacer I was barely able to clear it. On the outside, even with the quarter rolled, it's too wide. I'd have to pull it or something.
Not a good day.Leave a comment:
-
Scrambling to get everything done for dyno day Friday.
-Got the wrong pigtail, so looks like I'll only be able to get IAT1 data, no IAT2 data which is post blower.
-No one apparently carries firewire cables, so I had to order one online, and I'll have to frantically set up my wideband datalogging.
-Headlights are in. Look pretty good.
-Got my 315 drag radials. Sweet.
Now for the part S|W cares about.
I wanted to grab a cheap set of front tires to at least get to roll around on my 03 Cobra wheels. I found some cheap used ones for $30 mounted/balanced, but they were only 245/40R17s, not the 255/40R17s I wanted. How bad can they be? They're not that far off, right?
Wrong. Very, very very very very wrong.
I test fitted one last night, and my reaction was

It was horrible. Tires are waaaay too small, looks ridiculous, has tons of wheel gap.
I'll post up some pictures of the horror tonight.
Looks like I'll need to order some better tires for the front.
My prediction for Friday: sunny with a chance of blown up engine.Leave a comment:
-
After owning a supercharged mustang in just about every body style from 85 to new, one with a termi motor is the only one I'd want again.
This is coming along nicely man.Leave a comment:
-
DDDDDDDDDDDDDDDDDDDDDDDDDAAAAAAAAAAYYYYYYYYM that came out awesome!
Dude i love this build! I'm a huge mustang fan. I'm always sub'd to thisLeave a comment:
-
Not much interest in this thread I see. Meh.
Here's a comparison of the new headlights versus old:
And here's the rattlecan paint after a much needed sand/buff/polish. Wetsanded with 1000grit, had to 3M regular cut buff by hand because my buffing pad was crap and started to mar the clear, then M205 polish. Not too shabby for rattlecan in a driveway.
Still have both doors, and a fender to do. One may require re-clearing.
315 DRs are on their way as well...Leave a comment:
-
Finally broke down and ordered some headlights. Saw some new stock black housing ones on sale for the price of used and couldn't refuse.
Waiting on a belt to upload the 2.76 pulley tune.
And for everyone that said the paint looked like dogshit, here's the results of a quick wetsand/buff/polish by hand on the fender just to see the potential. On the side of the fender is the rattlecan paint, and on the top side, separated by the body line is the factory paint.
Leave a comment:
-
Is your fender matched up with your hood? Looks like the gap is a bit off and the front bumper doesn't look like it's fitting properly.
Cannot wait to see it with the new headlights.Leave a comment:


Leave a comment: