 Tweet
Tweet
Hey guys,
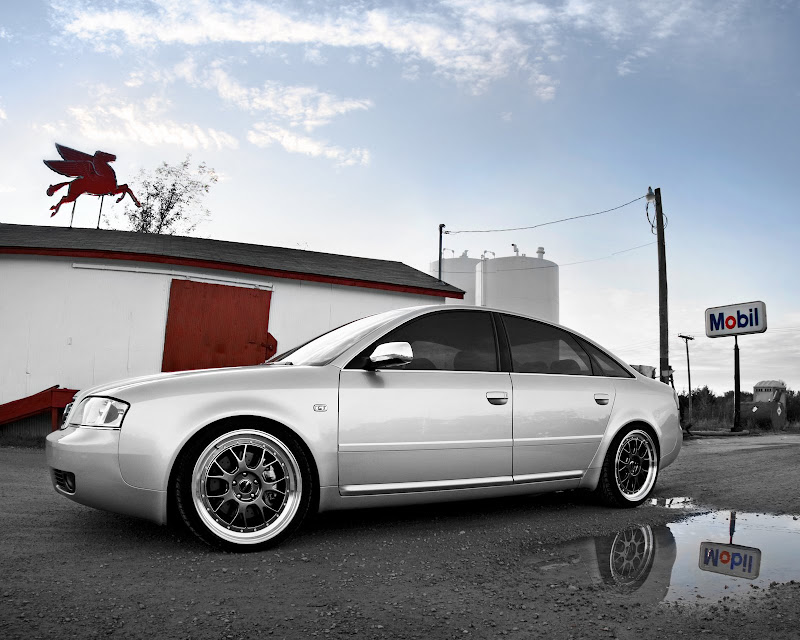
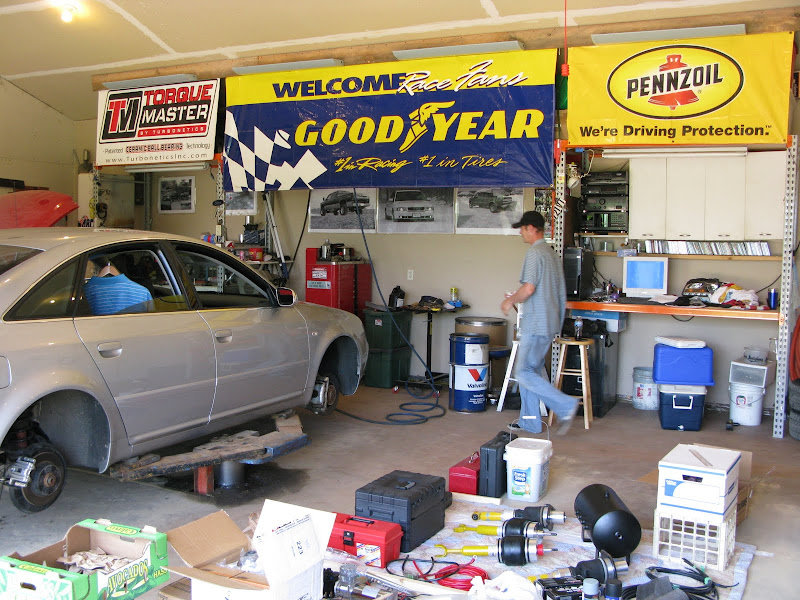
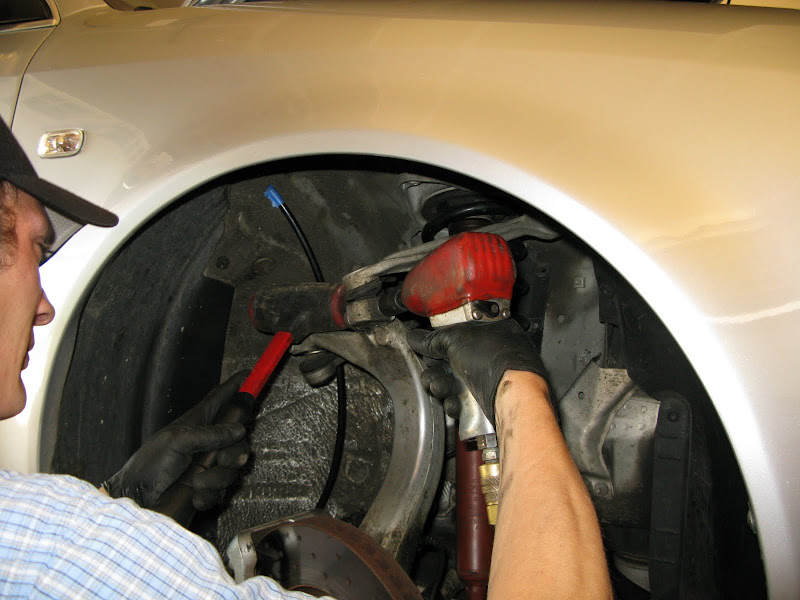
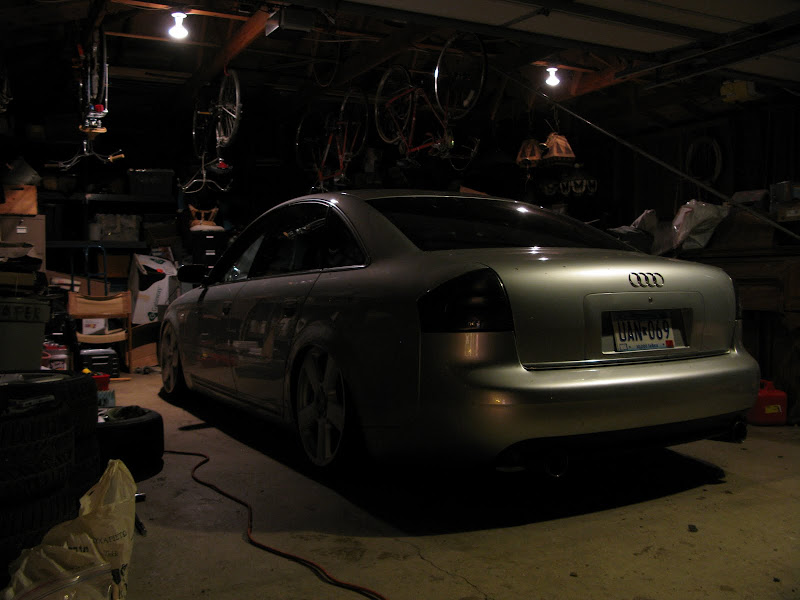
Its been a long time coming. I shelled out the $xxxx for the struts about 8 months ago and everything is finally coming together.
Here is a longer general build thread for those interested http://www.audizine.com/forum/showth...ics*&p=4073131
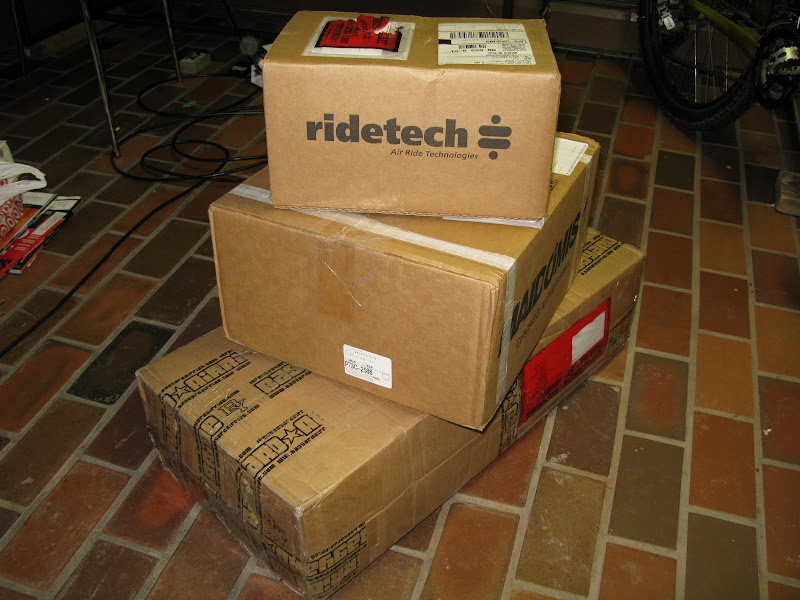
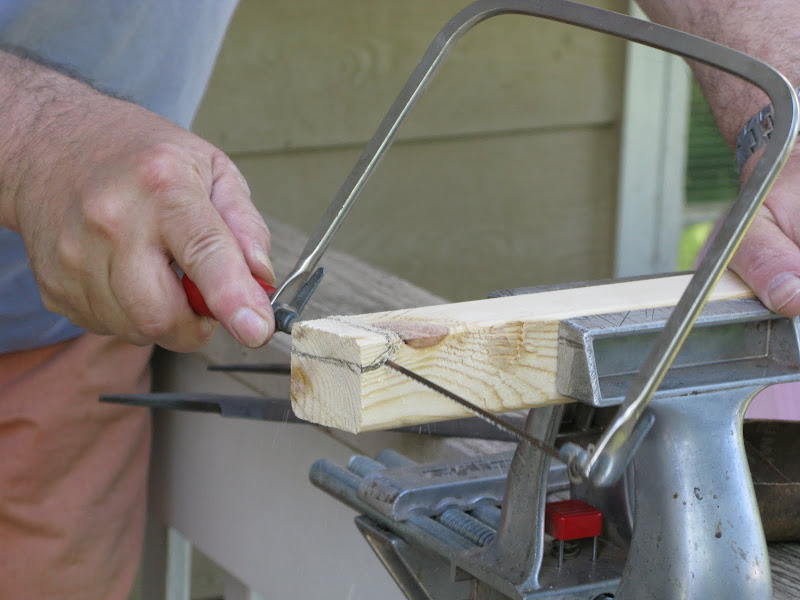
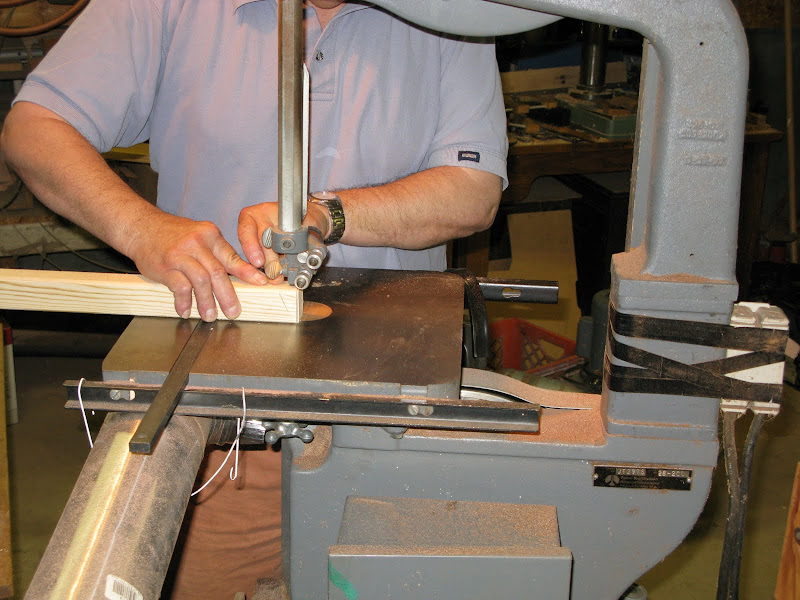
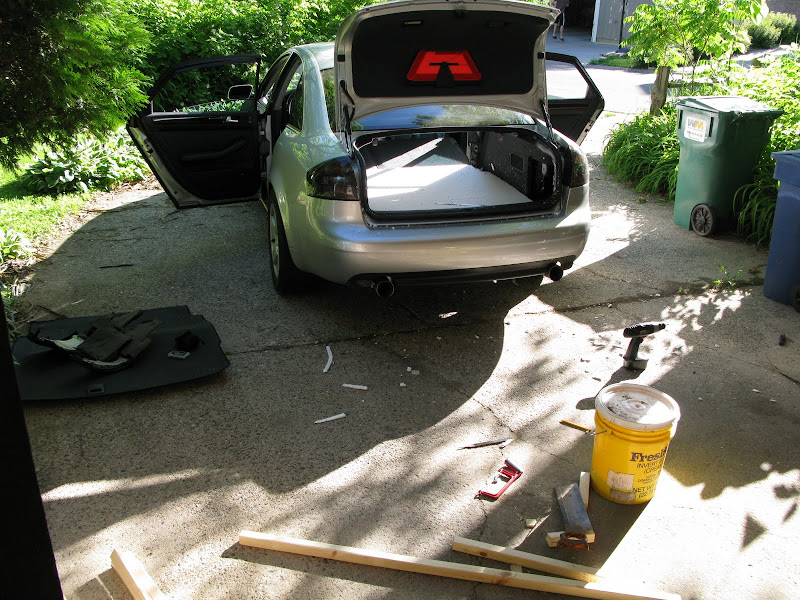
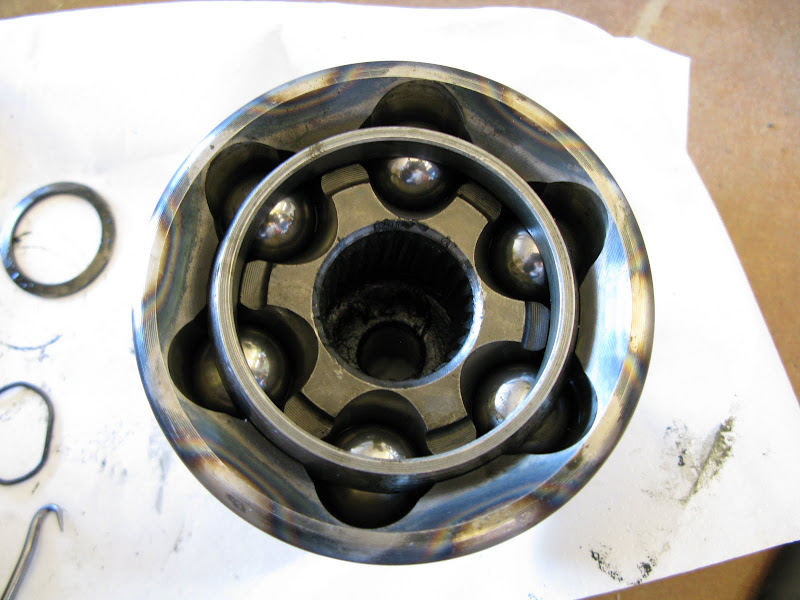
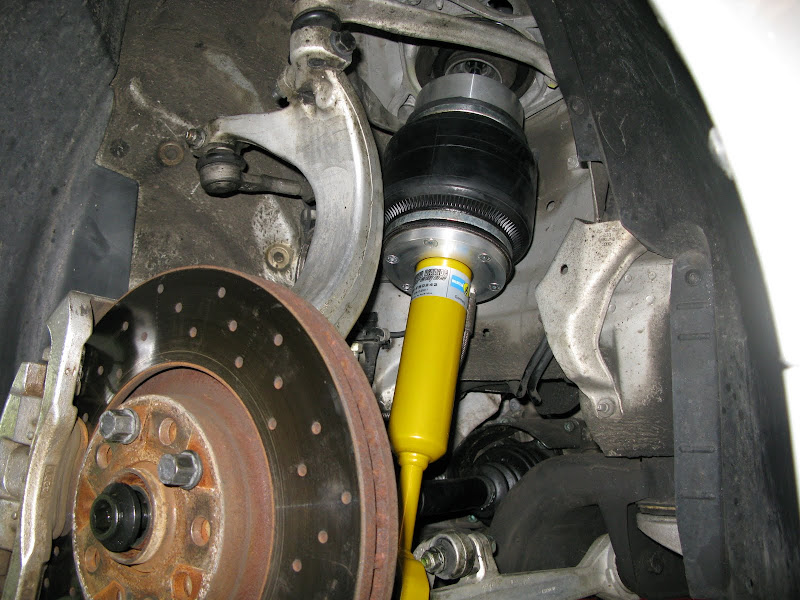
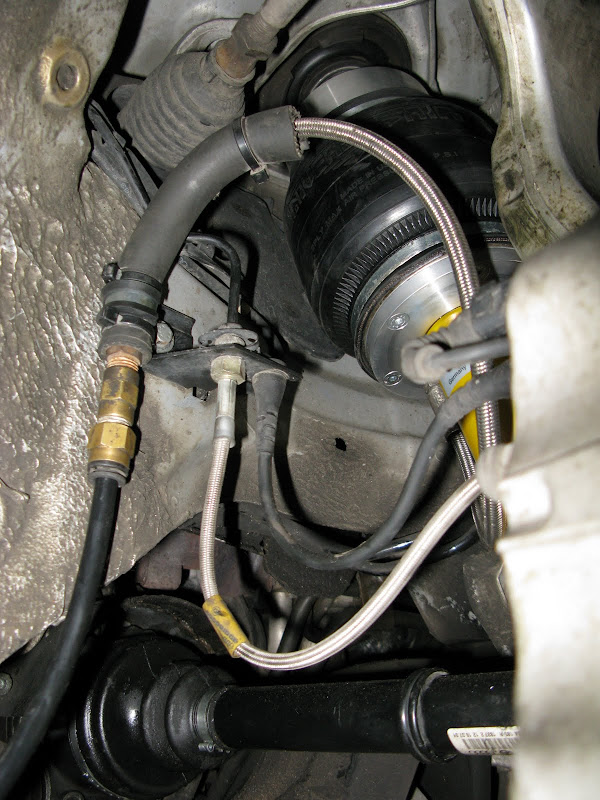
I like pictures better than words so here ya go.


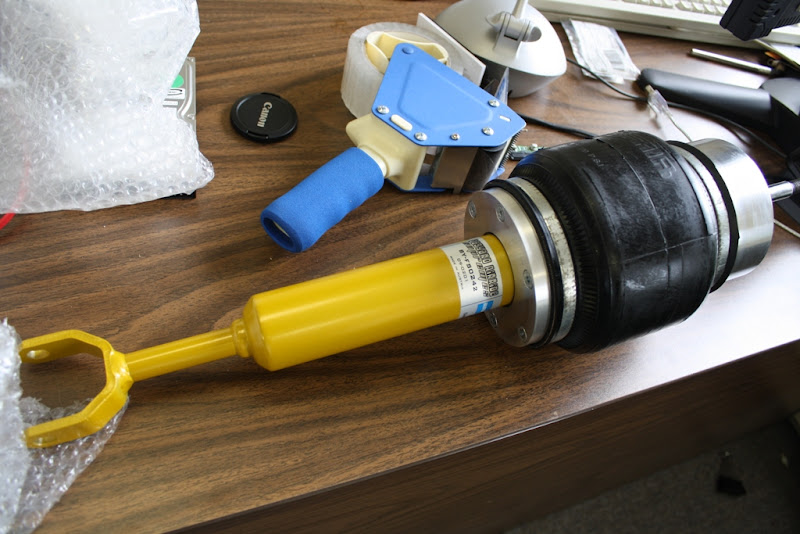
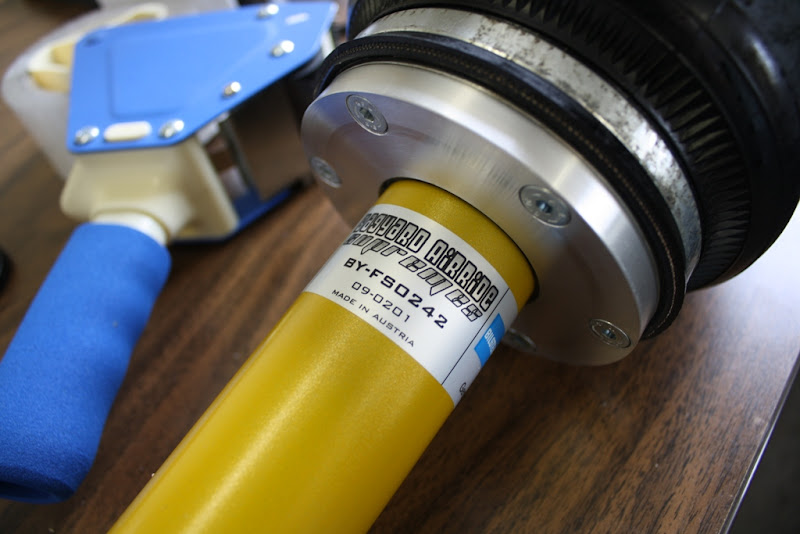
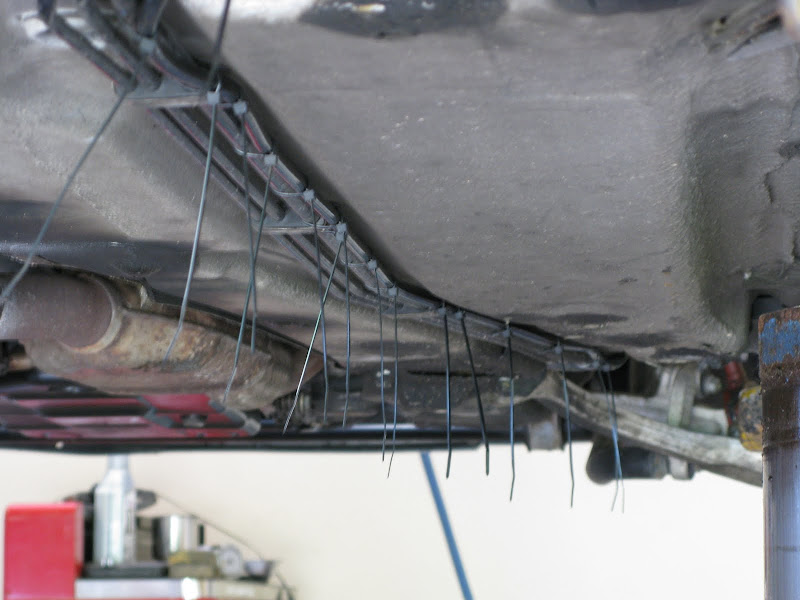
Here are the fronts
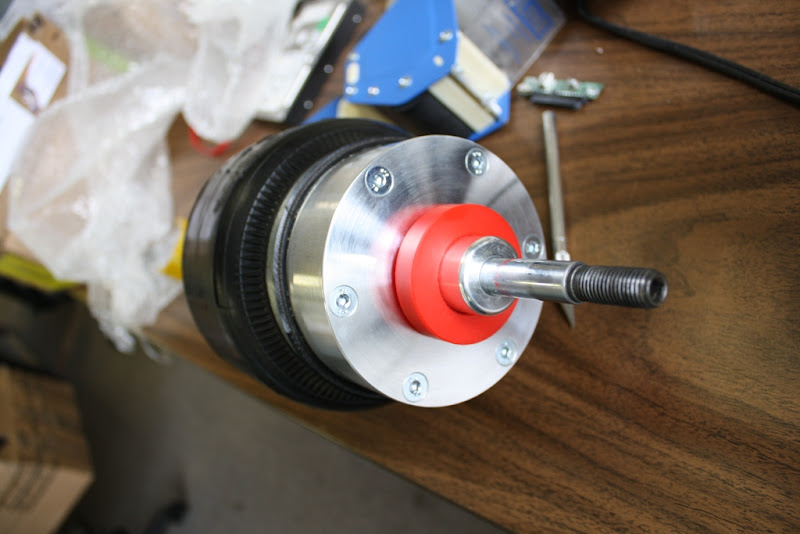
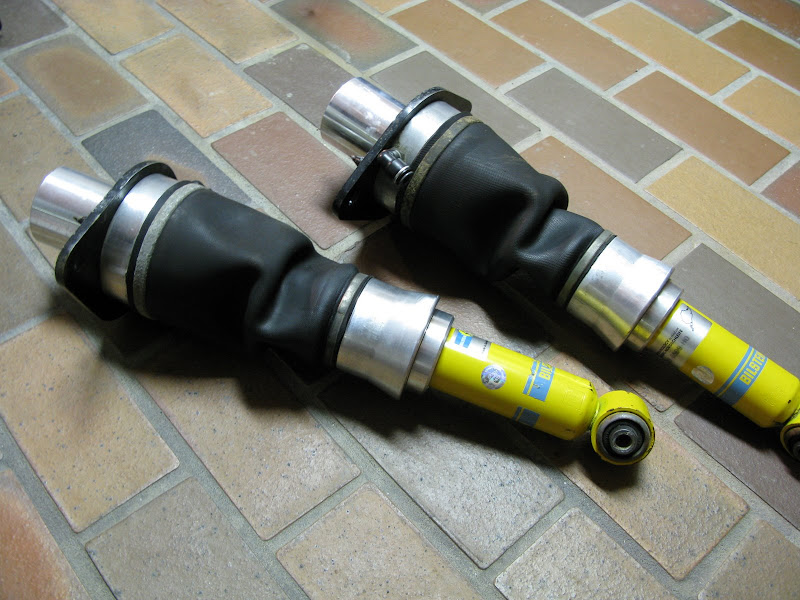
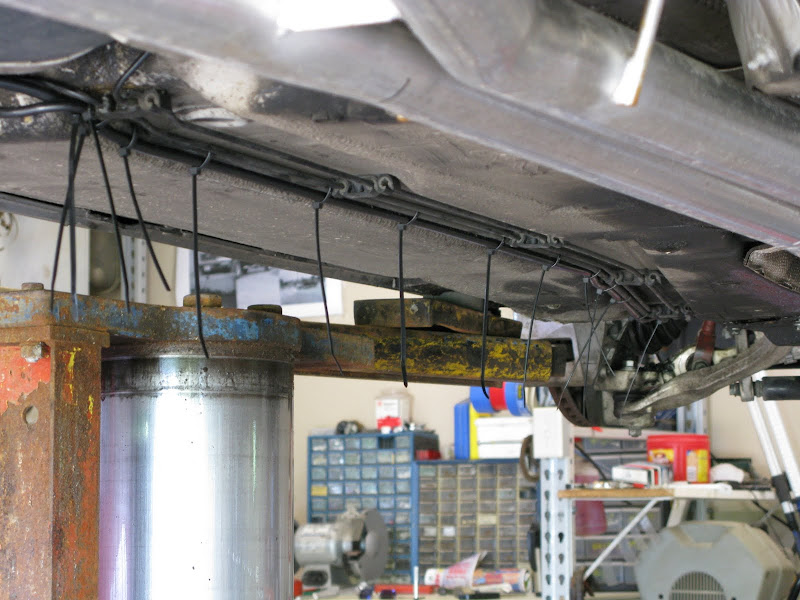
The rears
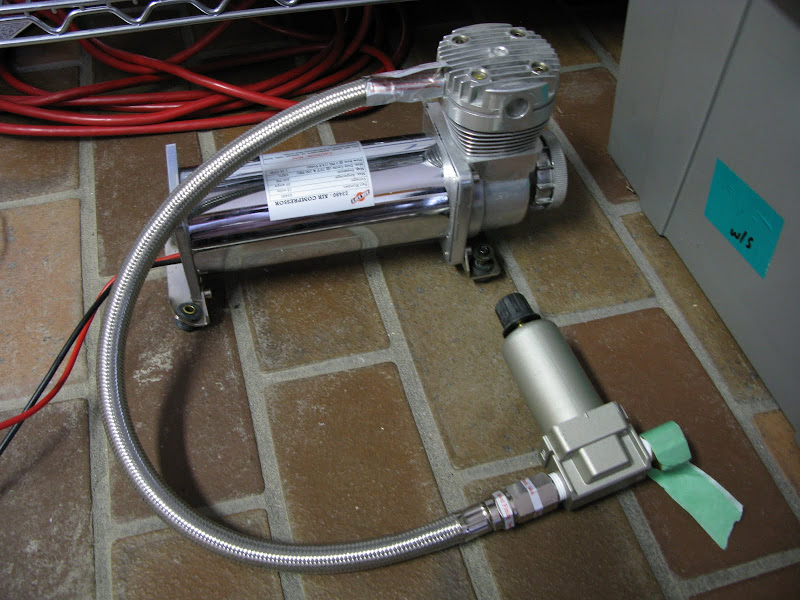
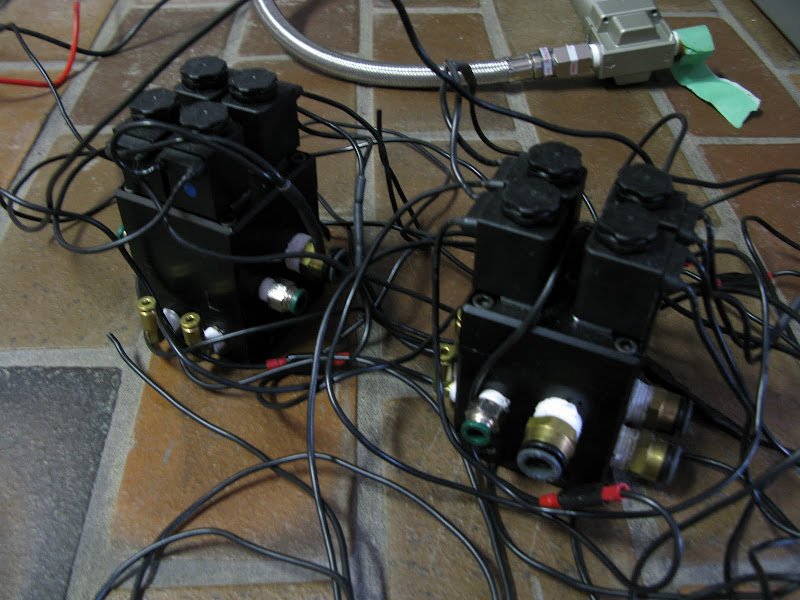
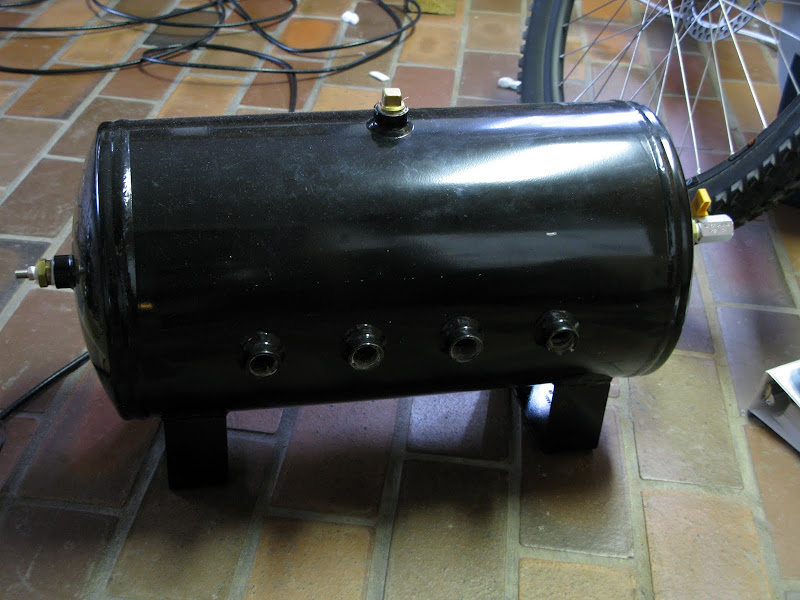
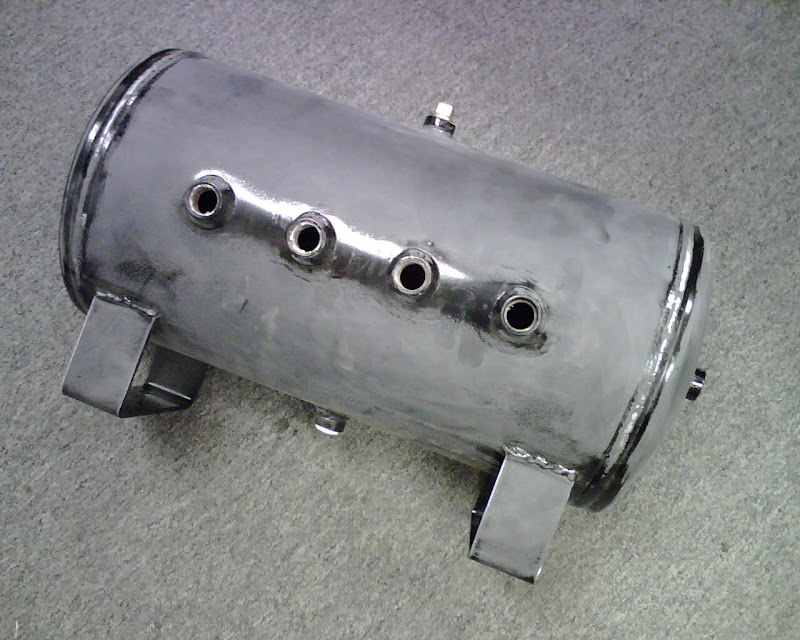
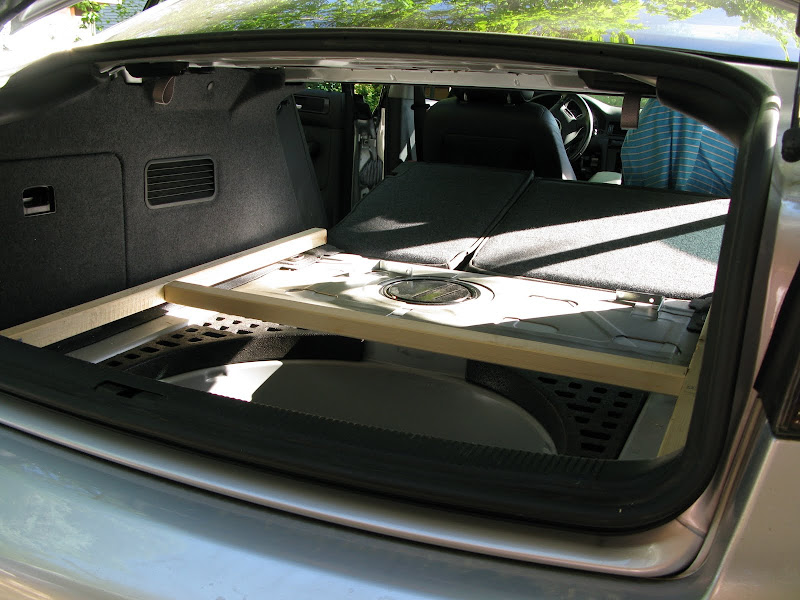
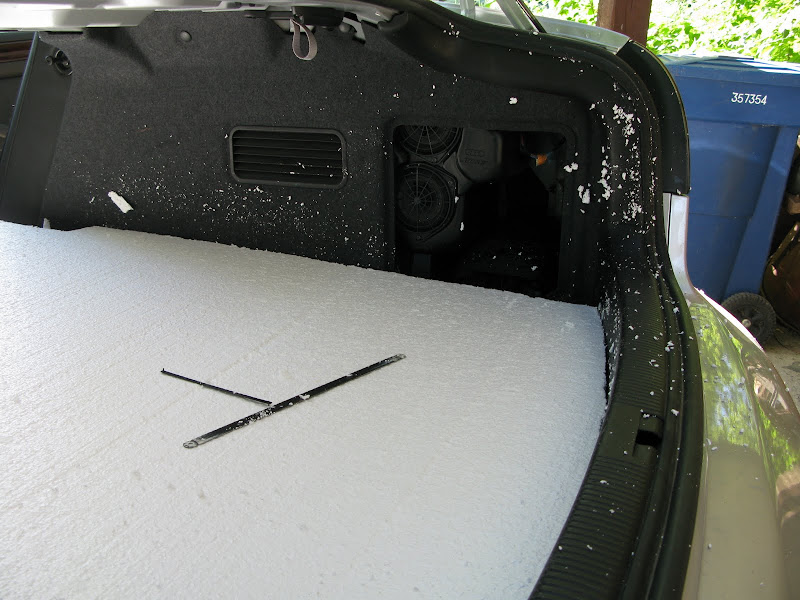
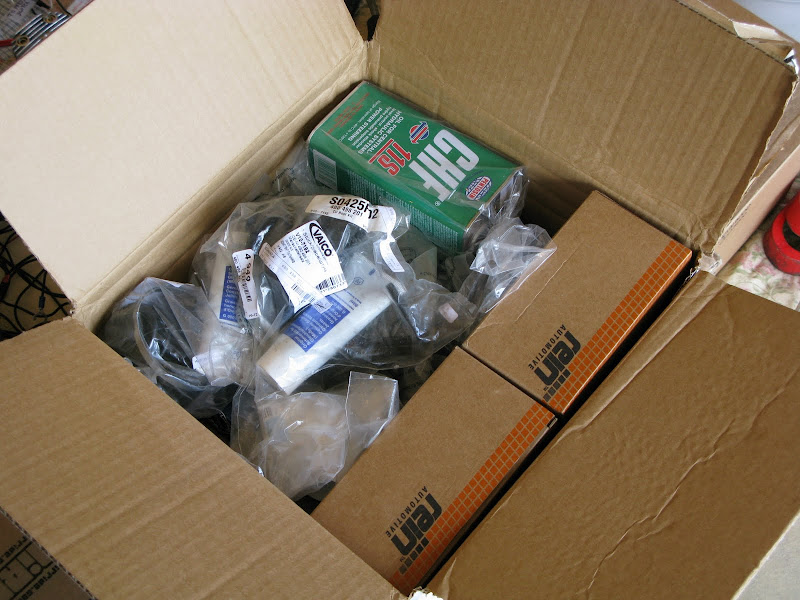
Here is what I have
- Viair 480 compressor
- Water trap
- 2 Easy Street Valve Blocks
- 7 port 5 gallon tank
Need less than $100 in parts now.

Its been a long time coming. I shelled out the $xxxx for the struts about 8 months ago and everything is finally coming together.
Here is a longer general build thread for those interested http://www.audizine.com/forum/showth...ics*&p=4073131
I like pictures better than words so here ya go.
Here are the fronts
The rears
Here is what I have
- Viair 480 compressor
- Water trap
- 2 Easy Street Valve Blocks
- 7 port 5 gallon tank
Need less than $100 in parts now.


 No they dont always have turn around like.
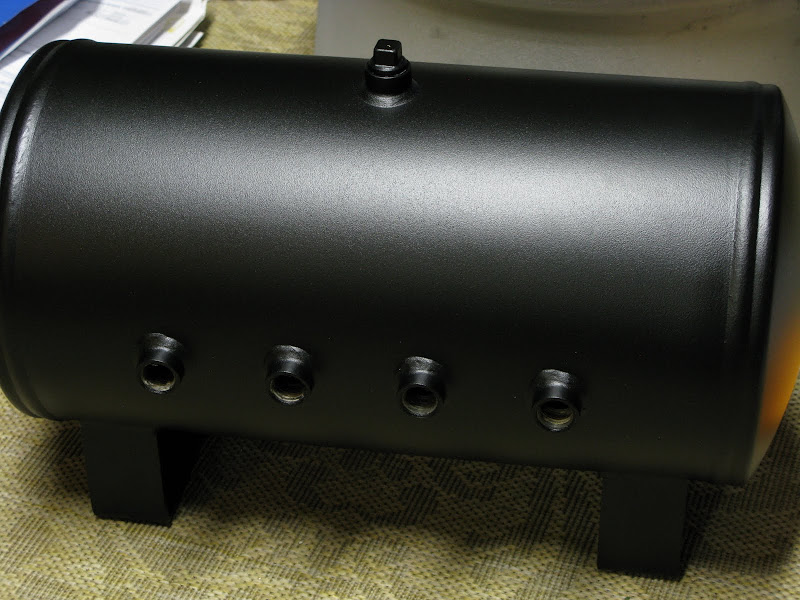
 [/QUOTE]


Comment